Part 143: Savanna Wilderness
Welcome back!For the tl;dr version of this update, just listen to this on repeat for, like, four hours.
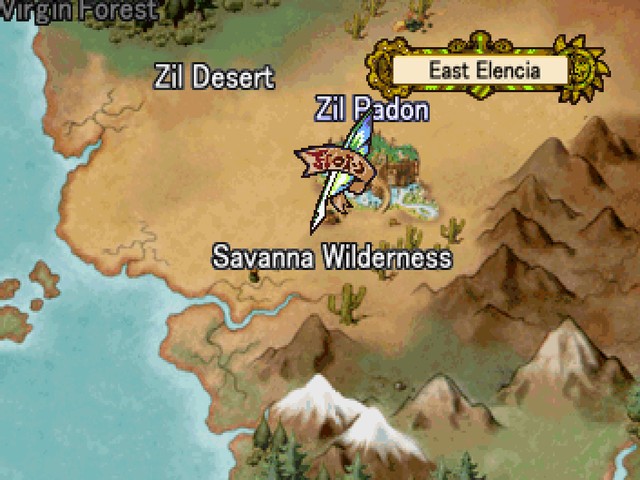
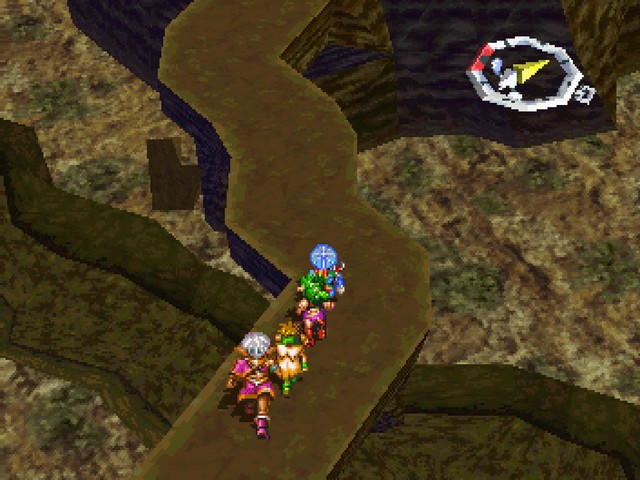
Past Zil Padon, we've got the Savanna Wilderness.

Keeps the swanky music from the desert, too.
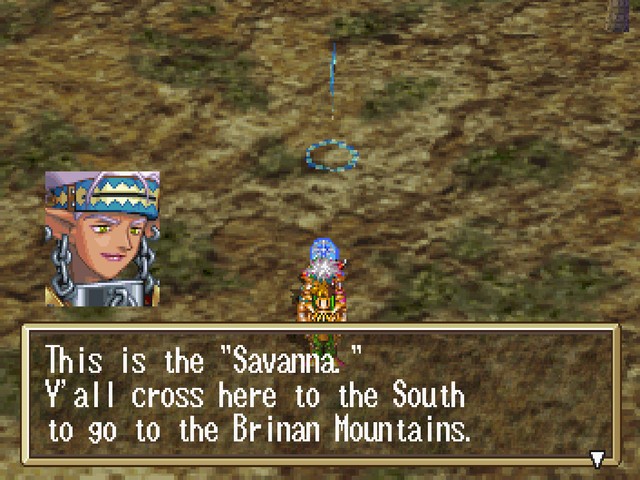
 : The Village of Laine is up ahead. It's far away, but don't y'all worry. I can guide y'all right there!
Unfortunately for everyone involved, I'm the one holding the controller. And I can get lost in the woods in the middle of a wide open, barren plain.
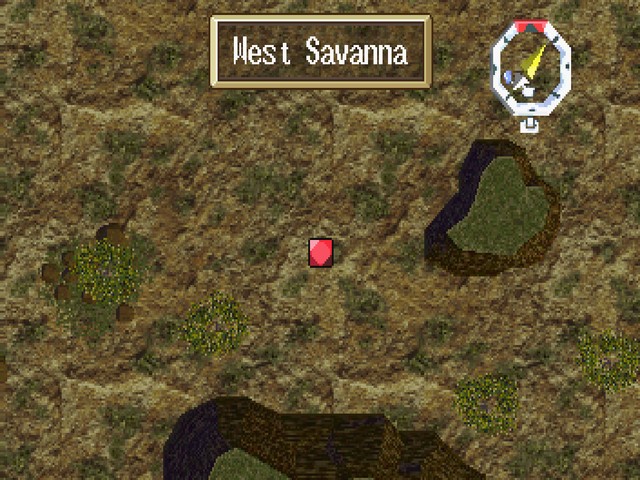
While the main exit is to the south, the name "West Savanna" is kind of a hint that there'll be an eastern part as well. Strictly optional at this ponit in time, but it's got some goodies. And I figure, hey, we've been putting off the main plot to go explore optional areas full of goodies for the past few updates now, what's one more?
Anyway, the Savanna is, as you might expect, a very open area. It's also got a few exits to the overworld, so it's very easy to accidentally stumble off the map while treasure hunting.
Thor Cut is Justin's second most powerful skill. It's single-target and lightning elemental, and can readily break 1000 damage if it hits a weakness.
Now, an important piece of info about this game is that none of the random monsters have more than 999 HP.
Burnstrike is a level 2 spell that costs 5 MP. Deals more damage than Burnflame, but to a single target. I guess if you've only got one enemy to hit, it's got a better MP-to-damage ratio?
Honestly, I almost never wind up using this or its upgrade.

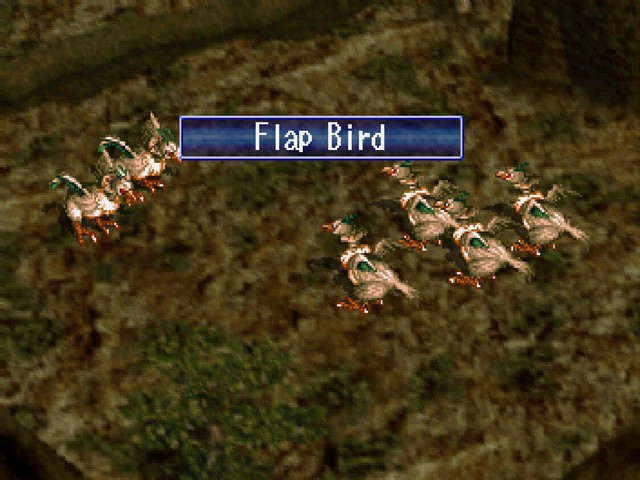
In addition to both of the scorpion enemies from the desert, the Savanna has Flap Birds. If they gang up on a target or overuse their special attacks, they can cause some damage, but otherwise they're basically piñatas for multitarget attacks.
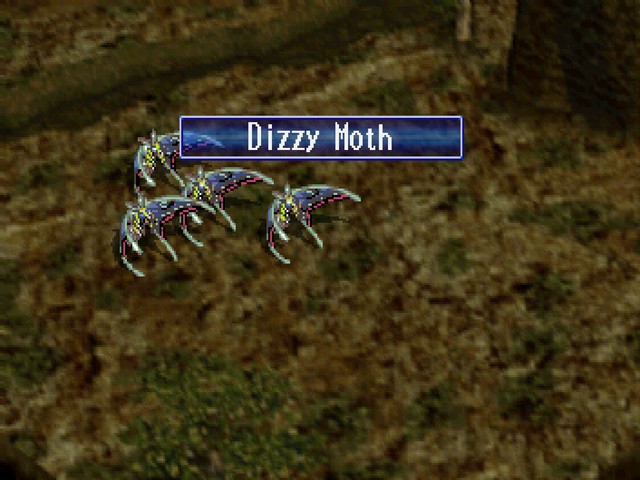
We've also got upgraded moths. There's really nothing to write about these guys in particular compared to their brethren.

It's always nice when I don't have to buy these.
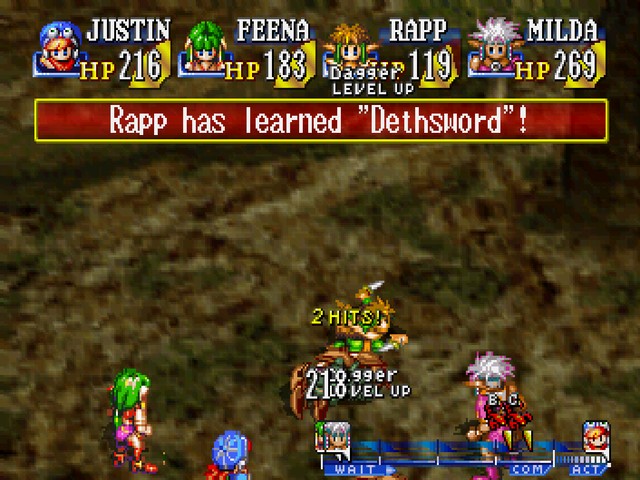
Rapp no longer needs special equipment to deal instant death.
Costs 25 SP and, near as I can tell, has a 100% chance of instantly killing the target, as long as they're vulnerable to instant death. It's pretty damn useful, especially for an upcoming area.
You know, we never did resolve that tie on the other stat boosters...
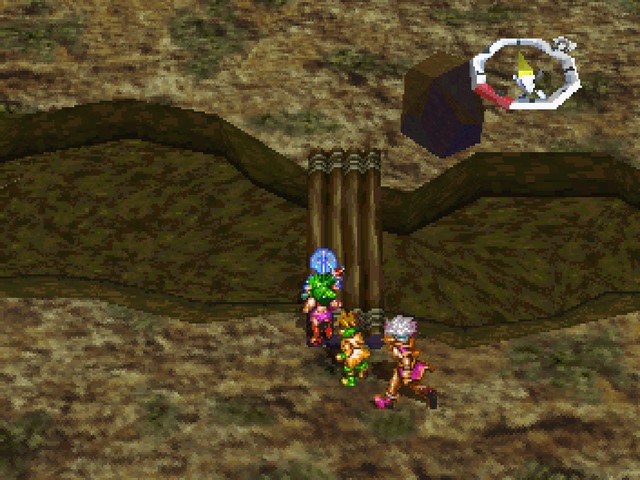
Anyway, the proper exit is just past this bridge. However, this strip of land also leads to the path to the East Savanna.
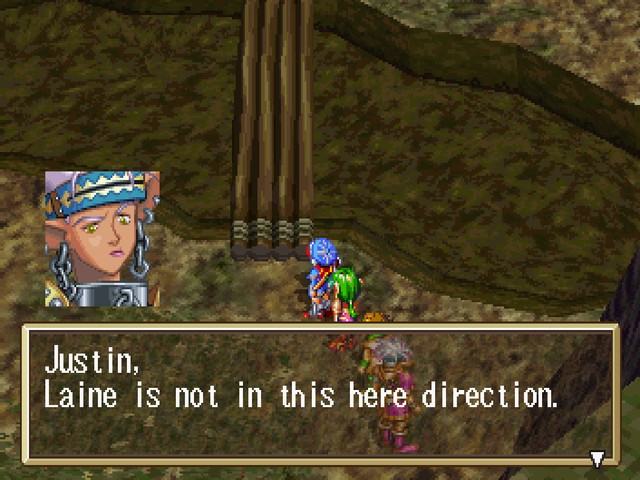
Thankfully, Milda warns you if you start heading that way.
 : To go to Laine, y'all go a little more south, and cross the Brinan Plateau.: If'n y'all don't intend to go the long way, it's better to go back a little, and proceed south.
She warns you that you're going the wrong way, but doesn't actually stop you.
.... Hang on. I know I missed something back in the earlier part.

A few monsters, for one, which Milda certainly appreciates.
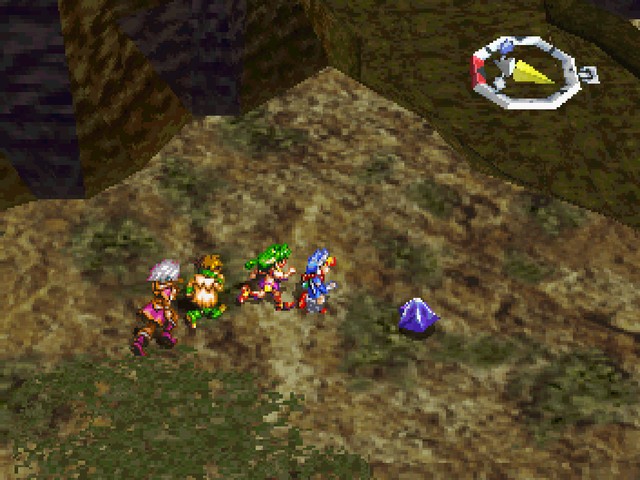
Ahh, here we are. The final Mana Egg we need. With this, plus the one from the Castle of Dreams, Rapp can complete his magic list. None of the other temporary members can use them, and the final party member joins with all four elements already learned.

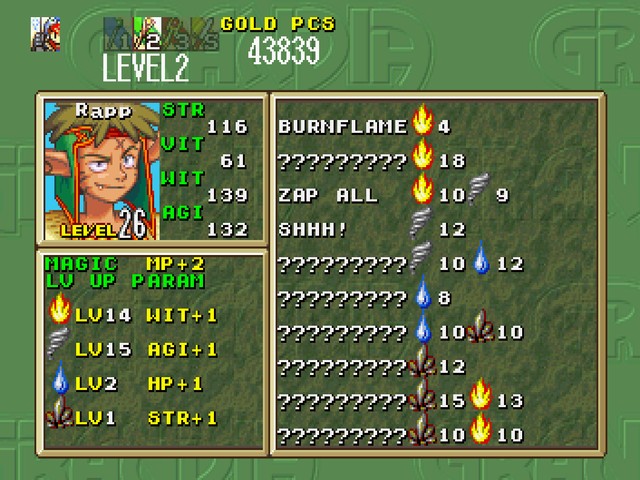
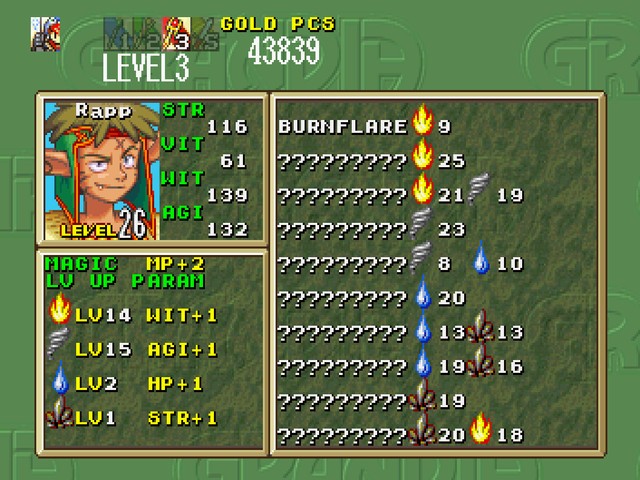
As you can see, Rapp is pretty specialized towards the water/earth/forest spells.
He also doesn't learn Tremor, so his only choice for Earth XP for quite a while is going to be Diggin'.
In case you skipped that link back at the beginning, most of Rapp's support spells have the same casting quote. Here it is again, for your convenience.
Just, y'know, in case you were wondering why I seem so unenthused this update.
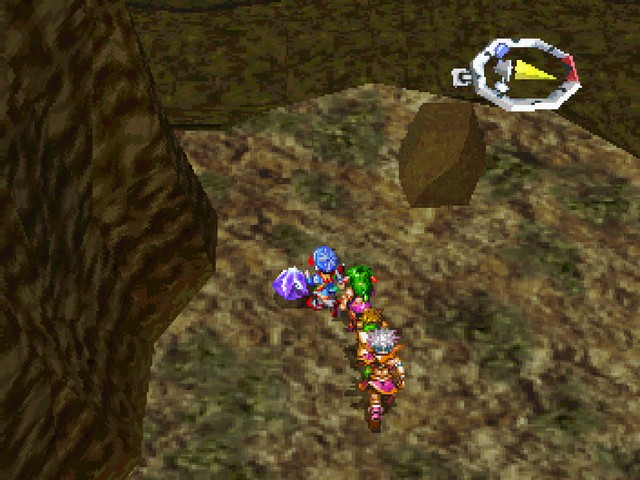
Anyway, the East Savanna.
It's got some helpful goodies in it, that's for sure.
The main gimmick here is that it's separated into three sections, with these bridges connecting them. One section leads back to the the West Savanna. Another leads to another exit to the world map.
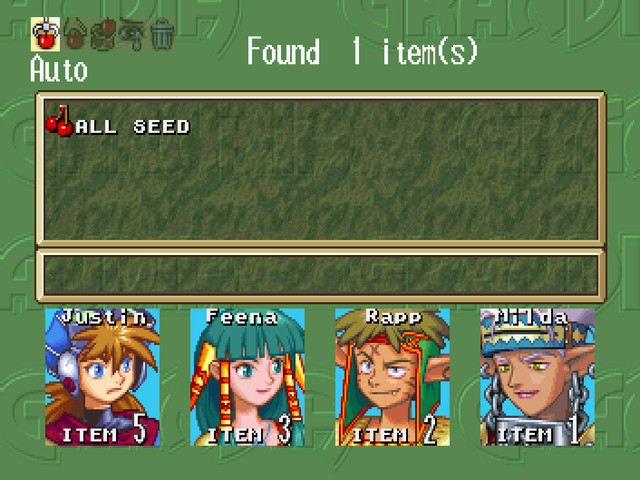
And here's our first extra Mana Egg! The game does cut you some slack on finding these; there are exactly four spares.
Anyway, the two other areas lead places. What about the third?
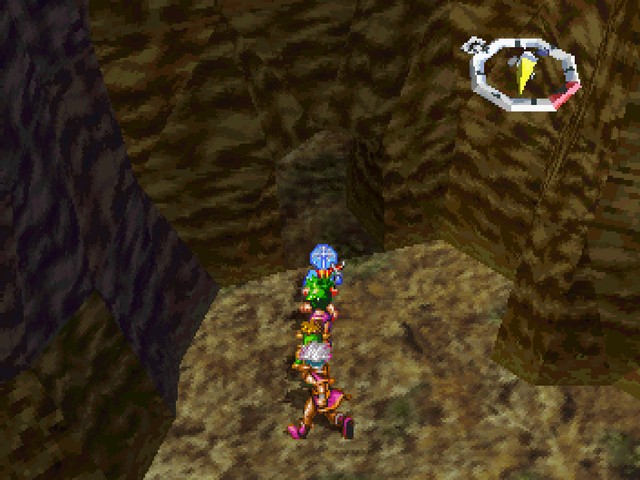
Well, it's got this passage here.
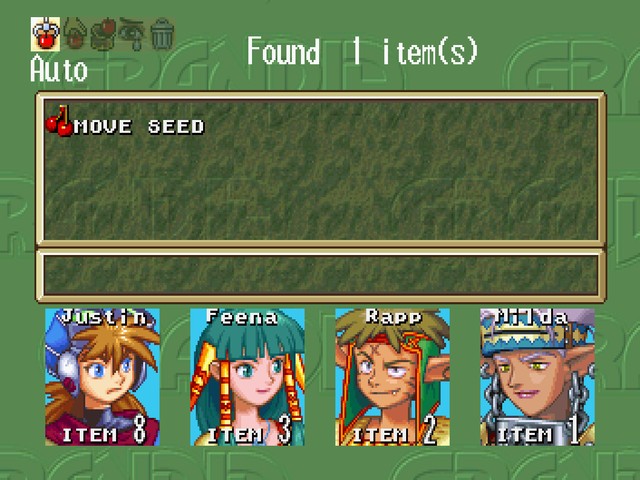
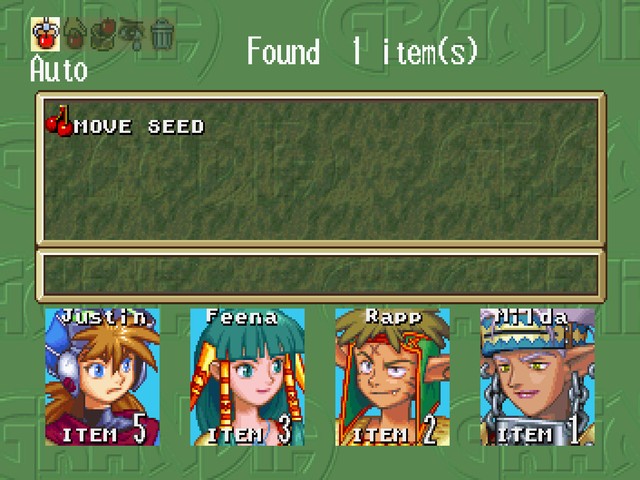
With a Move Seed in it.
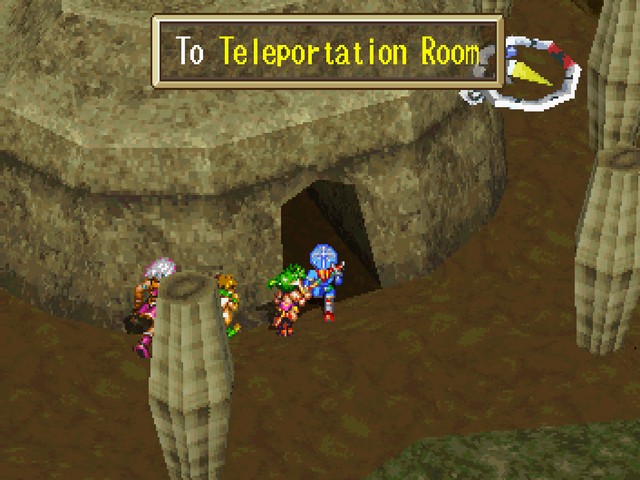
Which eventually leads out to here.
Oh... uh-oh.
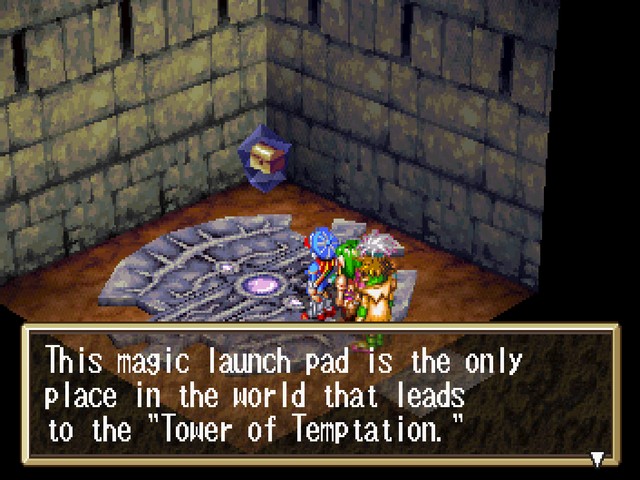
Yyyyyep, this here's the third of three bonus dungeons.
While the Soldier's Graveyard was more of a slog, and the Castle of Dreams was short, but filled with hard-hitting enemies, the Tower of Temptation does both. It's twelve floors, with only one save point at the very beginning, and loaded with random encounters that can destroy the party unless you go apeshit on them first.
It's also loaded up with the best loot in the game.
Also, that Stashing Place there?

It's an item shop. Most of this we've seen before, from the elemental charms, to the Tree God amulet and the Metal Frog. The others, though, are more interesting.
The Scales, the most expensive item here, double money drops. The Move Ring is an upgrade to the Black Belt, offering +3 move power instead of +2. The Hurricane Belt increases Act by 50.
Yeah, it's a little crazy.
The Cone of Light is a consumable version of Justin's Immortal Aura, making one ally temporarily invincible.
And yes, this is what they give you to prepare for the upcoming dungeon.
Of course, with some proper strategy, we can muddle our way through as we are now, right?
R-right?
We'll find out next time!
 :
:  +1
+1  +1
+1  +2
+2  +3
+3 : +1 +1 +1
 :
:  +1 +2 +2 +2 +3:
  +1
+1