Part 85: Lama Mountains 2
Welcome back!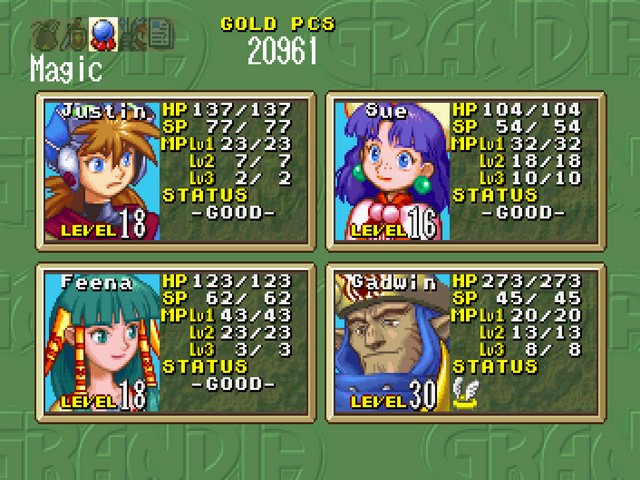
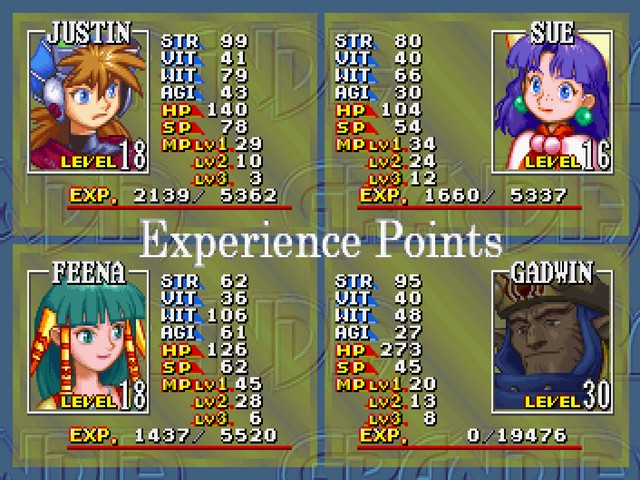
While I could have run back to Mount Typhoon to give Gadwin his daily acid bath, it saves quite a bit of time to just poke a RAM address. Specifically, poking a 128 into 0x00010437.
Since that controls the status of the fourth character directly, his HP won't zero out until the game copies everything over into the temporary storage used during battle.

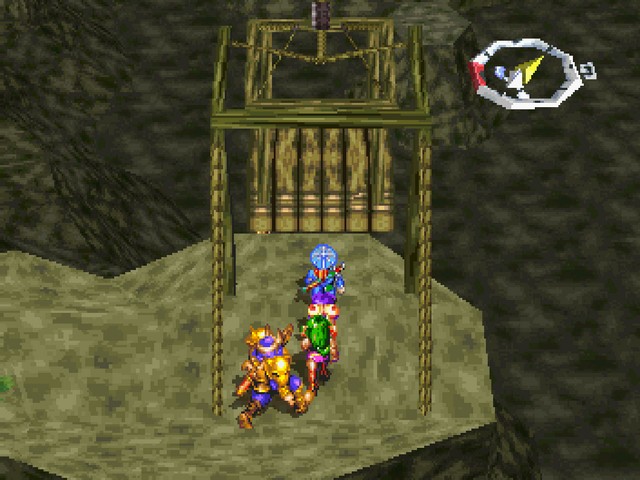
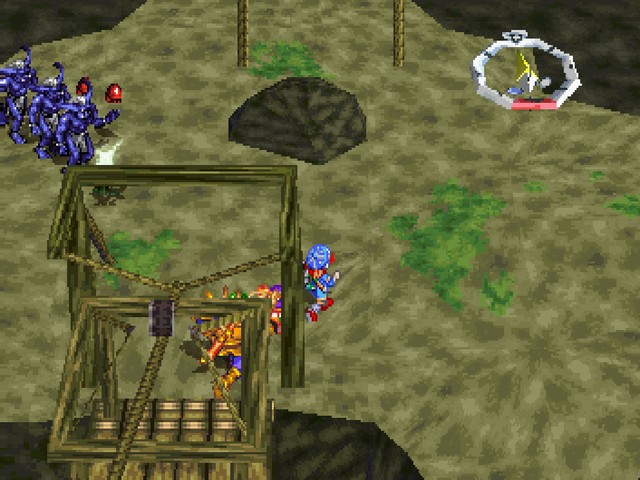
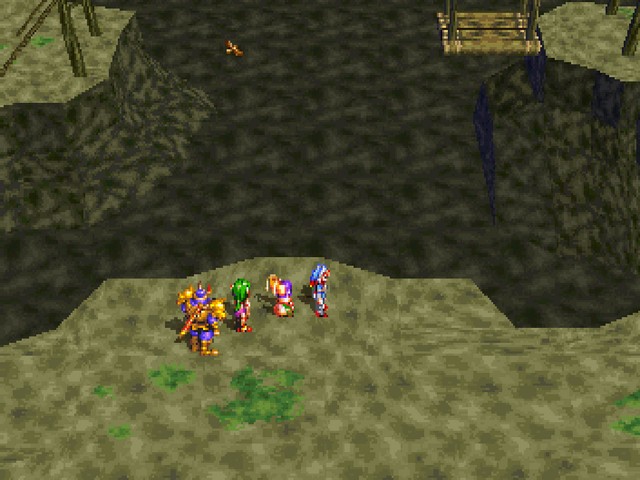
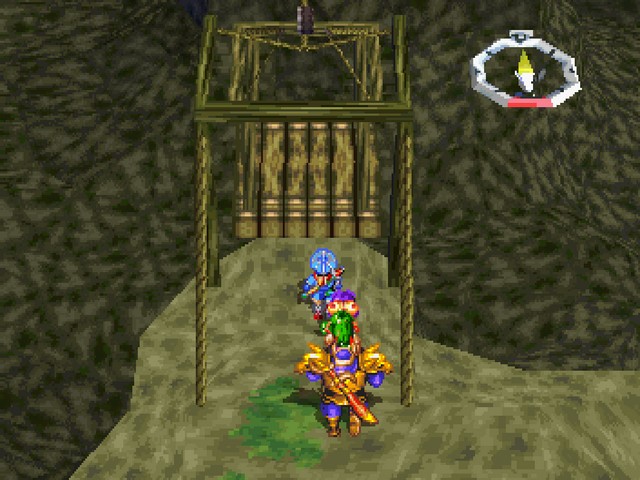
The gimmick of the North Lama Mountains is these wooden gondolas.
There's another nifty trick with this dungeon. The gondola on the right is where we entered from. See the one going off to the left?
It takes us to this platform. There's no gondola on the left branch yet, so let's go the other way.
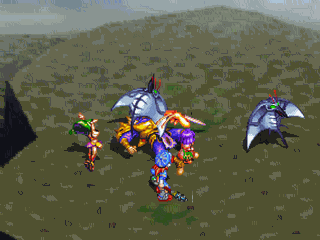
Dodge those devils....

And it's just a short ride down one last gondola to get to the exit.
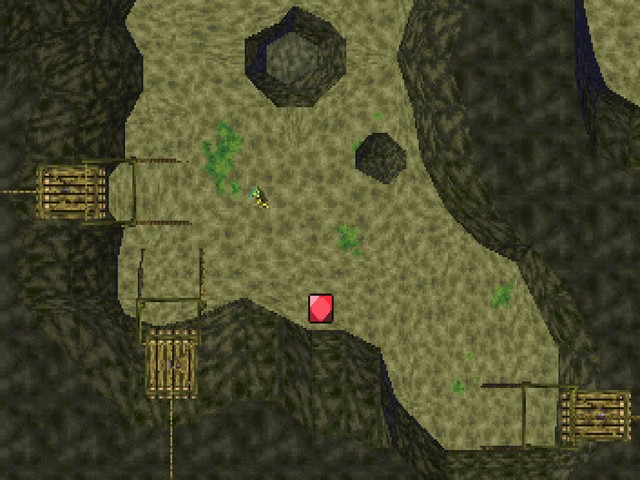
Of course, doing that completely skips all the loot and monsters. So let's back up.
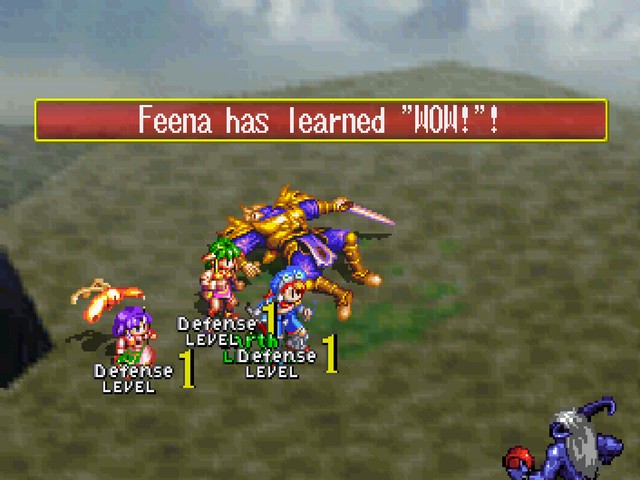
Feena hits Earth 5 and picks up WOW!. Much like BOOM!, WOW! is an explosion-elemental spell. We've seen this spell before, in fact. Not only can one of the high-tier Klepps cast it, but Gadwin starts with it.
It does the same thing as Fight! Cheer, but to a single target.
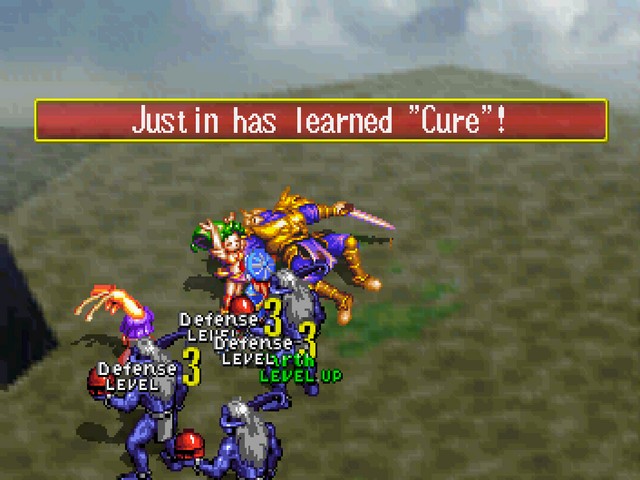
Justin picks up Cure. Gives him something to do if someone gets poisoned, I guess.

Healer, learned at Water 8, is a single-target heal that cures a lot more damage than Alheal.
I'm just going to mention here that Justin and Feena went into this battle about 10 XP away from each of these spells.
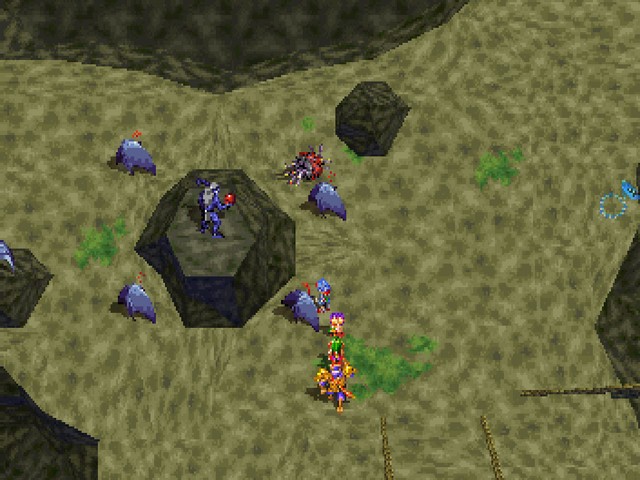
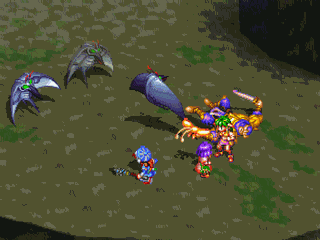
Not only do you get loot for taking the long way around, there's also a decently-sized chunk of enemies.
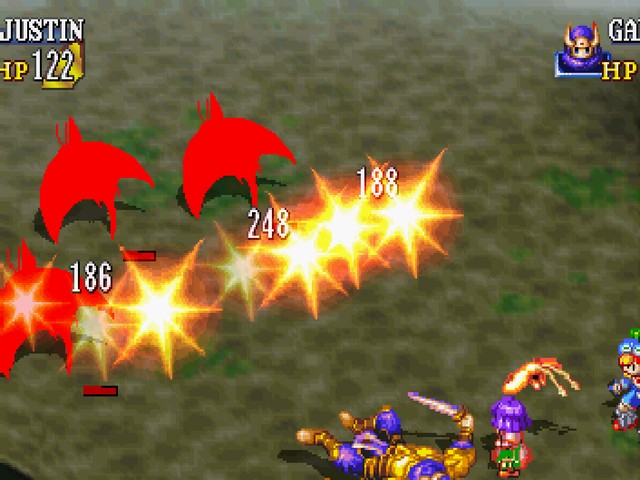
In the interest of fairness, here's what BOOM! does to enemies weak to it.
Also, looking at the data, it has the same AoE as Tremor, Zap, Shockwave, Round Whacker, and a few other skills.
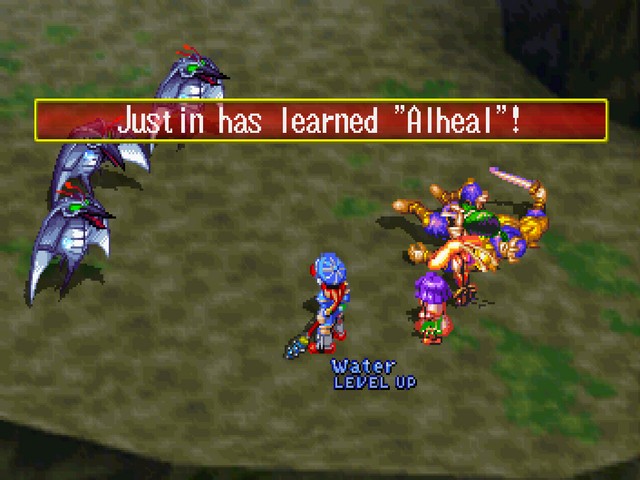
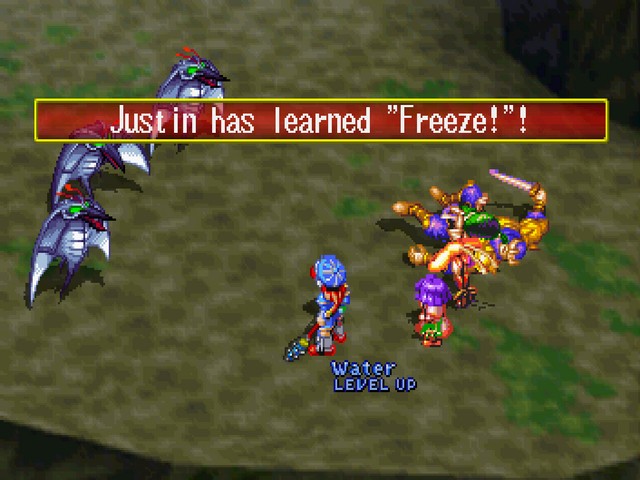
Justin hits Water 5 here, picking up Alheal as well as Freeze!.
Despite the description claiming it lowers action, it reduces movement instead.
That's a fairly common trend in item and spell descriptions in this game; using "action" for both movement and wit.
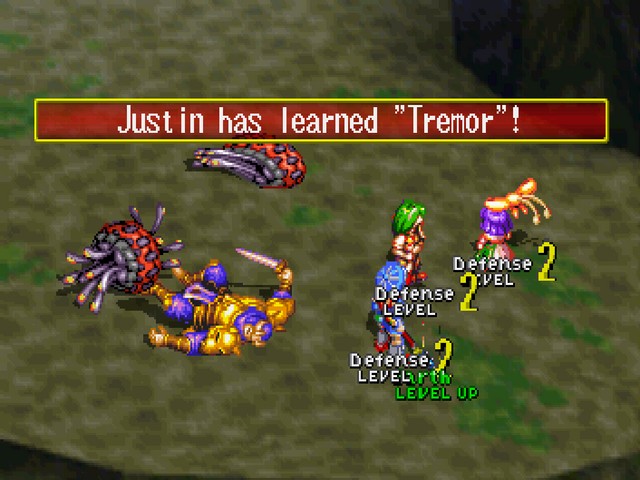
Justin hits Earth 3 here, picking up Tremor.
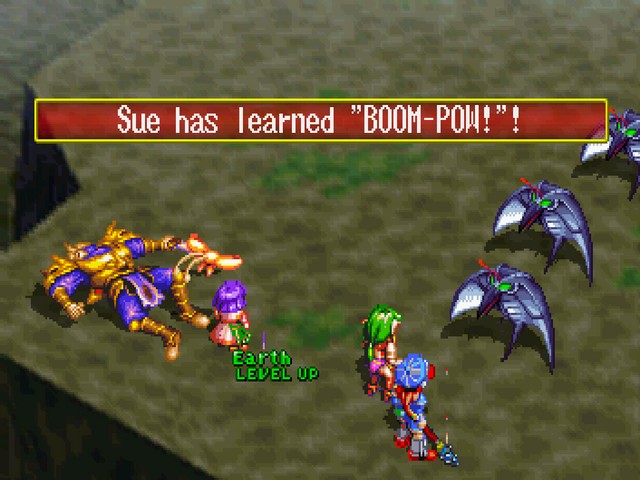
Continuing the "learning spells" theme, Sue hits Earth 10 here and picks up BOOM-POW!. Instead of exploding everything, like the name suggests, BOOM-POW! just floods the battlefield with lava.
Sue also spent the last of her level 2 MP on the Tremor that got her that Earth level, so we'll have to wait a little to see this spell in action.
... Huh. I never knew about this. Not the greatest view, I have to say.
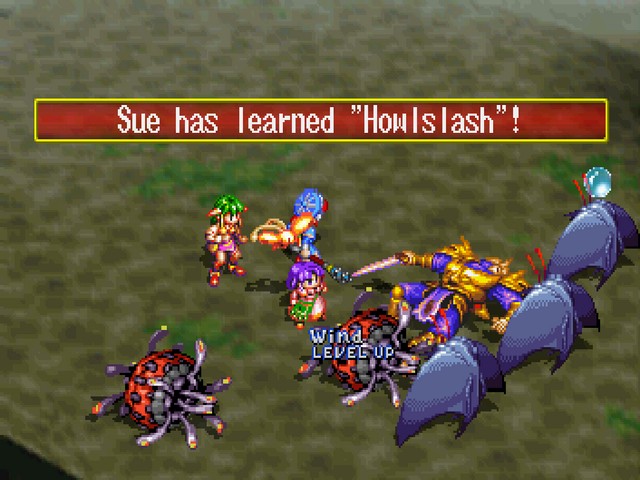
Sue hits Wind 6, here.
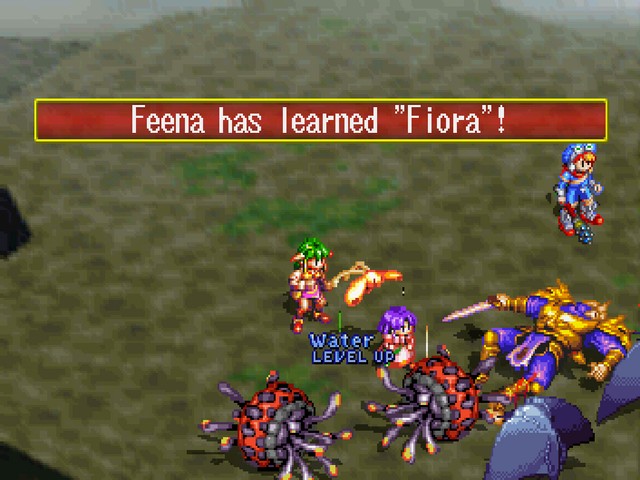
And Feena hits Water 10, learning herself a level 3 spell that's cheap enough for even her to cast!
Pictured: Item 1 of 2 of the aforementioned loot.
Yeah, there's only two things in here, gear-wise. The rest is monsters and gold. And one Health Weed.
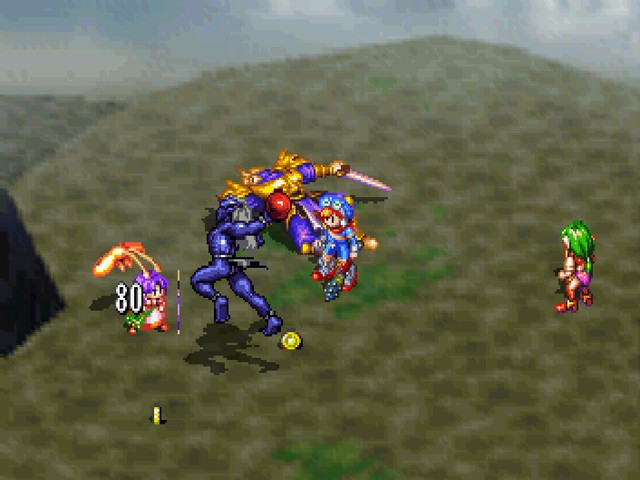
Yep, that's Gadwin being exactly as tough and only slightly stronger than an eight-year-old girl.
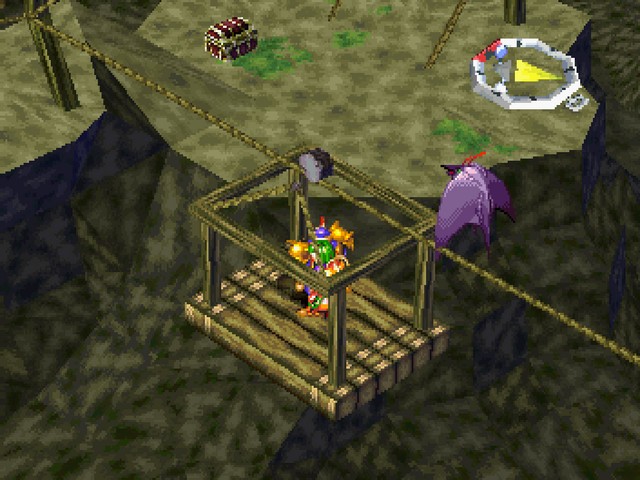
During this ride, the Kite chases you.
I dunno, I liked it.
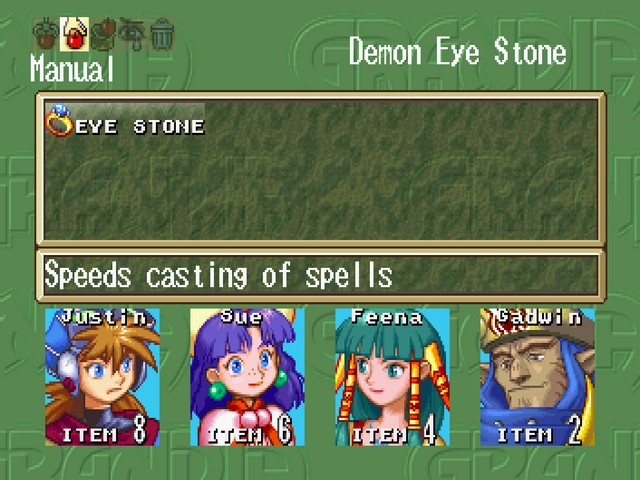
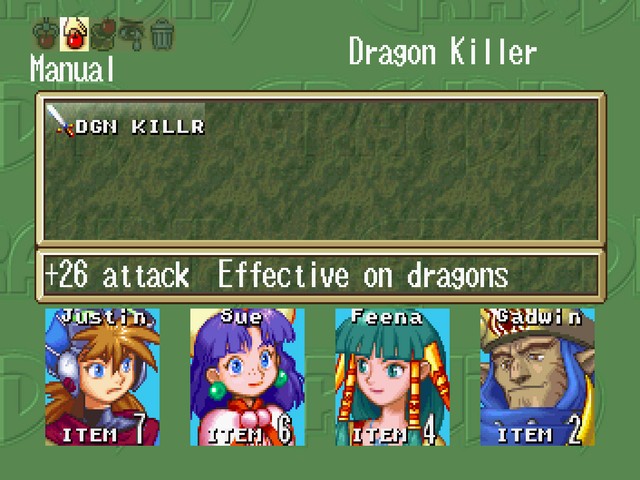
Inside that chest is part 2 of the loot: The Demon Eye Stone.
Given that she's the only one with any MP left at this point, it goes straight onto Feena.
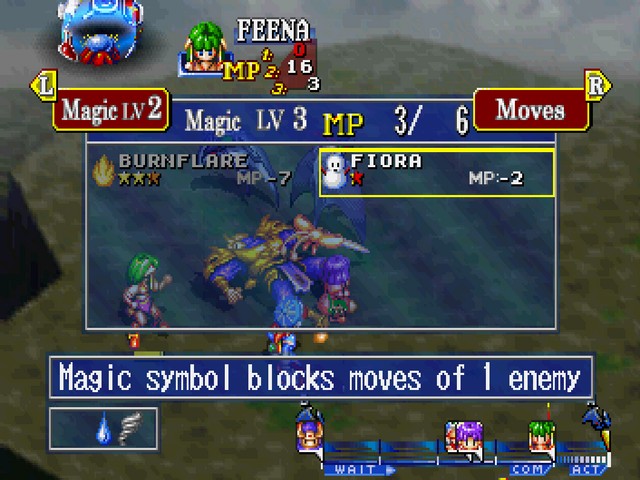
Oh, hey, she's picked up a few more level 3 MP during all this. Too bad she still can't cast Burnflare at all.
Fiora costs 2 level 3 MP and tries to inflict Move Block on one enemy.
Naturally, most things that you'd really want to Move Block are flat-out immune to it.
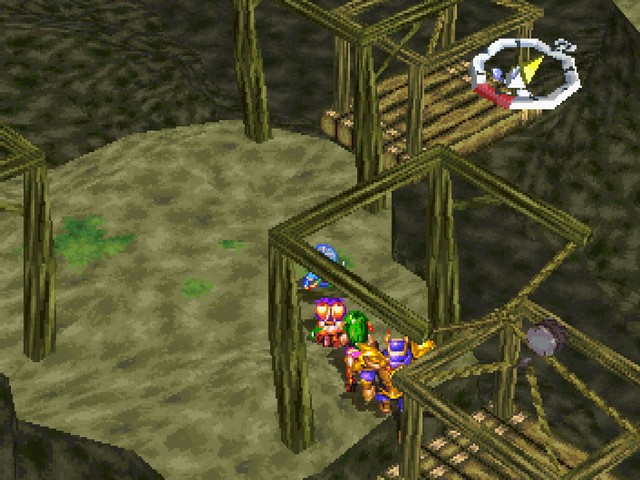
And this will take us back to the small platform that leads to the end.
Really, despite all the branching paths, this is really a big loop with a shortcut and a few dead-ends than a proper maze.
Which is exactly how this shit should be.
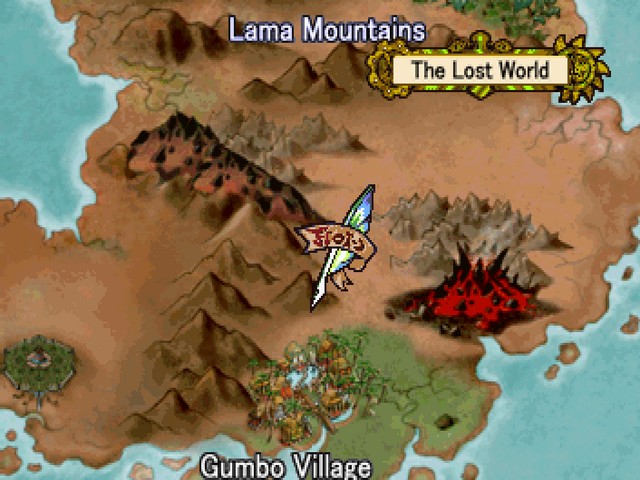
Wow, there's quite the gap between Gumbo and the Lama Mountains. Guess it's unimportant, if the game is letting us skip it, though.

Tune in next time for the New Parm of the East!
 : Earth +2, Water +1, Wind +2, Mace +2
 : Wind +2, Earth +2, Fire +1
 : Earth +1, Water +2, Wind +1