Part 3: 15:48 - 16:05

15:48 - Main Battle Fleet
The orders received from Admiral Scheer read as follows.
quote:
9.V. and 13. VII Half-Flotilla turn together to 300 and continue for 5 minutes, then turn back together to 000. 10.V. and 14. VII turn together to 060 and continue for 5 minutes before turning together to 000. Maintain speed.
Rostock and 5.III. Half-Flotilla increase speed to 20 and maintain heading 000. Scouting groups increase speed to 25, maintain heading 000.
The ships carry out these orders with all speed.
15:53
After 5 minutes, the orders to come back on course are given.

14:05
This is how the fleet looks at the end of the turn.
Nice, quiet day for a sail eh guys?

The Follow orders were received
quote:
I Scouting - Get the squadron into line astern rather than line of bearing,increase speed to 25 knots,open fire atthe enemy battlecruisers (if the destroyers aren't in the way, if they are, shoot them instead for as long as the range is obscured to Beatty):
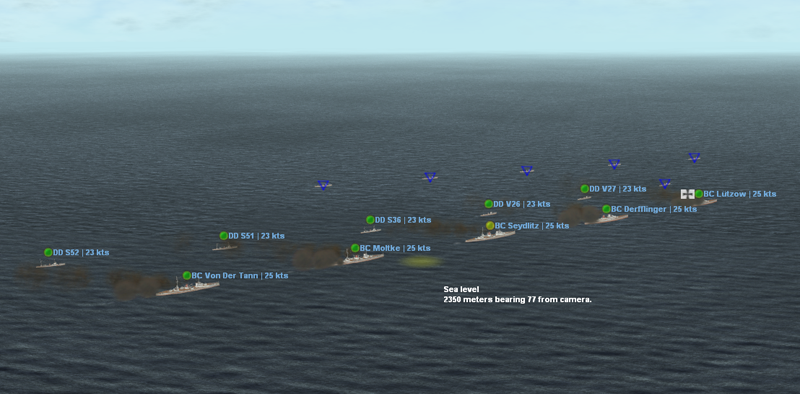
Lutzow against Lion (I love how I can tell what all the enemy ships are...historicallyboth sides sometimes got theclass wrong, let alone theindividual ship),
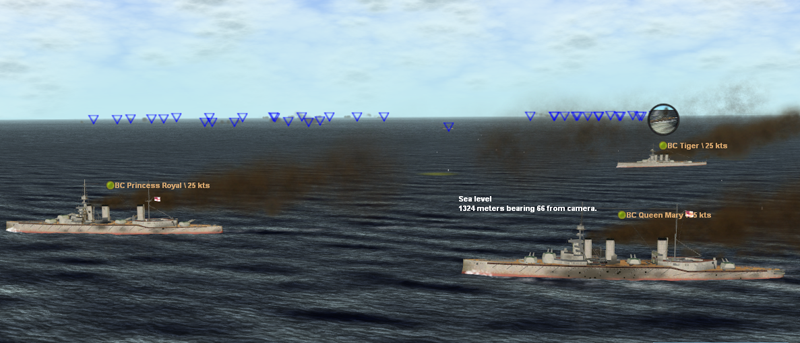
Derfflinger against Princess Royal,
Seydlitz againstQueen Mary,
Moltke againstTiger
Von der Tann against New Zealand.
12.VI Half Flotilla is to come to bearing 175, speed to 30 knots, engage enemy destroyers with gunfire, ready torpedo tubes for action.
2nd Leader of destroyers - Maintain course and speed, keeping parallel to II flotilla.
II Scouting Group - Turn bearing 150 degrees, 20 knots, fire on DD Badger
II Flotilla - Change course to 175 true, increase speed to 27 kts, prepare to
intercept an attack by closest British destroyers on I Scouting Group.
Cross their T if they commit to attack. Wiesbaden to open fire at
closest DD when within range, DDs to open fire should range close to
10,000 yds.
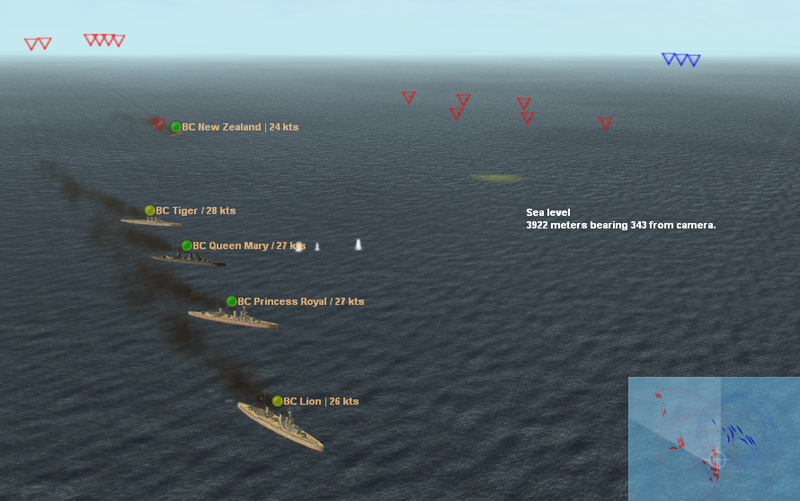
15:48 - Battlecruiser Fleet
These are laid in, and the battle begins as the battle cruisers open up on each others.
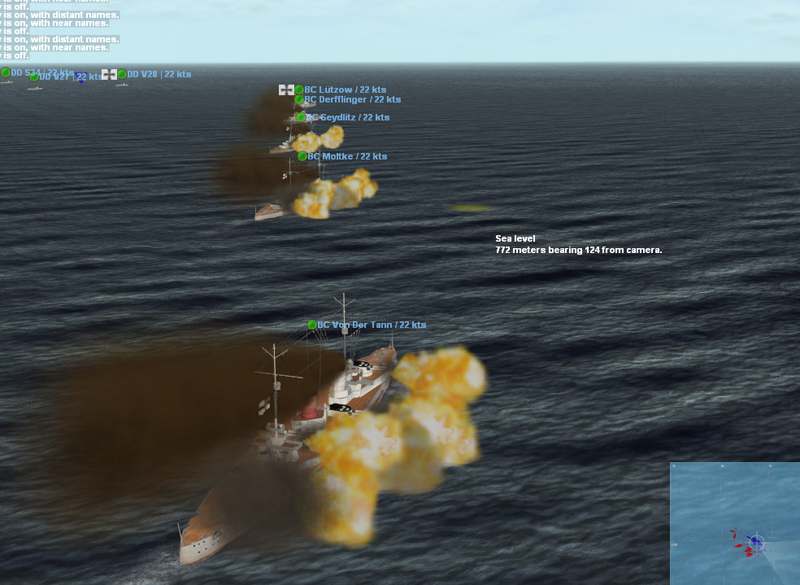
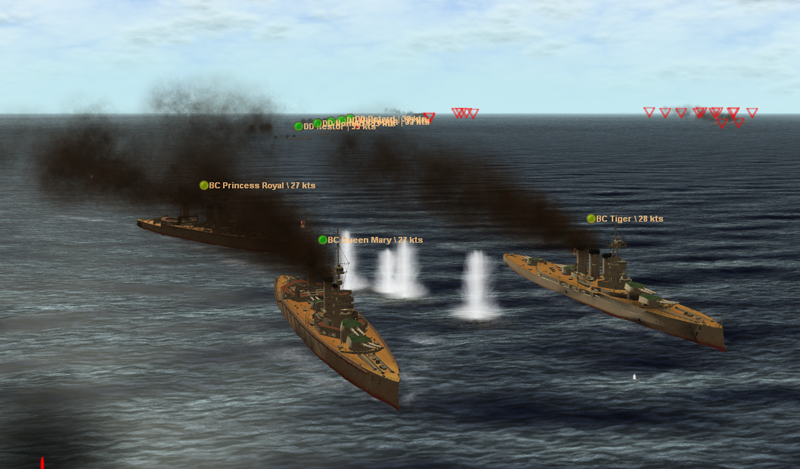
Our fire is accurate, and by the second salvo, the Lion and Tiger have both been hit, and the Princess Royal has been straddled. (the dirty cow).
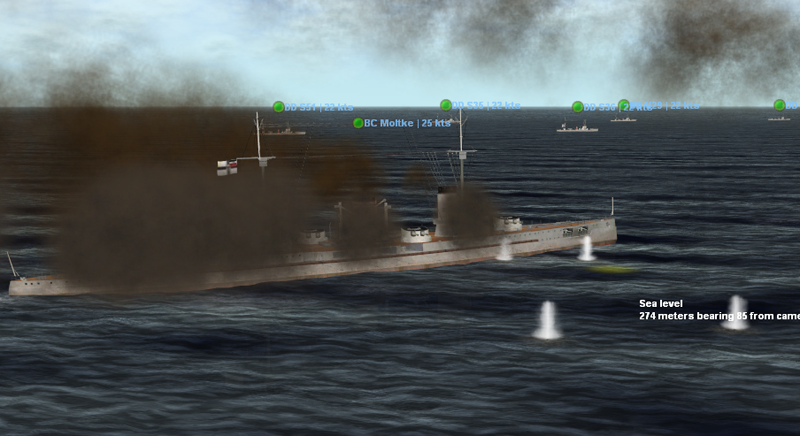
We're not the only ones to take a hit, as at 15:49, the Pilliau takes a hit to her waterline. This 15 inch shell knocks out one of her 15cm guns and damages her torpedoes.

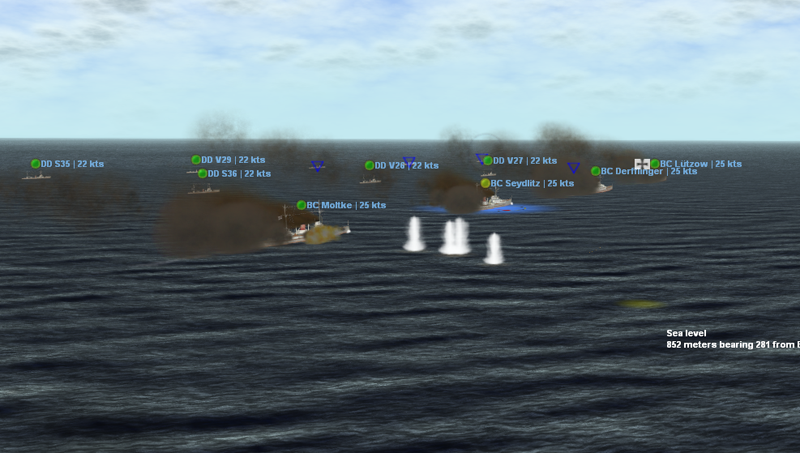
Our battlecrusiers quickly come back into line, and resume their course southwards, heading 136.
While the enemy Battlecrusiers split, two moving northwards and the rest continuing on their previous course.
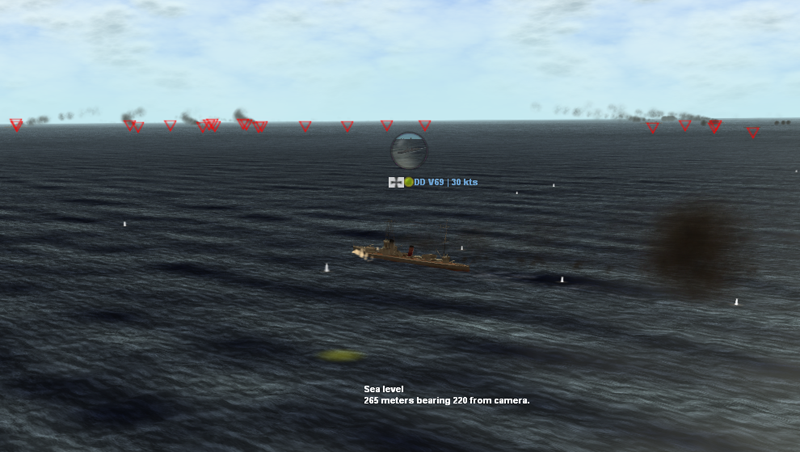
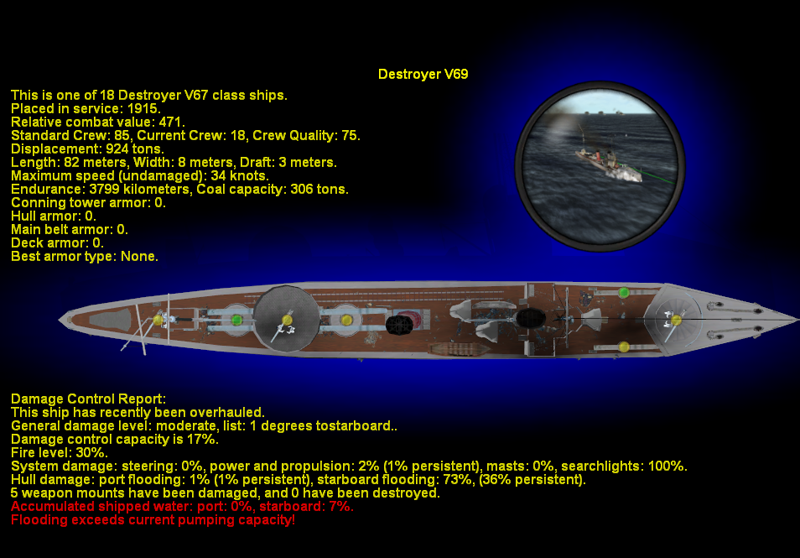
The Torpedo Boat V69 takes three hits from small calibre weapons, and seems to be the current favourite amongst the enemy.
15:52
Smoke on the horizon is soon identified as several enemy cruisers.
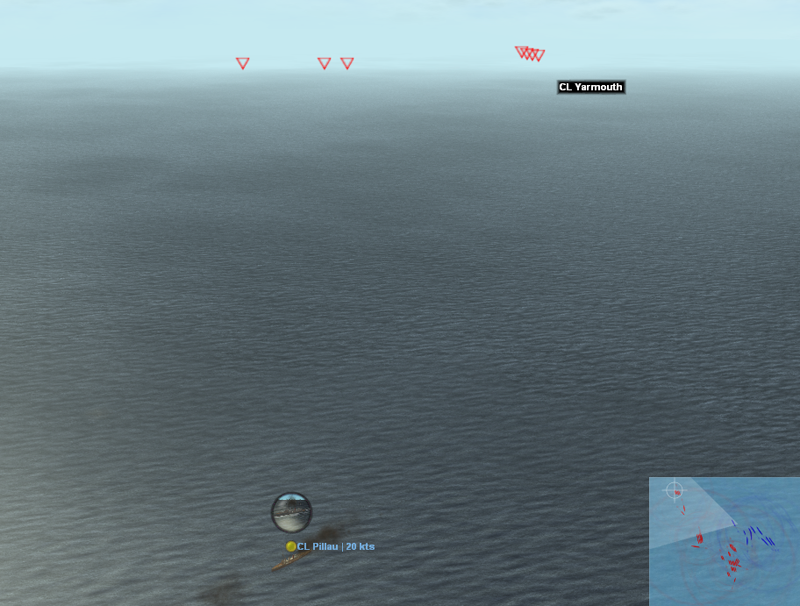
Editors note - this information was sent only to the Pillau's Captain, as she was the only one northwards enough to see these ships.
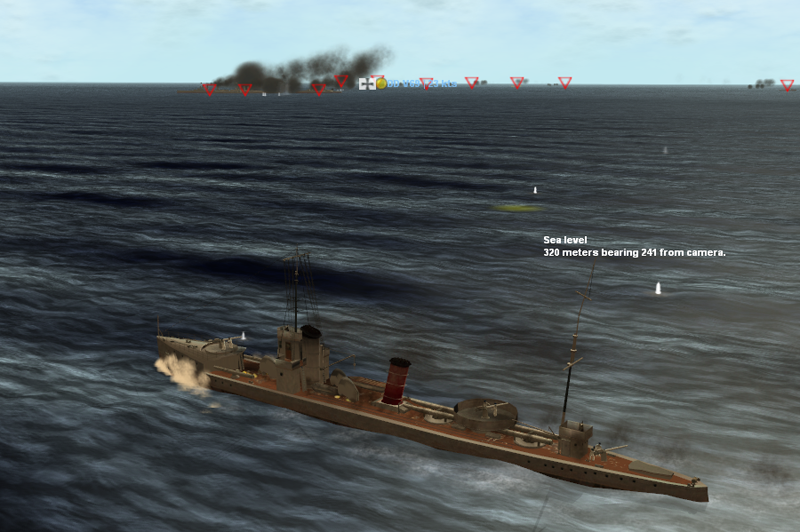
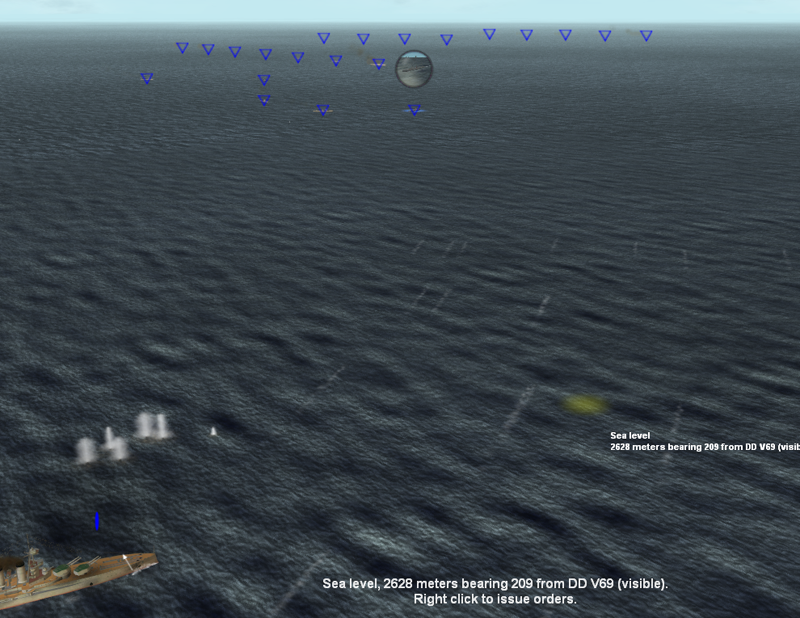
The swarms of the Destroyers close on each other, firing at each other, but as yet not scoring any hits.

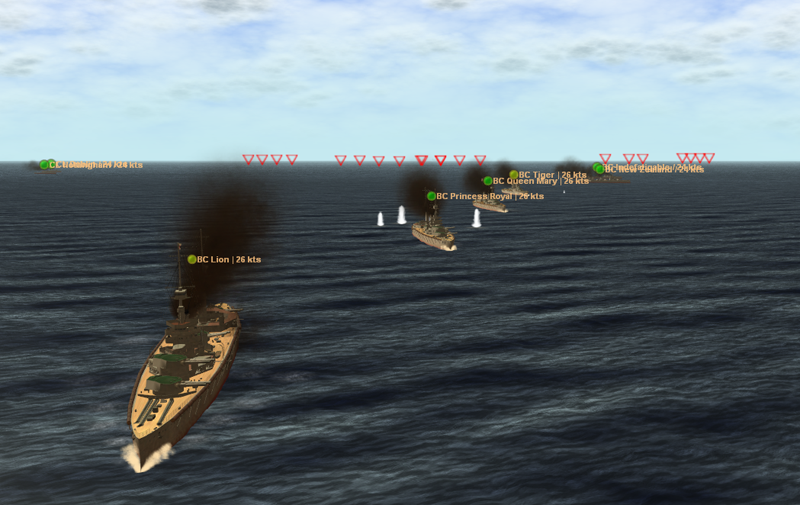
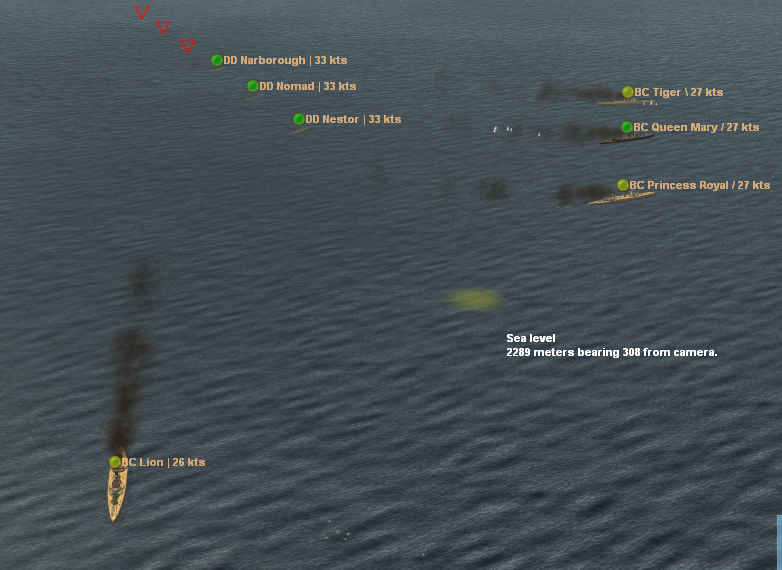
While for some reason, the British Battle cruisers split up once more. This may be due to Torpedoes launched by the Seydlitz and Moltke - although at 13,000 kilometres, its hard to know what the captains hoped to achieve with these attacks.
15:54
Battlecruiser Moltke is hit by a 8.8cm shell that damages her searchlight. This is minor damage, but shows the enemy have gotten their range.
We answer this a few seconds later with a resounding hit on the Lion by the Lutzlow.
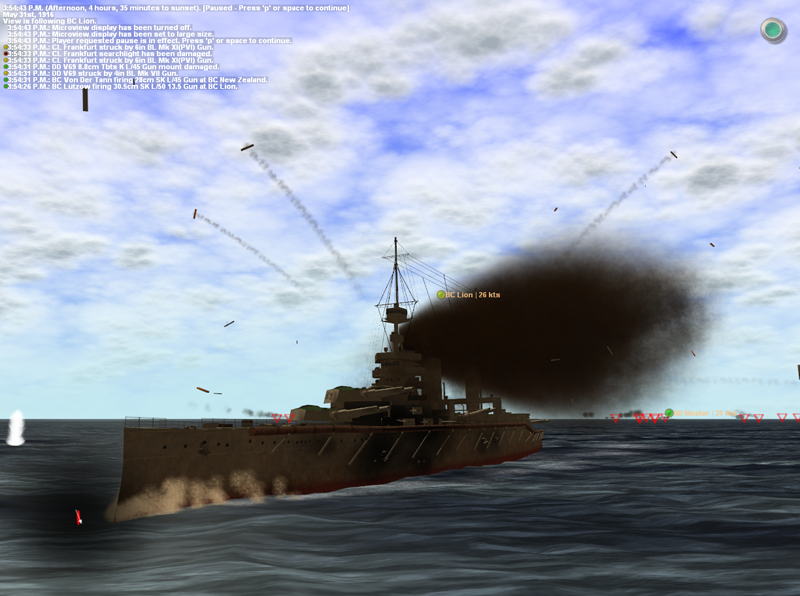
The British Battle cruiser has also taken many smaller shell hits. I check and redirect the torpedo boat fire to the enemy destroyers. Meanwhile, the other Battle cruisers seem to be clustering together more than is proper, those torpedoes must have panicked their captains.
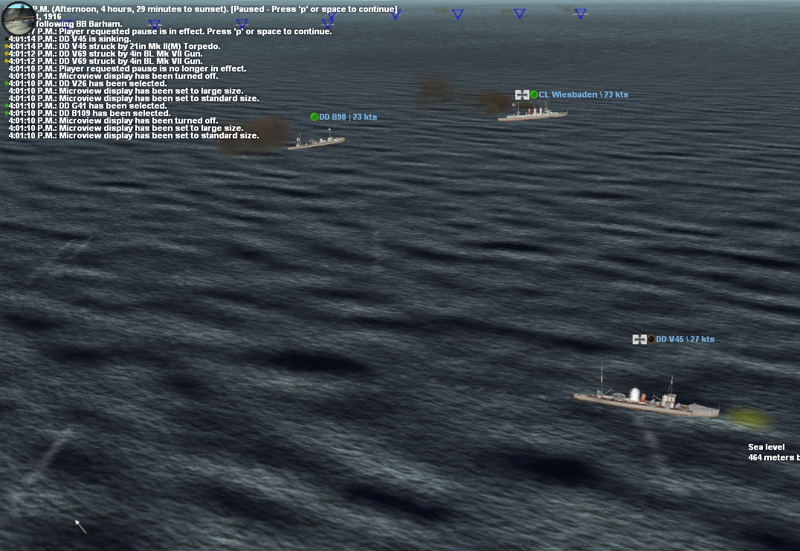
The V69 has taken several more hits, and is now burning.
In fact, with that damage, and all but 18 of her 85 crew members killed, she will most likely become the first ship sunk at the battle of Jutland.
She may be quickly joined by others of her squadron, as the British destroyers have launched a massed torpedo attack, and V46 is in the way!

The ships throw their rudders over, and the torpedoes pass them by, but the British battle cruisers have added their own torpedoes to the mix.
15:57
The Seydlitz is hit, she takes on a little water, but her pumps are holding. Its thought the shell kills 20 of her crew, The torpedoes that missed the 12.VI half flotilla are now closing on the II Flotilla.
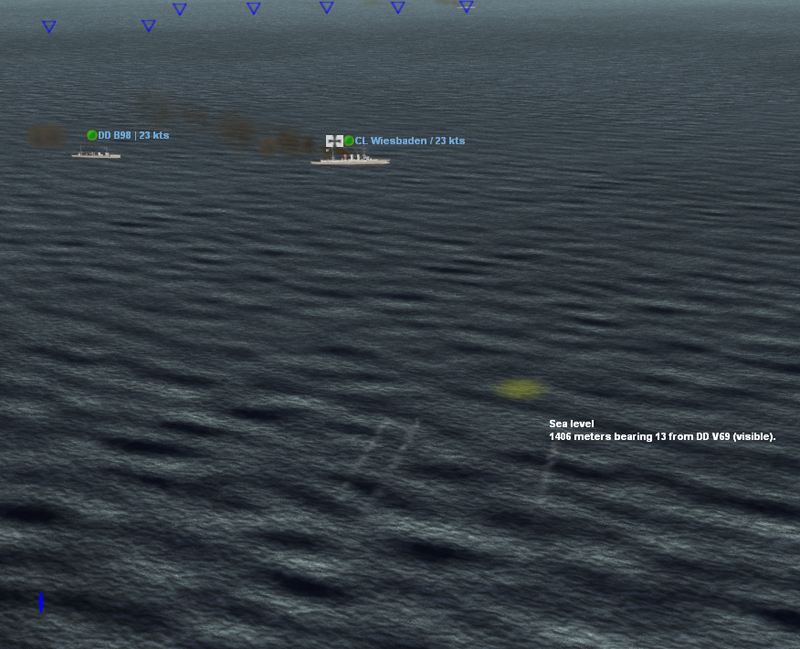
This disrupts the lines of the ships, but none are sunk.
16:01
The first ship of the battle begins to sink, and its not the V69! the Destroyer Moon is going down, but for the life of me, I can't find her, so you don't get a picture.
Our accurate fire is punishing the British battle cruisers, all of them are now showing signs of damage, nothing serious yet, but its mounting.
So far, only one of our capital ships has taken any real damage.
There are some new arrivals though, as smoke is spotted from four new ships.
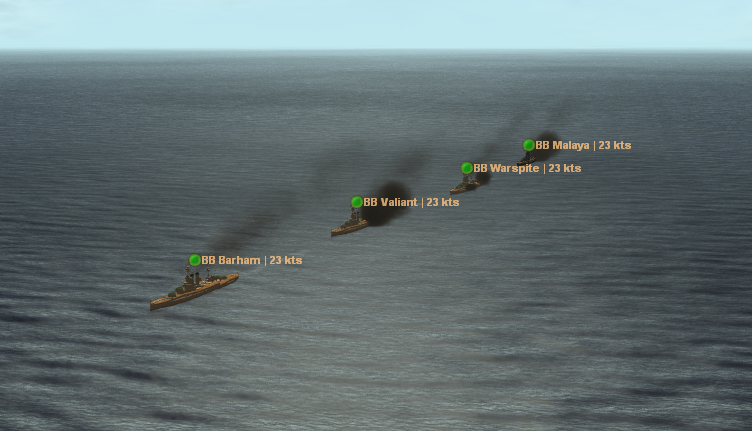
The British Queen Elizabeth Class battleships are arriving, coming in from the west at a good speed.
We then lose our first ship, as the V45 is hit by a torpedo. Her crew give her less than ten minutes to live, and begin to abandon ship.
16:03
My heart reaches my mouth, the Seydlitz launches a torpedo attack on the Lion, the only battle cruiser left sailing south by this point. As she does so, the Moltke veers out of line and into the path of the torpedo!

The battle cruiser avoids a friendly fire episode by a scant few meters.
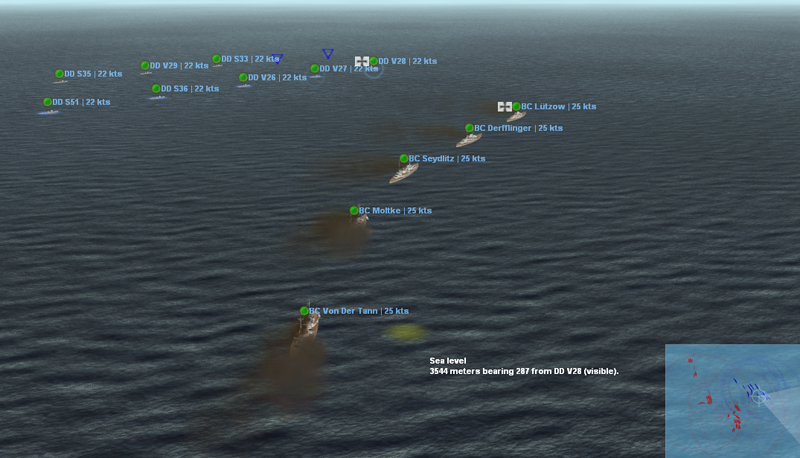
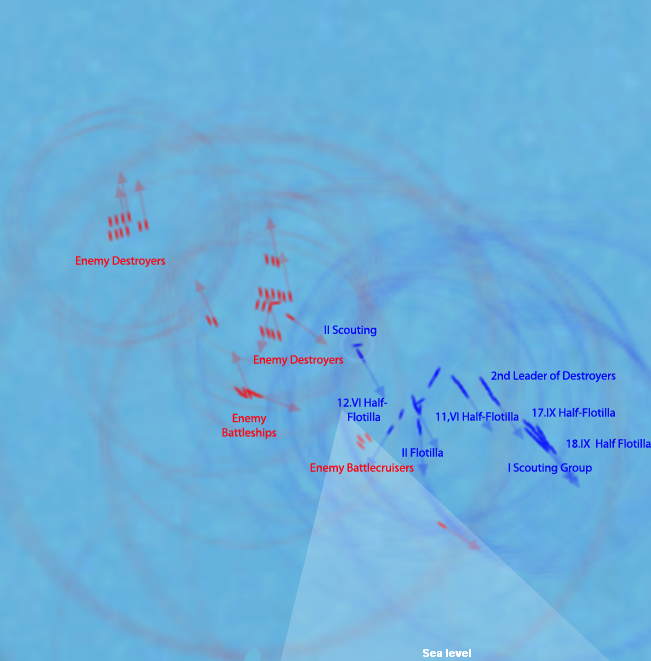
Finally, here is the updated combat map.
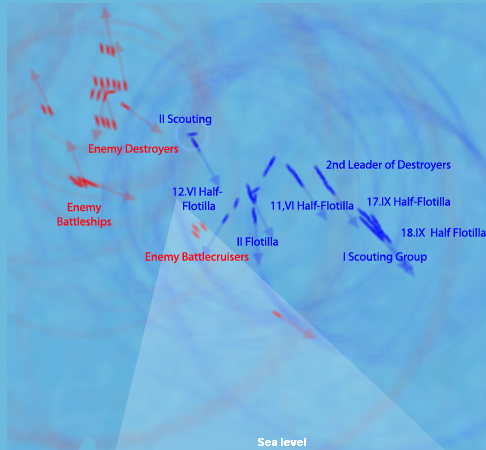
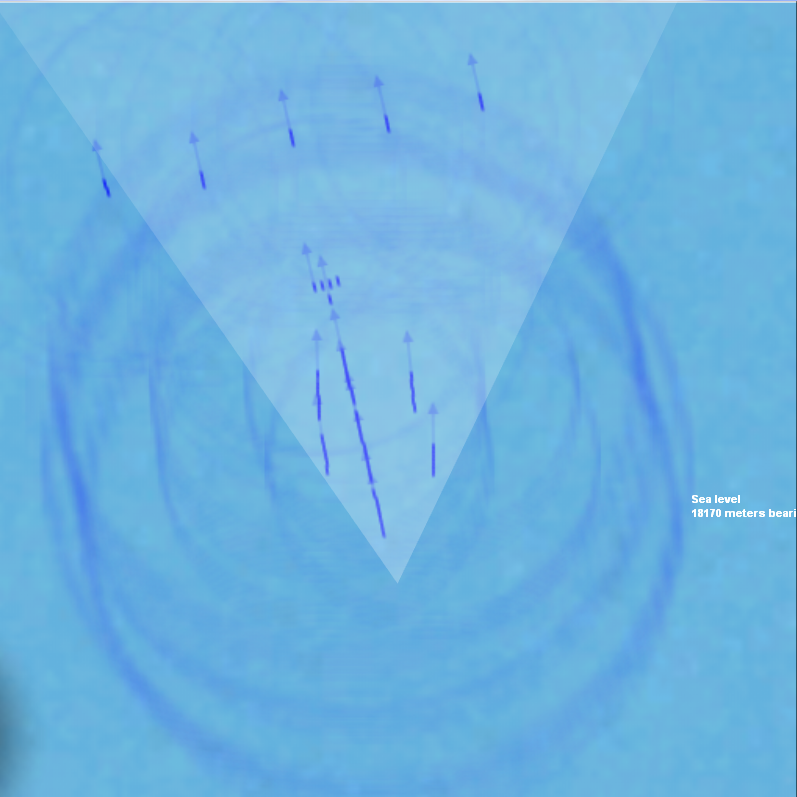
the Captain of II Scouting group received this image, with more enemy destroyers on it.
Messages Received
2nd Leader of destroyers to Torpedo Boats Flotilla IX and VI
IX: MOVE TO POSITION COVER SSE I SCOUTING, THEN REMUSE PREVIOUS HEADING. VI: MOVE TO POSITION COVER SSE II FLOTILLA, THEN REMUSE PREVIOUS HEADING.
II Scouting Group to Hipper
HIPPER AM HEADING 150 SPEED 20 ENGAGING ENEMY DESTROYERSBEARING APPROX 110 ON HEADING 60AT LONG RANGE
HIPPER to SCHEER
ENEMY BATTLECRUISERS BEARING 230. MY POSITION [position] SPEED 25kts AIMING FOR YOU CROSSING THEIR T IN ~1HR IF YOU ALTER~20DEG TOSTARBOARD ATBEST SPEED
SCHEER To Main Battle fleet
MAIN BATTLE FLEET PREPARE TO CHANGE TO PARALLEL COLUMNS IN 30MIN III.DIVISION WEST II.DIVISION CENTER I.DIVISION EAST FLAG FRONT CENTER 500M BETWEEN COLUMNS
ROSTOCK FLEET CHANGING TO PARALLEL COLUMNS EXTEND DESTROYER SCREEN 1000M EAST AND WEST RESPECTIVELY FROM CURRENT POSITION
Scheer to IV Scouting Group
STETTIN EXTEND PICKET LINE TO COVER GREATER AREA MOVE TO POSITION 8KM IN FRONT OF MAIN BODY
Lost Messages
II Flotilla to Hipper
II Flotilla now moving screen you from torpedo attack. Setting course 175, speed 27. Ready to leave line & scout E if ordered. Please advise.
HIPPER to BATTLEGROUP:
INCREASE SPEED >25kts. 1st SG WILL ALTER 15 DEG TO PORT NEXT ROUND. TARGET ENEMY LIGHT FORCES.

What would this be without my own thoughts on the proceedings so far? First off, here is an overview map showing the whole "Battlefield"
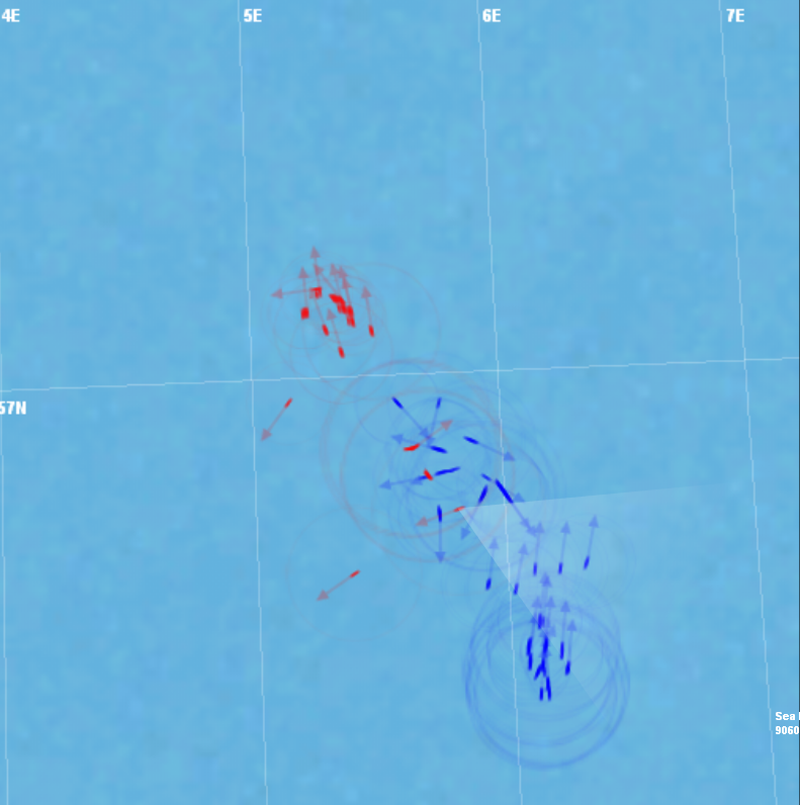
So, how are they doing? The early torpedo attacks have made things interesting, and have scattered both fleets. the British have come off worse in this, as our capital ships have maintained their line of battle, while the British have been split into three groups by our torpedoes.
All of the captains have given logical orders, and ones that would have been historically viable, so we're off to a good start. This is of course ignoring the near friendly fire incident with the torpedo.
So far, only one key message has been lost, but this will continue to rise.
Personally, I need to think about getting some better banners. Any ideas on what should be on them?
bunnyofdoom posted:
Just a quick question, I don't need to issue orders yet, right?
Not yet, unless you really want to break out of the battle line.