Part 4: Visari Square

Lazyfire joins us once again. Last time we had him as a guest, we took him through a bunch of crumbling grey corridors on Vekta. So we thought we'd do something different this time, and take him through a bunch of crumbling grey corridors on Helghan.
Also, check out Lazyfire's Wolfenstein: The New Order thread if you like really good LPs of really good shoot-man games.

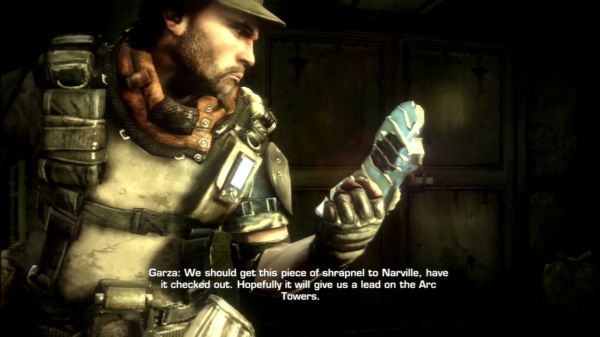
At the end of the last analysis, I pointed out what professionals Alpha Squad really are. Keeping that in mind, hey, look! Amidst exploding death ray cannons and flying robot monsters, Garza still managed to snag a piece of shrapnel so that ISA techs could examine it. Way to go, Garza! Maybe we'll get some Arc Tech of our own one day.
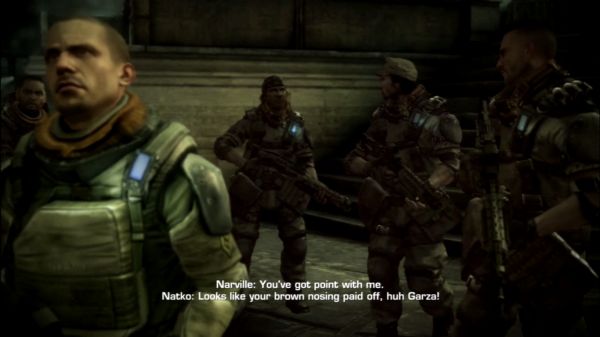
Onto the mission. If you remember from last time, Narville was starting to get antsy about Alpha-Two destroying the Arc Tower. Back at Visari Square, the Helghast have been putting up a formidible defense. Narville's group hasn't been able to push forward at this time. The convoy short on reinforcements, Narville had called in Intruders to resupply their lines--before Sev and Garza had disabled the tower. Of course, the tower is now down, but it wasn't knocked out before a few more Intruders were shot down. Normally Killzone 2 is really good at setting up a continuity to the warzone, so here's a minor dropping of the ball.
Judging by Garza's response and the situation we find Alpha-One in, Narville had tasked Rico and Natko with rescuing some of the survivors of a downed Intruder. Makes sense. We did the same thing in the first mission with Garza and Sev.
 Jeffries Never forget. However, as far as I can tell, we haven't heard word one about this side-mission until now, and yet when Rico sets the parameters for our current mission, Garza tells us he'll bring reinforcements to the crash site? What crash site, Garza? All Rico said was that they have a "situation". He didn't say anything about a crash site.
Ah, whatever.
Garza breaks off to find Narville, and Sev fights his way to Alpha-One:
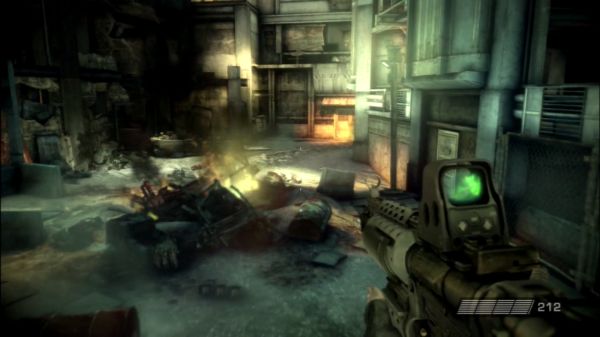
Here's the crash site. To be honest, the first couple times I played this game I had no idea what was going on. I just followed the waypoints to Rico and Natko, figuring they got lost trying to find Sev. Nope, that flaming wreckage is indeed an Intruder, and there are ISA corpses lying all about it. It was a trap, of course, because Rico and Natko have been pinned down by Helghast attack since they arrived. Which is where we come in.
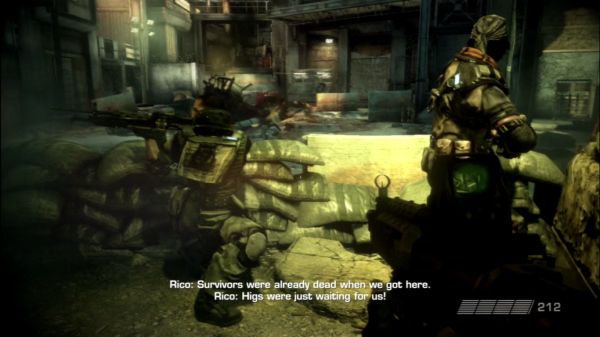
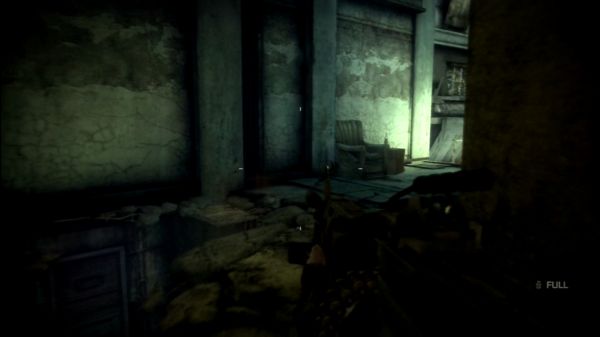
Anyways, you might think it a good idea to hang around with Natko and Rico behind the sand bags. You'd be wrong. On lower difficulties, it doesn't really matter. If you want to play it on Elite, though, you're making yourself a great target. Yeah, if either of your allies gets injured, it'll be easier to revive them, but the Helghast are going to concentrate all their fire on that location, and on Elite, they get really grenade happy when you try to take cover like this. If you look at the above image, there's a wall to Rico's left that will block most Helghast fire--that's your best cover down here, and it won't be enough. If you're low on health and need to regen, odds are you won't be able to completely conceal yourself and you'll get picked off. You can get better cover in the ruins to your right, but getting their means exposing yourself. So ultimately, this is a bad position to be in. Instead, go up the stairs in the busted building and take position directly above Alpha-One. You have a better vantage point of the battlefield, and more mobility to get to cover. You're in greater danger of being shot by the Helghast in the adjacent building, but those on the ground now have to choose between targets--and they're more likely to choose Alpha-One than Sev. If a buddy gets injured, there's also a hole in the structure, so you can quickly drop down and run back up the stairs before taking too much fire.
See this chair? I don't know who left it there, it's probably been slept on by some unfortunate homeless Helghan, but it's basically where you want to be:
I don't plan on posting strategy suggestions for most of the game, but on Elite difficulty, this area can be particularly challenging. When I come across other chokepoints, I'll go more indepth on tactics. Which reminds me, make sure you kill the rooftop Helghast while they do the slowly-lower-themselves-onto-the-walkway animation. It'll make that section so much easier. Note: don't be too close, or they'll start shooting before they do their animation.
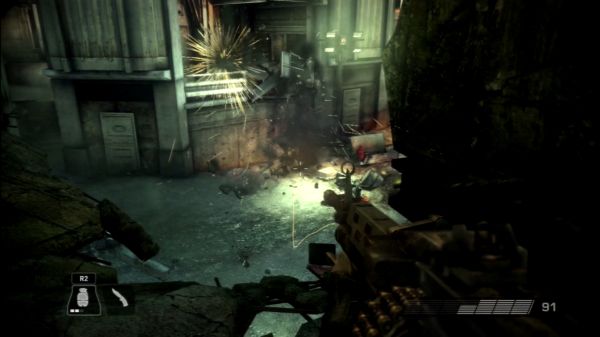
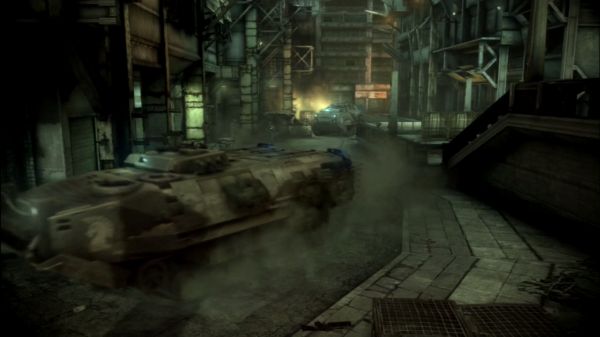
Oh, and remember when I mentioned that Helghast APCs were repurposed mining tools? Yeah! Awesome!

Make sure you frag the troopers as they exit in a cluster. It just makes things harder if they spread out, and it'll drag on the fight. Once Garza opens the door and reinforcements arrive, you can rush to the exit and leave. Don't worry about additional Helghast, the ISA troops will keep them from following you.
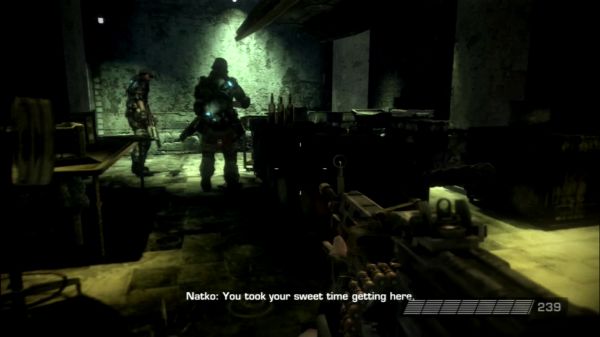
Inside the building, we're greeted by another excellent Natko-ism. You can skip it, if you want. Rico doesn't stick around, so follow him to the next area. Or, stay and bask in the glory that is Shawn Natko. To be completely honest, I have a hard time getting a read on Natko. Is he really just joshing around? Sometimes he seems particularly mean-spirited. Also, his target seems to always be Garza. What's his deal? Did Garza run over his dog? Maybe Natko doesn't realize when a joke has gone too far.
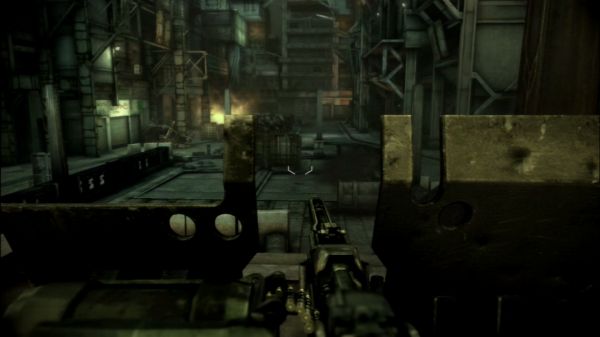
Pushing along, Alpha Squad is just in time to join Narville's final push for Visari Square. We left from the opposite side, so in the intervening missions, we've somehow circled completely around the square. If you're not paying attention, you may not notice that this is the exact same place we landed at the beginning of the second mission. Check out this screenshot, though, we're looking at the same area from the opposite end:

Zooming in, that barrier I'm looking at is where we first met Narville, consulting a map, when he sent Garza and Sev to first knock out the Arc Tower:
It's a nice bit of continuity. My only complaint is that it's not super obvious at first glance. Honestly, with all the assumed fighting that occurred since we were last here, I kind of expected the place to be in a greater state of destruction. Ah, well, I give it a pass since when you arrive back on scene, Guerrilla does a good job or creating a frenzy of ISA and Helghast soldier clashing against each other. Note: be wary of the landing Intruders. They can't see you. If you're underneath one when it touches down, you'll be killed! Friendly fire! Or as the ISA soldiers say, "blue on blue!"
Speaking of "blue on blue", we really get to see the revive gun in action this mission. Partly because the intense fighting keeps knocking out important NPCs, but also partly because you're able to injure your own comrades. Fun fact: Killzone 2 keeps track of a number of stats. One of those stats is "Number of times buddies offended". Basically, if you hit your friends enough times, they will briefly turn "red" and fire back at you and yell at you.
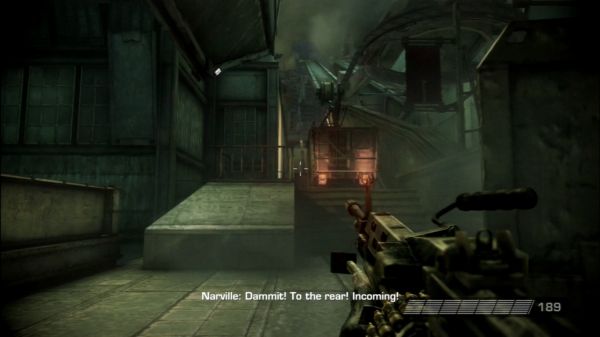
Another bit of repurposed Helghast technology, is this gondola here. It does not make an effective troop transport. Nosiree, it does not. Especially not when they exit one at a time in predictable intervals. Still, you have to admire the Helghast's dedication to the cause, even if it gets them shot.
When the battle is done, we're reminded of what it's all about. The convoy:
Gotta get Narville and his troops up to Visari's Palace! Narville himself also reminds us of our subplot, though, just in case you hadn't picked up on how important Arc Tech was:
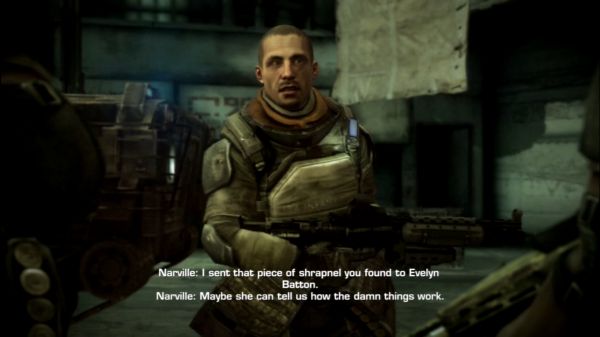
Before the mission ends, we get some character development.
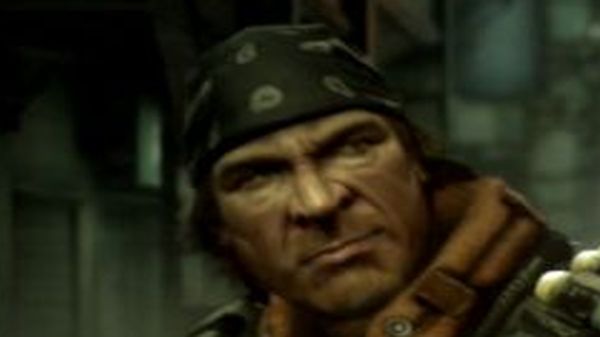
And by character development, I mean that Natko continues to be a prick towards Garza, and Narville chews him out for it. What is his deal, seriously? Natko, not Narville, I mean. We all know Narville is trying to prove himself since he wasn't around for the defense of Vekta. Natko's deal remains a mystery.
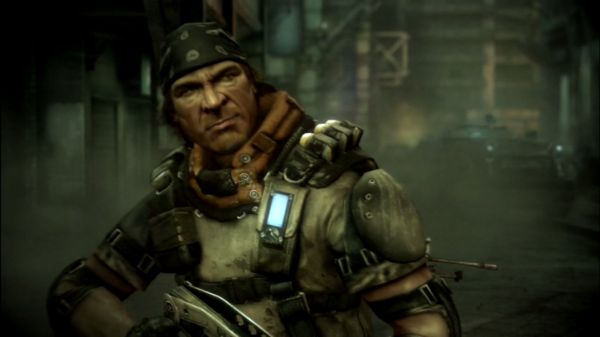
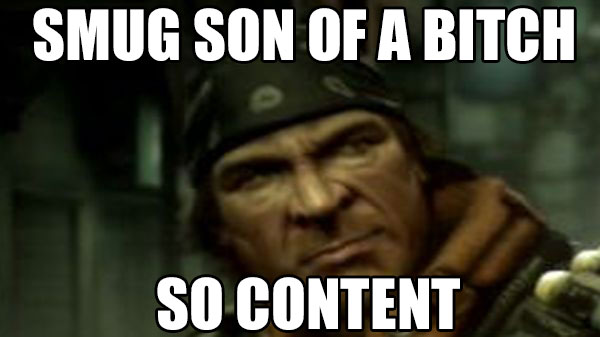
Look at that smug asshole.


There's a few things I want to talk about this update, some we've already been seeing, and one new thing.
First, grenades. As Lazyfire points out, there's no grenade indicator. Horrible, right? I find it's actually not a big deal since Guerrilla has a workaround that is somewhat more realistic--considering this is a game where you fight Space Nazis with death rays. Primed grenades not only flash a bright light, but they beep with increasing urgency until they detonate. It works particularly well if you're playing the game with surround sound on a big screen television, as it helps figure out where wayward grenades lie. Otherwise, uh, yeah, boom.
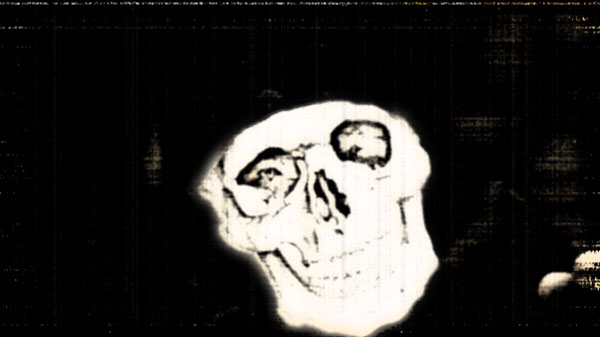
Second, complaints about the screen going red and black and white come up again in this video. I've never been a huge fan of it in shooter games, as it can be a huge hindrance if you're taking heavy fire and are trying to navigate your way to safety. That said, I do like the directional red sprays that appear when you first start getting hit. They'll appear on your screen in the exact direction that the enemy in question is firing from. If you look around, that spray will move with the screen so that you will continue to be "aware" of which direction the danger is in. It's subtle, but I like it, and it can be thought of as another one of Sev's professional skills as a member of Alpha Squad:
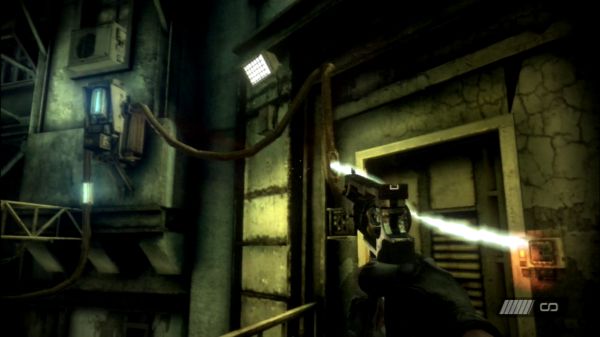
The last thing is only seen in this level. Doors blocked by, presumably, Arc Technology. Find the glowing blue weak-point to disable. Similarly to the weakened wall we encountered in the first chapter, this is sort of a token gameplay mechanic. I believe we see it only one or two times more throughout the game, and only in one instance is it mandatory to destroy the control box. So, an interesting security feature, but not necessarily a popular one on Helghan.

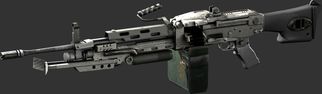
M224-A1 Light Machine Gun
The ISA's response to Stahl Arm's StA-3 Light Machine Gun. It has all the firepower of the ISA MOMAGs we saw in the first game, and Rico's Gun. Unlike Rico's Gun, it lacks a secondary rocket launcher function. It also lacks the massive clip. Lore-wise, I'm sure this was to make it a more accessible weapon to regular soldiers. Apparently the original Rico's Gun gave people back problems.
It's a powerful weapon, but doesn't have too many advantages over the StA-3. It takes much, much longer to reload, being a belt-fed weapon. It's a bit more accurate, since you can shoulder aim as well as hip-fire, but as far as I'm concerned, the ability to shoot more bullets faster elevates the StA-3.
Note: though similar, this is indeed a different gun than the one we see Rico using in Killzone: Liberation. That gun, the "Tyrant", has a slightly larger calibre. Not that it really matters in gameplay terms.

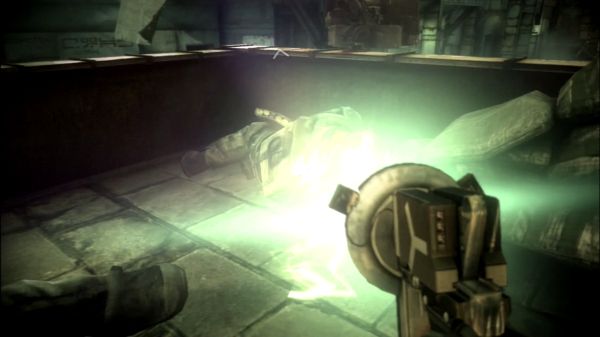
Medic Reviving Device
Manufactured by Visari Corporation. This gun's powerful charge can revive downed allies! How does it work? I dunno, ARC TECH!!! or something. In single-player, Sev can only use this when prompted while standing near downed allies. In multiplayer, this gun enters a whole new world of effectiveness. For example, revived allies have a 3 second window of invulnerability while they get up. Also, the electric beam can be used offensively. It deals about a quarter damage each blast, and it can be fired rather rapidly. Best of all, this gun actually has some incredible distance. Unlike in single-player, you can fire this gun from up to 20 metres away. Seriously good.
As an aside, Visari Corporation also manufactures the medkits that are used in various Killzone games. I like that despite being a despotic leader, Visari also owns a company that has created some of the most advanced life-saving technology in the universe. I mean, it makes sense given what life was like on Helghan, but still. They're so effective that said medkits and these reviving guns are also used by the Vektan ISA. Ironic, no?

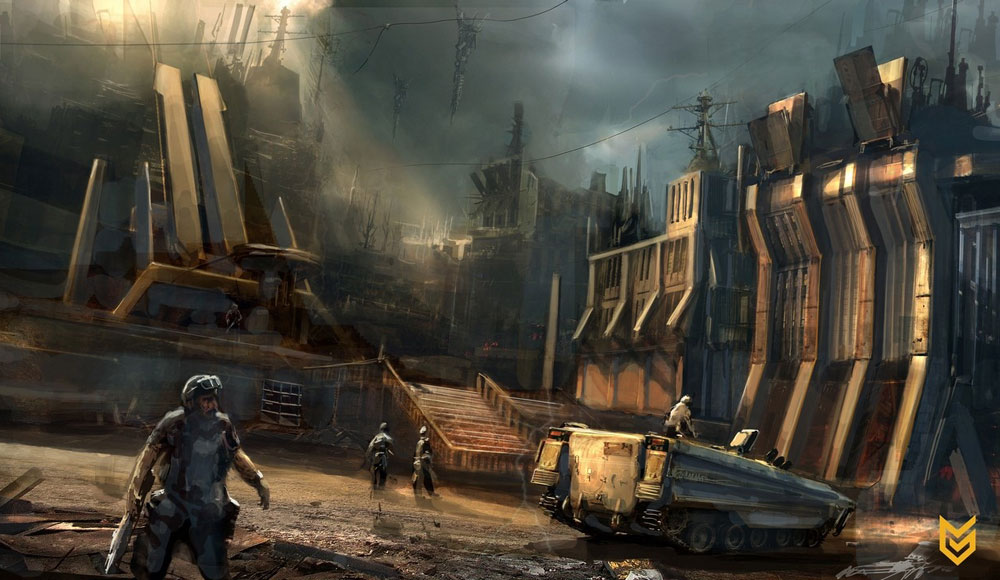
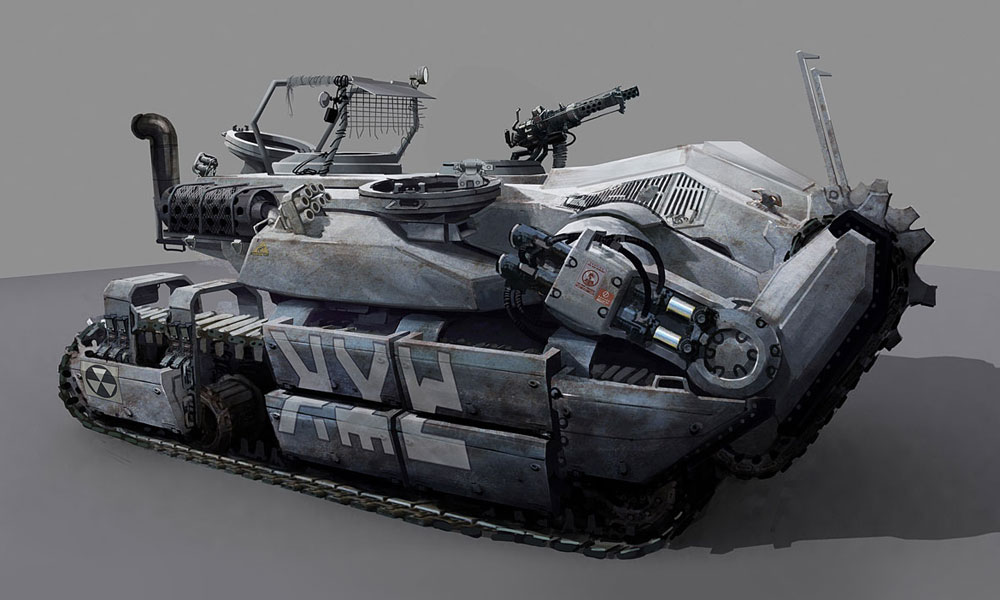
Early concept art for the Helghast APC:
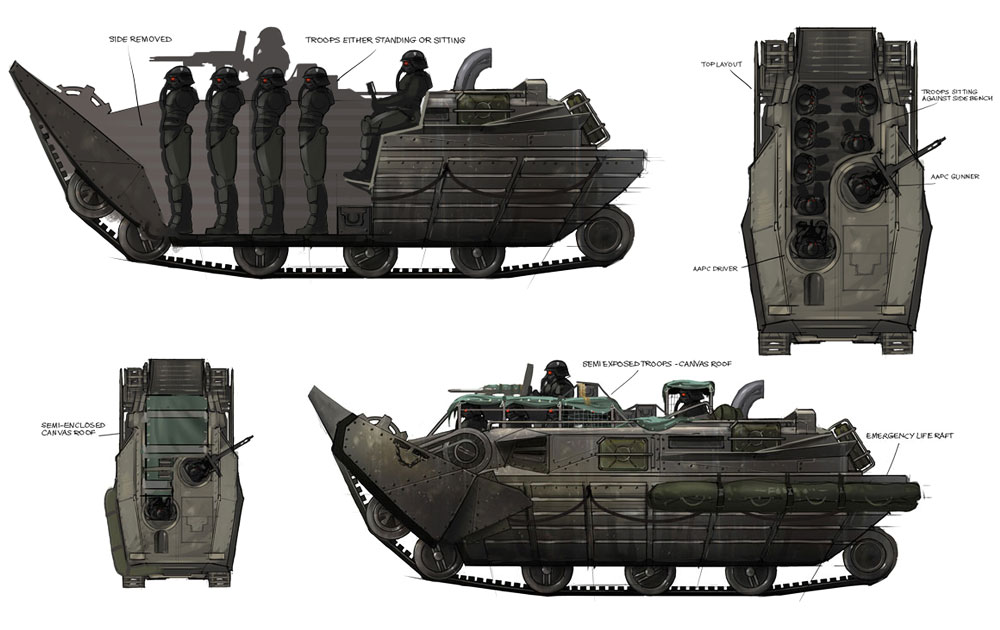
This one looks like something out of Warhammer 40k:
Visari Square: