Part 6: Chapter 3, Stages 3 & 4


We arrive at last to the big plot twist chapter in Killzone: Liberation's plot. Many shocking (or not-so-shocking, if you've been watching the Killzone 2 videos concurrent with these ones) developments await us in the very near future.

STAGE 3: CATASTROPHE
Well, when you call it that...
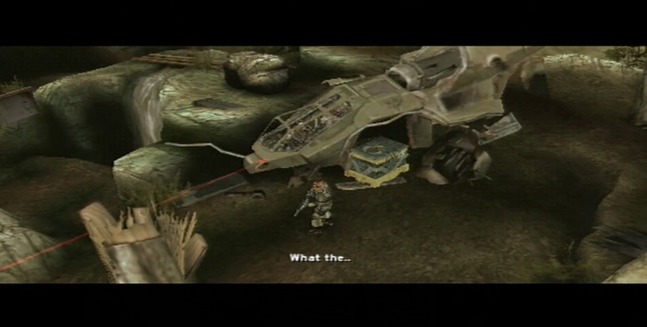
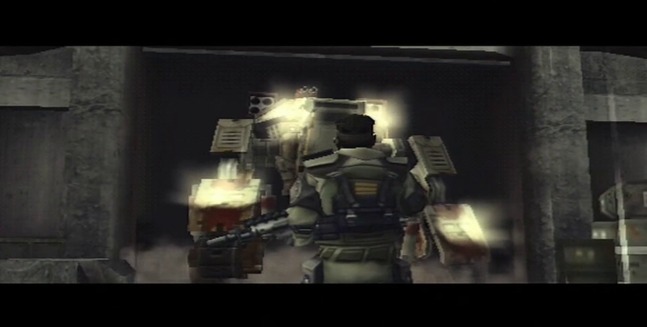
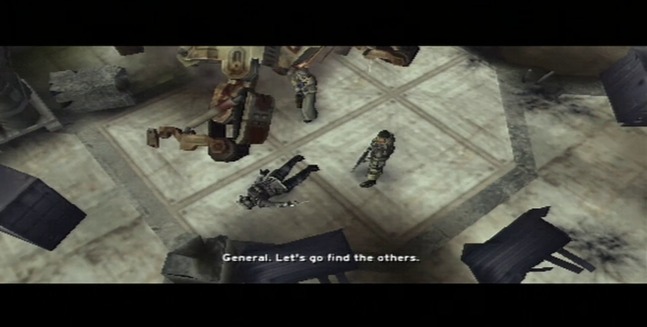
We begin Stage 3 right from where we left off from Stage 2, with Templar
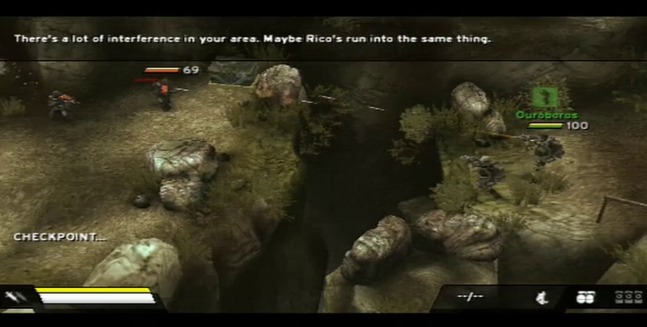
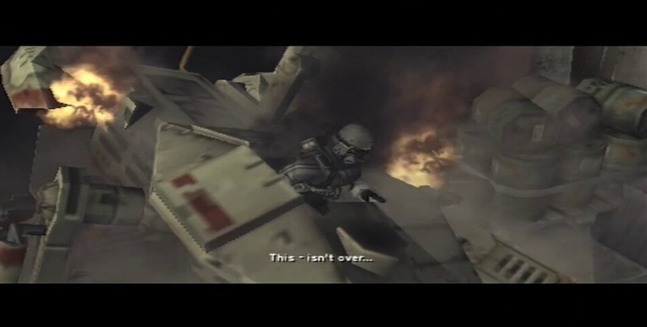
But this being Killzone shenanigans begin to unfurl themselves, and it looks like we've got another bunker miniboss section on our hands simmilar to the Helghast frigate from the end of chapter 2. So now we need to defend the pilot and the dropship for a set time limit until Rico returns with--
CRIKEY! ...Oooor Jan will just let the guy get sniped like that. Nice job, Jan!

Well, at least we don't have to defend his stupid ass any more. All we need to do is hold out long enough for Rico to get--
Uhh...
You know what? Fuck it! You can have the damn dropship. I don't want it any more. Fuck Rico, I'm going home!

Um, yeah, Luger, I hate to break this to you, but that's not a dropship any more. That's 5,000 new soda cans in waiting once a scrapper comes by here and hauls this thing away to a recycling yard.
Templar
At the end of the stage, however, we get
 MAJOR PLOT DEVELOPMENTS!!! If you don't want to be spoiled on anything, it's best to watch the video first before continuing.
Okay, here we go...
Eventually, Templar
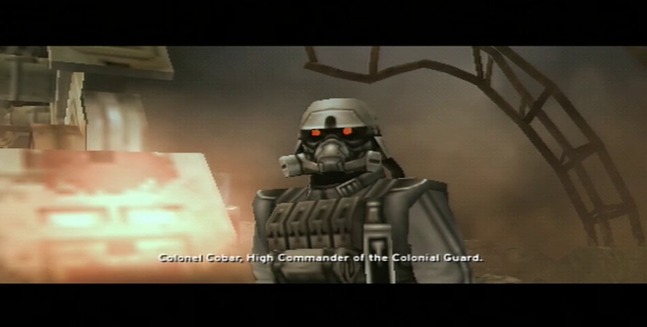
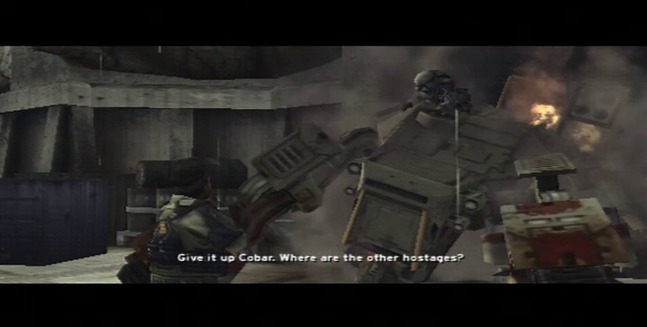
We also meet Cobar. Though we've seen him a few times in the LP so far, this is his and Templar's first face-to-face meeting. Cobar takes the opportunity to get in a little evil gloating and smug jackassery on Templar, because he won't have many more chances to do so in the near future, if you catch my drift. And, really, if you've played The Last Story or watched DaVinci's Demons for any reasonable length of time, you should know that no one does "smug jackassery" quite like Blake Ritson.
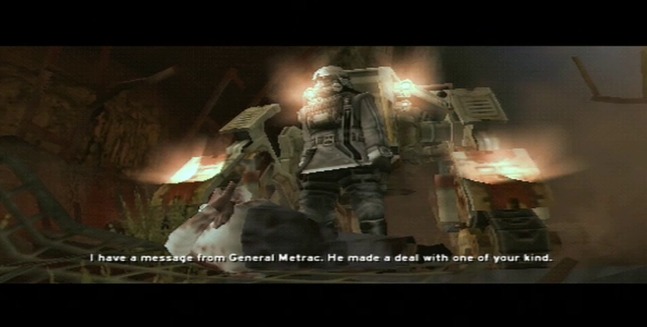
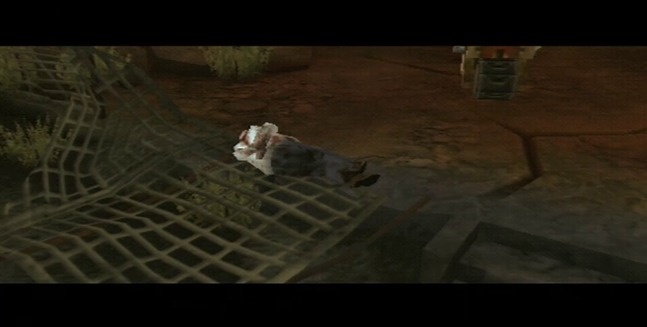
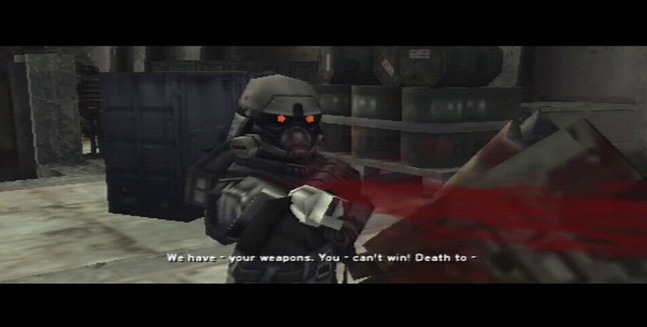
So after Cobar tortured Milcher to death, Vektan high command acquiesced to Metrac's heretofore unknown (to us grunts on the ground, anyway) demands, which of course were...
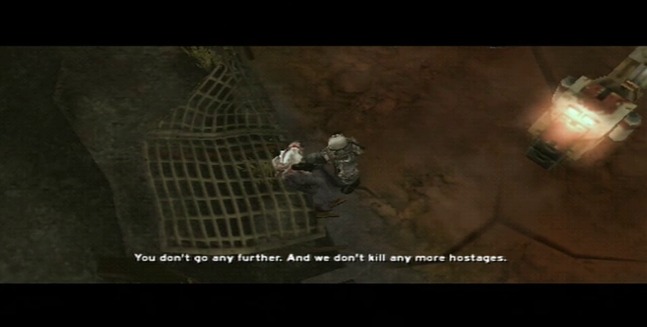
Exactly. So for now the ISA has halted their advance on Metrac's remaining Southern Vektan strongholds in a bid to buy time to work out another means of rescuing the two (allegedly) surviving hostages, Dr. Batton and General Stratson alive. Because given what we know about Cobar already, if he's sadistic enough to torture Milcher to death just to send a message to the Vektan government, he doesn't need much prompting or a reason to kill Batton or Stratson either.
So we appear to have reached an impasse, as Metrac is banking on Jan being the Honourable Hero and abiding by the terms of this new deal worked out in some committee room somewhere beyond his purview.
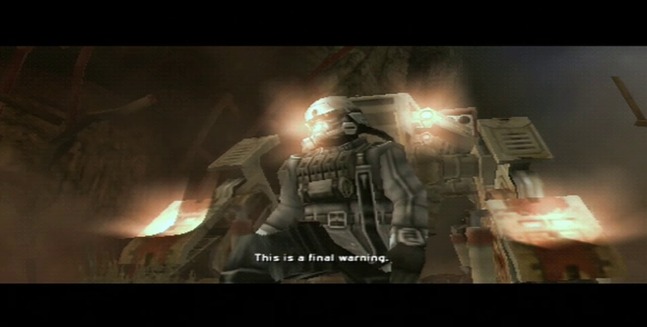
And just to show off what an Evil Monster Cobar is, he kicks Milcher's corpse over the embankment so it lands at Templar's feet, as if to say "this is your fault, Jan, not mine. Heff Milcher died because you couldn't leave well enough alone."
JAN SMASH!
...Oh. Okay.
Yeeeeeah. Keep this line in mind. You're gonna find it will have an unspoken resonance across literally the rest of the Killzone franchise right up to Shadow Fall. In the here-and-now, however, it gives us another peek into Cobar's twisted mindframe. Cobar has little concern for politics, culture, or image.
Metrac knows full well that given Templar's status as a modern day Vektan folk hero, killing him will almost certainly cost him what's left of this invasion, and could very well spur the Vektans to launch a counter attack on Helghan out of revenge, or at least launch one faster than they would have otherwise. A dead Templar would become a symbol, a rallying cry around which the ISA could shore up flagging support and a political weapon that could be used against the Helghast to great effect. A cursory look at modern day military and cultural martyrs and the causes they've inspired can show you how powerfully the voice of a dead, silenced, or infringed person can echo; Harvey Milk, Matthew Shepard, Pat Tillman, Edward Snowden, Chelsea Manning, Malala Yousafzai, Benazir Bhutto, Freddie Gray, Tamir Rice, Michael Brown, Trayvon Martin, and sadly many many more like them, they have become symbols which are now indellible parts of a boarder culture thanks to their deaths, imprisonment, or persecution.
Cobar understands this in concept, but willfully ignores it in favor of following his more primal, immediate, and destructive urges. If he kills Templar, then Templar is no longer a problem for him... it's just that now he's a problem for every single Helghan citizen.
STAGE 4: PURSUIT
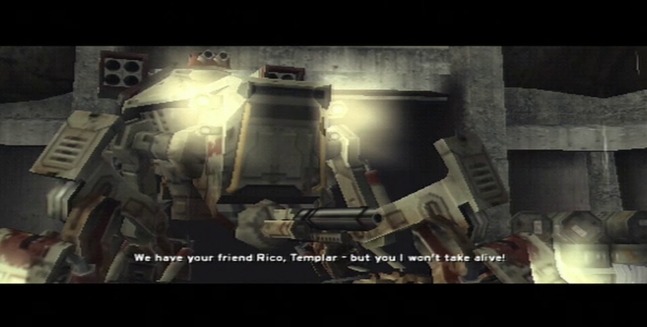
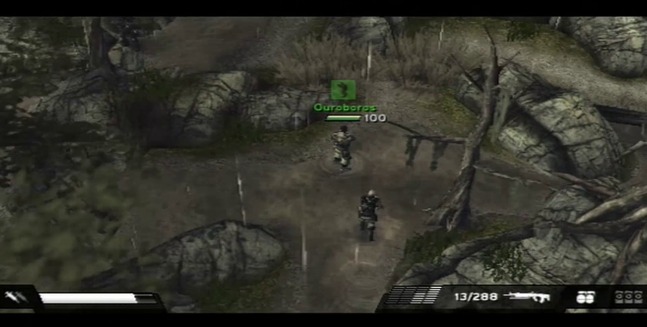
That said, Metrac apparently underestimated Templar's tenacity and his need to be a villain-vanquishing hero, so Cobar is eventually cornered at an ISA bunker in the Dedavni Plains.
Which means, of course, it's boss fight time!

...Wait, didn't Cobar have a giant walking tank with him the last we we--
 OHFUCKOHSHITOHGOD
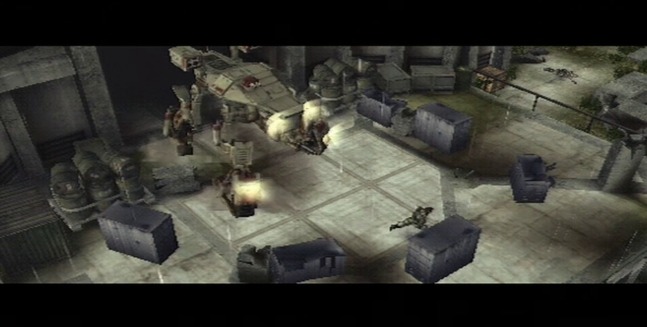
"Tank wins, every time!" - Troy Baker, Saints Row The Third
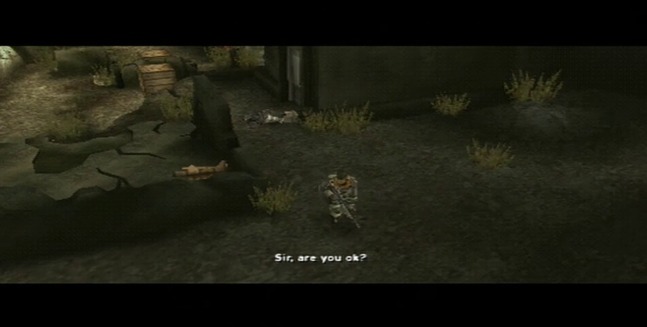
We also learn what has befallen Rico in the half hour since we sent him out to find a medpack you should literally be able to trip over thanks to their ubiquity on Helghast-dominated battlefields and now. He's been capture by Metrac as well.

So now Metrac is holding Batton, Stratson, and Rico hostage, and if Cobar gets away from this encounter, you can be damn well sure Rico is going to be the first one he tortures to death given both his relative expandability and his closeness to Templar, Hakha, and Luger.
Oh no, not Rico! We can't let him kill our
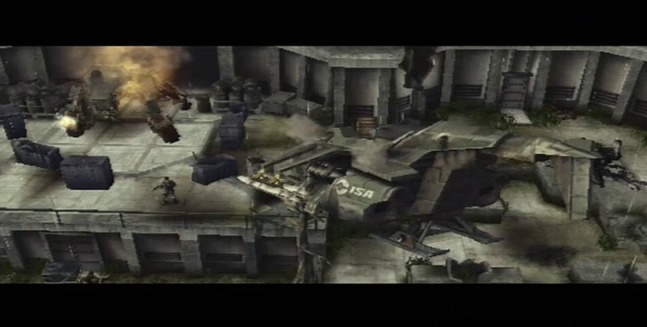
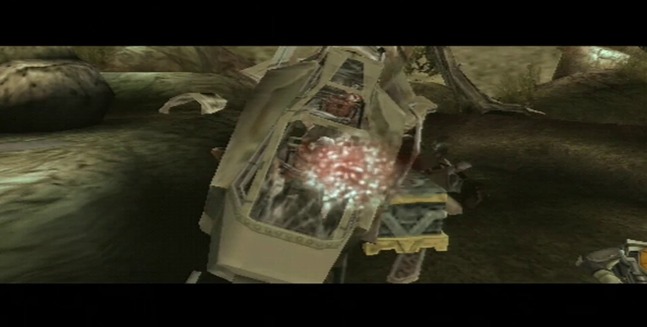
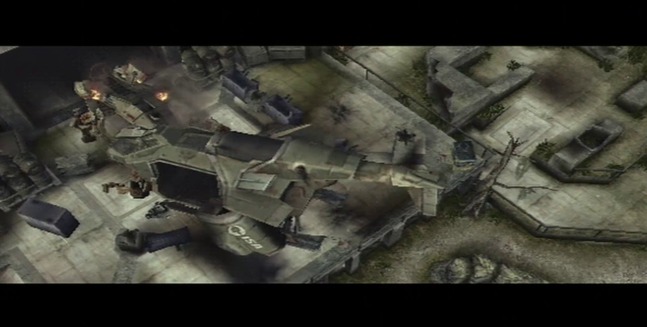
Luckily, we won't be fighting Cobar alone this time, as the ISA Airforce shows up with it's one heavy assault dropship to put the hurt on Cobar's Spider Tank.
Well, that ain't going anywhere now, AND we've got the dropship hovering overhead to lay down close air support cover fire against the Spider Tank to ensure this fight goes--
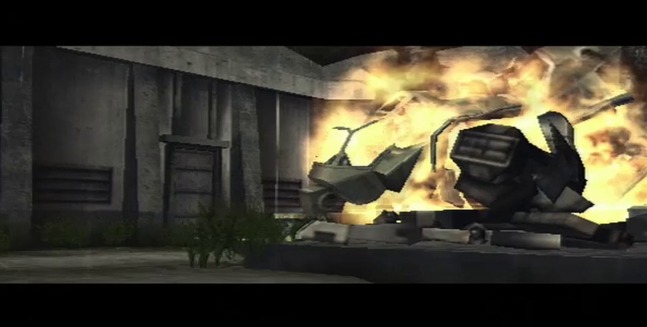
Nah, I'm fucking with you, Cobar shoots it down in retaliation. God, it is just NOT a good day to be an ISA dropship pilot today.
For more on the Spider Tank boss fight, check out the Gameplay section further down.
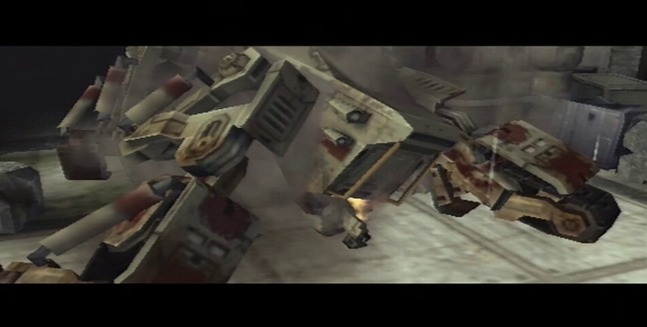
Despite the odds, Templar
However, the good colonel is still raring to go for another round, despite surviving a series of internal explosions that would have most assuredly killed a lesser man.
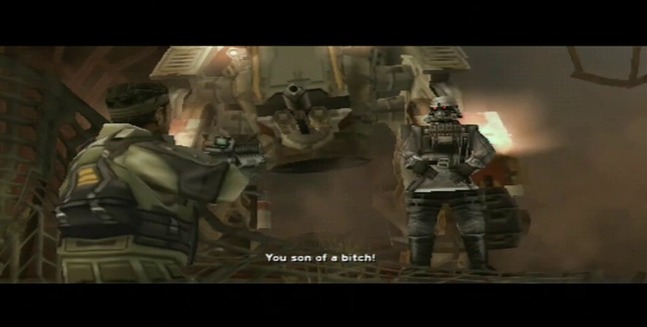
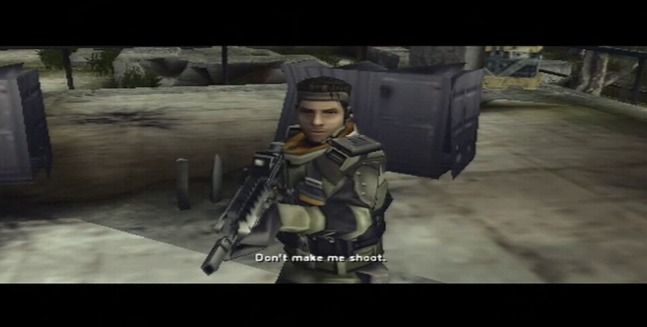
Jan realizes that Cobar's in no condition to put up any kind of fight any more, so he moves right on to the battlefield interrogation, demanding to know where Rico, Evelyn, and Stratson are being held. After all, he's Captain Hero, and he's gonna try to mount a rescue of them one way or another, ISA-brokered cease-fire be damned.

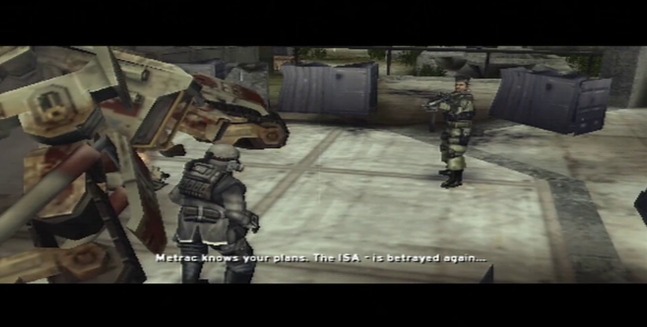
 AGAIN?! Are you SHITTING ME?! What the hell is it with the ISA and getting betrayed from within. I think CTU on 24 has more loyal operatives than the ISA does at this point.
But anyway, Cobar drops the Second Traitor bomb on Templar, even though the player has known about it since late Chapter 2 thanks to Metrac's monologing. And once again, there is no strategy involved here, he's not thinking of the intelligence consequences of revealing this kind of information, he's simply trying to wound Templar emotionally and demoralize him. This is a man operating purely on a volatile mix of adrenaline and spite. Who knows that else he'll let slip now.
So of course, Jan's interested in keeping him alive and keeping him talking, as, from an actionable intelligence standpoint, Tendon Cobar just made himself the most important man on Vekta by shooting his big modulated mouth off.
Oh, and the hits keep coming. Though we don't learn the full context of this slip till later, Cobar also just revealed that the Helghast now have Batton's Red Dust bomb too. A few more minor details need to fall into place yet, but as of right now, the stage for everything that happens in Killzone 2 is pretty much 100% set.
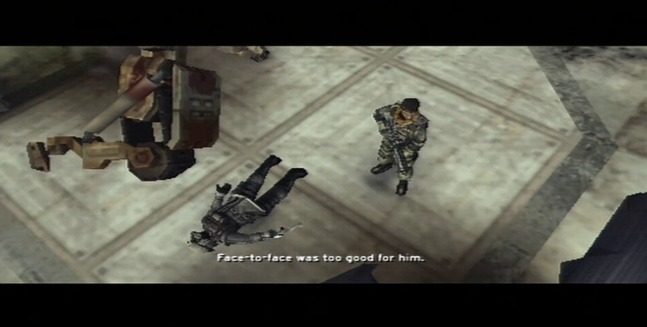
Though as you can tell by the big red blood spurt emanating out of his chest and the fact that his last line ends on an emdash, Cobar just got capped from behind before he could elaborate on either of the revelations he just dropped on Templar
And just who shot him?
Why it's General Stratson, alive and well and conveniently not kidnapped any more!
Yes, by killing him before he can name names and detail details. Thank you for your highly convenient action in silencing a potential source of intel on who within the ISA military command has betrayed Vekta to Visari.
We here in the ISA prefer to kill our enemies the old fashioned way: from behind at a distance while they're monologing.
Jan, however, takes Stratson conveniently freeing himself, finding a weapon, and executing a man who just proved himself a vital source of revelatory tactical information completely in stride. All in a day's work for Jan Templar.
Jesus Jan, open your eyes! This is like Leonard-level "missing critical, obvious details to your detriment" stuff.
And then the chapter ends with yet another ISA dropship swooping in to take Templar and Stratson out of the combat zone.
...You know, given the track record these things have had lately for staying in the air, I think I'm just gonna walk back to base, if that's alright with you guys.

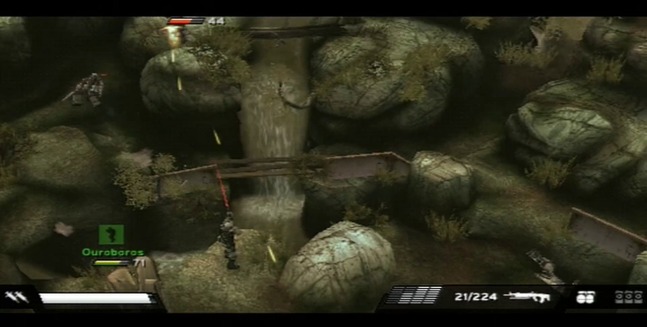
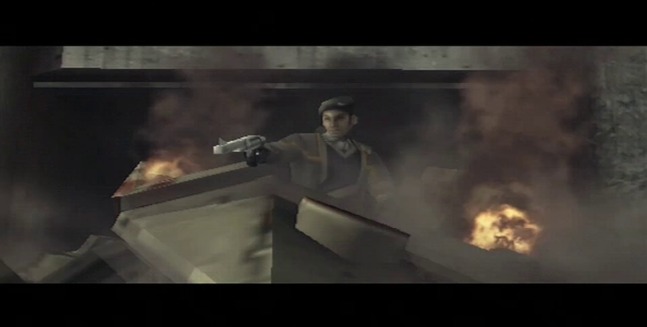
For Stage 3, we get our first real obvious departure in the level design over Killzone 1. We're now in a more arboreal area and hopping between rocky outcroppings between steep chasms.
This, of course, is all set up for, wait for it...
JETPACKS!

Yes, yes indeed, we now have (temporary) access to the most badass and not-at-all-potentially-horrifically-leathal form of powered transportation in the known universe.
I mean, there is nothing that could possibly go wrong with a jetpack, right?
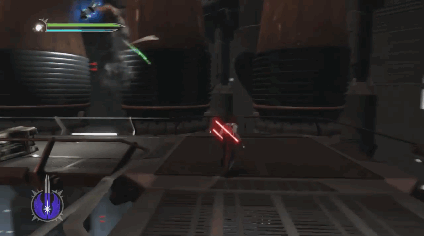
Image c/o: Rigged Death Trap
To get through this level, you need to equip an utilize a Helghast SL-06 Personal Jet Propulsion Pack, the precursor to the jetpack that will be appearing later down the road in Killzone 3. The jetpack controls similarly to the one from Shadows of the Empire, it has ostensibly infinite fuel, when it's resting however. When in flight, you've got about a ten to fifteen second window of thrust which you have to maintain by holding down the X button. The jetpack's fuel is denoted by the yellow bar that appears over your health bar for the duration of your time equipped with it. While not in use, the jetpack will quickly recharge itself back to full power. While in flight, you can propel yourself in any direction you want by using the analog thumbstick.
The jetpack will also overwrite whatever weapon you have equipped when you acquire it, and the only way to de-equip it is to either swap it out for another weapon in a supply crate or end the level with it equipped (it will be forcibly removed by the game at the start of Stage 4). That said, the jetpack has its own built in weapons system which you can use while you have it equipped. It comes equipped with a modified StA-3 Stova Light Machine Gun with infinite ammo, meaning the jetpack is OP as fuck and it's incredibly obvious now why you only get it for one quarter of one chapter of a five chapter video game.
Stage 4 sees up back on solid ground and going through a forested area in our pursuit of Cobar and his walking tankzilla.

The only notable thing to highlight in this section is the return of our favorite Liberation baddie, the Helghast Pyro. Now featuring: and actually visible Helghast Pyro.
Pyros don't show up in Liberation all too often, but when they do they're easily denoted by their bright yellow fuel tanks on their back, the long barrel of their flamethrowers and THE FACT THAT EVERYTHING AROUND THEM IS ON FIRE AAAAAAAAAAA

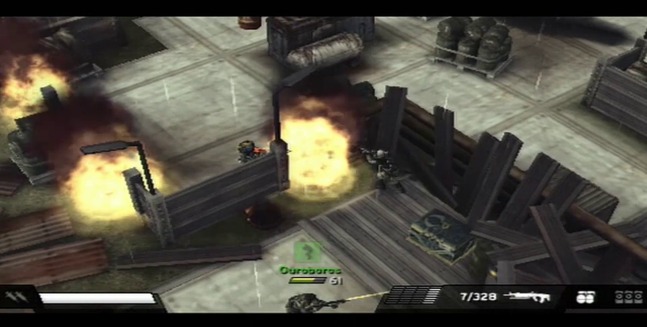
This jackass is a de facto puzzle miniboss to keep us from entering the base. As we cover in the video, he will light every possible entry gap into the base on fire to bar your path until you manage to kill him. He's also twice as fast you are, so trying to out flank him by making a run for a far off, unlit gap before he can get to it is literally impossible. Watch the video. We try it. This guy is like Sonic the Hedgehog. It's unnatural.
And then, just to make sure you come away from this encounter despising Helghast Pyros, the game throws a second identical puzzle trap at you in the base's inner garrison, though thankfully the inner Pyro is easier to defeat than the one guarding the outer garrison.
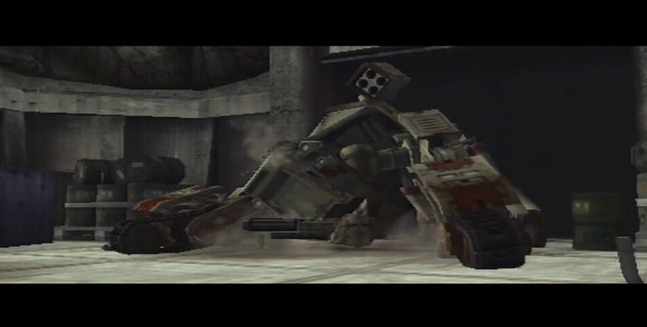
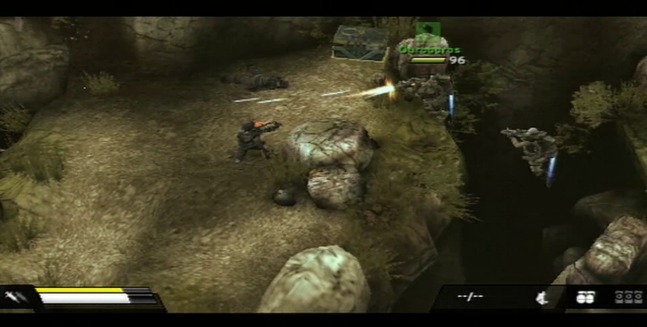
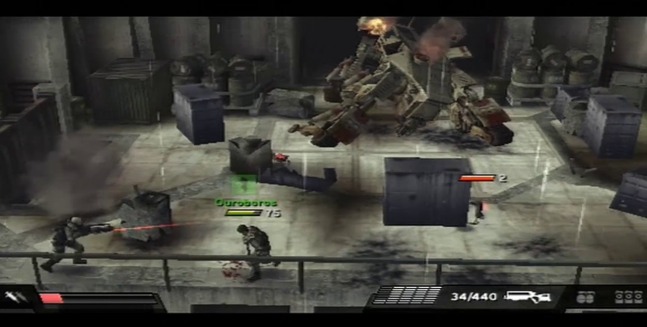
Beyond that, the main objective of Stage 4 is to sabotage the two Helghast Chimera AA guns preventing the ISA air forces from landing and retaking the facility. Blowing both of them up with C4 will open up the boss arena where you then have to fight Cobar's Spider Tank.
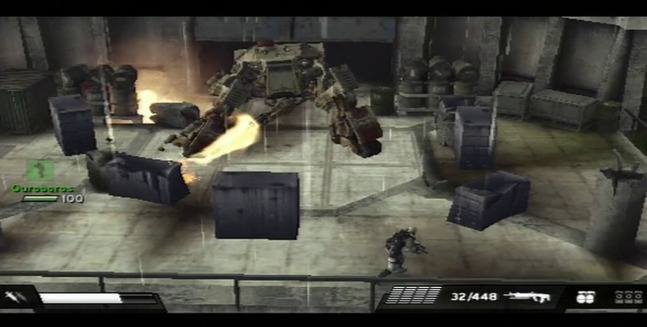
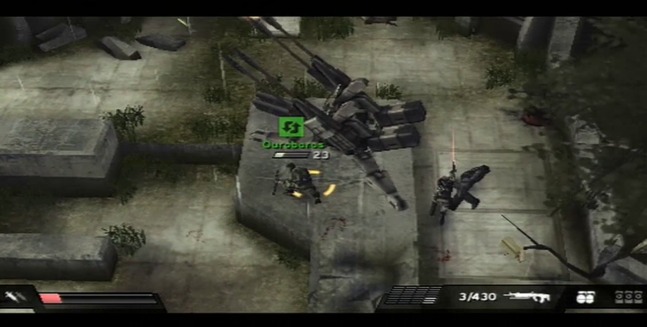
And oh god, His Tank Is Fight!
Despite being crippled by the ISA heavy weapons dropship in the cinematic, Cobar is still able to force the tank to limp around the battlefield on its crippled leg. At the very least, it's still capable of turning along a 180° arc to try and hit you wherever you run or hide in the arena. It also has its share of heavy weaponry which it will cycle through, including its forward-mounted chain gun, rocket-propelled grenade launcher, missile launcher, and multi-grenade mortars.
To make matters worse, much of the cover in the arena is destroyable, and the Spider Tank has enough firepower to eventually winnow away every last bit of cover between you and it if you drag the fight out for too long. The only saving grace of the matter is that each bit of cover will have a health or ammo power up inside it which is released when the cover is destroyed.
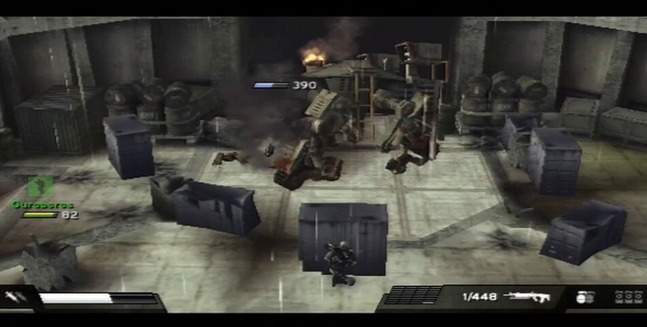
The key to winning this fight is to take out each of the tank's weapons systems. And to do that, there are Rocket Launchers littered around the arena (if you have the Chapter 5 DLC, at least, and seeing as how it's free, why wouldn't you?).
Once you destroy the weapons, you then need to take out the tank's chasis, but by that point it's almost totally defenseless.
I say "almost", of course, because it also can spawn Spider Mines, and unlike the ones that show up normally in Liberation, these ones don't have any enemies around them to accidentally home in on and have a shorter trigger timer, so they will mess you up almost guaranteed.
But enough of that, let's get to the post-script!


RIP in peace Fat Drew Carey. I always liked you better than Thin Drew Carey.

Give Jirall my regards when you meet him in Hell, fuckface!


Air Trooper
Spotted very briefly in Liberation Helghast air troopers provide top cover for regular infantry soldiers thanks to their specially equipped personal jet propulsion systems. After witnessing the dismal failure of the Sentry Bot in General Lente's campaign, Armin Metrac opted to use good old fashioned manned air support to cover his troops instead. He brought with him numerous Stahl Arms SL-06 test type jetpacks, as well as specially trained soldiers to operate them. Though as you can see in the picture, the air troopers themselves are very lightly armored and go down with minimal effort when met head-on in the air.

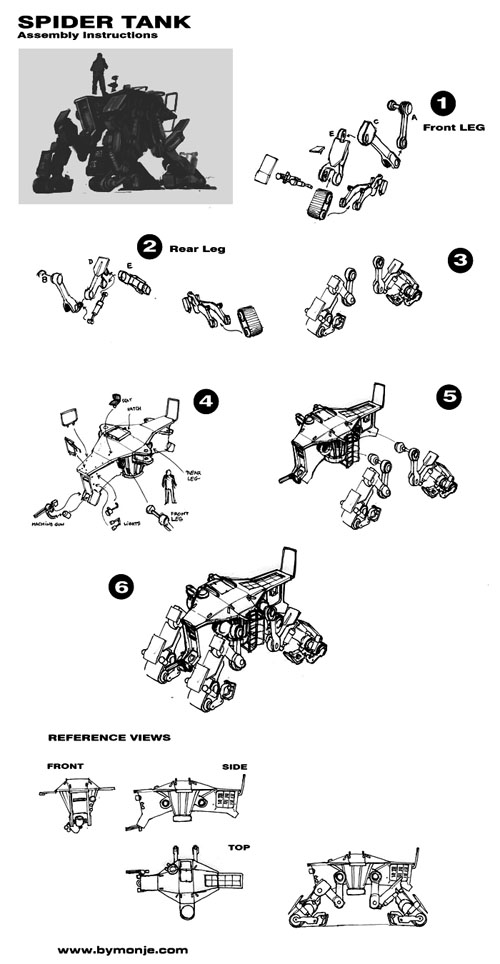
Helghast Spider Tank
A combination tank and walker mobile weapons platform. The Spider Tank is a small scale cousin to the gargantuan MAWLR mobile weapons platform manufactured by Stahl Arms. It has an entire suite of heavy weaponry equipped on it including a swivel-mounted chain gun, rocket-propelled grenade launchers, missile launchers, and frag grenade mortars.
Colonel Tendon Cobar chose one such tank to be his personal armored transport vehicle for the duration of his operations on Vekta.
No other information on this vehicle type exists, unfortunately.

Spider Tank concept art c/o Miguel Angel Martinez:
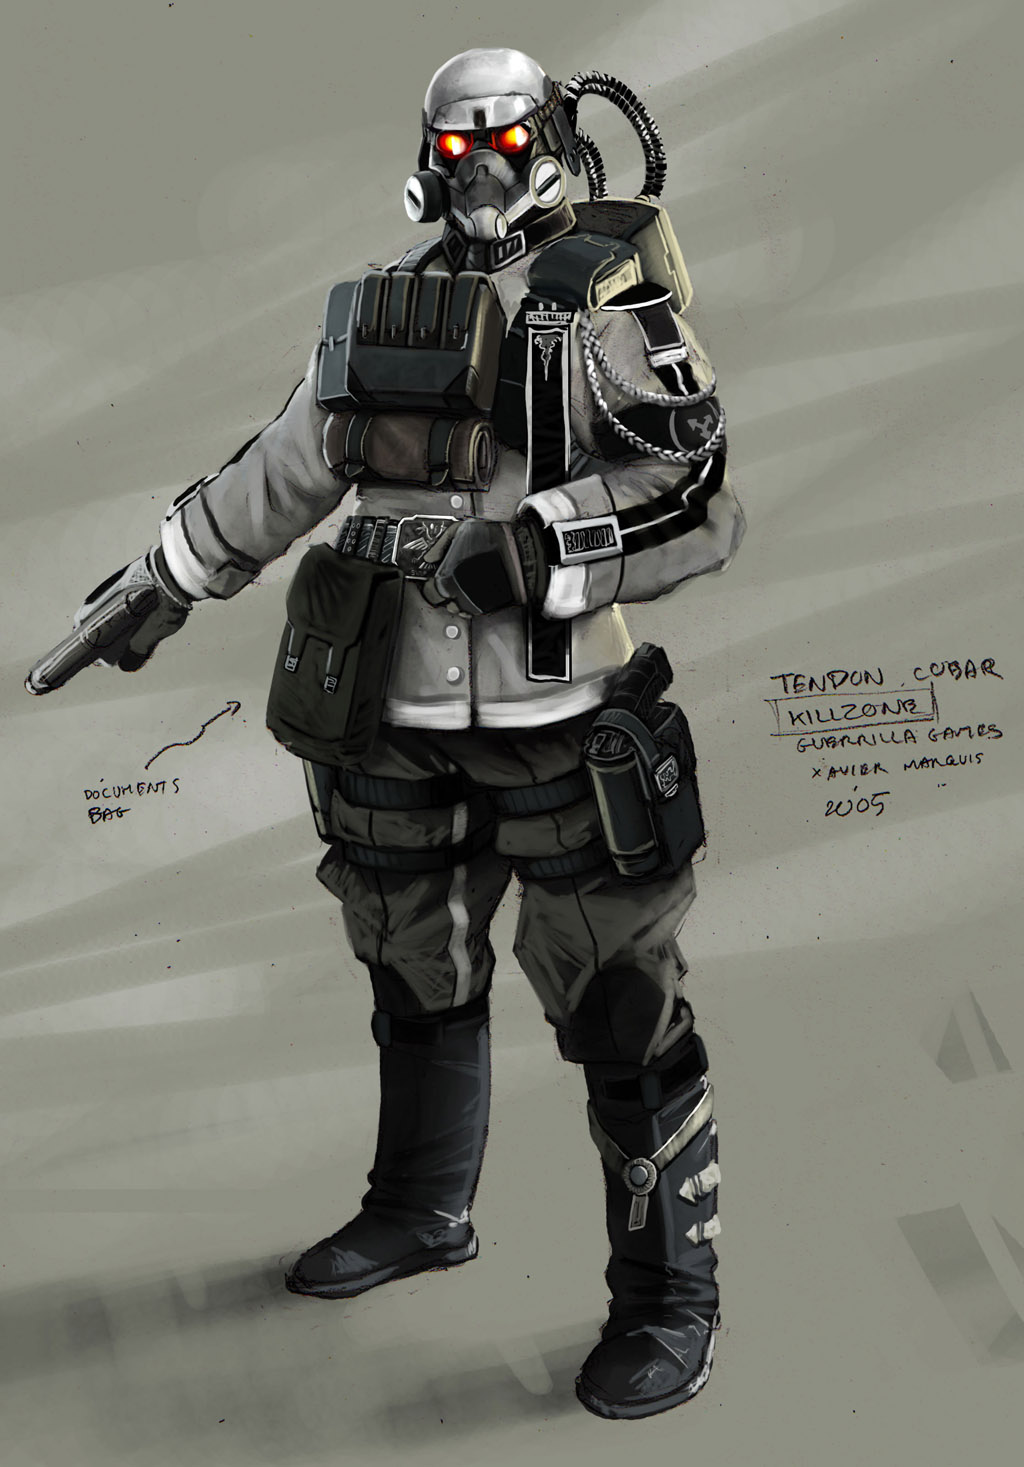
Official artwork of Tendon Cobar:

Fuck literature

CONCEPT ART

Tendon Cobar, the "White Death"

Cliffside hanger
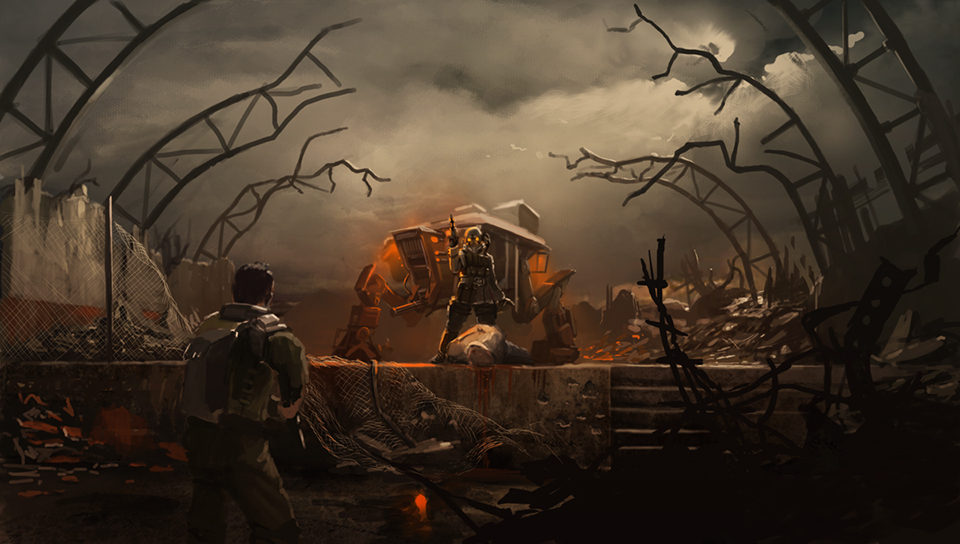
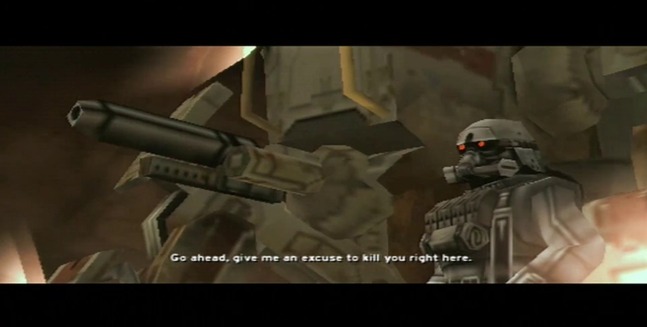
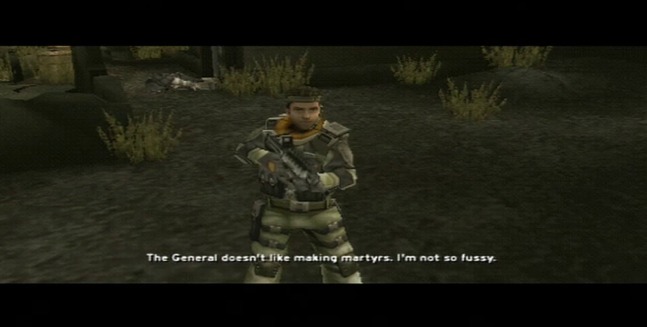
"The General doesn't like making martyrs. I'm not so fussy." - Templar confronts Cobar
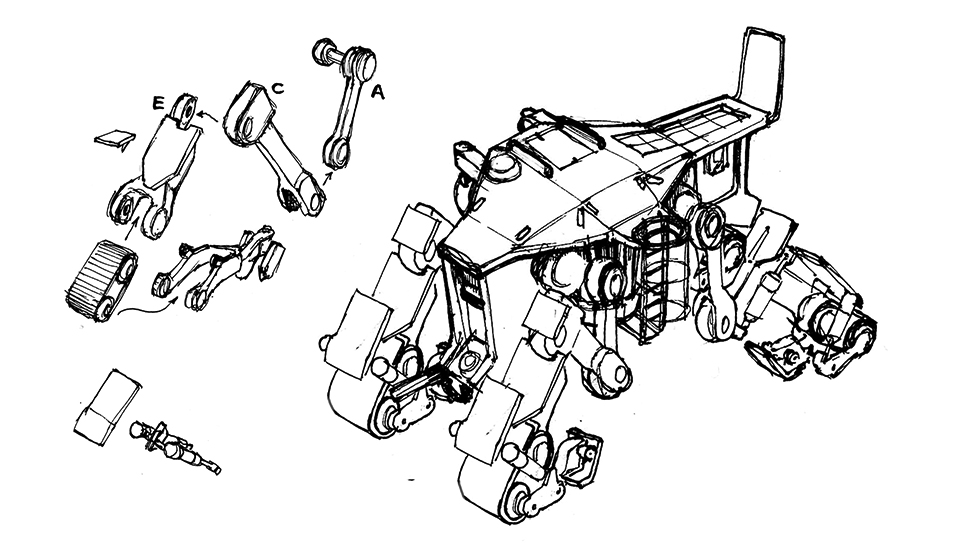
Cobar's Spider Tank, sketch
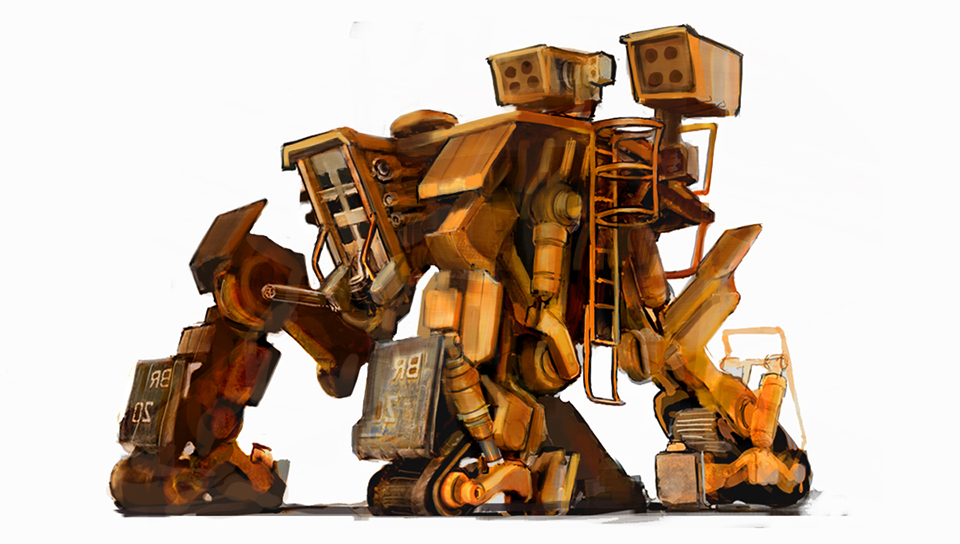
Spider Tank, final

ISA VTOL under construction
PROPAGANDA

"Liberty in your hands... OR THEIRS?" (ISA POV)

"Heroic Helghast rescue survivors from crashed Vektan dropship" (Helghast POV) - It's neat to see that the Helghast have their own FOX News able to comically spin events in a pro-Helghast fashion.
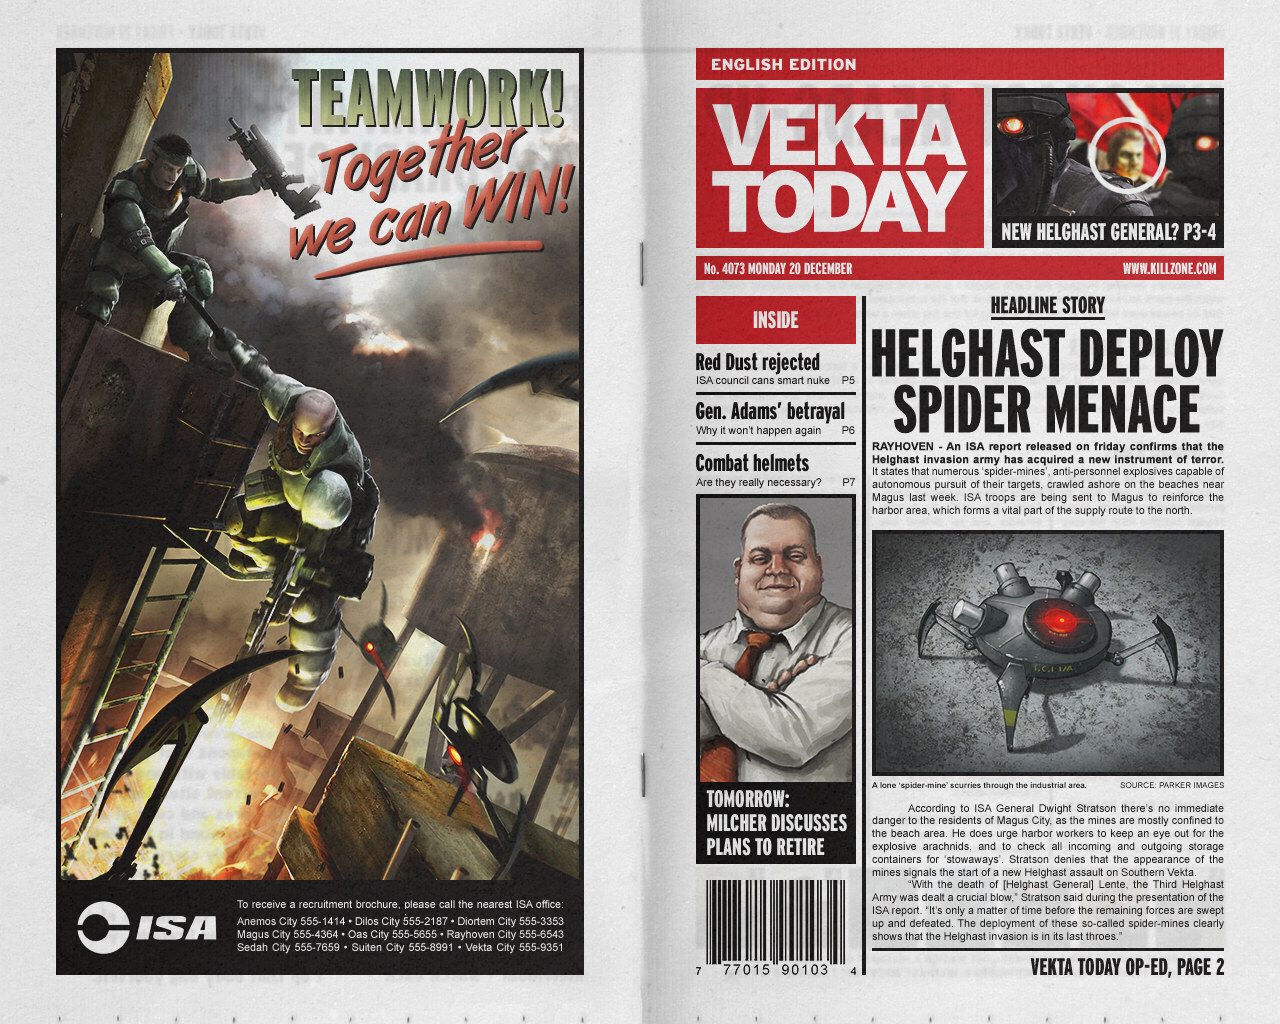
"Vekta Today" (ISA POV) - There's a lot of neat little details to unpack in this one, notably how people don't think the betrayal of a general like Stuart Adams will ever happen a second time in a row, and how--OH NO! Poor Milcher! He was about to retire too!
 COBAAAAAAAAAAR!!!
Also the "Combat Helmets - Are they really necessary?" headline is a recurring cameo in in-universe Killzone published material. It appears as a bullet point on the ticker underneath the broadcast of Visari's address in the opening of Killzone 2.
WALLPAPER
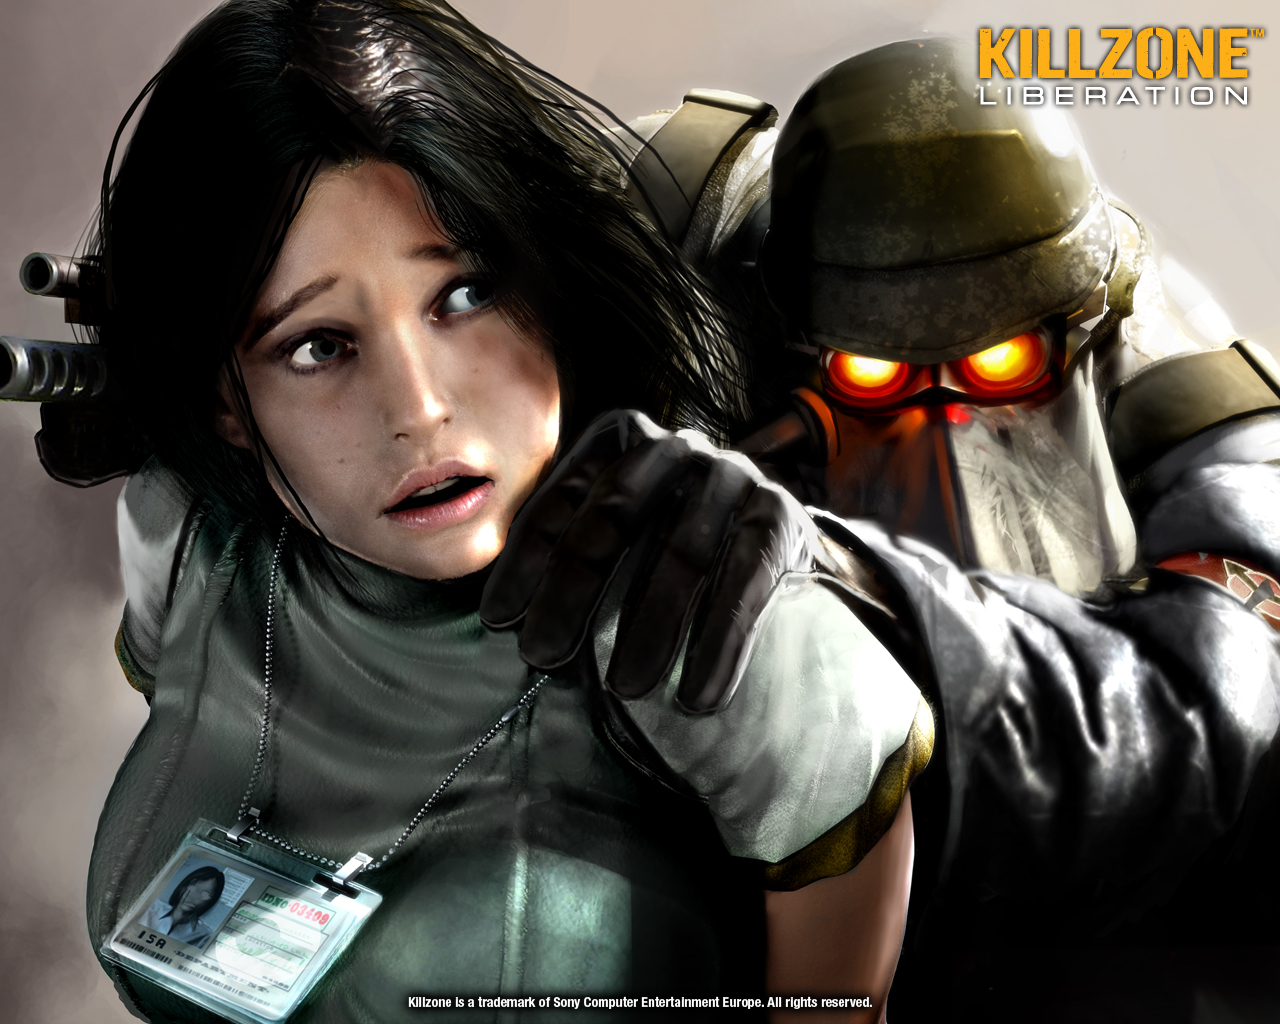
Dr. Batton is kidnapped