Part 5: Graham and the Beanstalk
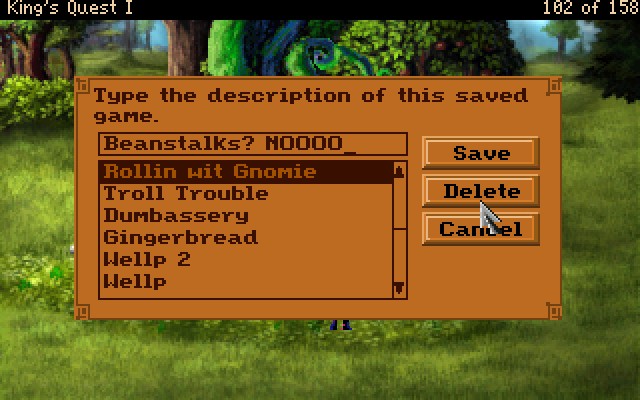
Hello everyone, and welcome back to King's Quest I. I think my newest save adequately describes how I feel about this upcoming segment. I also apologize for my shitty save names. They limit space or I would have used "Rolling with the Gnomie."
Yes, I'm aware that doesn't make it any better.
 : This mighty beanstalk stretches up so high, it vanishes into the clouds above.
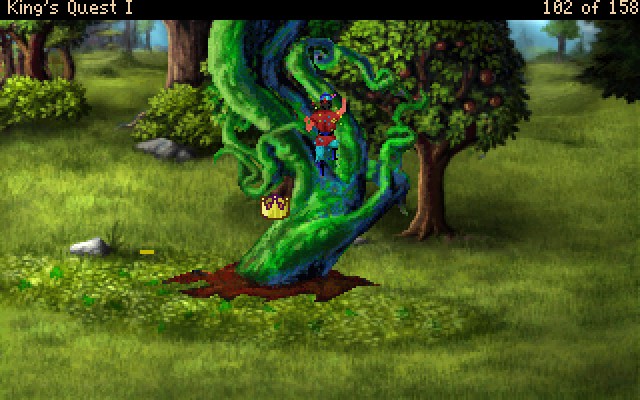
Merely clicking your hand icon on the beanstalk will get Graham started. He climbs up the first bit by himself, to lull you into a false sense of security.

There's only a casual relationship with Graham's position and staying on the beanstalk. Because of this fact, I'm going to save scum it. For what it's worth, if you try to use the hand icon on the second screen...
: Graham is already climbing the beanstalk. Be careful!To move around now, you need to navigate with the walk icon.

In this shot, Graham is perfectly safe despite doing his best hoverhands with the beanstalk.
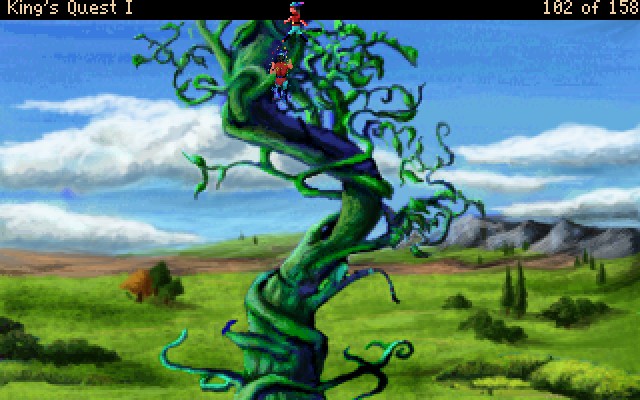
In this shot, Graham is also safe. Seems logical right? There's a problem. If he moves up one more pixel, he's in a kill zone. Don't believe me?
Why did he die? King's Quest I is fucking spiteful.
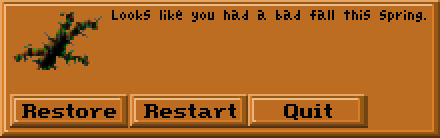
I give it a 6/10 on the Geop scale. A decent pun, but not one of the awful groaners.

Moving on to the next screen, the beanstalk winds around again. So just imagine more carefully moving by inches and saving constantly.
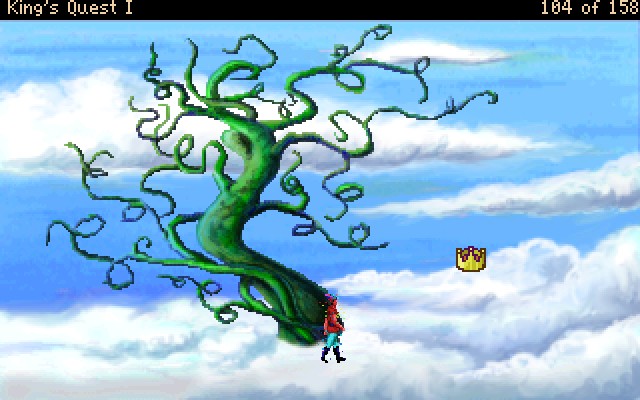 : At long last, Graham sees the tip of the beanstalk, thinning and curling as it emerges from the cloud layer below.
Finally, on the third vertical screen, the beanstalk ends and we're allowed to walk on... clouds. As long as you walk to the right in a straight line, you'll be fine. Veer up, down, or left, and you go tumbling.
: What a beautiful sight! The clouds stretch out in every direction. Near the beanstalk, they even seem thick enough to stand on.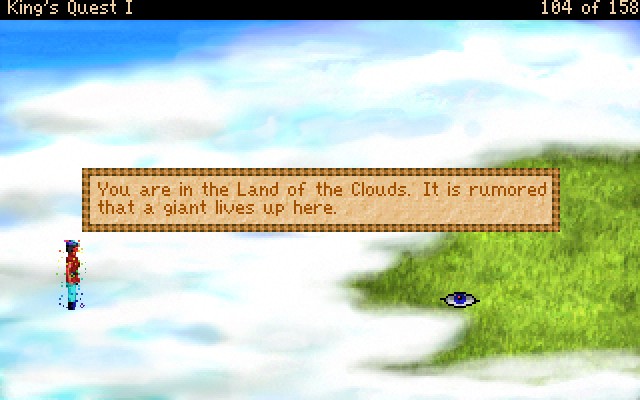
One screen west...
: Graham finds himself in the Land of the Clouds. It is rumored that a giant lives up here.
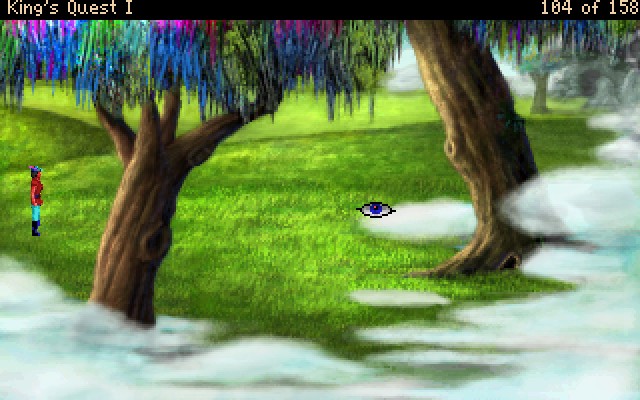
Now that we're in the rainbow forest, we're in a smaller open world area. There's two rows of three screens making up Cloudland, and only three of them have anything worthwhile.
: The weirdly-shaped trees tower over Graham. : Ye best be careful, young Graham. The mystic protective spell of mine has weakened and departed.
So yeah, the spell lasted from before we did the Rumplestiltskin riddle until now. Ironically we're only one screen away from where it would have actually been useful.
 : The clouds drift over the edge of the land here, making it impossible to see where the land ends! Though the clouds look very thick, it would be unwise to venture toof ar out into them.
We started in the upper left corner of the 2x3 grid of screens. We're now in the lower right corner by way of down around the outside edge. There's a "boss" encounter in the upper middle screen, you see.
Anyway, you see that little hole in the tree? Let's investigate.
: There is a small, dark hole in the base of this tree. But Graham need to get closer for a better look. : Twist my arm, why don't you?: Graham reaches into the hole and finds a leather slingshot.
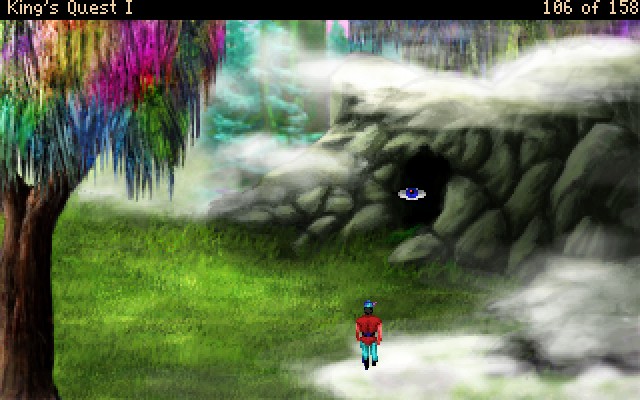
So do you remember last time when I was discussing failing the gnome's riddle? Well in the event you fail to correctly guess Nikstlitselpmur inside of three chances, you are instead given a small golden key. That key unlocks a door on screen H-6, one screen north of the oak tree.
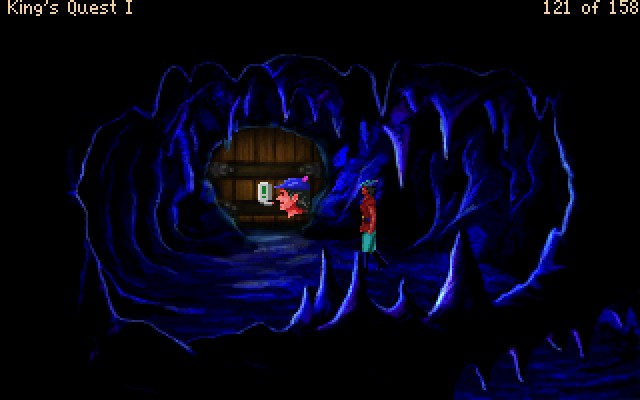
I'll show the inside of the cave off in a few minutes, but all you need to know for now is that the door on H-6 dumps you out here. Anyway, time to fight the only real "boss" in the game. The dragon hardly counts, and the guardian of the third treasure is a minor puzzle instead.

This is the giant that lives up here in Cloudland.
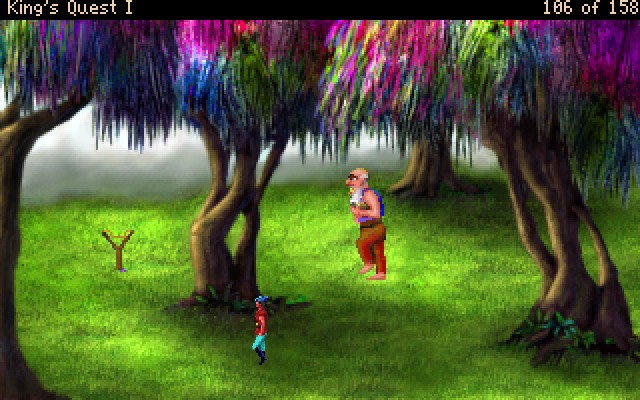
And he's holding the enchanted chest that is always filled with coins.
 : Graham, what are you doing?: What does it look like?: It looks like you're running in circles around a tree.: *slightly winded* Well you've got the right of it...: Some knight you are.
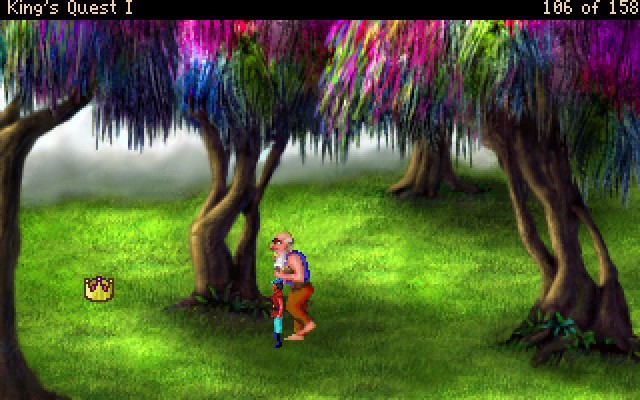
So in the likely event you let the giant catch up to you, he's not kind.
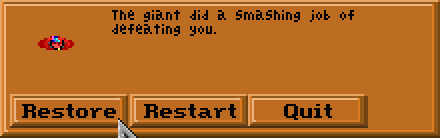
Let's be honest here, it's really hard to to Graham cracker.
Anyway, what you're supposed to do here is play ring-round-the-rosie for 20 seconds.
: The giant is getting tired of looking for Graham. Seems like he may be getting ready to take a nap.Once you get this message, you only need to run for a few seconds more.
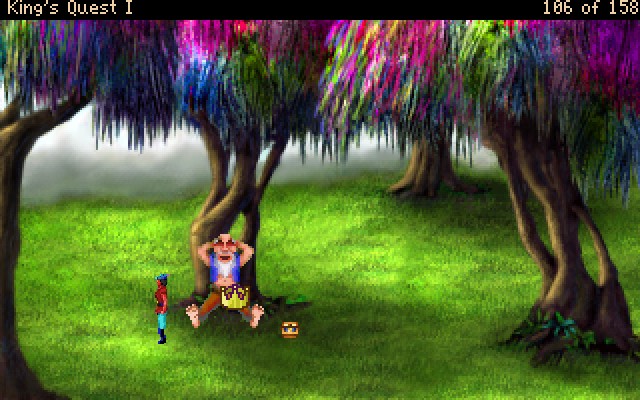 : Good job! The huge giant, tuckered out from stomping around, has fallen fast asleep.: Graham, you are the worst knight.: Yes, but I'm alive.: Slowly, carefully, Graham takes the chest without waking the giant.
This is actually a kindness in the VGA remake. In the EGA and SCI versions, you had to run from or hide from the giant for almost a full minute. In my test run in the SCI version, I got caught and "killed" at the last second. Once the giant finished stomping on Graham, he walked over and instantly fell asleep, leaving me in control of Graham's squished sprite. I really wish I had recorded it, because it was pretty damn funny.
Oh and here's some item descriptions...
 : This is a small, but sturdy slingshot.
 : Graham gives the sling's band a few flicks to test its durability. It still feels usable.: This magic chest, one of the three lost treasures of Daventry, is always filled with gold coins.: Graham is dazzled by the countless supply of gold coins spilling from the magic chest. He quickly closes the lid.
Once the giant is asleep, you can do anything and he won't wake up. You can also use the elf's ring to get the same outcome, but without the chance of dying.
There's a third method to kill the giant, but it gets you less points. So let's review...
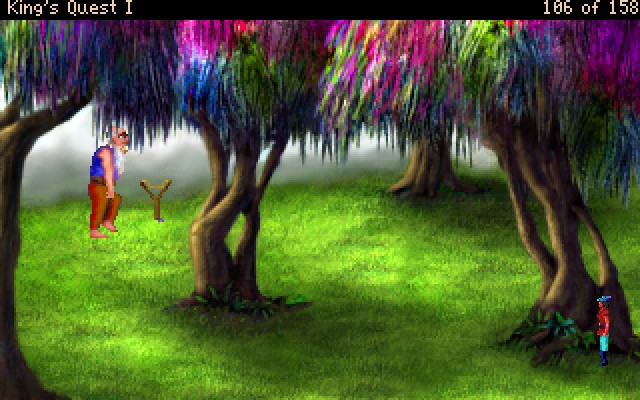
We're back before the giant fight, and the solution is already on screen. We got the slingshot up here, and I'm sure you remember the rocks we found on the lake shore.

It's that easy. No fanfare, no muss, no fuss. You also only get 3 points instead of 7 for killing the giant. You also have to be careful where you kill the giant, because if the treasure drops behind a tree, then it is permanently unrecoverable.

Anyway, we climbed up the beanstalk, so let's return by way of the cavern system.
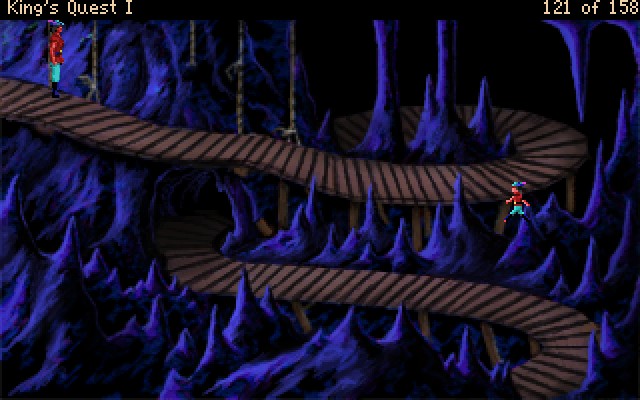
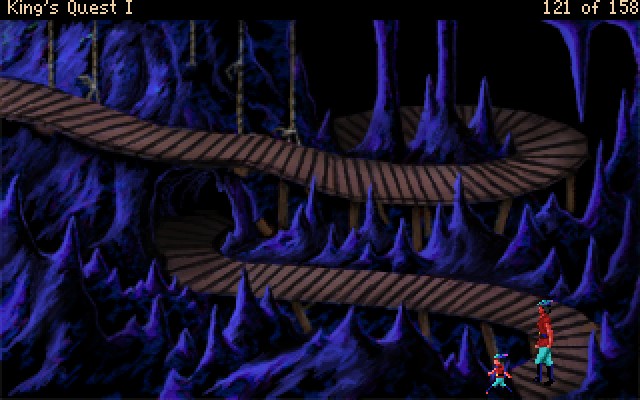
There are three "platforming" screens like this, where Graham has to navigate around these precarious platforms. If you tell him to walk a long distance, the chances of him walking right off the edge and to his death shoot up to almost 100%. Like the oak tree branch and the beanstalk before, this is a trip best taken in short distances.
Oh and for an extra dose of "fuck you" the Dwarf can appear on these screens. The chances of him appearing increase the longer you linger on them. So you need to be both careful and fast.
You see, if the Dwarf appears, your only recourse is to leave the screen to despawn him. Or, if you have the magic ring, you can put it on to make him go away. But like the fairy's protection, the ring only lasts 60 seconds. So you best make them count. You can, at least, take the ring off when you don't need it.
Like I said, short distances and you'll get through in no time.
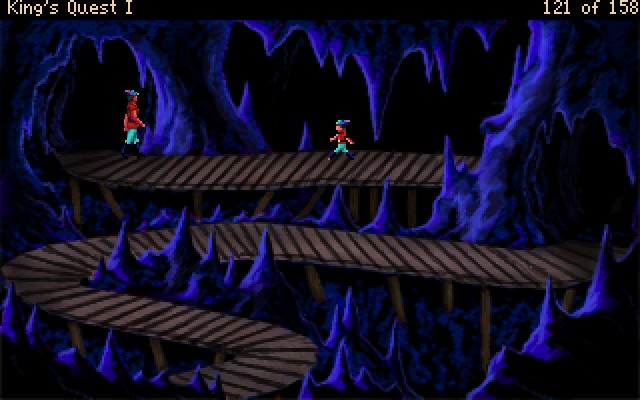
This second screen is where the caves really get going. There's a pretty good chance that the Dwarf will dart out of the dark hallway directly in front of Graham when you enter this screen.
Second verse, same as the first really.
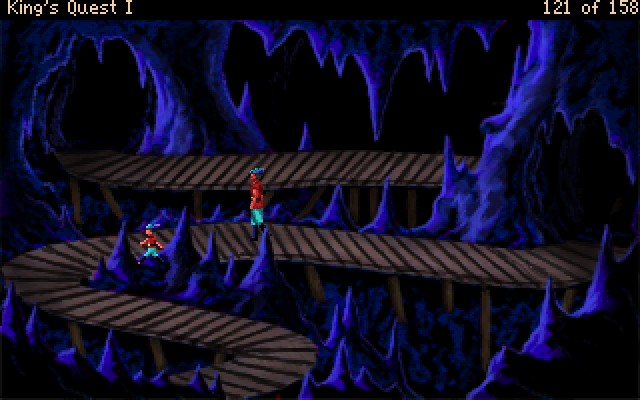
The penultimate screen is where I always seem to have the most trouble. It's the winding bit in the middle that always throws me off.
Here's a nice timelapse of walking across the screen. Each time Graham seems to jump forward is the gif skipping 50 frames of animation.
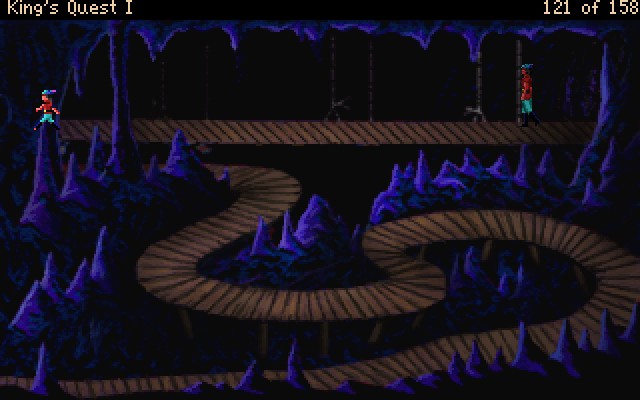
I don't know why I have the talk icon selected. Anyway, before we leave the cave, let's discuss how this was different in the EGA version of the game.
In the 1984 release, the caves weren't a stupid platforming segment. They were, instead, just a couple screens where Graham had to walk up a staircase in the mountain. The Dwarf could still ambush you, but it was a lot harder to fall down.
For some unknown reason, Sierra decided to make it so that the staircase became a platforming challenge in the 1990 SCI version and AGDI copied the change because it's a direct port.
Anyway, the way out is this door up here. I mentioned it was locked, but Sierra can be kind developers too.
: As Graham reaches out to touch the door...
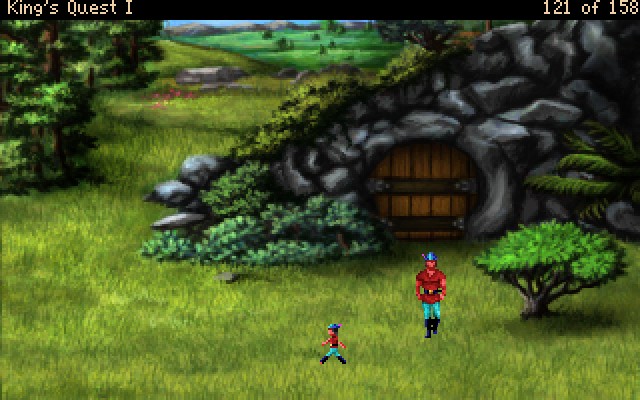
So here we are, back on solid ground, on screen H-6. We only have one more major puzzle to solve before we're at the end of the game. So let's go take care of that quickly.
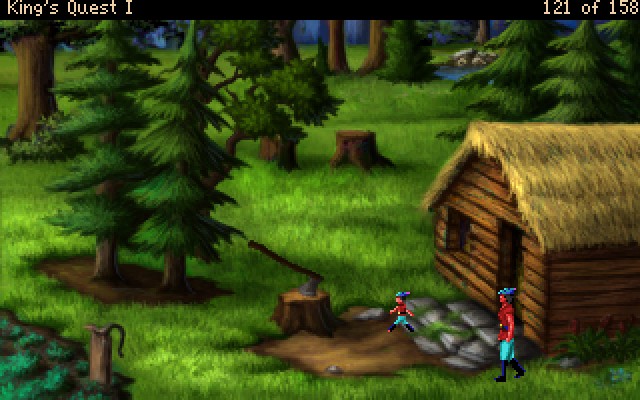
This little run-down hut is on F-3, two screens north of the Gingerbread House, and two screens south of the Old Well. The front door here is more-or-less as close to the middle of the map as you can get.
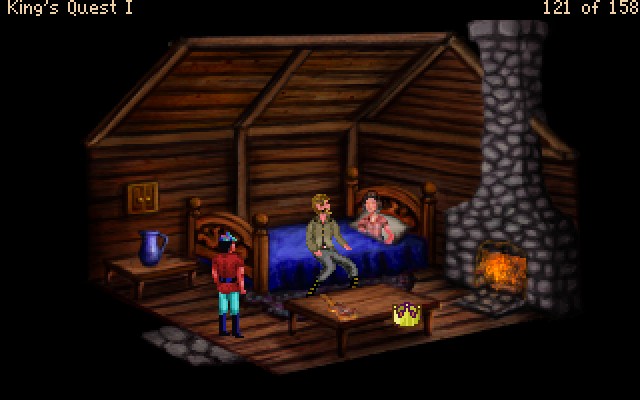 : The woodcutter speaks to you, his voice broken with sorrow.
 : Who are you, good sir?: I'm Graham, a knight of the realm.: We would welcome you to our home, Sir Knight, but we have had no food for so long, my beautiful wife cannot even rise from her bed. I fear she may die soon.: That's awful. I'm so sorry!: The woodcutter, still gazing at his wife's pale face, does not seem to hear Graham.
So, if you think back several updates, you may remember we got an enchanted bowl.
: Graham retrieves the enchanted bowl from his pack, catches the woodcutter's attention and holds it out.: Fill.: To the woodcutter's astonishment, a hot savory stew begins to bubble up from the bottom of the bowl. Within moments, it is full.: You have more need of this than I do. This bowl will fill with food whenever you tell it to.: The woodcutter is overwhelmed with joy.: Thank you, thank you, Sir Knight! We shall never forget your kindness and generosity. Please, take my fiddle as a small token of our thanks.: Graham takes the fiddle and leaves to give the woodcutter and his wife some privacy.And with that quest out of the way, we are now fully equipped to beat this game with maximum points. So let's set out to get that third treasure.

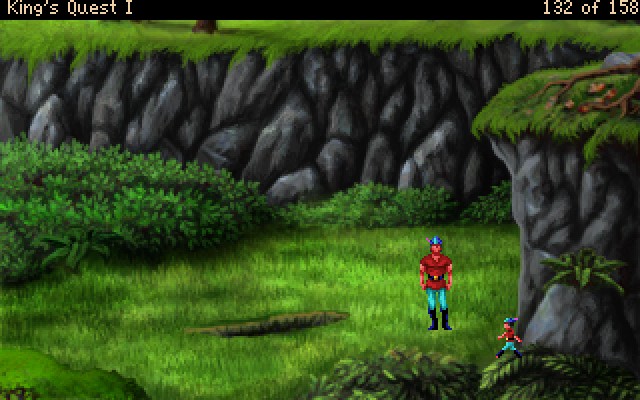
Despite playing the game half a dozen times, I immediately get lost looking for the one screen that will let me progress. But it does let me show off the last dangerous screen. This is G-1, directly to the west of the oak tree. The map simply describes this screen as "wolf".
: Without warning, a wolf darts out of the bushes and runs straight for Graham. Look out! Don't let him catch you!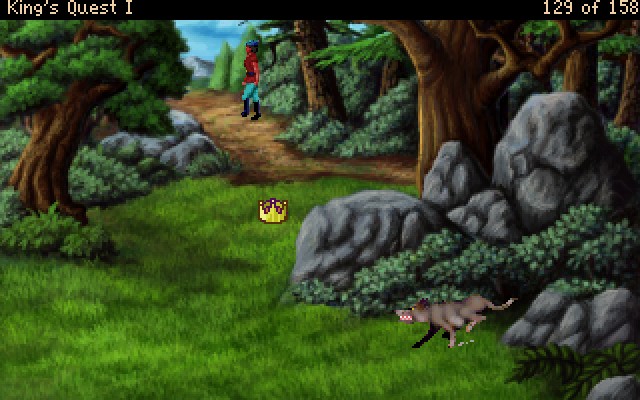
This wolf moves incredibly fast, and if you aren't on the edge of the screen when it shows up, then you probably are going to die. There is never any need to be on screen G-1, so it's quite easy to avoid dying in this fashion.
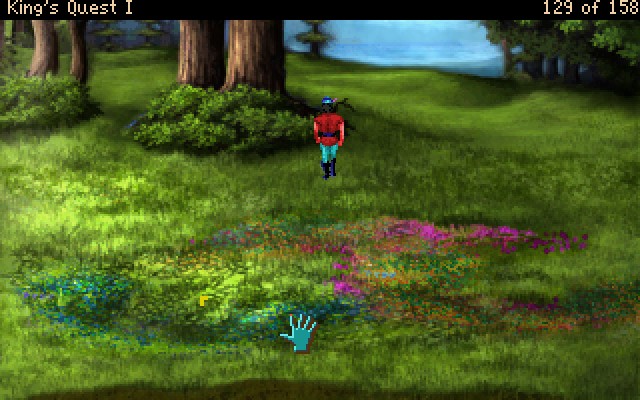
Here's the flower filled meadow I mentioned in the last update. This is screen E-4, and it's two screens east of the gnome's house, or three screens south (or north!) of the goat pen.
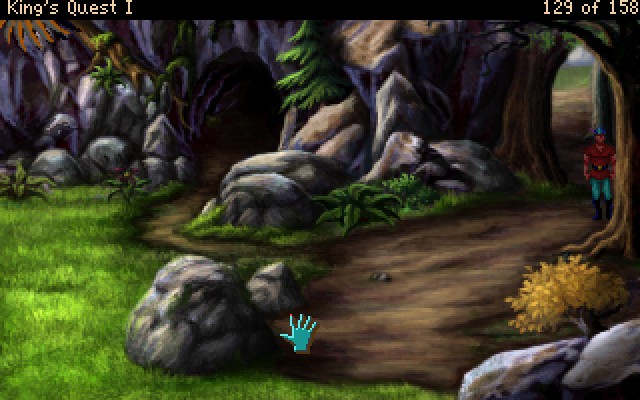
I wandered around aimlessly for 5 straight minutes looking for this one screen. This is E-6, one screen north of the goat pen, or two south of the flowery meadow. We've been here before. This is the exit of the cave connected to the well.
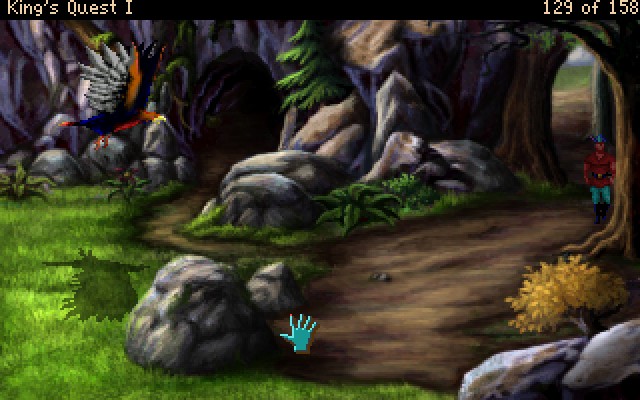
See that condor? That's our ticket to the end of the game. We have to click on him just before he passes overhead. This condor's move speed is connected to Graham's walking speed.
So, for best results crank that slider all the way to minimum. Next, you're going to want to stand on those pebbles. You see them in the middle of the screen? Yeah, stand there. Then you just have to click on the condor when he's roughly at the spot he's at in the screenshot.
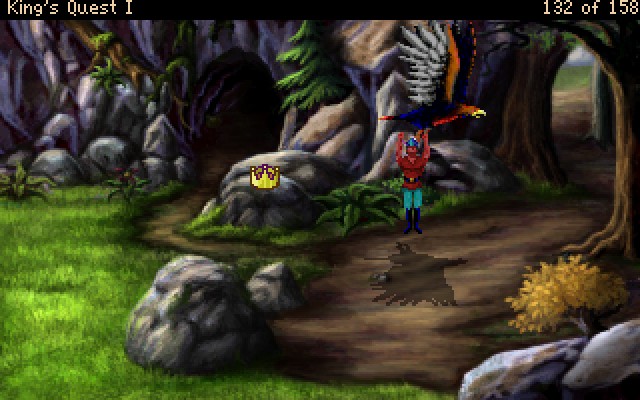 : With a mighty leap, Graham grabs hold of the condor's talons.
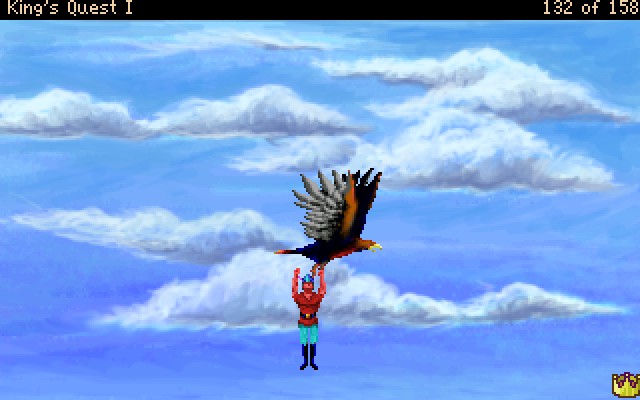
That will be enough for now.
NEXT TIME: We finish King's Quest I. I told you it was short.
Oh, and the woodcutter scene was all heartwarming and junk right? Well, take a look at his portrait when he's talking...
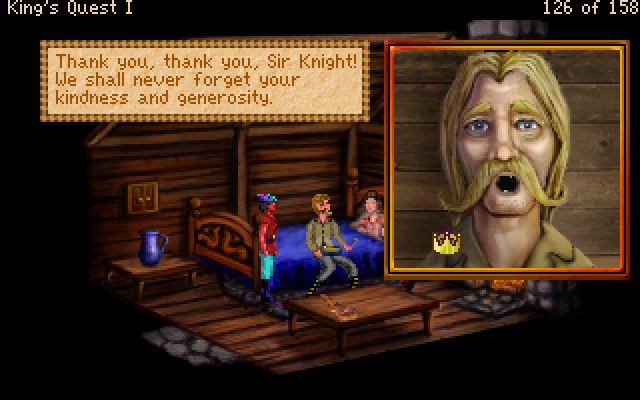
 The portraits in this game... he's got a serious case of meth mouth.
List of Points
+2 - Climbing the Beanstalk
+2 - Finding a slingshot
+7 - Graham the Coward
+8 - Got the enchanted chest
+2 - Filled the bowl (again)
+3 - Fed a starving couple
+3 - Got the fiddle
+3 - Condor taxi ride
Total: 132/158
Register of Deaths
Graham vs Gravity - x2
Goomba Stomped