Part 2: Robbing the Dwarf
Hello everyone and welcome back to King's Quest II. Now that we've got the first death out of the way, let's continue on and see what we can't accomplish.
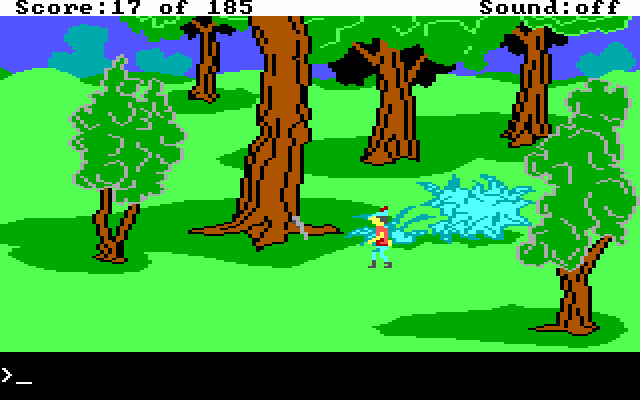
 : There is a stake leaning against a tree.
 : It appears to be an ordinary tent stake.
This will come into play toward the end of the game. Try and guess how! If you already know, then no cheating. This is screen D2 by the way.
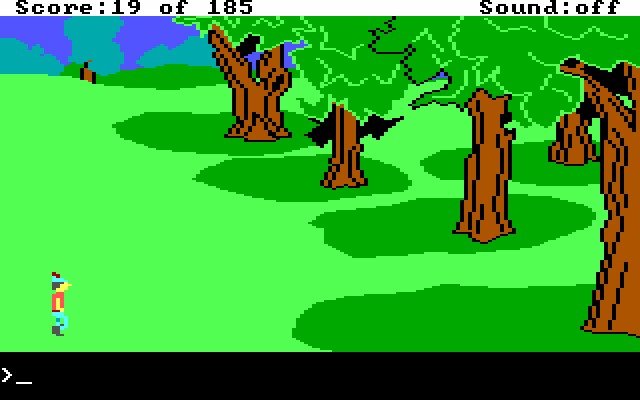
Unlike the first game where only a set number of screens were dangerous, this time most of them are. The thieving dwarf is back from the first game, as well as the enchanter (that I never showed off), and rounding out the enemies is the local witch.
They can pop up on most of the screens. So if you're making your way around, it's best to play things safe and stick to the outer edges of the screen when possible.
: The old hag, Hagatha, is nearby! You can hear her cackling and smacking her gums as she comes closer. She would love to have you for dinner, and I don't mean as a guest!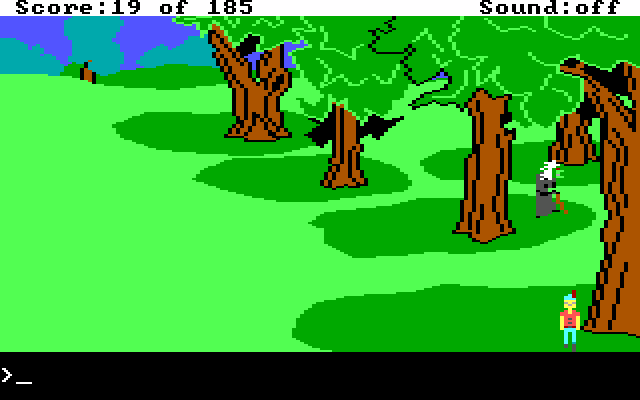
Case in point. Hagatha appeared out of nowhere from the top part of the screen, and is beelining straight for King Graham. Unlike the first game, we can't kill her. So we just need to continue Graham's proud tradition and run away.
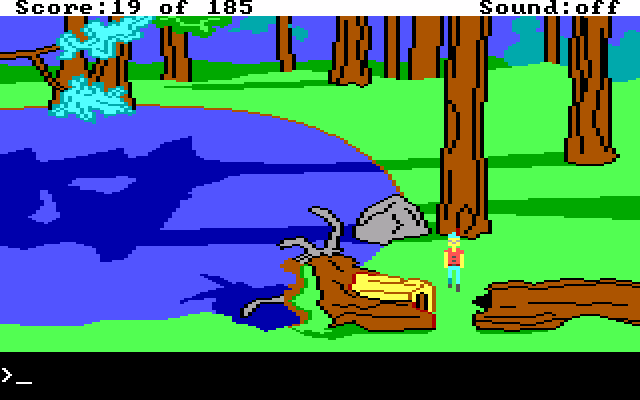
Down on F3, we find a collapsed tree.
 : I wonder if there's anything inside...: When Graham peers into the old hollow log, he sees a flashing necklace of diamonds and sapphires!
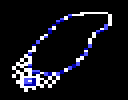 : The chain of the beautiful necklace is fashioned of many sparking diamonds and sapphires. In the center of the pendant is a large, glittering sapphire.: I though Daventry was rich with its golden walnuts, but Kolyma seems to be infested with diamond and sapphire jewelry.
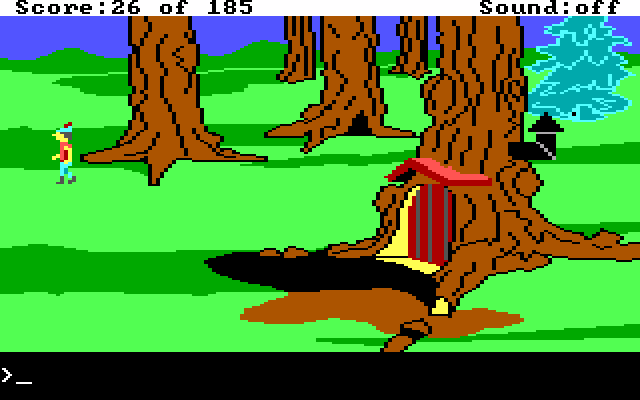
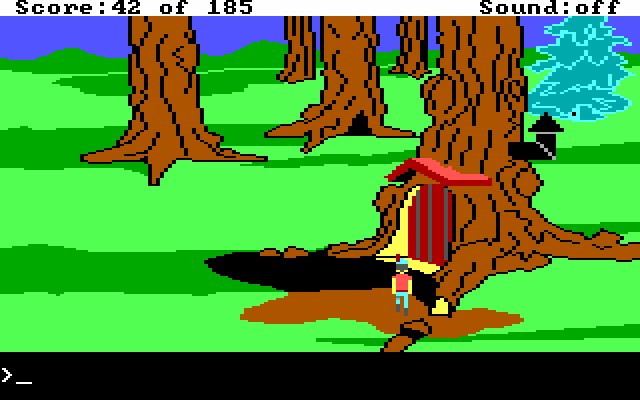
Down on screen G4 is this little tree house where the Dwarf lives. We'll duck into his house later on and rob him blind for a change. Right now we're still out exploring the land.
Here on screen F5 is this lone tree with some rocks piled up next to it.
: Graham climbs up onto the rocks and peers into the hole. Inside, he can see a mallet. : The head of the mallet is made of iron. It has a long, wooden handle.
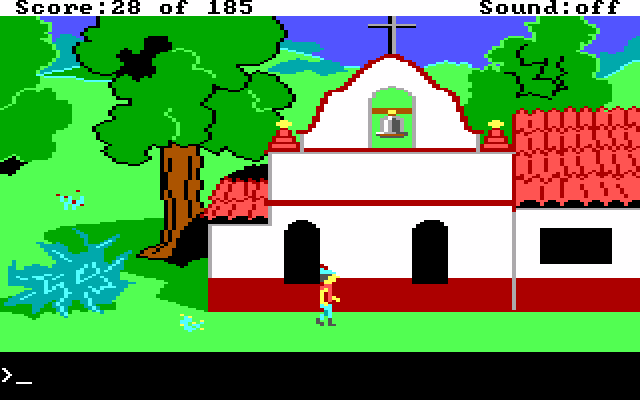
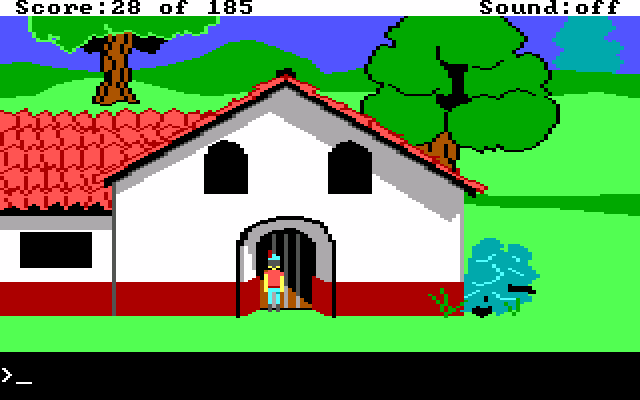
Screens A5 and A6 are home to a little spanish style mission. There's even a neat message if you knock on the door.
: It is not neessary to knock at a church door. All are welcome.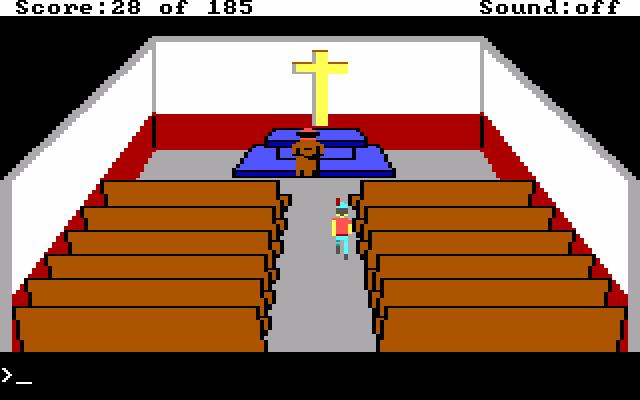 : Excuse me...: The praying monk does not respond. He seems deep in worship.: Graham kneels down and prays at the altar with the monk.
 : The plump monk lifts his head from prayer and seems to notice Graham for the first time. He stands up.
 : What is your name, my child?: My name is Graham.
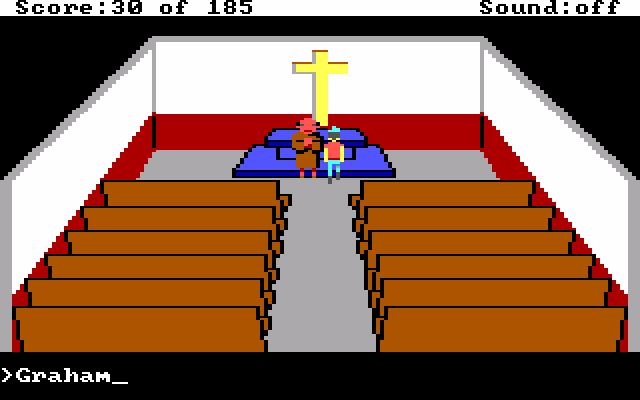
You actually have to type "Graham" into the text parser.
: I know of your quest, King Graham. I wish I could offer you aid, but all I have to give is this cross.: I would be honored to accept your cross.: It is blessed, and will protect you from evil. May it serve you well.: The monk bows to Graham and then resumes his prayers. : The shiny cross and its chain are both made from silver.
This next step is something that you may not think to do, but is incredibly important all the same.
: Graham places the silver cross and chain around his neck, wearing it as a necklace.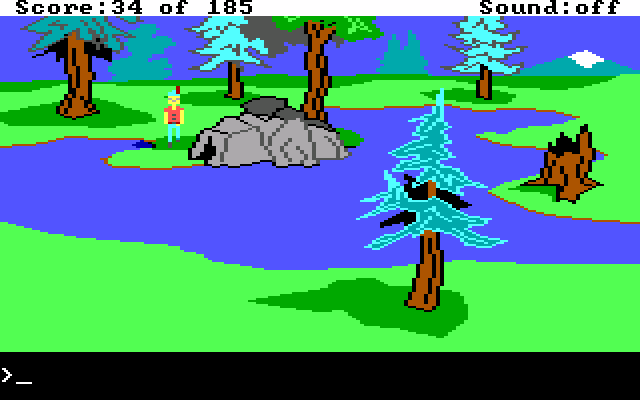
One screen down from the mission, is this pond. The small hole in the rock sticks out like a sore thumb, so let's investigate.
: A glint from between the rocks catches Graham's eye. He gets closer and sees a glittering diamond and sapphire brooch lying on the ground. : The brooch has an enormous sapphire encircled by two rows of glittering diamonds.
I'm starting to notice a diamond and sapphire theme.

Back up on A5, just randomly wandering around looking for treasure, and a random event happens.
: A beautiful fairy floats down from the sky! She sprinkles fairy dust on Graham. : Good King Graham, I am here to help you. I give you a protective spell against certain evil elements; but beware, for it lasts only a short time.
The fairy's protection is exactly like the fairy godmother from the first game, except you can get it multiple times.
So now fortified with protection, let's end this update by exploring the dwarf's house.
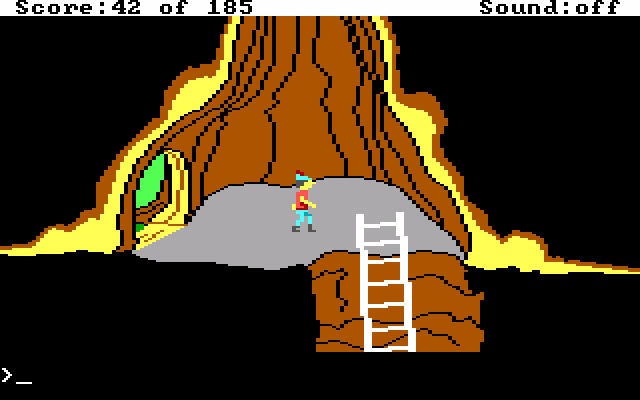
Graham doesn't climb ladders well. He attaches to them fine, but you have to use the rather imprecise start-and-stop movement to get down.

Someone smarter than I am would find this is an excellent time to return the game speed to normal, or at least fast. Otherwise you can't really fine tune your movement.
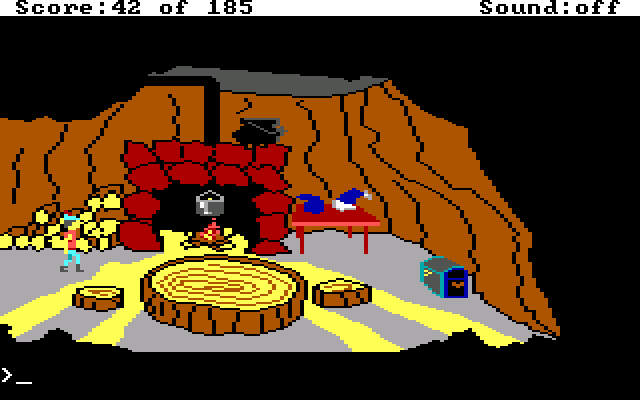 : It seems Graham has entered the underground home of the litte dwarf. It is cozy, with a fire crackling in the hearth. There is a trunk tucked away in the corner.
The dwarf has a chance to be home when you enter this screen. If he catches you in his house, and you don't have fairy protection, he'll kick you out and you have to try again.
Anyway, there's only two things worth doing on this screen. First, we need to get close to the fire.
: OUCH!!!! This fire is HOT! You're going to burn yourself.The flavor message lets you know you're close enough to get the item.
: Graham grabs the wooden handle of the bubbling pot of chicken soup. He takes the pot with him.Next after the pot, the chest that the look command pointed out...
: Graham opens the chest and looks inside. There are a pair of earrings inside.Three guesses what the earrings are made of.
 : The pot contains hot, bubbling chicken soup.
 : The diamond and sapphire earrings are very delicate. Each earring has a large sapphire surrounded by glittering diamonds.
Anyway, that's going to do it for the main part of the update. But I have some bonus content as well!
First off, you can indeed type "swim" in order to start swimming.
Poil asked if typing drown into the parser did anything while swimming.
Sadly no.

MagusofStars and Jabor wanted to know about swimming into the ocean.
So no swimming across the ocean back to Daventry, either.
Let me know if there's more stuff you guys want me to show off. The game world is so small that it takes basically no time at all to do something weird. I also have all my saves still, so I can load any point from the start to the finish in an instant.
NEXT TIME: This game has a plot. We should actually attend to that.
List of Points
+2 - Raising the Stakes
+7 - Priceless jewelry in the fallen tree
+2 - Mallet in the tree
+2 - Praying
+2 - Holy Cross
+2 - Wearing the cross
+1 - Looking in a dark hole
+7 - More priceless jewlery in a mundane location
+2 - Stealing supper
+7 - Yet more priceless jewelry
Total: 51/185
Register of Deaths
Drowning in the Ocean