Part 3: Getting the Story Going
Hello everyone, and welcome back to King's Quest II. We rejoin Graham outside of the dwarf's house. Now that we've robbed the dwarf, we can finish the second half of the fairy tale from the first update. Well, kinda.
In spite of the various violent ways that Sierra protagonists can kick the bucket, King's Quest is ultimately not a violent series.
So while we're going to somewhat re-enact Little Red Riding Hood, we're not going to be dealing with the Big Bad Wolf. The wolf, in fact, doesn't even have to show up.
 : Graham knocks on the door loudly. From inside he can hear a muffled voice saying "come in."
Unlike with the witch from the first game, there's not even a way to tell if the house is safe or not.
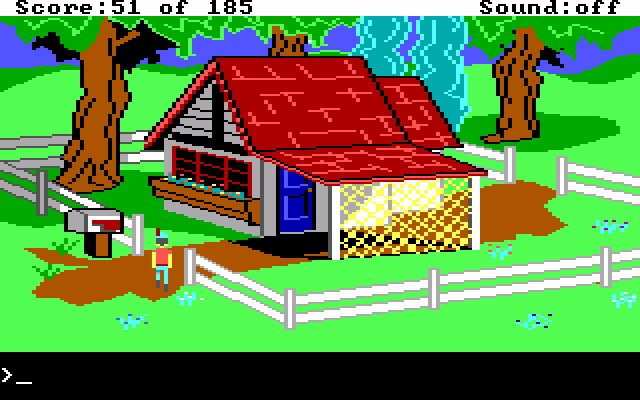
: Oh dear! A wolf in grandma's clothing is in the bed! Get out of there, fast!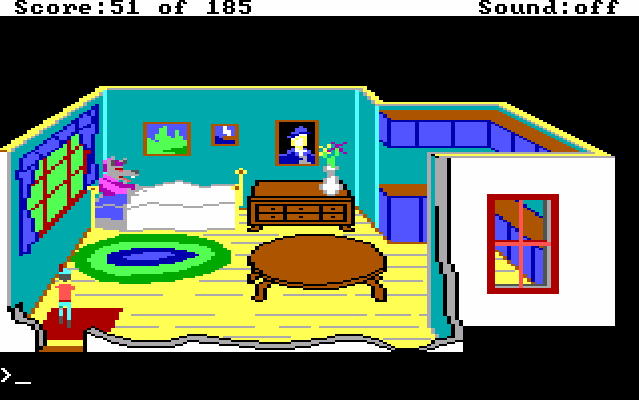 : The wolf pounces on Graham! My, what big TEETH he has! Good enough to eat you with, my dear.
It's up to pure, blind chance if the little house is safe or not. I deliberately left and re-entered until the wolf was there in place of grandma. To get the house to be unsafe, it took about five tries.
If you're unlucky, you also have plenty of time to leave. As you can see in the gif above, it took the wolf a little better than a second to notice that Graham was there and get out of bed. I also cut out the narration up above, which pops up on top of the screen before anything else does.
So basically in order to get this death, you need to go out of your way to trigger it.
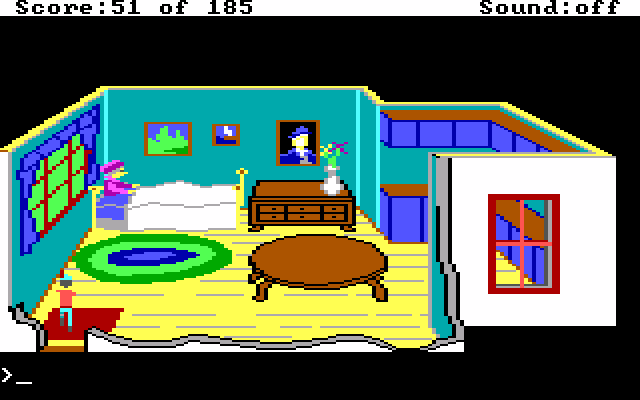
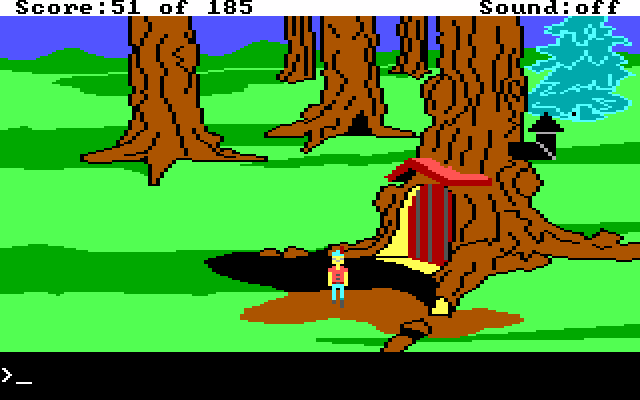
Normally, Grandma's house looks like this.
 : Hello ma'am.
 : Good day, kind sir. I would like to offer you a cup of tea, but as you can see, I am ailing.: I have some soup, if you like. Maybe it will help you feel better...: Graham feeds the hot chicken soup to ailing Grandma.
 : I feel much better. In return for your kindness, I have something for you. Look under the bed.: Graham kneels down and peers under the bed. Folded neatly, back against the wall, he finds a large ruby ring and a black cloak. He carefully takes both.
 : The black cloak would better fit a man taller than you. Red satin lines the inside.
 : The ring is gold with an enormous red ruby. The initials 'C.D' are engraved inside the gold band.
A red and black cape, a gold ring engraved with the initials C.D., a mallet, and a stake?
: With a flourish, Graham flings the black cloak around his neck and fastens it. He then slips the beautiful ruby ring on his finger.You can put them on at any time after getting them, and failing to do so will eventually kill us. So just put them on now and forget about them.

We're behind the dwarf's house, still wandering around aimlessly, when...
: You have come upon a quick little dwarf! Dwarves have a bad reputation for stealing treasure.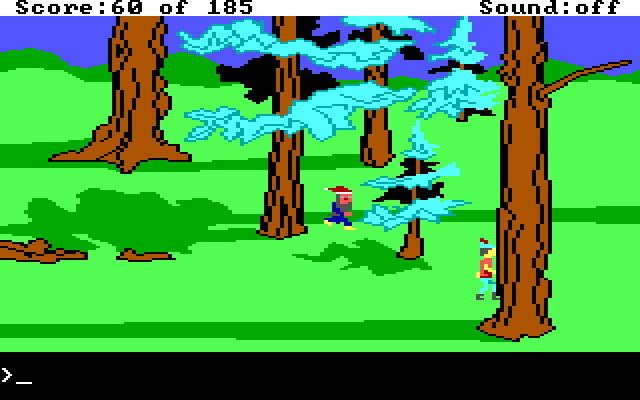
This is why you stay on the outside edge of the screen. Thankfully treasure that's stolen in this game isn't gone permanently. Instead, you just have to go back to the dwarf's house to get it back.
Although...
: The dwarf seems to have left you alone, thanks to your protective spell!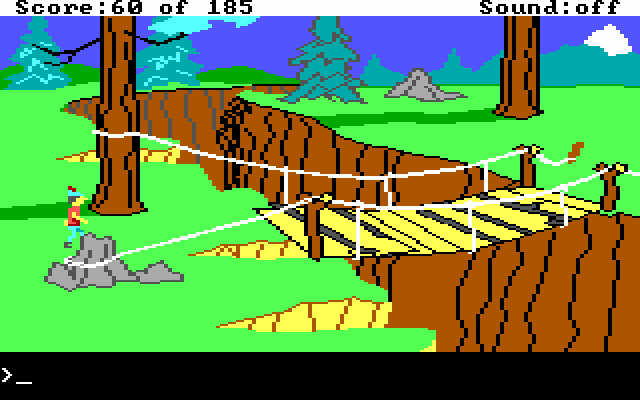
Soo... this bridge. Thiiiis bridge. We're on screen G6, just above the mission. Now I want you to watch this next gif carefully.

You may have noticed something at the end there. Watch it again if you didn't get it. Still stumped? We got a single point for crossing the bridge. This is your only indication that this bridge is important.
I'll cover exactly why the bridge is important later, but for right now know that we're going to get a single point each time we cross it. It's another one of those patented Bullshit Sierra Scenarios.
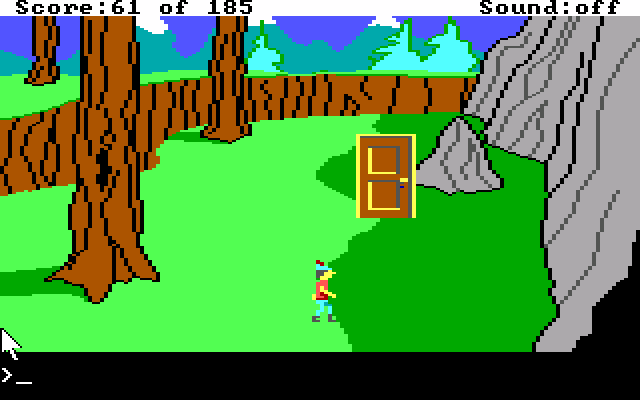
Screen F7 has this door to nowhere on a bit of land completely surrounded by mountains and a ravine, with the only way to access it being that bridge I mentioned before. There's a pretty good chance that it's important. So let's take a look.
: This is a magical door! If you can open it, the door will lead you to your heart's desire. There is an inscription on the door.: The inscription on the door reads: Whosoever chooses to seek the key for this door will undoubtedly make a splash.That's the only hint you get. So it's time to get back to wandering around. And by wandering I mean I'm going right for our destination.

Clear on the other side of the map, on screen C1, a mermaid has now appeared.
: The mermaid has long flowing hair covering most of her upper body. The green scales on her fish tail are sparkling like emeralds as she slowly waves it back and forth. She beckons with her hand.: Hello, miss mermaid. Um... nice day out, isn't it?: The mermaid does not reply. She gives Graham a qizzical look and continues waving her fish tail.: You're very beautiful, and I was wondering if you would like these flowers...: Graham graciously offers the beautiful bouquet of wildflowers to the mermaid. She loves the flowers! She then summons forth a magic seahorse and gestures.: You want me to ride this? Okay...: Quick as a flash, it glides under the water with you on its back!
Well, we made a splash, and there's our key. Let's see what this king has to say for himself.
: Glub, glub, glub, glub....... !!!!!!No really, the game says that if you try to talk to him. So let's try to do this nonverbally. If I'm being honest, that was probably his trident we found on the beach, meaning we have the power of Neptune in our hands. So let's have a little fun...
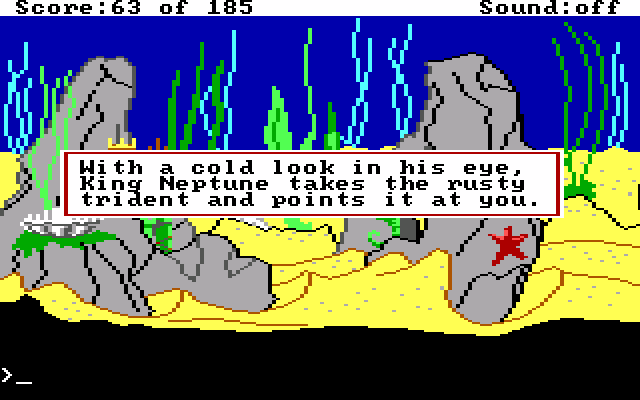
>wave trident
: Graham waves the crusty trident in front of the immense clam and slowly it opens... revealing a large golden key! Graham smirks and hands the trident to Neptune. With a cold look in his eye, King Neptune takes the rusty trident and points it at Graham, who feels a powerful surge of electricity and then... nothing. He dies at the bottom of the ocean.So obviously that was the wrong thing to do, but it was fun to show off. Now let's rewind and try again.
: Graham hands the rusty trident to the mermaid. Oh, no! She dives into the water and disappears with it! Now she's gone.You might think this is a dead man walking scenario, and you're partially right. You can leave the screen and return, and the mermaid is back. From there, things proceed as before.
>give flowers to mermaid
>ride seahorse
Then we arrive back at Neptune's lair.
Where he instantly kills you for no particularly good reason. This is one of those deaths you have to work for, but is pretty funny all the same. So let's restore again and do it right.
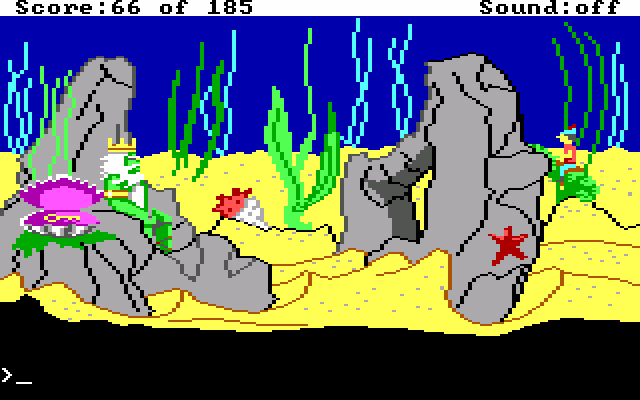
: The bottom of the sea is teeming with fish and plant life. King Neptune rules this mighty underwater empire.We're back in front of Neptune, he's not pissed off, and Graham has the trident.
: Graham holds the trident out to King Neptune. Reverently, the King accepts his lost trident. He gives Graham a bottle, then waves the trident in front of the huge clam, which opens and reveals... a large golden key! Graham takes it. : It is a shiny gold key.
Once we have the key, we're done underwater. So just leave the way you came and...
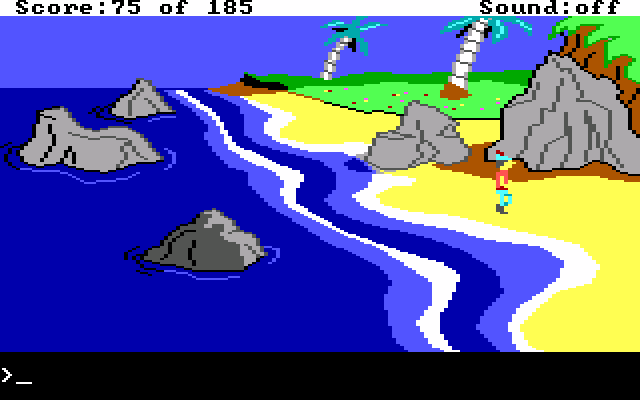
We're back on solid land no worse for the wear. That's enough for now.
NEXT TIME: A special cameo or two.
List of Points
+2 - Chicken soup for Grandma
+4 - Gifts from Grandma
+3 - 1 Ring for a mortal man doomed to die
+1 - Crossing the bridge
+1 - Crossing the bridge again
+2 - Graham's got a mermaid girlfriend
+2 - Seahorse rodeo
+4 - Neptune has his trident
+5 - Neptune's golden key
Total: 75/185
Register of Deaths
My, what big teeth you have
Tumbling off the cliffs
Pissing off Neptune x2