Part 12: Excuses, Excuses
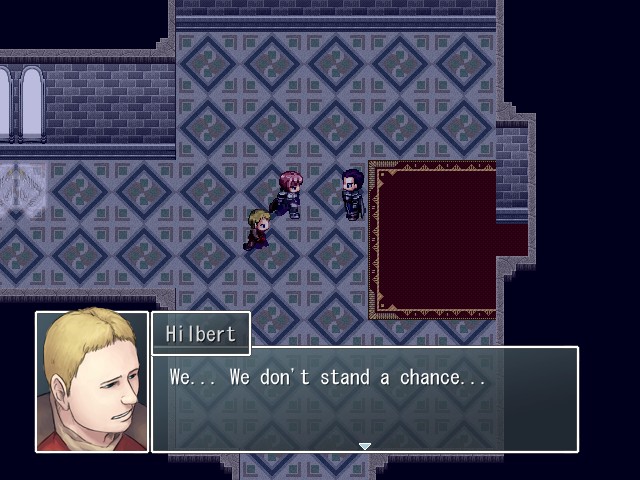
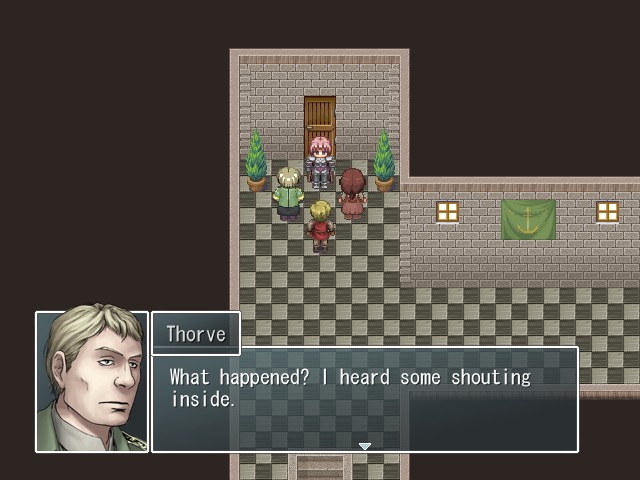
Welcome back. Last time on Last Scenario, we attempted to assassinate Emperor Leopold, with the help of his daughter, Princess Helga. But we failed miserably, mostly owing to the fact that Felgorn was waiting in our way. Felgorn kicked the shit out of us, but we were saved from death by Thorve, who showed up at the last minute and called on Felgorn to stop. Apparently the two men knew each other from long ago, and that old friendship was enough to convince Felgorn to let us flee. But we still had to escape the city, and now that we're stuck outside it we can't take the underground waterway back to our ship. So it's time for us to find another way back to the beach we first landed on. Let's get to it.
Music:

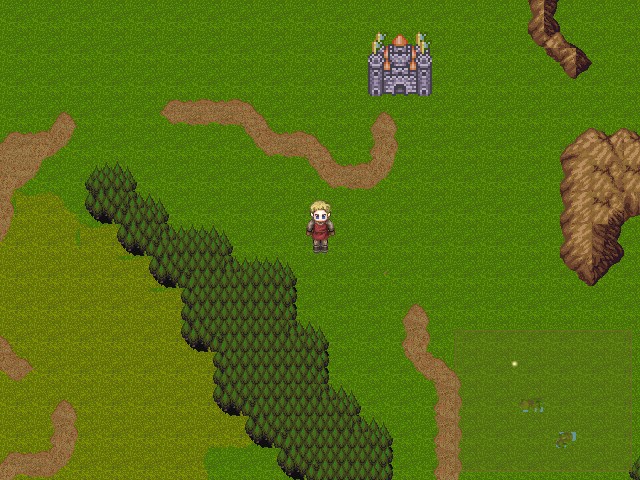
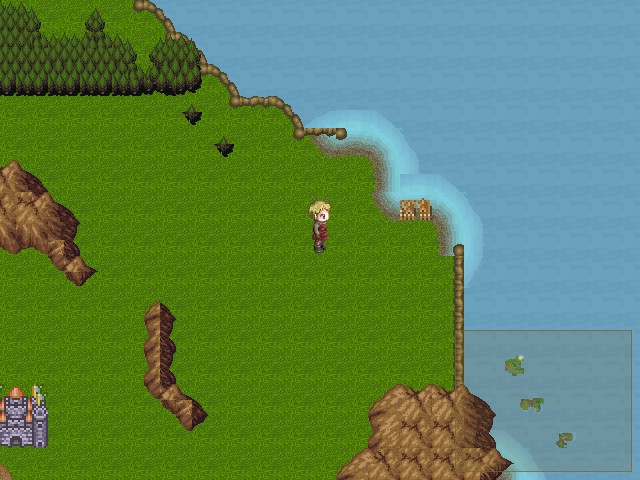
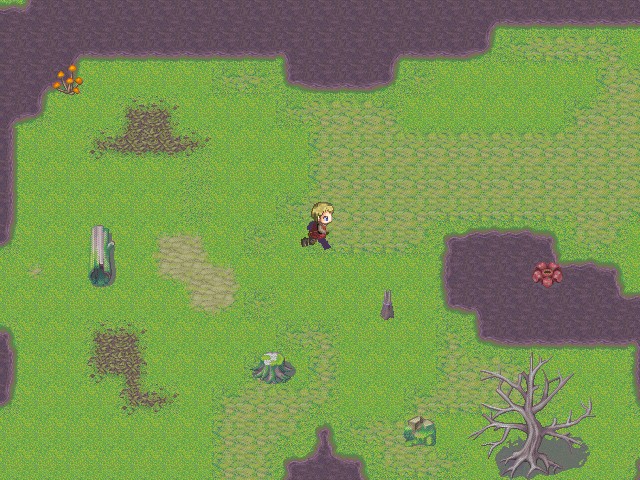
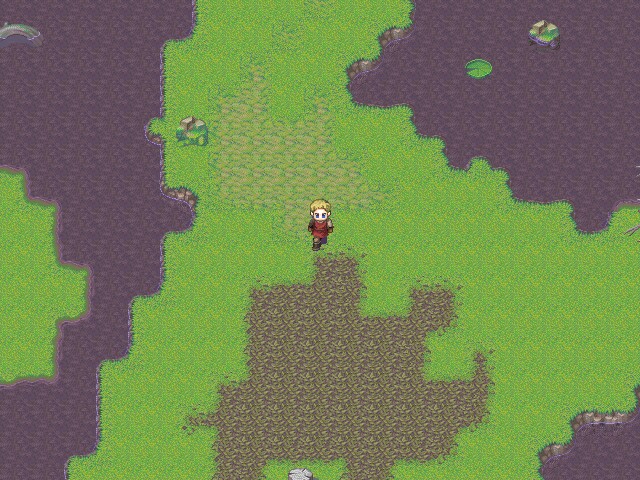
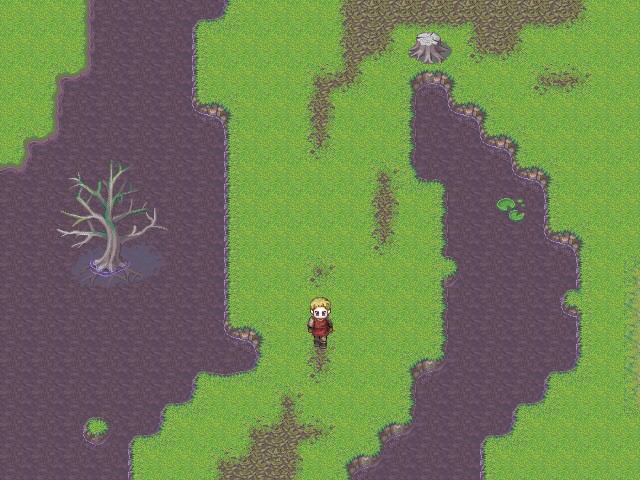
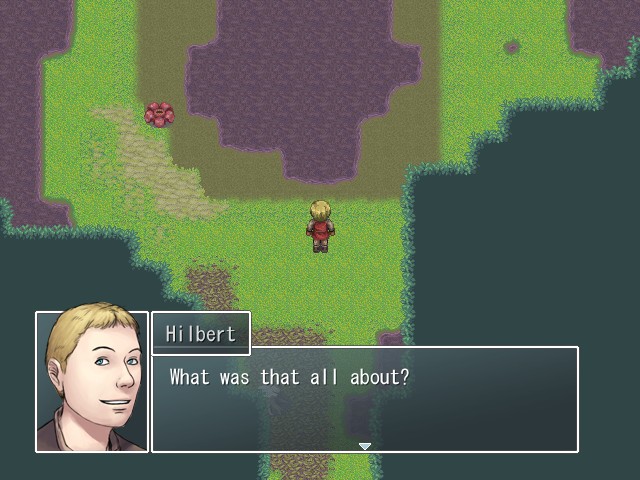
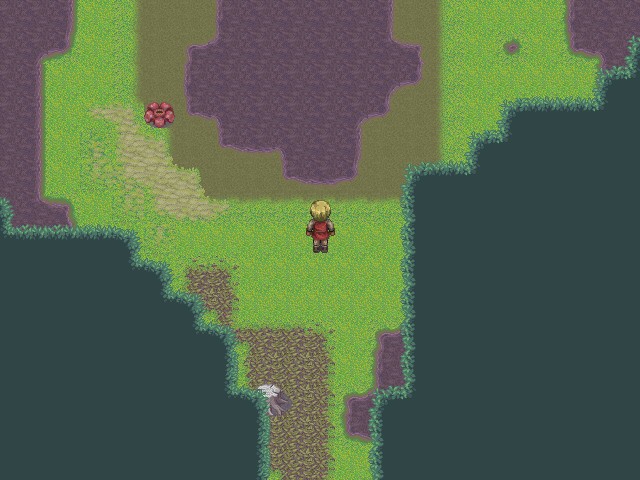
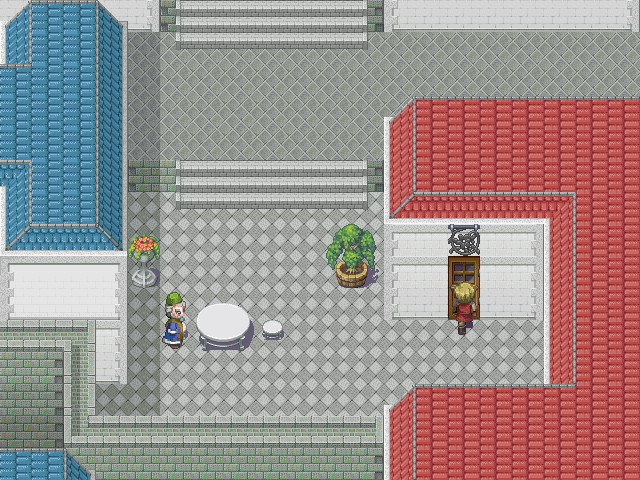
Following the events of the previous update, we're dumped on the world map a bit outside of Herzog. You can see from the dot on the minimap that we're significantly to the north of the area where Fort Walstein was.

Well, I'm sure the Empire has forgiven us by now, so let's just head back into Herzog and--
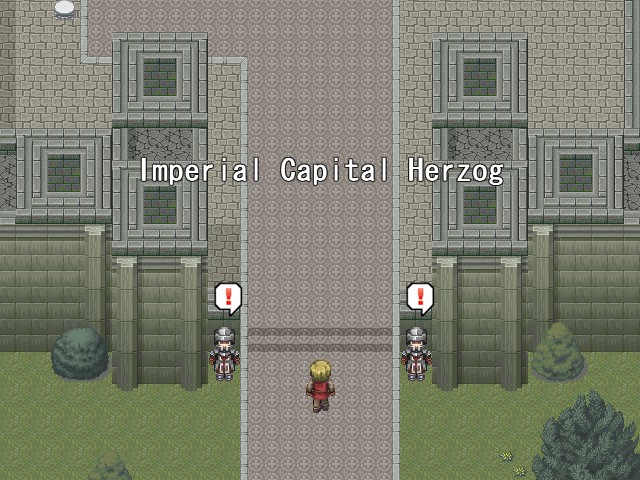
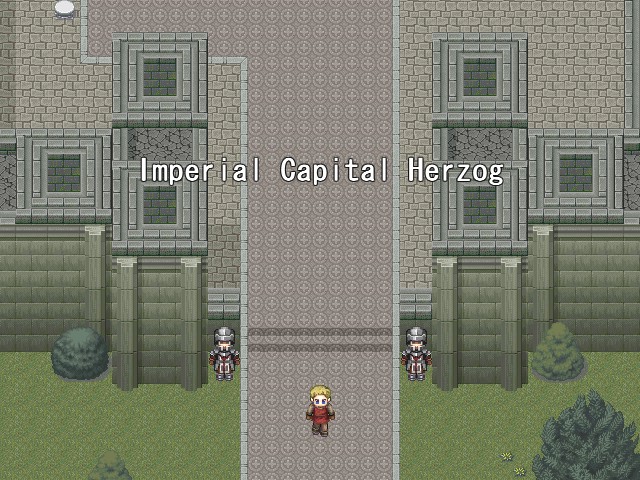
Okay, yeah, you knew that wasn't going to work. Trying to head back into Herzog just makes Hilbert automatically flee.
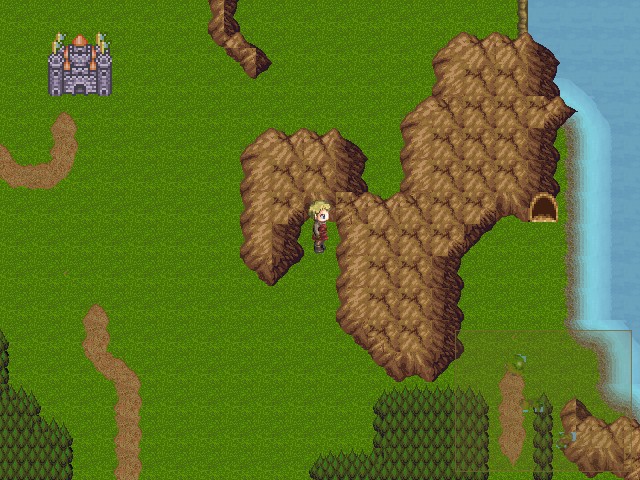
Our actual destination is this cave to the east of the city, which is where we entered the Underground Waterway and where our ship is waiting for us. Unfortunately there's no way to get there directly from where we are, so we'll need to find some way of getting over there. Since we're on a new area of the world map, might as well take a look around.
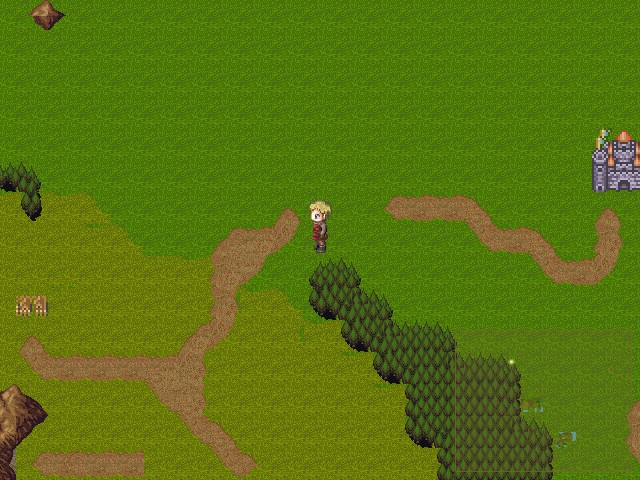
First up, let's check out this town to the west of Herzog.
Music:

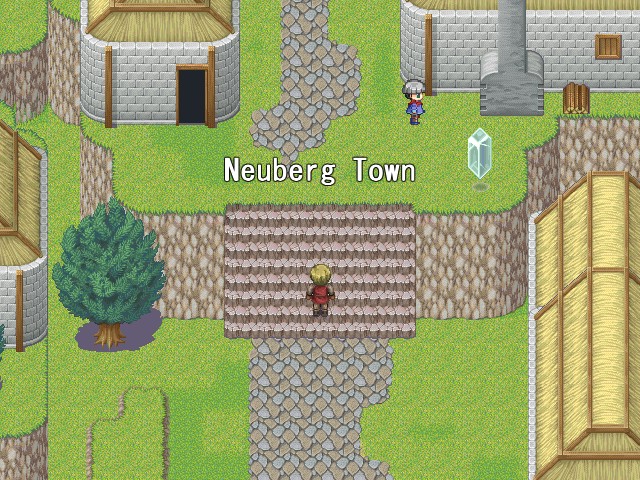
Like Melende in the Republic, Neuberg is basically just a rest stop, as well as a way to let us buy supplies since we can't get back into Herzog. The only shop in town is an item shop with the standard fare, but there's still a few interesting tidbits of information we can learn here.
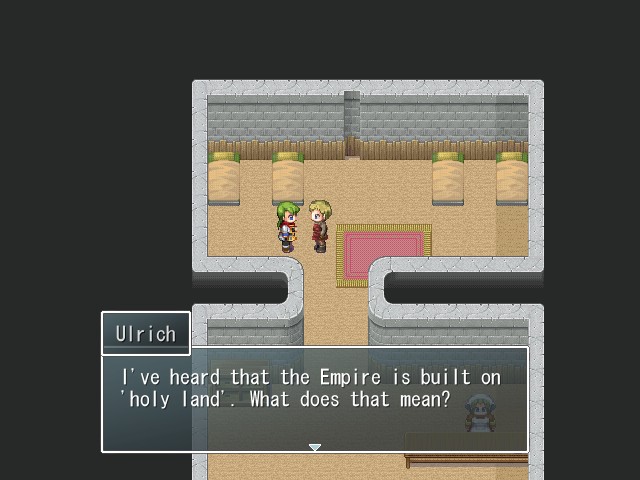
First up is this guy who lets us know about the "holy land" where the Empire is situated. This won't be the last time we hear about this.
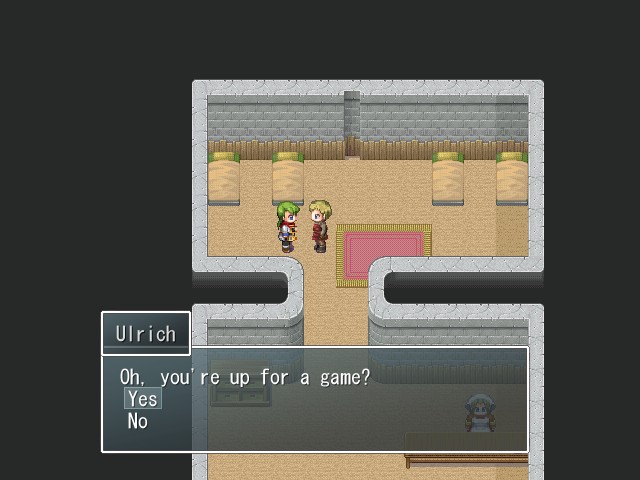
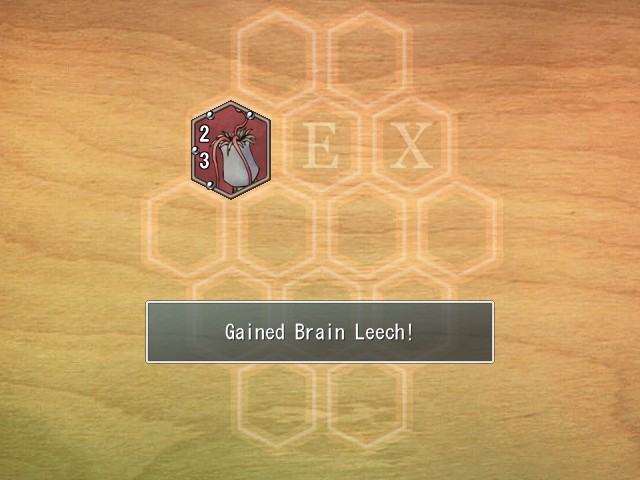
He's also a Hex player, and I take two new Brain Leeches off of him.

There's also this guy who tells us about a mysterious tower to the west. A mysterious tower in an RPG is just begging to be explored, so you can be sure we'll be seeking this place out later.
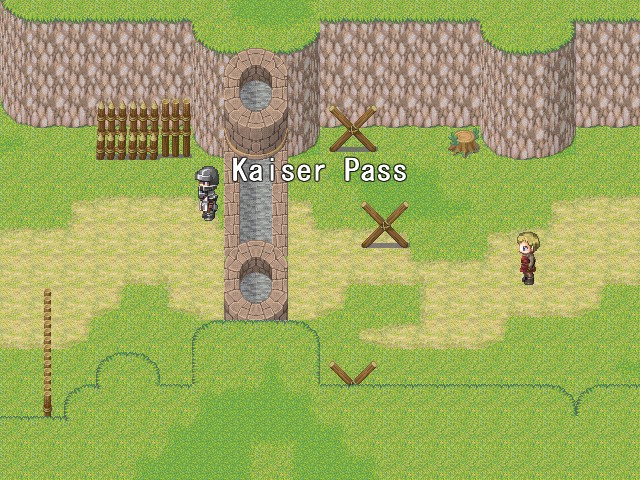
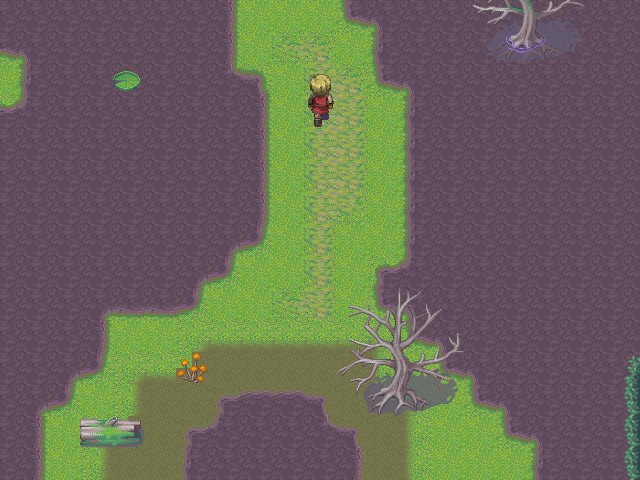
Anyway, that's about all there is to see in Neuberg. Next up is the Kaiser Pass, located southwest of the town. However, we can't get through the gate here.
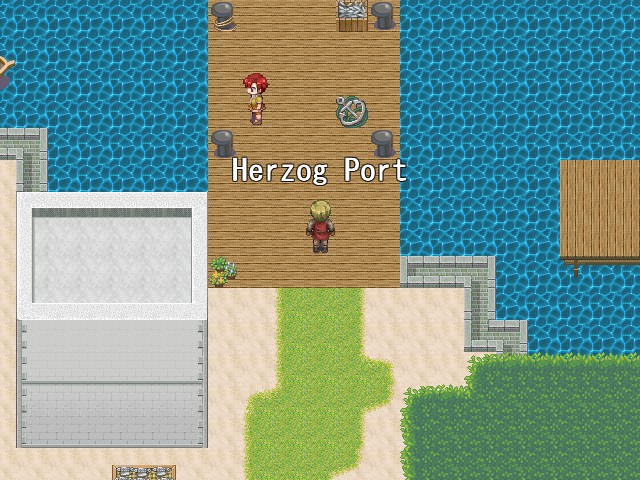
Also nearby is the Herzog Port, located to the northeast of the capital. The only thing here, though, is a bunch of sailor NPCs who don't have anything important to say.
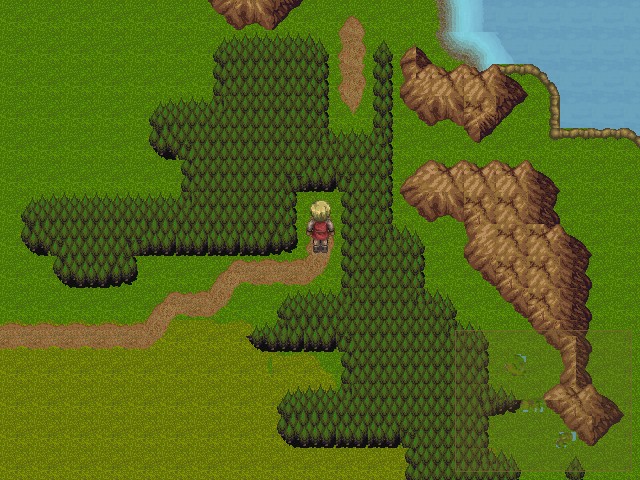
Now then, the place we're actually supposed to be heading is this path in the southeast heading into the forest. Aside from the path on the map it's not actually clear that this is an enterable location, but it is nonetheless the way to go.
Elsewhere...
Music: None


Oh hey, it's that one dude in the cell we saw all the way back in... what was it, update 2? We didn't see him during our string of NPC-revisitings last update, so might as well see what he's up to now. As before, there's no sound aside from some slowly dripping water.
 My name... Oh, I still remember. How long has it been? Months? Years? I don't know... How much longer...?

Back with Hilbert...
Music:

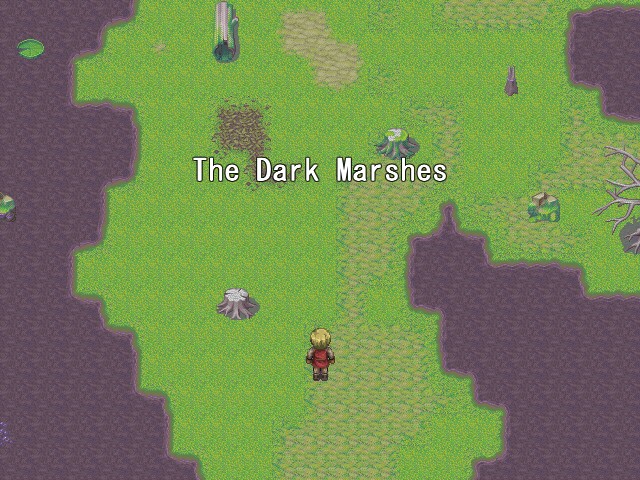
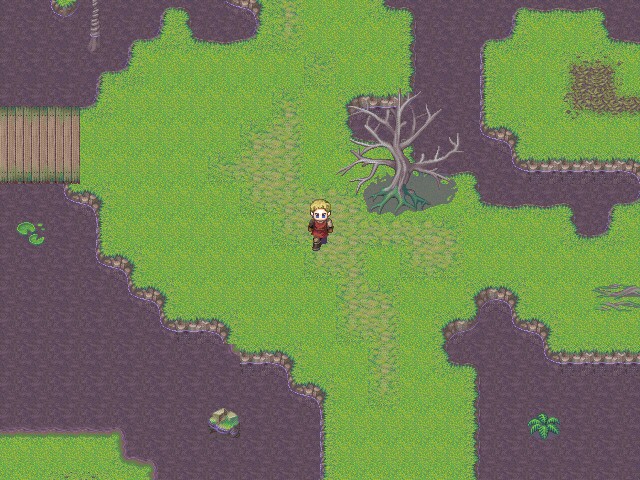
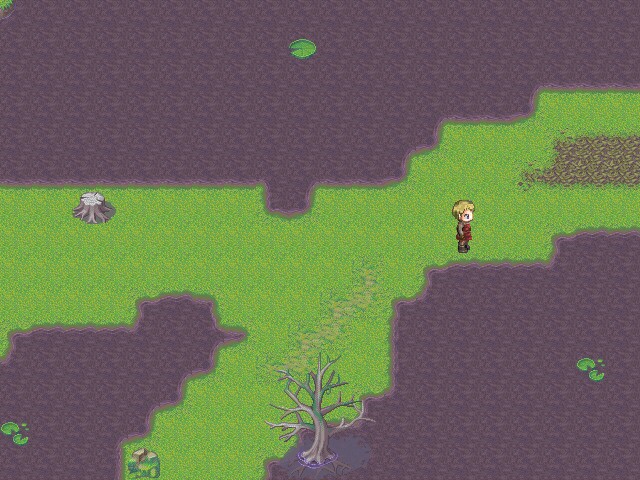
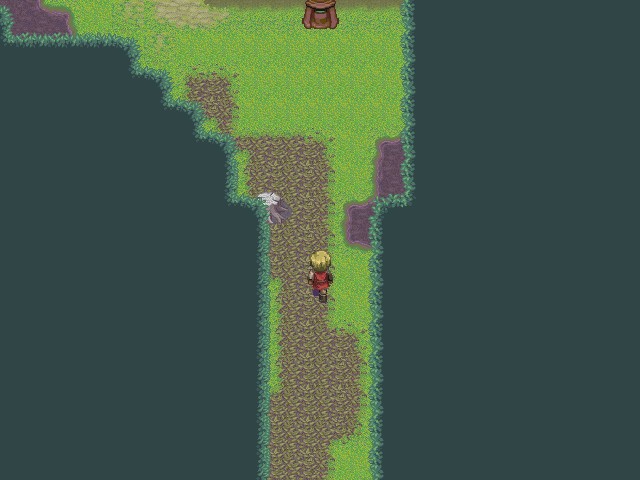
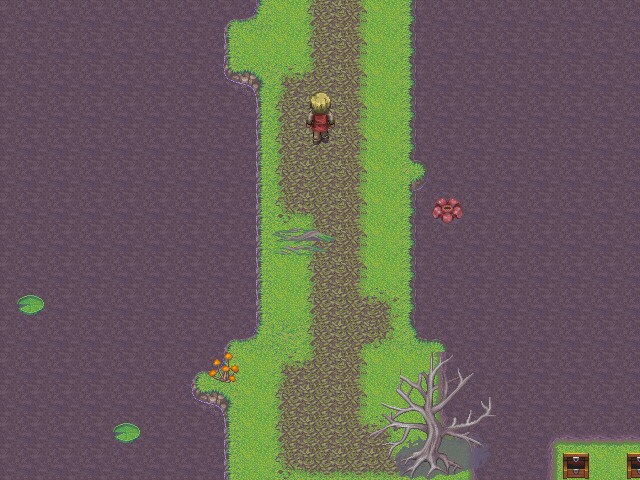
Aaaaand it's dungeon time again. The Dark Marshes are another "get from point A to point B" dungeon without any fancy gimmicks. They're slightly more of a maze than other dungeons have been, but it's nothing worth worrying about.
So let's start the monster tour. We saw a few Wraiths while we were heading through Alexander's tomb, but the Bogdrin on the left is new. They're not too bad: they have a physical attack doing about 15 damage and a technique called Frost Bite (note the space) that does slightly more in ice damage. They can be a nuisance if they decide to use their technique Black Wave, which does about 20 damage to the entire party, but otherwise they're pretty easy to take down.
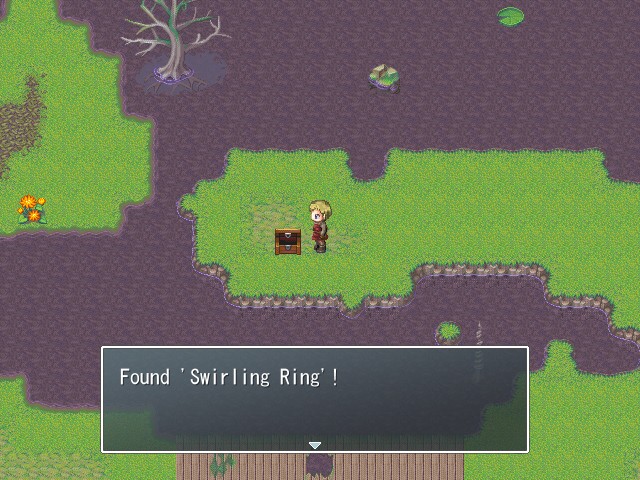
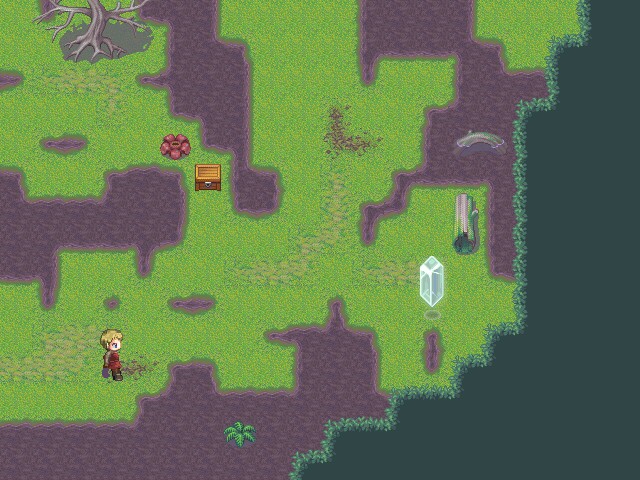
The first treasure of the dungeon is a pretty nice one, and is the first instance of what is arguably the next "tier" of status-preventing accessories. Whereas most accessories we've seen so far prevent a single status effect, the Swirling Ring prevents Poison, Blind, and Silence all in one. Hilbert puts it on, replacing his rather outdated Dash Ring.
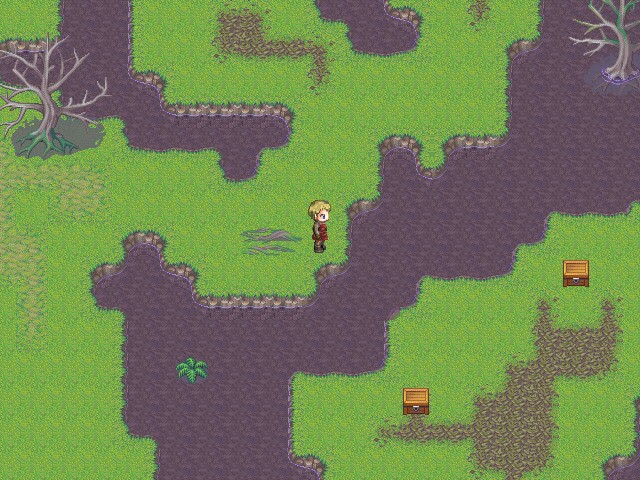
There's also a few treasures in this area that we can't reach quite yet. We'll have to see if we can find a way back here later.
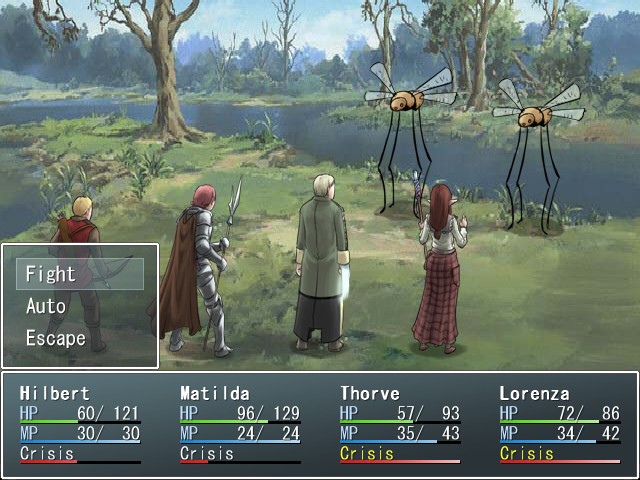
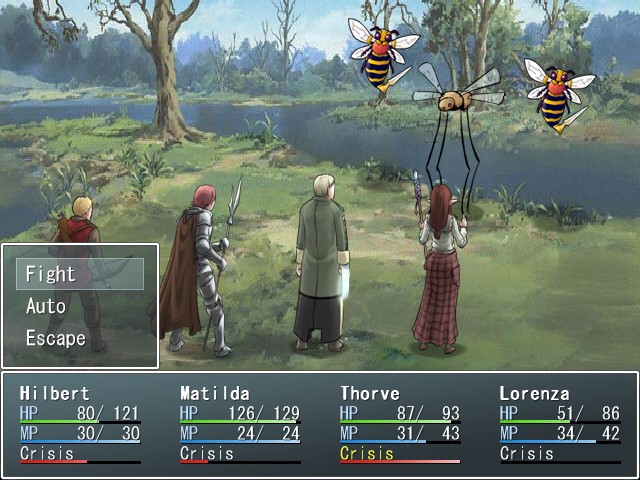
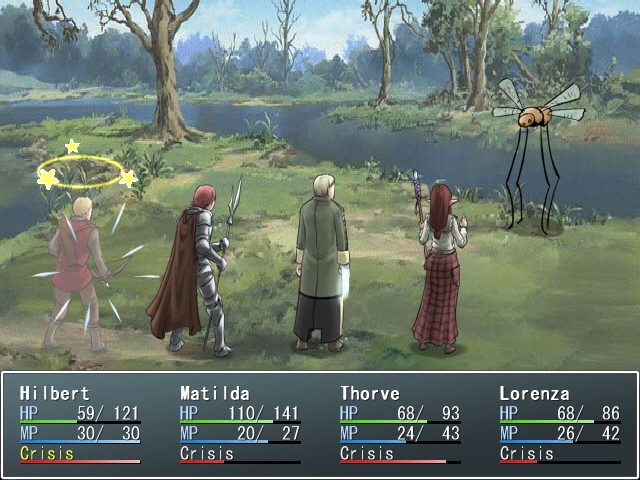
A little ways further in I run into these fuckers. These fuckers are Sky Dancers, and are fast enough to go before anyone in our party. While their physical attack only does 10 or so damage and they have very low HP...
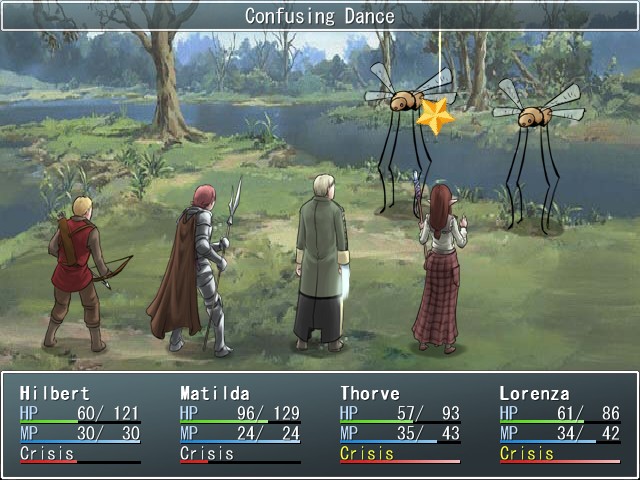
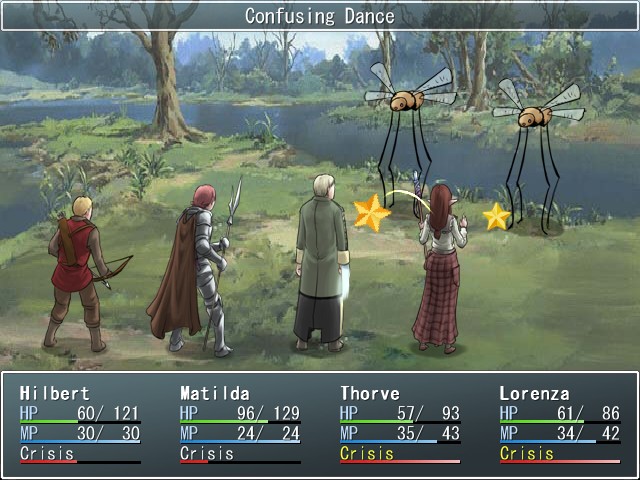

... they have the annoying as fuck ability to inflict Chaos on a party member with Confusing Dance, in addition to a good 20 damage or so. Chaos, which is indicated by the cuckoo stars flying around Lorenza's head, is basically the equivalent of confusion in other RPGs, and causes the afflicted character to physically attack allies and enemies at random. It's dispelled when the character is hit with a physical attack...
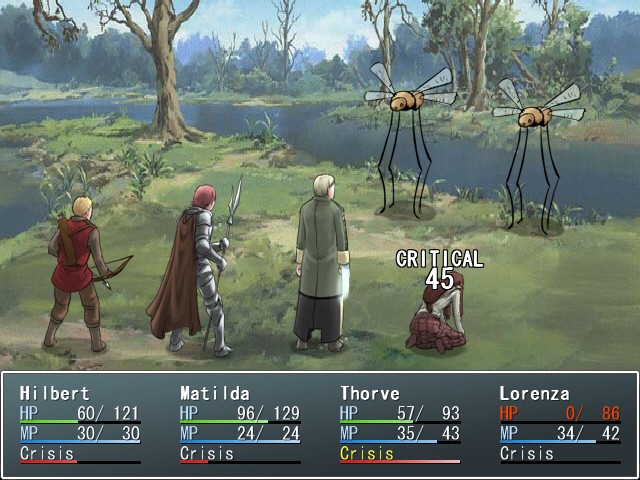
... but that doesn't help much when Lorenza's very next move is to critical herself into oblivion.
 Fortunately, while KO'd characters stay KO'd after a fight ends, they still gain experience whether they're conscious or not, so I don't have to scramble to get Lorenza back up.
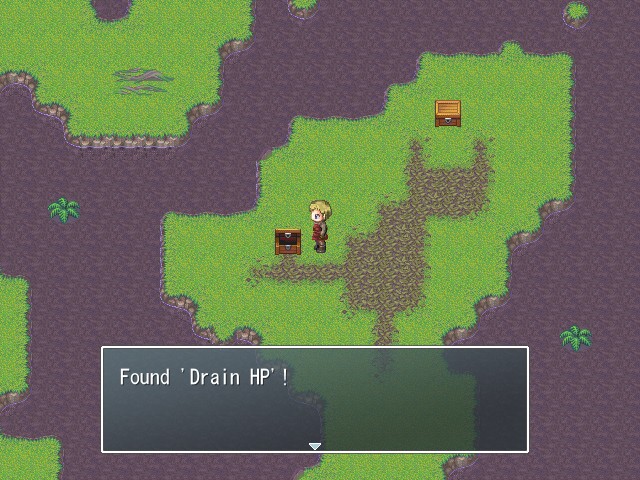
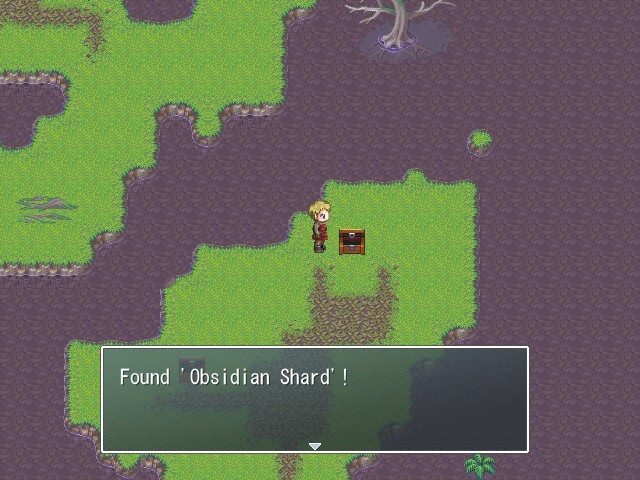
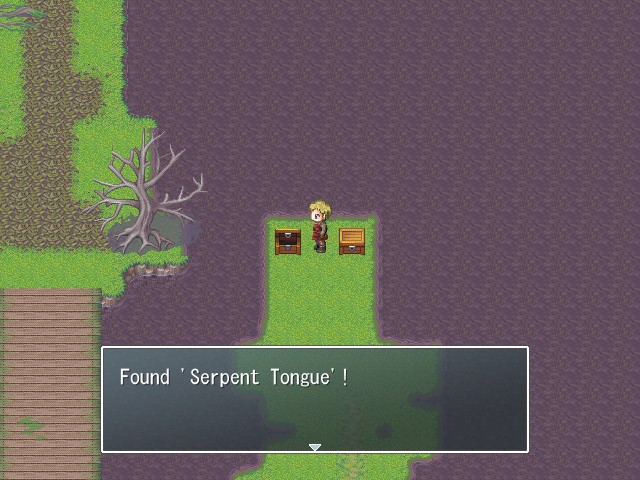
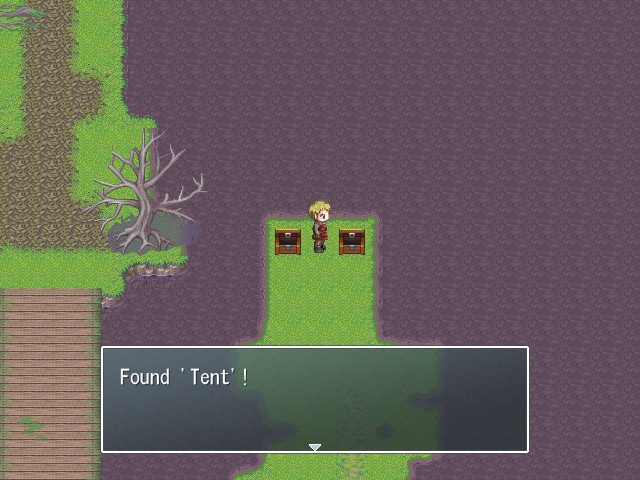
If we head to the right in this area, we can circle back around to the two chests we saw earlier, which contain another Obsidian Shard and a rather interesting spellcard:
 Drain HP (8MP): Drains a small amount of HP from a target and gives it to the caster.
Crisis: Drain MP (0MP): Drains a small amount of MP from a target and gives it to the caster.
Stat changes: +1% max HP, +1% max MP
I've never found a huge use for this, as the HP drain is too small to be helpful and there are better ways to restore MP than wait until your character goes into Crisis. I can see some people liking it though.

Heading back to the area where we were previously, there are two paths continuing on to the south. The right one just runs into a dead end, though, so we head down the left path.
Along the way we run into some Sword Bugs. These guys aren't anything special, with their only real attack being a physical one for about 10 damage. They also have a technique called Hyper Blade which appears to buff all enemies, but I have no idea what it does as I didn't notice any change. They go down pretty fast.

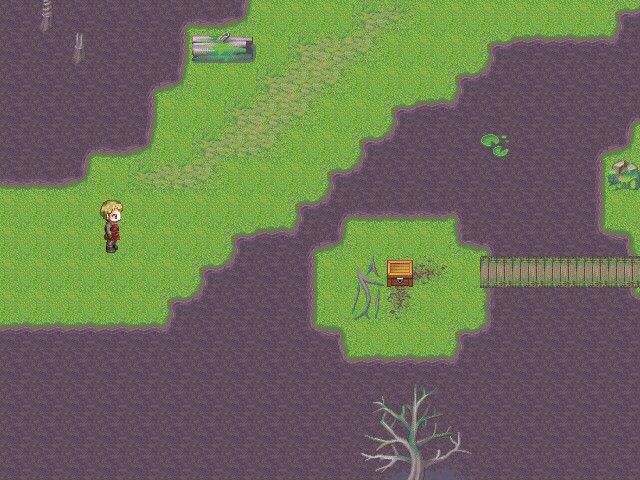
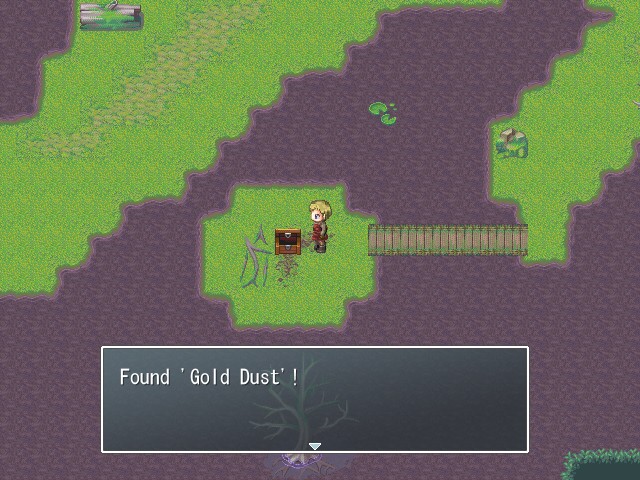
Another Gold Dust awaits us along the path. Considering how powerful these things are right now, I'm certainly not going to complain about how frequently the game is handing them to us.
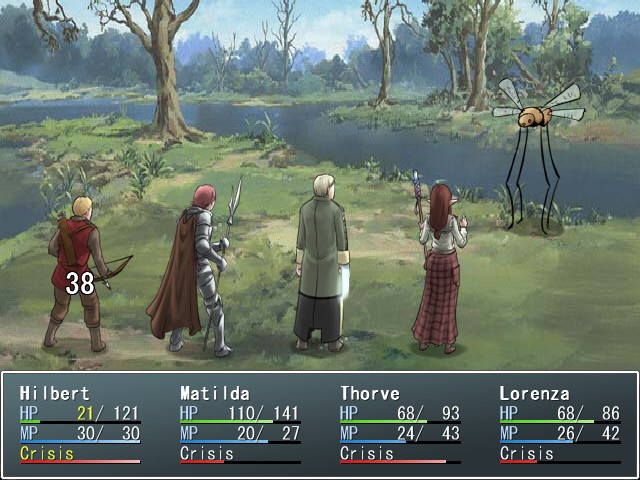
Also, somewhere along the line Hilbert got hit with Chaos and then somehow managed to shoot himself with his bow. Now, Lorenza whacking herself with her own staff I can see, but how on earth does this even work?
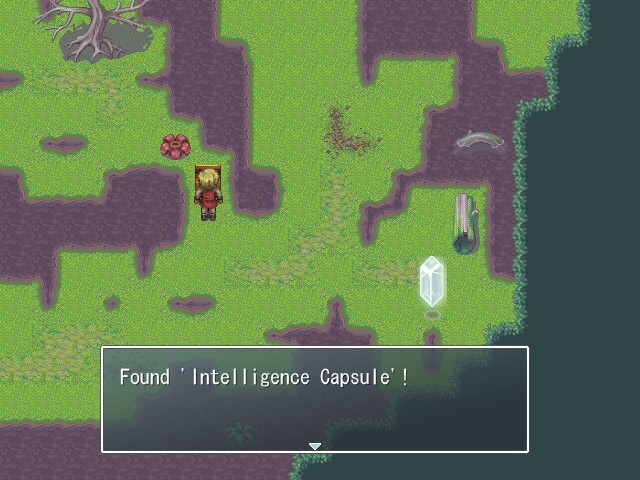
Anyway, the Dark Marshes are pretty short. Lorenza pops the Intelligence Capsule, and it should be pretty obvious from this screen what's coming next.
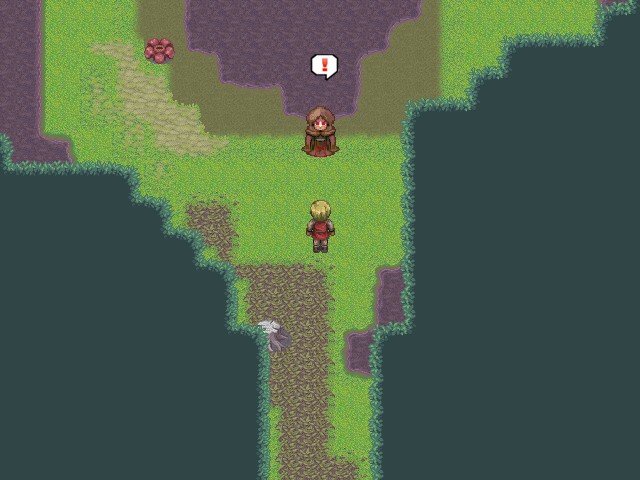
 Oh well... Nothing personal, but now that you've seen me here, I can't let you live!
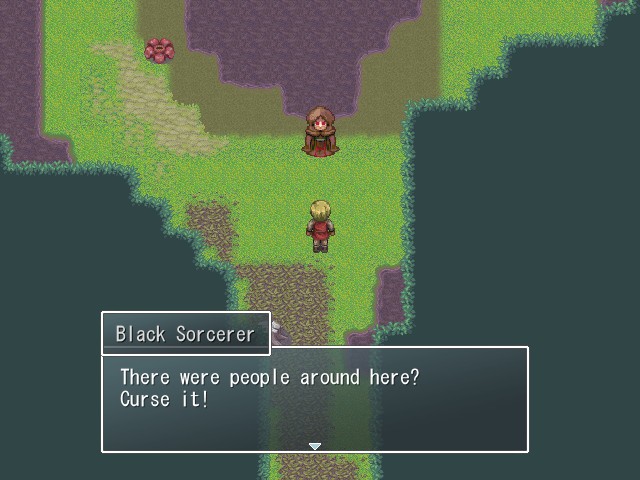
 Huh? You want to attack us by yourself? Don't worry, we're just passing through. What are you doing here? Hehe... Actually, I'm practicing forbidden magic. This land is perfect for these purposes... it's no wonder they call it the Holy Land. Me fighting on my own? Think again! I'll show you the product of my research. You'll make excellent test subjects!
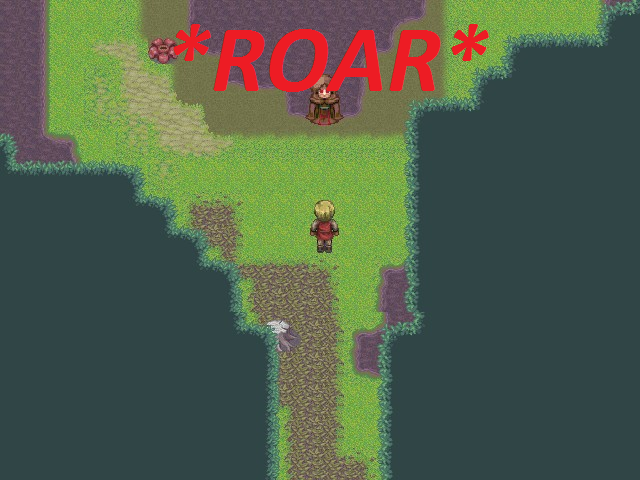
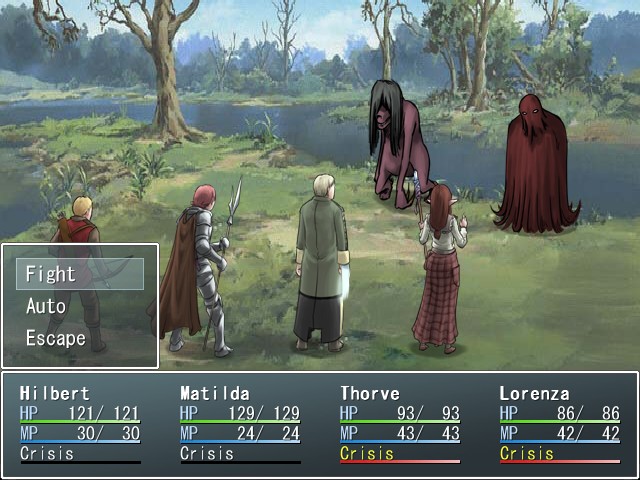
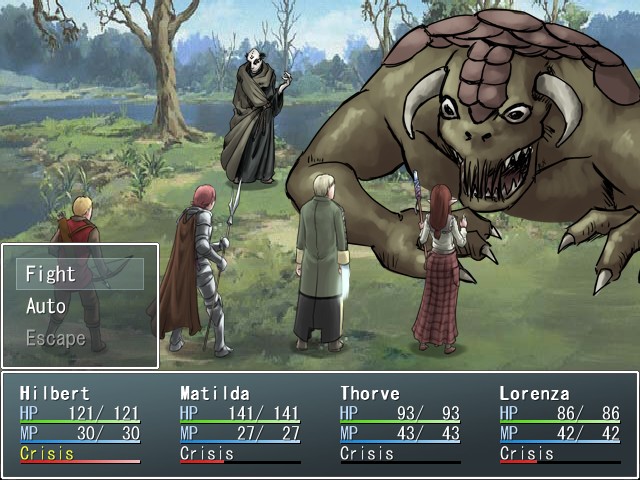
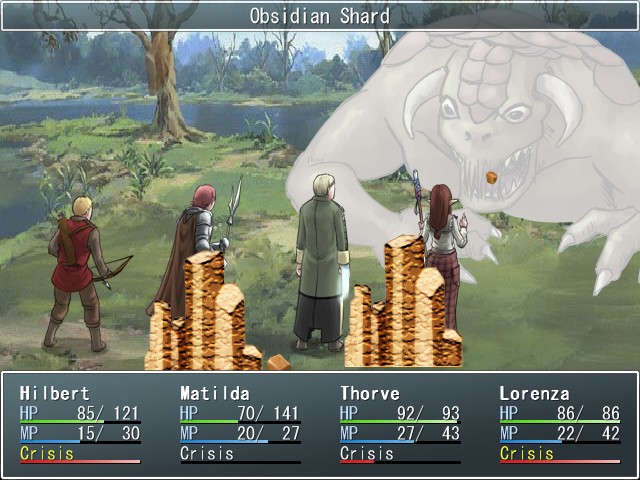
BOSS FIGHT: Swamp Beast & Black Sorcerer
Music:

That's some research you've been doing there.
 And it's time for another boss battle. At least this time the game was kind enough to provide an explanation for why we're being thrown into one.
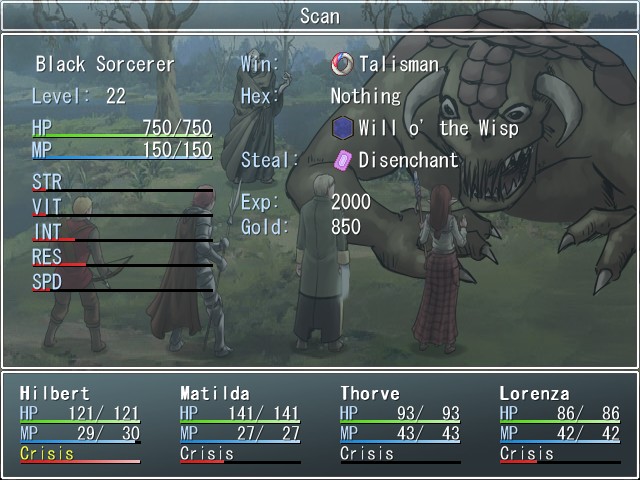
It's pretty obvious who wears the pants in this relationship. Unsurprisingly, the Swamp Beast is the big damage dealer of the pair, but as you've probably already guessed, the Black Sorcerer should be your primary target in this fight. Why?
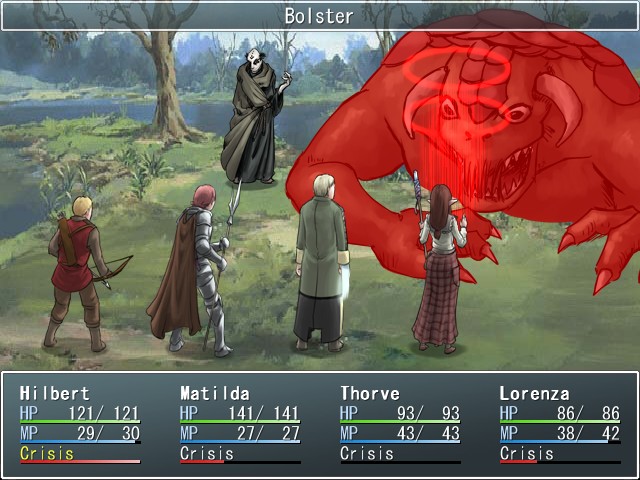
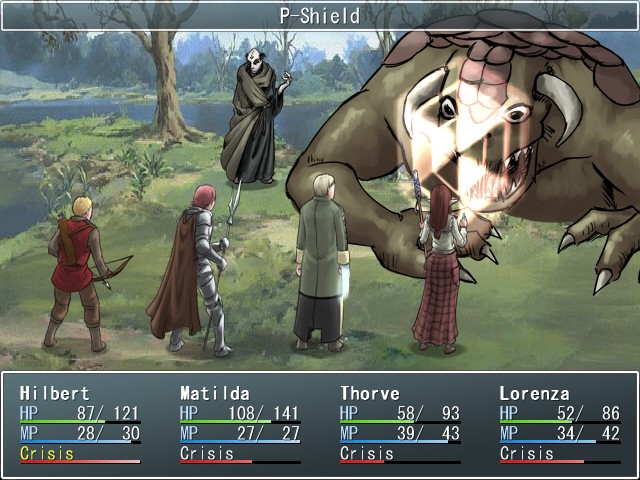
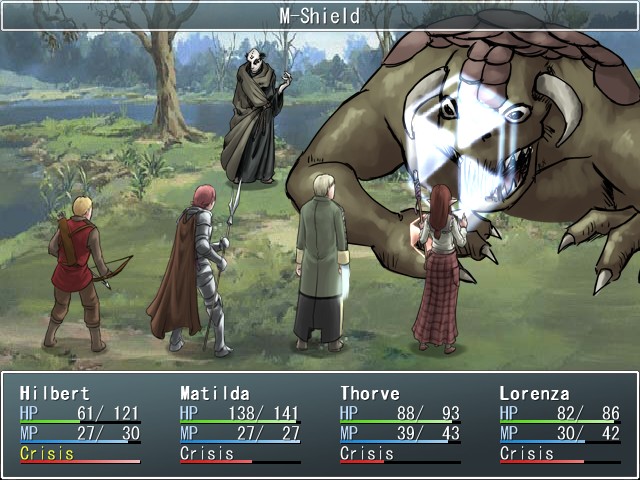
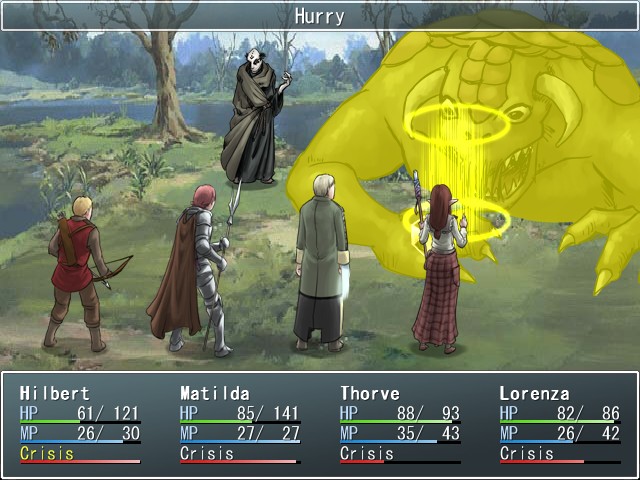
Because the Black Sorcerer has one objective and one objective alone, and that is to buff the fuck out of the Swamp Beast. In addition to both flavors of Shield, the Sorcerer will support his pet with Bolster, improving its STR, and Hurry, improving its SPD. Luckily, Hurry isn't as crazyawesome as Haste was in Exit Fate, and in practical terms the boost from Hurry just means the Beast will be moving before Thorve instead of after. Hilbert and Lorenza are still the fastest characters on the field, Hurry or no.

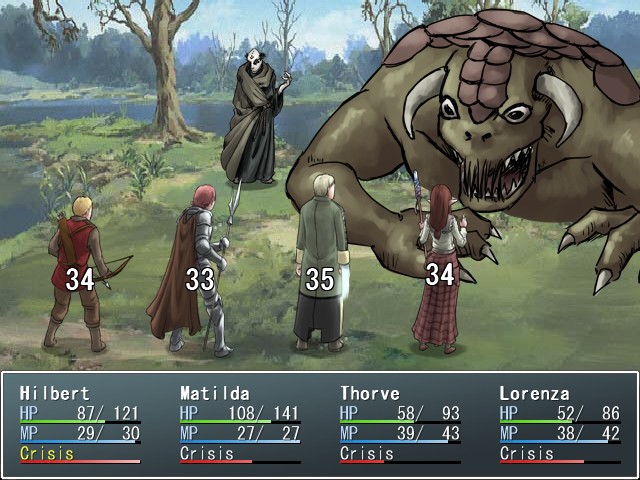
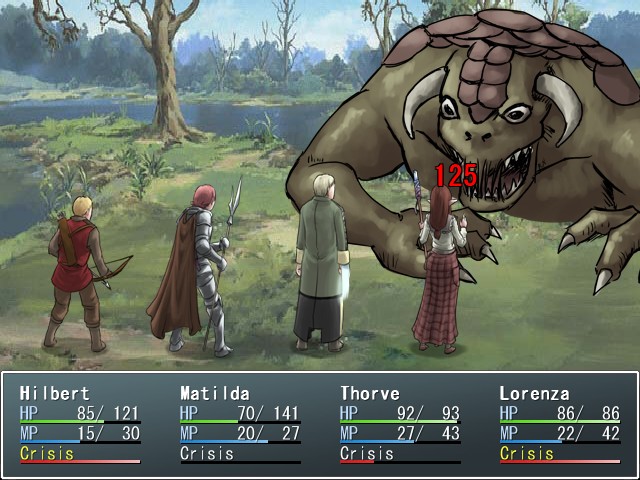
The Swamp Beast's job, on the other hand, is to hit you really hard and that's about it. On most of its turns it will use Great Claw, dealing a good chunk of damage to the entire party. Keep in mind, though, that this shot is with Bolster active.
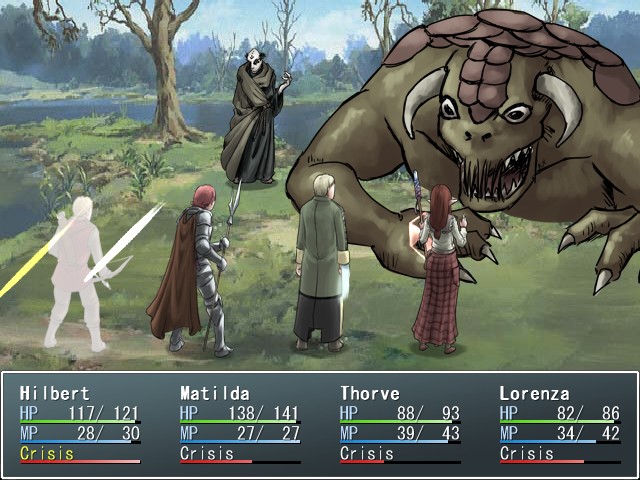
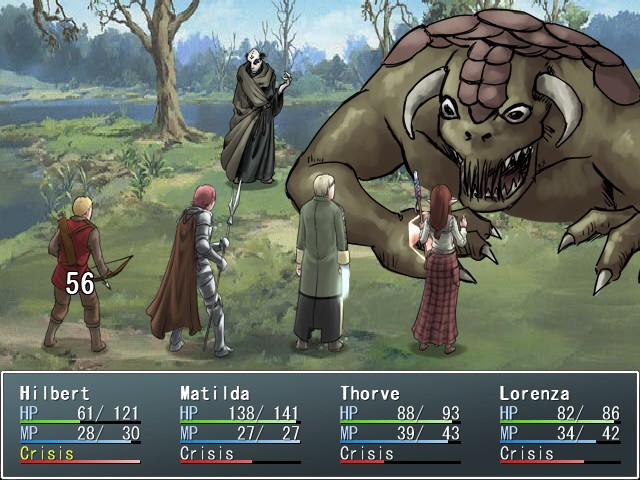
The Swamp Beast's regular attack is the really dangerous one, though. With Bolster active it can two-shot Lorenza and Thorve easily.
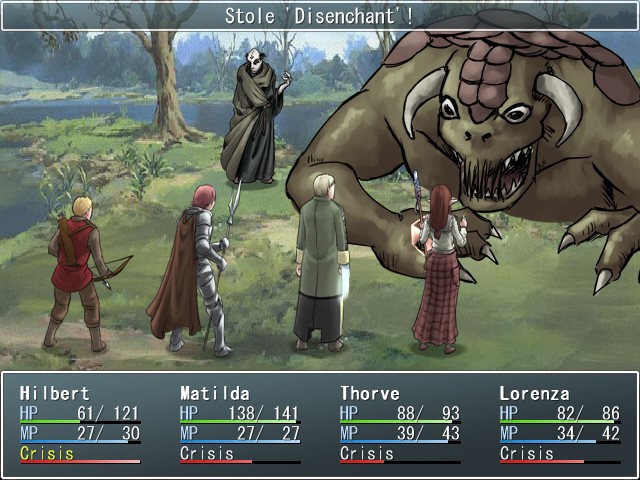
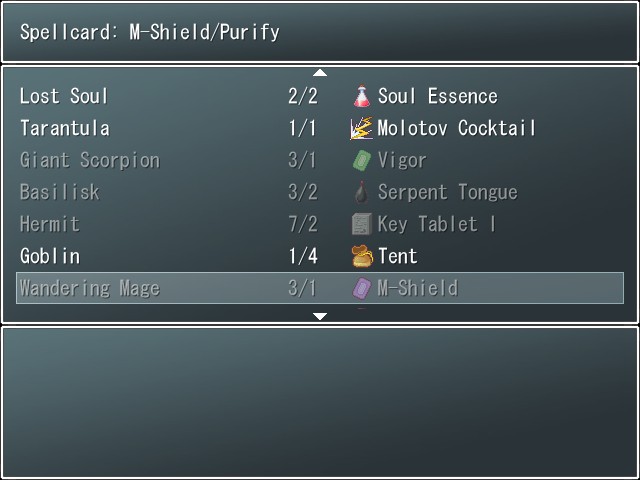
Anyway, in the middle of going to town on the Black Sorcerer, Hilbert swipes this very important spellcard from him. It's a shame you can't change your equipped spellcards in battle, because this card would have been perfect for this fight:
 Disenchant (4MP): Nullifies all buffs and benificial status effects on one target.
Crisis: Blessing (11MP): Temporarily sets the caster's LCK to 999.
Stat changes: +3% LCK
Its Crisis ability is nothing to sneeze at, either. At first glance you wouldn't expect raising LCK to be that helpful, but having 999 LCK is an enormous boon, since it means that basically every random dice roll (i.e. everything in battle) is weighted heavily in the character's favor. That means a hell of a lot more accuracy, dodging, and criticals as long as it's active.

The Black Sorcerer goes down very quickly if you decide to focus on him. With him gone, the battle basically becomes a matter of waiting for the Swamp Beast's buffs to expire.

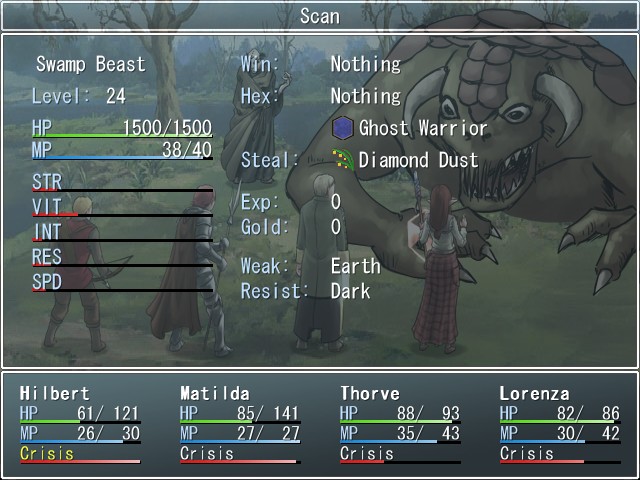
And while we're doing that Hilbert will steal some more absurd healing items. Diamond Dust is the highest class of Dust, healing 750 HP to the entire party. I don't think I really need to explain how ridiculous that is right now.
Once its Shields are down and its stats are back to their normal levels, the Swamp Beast isn't too difficult. He's a giant bucket of HP, but with the Obsidian Shards we've been carting around, we can make a big dent in that pretty quickly. And without Bolster active, his attacks are much easier to deal with. Really all you need to do is outlast him.
It takes all of Thorve and Lorenza's MP, but we take the Beast down eventually.
Music:

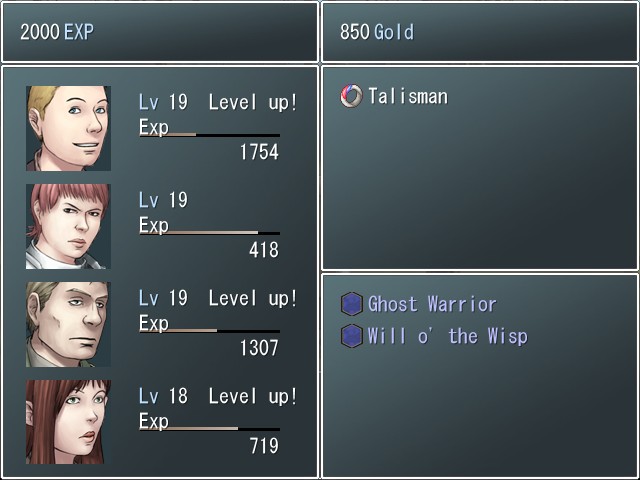
The Talisman the Black Sorcerer drops is a very handy little item for later in the game, preventing both petrification and instant death. We haven't seen any instant death attacks yet, but rest assured that they're coming, and when they do we're going to want to protect against them. We also get the pretty decent Ghost Warrior Hex tile out of the deal.
Music:
Following the battle, our party actually bothers to comment on what just happened for once.
 You can't perform summoning magic like that within the country without special permission. That's why he was here, in a place where normally no one would disturb his research.
Elsewhere...
Music:


I'd make a comment on how mysterious this guy is, but the music should make it pretty evident what sort of meeting is taking place here.
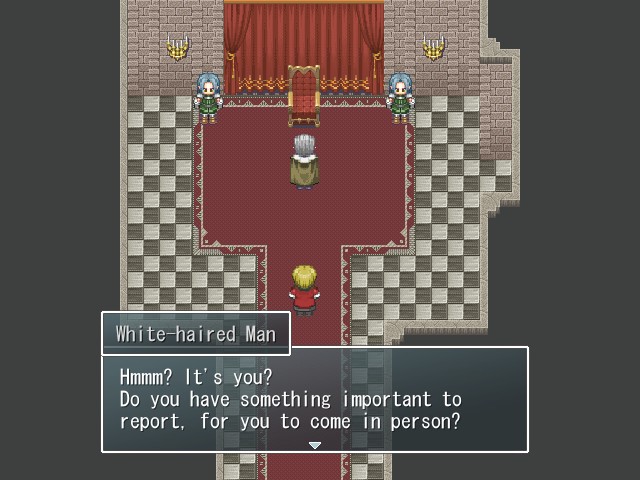
 Your progress so far has been disappointing. I expected more from a man like you.
 Don't worry, my Lord. The situation is different from before. I'm no longer alone. Yes, I've accomplished little so far, but soon, the entire Empire will be in my hands. Ohh? What happened to make you so confident? The daughter of the Emperor and heir to the throne, Princess Helga, has been trying to get rid of her father. She's a very simple-minded individual. I convinced her to join us so that we can help her seize power. Of course, her control will be merely superficial. As her right hand, all decisions will go through me first. With her and Felgorn on my side, I have both political and physical power. How does that sound? Are you pleased, my Lord? I'll be pleased when you've shown me actions rather than words. Is that all you came here to tell me? No, actually. There is one more thing. A group of soldiers from the Republic tried to assassinate the Emperor. I happened to see them. One of them was a young girl. She didn't look like a soldier at all. No, there was something special about her. What?
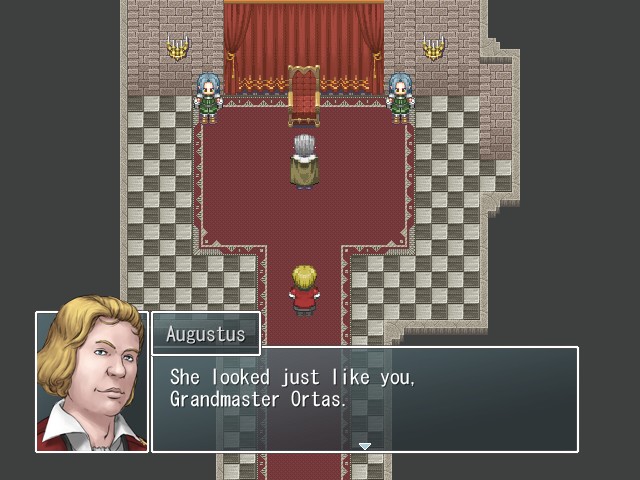
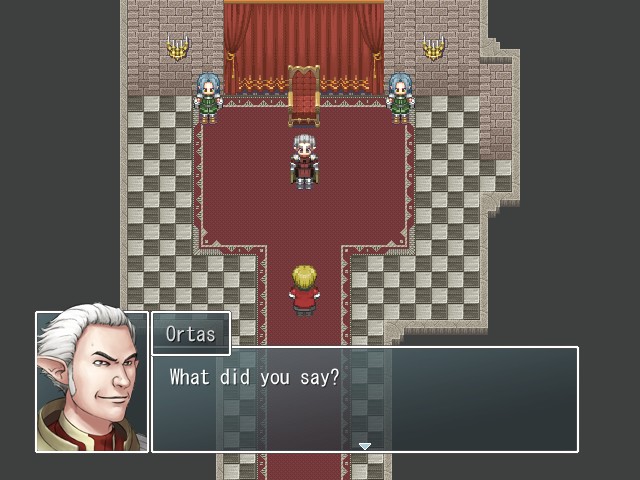 There is no mistaking it. She is also a Havali. And you know what is even more interesting? That hero you mentioned... he was with her as well.
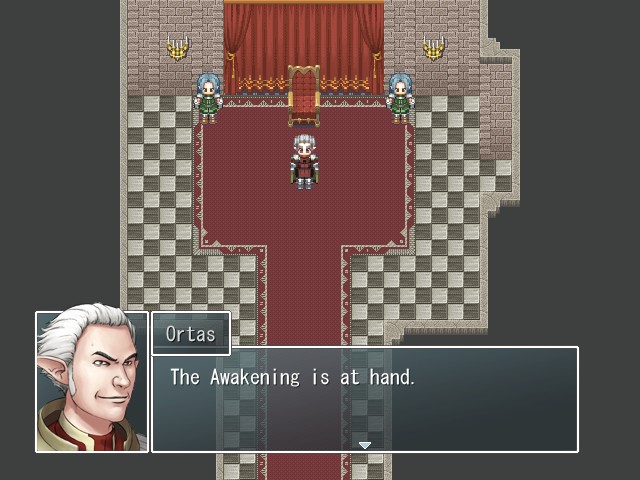
 Where are they now? Unfortunately, she and the rest of her team escaped the city. Most likely, they're already back home. Well done, Augustus. You've restored my faith in you. When the time comes, you'll be rewarded. For now, go and attend to your duties. Thank you, my Lord.
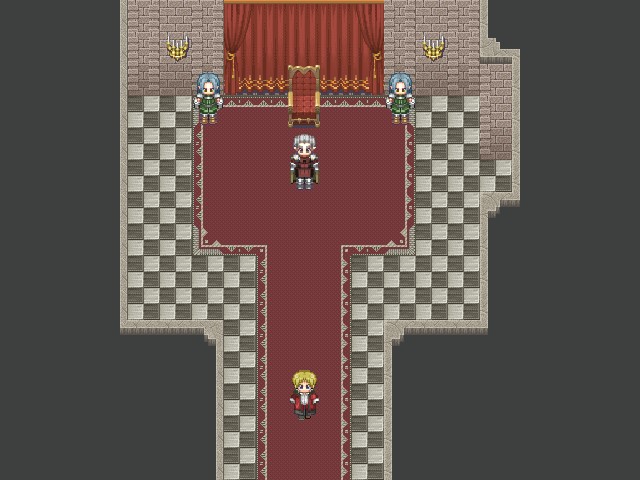 That girl... who would've thought she'd show herself before us like that? And she's with him, too?
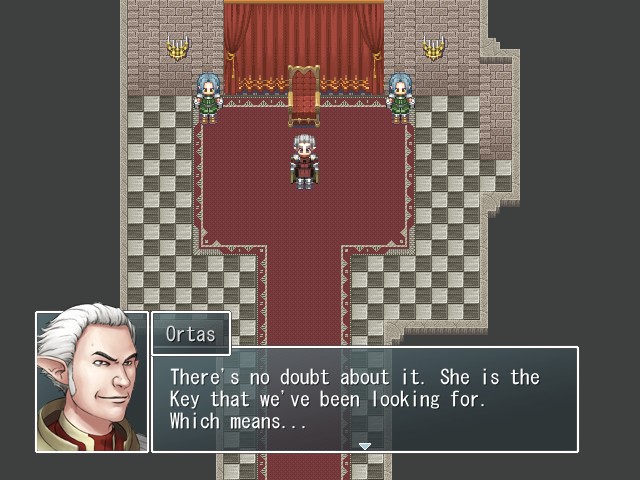
 You.
You. Yes, my Lord? I need that girl. It must be Lorenza. Someone has to track her down and bring her to me. Ah yes, I know...
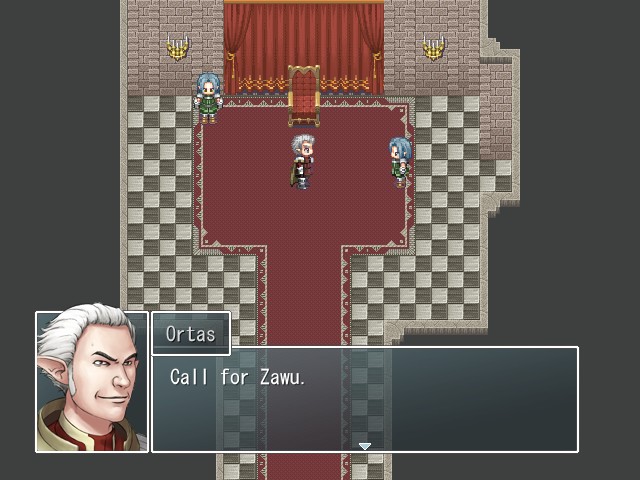
Back with Hilbert...
Music:
Following the scene, we're brought back to the Dark Marshes. Despite just having beaten the boss, we're not quite done with the dungeon yet, and we need to go through a few more screens to get back to the world map. It makes a certain amount of sense, since the center of a marsh is probably a better place than the edge of one for a mage breaking the law to hide, but it's still a bit annoying.
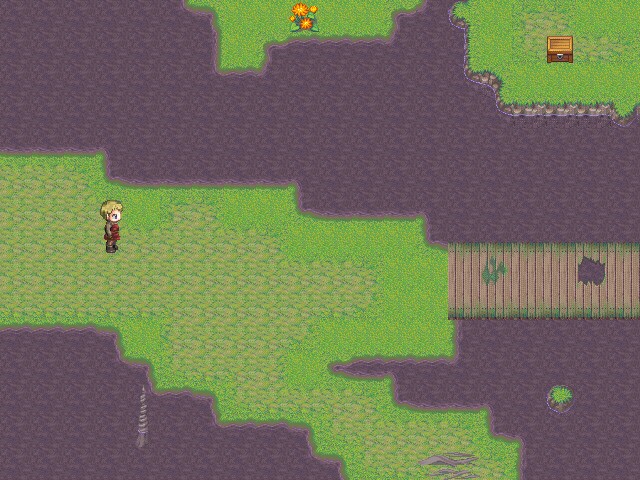
Still, we reach the end pretty quickly. There's a bit of minor treasure next to the exit.
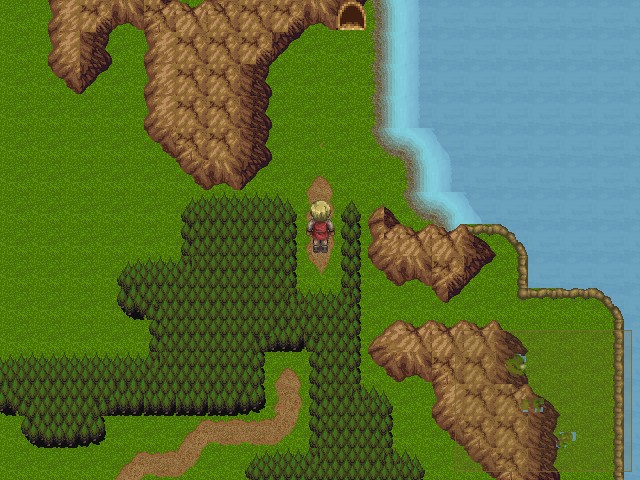
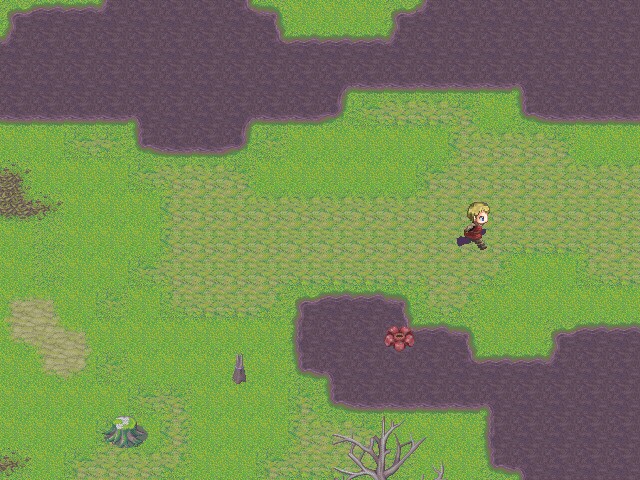
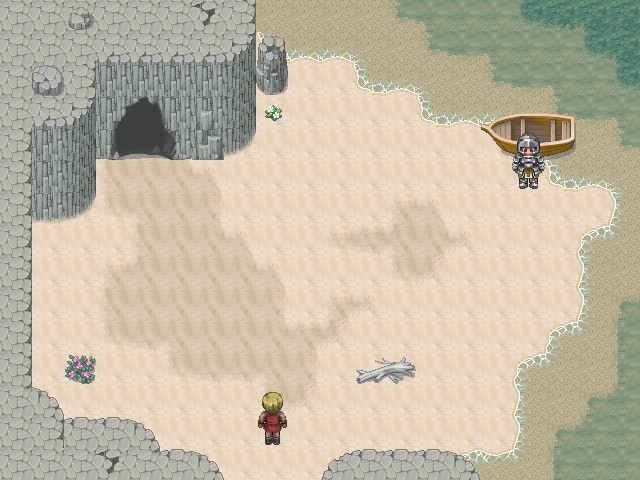
And as we leave the marsh, we find ourselves right next door to our destination.
Music: None
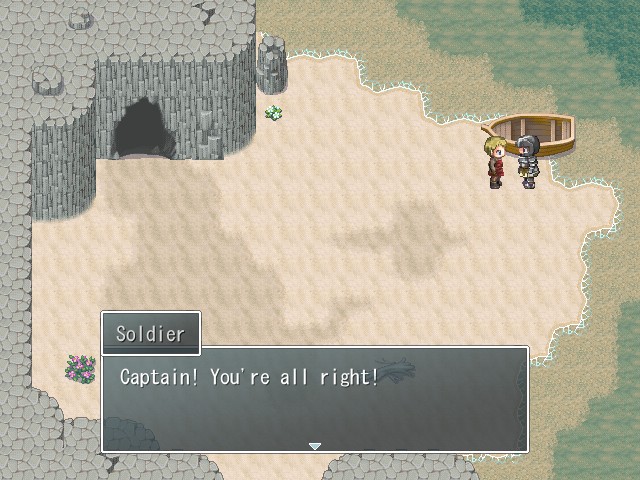
 We were getting worried. What happened?
 We'll explain later. Right now, we need to return to the capital.
Fade to black...
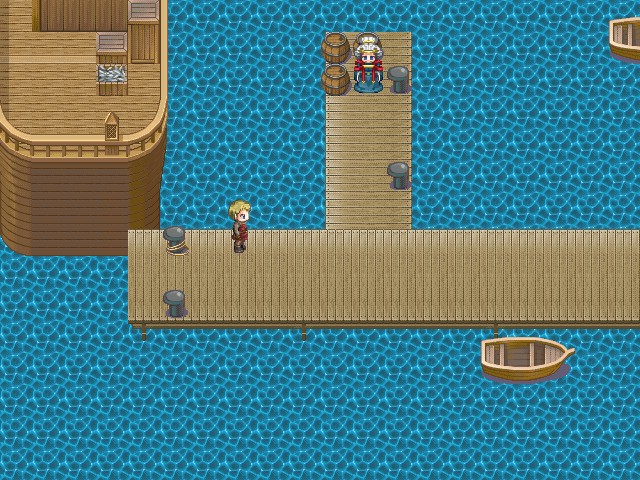
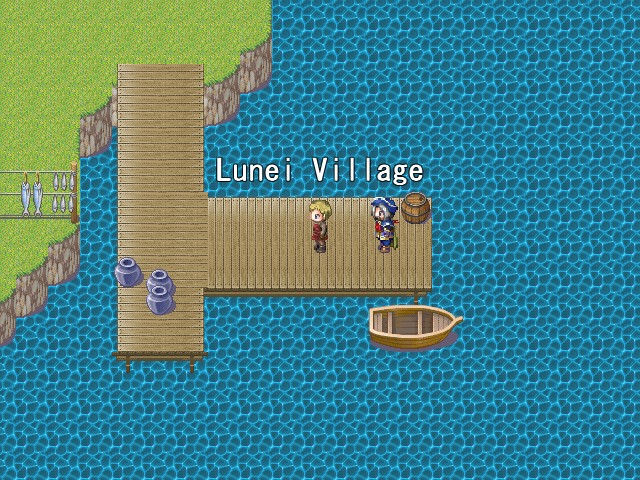
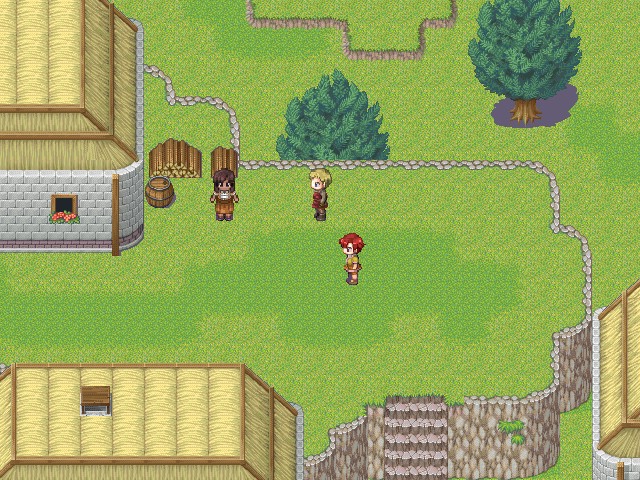
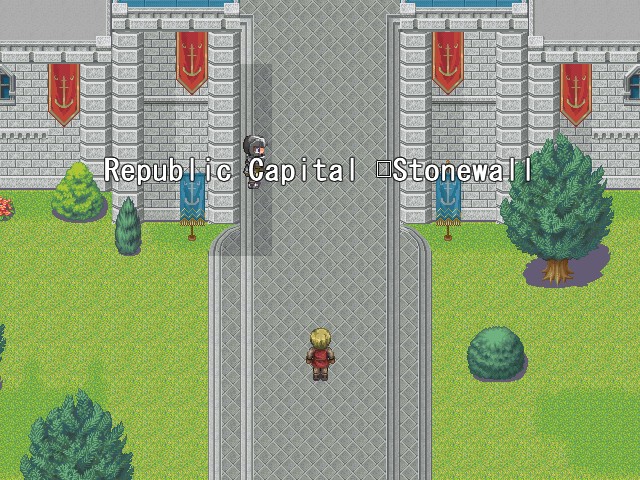
And we've finally made it back to the Republic. Obviously our next plot advancement is going to occur in the capital, but before we head there, there's a bit of sidequestin' to be done.
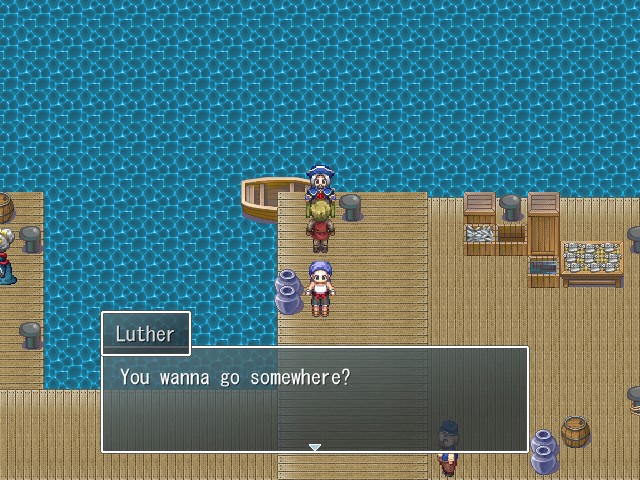
Hey, Luther. How's it hangin'? Still feel like giving us free rides? Okay? Okay.
Music:

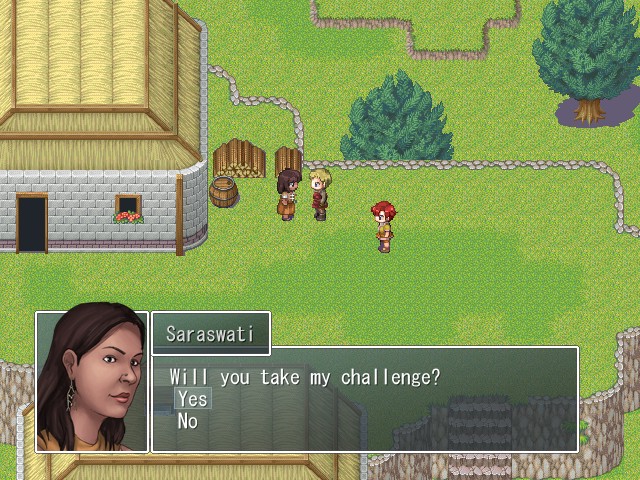
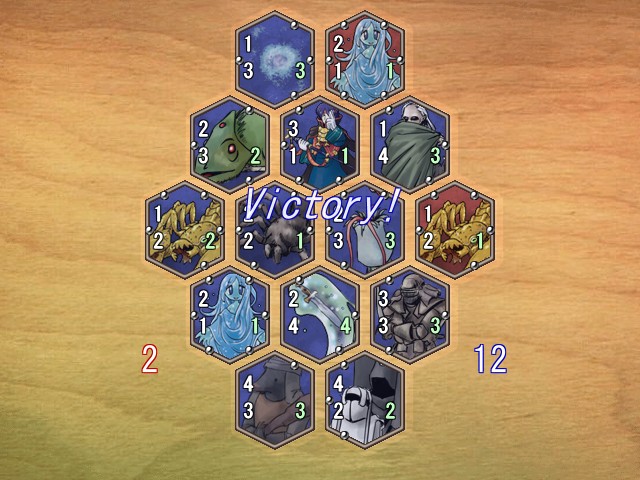
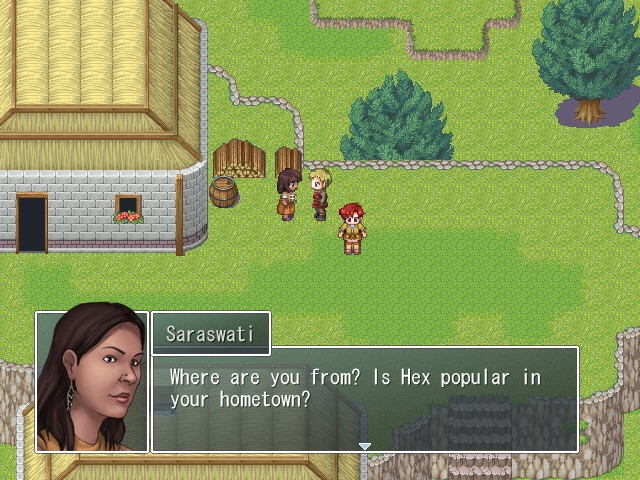
So, remember Saraswati, the Hex fanatic? Once you defeat her at the Stonewall Port, at some point she'll move to Lunei, as she hinted. The only problem is, I'm not entirely sure what triggers her move. She wasn't here the first time we visited Lunei, even though we had beaten her earlier. SCF, care to let us know what the trigger is?
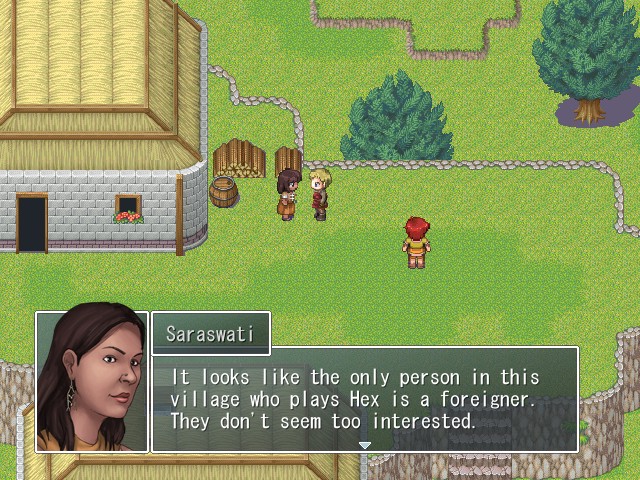
In any case, Saraswati is bored, so let's spice her life up a bit.

Saraswati has beefed up her tile collection since the last time we saw her, but so have we.
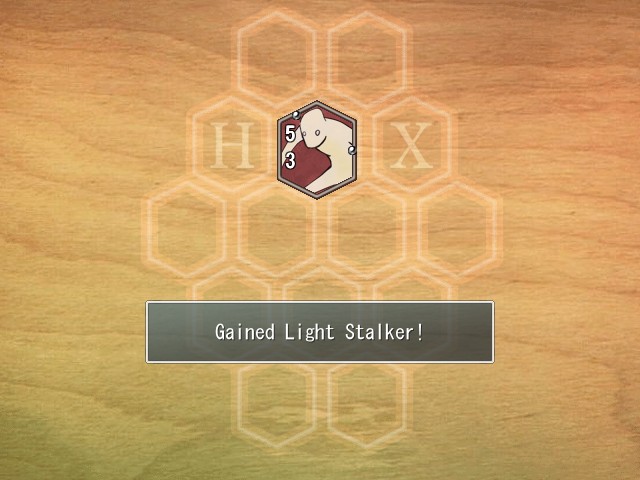
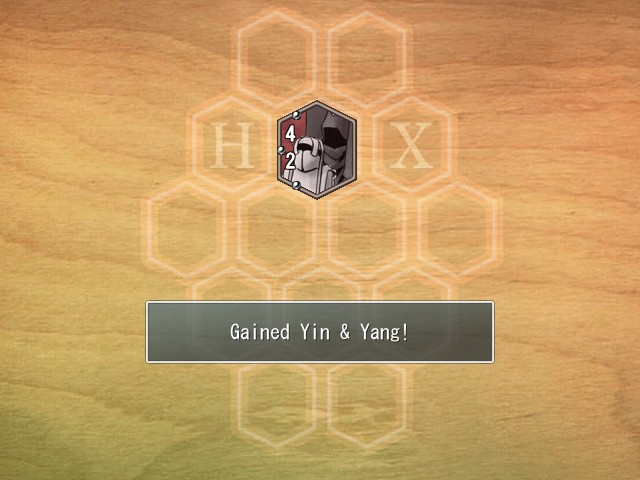
This time around she has more than one new tile, so I take the time to grab all of them. I'm pretty sure Yin & Yang is the only one that'll see actual use, though. I tend to keep away from tiles with a reach of less than three directions.
Also,

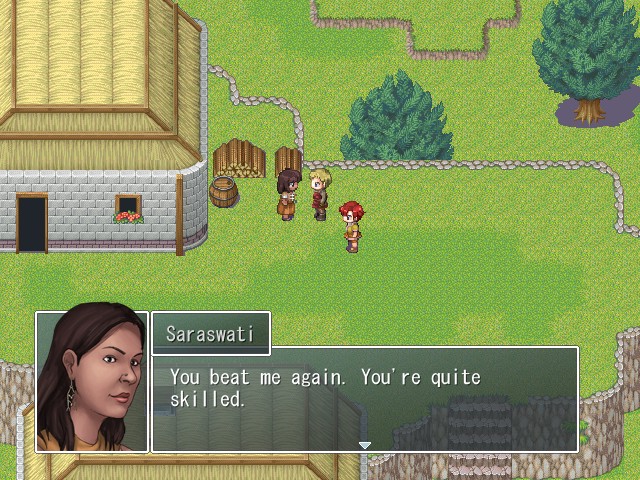
Once again, defeating Saraswati gives us a hint on where she'll appear next. This time it's Whitelake, though as before, she doesn't seem to move there immediately (I checked). I'm sure we'll see her again soon enough, though.
Music:

Now then, let's head back to the capital.
We've got one last stop to make before we report to the Colonel, and that is the Hex trading post. It's been an awfully long time since we last visited one, and we've picked up a lot of new tiles in the intervening time. Let's see what's on offer.
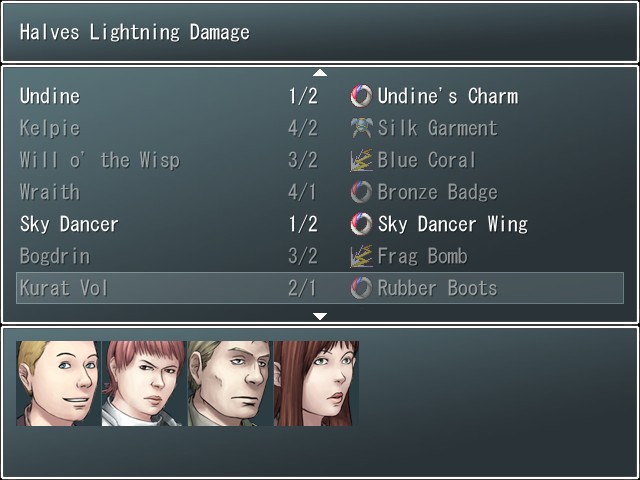
Once again, there's some good, and some bad. Among the good is the Rubber Boots, halving Lightning Damage; the Focus Crown, a helmet that prevents Sleep; and the Swing spellcard, which allows the user to make their physical attack hit all enemies. Among the bad are most of the other accessories, which grant rather minor boosts to a character's stats. For the curious, the Bronze Badge grants +15 SKL, the Sky Dancer Wing grants +5 to SPD, SKL, and DEX, and the Spectral Cloak grants +25 DEX. There also appears to be some knives available, though those will have to wait until we get a character that can actually use them. For the time being, most of the good rewards are for tiles that I have no opportunity to get more of, so I won't be doing any trading today.
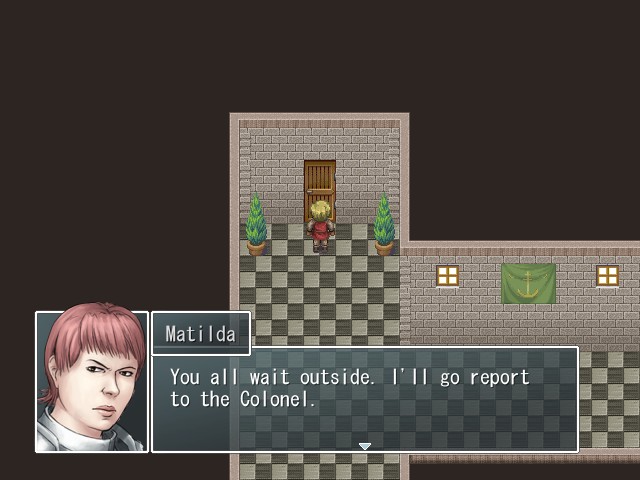
That's enough dawdling. Let's get on with the plot.
Fade to black...
Music: None

 I've received word about what happened. Another failure, Captain? Give me a break. We did what was asked of us. Our mission failed because Felgorn of all people was there waiting for us. We were told that he wouldn't be there. Either they got suspicious, or our plan was leaked. So, you don't know why you were stopped? I heard you abandoned Commander Tazar after you escaped from the castle. We were being pursued. If we had gone to the Commander, they would've discovered his involvement. ... Hold on, how do you know about what happened already?

Oh did he now? I'm sure this is going to be good.

Music:

 ... We rescued her from enemy soldiers during our last mission. I didn't have the opportunity to inform you yet. Since my team lost two of its members, we were in need of assistance. She hasn't disappointed me. So, you don't know anything about her? Her past? Her affiliations? Where is she now? Why do you ask? The Commander's message told me about her. It seems he knows more about her than you do.
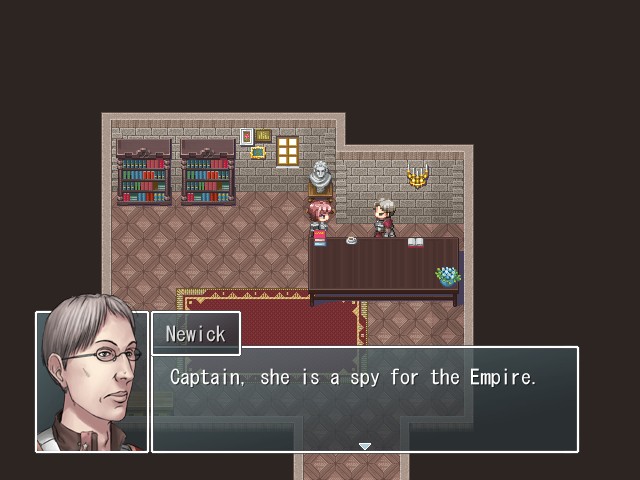
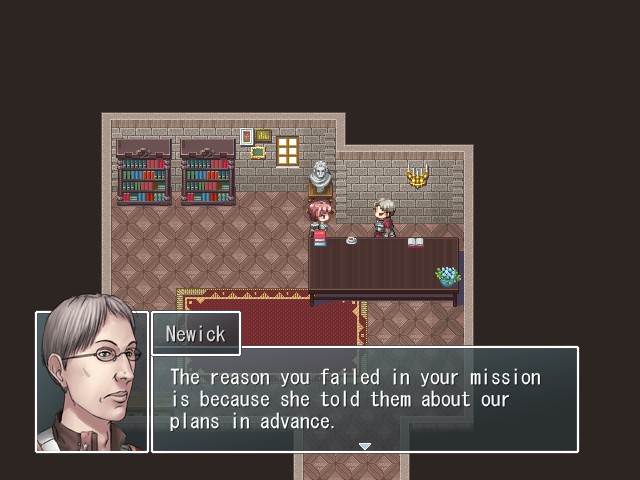
Credit where credit is due: Tazar is damn good at coming up with ways to cover his own ass. Even if he is a brazen fucking liar.
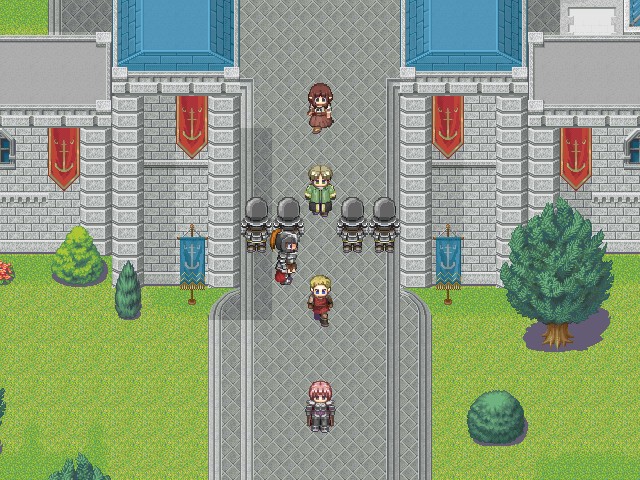
What!? That's a lie! We didn't lose sight of her once during the mission! The Commander is wrong! No, it's probably not even a mistake! He's covering up for his own failure! Calm down, Captain. This is a civilized nation. We'll hear both sides of the story. Please bring her over right now. So you can arrest her? Can we let someone suspected of being a spy walk around freely? You understand, don't you? I am only following the proper procedure. Now I order you to bring her to me. What is wrong with you, Captain? You've been acting strange lately. I don't trust you, and I certainly don't trust Tazar. I'm running out of patience, Matilda. I will not warn you a second time. If you don't obey my orders, I will call the guards to do it for you.
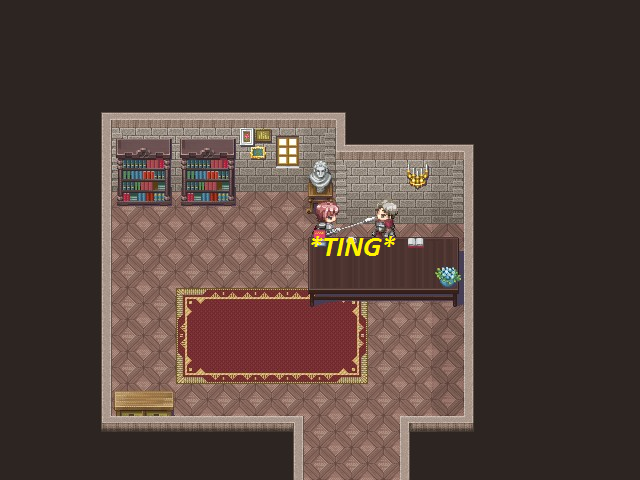
Music:
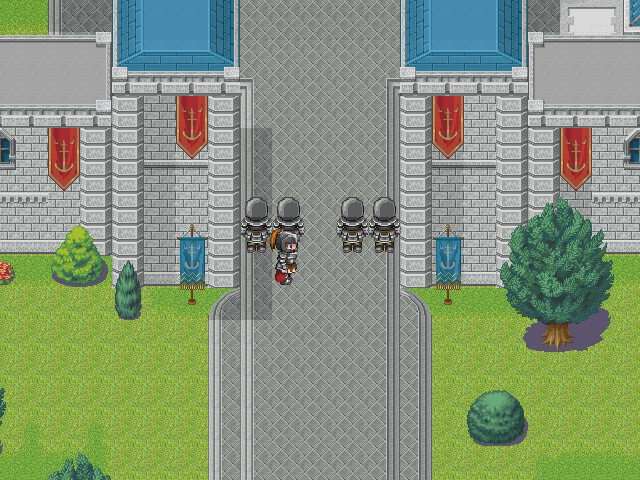
 W-What are you doing!?
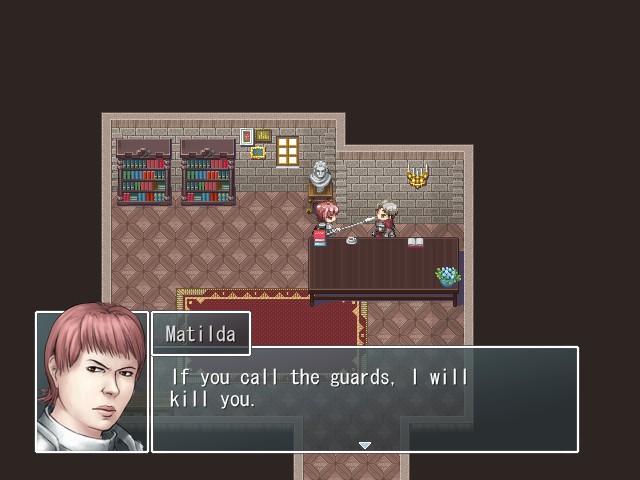
Holy shit.
P-Put your weapon down! I'll overlook this if you stand down immediately! I want some answers from you, Colonel. I've had enough of all these lies. Who was responsible for the attack on Farin Base? The Empire? Or was it maybe your own idea? I don't know what you're talking about. Please, calm down. Answer me! The Empire is denying that they were involved. What are you hiding? All signs pointed to the Empire! We had to take action!
And so you figured the best thing to do was start a fucking war!? What kind of colonel are you?
 It's a convenient excuse to attack the Empire, whether they're responsible or not, isn't it? Y-You won't get away with this, Matilda. I know you're dying to call your guards on me, but you'd better wait until I'm out of hearing range.
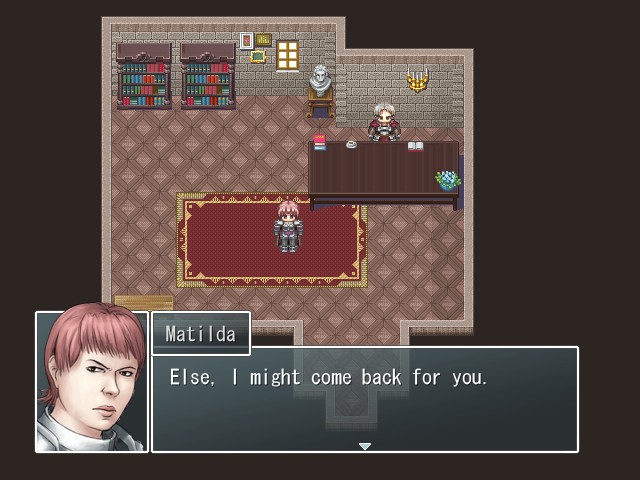

Fade to black...
 I really did it this time. I couldn't take it any longer. We're going to have to escape the city. W-What? I'm sorry for dragging you all into this, but I'll explain later. Go!
Fade to black...
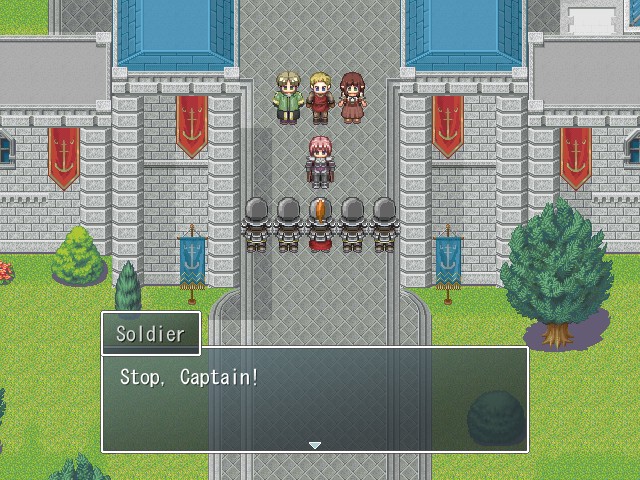
 We have orders to apprehend all of you. Please cooperate with us. If you try to run, you'll just be throwing away everything you've been working for. It's already too late for that. We don't have a choice. Do you really think you can stop us? More importantly, are you willing to risk your lives to do it? You sure know how to convince us, don't you? You're right. If you're intent on breaking through, there's no way we can stop you. I'm not going to throw my life away. I don't know what happened, Captain, but I hope things work out for you.

Next time: Where on earth do we go from here?