Part 22: Rallying Cry (Part 1)
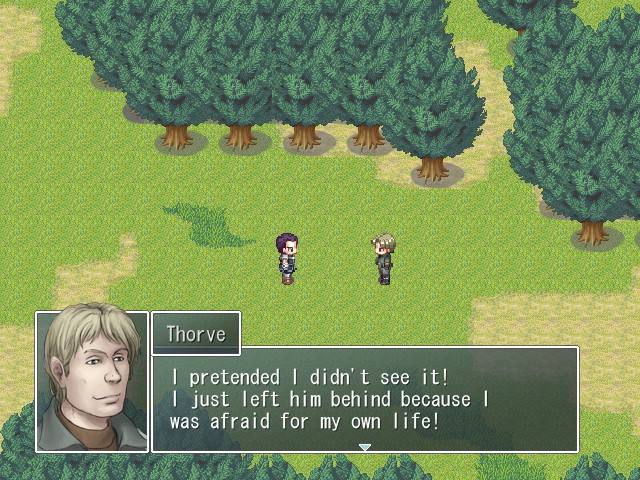
Welcome back. Last time on Last Scenario, we finally dragged the truth out of Thorve, and learned the reason for his guilt: as a young man, he had left behind a dying friend in order to save himself. Will he be able to forgive himself? We don't know, but hearing the story apparently gave Hilbert an idea for how to deal with the Empress's forces at the Kaiser Pass. We're on our way back to Antar Camp now to present our idea to Grauss and see what he thinks of it. Let's get to it.
Music:

 How is the situation so far?
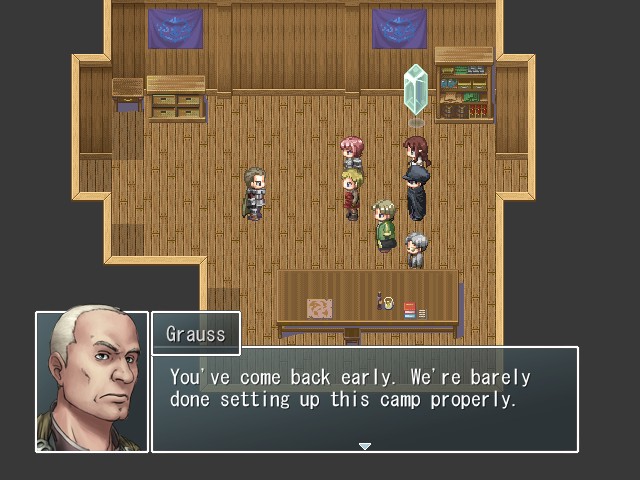
 According to our scouts, not much is happening. There's been some skirmishes between the Empress' forces and the Republic army, that's all. The Republic has set up various encampments around the capital and one near the Kaiser Pass, but... There's no real movement. They're still holding back.
 Maybe they're hoping that we'll attack the Empress again?
 They're no fools. They know that any fighting between their two enemies will make their job easier. We have three opposing armies here. Whoever avoids getting caught up in any major battles will win. Yes, we can't afford being too hasty. It's better to stay where we are and strengthen our defense for now.
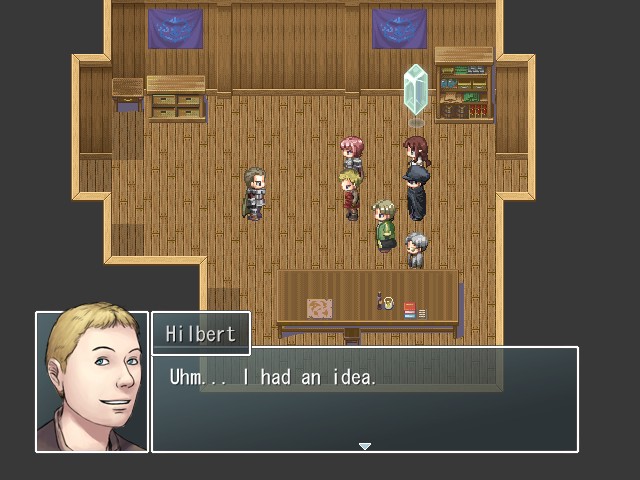
Sprite-Hilbert seems awfully depressed about this development.
You? What is it? Well, last mission, we tried to break the morale of the people in this camp to get them to run. I don't know if we really succeeded, but doesn't the situation look even worse for them now? I was just thinking... It's bad to attack now because it'll weaken both sides. But what if we could get the forces at the pass to join our side instead? That would be good, but how do you suggest we do that? When it comes down to it, we're still rebels fighting against the established imperial army. When there's an outside threat, most soldiers will feel safer following the Empress. I... I don't know. If you don't know how to do it, then it's not a plan. But, I do think that Hilbert's on the right track. Getting as many of the Empress's soldiers as possible to join us is the way to go.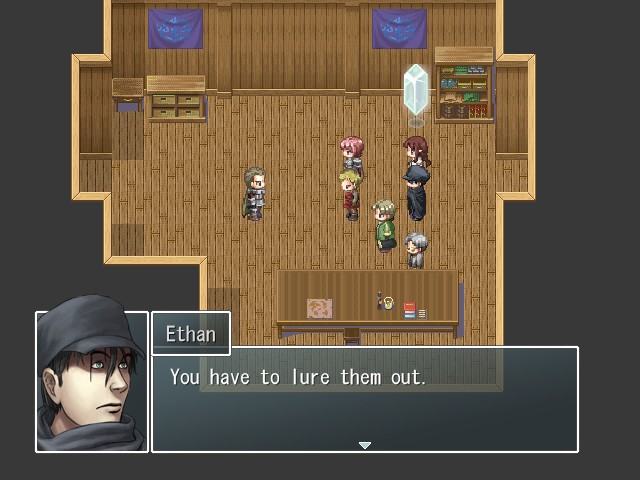
 You startled me there, Ethan, saying something all of a sudden when you've been quiet all the time.
 The Republic set up a camp near the Kaiser pass, right? Yes, as if they're preparing for a siege. Attack that camp, then. If it's small, a few of us could do it. You have to show the imperial soldiers that we're not their enemies.
 I see! Strike the invaders first, rather than our own countrymen! It might not convince them straight away, but it's a good gesture. After all, the Empress herself is simply trying to exterminate us at all costs. Show them the difference between us.
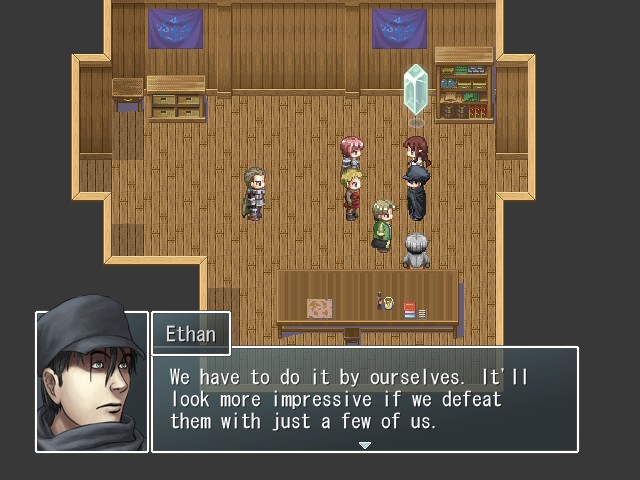
Wait, we do? I mean, I guess being all heroic will get the word spreading faster, but I'd imagine that a battalion of soldiers bearing Wilhelm's standard and armor will get the message across much better than some random bunch of people attacking the Republic camp. Whatever, RPG logic.
General, is there any easy way to get to their camp while avoiding the pass? An easy way? Of course there isn't. But there are many narrow paths through the mountains you could take. The road over Grey Peak is quick, and it should be safe enough for trained fighters like you. So, does that mean you approve of our plan? You're only putting yourself at risk. I have no reason to stop you. Great! We'll get ready first and then head for Grey Peak!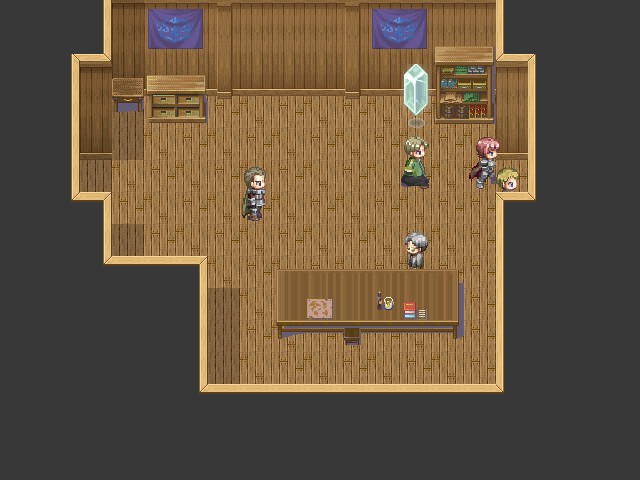
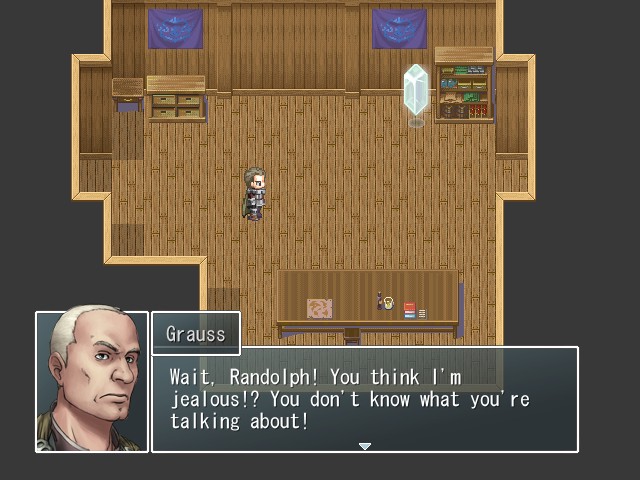
Most of our party files out, but Randolph stays.
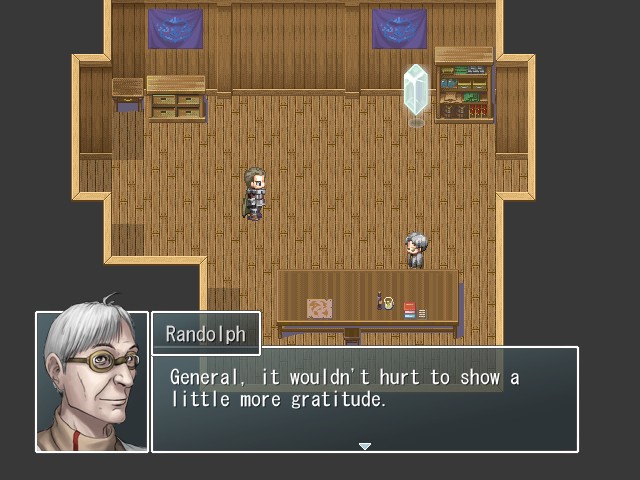 If it weren't for them, do you think you'd be standing here now? You're a scientist, Randolph, and a respectable one, but I don't need your opinion on military matters.
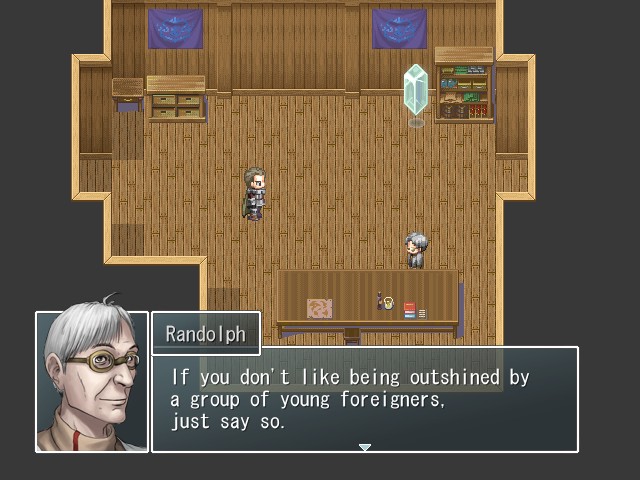
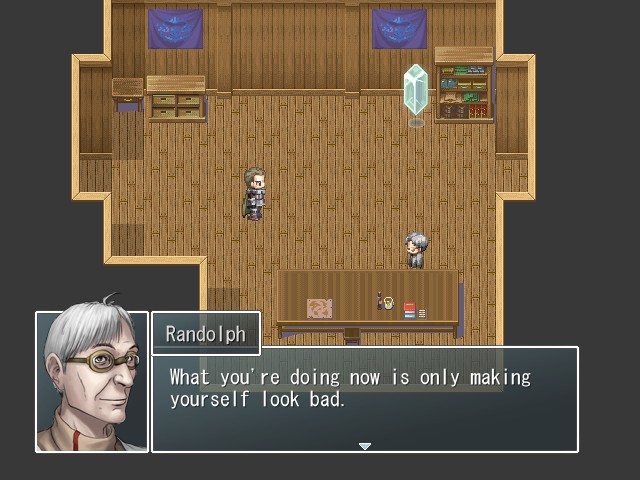
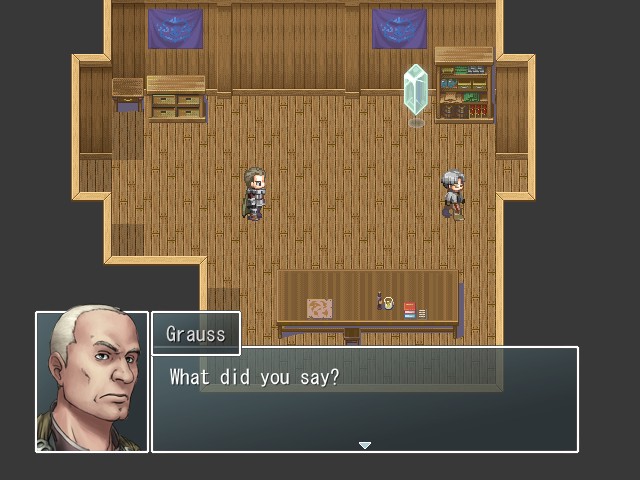
Goddamn, Randolph out of nowhere with the
 !
!
Fade to black...
Music: None
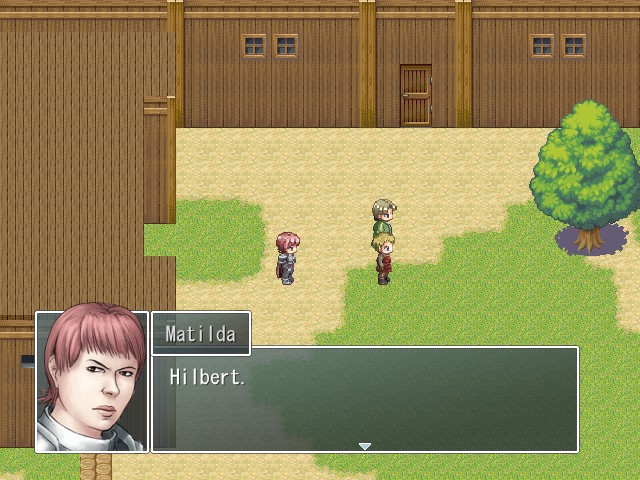 Matilda? Something wrong? We'll only need a small team for this mission, right? So you won't need all of us? Yeah. Why?
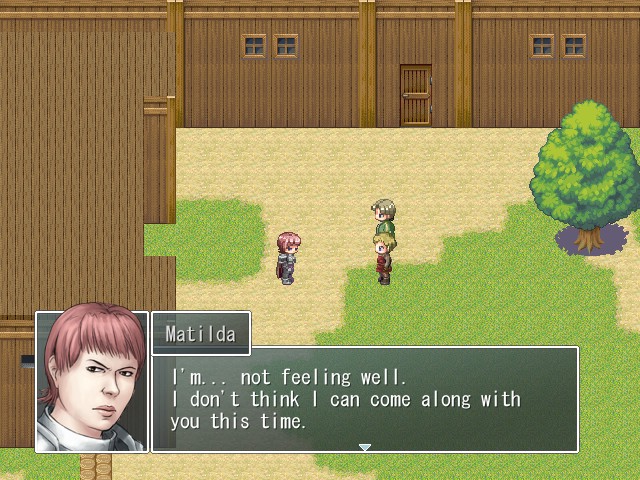
What!? But you're like my best party member!
 Oh, I'm sorry. Nothing serious I hope? No... I don't think so. Just let me rest for a while. I'll go back to Fardorf and stay with Valentin until I'm better, okay? Sure, don't worry about us.
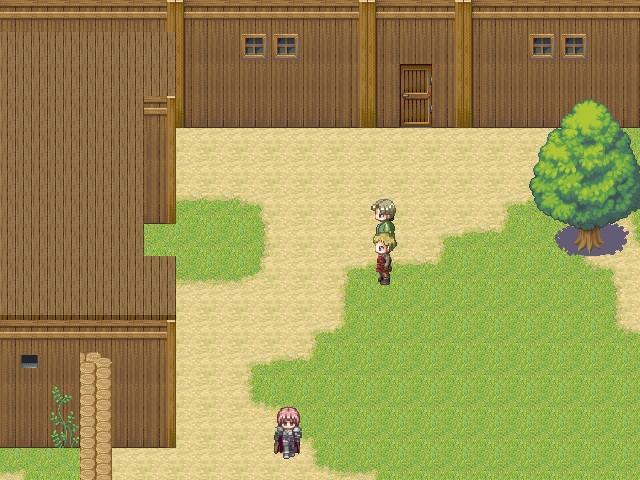 Weird. She's the last person I'd have expected that from. She seemed like the kind of person who'd never show weakness.
 What? We're going to be fighting against the Republic, Hilbert. She has served the country loyally for fourteen years. She knows many people on their side. This'll be the first time that we attack them directly. You have to understand that. It's not easy. She's held up well till now, but she's finally starting to have second thoughts. Shouldn't we go and talk to her? I know her well enough to understand she's not someone who's easily persuaded with words. Her hesitation is understandable. There's no need to force her to fight her old friends and allies. Hmm, maybe you're right. Let's hope the Republic gives up on this war soon.
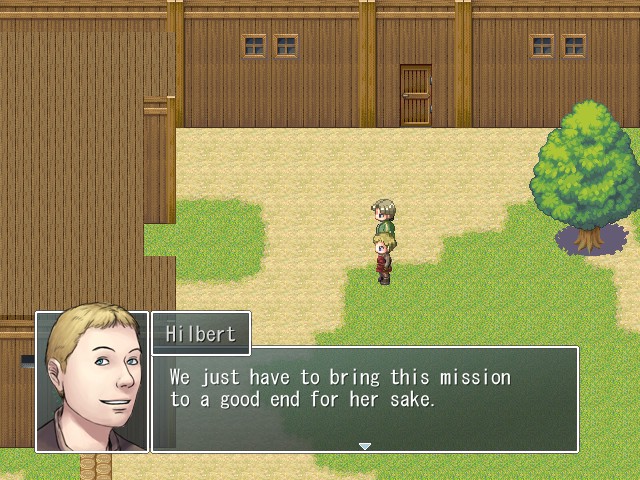
Fade to black...
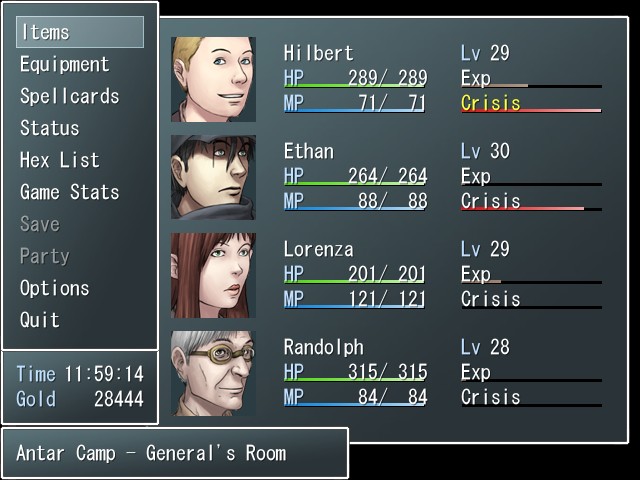
Following the scene, Matilda is removed from our party and will be unavailable for a little while. So since we haven't used him at all yet, that means it's time for Randolph to get his moment to shine. As you can see, Randolph is a little behind in terms of level, but not by much. Characters who aren't in the active party gain reduced experience from battles, but while I'm not sure what the exact percentage is, it's not so much of a reduction that you'll need to retrain them when you swap them back in.
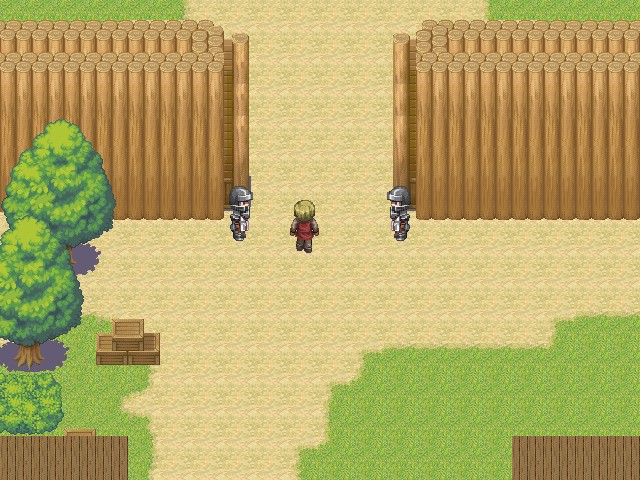
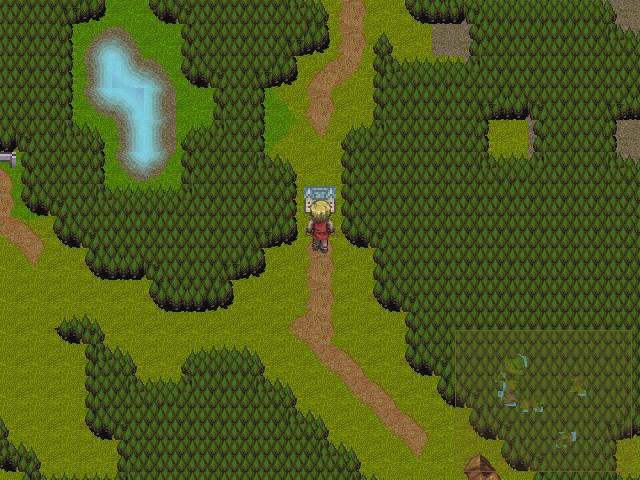
And we leave Antar Camp to the north.
Music:

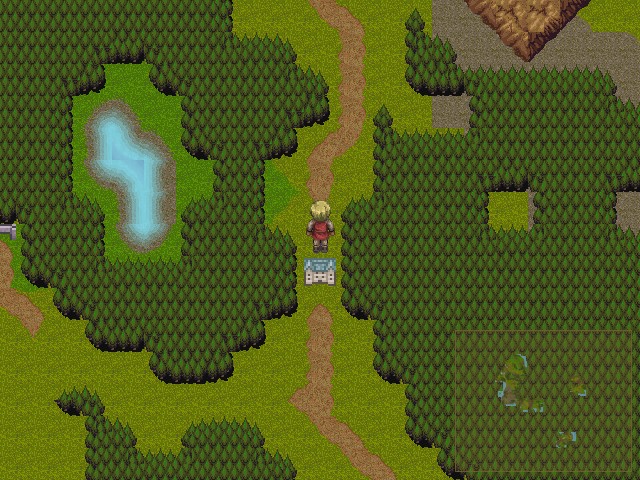
As I mentioned in the previous update, we could have entered this new area of the world map after defeating Felgorn, but there wasn't much reason to do so until now. This part of the map is fairly bare, anyway.
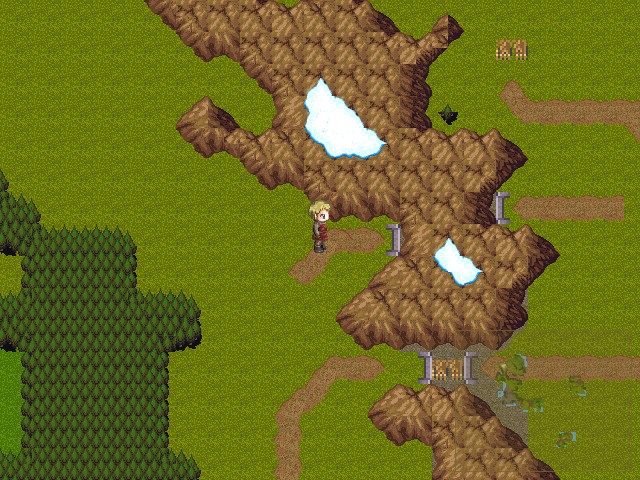
The Kaiser Pass and the nearby Grey Peak are just a stone's throw north from the Antar Camp. You can also see the town of Neuberg on the other side of the mountains. As with all enemy-held locations, trying to enter the Kaiser Pass will just make Hilbert run away.
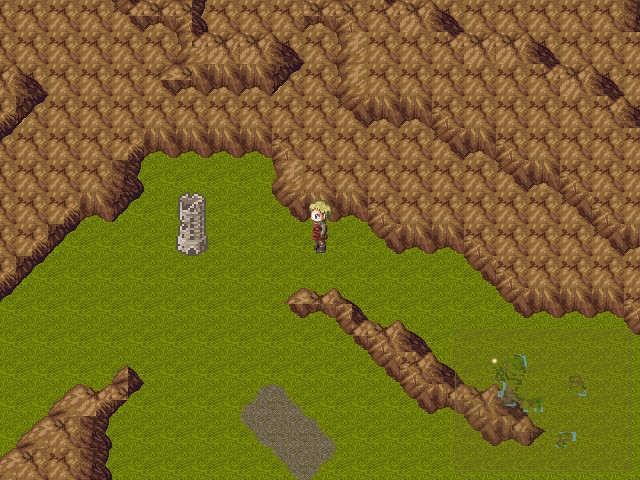
The only other feature of note in the new world map area is this tower in the northwest. If you'll recall, when we visited Neuberg we heard something about a strange tower appearing out of nowhere in this general area.
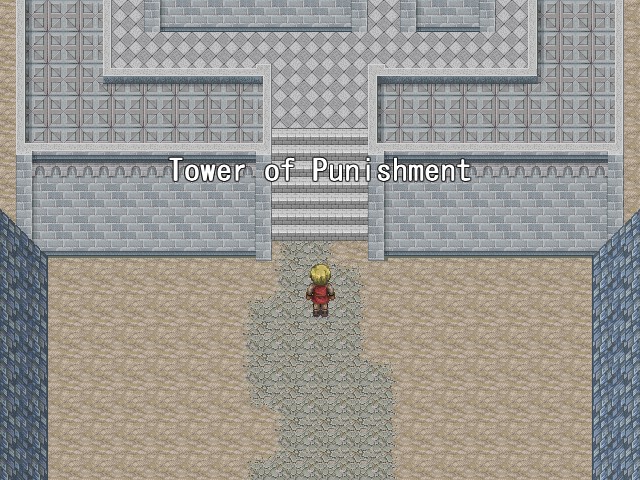
Said tower is the Tower of Punishment, an optional dungeon. We will not be entering the Tower of Punishment today, because doing so would just result in our party getting annihilated. It won't be too long until we can take it on, though, so we'll definitely be coming back soon.
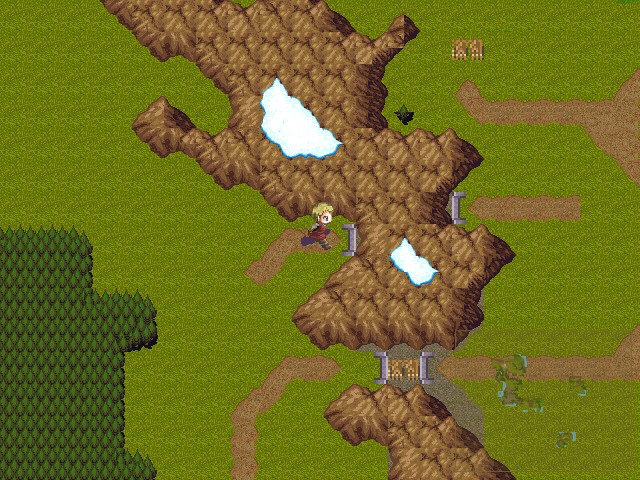
Now then, let's see what this Grey Peak place is all about.
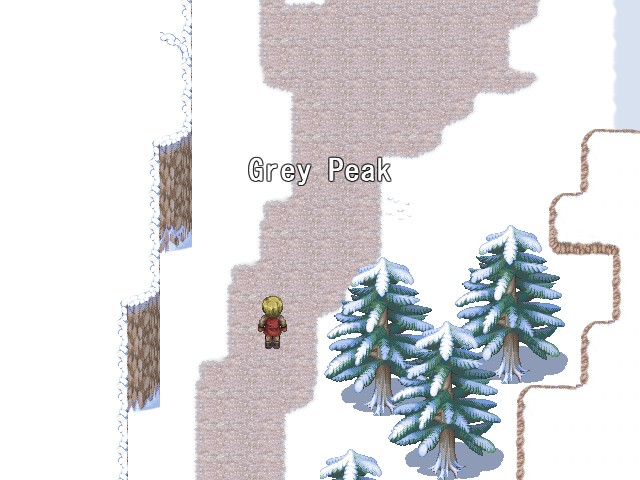
Music:

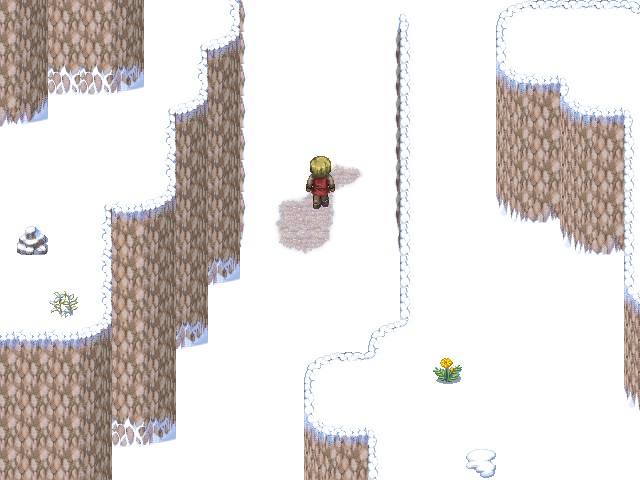
Grey Peak is a fairly short dungeon. There are a couple of puzzles here, but overall it's not too much trouble.
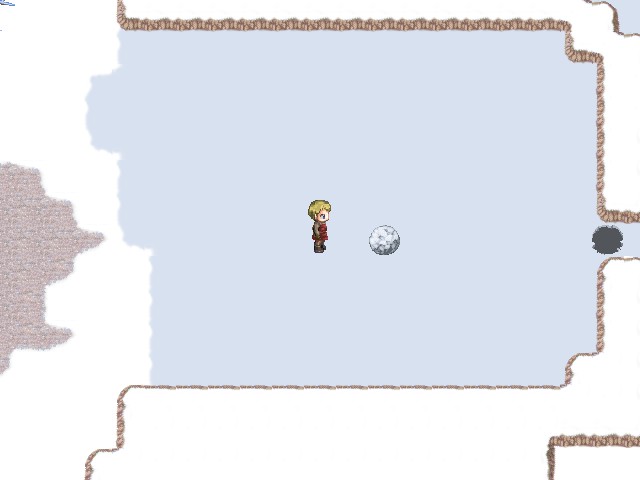
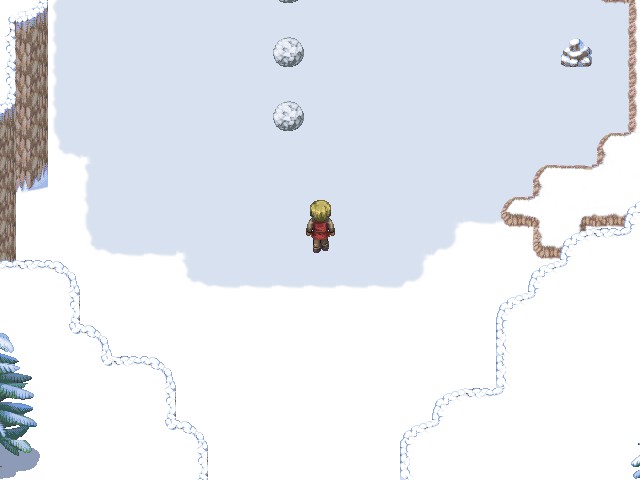
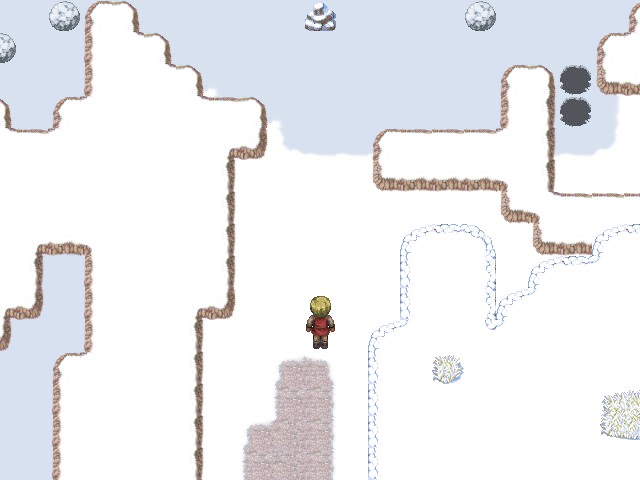
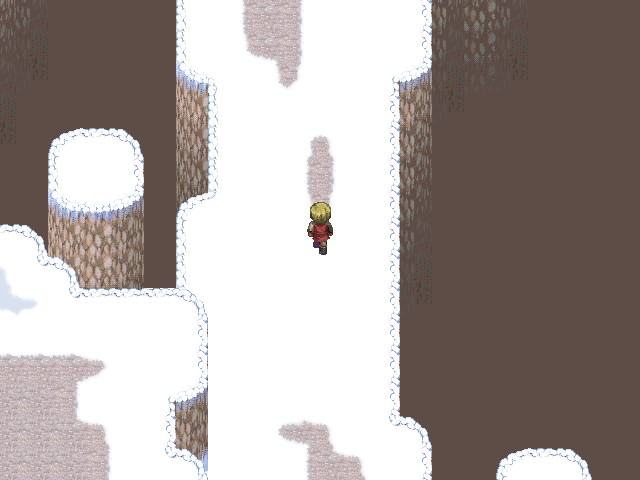
Those of you who have played, well, any videogames at all before will probably understand how the puzzles here work just from looking at this screenshot.
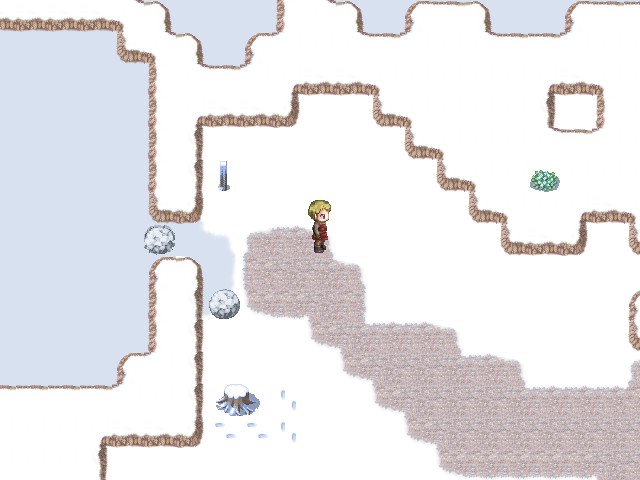
But if not, all you need to know is that pushing any of the rocks in this area will cause them to slide along the ice continuously until they either hit an obstacle or fall into a hole. Since our party is apparently incapable of jumping, we'll be doing a lot of hole-plugging to advance in this dungeon.
Grey Peak is also populated by more people who should really get their skin looked at. These fellows are Snow Bandits, and unlike their little brother Brigands, they have a fairly decent moveset. In addition to a regular attack for about 50 damage, Snow Brigands will counter most attacks with Sneak Counter for around 25. They're also quite fond of using Poison-Laced Knife to inflict 35 damage and poison, but they're not too tough.
A little further in we run into a Revenant. Revenants have a physical attack for about 45 damage, and will also sometimes use Howling Wind to hit a character for 60. But since they usually show up alone and their HP isn't that great, they go down pretty fast.
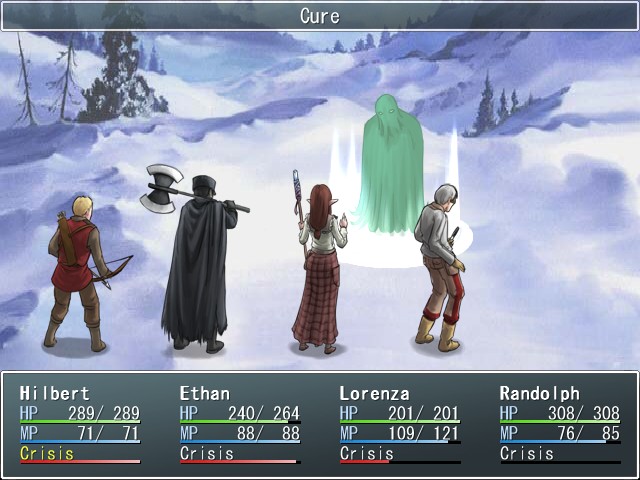
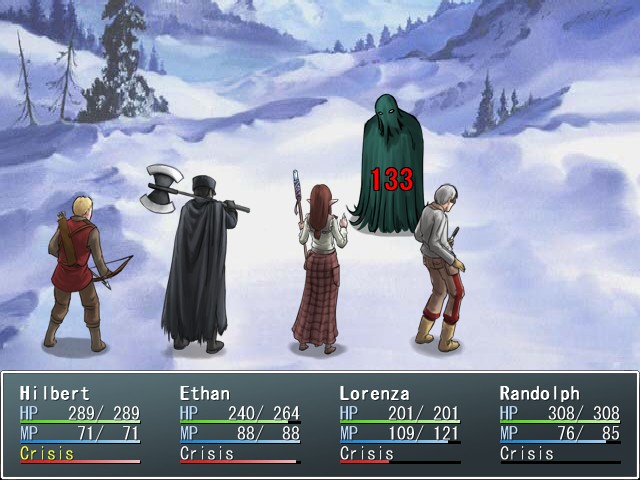
As an aside, I also realized during this update that Last Scenario takes a page out of the Final Fantasy playbook, in that casting healing spells on undead enemies will actually damage them. Sadly, you can't instantly destroy undead enemies by casting revival spells on them.

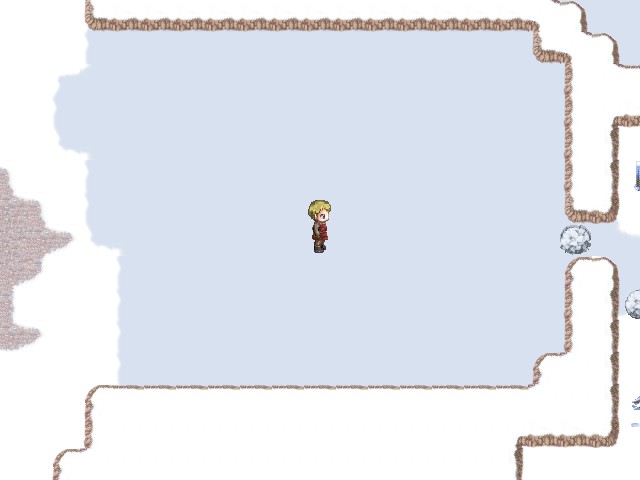
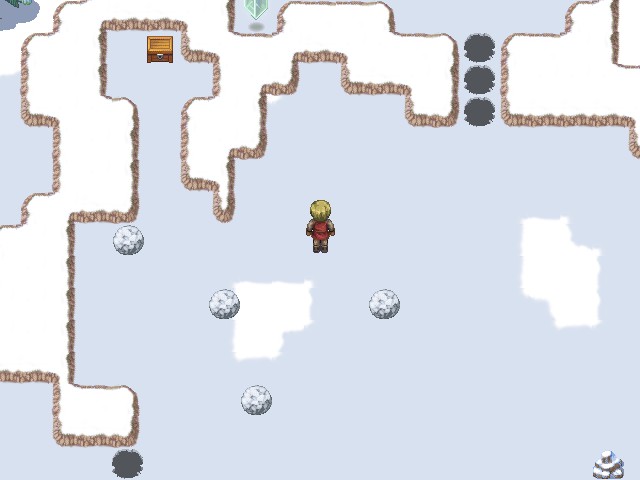
We hit another ice puzzle soon afterwards, but before we can interact with it we're ambushed by some Ice Dolls. Ice Dolls have quite a few moves: they can physically attack for 40 damage, they can attack with Doll Punch for 45, they can use Winter Frost to deal about 55 ice damage to one character, and they can use Frozen Feet to inflict slow on the entire party. They don't have a huge amount of HP, but they always show up in groups, so they can be a nuisance.
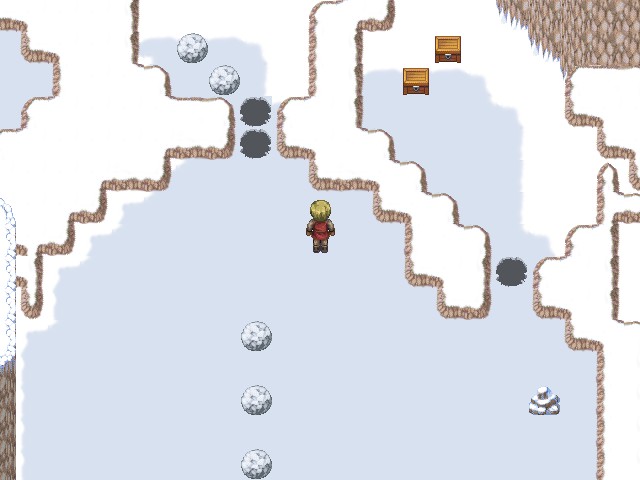
Anyway, this ice puzzle is about as straightforward as the first one, but we can use one of the rocks to get to the treasure in the northeast.

It's not too shabby. The Zephyr Rod is a staff for Lorenza that deals wind-aligned damage instead of physical. Not that she ever really attacks physically anymore, but hey, a free weapon is a free weapon.
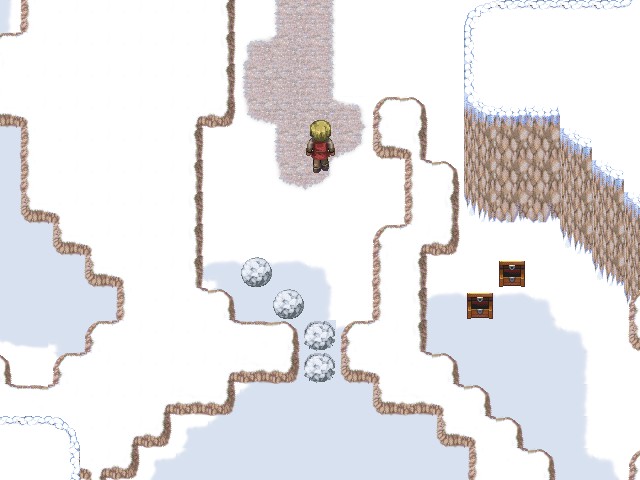
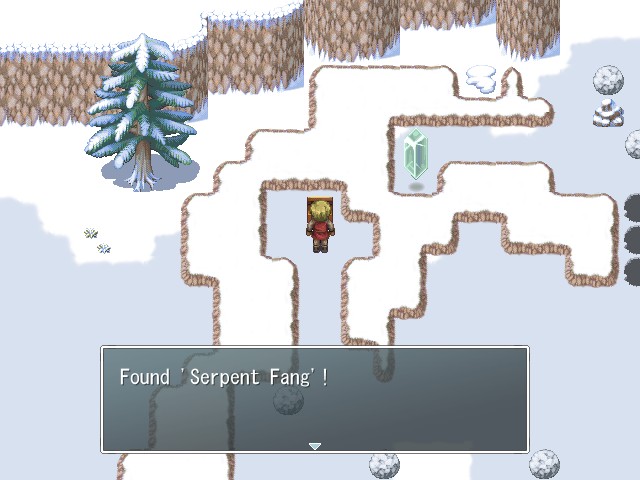
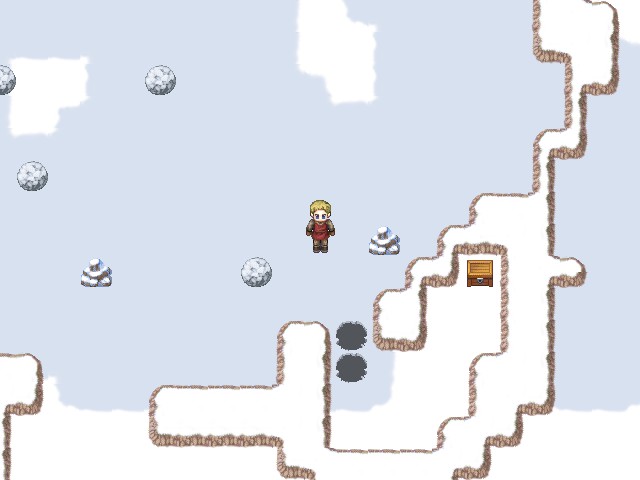
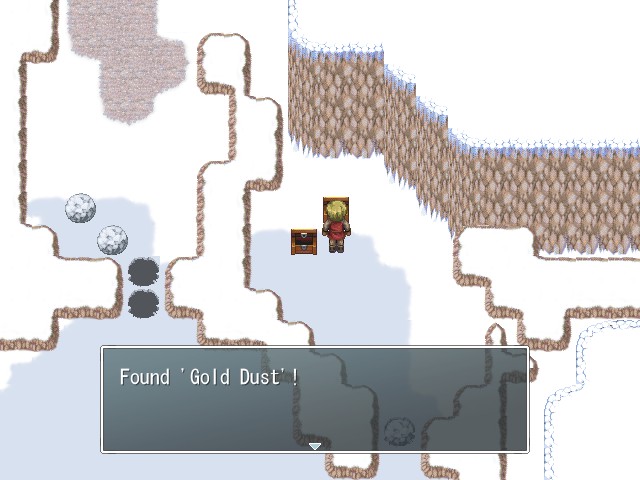
Just beyond that ice puzzle is the final puzzle of the dungeon and a free Serpent Fang just lying around. The area also contains a very important treasure chest in the southeast.
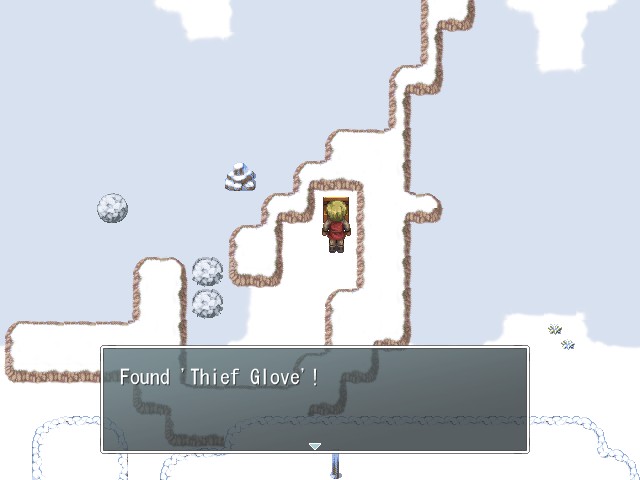
That's because the chest contains the Thief Glove accessory, the only item in the game that increases Steal's success rate. The description doesn't specify how much the rate is increased, but the effect is definitely noticeable.
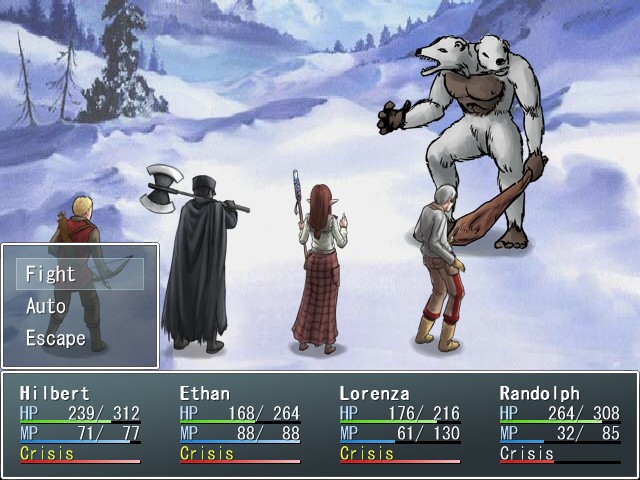
We also run into this area's final enemy, the Yeti, while finishing up the puzzle. The Yeti is a powerful attacker with a technique called Deathblow, which deals around 90 damage and may also instantly kill the target. They're weak to fire, though, so an application of Fireball destroys them.

Anyway, there's a save point behind the puzzle, and after that...
Music: None
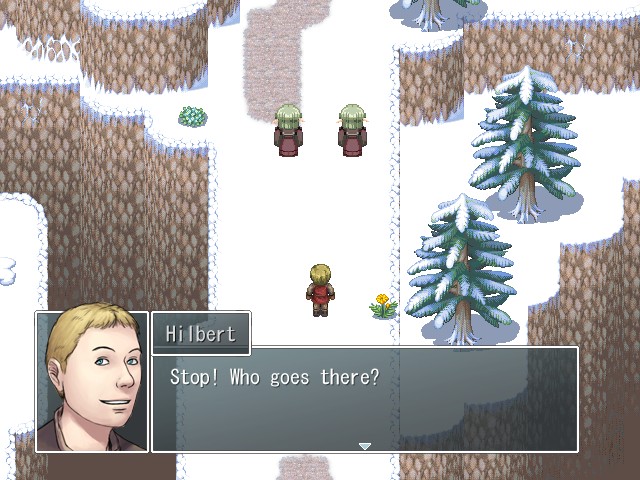
 H-Hello? Who are these two? ... Are they even human?
 Look. Target? Yes, it's the target.
 Wait! How do you know my name? Our orders... Yes, must follow our orders.
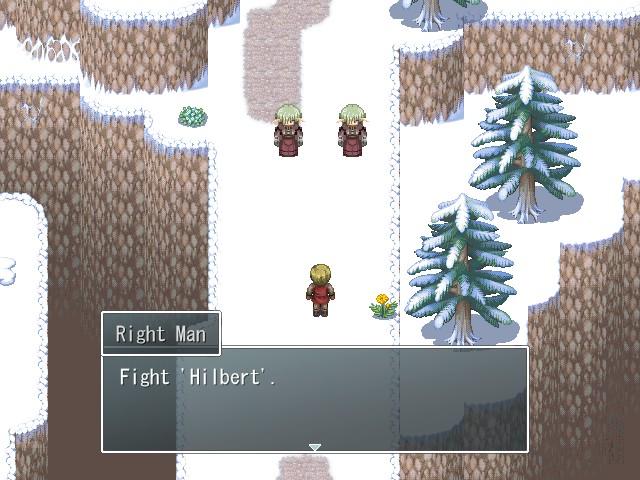
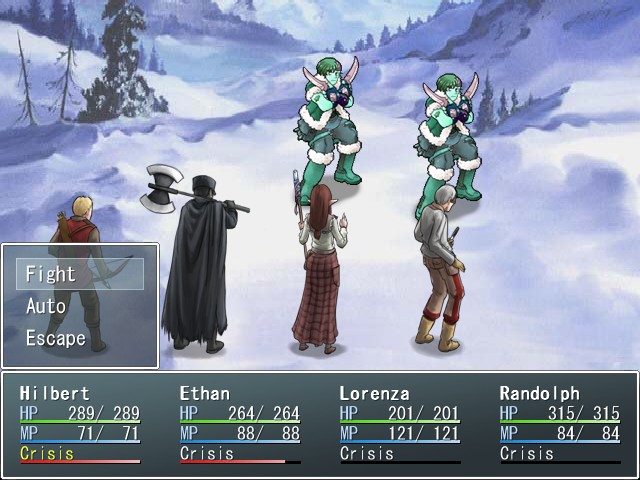
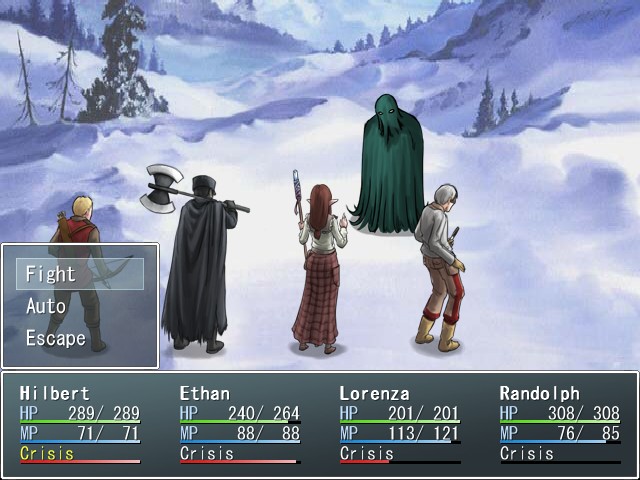
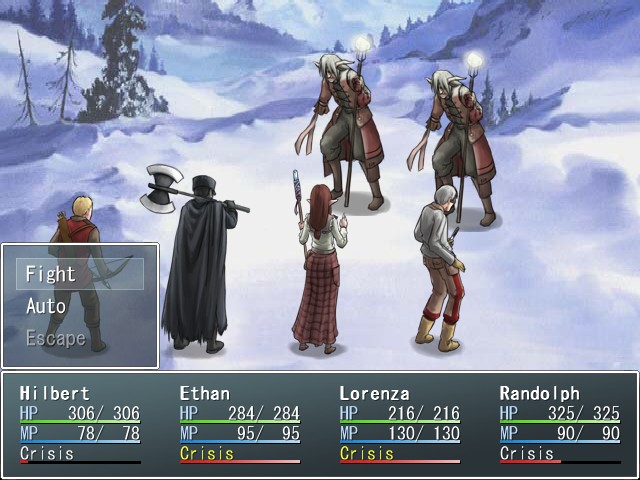
BOSS FIGHT: Prototype #4 & Prototype #5
Music:

O... kay then?
 Guess it's time for a boss fight.
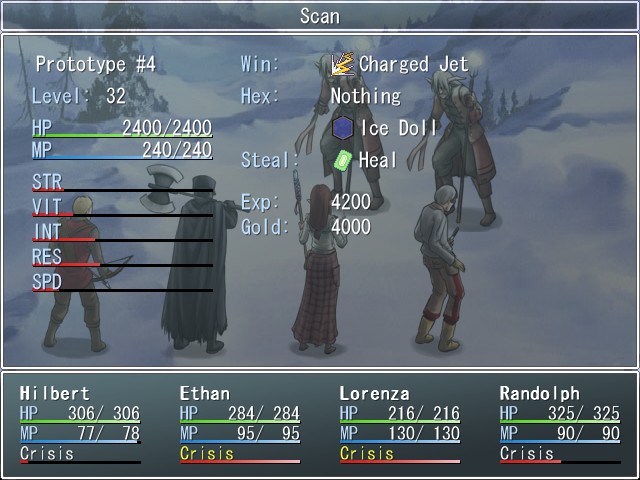
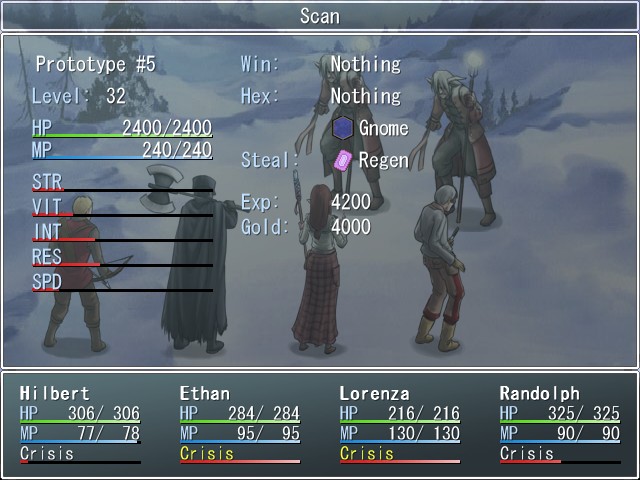
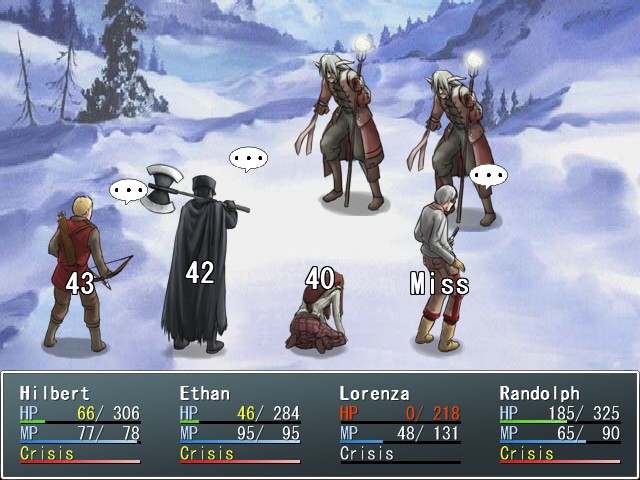
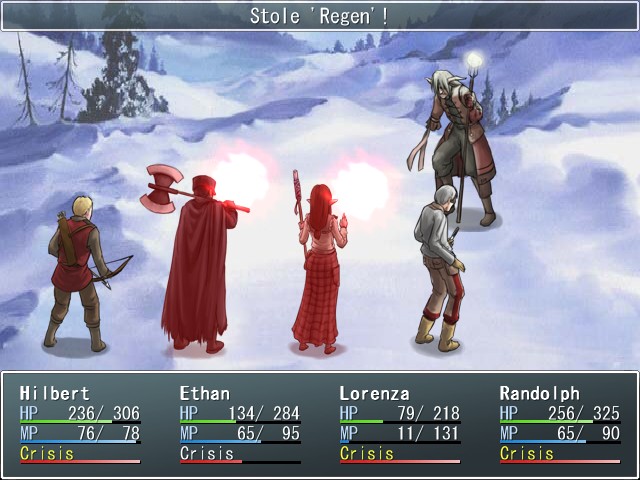
The two Prototypes have identical appearances and stats, but each carries a different set of items, and they have very different behaviors. For reference, Prototype #4 is on the left and #5 is on the right.
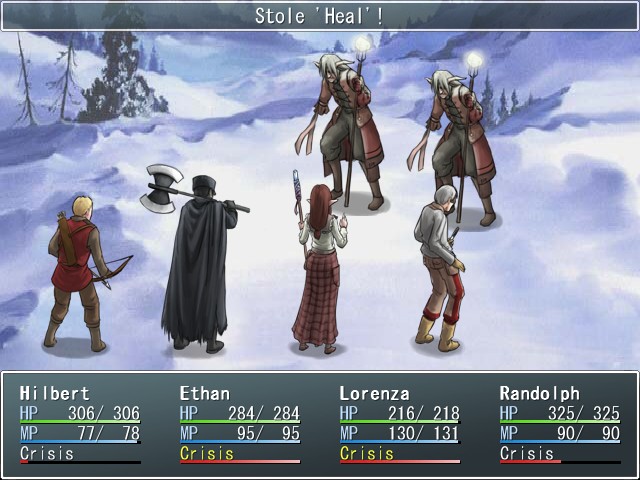
Hilbert starts the battle by breaking in his new Thief Glove and stealing the Heal spellcard from Prototype #4 on the very first attempt. This is quite a welcome change.
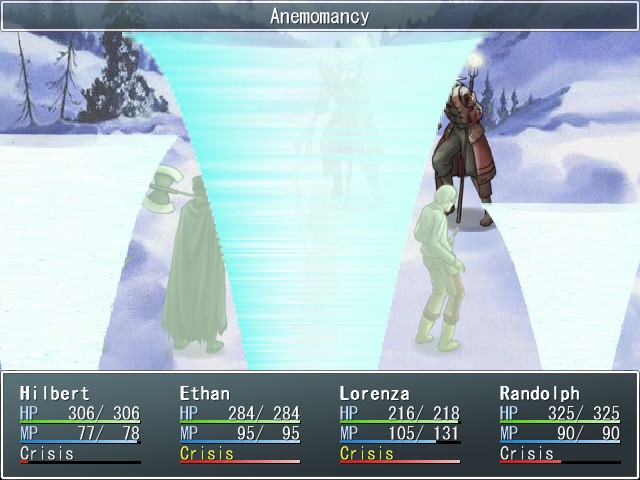
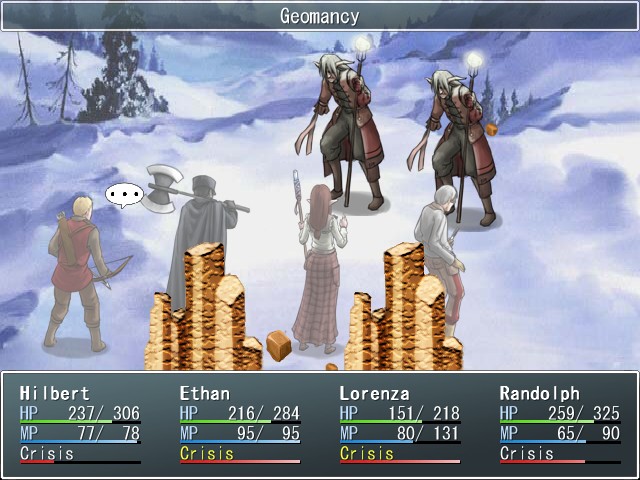
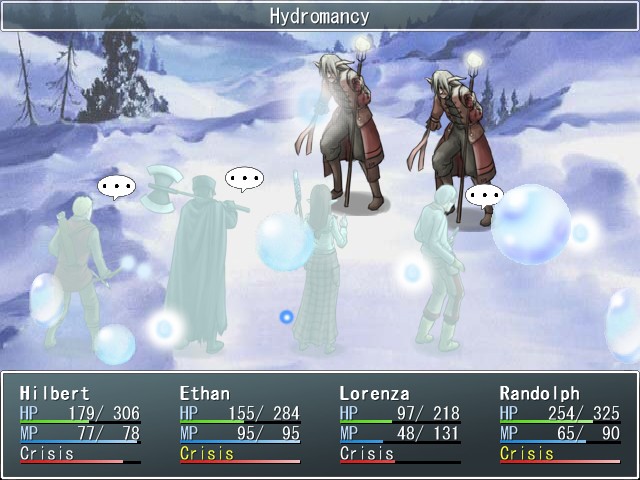

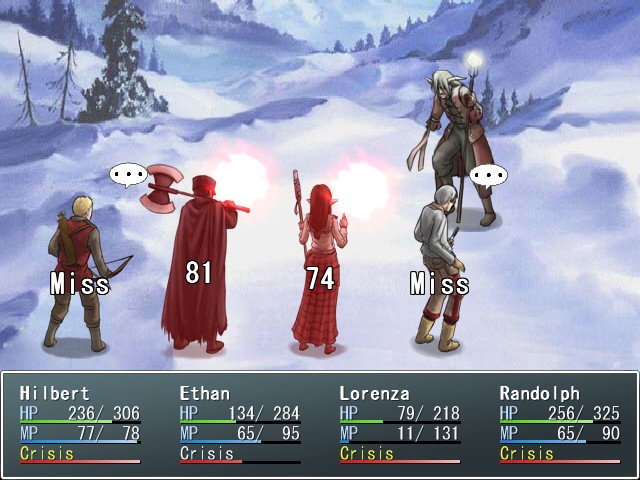
Anyway, the battle. As mentioned, the two Prototypes have very different behaviors. Prototype #4 is the damage dealer of the pair, and will spend all of his turns casting Anemomancy, Geomancy, and Hydromancy. Although the three attacks have differing elements, their effects are all roughly the same: 65-70 damage to the entire party.

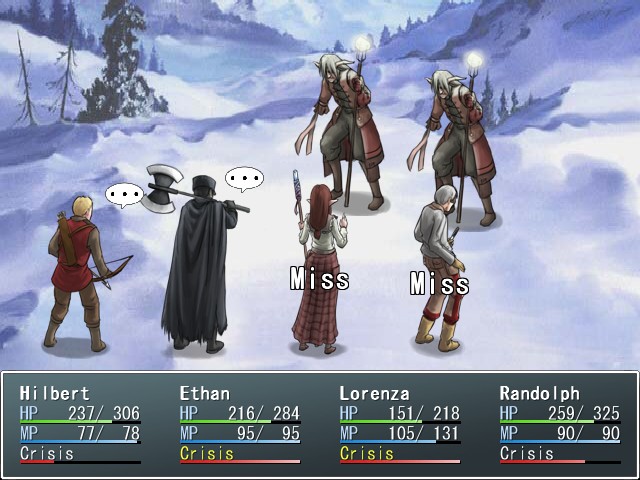
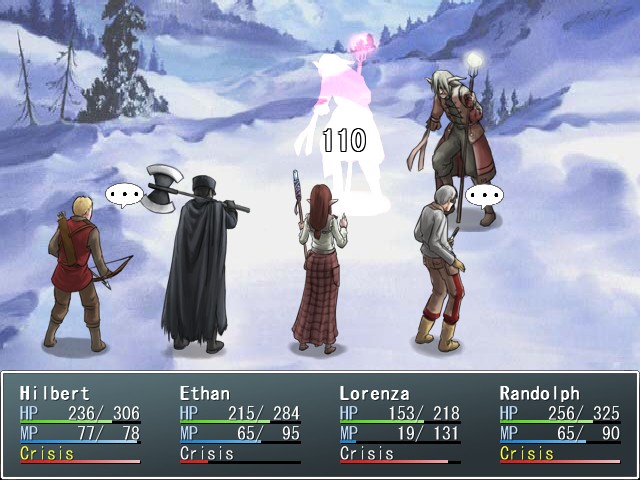
Prototype #5, on the other hand, doesn't do that much damage, but instead will spend his time inflicting various status effects. He has Serenity Wave, which silences the party...
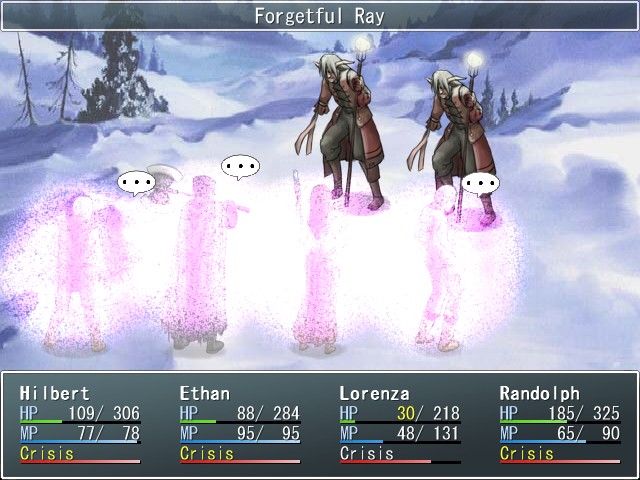
... Forgetful Ray, which inflicts around 40 damage and amnesia (and also proves I'm an idiot who doesn't know how to heal properly)...
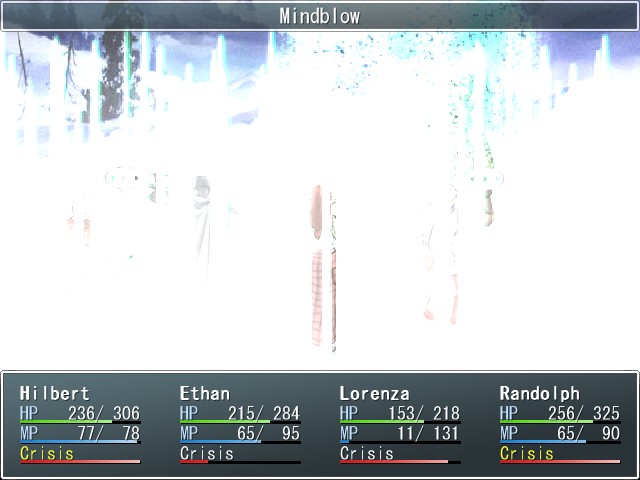
... and Mindblow, which aside from making it impossible to see anything, inflicts about 80 damage and berserk.
Obviously you want to focus on one Prototype first, but it's a bit of a tossup which one it makes more sense to prioritize. Personally I prefer to go after Prototype #4 first, because leaving him alive turns the battle into a damage race. Prototype #5's statuses can be debilitating, but proper accessory choices can limit which ones actually hit, and in any case none of his statuses are that troubling once he's the only one left. Now if he could inflict chaos on the other hand...
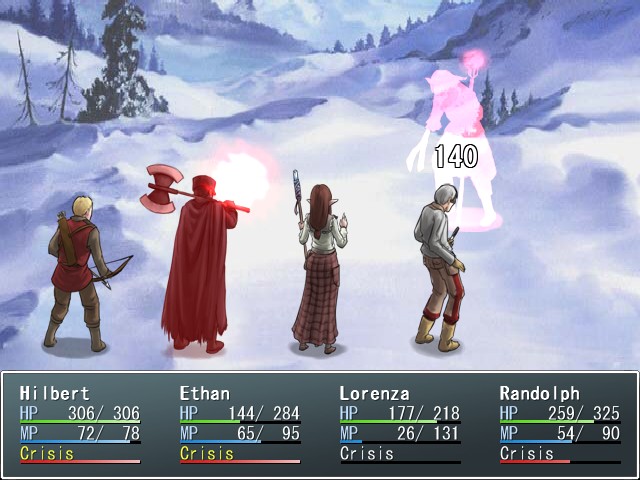
Once Hilbert unsilences himself, he swipes a new spellcard from Prototype #5, again on the first try. Thief Glove, I think this is the beginning of a beautiful friendship:
 Regen (20MP): Grants one ally the Regen status, which recovers a small amount of HP when their turn comes around.
Crisis: Full Recover (35MP): Restores full HP to the caster.
Stat changes: +3% max HP, -2% STR, +1% VIT
Lorenza spends a lot of the second half of this fight berserk, which makes things take longer than they probably need to, but in the end, Prototype #5 goes down as well.
Music:


In addition to the new Gnome Hex tile, we also land ourselves a Charged Jet for our trouble, which deals moderate dark damage to a single target.
Music: None

Following the battle, the two Prototypes fade away with an unearthly groan.
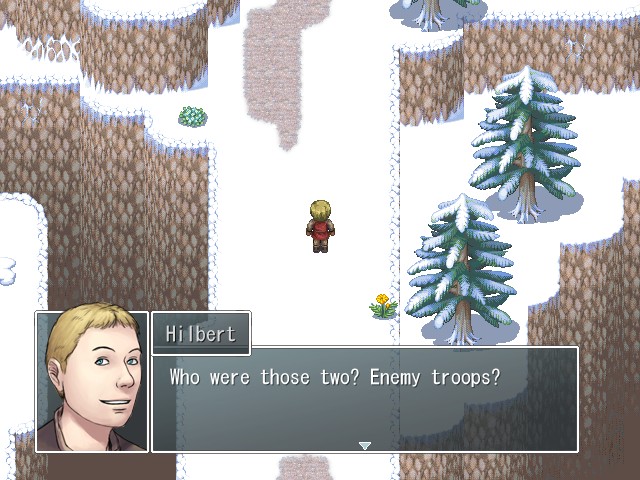 Republic soldiers...? ... No, I'm certain I've never seen anyone like them before. Then, were they some kind of secret weapon from the Empire? I honestly don't know. They were specifically looking for you. ... Well, we're not going to figure it out by standing here thinking about it. We have to focus on our mission now.
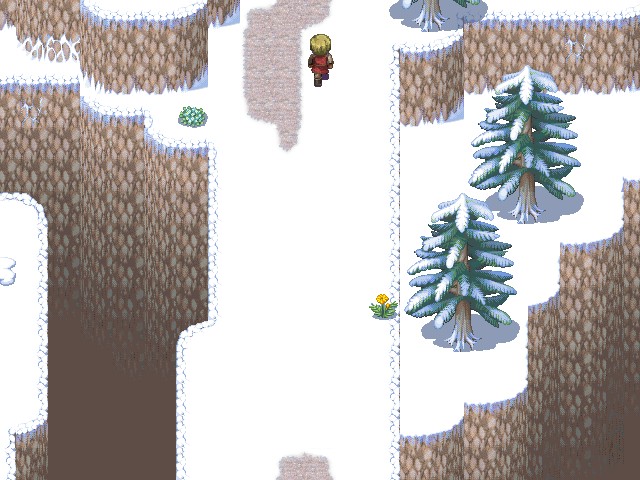
Fade to black...
Music:

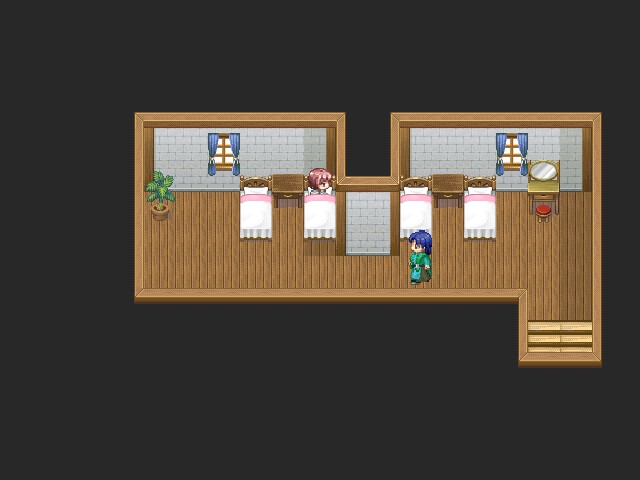
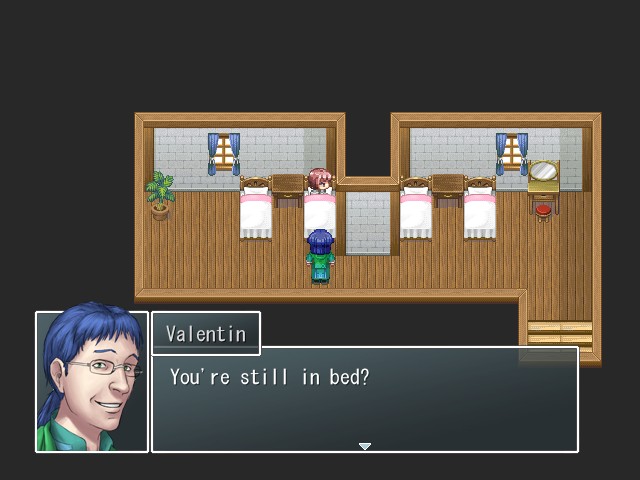
"And with your armor on, no less?"
I'm not feeling well, that's all. I'll be better in a few days. Ah... after spending fifteen years together, you still think you can fool me? It's nothing. Well, it's obvious that something's troubling you, but I can tell it's not an illness. Valentin.
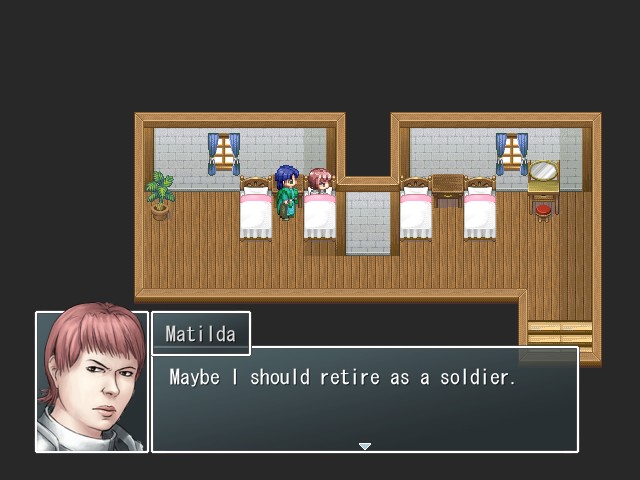 Eh? We haven't seen each other much lately. I've just been all over the place. What am I doing here, in this foreign country? There's just no point in fighting anymore. But... I thought you were doing well up till now. Why did you suddenly change your mind? You must've heard about it too, haven't you? Is it because of the Republic attacking? Hmm, I should've guessed. I thought you no longer believed in the Republic. That's why you made the decision to follow Hilbert instead. No, you're right. I don't believe in what the Republic is doing anymore.
 There are many good people there, people that are being taken advantage of by their own country. How can I stand against them, look them in the eyes and kill them for not knowing the truth? I can't do that. It's just unfair. It's better that I don't put the others in danger by hesitating. Matilda... Well... please get up soon, at least. It's not good to lie here and worry all day.
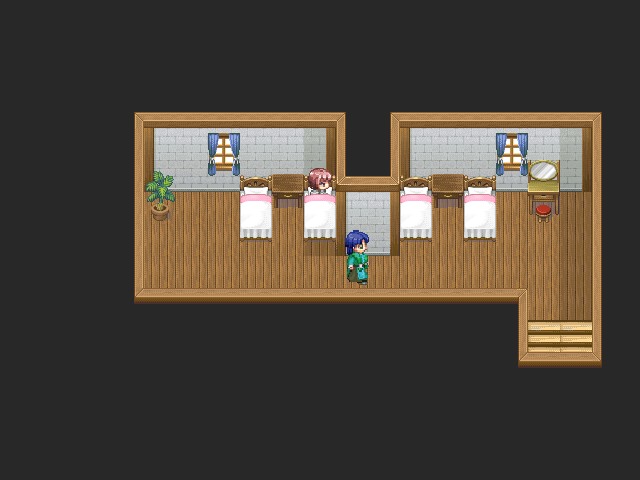
(This update got longer than I was expecting, but it doesn't really work as two separate, complete updates, so I'm making it a two-part update instead. Part 2 will be up tomorrow. I'm hoping this setup will be more palatable to those who wanted me to have shorter updates.)