Part 33: Blast From The Past
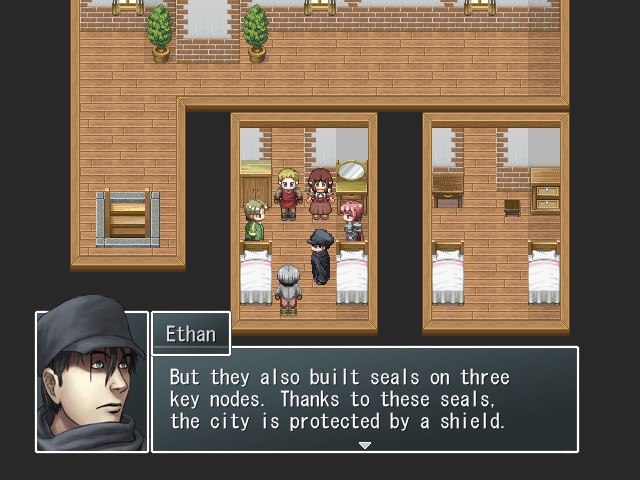
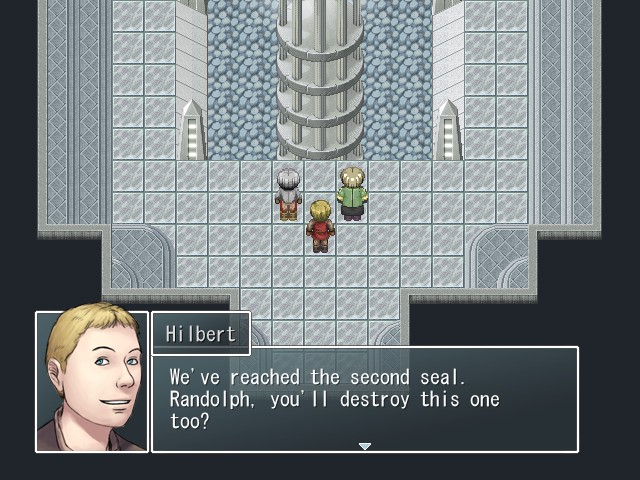
Welcome back. Last time on Last Scenario, we decided on our next course of action: to infiltrate the Havali capital of Entalar. In order to do that, however, we first need to destroy the three seals powering the shield that hides the city from view. We headed to the first seal in the west of the Empire, and were able to destroy it without much trouble. Now it's time to figure out where the other seals are and take care of them as well. Let's get to it.

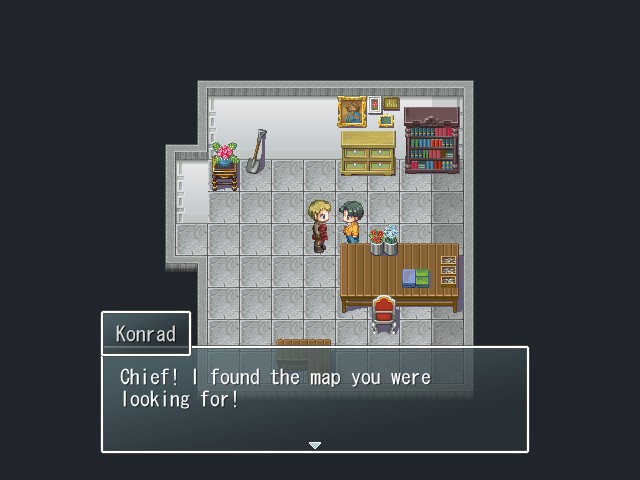
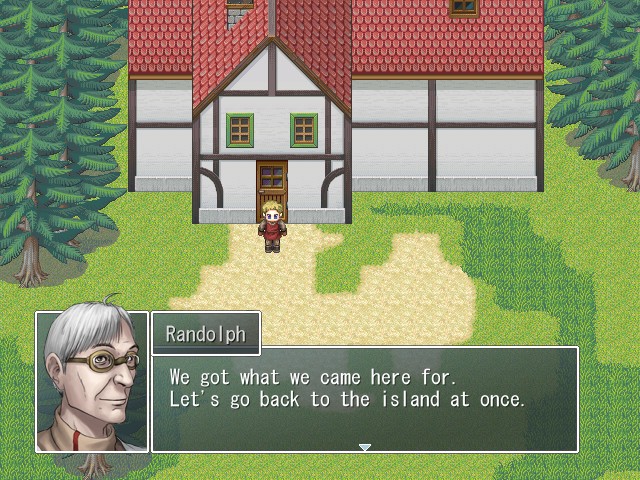
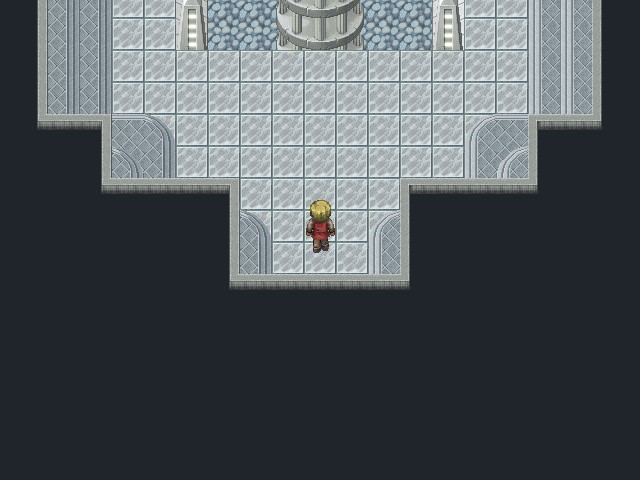
We begin this update heading back to the Geo-Science Station at Randolph's suggestion. Technically we did have to walk all the way out of the seal dungeon we explored last update, but, well, I don't think there's any need for me to cover that.

Music:


Fade to black...
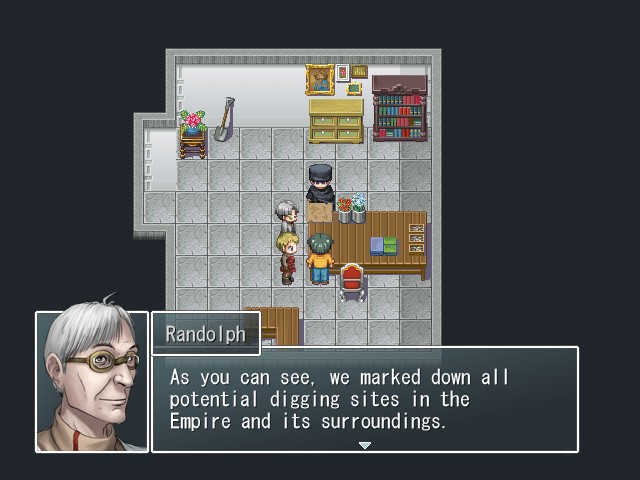
 By a digging site, I mean a place that would contain considerable amounts of biorite. Well, we established these locations through measurements and extrapolation. It's not 100% accurate, but it'll be close enough.
 What we're looking for is a place with a high biorite concentration, somewhere south of the Empire.
 We determined several of those, for example here, here and here. But most of these are at the bottom of the ocean... That's not right. It was definitely on land. Well then, how about here?
 A volcanic island... Yes. I think that's the place. Excellent. We'll start searching there. It's not too far from here. I marked the location on our own map. Well done, Konrad. Make sure you keep this map in a safe place from now on. Yes Chief. I'll be more careful in the future.
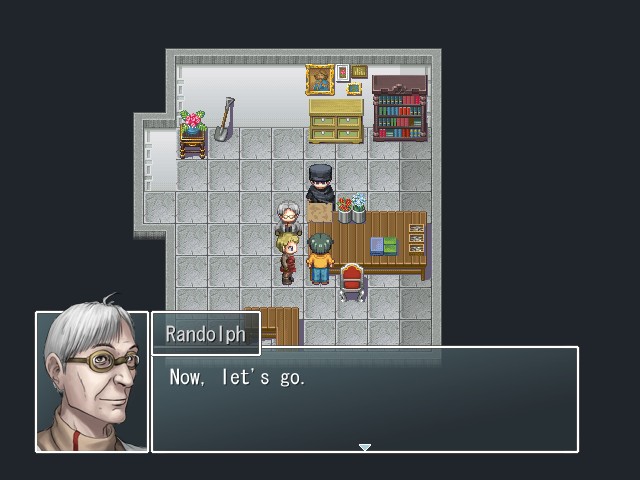
Fade to black...
Music:

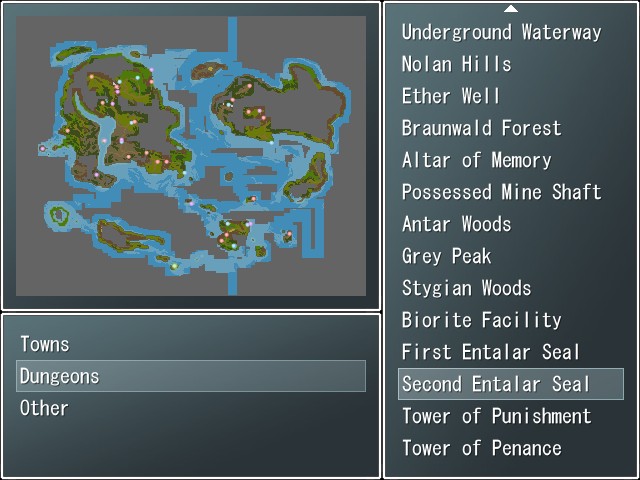
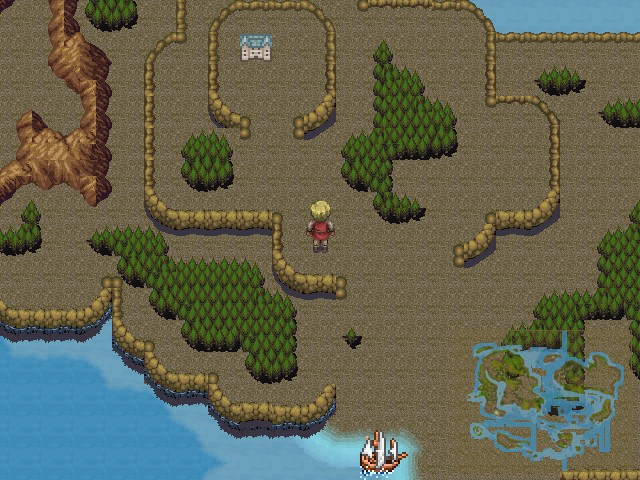
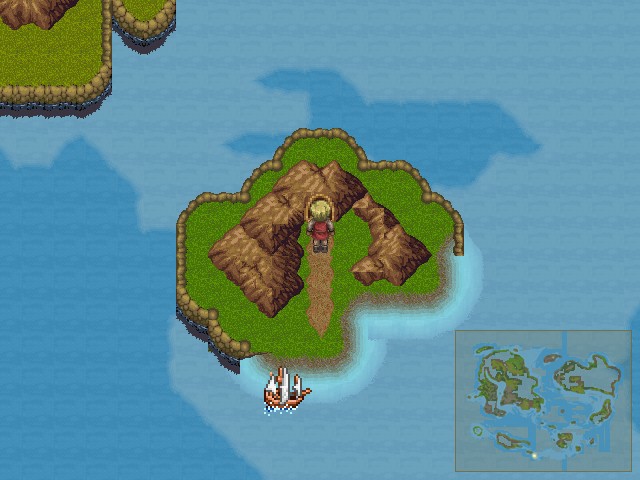
All right, guess there's not much to do but get moving then. The Second Entalar Seal is actually in a location we visited previously, on a small island in the south-center of the world map, but if you haven't been there yet the game will add it to your map here. You can see it in the shot above as a light green dot. I have to question Randolph's assessment of it being "not too far" from the Geo-Science Station, though. The Station is the purple dot in the middle of the river through the Empire continent--from there to the seal is at least a quarter of the way across the planet.
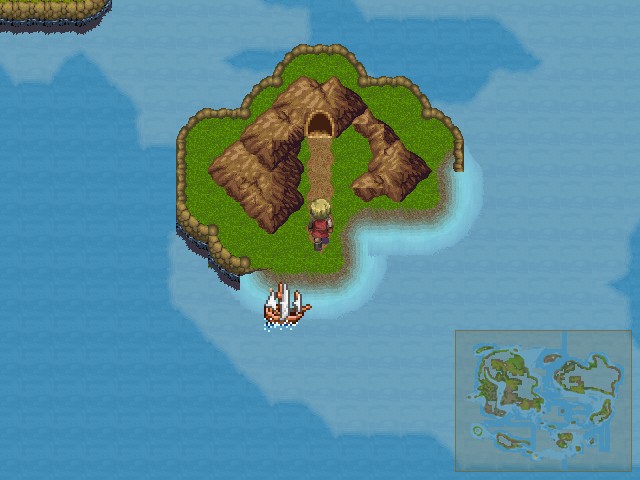
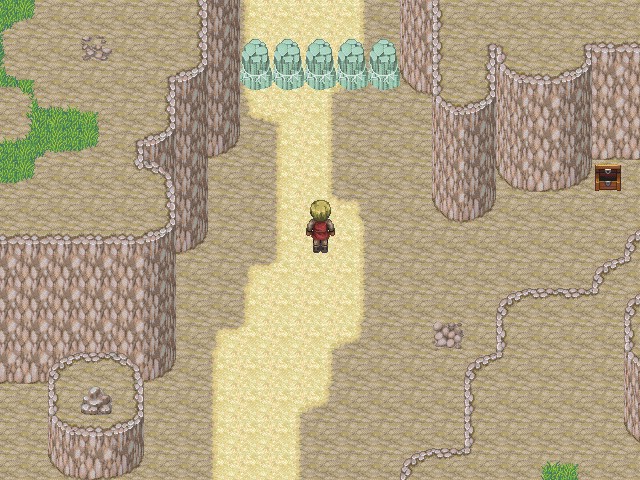
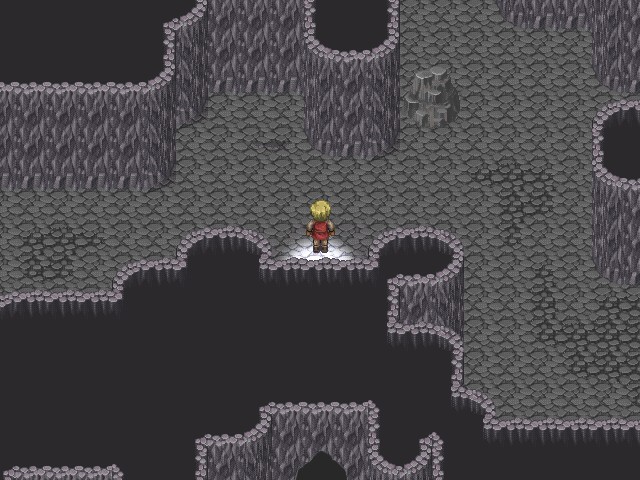
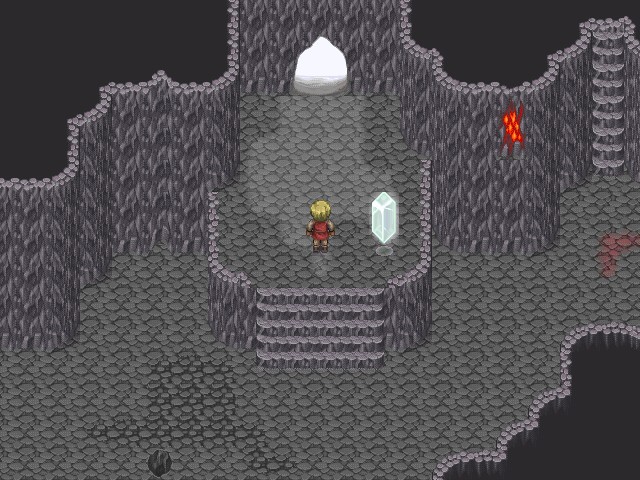
We find the island without much trouble. But I seem to recall there being something that stopped us from entering this place before...

Music: None
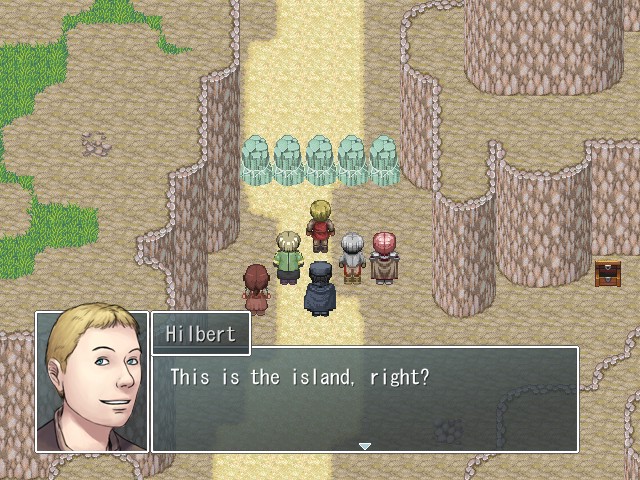
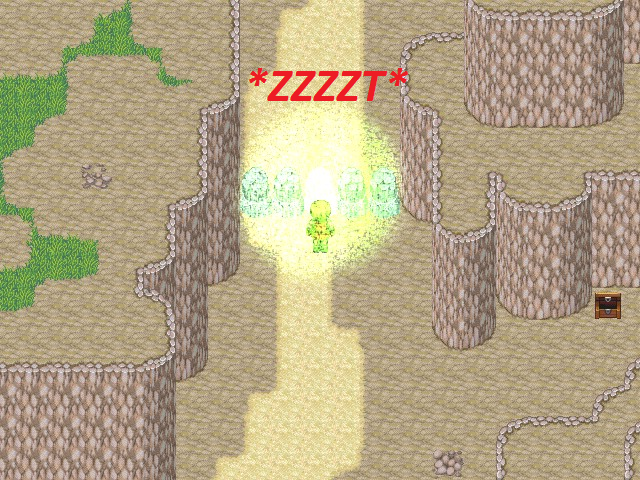
Ah, that's right, these things. Whatever they are. We weren't able to interact with these stones before, but if we try now...
 Then what's this? Oh, how foolish of me. This should've been in the records already.
Really now. Does it always "naturally" occur in a formation that just so happens to block the path of anyone who might want to pass by?

 Forget about that. How do we get past it? It's repelling us when we try to go near. Well, the easiest way is to wait a year or two for it to decompose. I... don't think we have that long. Of course not. The other way is to go around it, but that seems difficult on this kind of terrain...
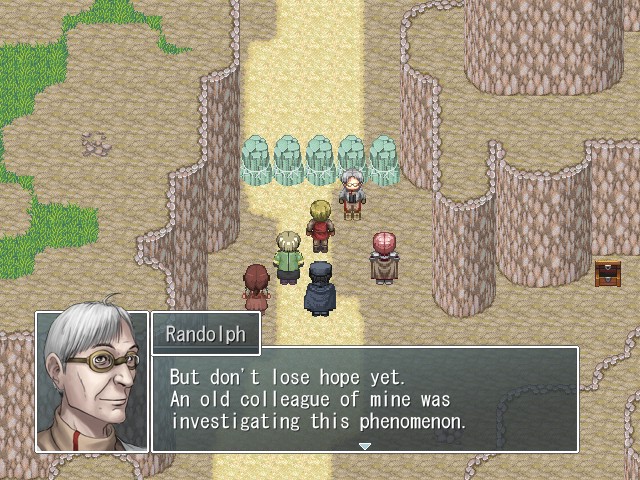 He should know of a way to remove the crystals. Where does this man live?
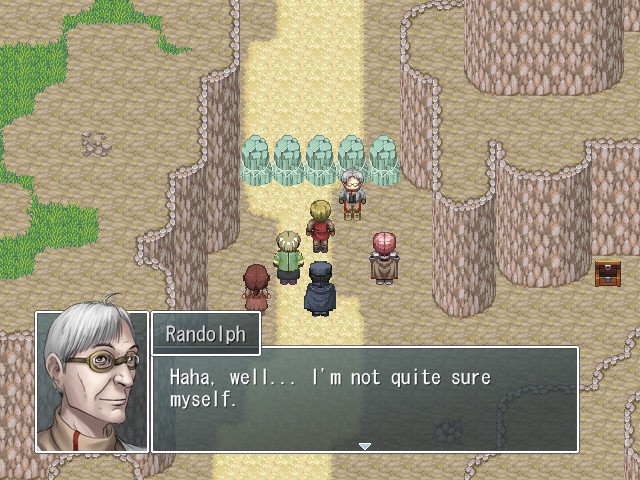 You see, he's a little... eccentric, so he moved away from the city to live by himself. Eccentric? Coming from you that worries me a lot. So, you don't know where he lives at all? Well, he's still somewhere in the Empire, that's for sure. We'll have to search for him.
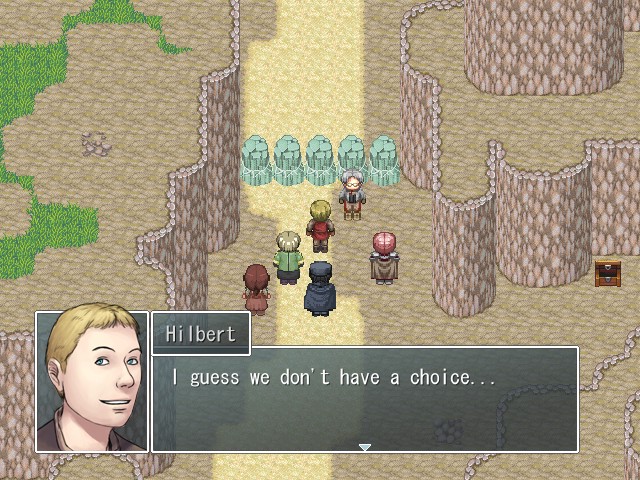
Fade to black...
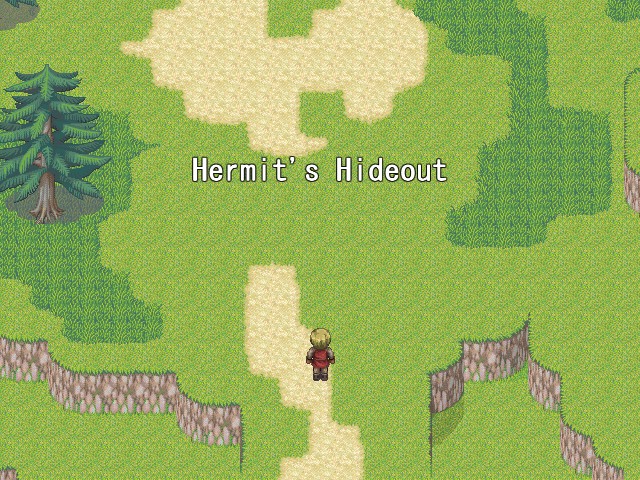
Welp, guess it's fetch quest time then. Randolph mentioned that his colleague preferred to live alone, and as you might recall from our world tour, we previously found a location called the "Hermit's Hideout" in the southwest of the Empire where we couldn't do anything yet. That sounds like a description of the sort of place an eccentric recluse might live, so let's go check it out.
Music:

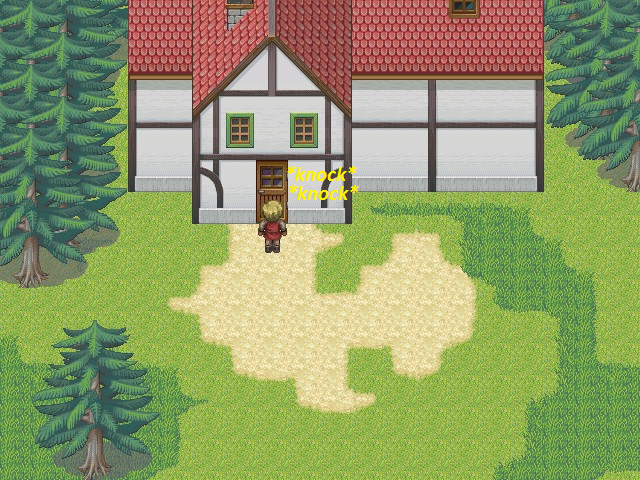
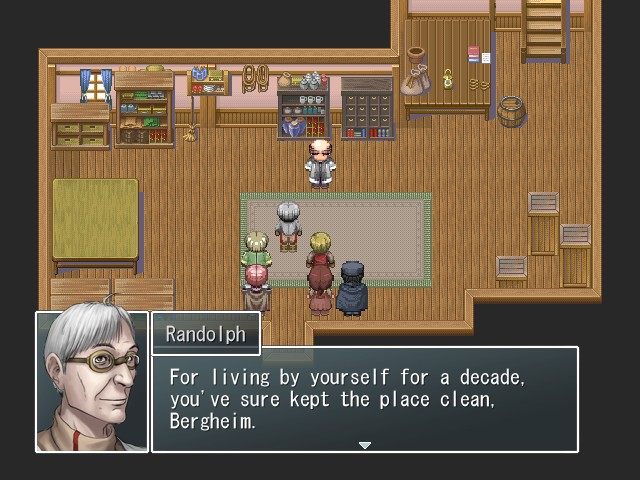
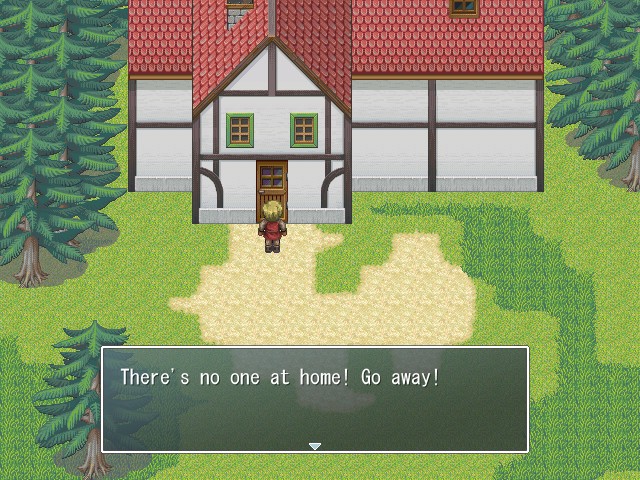 Bergheim! Open up! It's me, Randolph!
 Randolph? You mean... "top of the class" Randolph? "Look how smart I am" Randolph? That Randolph? My my, is this how I'm being remembered?
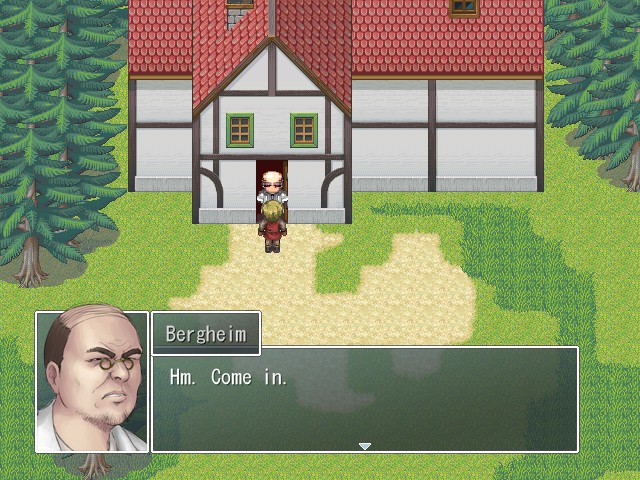
Fade to black...
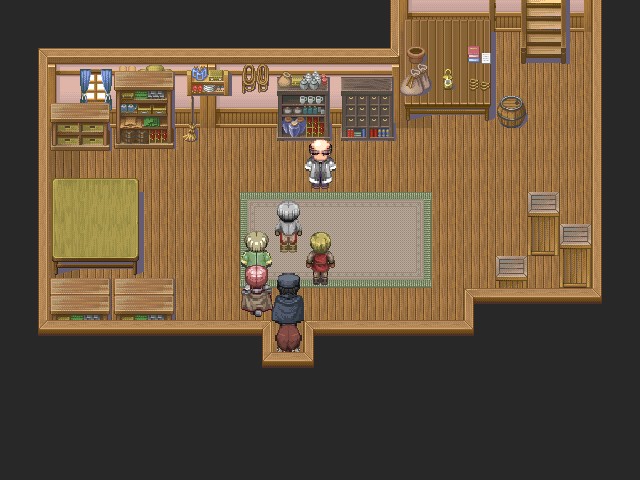
 Of course, I clean regularly. Even a little dust would be murder on the delicate machinery I build. Now, what do you want? Come on, don't be so stiff. We haven't seen each other for a long time, after all. You're still the same as always. I don't care for small talk, just tell me what you need. All right, all right. We need a way to destroy a few solid energy crystals. You must've built some kind of tool to do that, haven't you? Yes. I have. Good, good. Can you give it to us, then? G-Give it to you? You want to take the product of years of my research away from me? For free? You come barging into my home out of nowhere, and you demand I give you my Bergheim Ray for free?
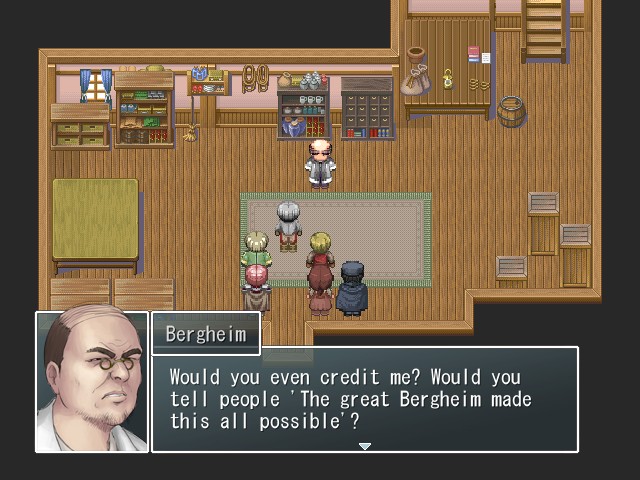 Of course! We'd be very grateful. Besides, you know how it works. Just make another one. Randolph, your audacity never ceases to surprise me. Oh, all right. If that's what it takes to make you leave. I don't want to hear you beg for it any longer.
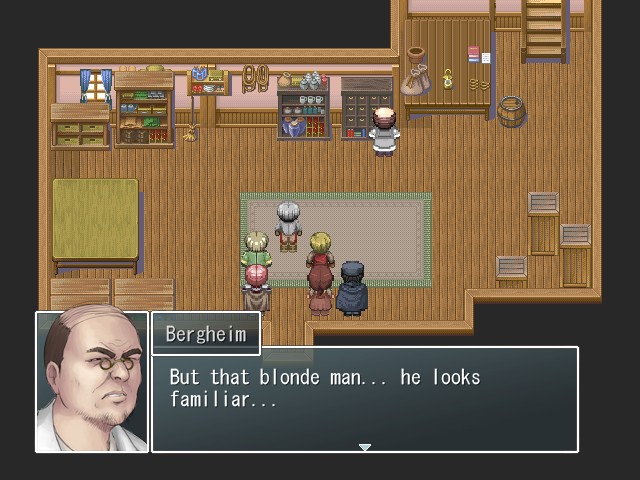 That's Thorve, isn't it? Yes, it's him. Ehh, really? I didn't know he came back...
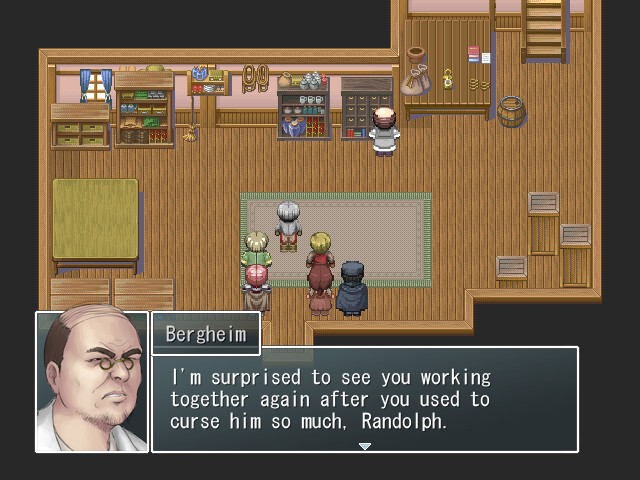 Bergheim! There was no need to say such things in his presence! What are you thinking? Is this some way of getting back at me? Just give us that device! Here. Take it and go.
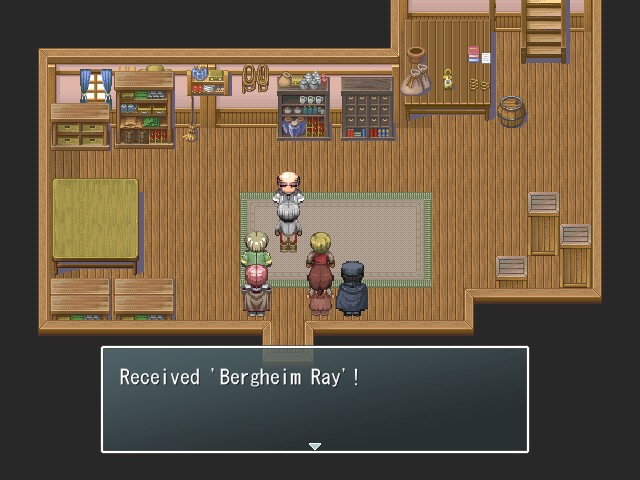 We certainly will! Really...
 Uhm...
Fade to black...
Well, that was awkward. Let's just get on with this.


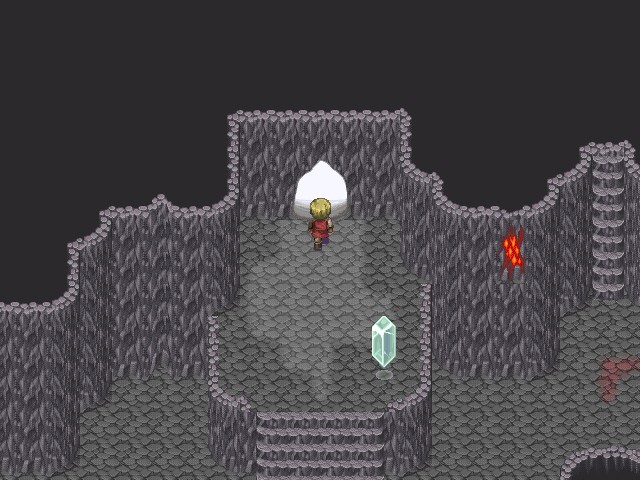
And we're free to move on. Now, some of you may recall that this isn't the only place where we saw these energy crystals, and might be wondering why I'm not bothering to check the other locations out yet. That's because there really isn't any reason to do so right now: one of the places was the Tower of Penance, which will destroy us at our current level, and the other one was blocking the way to a town that we'll be visiting next update for plot reasons. So for the time being we'll be heading straight to the seal.
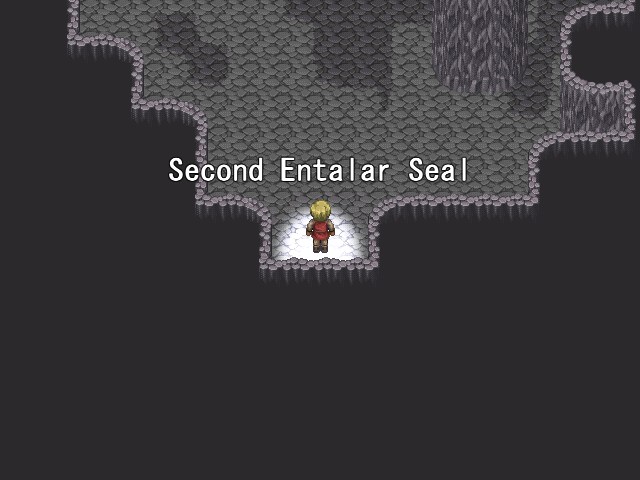
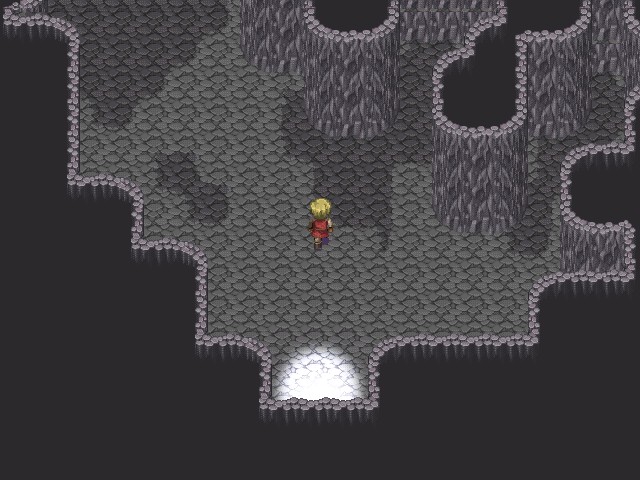
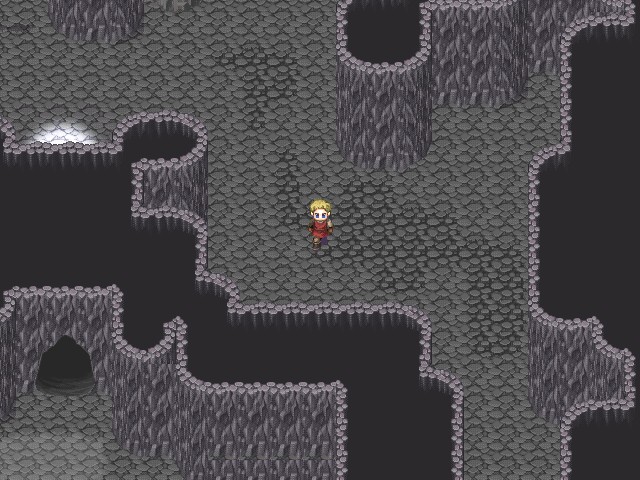
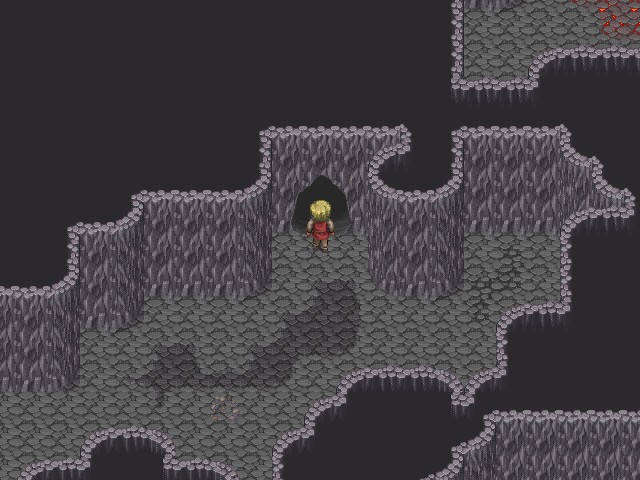
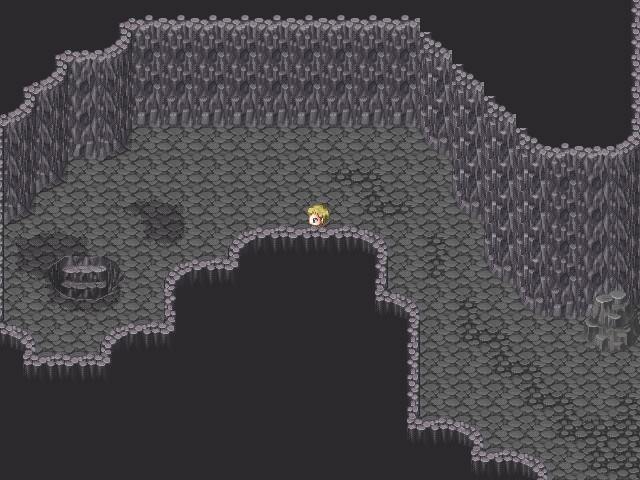
Heading north from the energy crystal area spits us back out on the world map, right in front of the cave. I'm going to guess the crystals and cave are separate areas because SCF didn't want the area showing up on the map's location list as "Second Entalar Seal" if the player entered it while exploring. Regardless, we head inside.
Music:

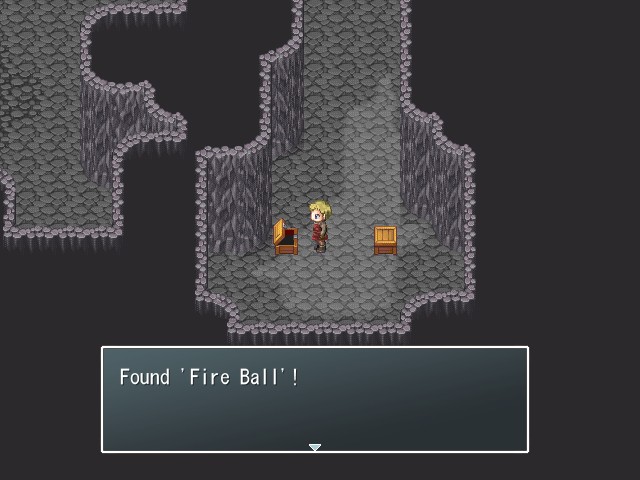
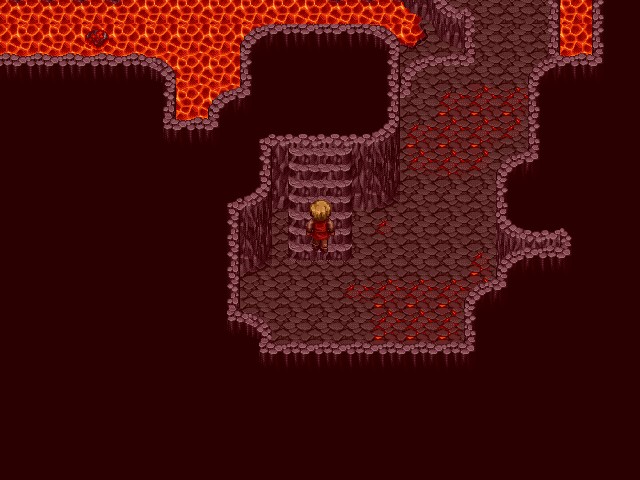
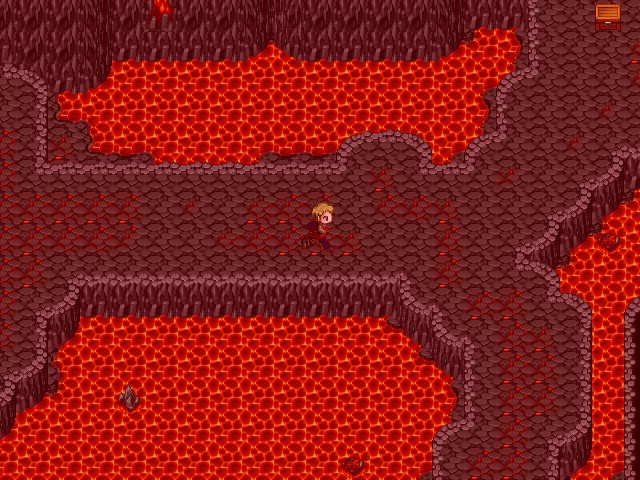
Just like the first seal, the cave here is very elementally focused. Randolph mentioned earlier that this is a volcanic island, and that means virtually everything in this dungeon is going to be fire-aligned somehow. Hilbert will be wearing the Flame Amulet, which absorbs fire damage, for the duration of this dungeon, and Ethan and Lorenza will be carrying Waterfall and Iceblast spellcards, respectively.
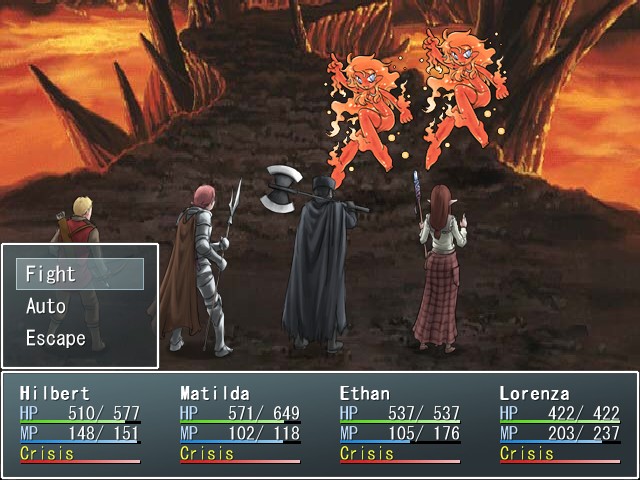
It's only a few steps before we run into the first monster of this dungeon, the Efreet. Efreets are a bit odd--they have very high HP totals for regular enemies and take a while to defeat, but they spend most of their turns using only a regular attack for about 100 damage. Very occasionally they will also use Whirlwind to inflict 160 damage and chaos, but for the most part they just sit there and whack us. Interestingly, they're one of the few enemies in this dungeon that isn't weak to either ice or water.
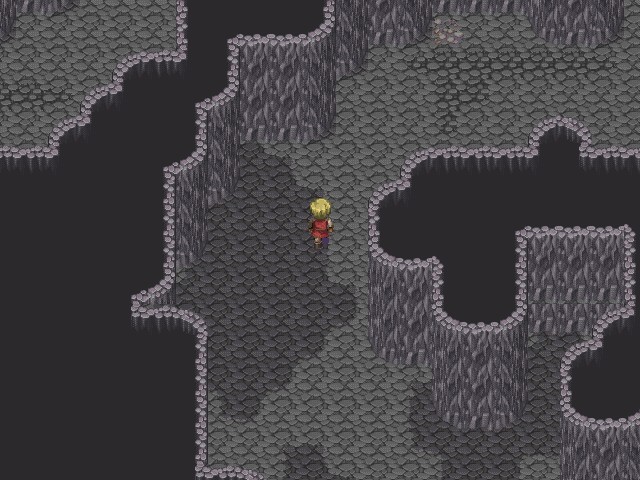
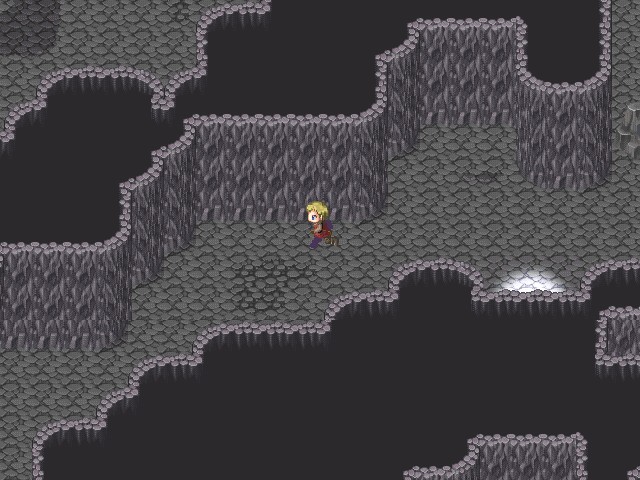
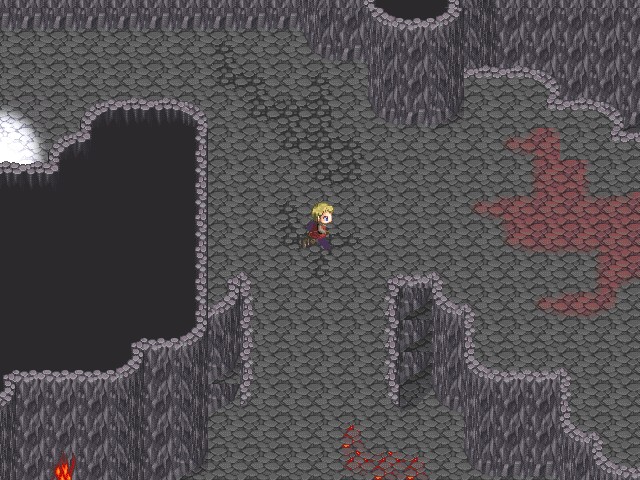
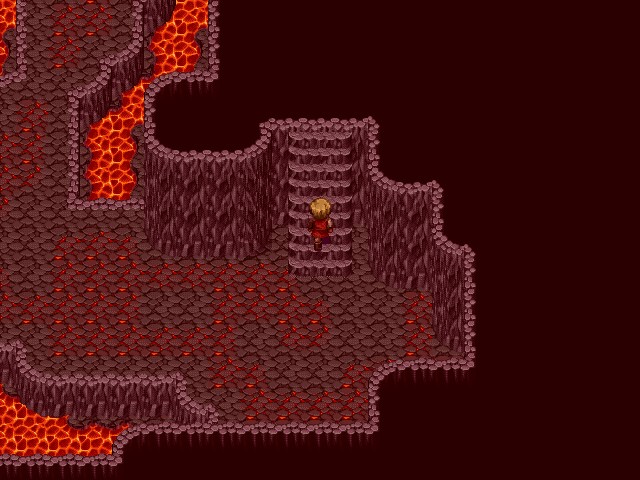
The Second Entalar Seal is unique in that a lot of the openings that would normally be screen transitions lead to different areas of the same screen. In the above shot you can see both the entrance and exit of one particular opening.
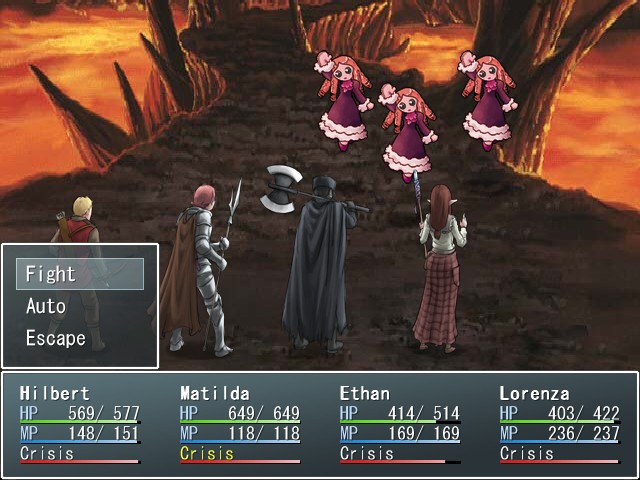
Next up we have three Lava Dolls. Lava Dolls aren't much of a threat: they can attack regularly for around 75 damage, or launch a two-hit combo of fire attacks with Torrent of Lava, which deals around 110 damage per hit. But their HP is low and they're weak to ice, so they go down quick.
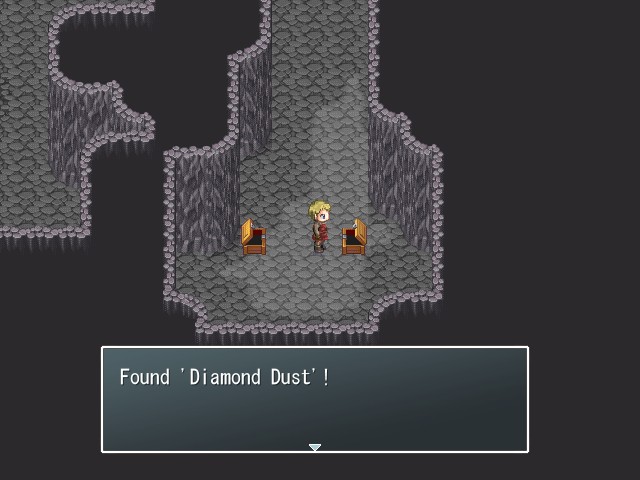
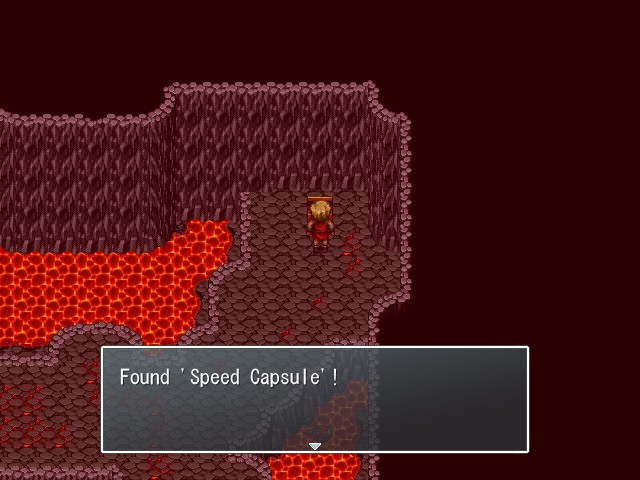
There are a couple of chests squirreled away in a corner here. Another Diamond Dust is always handy.

Aside from the dead end with the chests, there are two paths leading away from the first opening we went through. However, the northern path leads to what appears to be a one-way room, and not in the way we're heading. There's no way to push the left rock out of the way because you can't push two rocks at once, but if we find ourselves coming from the other direction, we'll be able to move the right rock up or down and get out that way.
On our way back to the first opening we run into a couple of Fire Elementals. Fire Elementals only have one move, a regular attack for about 95 damage, but their HP is a bit higher than one might expect. Appropriately, though, they're weak to both water and ice, so we have several ways to take them out.

We head west from the first opening next and come across another one, and shortly after we pass through it we find the last few enemies of this dungeon: a Night Orc and a Fire Devil. Night Orcs are just beefed-up Orcs without any new moves; they can attack us regularly for 110 damage or use Cleave for about 165. Similarly, Fire Devils are essentially stronger Flame Imps, though SCF at least bothered to change the name of their technique. Fire Devils never attack regularly, instead using Flaming Tail every turn to inflict about 75 fire damage. Neither of these guys are particularly difficult.
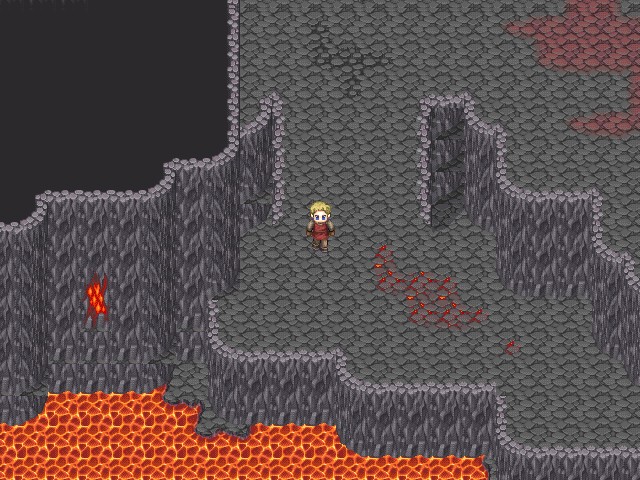
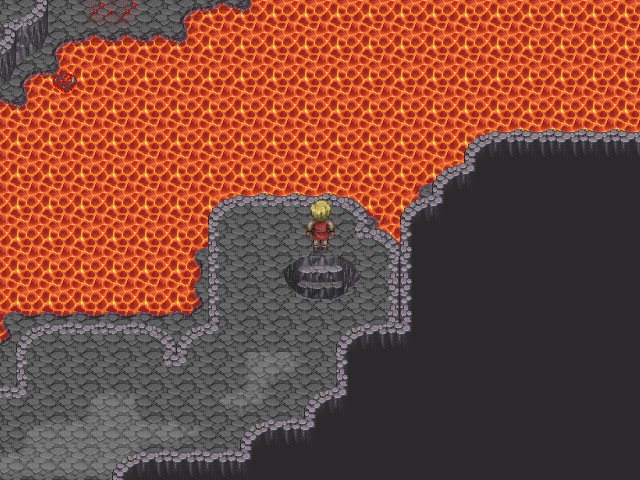
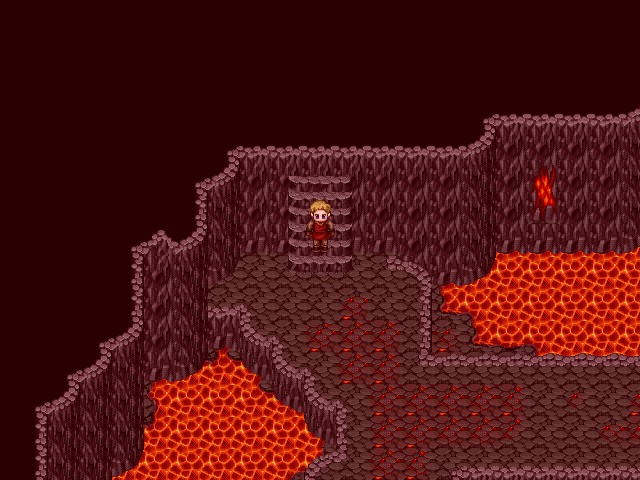
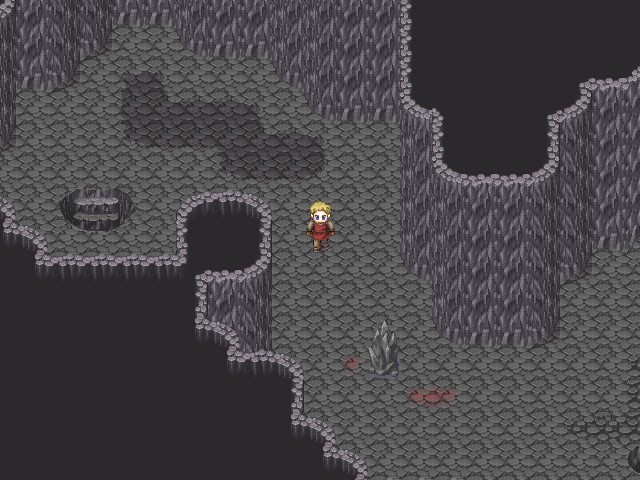
Things start to look a little more volcanic as we continue on.
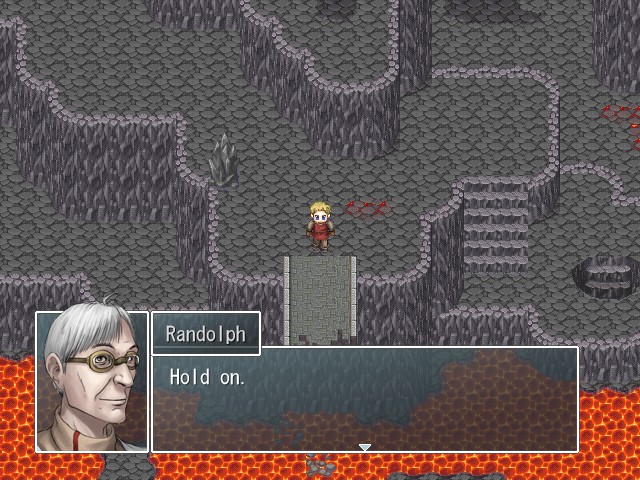
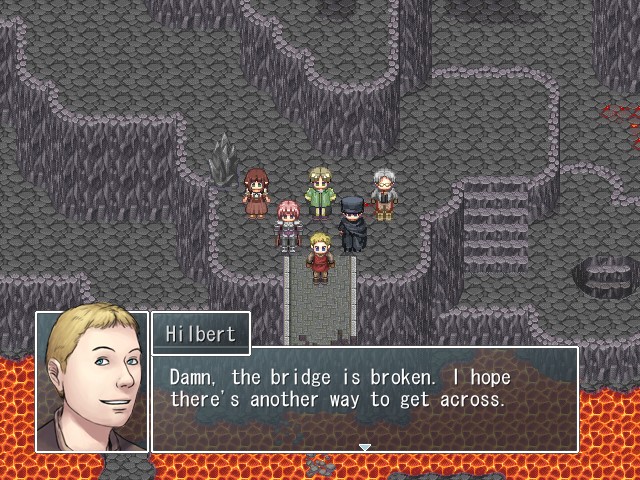
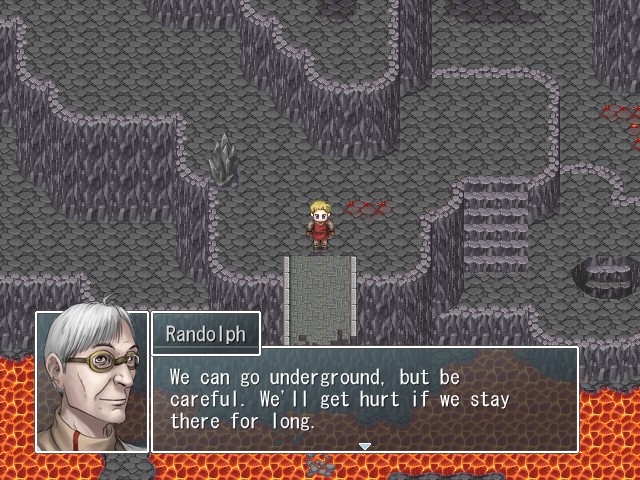
And nearby we find a broken bridge. Randolph decides to pipe up here.
 There seems to be a path further down... but it looks dangerous. Thorve, let's go take a look. The rest of you stay here. We'll call you if it's safe. Okay.
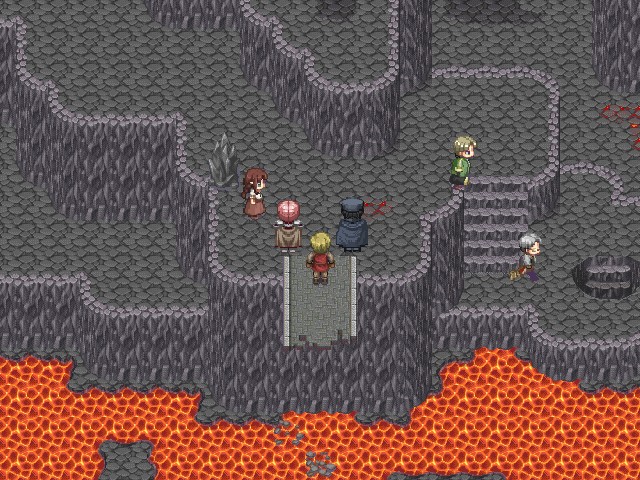
Fade to black...
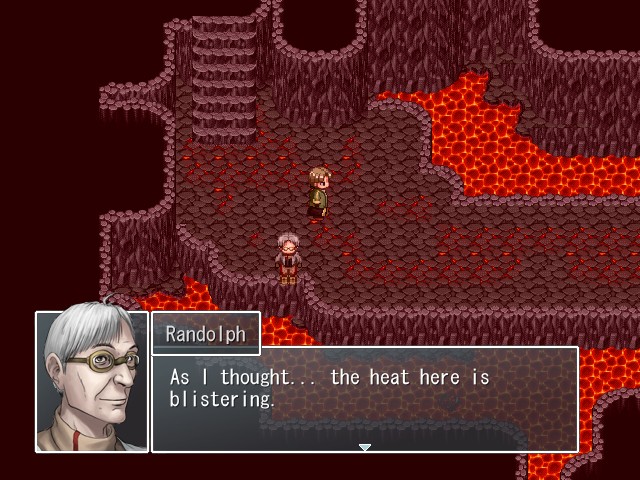 It would be severely harmful if we stayed here for long.
 But it's still possible to get to the other side through here, if we hurry. Certainly, and it's probably our only choice too. It's nothing serious as long as we don't have to spend a lot of time down here. Should we go back and tell the rest to come, then? Thorve...
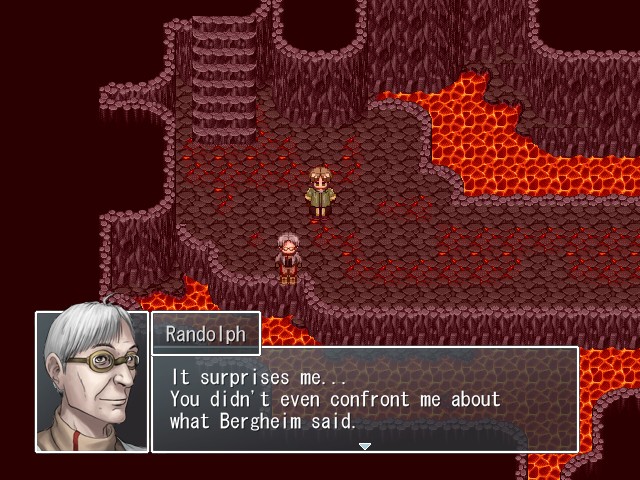
Music:
 Maybe you didn't think it was true? Does it really matter? It's in the past. I can't say I don't feel a little guilty, especially after how I lectured you when you returned. You lost your son, Randolph. I can't blame you for being irrational at a time like that. Irrational? But, do you truly think it was irrational? Or do you think you deserved to be blamed? Randolph. I'm over it. I know that it wasn't my fault, that there was no way to save Wolfram.
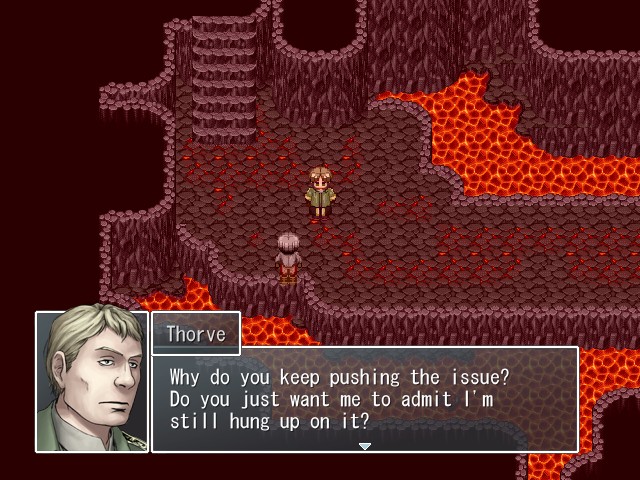 I think it's you who can't let go.
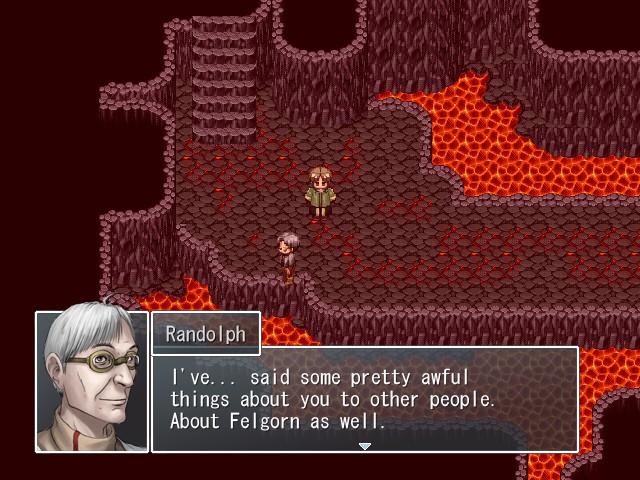 He had it the worst, since he was there to hear it. You may not have known about this, but... Throughout all of it, he didn't defend himself once. He didn't get angry or sad, he... he just kept a straight face, with this guilty look in his eyes. I never got a chance to apologize to him about it. No, I did have the chance. I just didn't do it. And now he's gone as well.
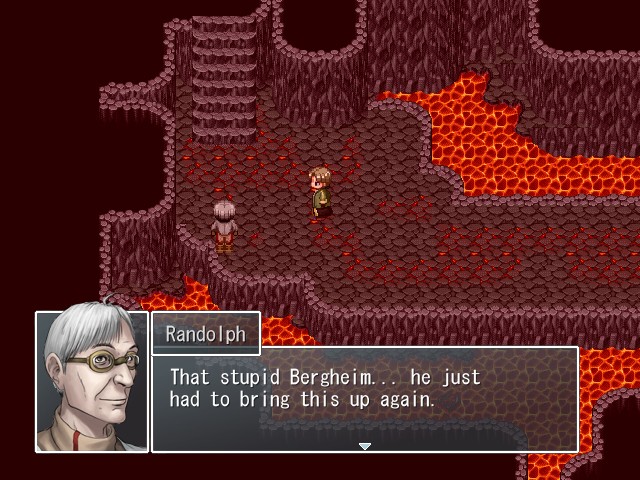 I feel like an idiot worrying about what I said that long ago when even you already left it behind you. Come, the others are waiting. It's a bad idea to stay here any longer. Randolph...
It's not really that major, but I have to say that I really like this scene. As much as I enjoyed the earlier scene where Thorve revealed what happened to Wolfram, there was always this little niggling feeling that Randolph's response was a little too noble, considering that Wolfram was his son. It's a rather humanizing moment for Randolph when we find out that, in fact, he originally (and understandably) blew the fuck up about it. Randolph doesn't get that much focus compared to the rest of the party, so little moments like this are very nice.
Music:
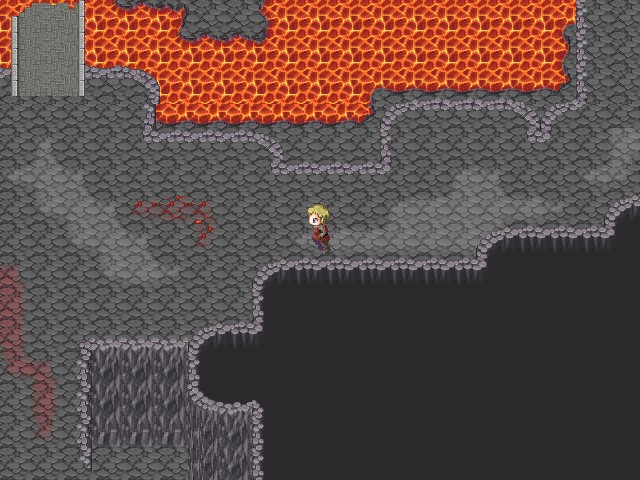
But then the seriousness of the moment is diminished a bit when Randolph himself points out that staying where he and Thorve were talking for any length of time would actively harm them. I mean, I get that Randolph wanted a chance to speak to Thorve alone, but couldn't he have picked a place where they wouldn't get burned alive?

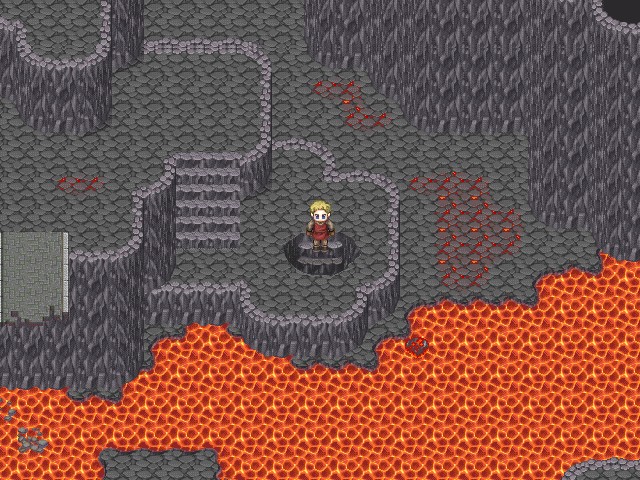
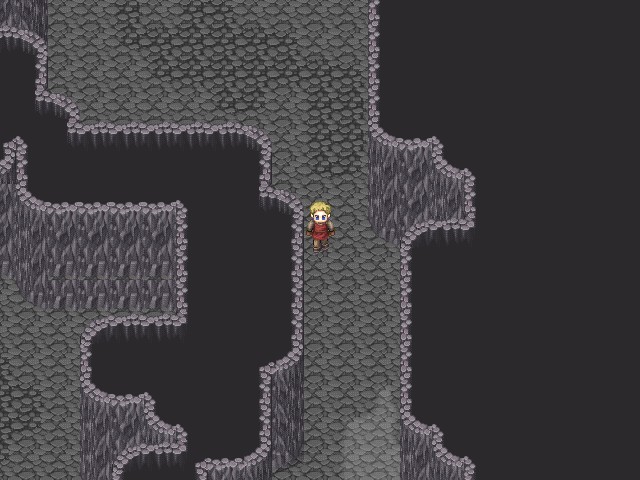
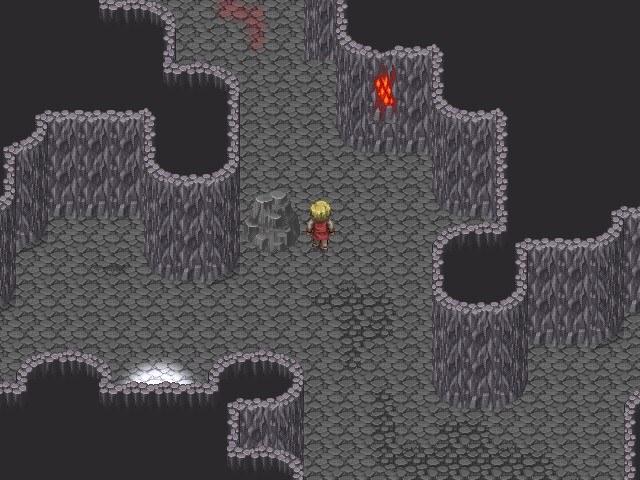
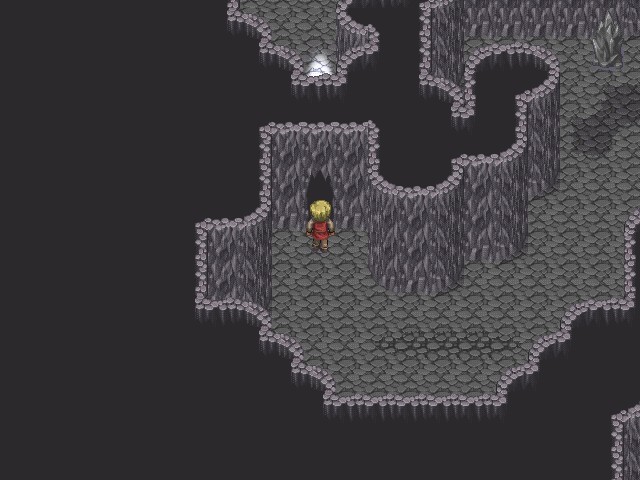
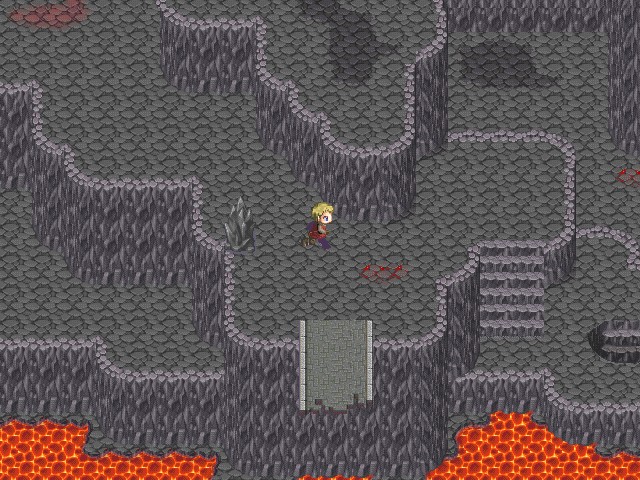
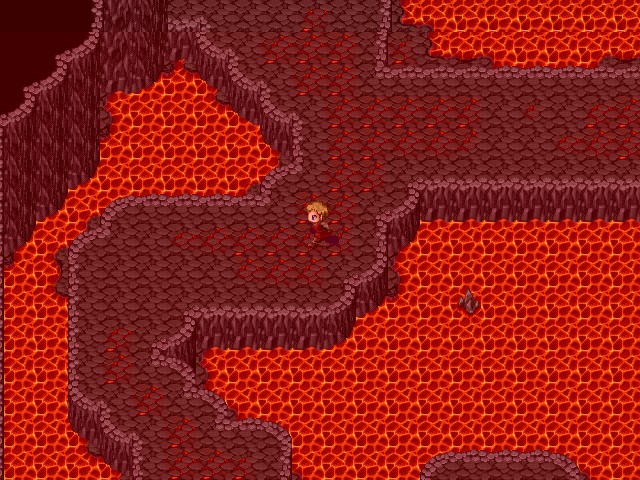
Anyway, heading downstairs reveals this dungeon's gimmick. The screen is constantly flashing red while we're in these lower areas, which means our HP is constantly decreasing at a slow but non-trivial rate. The damage is based on time rather than steps taken, so we don't want to stay put for long, but I don't believe it's possible to die from it.
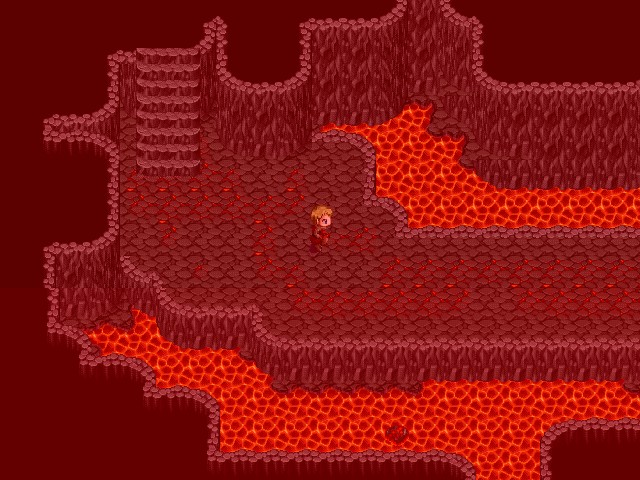
Thankfully, the room is pretty short. As we emerge we find ourselves on the other side of the bridge.
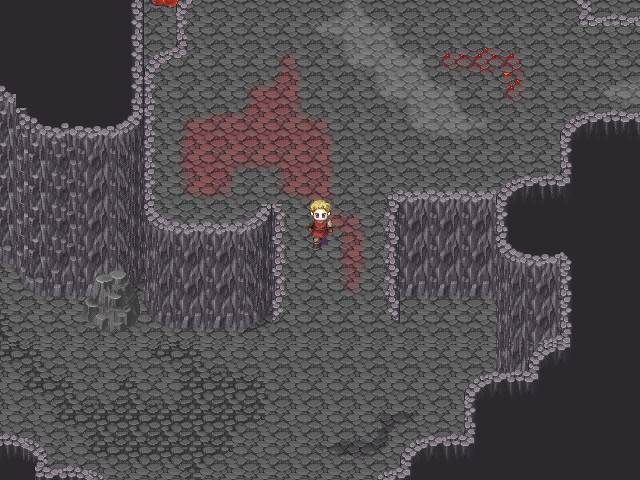
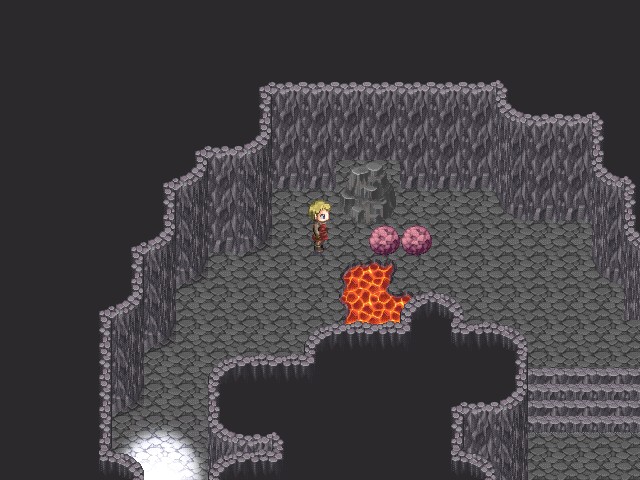
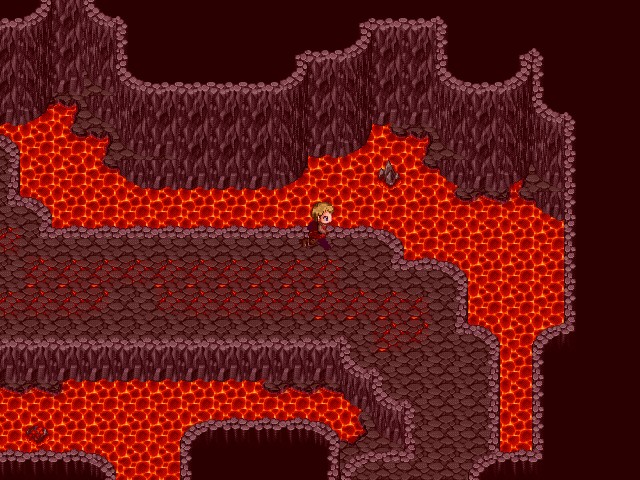
But there's another superheated area only a short distance away.
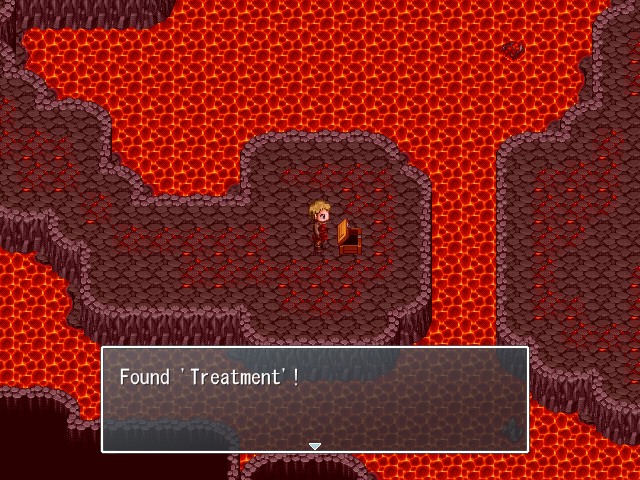
There are a couple of nice treasures in the second superheated area if you're willing to take a bit of damage. Treatment in particular is a very nice spellcard that I've been waiting to get for some time:
 Treatment (10MP): Cures amnesia, enfeeble, slow, blindness, poison, and silence for one ally.
Crisis: Mystic Light (15MP): Cures all detrimental status effects for one ally.
Stat changes: +3% max HP, +1% RES, -3% SKL
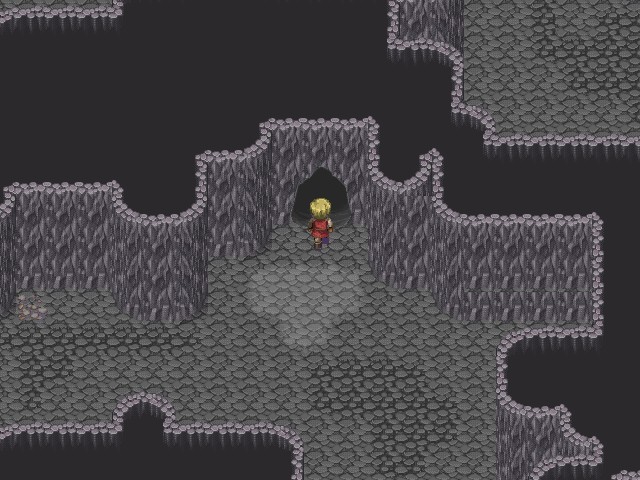
Finally we emerge in what definitely looks like a pre-boss area.
And just like before, we take a few steps inside and--
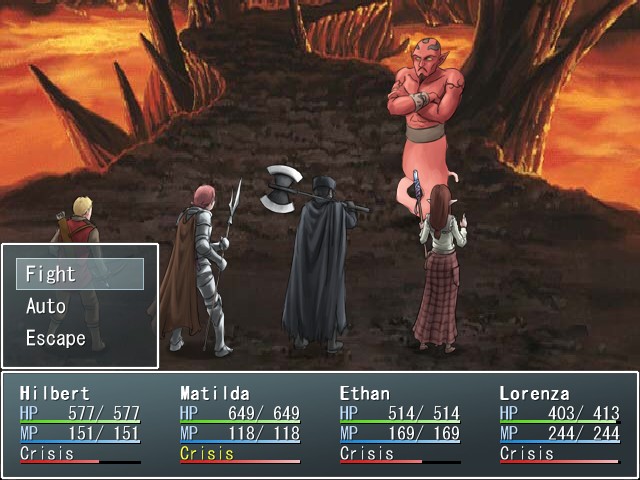
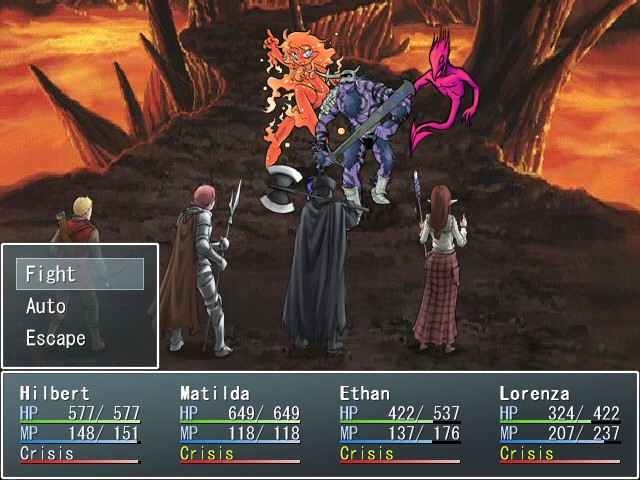
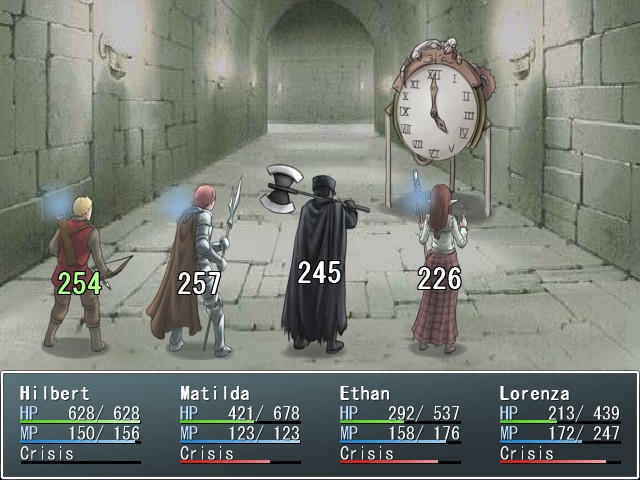
BOSS FIGHT: Zeitgeist
Music:

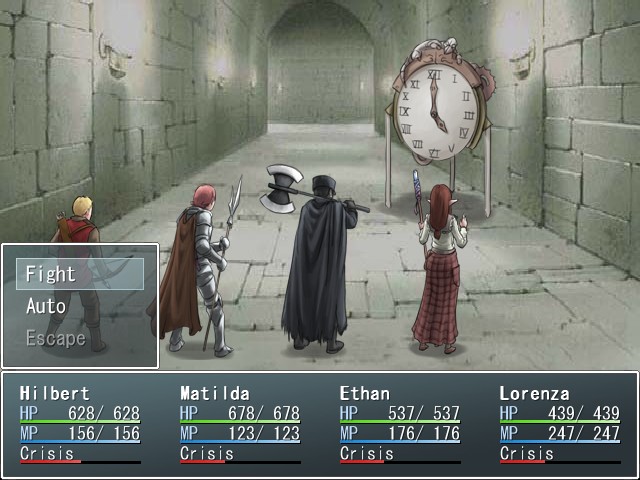
--WHAM! Surprise giant clock!
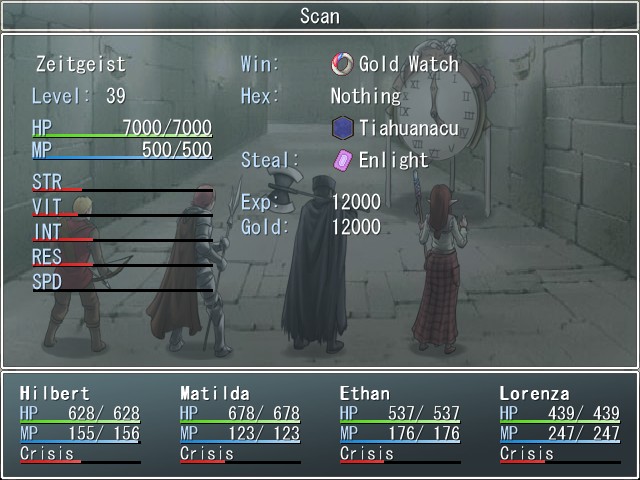
Zeitgeist's stat page is a bit misleading, though in fairness it's kind of impossible to be completely accurate due to the boss's gimmick. Instead of having zero SPD, Zeitgeist's gimmick is that it is (I believe) the only enemy whose SPD actually changes every round, ranging from faster than Hilbert to dead last in the turn order. I'm not sure if there's a pattern to how it changes, but it does seem scripted to give the boss a fair distribution of fast and slow turns.
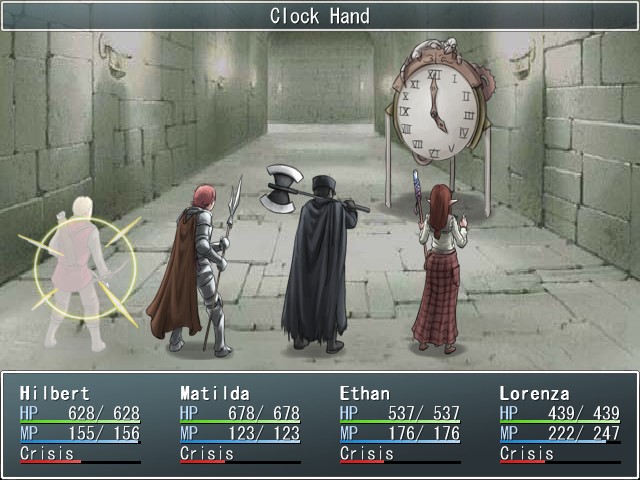
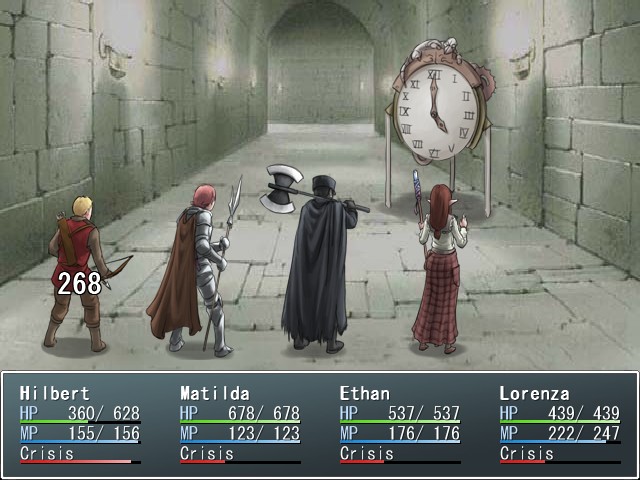
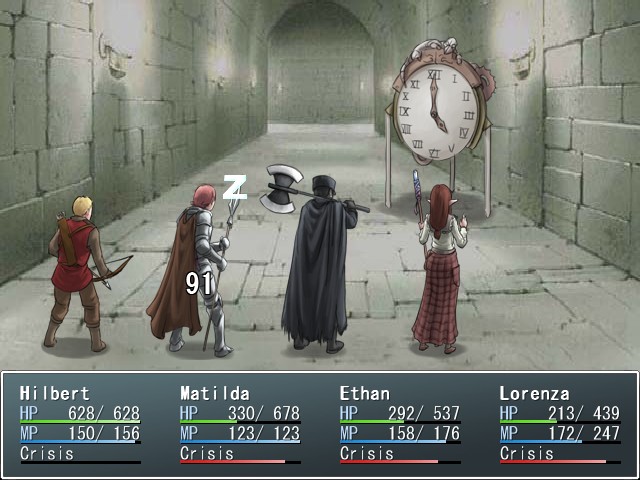
Zeitgeist is a much more magic-oriented boss than Erdgeist was, though that doesn't mean it has no physical moves at all. Instead of attacking regularly, Zeitgeist prefers to whack people with Clock Hand for a fair amount of damage.
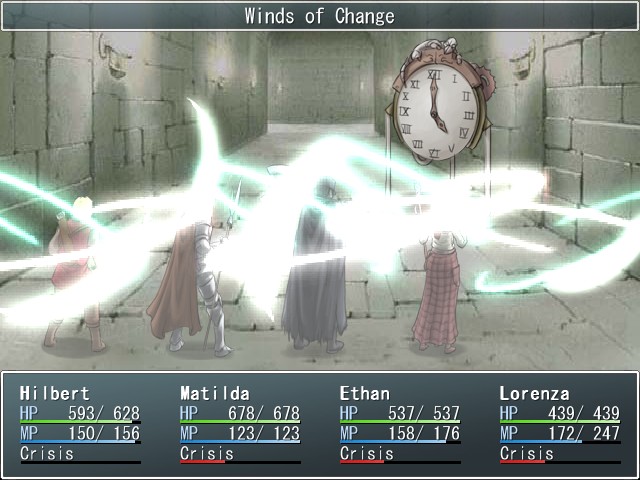
Still, its magical techniques are much more dangerous. Winds of Change inflicts a hefty chunk of damage as well as amnesia to the entire party. Also apparently it's fire-aligned? Hilbert is still wearing the Flame Amulet...
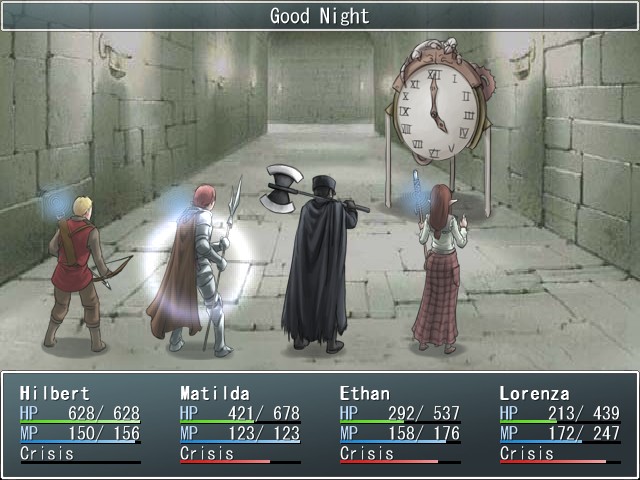
Zeitgeist also loves to use Good Night, which does only minor damage but causes both sleep and silence to its target. This is far and away the boss's most debilitating move, as there's currenly no non-Crisis way to wake up a sleeping party member outside of hitting them. Also, this is another move that is fire-aligned for whatever reason and will heal Hilbert if it targets him. Was this intentional, SCF?
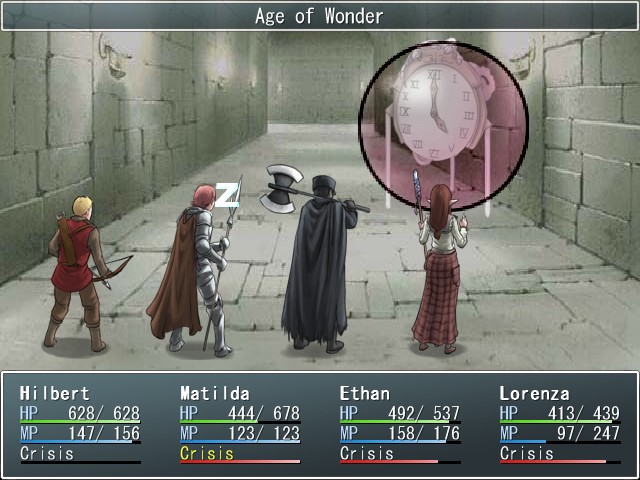
And lastly, Zeitgeist has the rather strangely-named Age of Wonder, which grants the boss a P-Shield. Okay then.
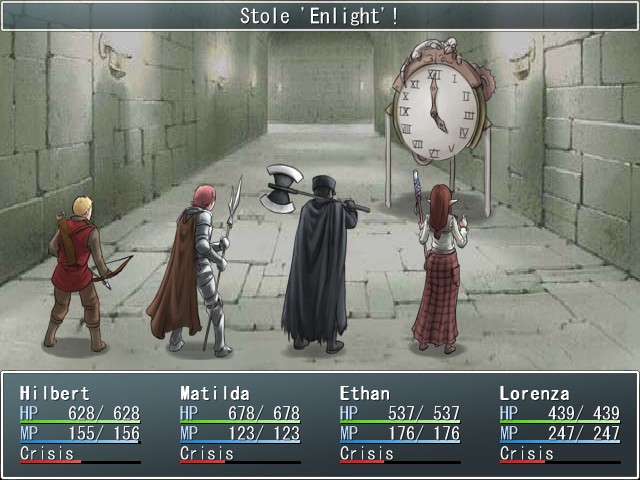
As a side note, it is really hard to steal from this boss! I actually had to do this fight twice, because the first time I killed it before Hilbert could successfully steal, even after about 10 attempts. Then the second time I gave Hilbert the Thief Glove and, of course, he grabbed the steal on the first try. Good thing, too, as Enlight is a fantastic spellcard:
 Enlight (5MP): Temporarily grants one ally the Enlight status, which restores a small amount of MP when their turn comes around.
Crisis: Brainstorm (0MP): Restores full MP to the caster.
Stat changes: -1% max HP, +3% max MP, -2% SPD, +1% RES
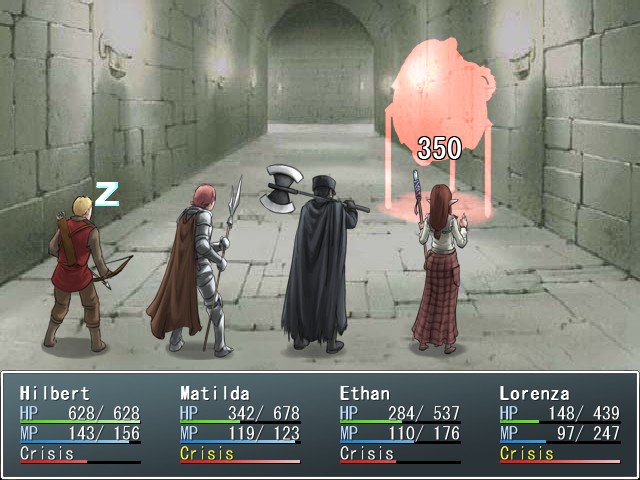
Anyway, while Zeitgeist's moves are very good at slowing down the amount of damage you do to it, it has a rather hard time actually killing you. So while it might take a bit longer, it's not too hard to bring the boss down.
Music:


For our trouble we land ourselves the new Tiahuanacu Hex tile and a Gold Watch, an accessory that grants the wearer +25 SPD and immunity to slow. Not too bad.
Music:

Fade to black...
 Precision is not that important here. We're not concerned about keeping the rest intact. Randolph. Yes? I think... the reason that Felgorn never attacked you, was because he understood. He knew what you were going through, so he just let you vent, regardless of how he felt himself.
 Haha, it's kind of embarrassing, isn't it? I got all flustered when Bergheim made that remark. I wasn't ready for all that to come back to me. Let's forget about it, Randolph. We've got more important things to worry about. Yes... you're right.
Fade to black...

Next time: Two characters attempt to stop us from gaining access to Entalar: one whom we've never met, and one who is very familiar indeed...