Part 49: New World Order
Welcome back. Last time on Last Scenario, we boarded the Lemuria in spectacular style and confronted Tiamat. While we were able to defeat her, the loss enraged her to the point where she was willing to attempt to kill us by blowing herself up with her powers. But her plan was foiled by Alison, who sacrificed herself to pull Tiamat off the ship at the last moment. Now that the Lemuria is ours, we're ready to take the fight to Castor, but before we do that, Drakovic and Grauss have suggested that we utilize our newfound air superiority to take down the Kingdom, so we're going to be taking care of that first. Let's get to it.
Music:

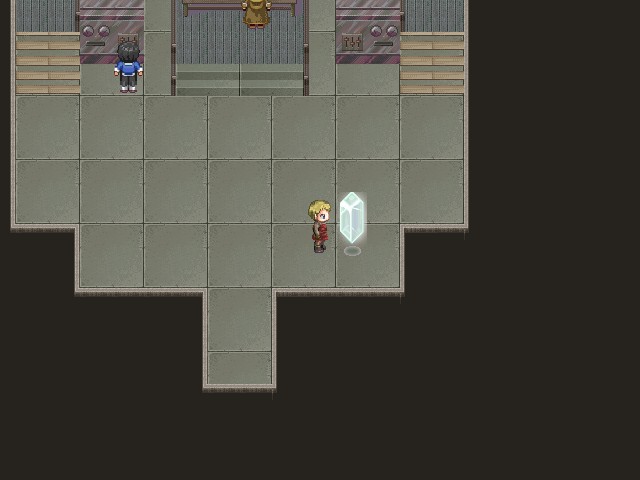
We begin this update on the bridge of the Lemuria, as I go to save following the battle with Tiamat...
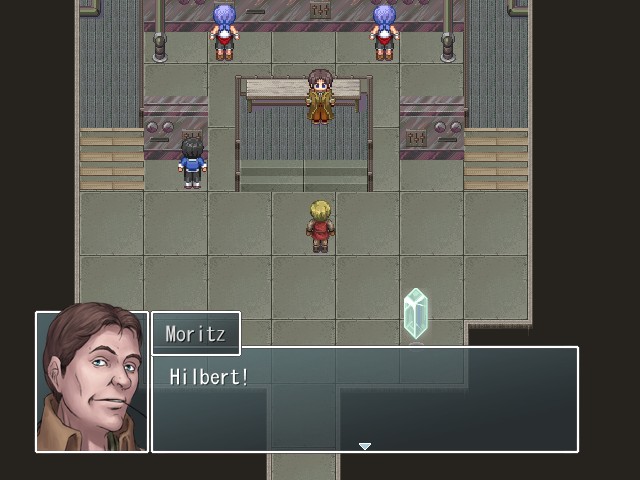
... only to find that Ethan has inexplicably disappeared from our party. This isn't a glitch; rather, when we talk to Moritz to get moving...
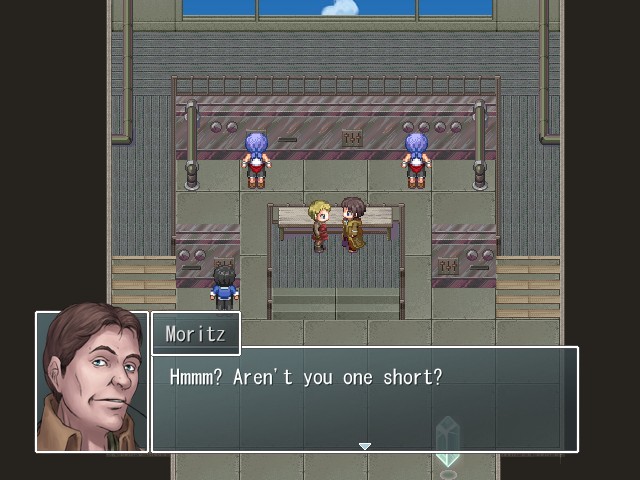
 Oh, that's right. Where did Ethan go? ... You don't think he went off alone, do you?
 Well, he was just with you, and we're in midair now, so that sounds unlikely. He's probably somewhere on the ship. We'll go look for him first.
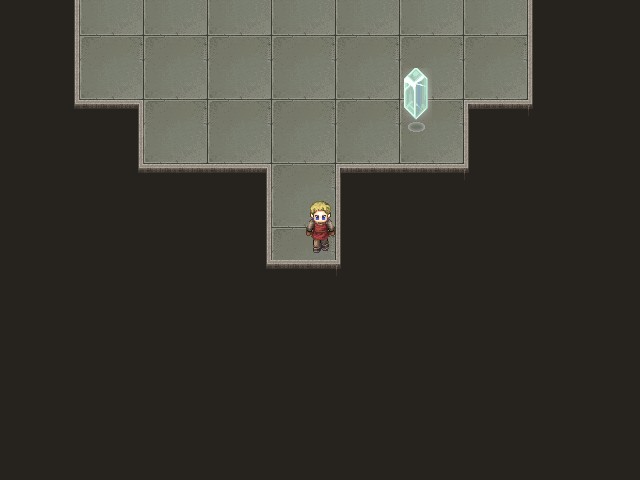
Well, that gives us a good excuse to check out our new airborne digs. Let's see what we've got here.
There's not too much to see in terms of new rooms, since all of the locked doors we found last update are just shortcuts between areas we've already explored. But it's interesting to note the diversity of NPCs here: there are Republic, Empire, and Havali citizens scattered about, and hey, there have to still be some Kingdom soldiers onboard, right?
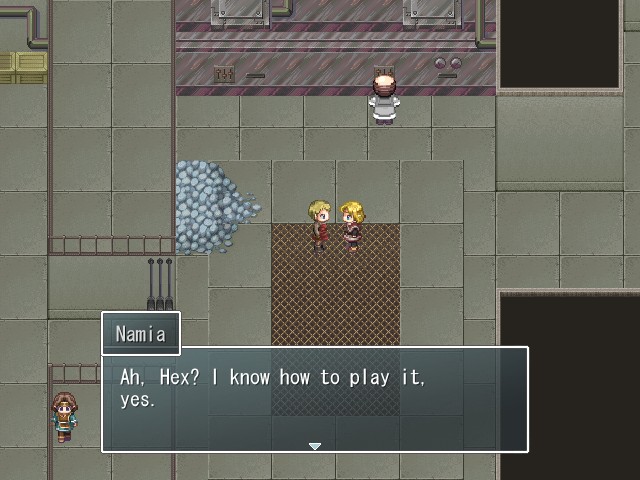
Also, there's a Havali woman in the engine room that we should probably play Hex with, because...

... she carries the Ortas tile, probably the best all-around tile in the game. Unfortunately, his tile also brings along what is probably the toughest trade decision in the game, as he trades for ten Sacred Orbs. It's not the no-brainer that Selene's Warding Charms were, but ten Sacred Orbs is still a pretty fucking sweet reward. My guess is that I'll probably trade him in late in the game, once I've gotten almost all of the Hex tiles.
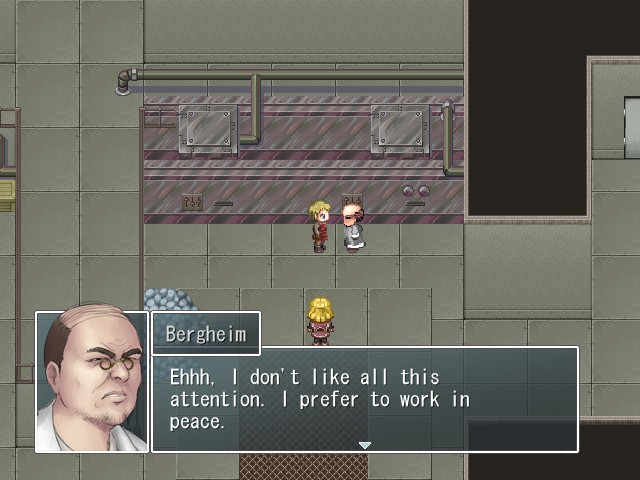
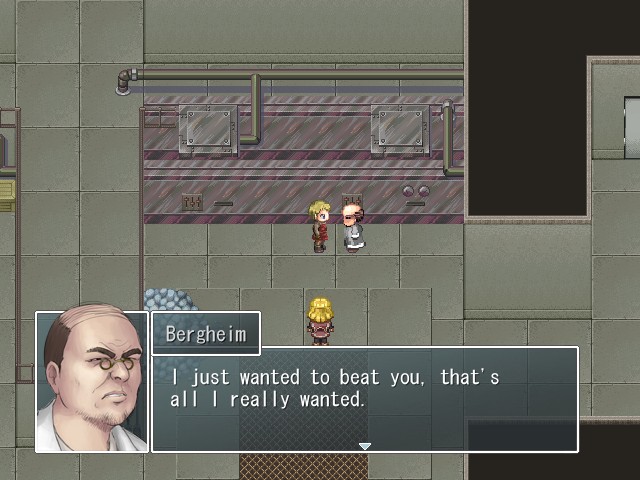
Bergheim is also hanging around here and appears to have chilled out significantly, but there's not much we can do with him.
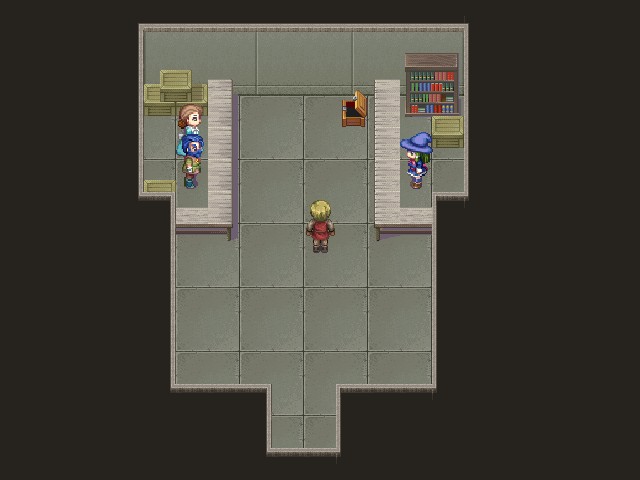
Elsewhere on the ship, the merchants we've been carting around have set up shop in the room where we found the Terra Bow. The item saleswoman's selection is unchanged, but the accessory and spellcard merchants have seen a sizable upgrade.
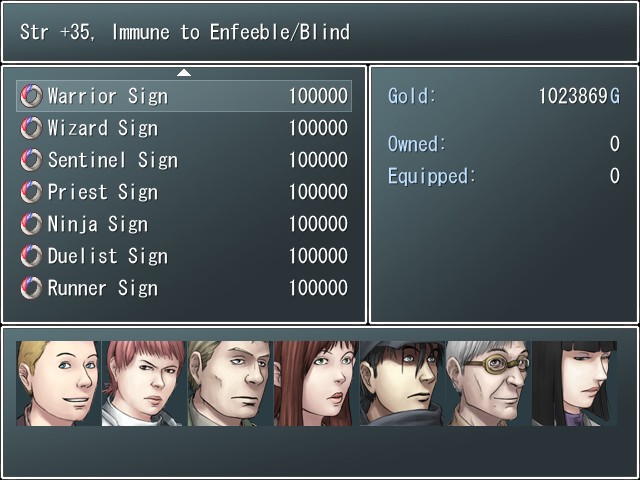
In addition to his old inventory of really outdated items, the accessory salesman now sells Signs. Each one grants a sizeable boost to a single stat as well as a couple of status immunities, though as usual Warding Charms outclass them in pretty much every way. Still, here's the list:
Warrior Sign: +35 STR, immunity to enfeeble and blindness
Wizard Sign: +35 INT, immunity to amnesia and silence
Sentinel Sign: +35 VIT, immunity to petrification
Priest Sign: +35 RES, immunity to chaos
Ninja Sign: +35 DEX, immunity to poison and instant death
Duelist Sign: +35 SKL, immunity to sleep and berserk
Runner Sign: +35 SPD, immunity to slow
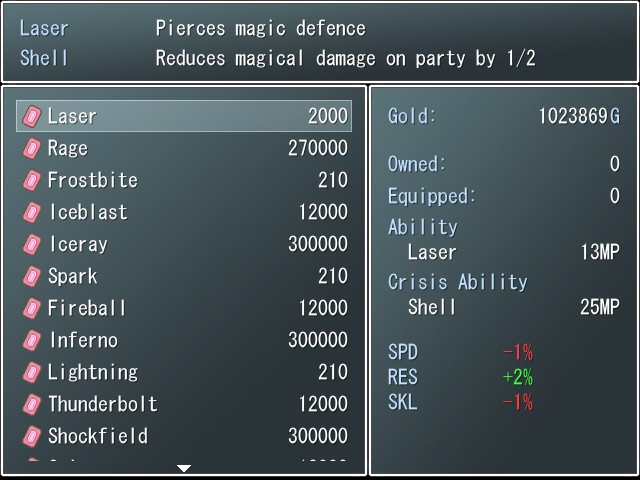
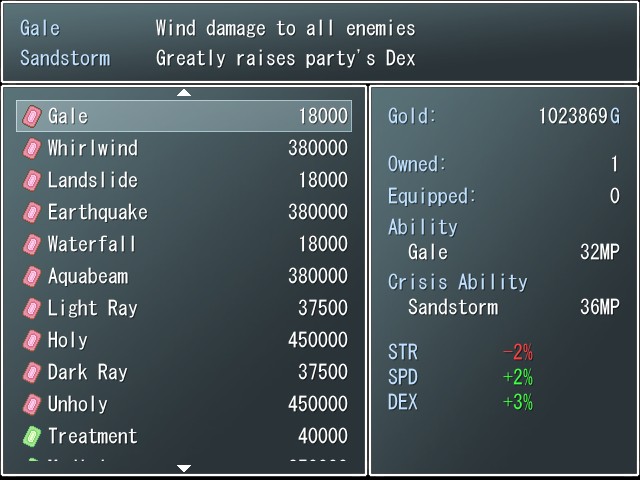
The spellcard salesgirl, meanwhile, has made an enormous addition to her inventory, selling virtually every spellcard that's been available up to this point in the game. While she doesn't sell anything that we didn't have a chance to obtain ourselves at some point, there are still a few cards here that we haven't seen:
 Whirlwind (125MP): Deals major wind damage to all enemies.
Crisis: Whirlwings (80MP): Temporarily raises the entire party's SPD by a large amount.
Stat changes: -3% STR, +3% SPD, +5% DEX
Aquabeam (125MP): Deals major water damage to all enemies.Crisis: Whirlpool (90MP): Temporarily lowers all enemies' RES by a large amount.
Stat changes: +5% INT, -3% VIT, +3% LCK

Also, it appears we are now so famous that the Hex community of the world is willing to open a mobile trading post onboard with us. There's nothing special to separate it from any other trading post, but the convenience is nice.
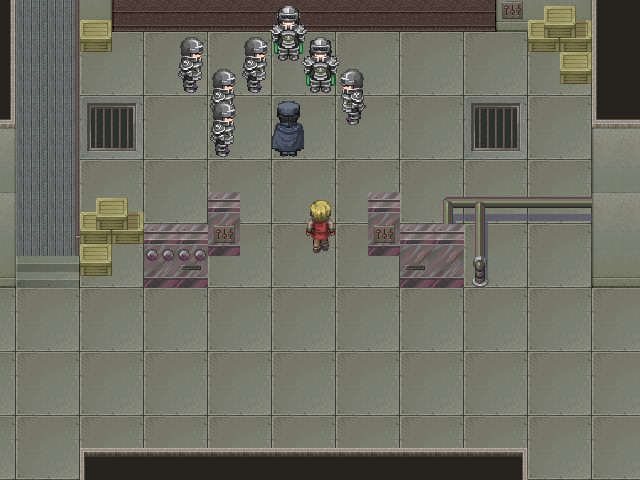
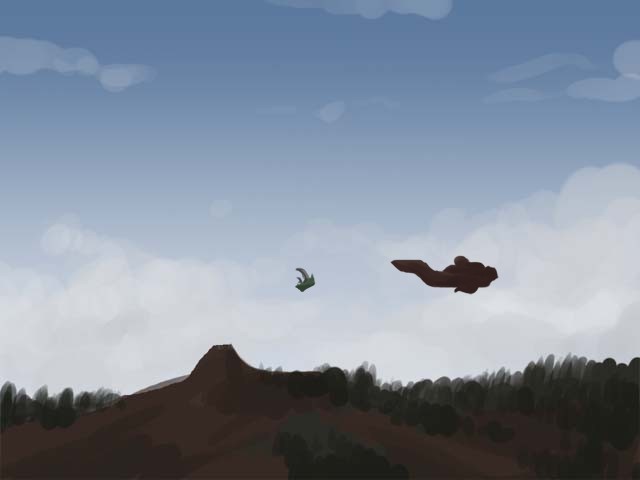
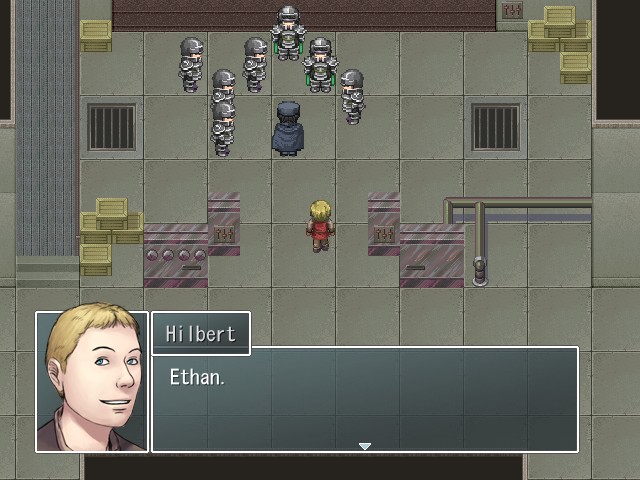
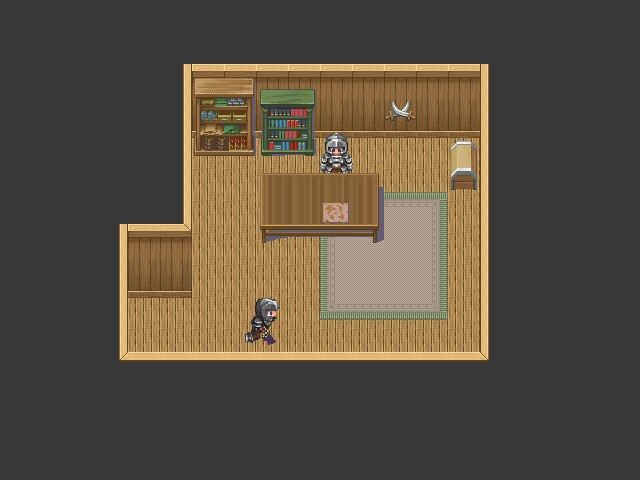
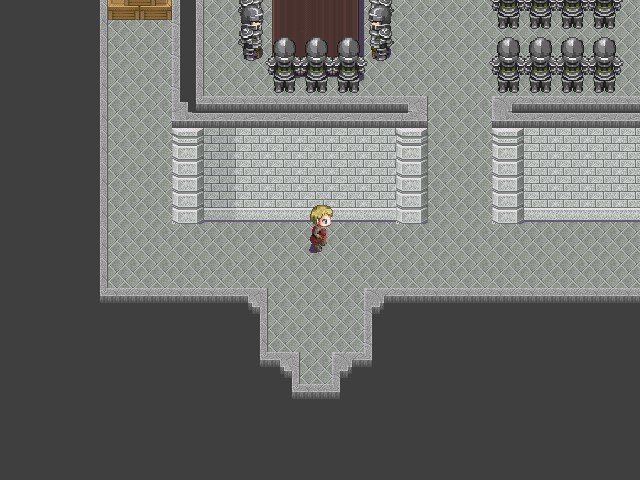
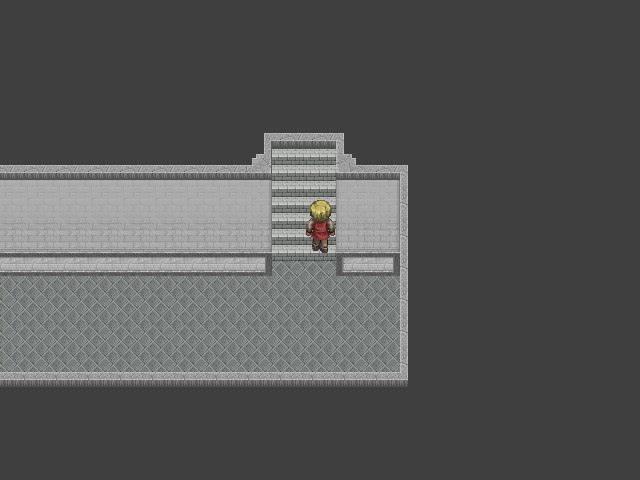
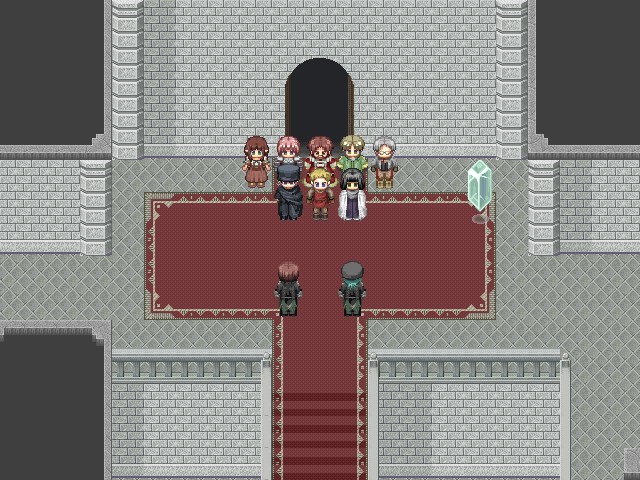
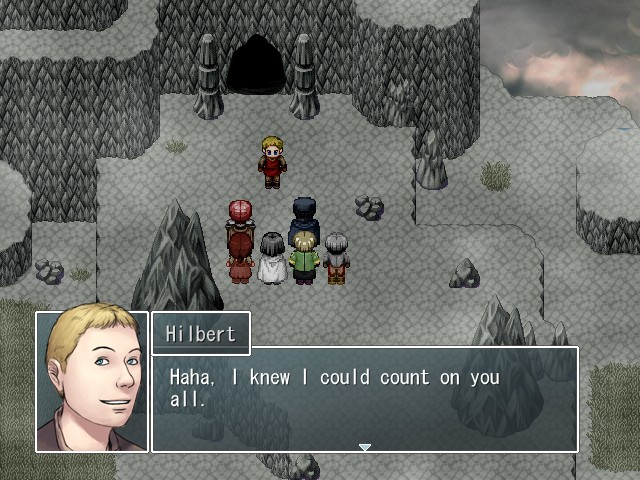
Anyway, we were looking for Ethan. We find him talking with what appear to be the remnants of the Kingdom forces where we fought Tiamat last update.
Music: None
 Oh, Hilbert. I have to go back now, so get to work.
 Yes, sir.
Fade to black...
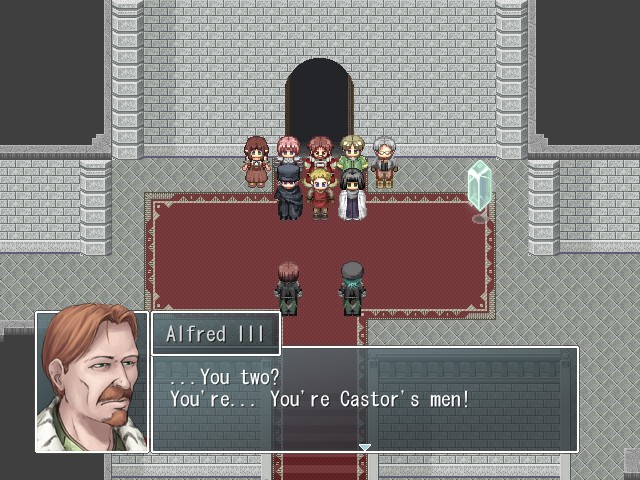
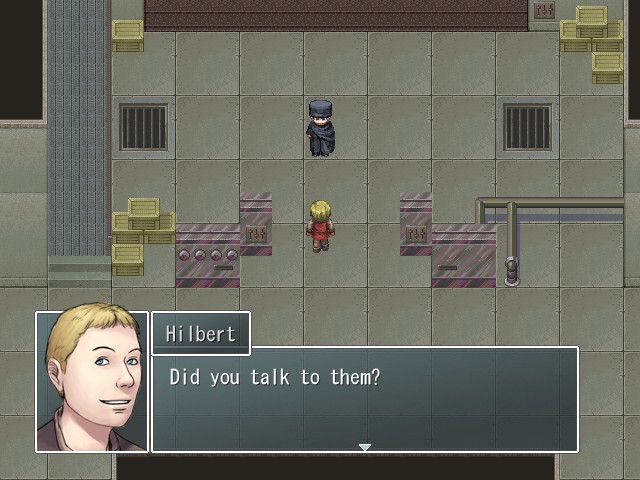 Yeah. Most of them have agreed to stay on this ship and help us. Stay here? You know we're going to attack Condor, right? Are you sure they'll be all right with that? These are all Castor's men. Some of them have even served under me in the past. Their loyalty lies with him. Just like Zawu and I, they want to help him. The old Castor would not have left his most loyal men with someone like Tiamat. What's more, Alison gave her life to protect us, and her men. She... She had faith in us, that's why she was able to...
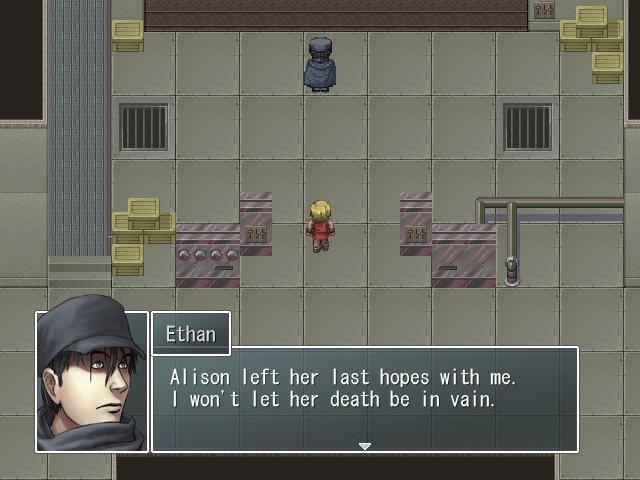 I don't want to lose any more people in this war. Let's go.
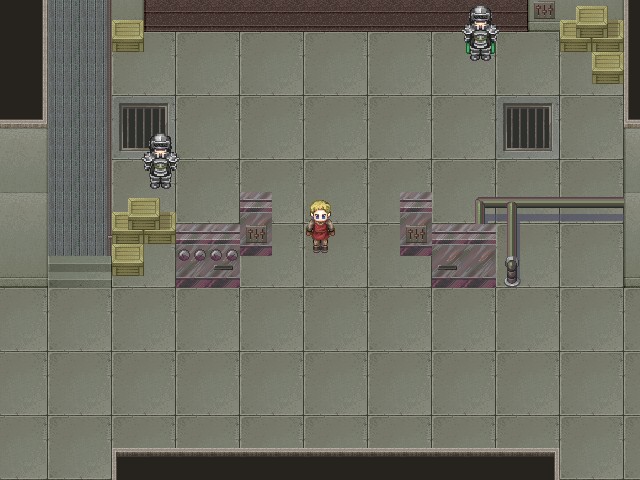
Music:
And with that, we're complete again.
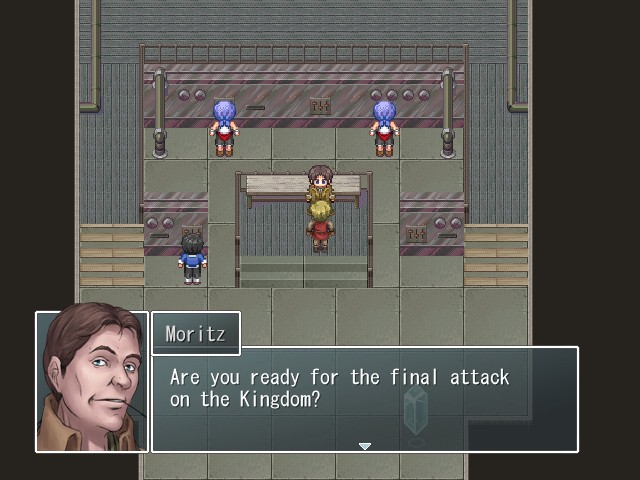
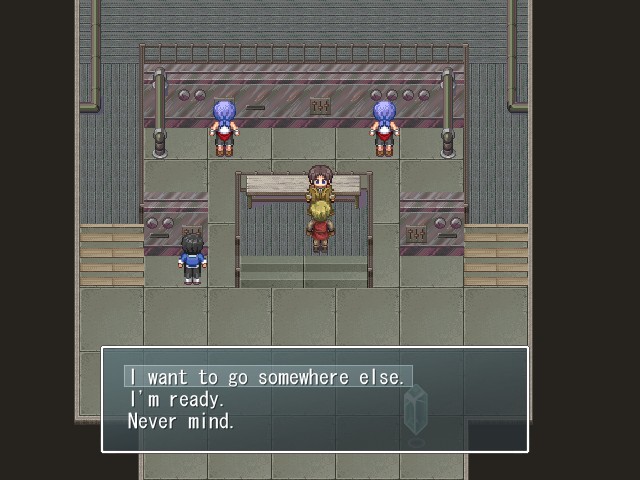
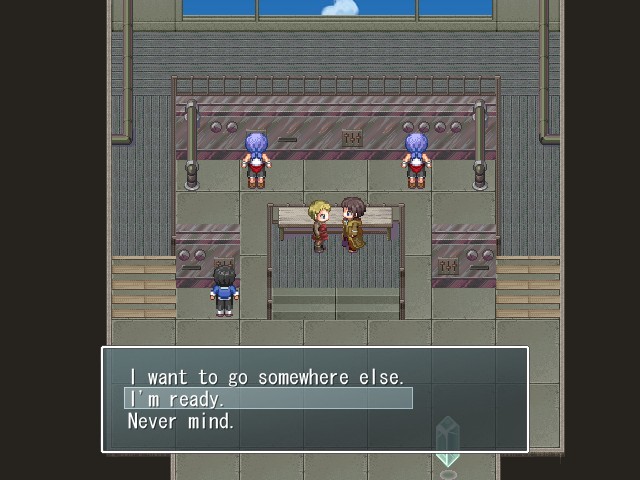
Just like with the raid on the Lemuria, we'll be starting the attack on the Kingdom capital by talking to Moritz instead of flying there ourselves. But we won't be attacking just yet, because...
... we need to take this baby out for a spin! The Lemuria is incredibly fast (to the point where it's actually somewhat difficult to make precise movements with it) and can land on any flat ground. With it, the entirety of the world map is open to us.
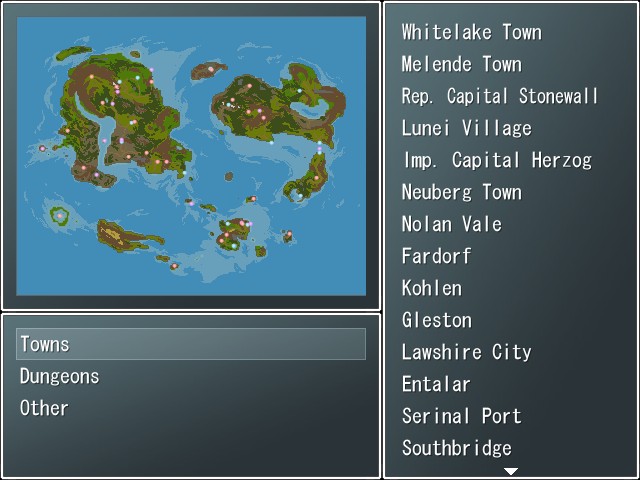
And I mean the entirety.
 But I actually won't be doing the new world tour just yet, since most of what having the Lemuria unlocks is (arguably) post-game content and I want to save that until after we reach the final dungeon. Instead, before we take on the Kingdom later this update, we're going to be taking care of something we probably should have done a little while ago.
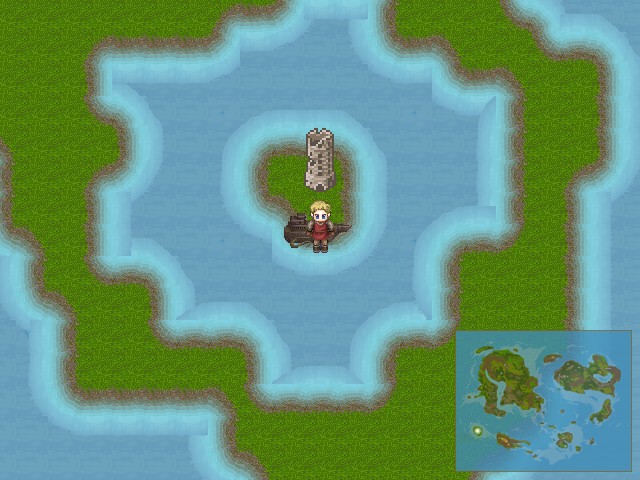
Music:

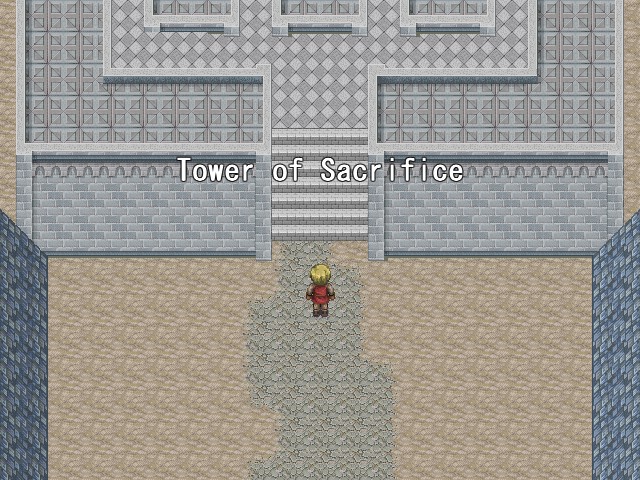
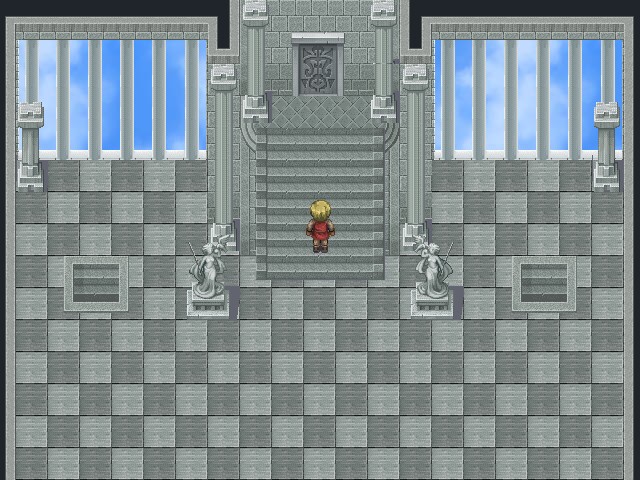
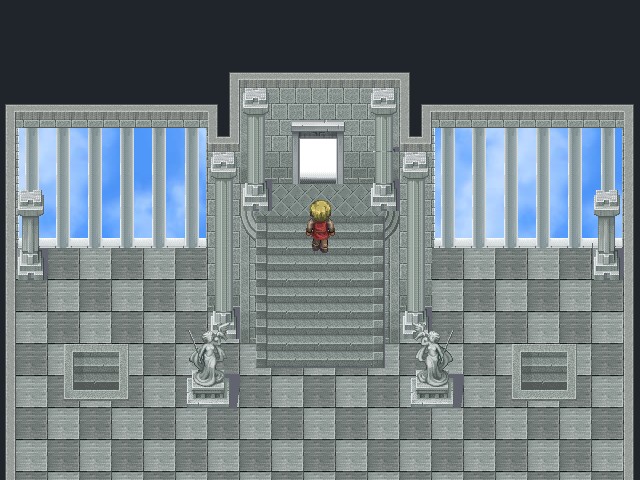
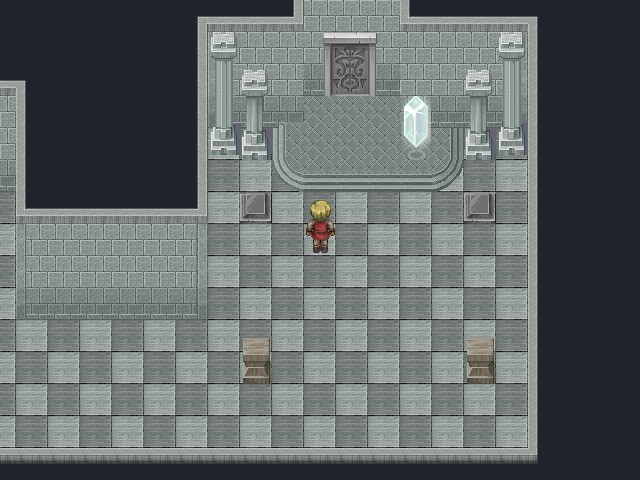
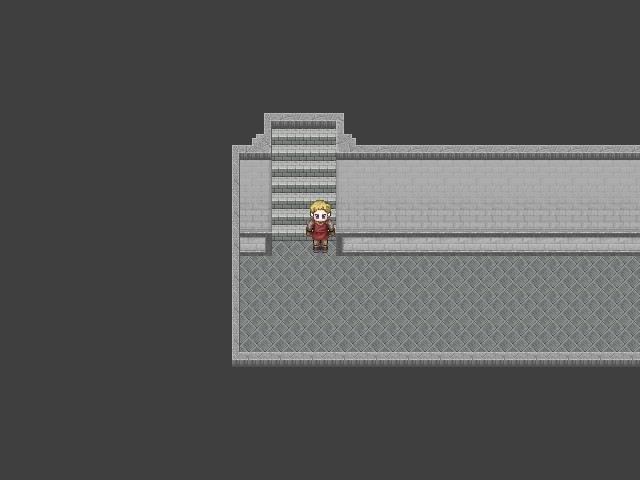
That something is the Tower of Sacrifice. At this point we're actually slightly overleveled for this area, so we might as well polish it off while it's still vaguely a challenge, rather than steamroll the place later, which would probably be a lot more boring for a Let's Play.
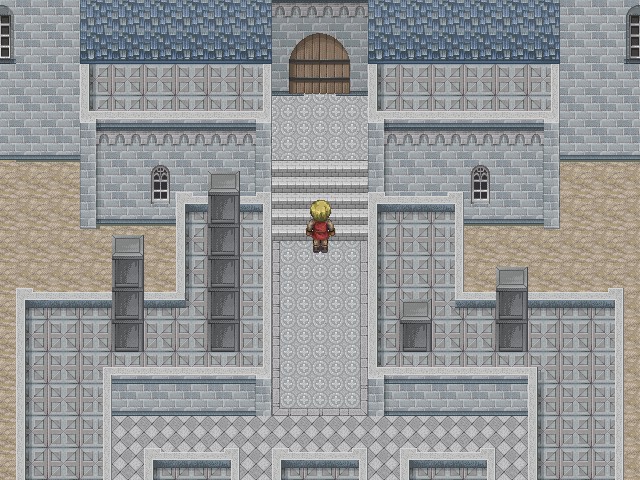
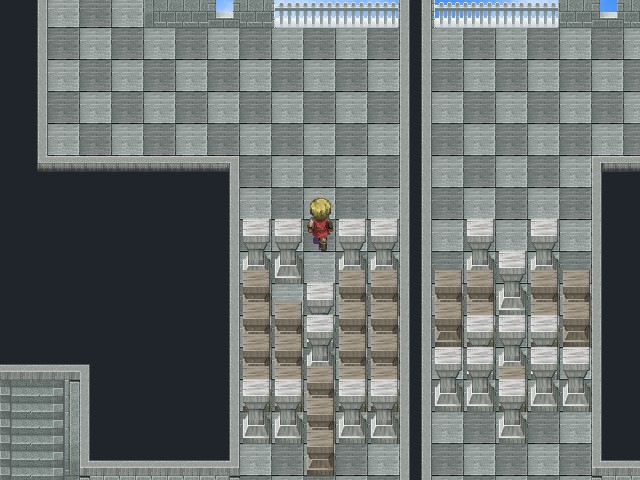
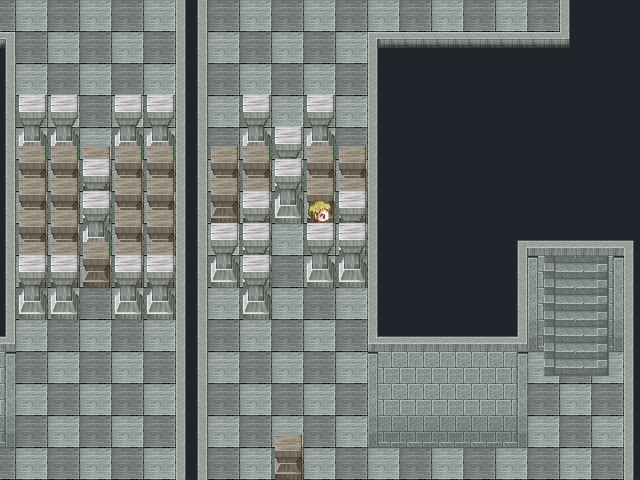
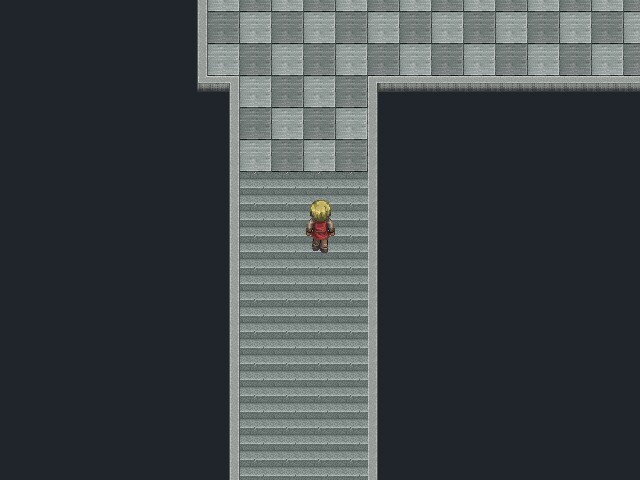
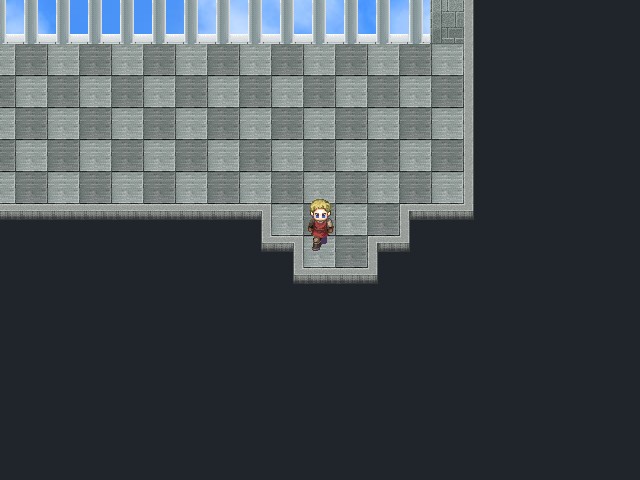
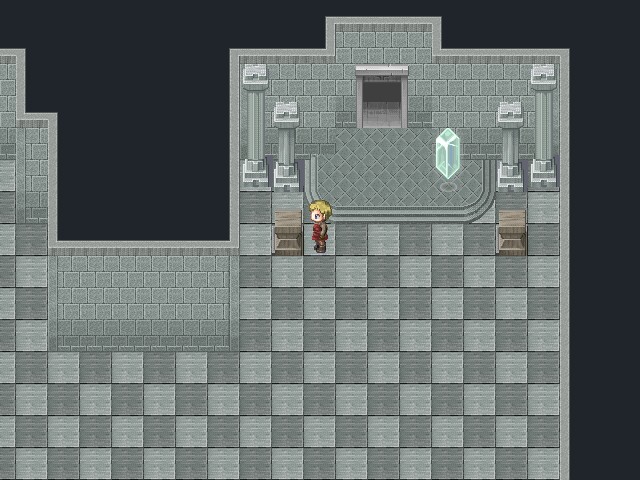
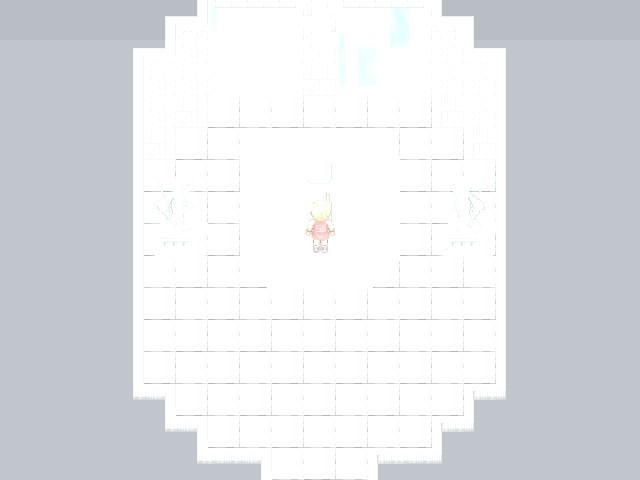
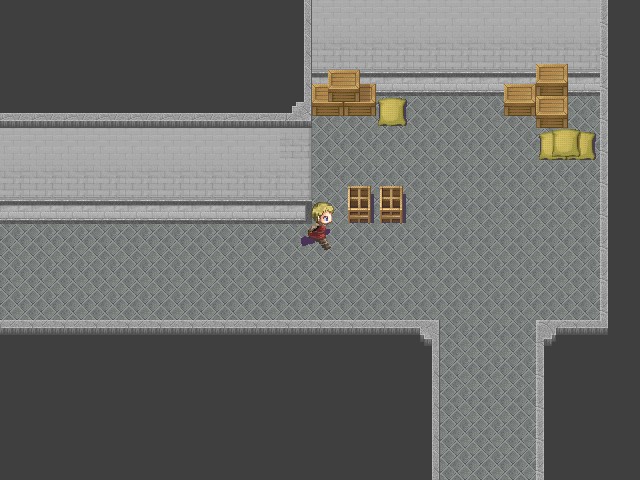
Unlike the previous towers, the Tower of Sacrifice presents us with a puzzle before we're even able to get in the door. There are four movable pillars in the outer area, as well as four stacks of boxes near the entrance.
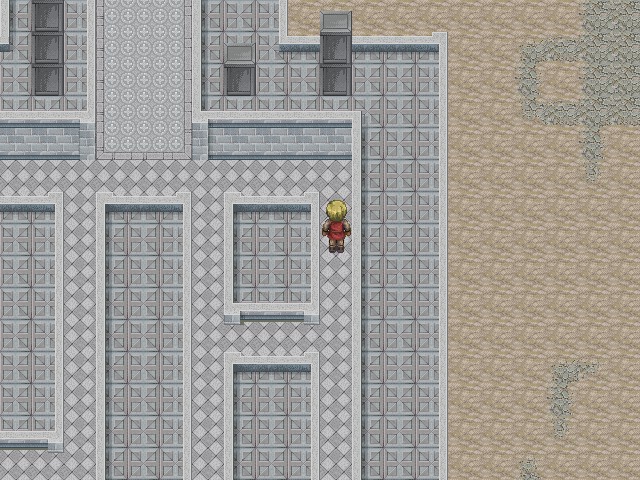
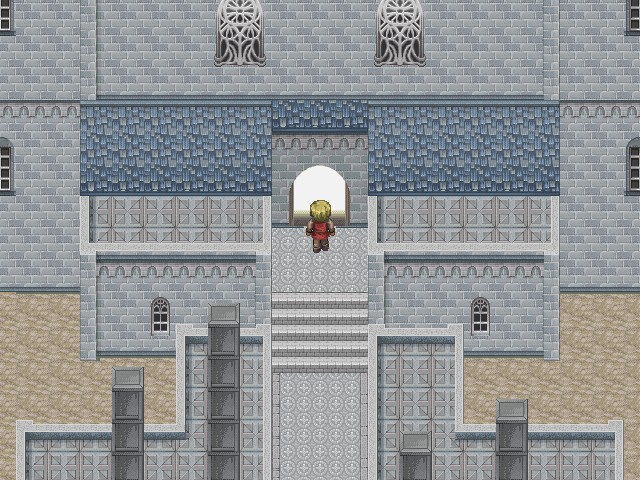
It's not immediately apparent, but the solution to this puzzle is to push each of the pillars up so that each one is the same number of spaces away from the top of the area as there are boxes in its corresponding stack. Once we've done that, the pillars disappear and the door opens.

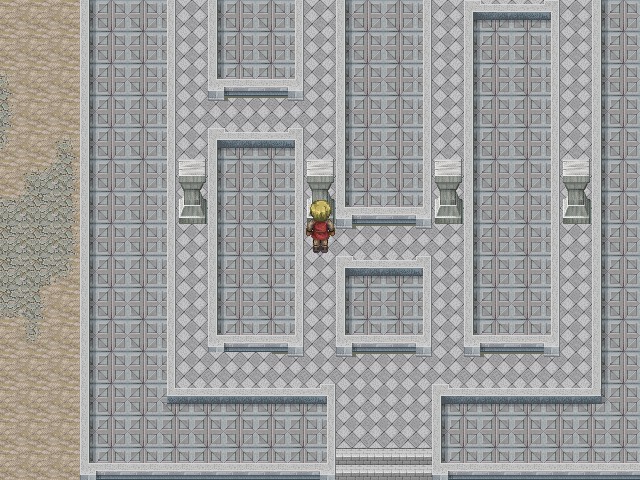
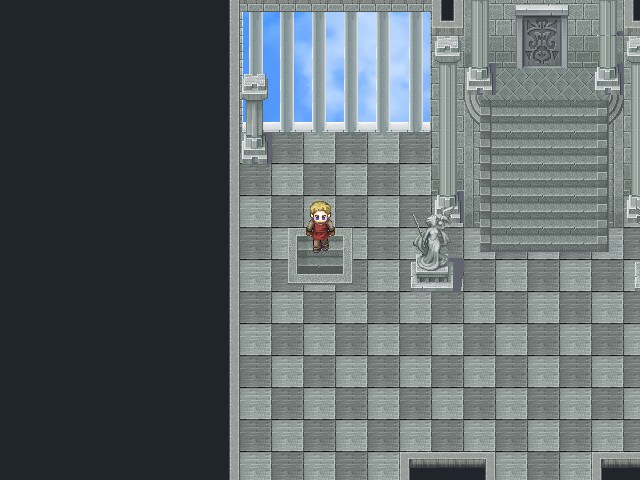
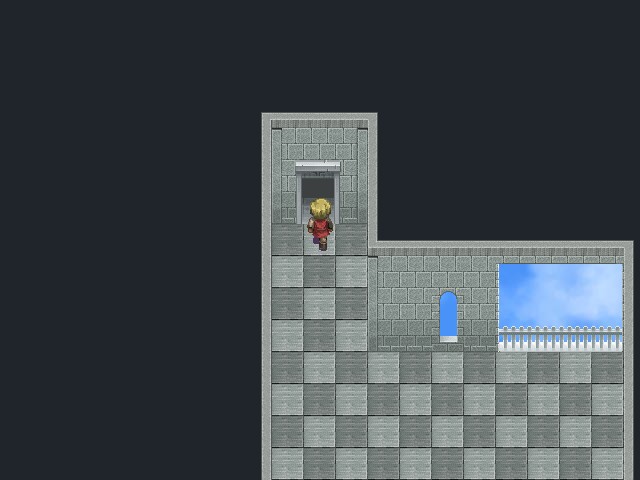
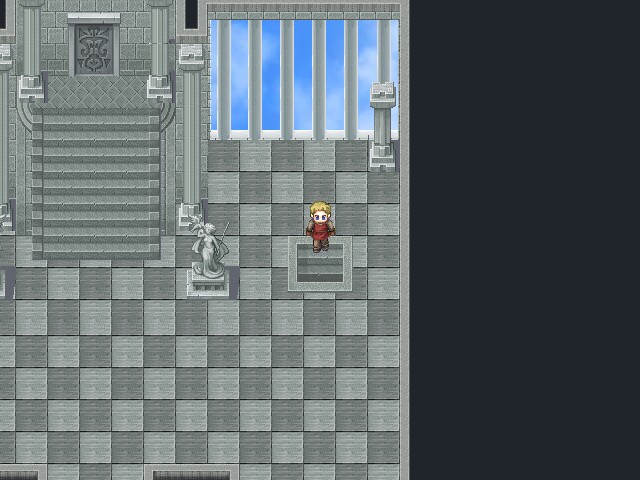
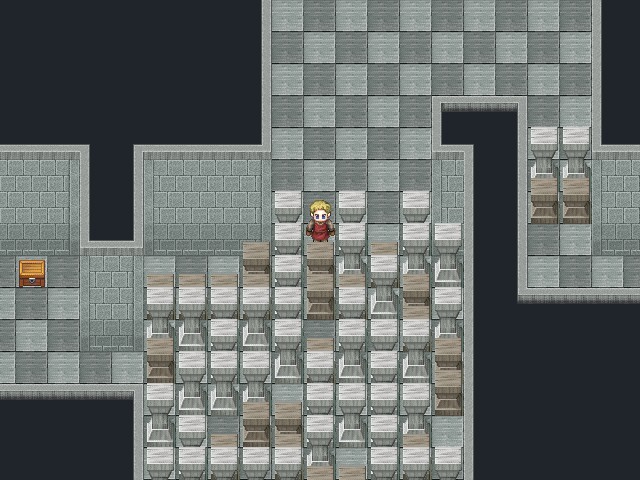
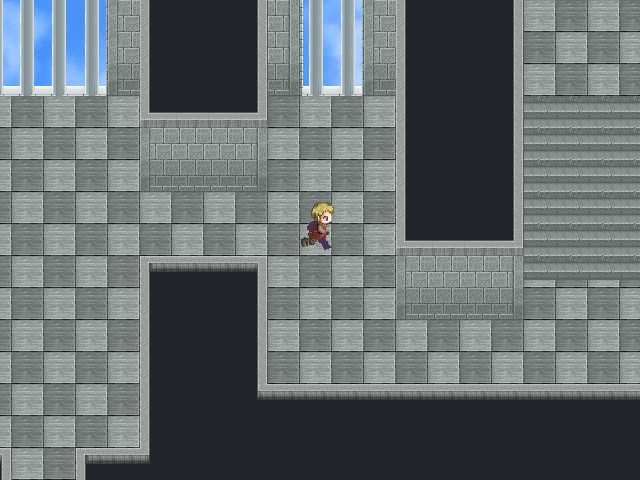
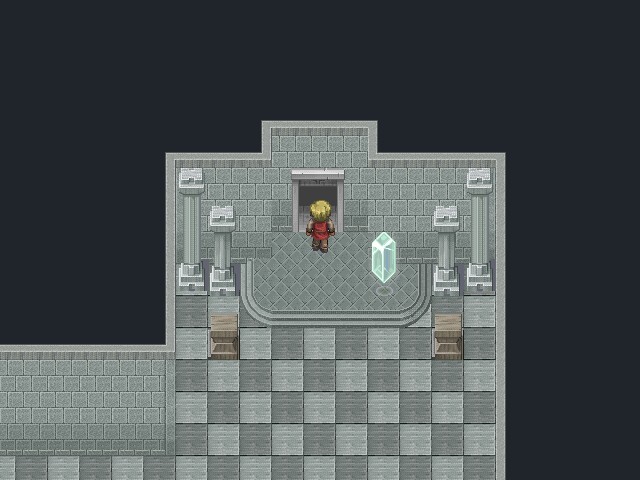
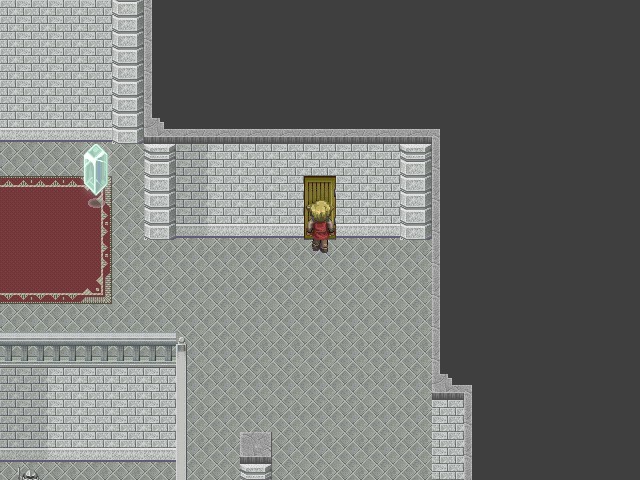
To no one's surprise, the Tower of Sacrifice is also centered around pillar puzzles. But it's a little different this time, as when we interact with the dinky pillar in our way...
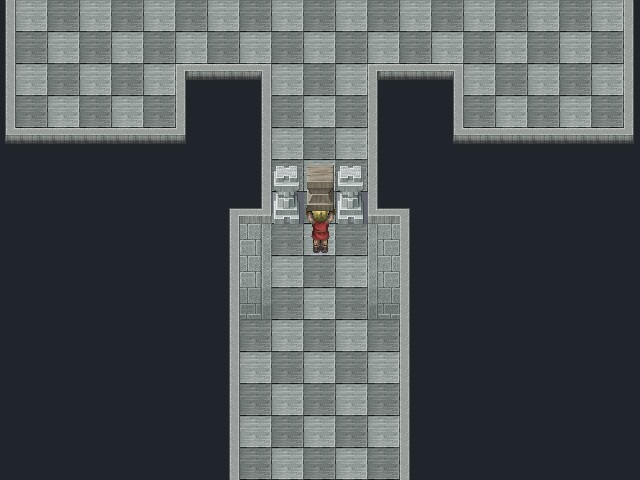
... we pick it up. The gimmick behind the puzzles in this area is that each little pillar can be picked up and then dropped in a different spot, but while we're holding one, we can only turn instead of move.
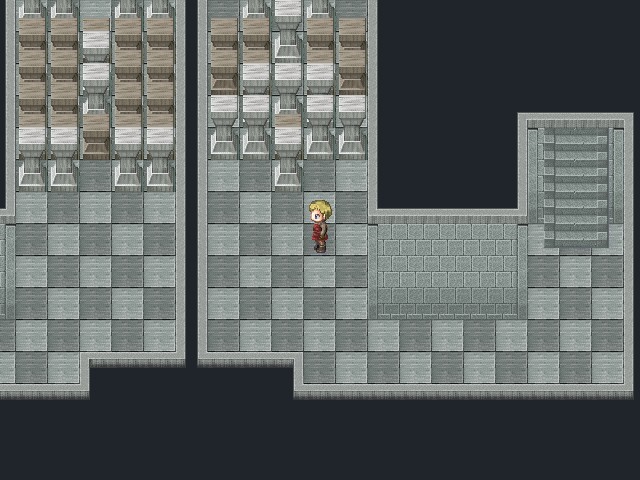
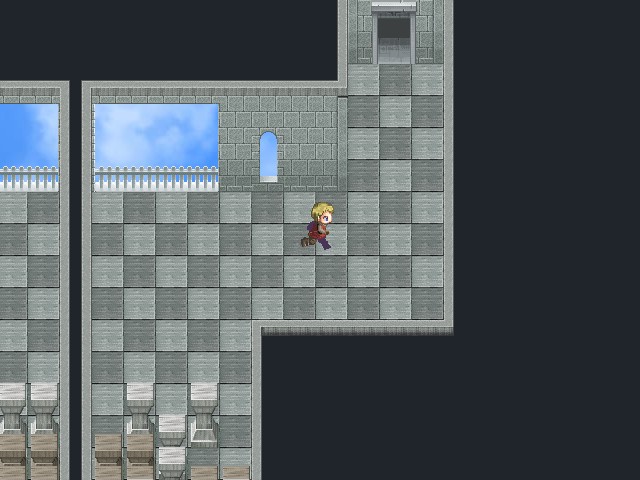
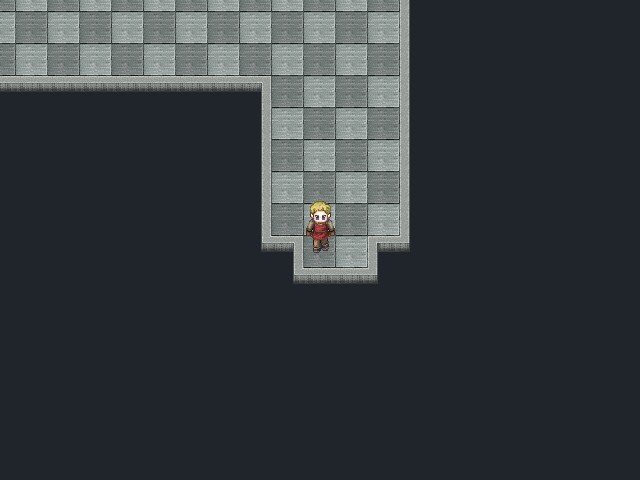
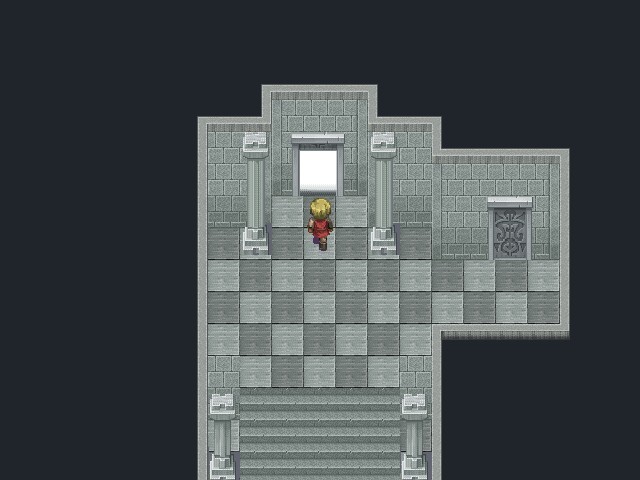
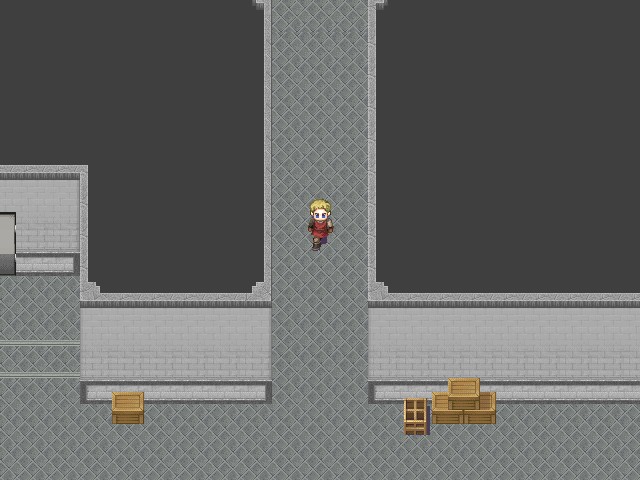
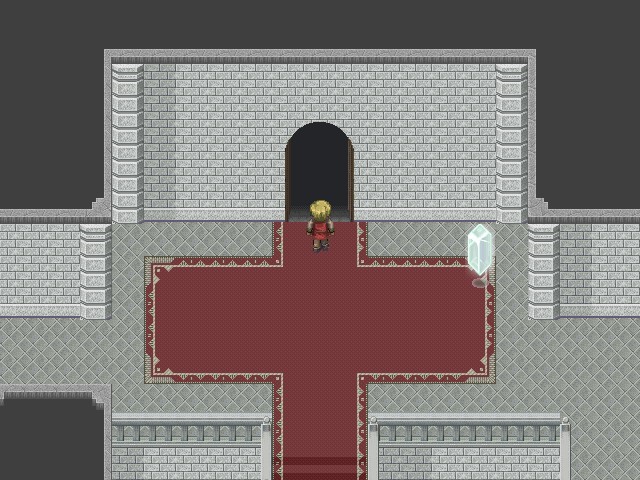
Just like with the previous towers, the Tower of Sacrifice has a closed door right at the entrance, with a couple of side paths nearby. We head towards the one on the left...
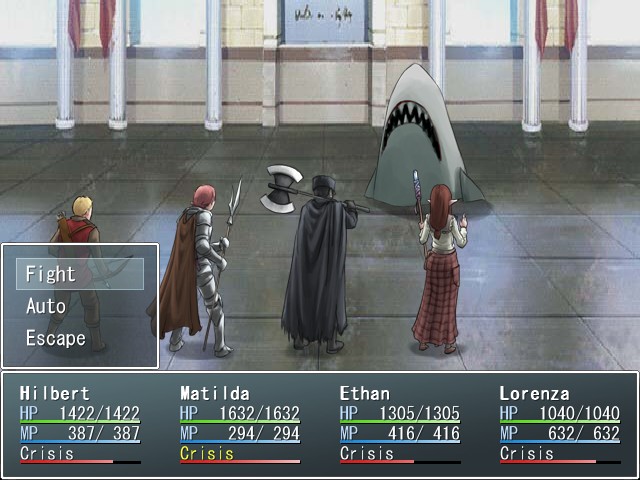
... and then a fucking shark leaps out of the floor tiles as though they were water

This is a Land Shark, and as you might expect, they don't have much in the way of attacks beyond biting us. They can attack regularly for about 500 damage or use Mauling Bite for 625, but at our current level we have enough HP that this isn't a huge deal. That's kind of going to be a theme for the enemies in this dungeon, actually.
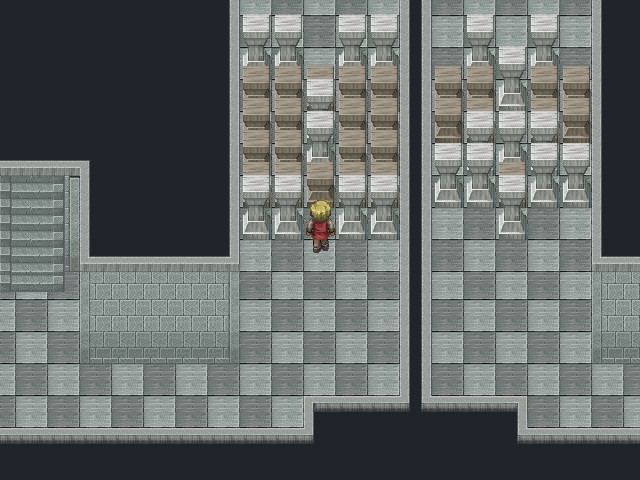
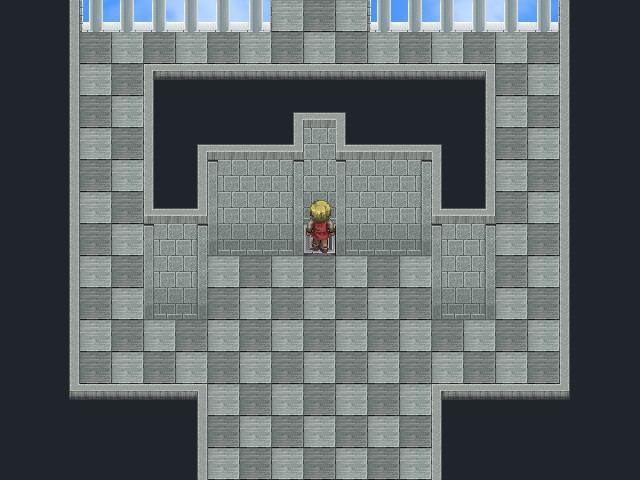
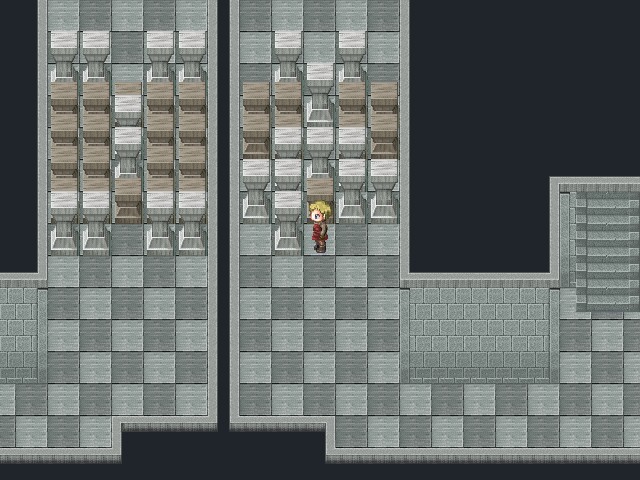
Heading downstairs brings us to the first real puzzle of the dungeon. This setup isn't very difficult, though, since we can just pick up each pillar and plop it in the space we just came from.

There's a switch in the room beyond, but it doesn't seem to do anything.
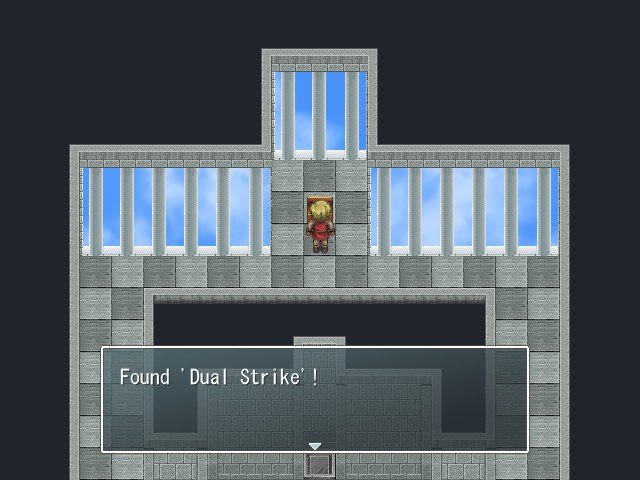
There's also a copy of the Dual Strike spellcard in the back of the room, which I'm not sure I really need a second copy of. It's probably pretty nice if you didn't steal one from Castor way back when, though, as I don't think it's possible to get it otherwise until now.
There's no choice at this point but to head back to the center room, and as we're doing so we find some new enemies: a Devourer and a Storm Elemental. Devourers are pretty lame--they can only attack for about 300 damage and are weak to fire, so Lorenza can kill one from full health with a single Inferno. Storm Elementals are similarly weak but have a bit more of a varied skillset: they can attack regularly for 300 damage, use Miniature Cyclone to do about the same, or use Violent Tempest to inflict the entire party with 275 damage and amnesia. They also occasionally drop Aeolus Bags upon death, which cast Whirlwind when used.
Heading down the right staircase in the center room brings us to a pillar puzzle that's a bit more involved. It actually looks like we can't reach any of the small pillars here, but...
... it turns out the tall pillars are movable too.
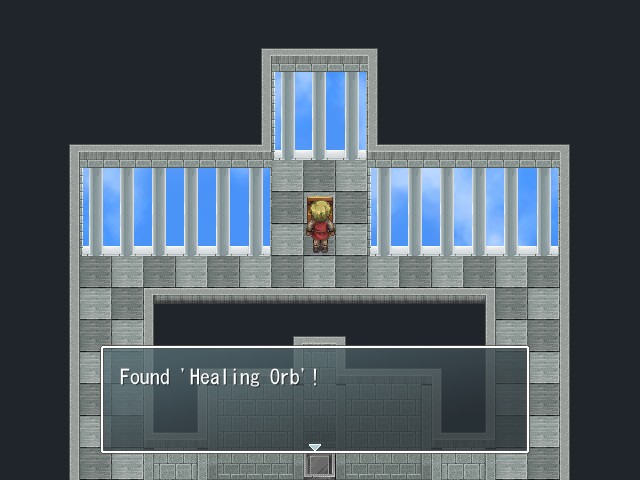
There's a second switch in the room beyond, which actually seems to accomplish something. There's also a Healing Orb in the back.
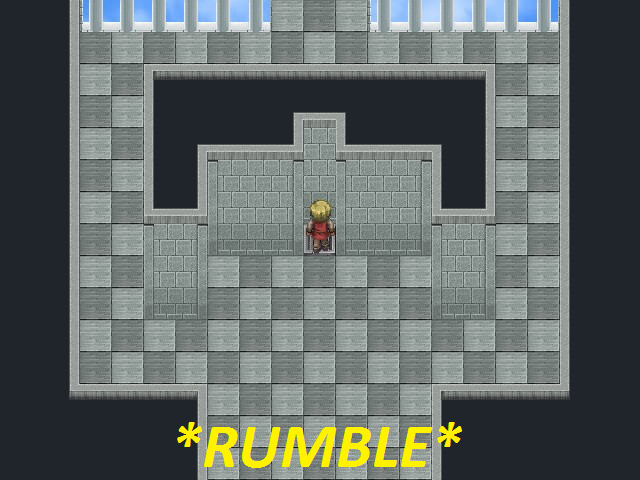
Pressing both of the basement switches opens the central door, and after following the winding path behind it, we find a much bigger pillar puzzle.
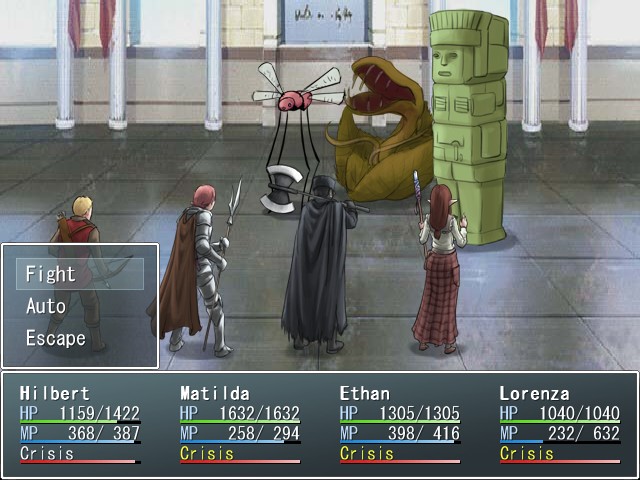
We also find the last new enemies of this dungeon: a Discord Bug and a Toltec Pillar. Discord Bugs are pretty weak, but they have the supremely annoying characteristic of inflicting chaos with their regular attack, along with about 225 damage. Toltec Pillars, meanwhile, are just straight upgrades of the Tiahuanacus we fought in the Entalar prison, with a regular attack for around 325 damage and the technique Crush, which inflicts a bit more damage and silence.
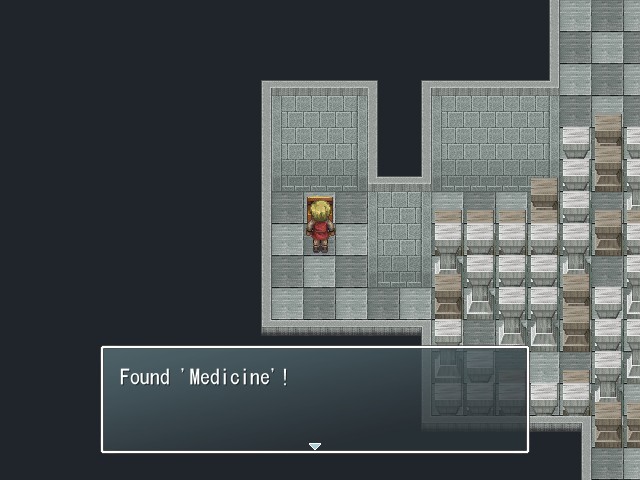
The treasure chest on the left side of the big pillar puzzle is definitely one you do not want to pass up. The Medicine spellcard, if you've forgotten, heals all status effects, and if you don't pick up the one here you'll have to pay 250,000 gold for it elsewhere. This is a deal I can get behind.
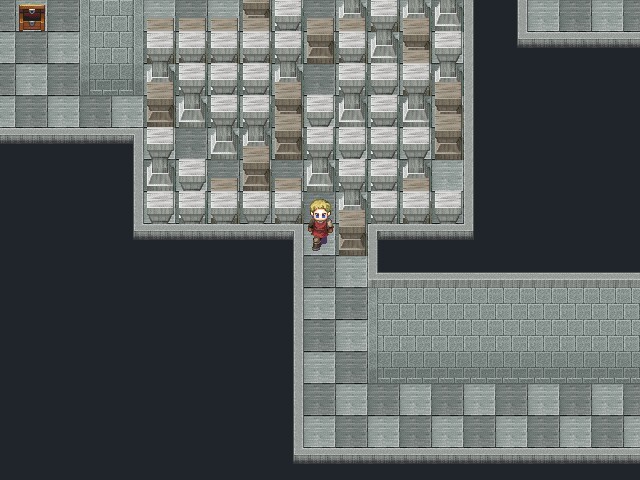
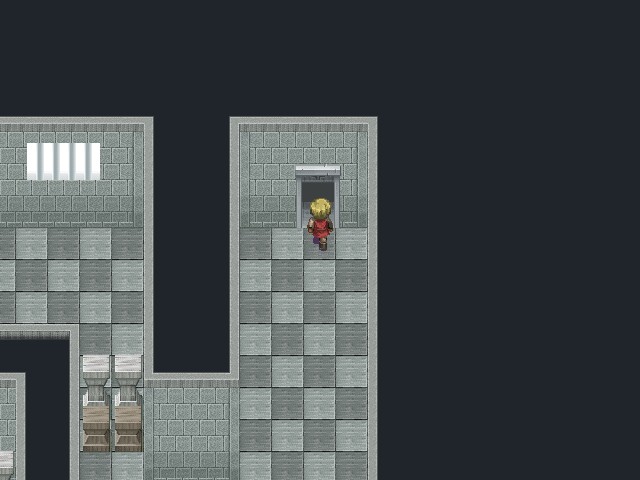
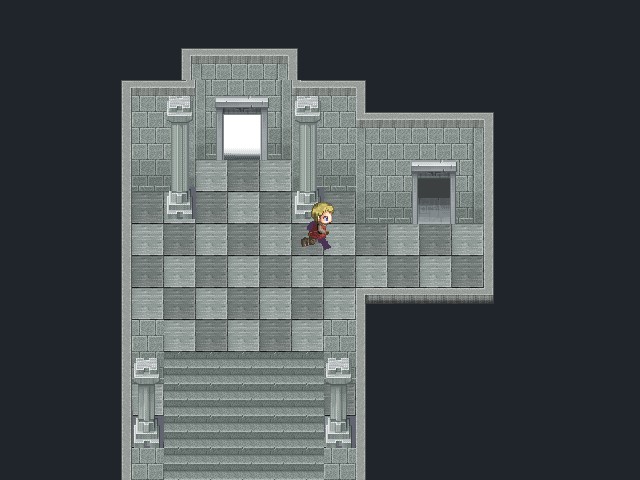
The last puzzle of the dungeon is a bit deceptive. Although it looks like we just need to move each pillar up a few spaces to the switches...

... it's actually impossible to put each pillar on the switch above it because of the picking up and dropping mechanic, so we need to put each pillar on the opposite switch.
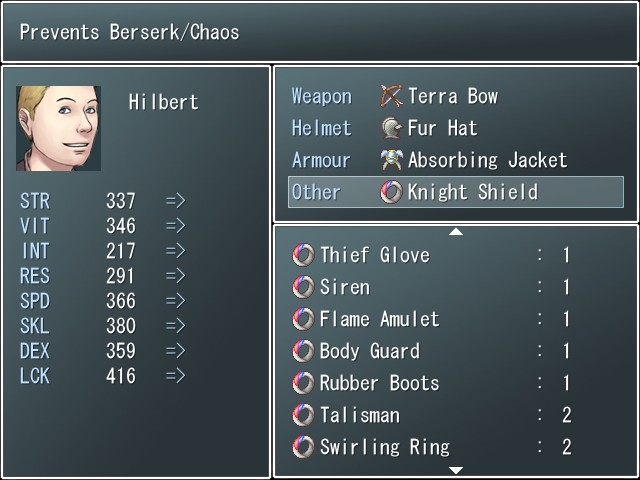
Once the door is open, Hilbert puts on a Knight Shield. Everyone else has proper status protection at this point.
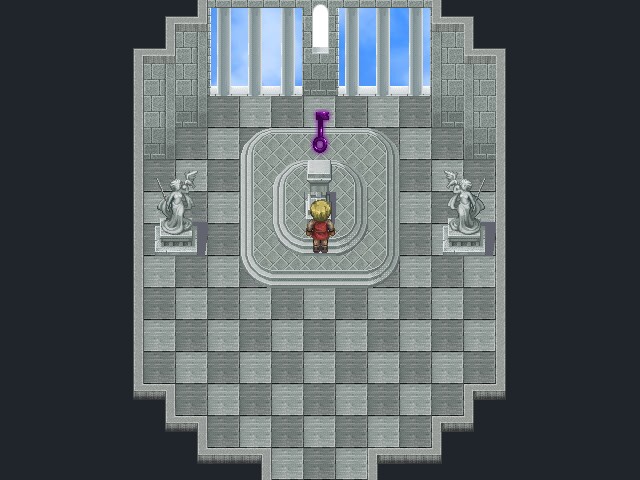
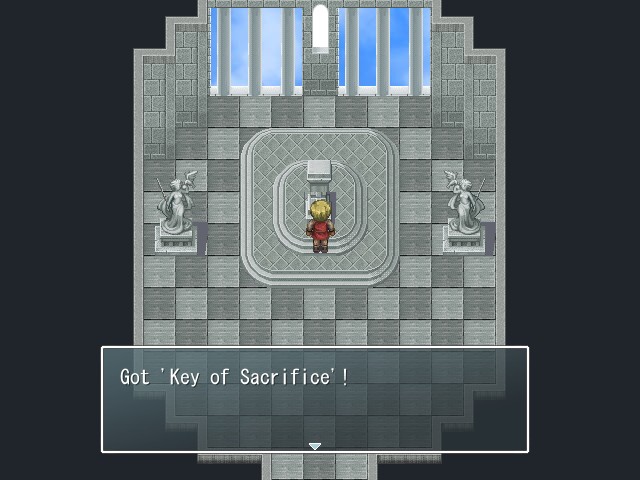
Maybe this key will be a little more interesting?
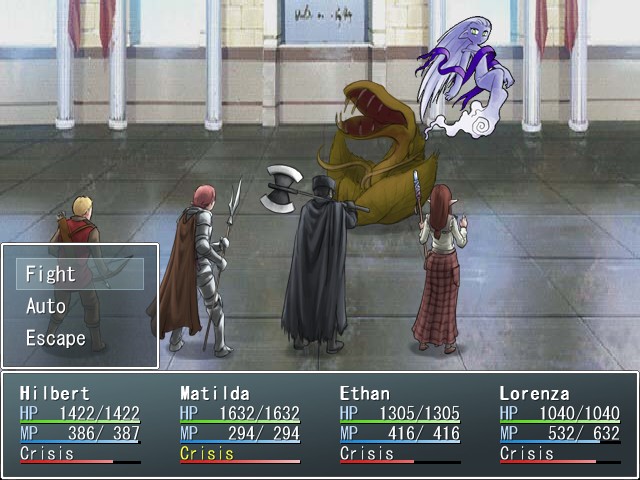
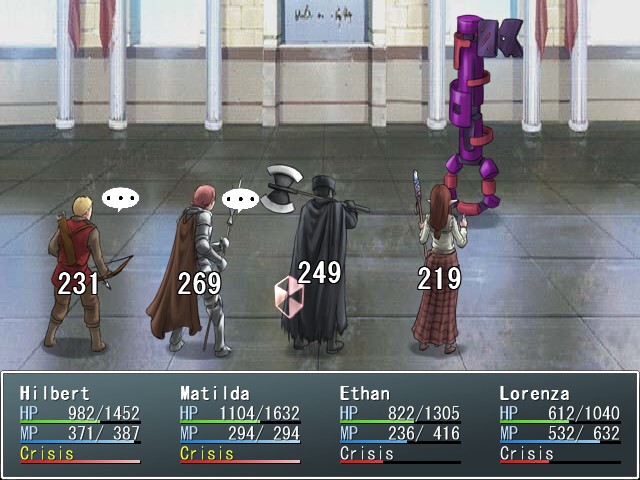
BOSS FIGHT: Key of Sacrifice
Music:


Nope.
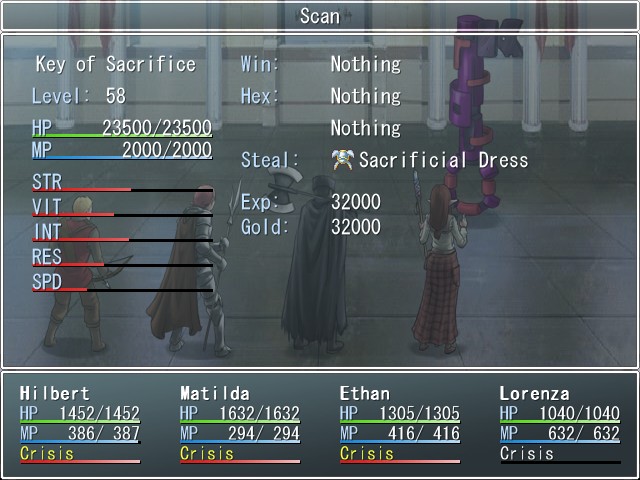
You've seen this before. The Key of Sacrifice spends two turns casting Wave techniques, and then follows up with three turns of physical attacks before repeating the cycle.
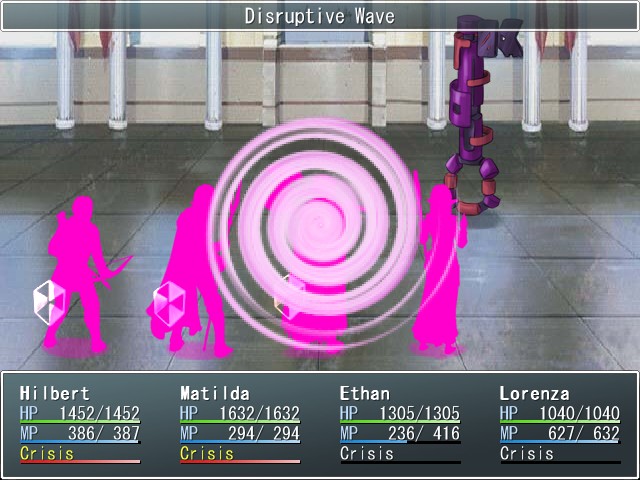
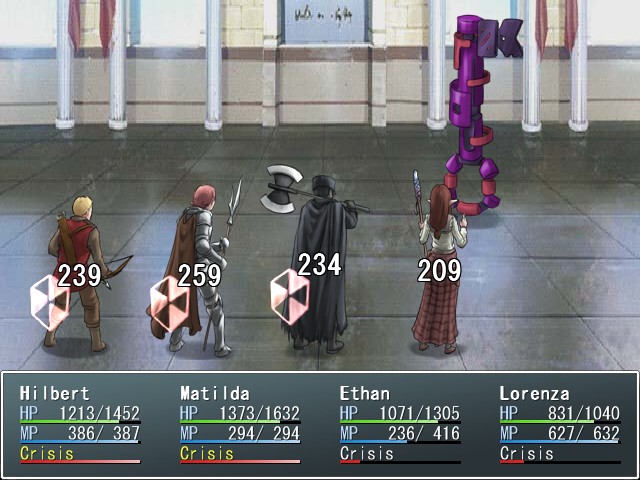
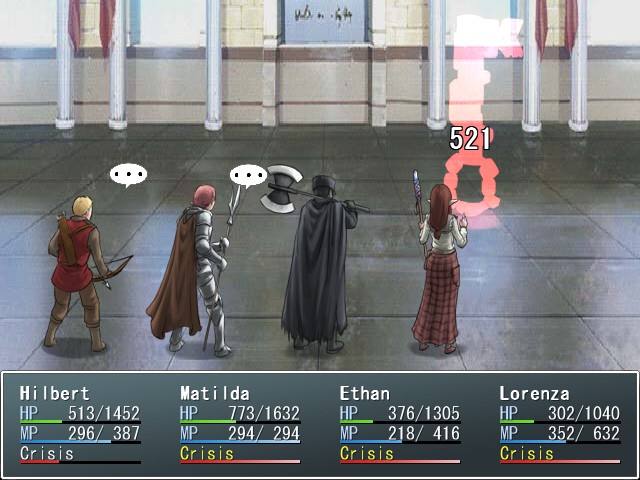
That said, while the Key of Sacrifice isn't too bad damage-wise at our current level (this shot is with M-Shields up), you definitely want to bring equipment to nullify Disruptive Wave, or things will go south in a hurry. Disruptive Wave inflicts chaos.
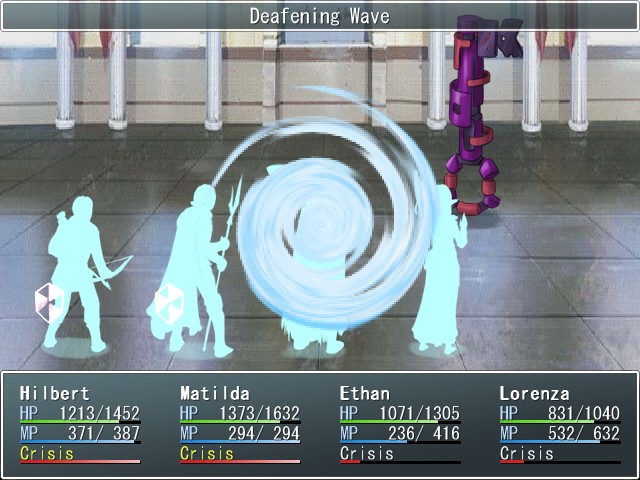
Its other wave is Deafening Wave, which inflicts silence. Like all Keys, Sacrifice can also attack regularly or use Spinning Attack, but I don't think you guys need pictures of those.
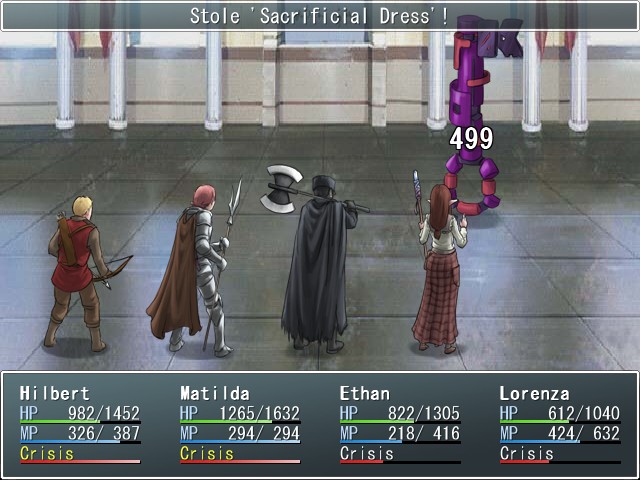
The Sacrificial Dress the Key carries is a pretty cool piece of body armor for casters. In addition to granting immunity to silence (not that Lorenza needs it anymore), it also grants +16 INT. Lorenza will be putting it on following the battle.
That sure was a Key battle.
Music:

At least we get a level up, I guess? The enemies in the tower weren't providing much in the way of experience.
As before, we land the Key of Sacrifice as an item for winning the battle, but once again we're really here for the treasure room.
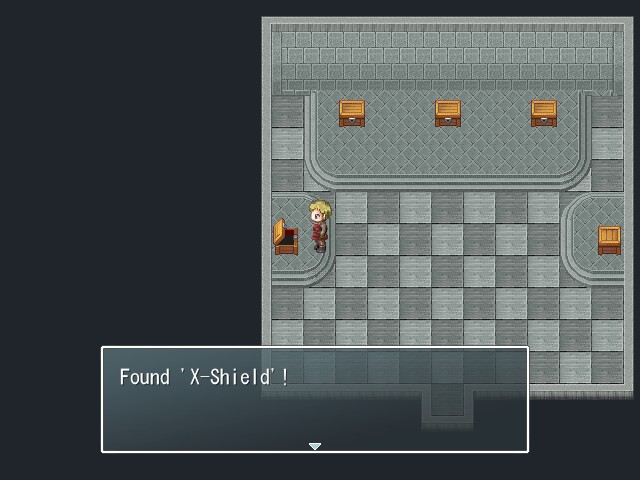
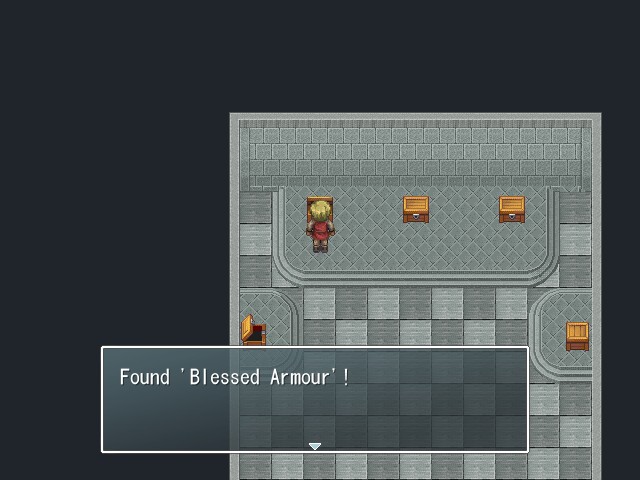
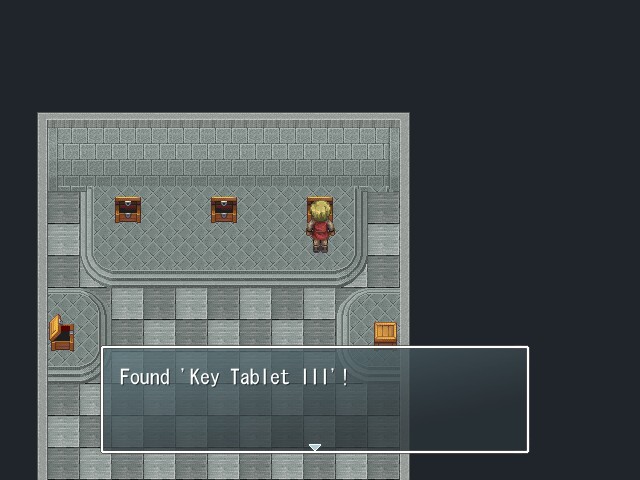
This time around the haul is pretty good. Despite its name, the Blessed Armor is a mage armor, but it's one that even Matilda might end up wearing, because it grants its wearer a permanent M-Shield. There's also our fourth Key Tablet III, giving our entire party five spellcard slots, and a couple of new cards to equip in them:
 X-Shield (100MP): Temporarily grants both the P-Shield and M-Shield statuses to one ally.
Crisis: Mega Shield (125MP): Temporarily grants both the P-Shield and M-Shield statuses to the entire party.
Stat changes: +3% INT, +3% VIT, +3% RES, -2% DEX
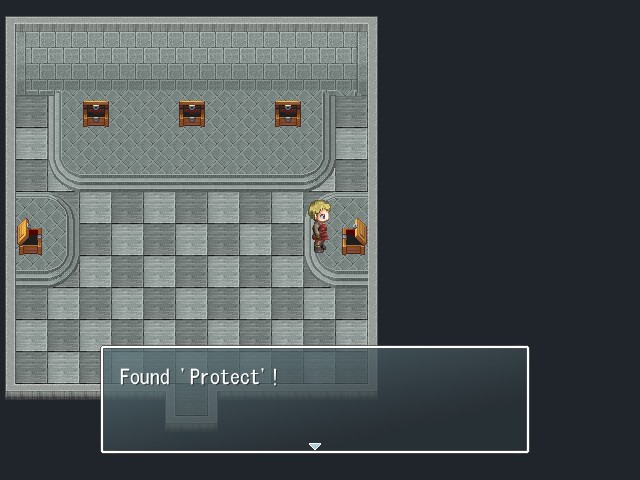
Protect (120MP): Temporarily grants one ally immunity to all status effects.Crisis: M-Protect (200MP): Temporarily grants the entire party immunity to all status effects.
Stat changes: -2% SPD, +6% RES, +3% LCK
X-Shield will pretty much be our go-to defensive buff for the rest of the game, if for no other reason than that Mega Shield is cheaper to cast than Bastion. Protect, on the other hand, is less useful than it first appears. Immunity to all status effects sounds nice, but in Protect's case, "all status effects" means all status effects, including benificial ones. Still, it doesn't dispel any statuses the target already has, so you can use it after you're done buffing a character to give them a temporary Warding Charm.
Now then, that's enough optional shit for one update. It's time to take on the Kingdom.

Fade to black...
Music:

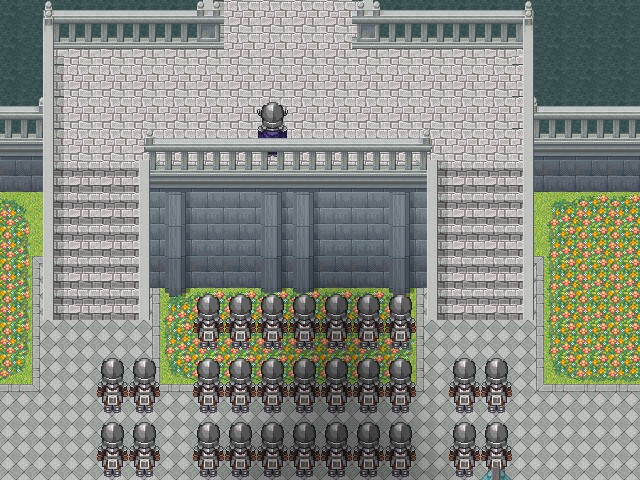

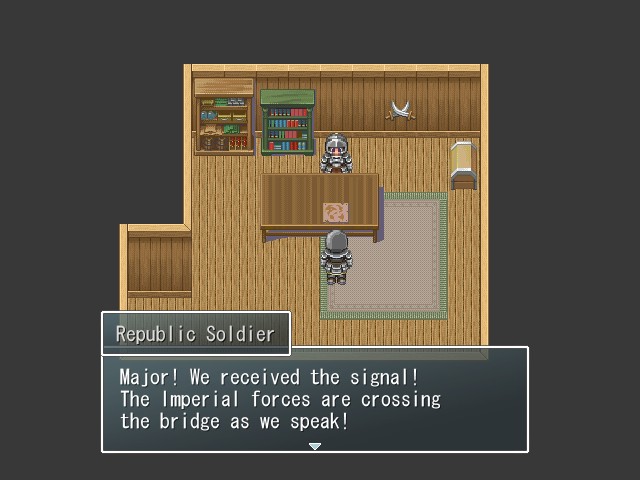
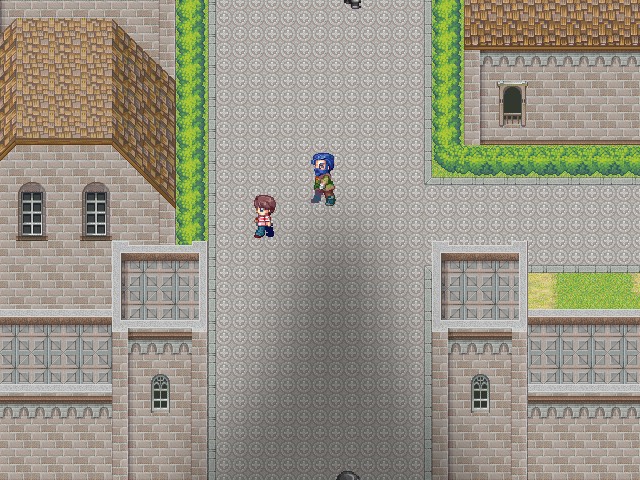
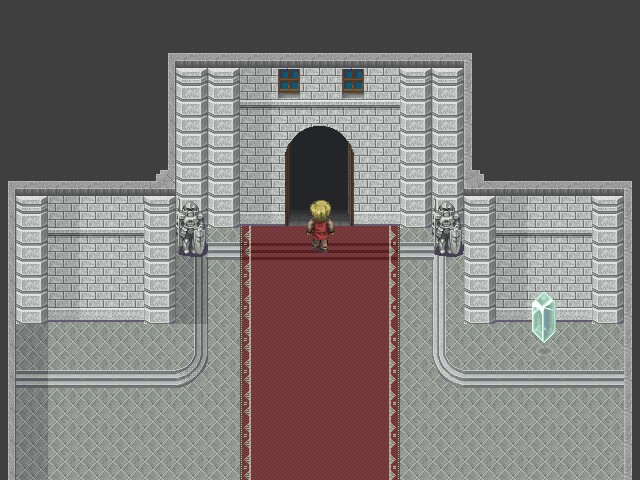
Once we've decided to attack, we cut to the Imperial forces in Southbridge as the shadow of the Lemuria passes over them. We also start hearing Last Scenario's "stealthy" music, which seems a little odd seeing as how this attack is pretty much the least stealthy thing I can think of.
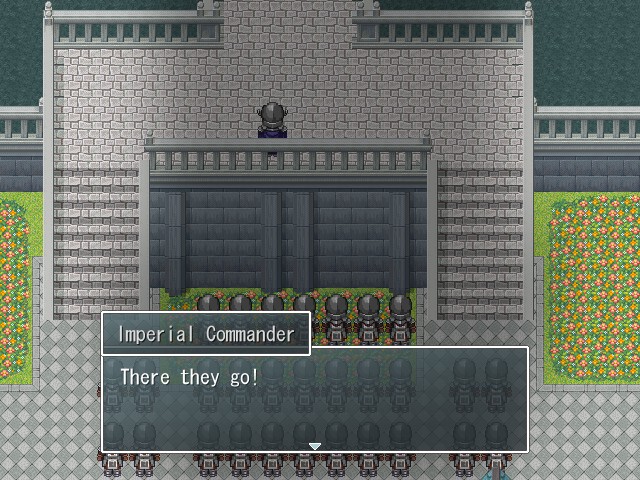
 Remember the plan! We'll break through the defenses at Northbridge and head straight towards Condor! While the enemy is occupied, the Republic army will land on shore and move in from the flank! The men on that ship are the ones who personally helped the Emperor! We must come to their aid! Move out!
Elsewhere...
 It's time! Send word to all ships, we'll head to shore at full speed!
Elsewhere...

 We need to take action! Please, give us the order!
 ... Your Highness!! ...
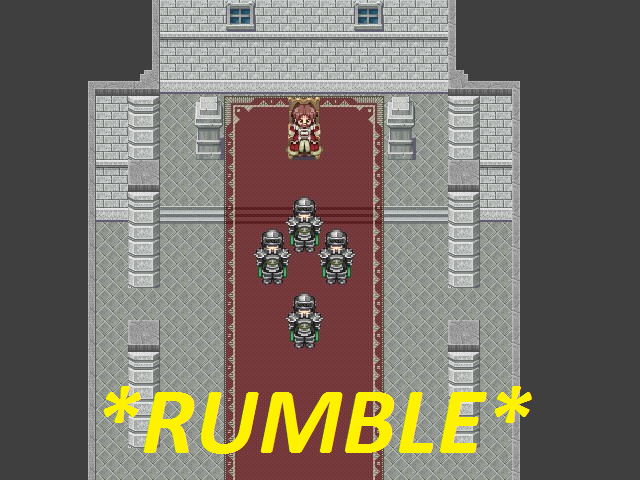
Fade to black...
Fade to black...
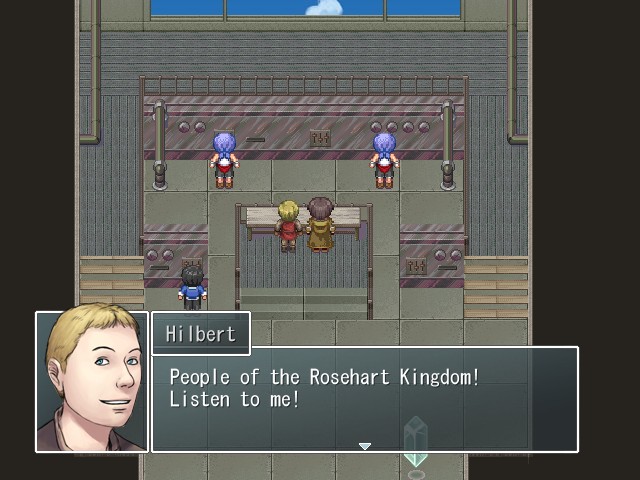
 H-Has he come to help us?
 People of the Rosehart Kingdom! Listen to me! What's that!?
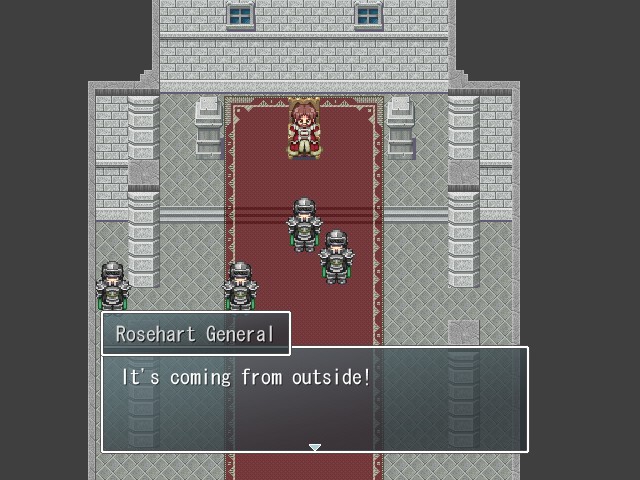
Fade to black...
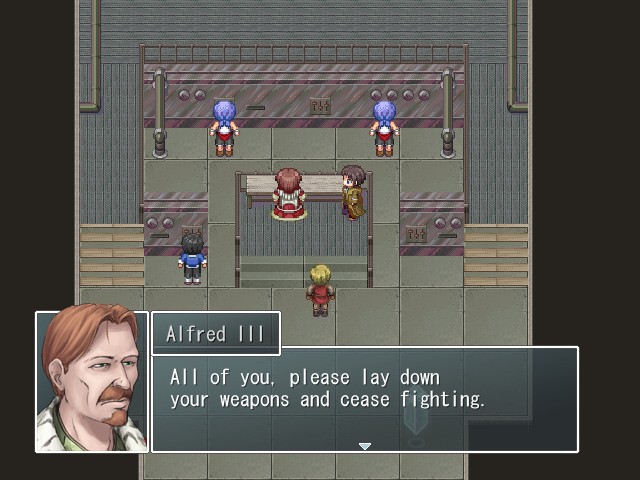
 The combined allied forces of the North Empire and the Pargon Republic are right outside the city gates. This ship is now in our possession. You have no chance of winning this battle anymore. Lay down your arms and surrender. I guarantee that no one who surrenders will come to harm. We are not here for revenge, or to destroy your country. We are only here for your leaders, who have committed severe crimes against the world. Please, think about your own safety. Think about your friends and family. No one has to die here. Do you think they're going to listen? It's impossible to convince all of them, but even if it saves a few lives, it was worth it. We're going now, before they get the chance to organize themselves. Yeah, good luck.
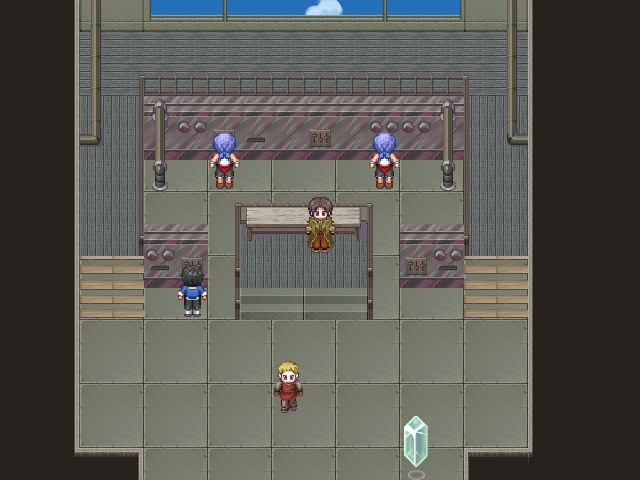
Fade to black...


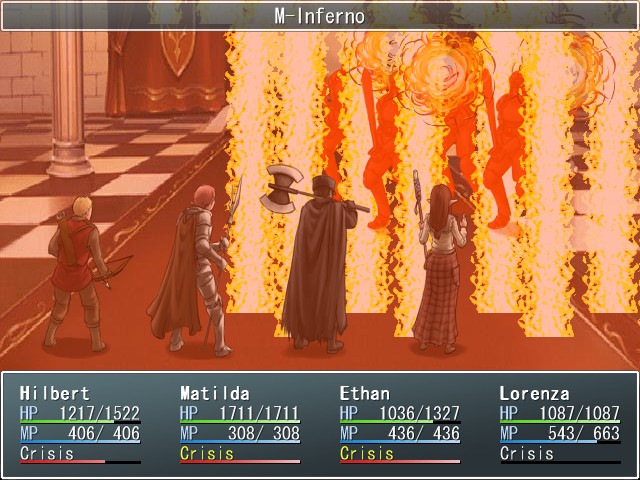
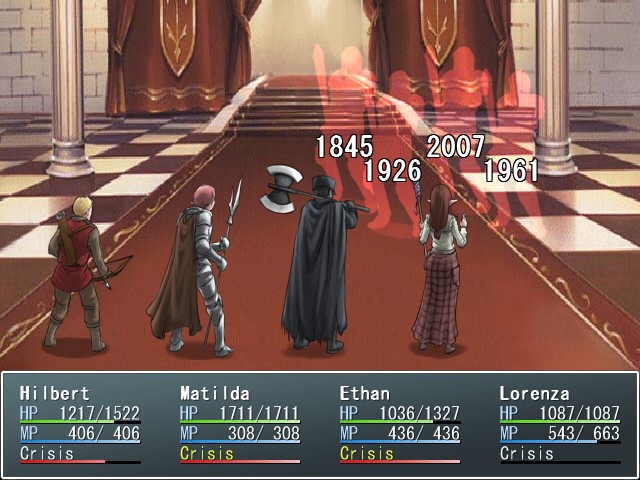
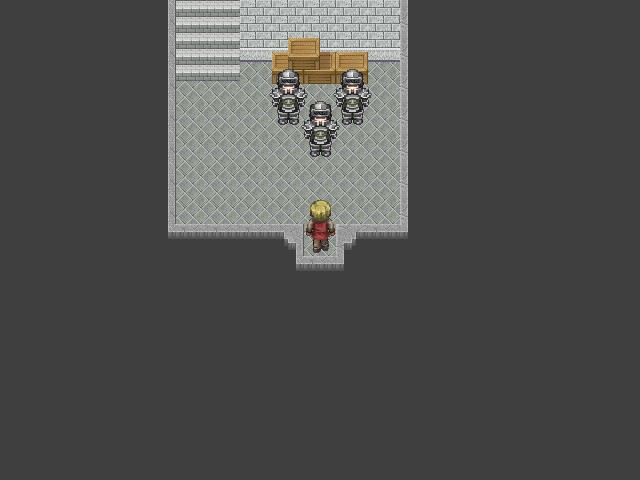
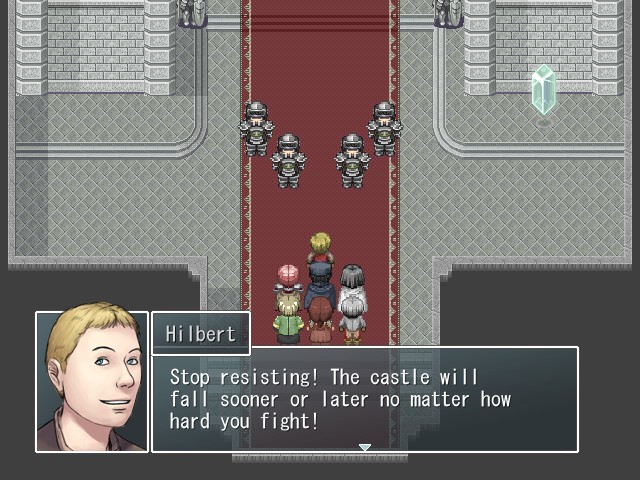 You're just throwing your lives away for nothing! Never!! For the King!
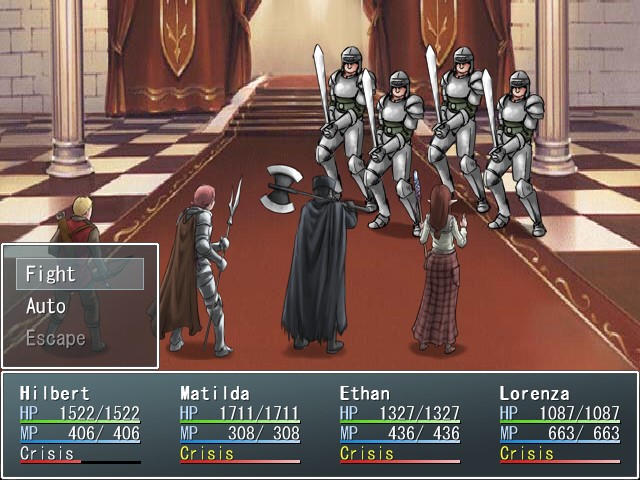
And we're thrust into battle with four of the Kingdom Troopers we fought on the Lemuria.

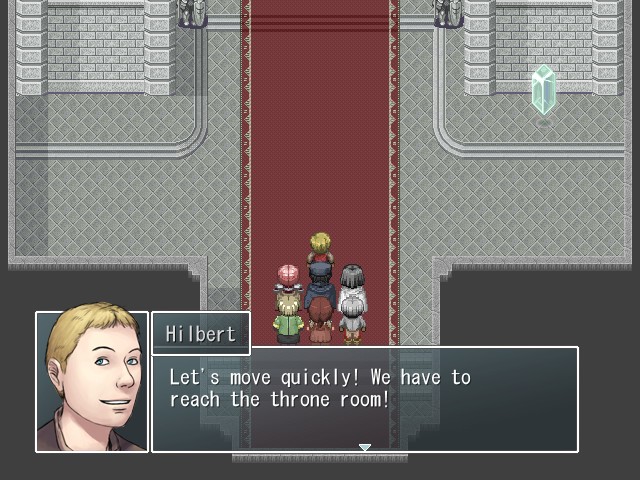
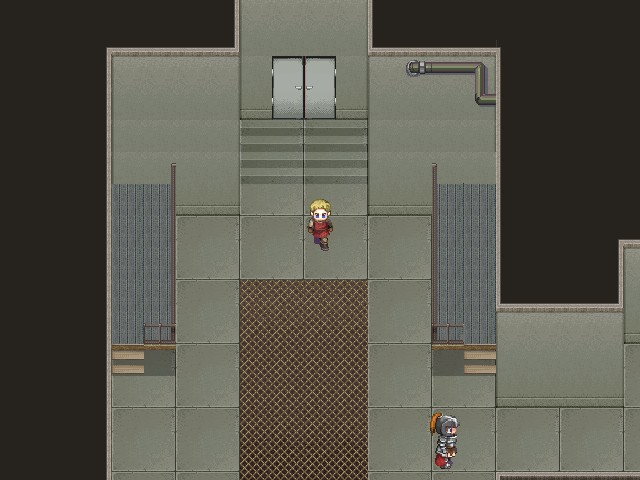
With that, we have control. This segment is fairly similar to the infiltration of the Republic council hall.
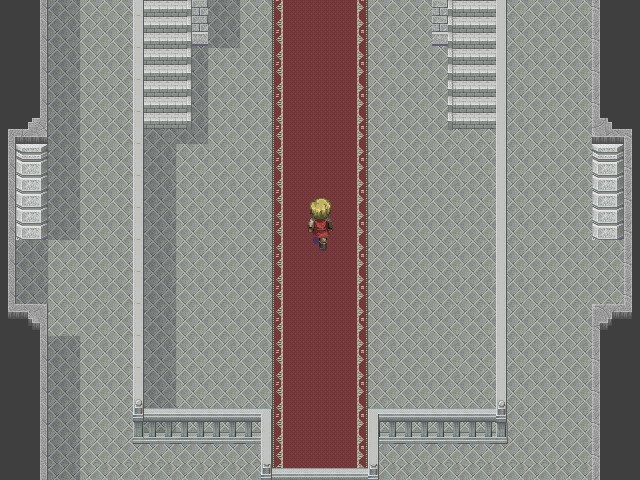
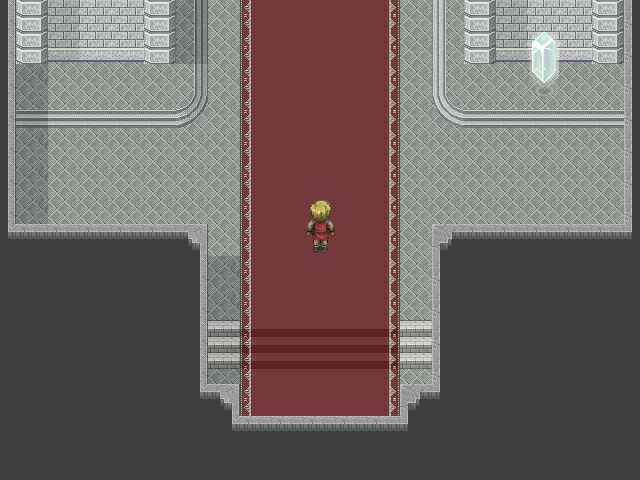
They even start the same way, with the obvious route to our destination being closed for no good reason.
This room has exits to the west and east, but first we want to head up the stairs and around the room to this other exit, because...
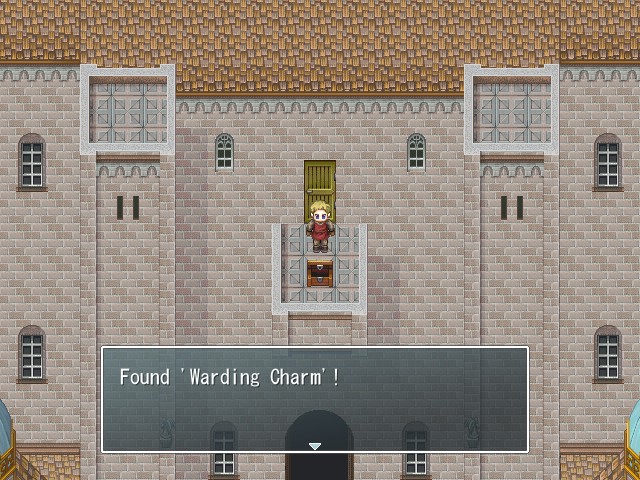
 Just one charm away from total status immunity.
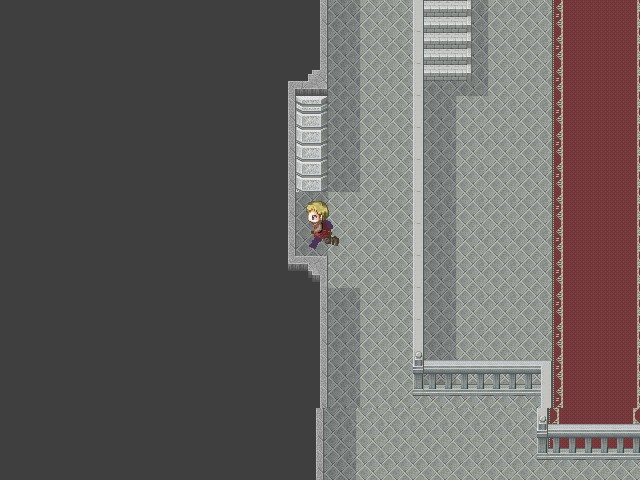

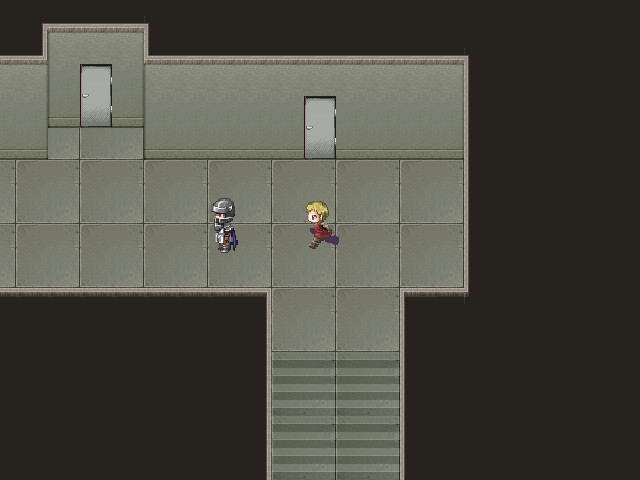
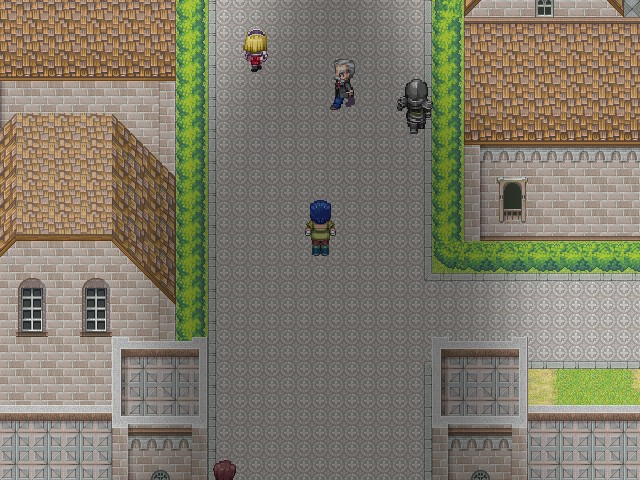
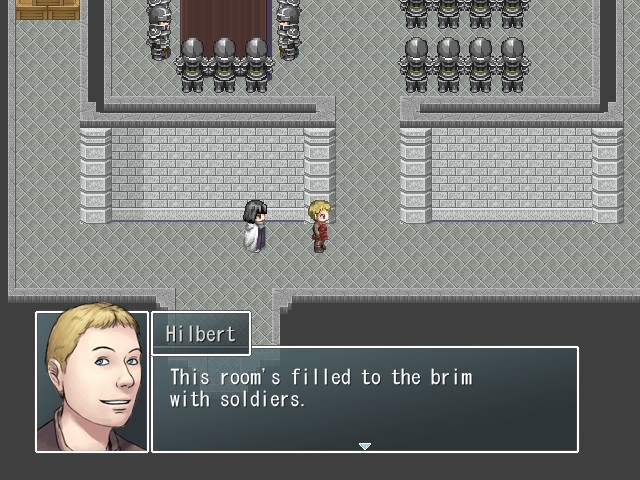
While we could head to the east from the central room, it's a dead end and only filled with a bunch of rooms with soldiers in them. Instead we need to head to the west, where there are also a bunch of rooms with soldiers in them, but also a path onward on the lower floor.

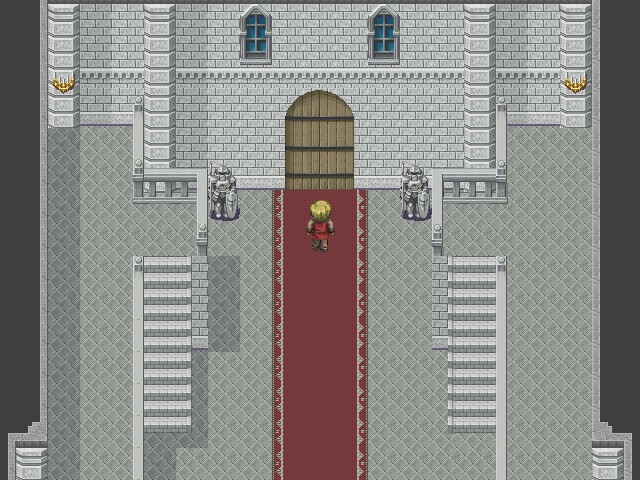
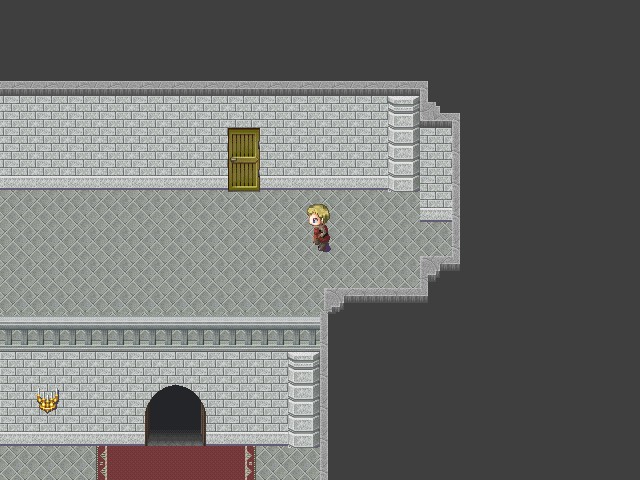
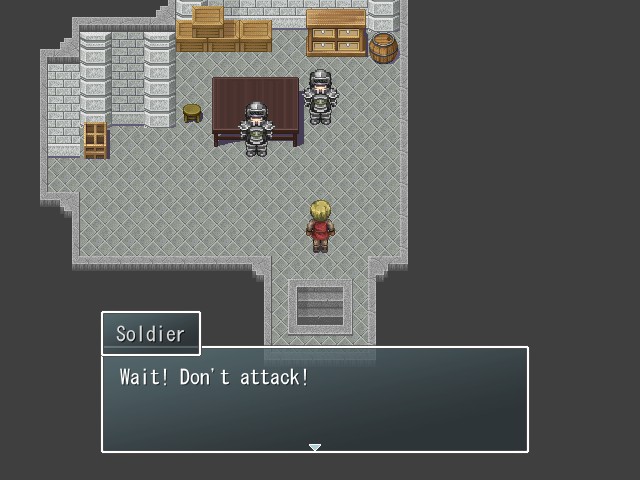
But the next room has even more soldiers in it. Hilbert automatically walks forward here before quickly ducking back behind the wall.
 We could probably fight our way through, but...
 I know another way. We can go through the basement. We should avoid causing a bloodbath here, even if they're all soldiers. Yes... and we shouldn't waste any time either. Quickly! Follow me!
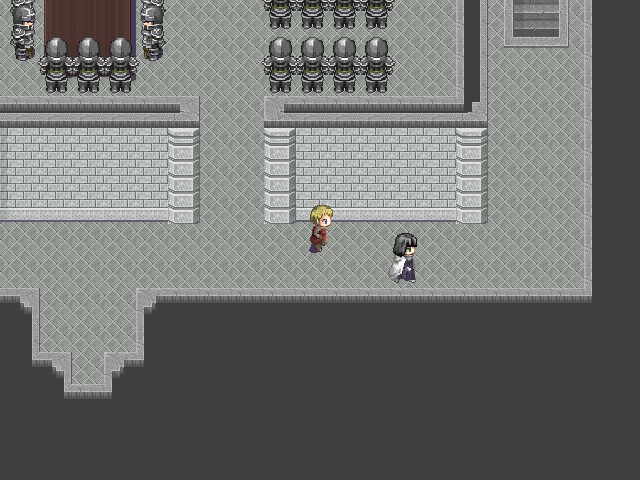
Fade to black...
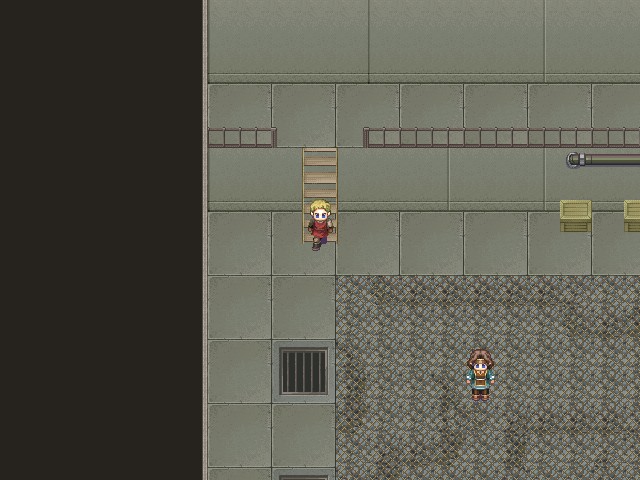
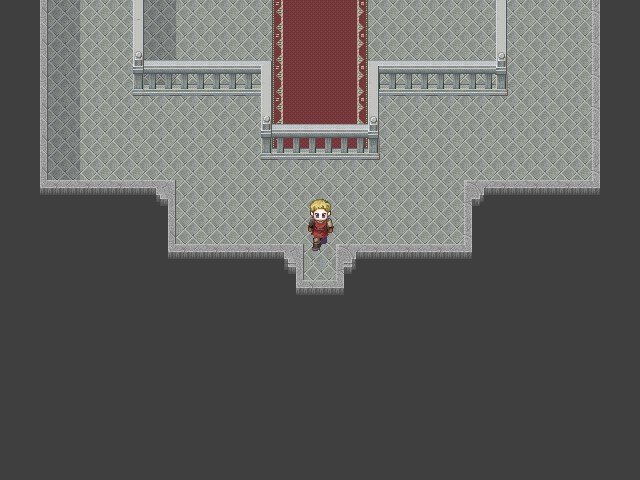
The basement of the castle isn't a sewer level or anything. There's no battles here; we just need to follow the path.
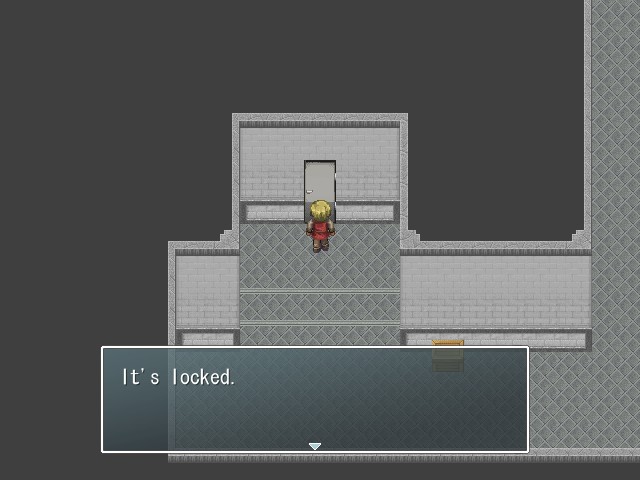
There is a locked door along the way, but that's the only thing of interest.

 Is that you, Zawu? Are you with them too? Let us pass. It's already over. I'd fight for my country, but I'm not going to throw away my life for nothing. It's not like things'll change much for us. It's just the leaders who'll lose their power. I think all the generals have already fled the castle. They just abandoned us here. What's the point in fighting any longer? Just go, we won't stop you. Thanks.
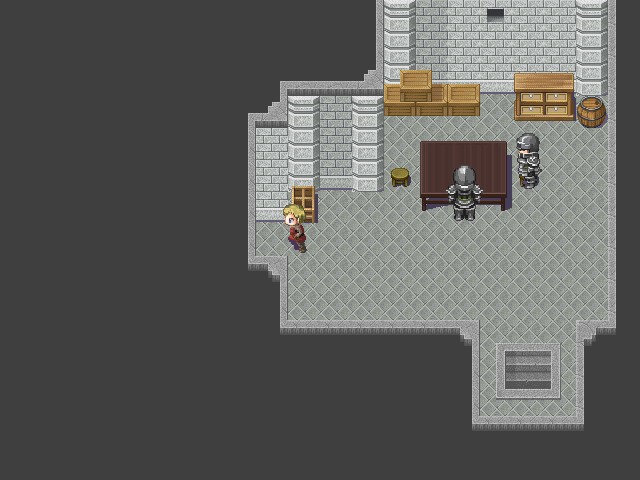
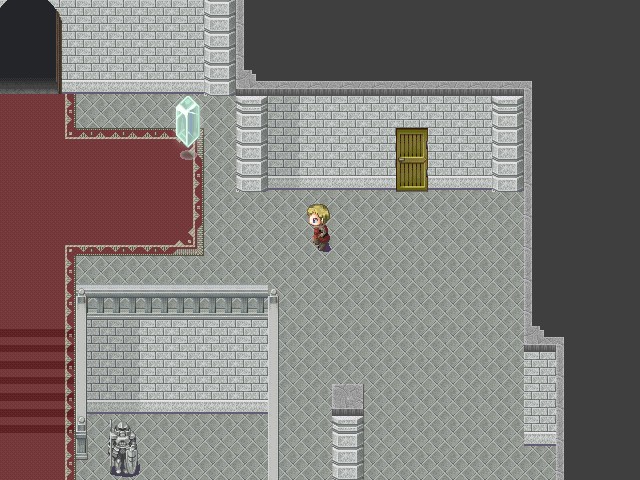
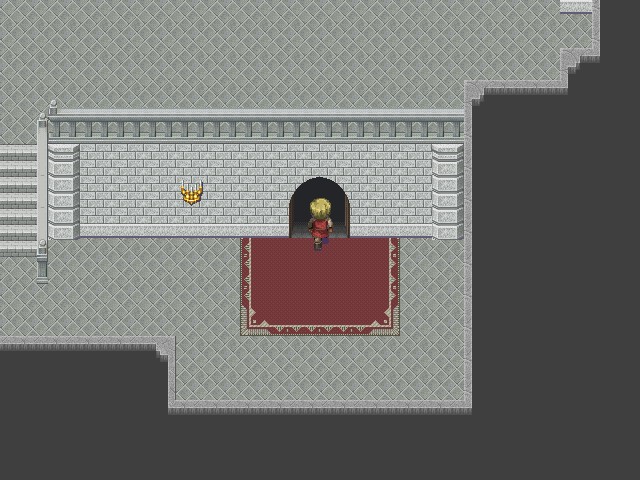
Well, that's convenient. We're right outside the throne room now, but we do want to check out this one door nearby.
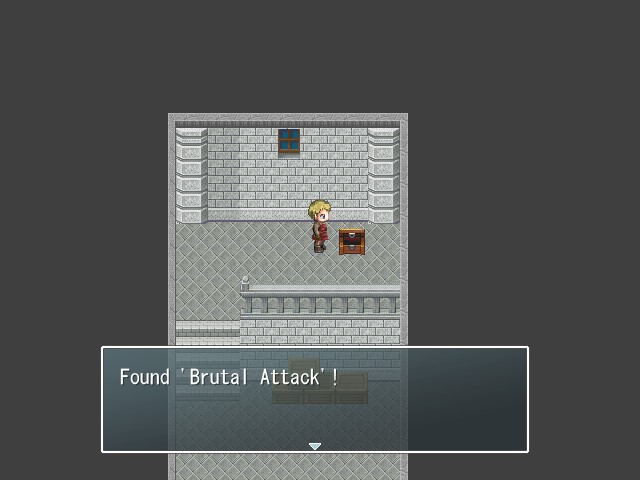
That's because after we kill the soldiers in the room, there's an interesting spellcard behind them:
 Brutal Attack (65MP): Launches a powerful physical attack against one enemy, but also deals a small amount of damage to the caster.
Crisis: Flurry (75MP): Launches a powerful physical attack against all enemies, but also deals a small amount of damage to all allies.
Stat changes: -2% max HP, -2% max MP, -1% VIT, +6% SKL
Brutal Attack is a pretty good trade--with Matilda it can deal over 1800 damage at this point in the game, and it only hits her for 300 in return. The main downside is that Matilda is obviously the person we'd want to use it with, but she doesn't have the MP to cast it very much. Maybe Ethan would be a better candidate.
Now then, let's go see this king fellow.
Music:

 Have you come to laugh at my misfortune, Zawu? To see how pitiful I've become? As you can see, I am all alone here, in this cold throne room. Everyone has abandoned me. It's all because of him. He took everything away from me. Go on. Kill me. I have nothing left to live for. There's no need to do that. Go out, and order your people to surrender. My father... he was broken by the war. He only barely managed to hold on to power. After losing Pargon Island and, with it, the war, he withered away and died in under a year. I wanted to make this country great again, nothing more.
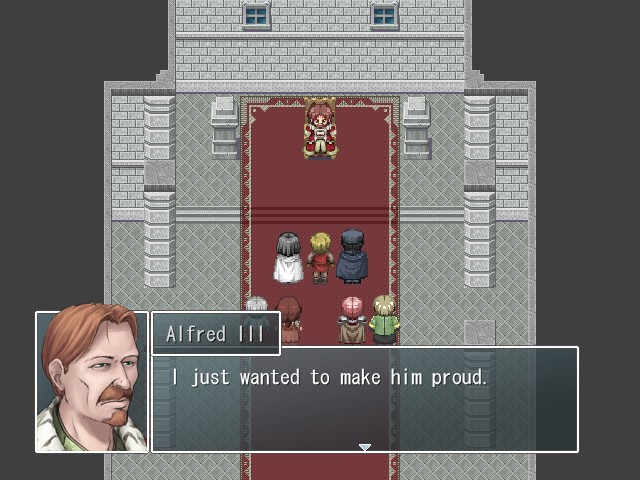
Although he's a minor character as far as this game's plot goes, I do at least like that Alfred's motivation for trying to conquer the world is something beyond mustache-twirling evil. Granted, "daddy issues" is a pretty fucking flimsy reason to start killing people, but hey, that's why he's one of the bad guys.
If I go out there, will the Kingdom vanish? That is not up to us. The Rosehart lands will always continue to exist, in one form or another. But you will no longer be its ruler. I will do as you ask. I'll tell them to stop fighting. Not because your words have swayed me, or out of concern for the ones who are fighting.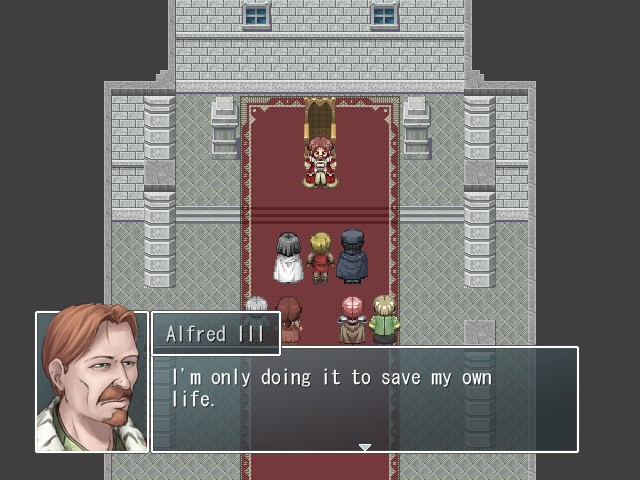 I dare not die yet... or I'd have to face my father and my ancestors. That's what I am. A no-good king. Go, tear down our flag. Take my crown.
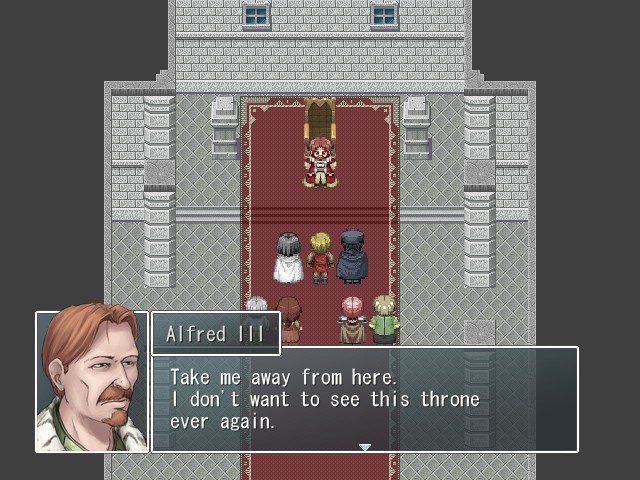
Fade to black...
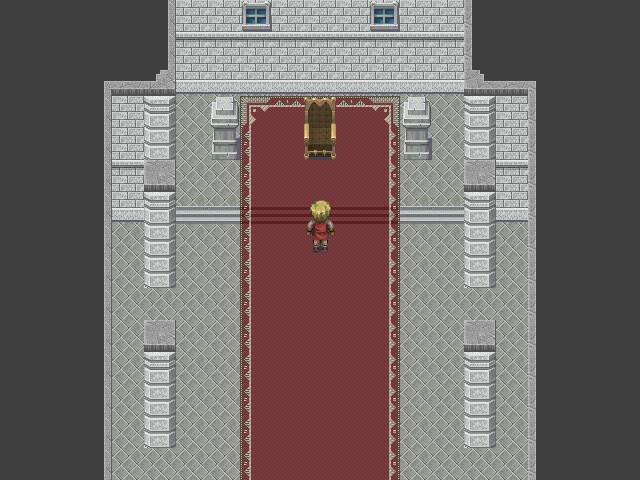
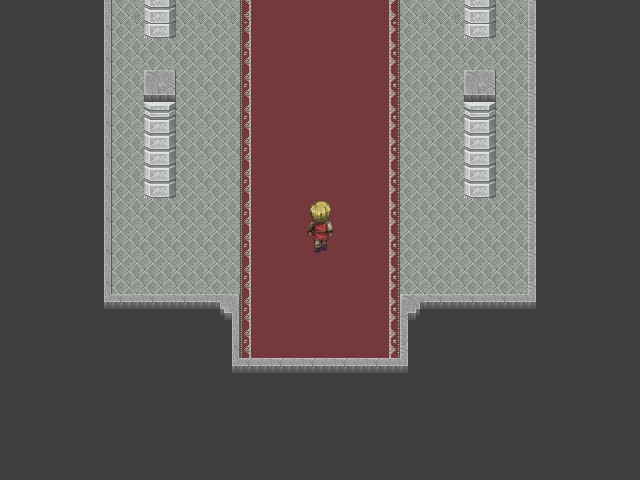
And suddenly the game hands control back to us. There's nothing we can do except leave.
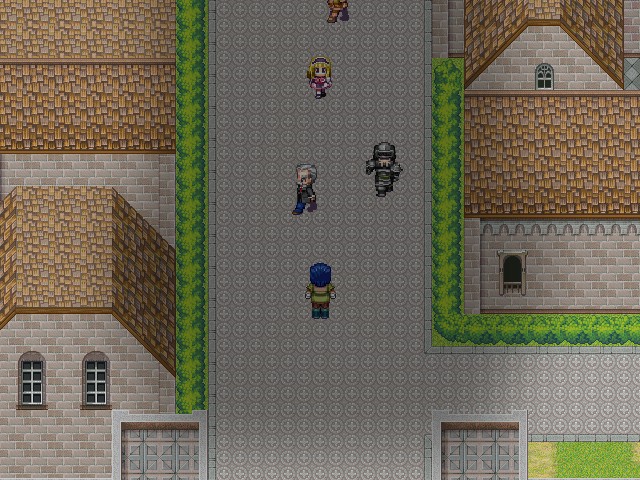
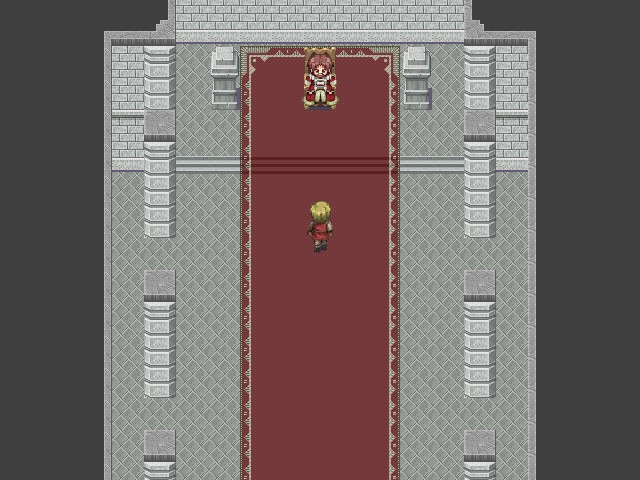
Once we do, however, we find some familiar faces.
 You still want to fight!? Give it up! It's useless!
 No, we're not here to fight. We only want to ask you something. Ask us something?
 We don't know what to do anymore. In the end, he even left us behind. He just went off by himself. Maybe you were right all along, Ethan. Castor's been heading in the wrong direction for a long time. He was only ever content when he felt that he was in complete control. For a long time it went fine, but he's gone all loopy ever since he lost to you in Stonewall. He's reached the limits of how strong a single human can be. You've become stronger by working together, but he... He'd rather throw away his humanity than have to rely on someone else. He always said he trusted us completely. Maybe he had no doubts about our loyalty, but... When he actually had to put his life in our hands, it scared the hell out of him. I know how he feels. I also wanted to be strong enough to protect the people around me. But I know that I can rely on everyone here to risk their lives for me, and me for them.
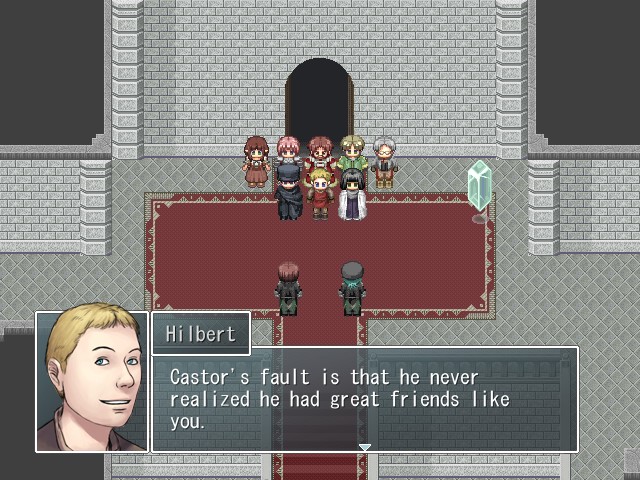 Hilbert, please do something. You're the only one who can bring him back. You're the only one he sees as an equal, the only one who could still get through to him. Don't worry. We'll do what we can to save him. But what are you going to do now? We'll wait for his return. I don't know what will happen to the Kingdom now, but I'll stay behind and help rebuild it. Your Highness? Do whatever you want. This is no longer my country. We're going back to the ship. If you want to help, then tell the Kingdom soldiers to surrender. We'll do that. There's no point in fighting any longer here.
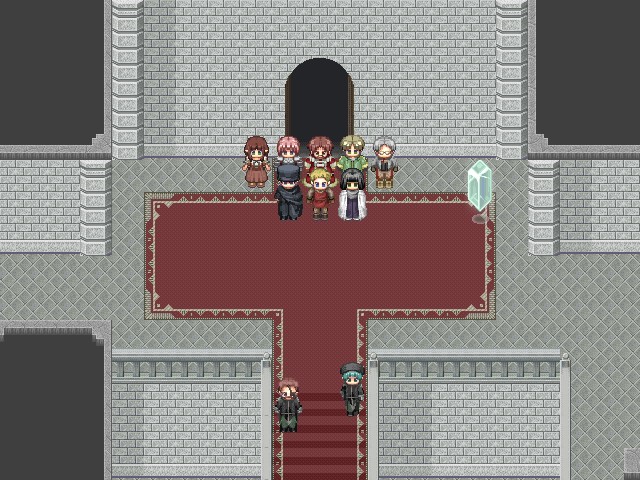
Fade to black...
Music: None


Fade to black...
Music:


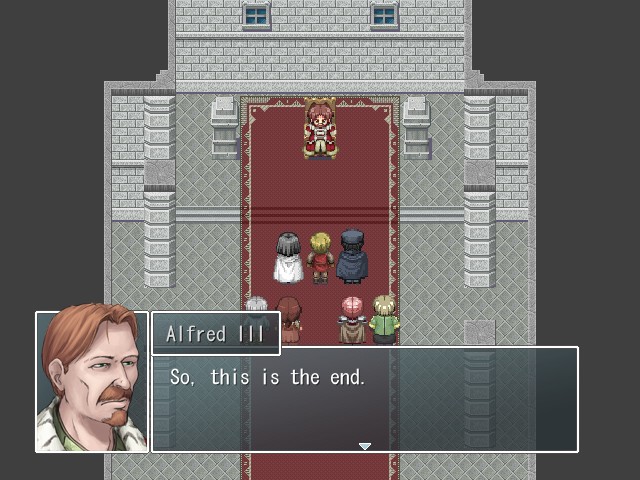
 This must be a historical event. This is hardly a meeting on equal footing. After all, I've lost my power. You are the ones who'll get to decide the future of the Kingdom.
 That's right. Your reign's over. We've brought down the corrupted leaders of all countries. You should consider yourself fortunate that you're the only one of them who'll survive the war. Anyway, enough about that. Let's talk about the future. We've already discussed it, the General and I. We've come to a solution that's best for all of us.
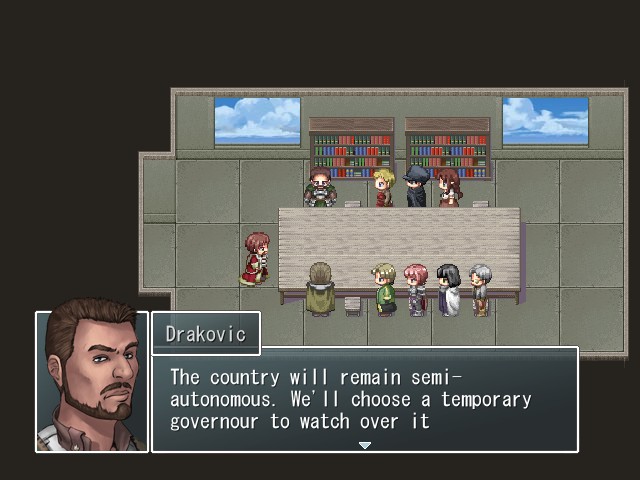 We'll pick someone local, who knows the country well but has no ties to the royal family. Under our supervision, the governor will try to stabilize the country and establish a new government. Once everyone has heard the truth behind all that has happened, we'll let the people decide what to do. Of course, any region is free to join the Republic if they want. You... do not intend to conquer us?
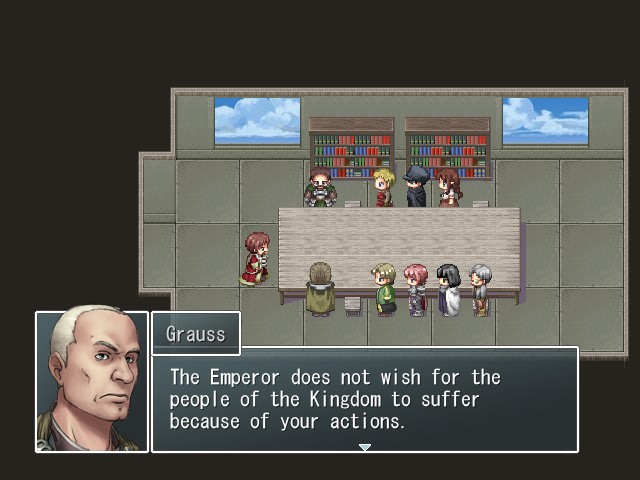 We've learned from this conflict that it's easy for resentment to breed within an occupied nation. Our goal is to ensure long-term peace, worldwide. Even after all of this, you would still... What have I done...? I feel so worthless. If only... if only I could do it all over again, I would...
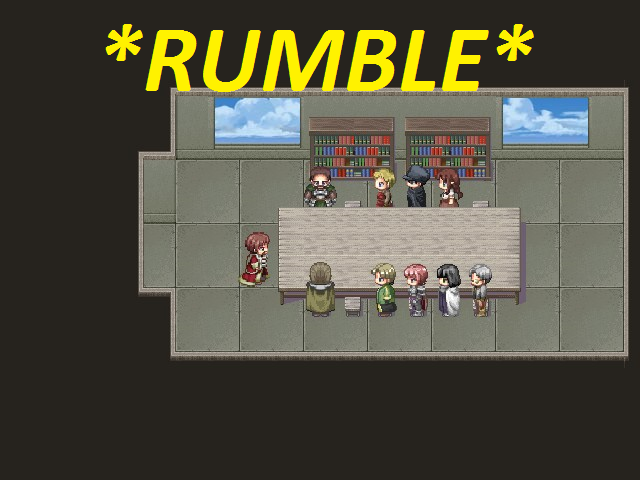
Music:

 Tremors? That's impossible! There's never been an earthquake in this area before!
Fade to black...

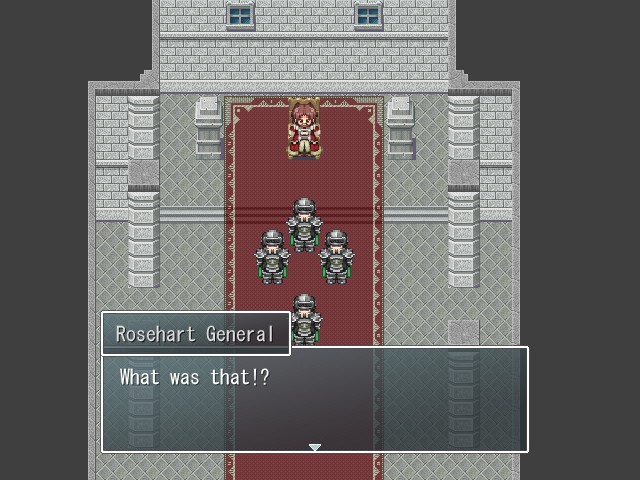
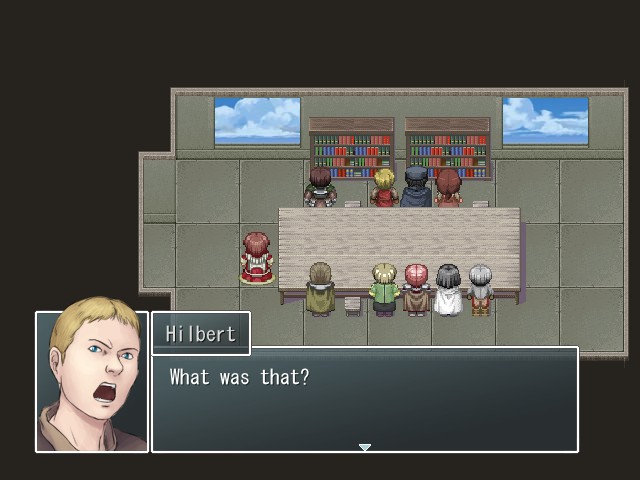
 What's going on!?
Wait, what the hell? We have seismic sensors now? What doesn't this ship have?
 The epicenter of all the shockwaves is... The central ocean! Castor!
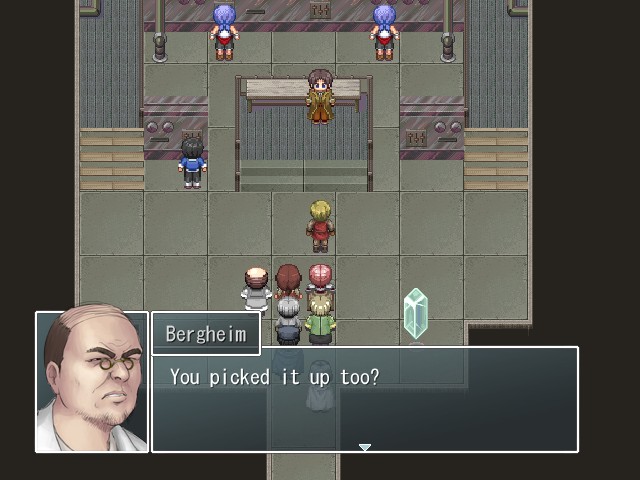
 These aren't regular quakes. It's the biorite. It's resonating. From these measurements, we've concluded that there is a massive biorite cluster beneath the ground. Is that where he is? Yes, it matches the coordinates he left us in his message. Is it a signal telling you to hurry up, or is something going seriously wrong...?
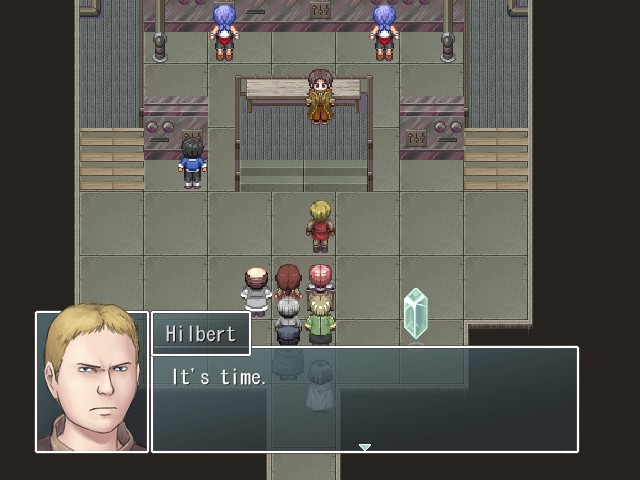
Music:

 We'll go down there, and we'll settle this once and for all. Everyone! Let's go! Full speed ahead! Take us to the island!
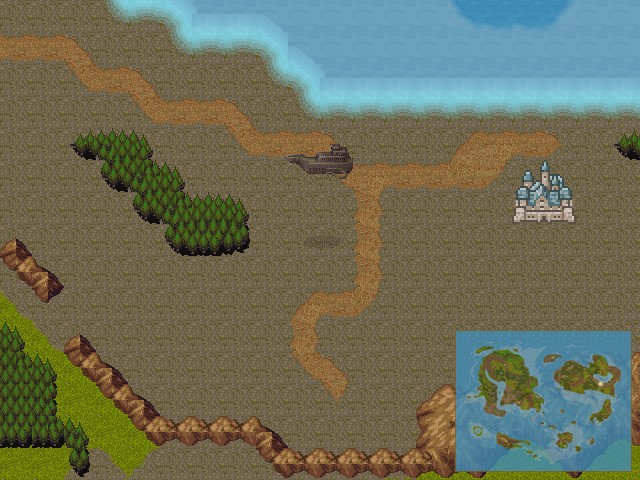
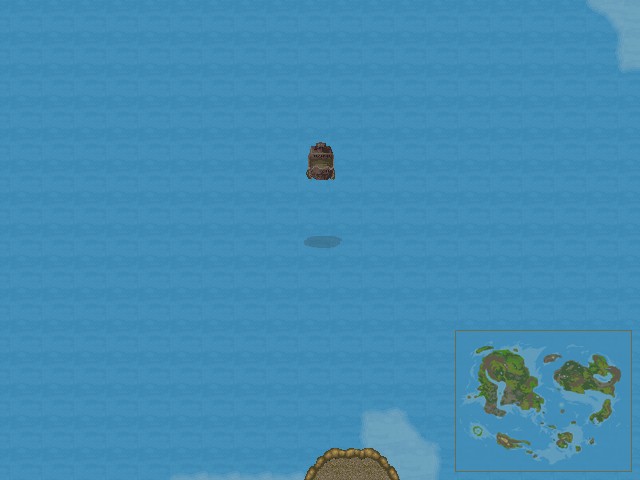
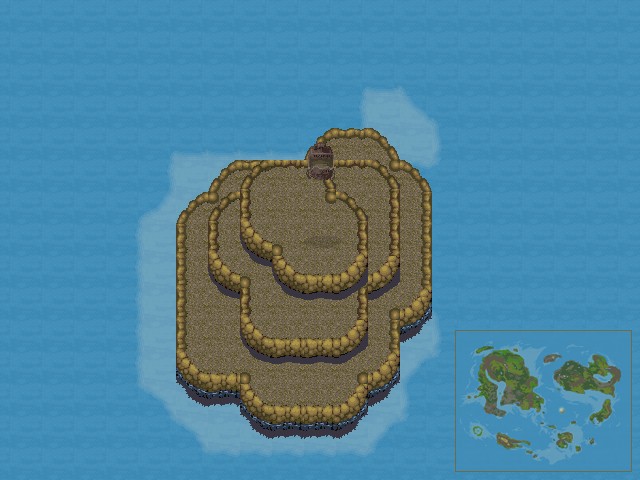
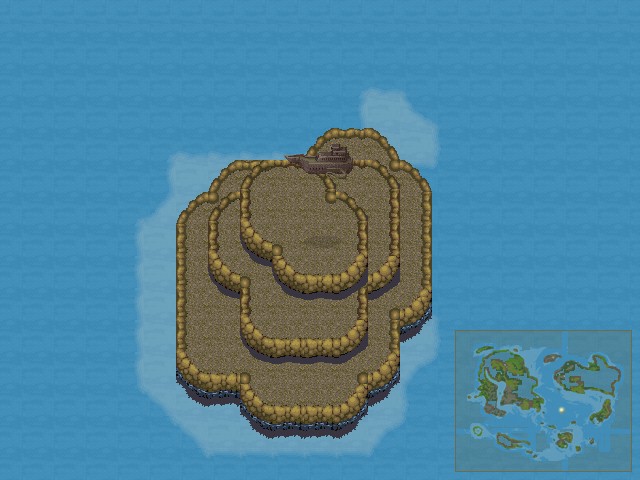
And the game does just that, automatically navigating us to a small, featureless island in the middle of the ocean.
Fade to black...
 Music:
  (RECOMMENDED LISTENING)
 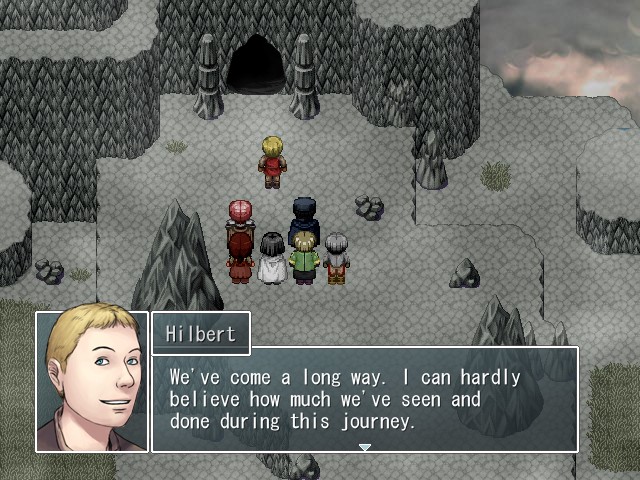 But it's almost over. If we step in there and find Castor, that's the end of it.
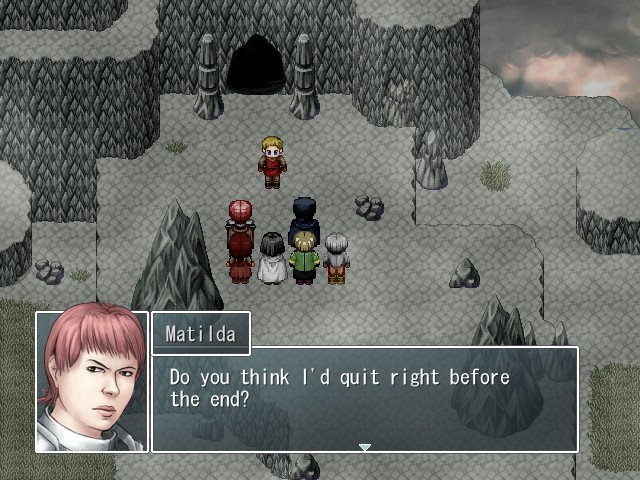
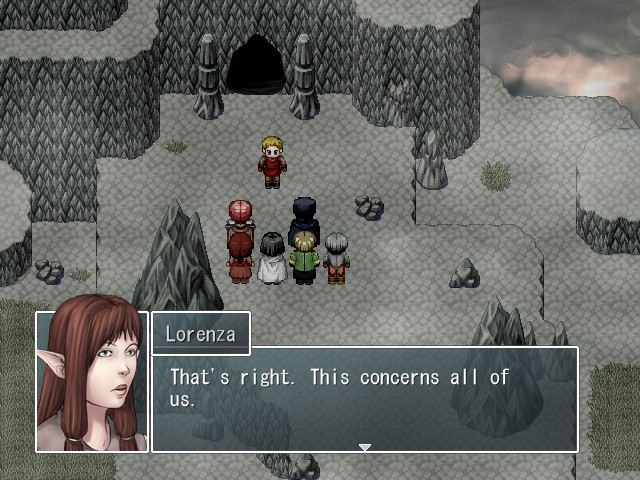
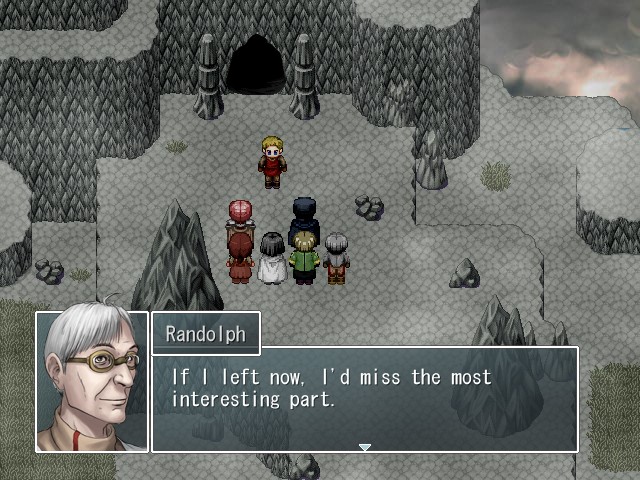
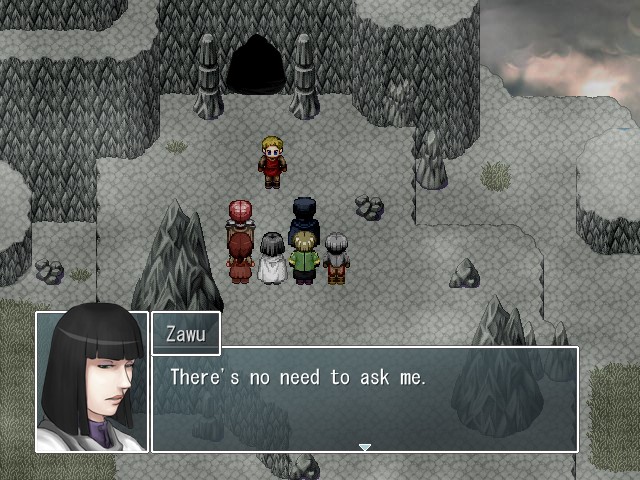
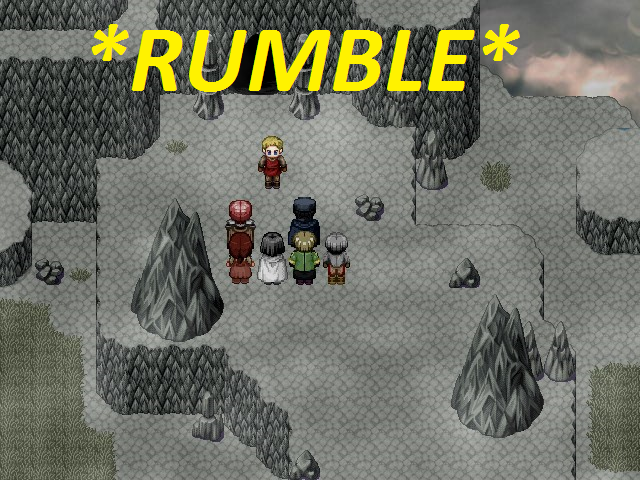 Still more tremors? He's here. Let's hurry, before it's too late. Castor will not come back willingly. I have the feeling we're about to face something beyond anything we've seen before. Are you all sure you want to come? This is your last chance to turn back.
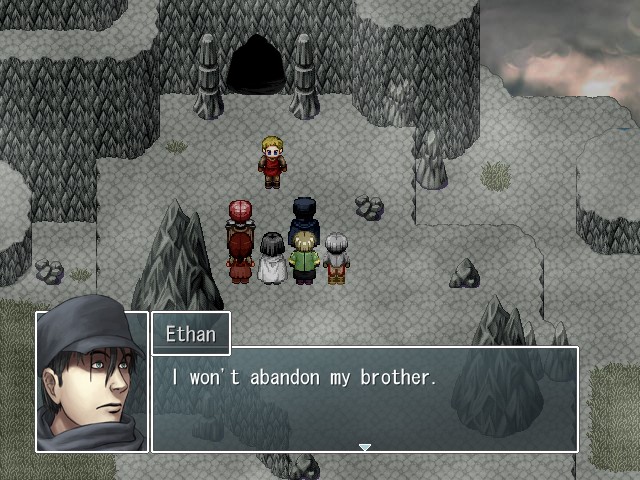

And with that, the final dungeon begins.
But we won't be seeing the inside of the dungeon for a little while. Last Scenario still has a couple updates' worth of sidequests and post-game content, and as with my Exit Fate LP, I'd like to show it all off before we finish off the plot. Among other things, we need to find everyone's ultimate weapons, figure out what those keys we found in the towers are for, and most importantly, of course, we need to learn the secret of Hex. In order to ensure that the final dungeon is still a challenge, I'll be leaving a save here so we can go through it at a proper level. But we'll be seeing a lot of interesting sights before we come back to do that.
Next time: What do you do when you face an undefeatable opponent?