Part 13: Chapter 8 Redux
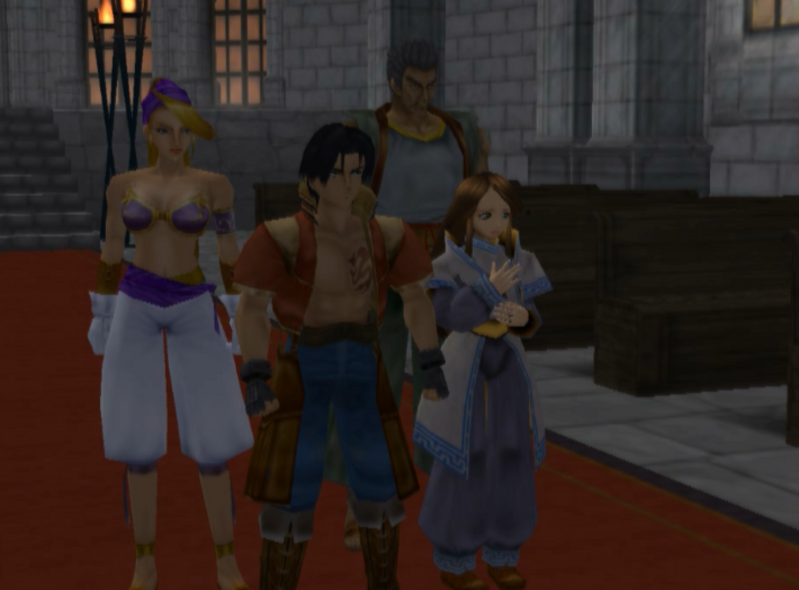
Chapter 12 – Chapter 8 ReduxWhere we last left off, we learned we needed to get a Kravian Pass to pass through Kravia, and only the new bishop of Darakin had them. Lang’s Gang resolved to storm the castle once more, and now Sharon, the pi-I mean, honest young lady has joined our party.
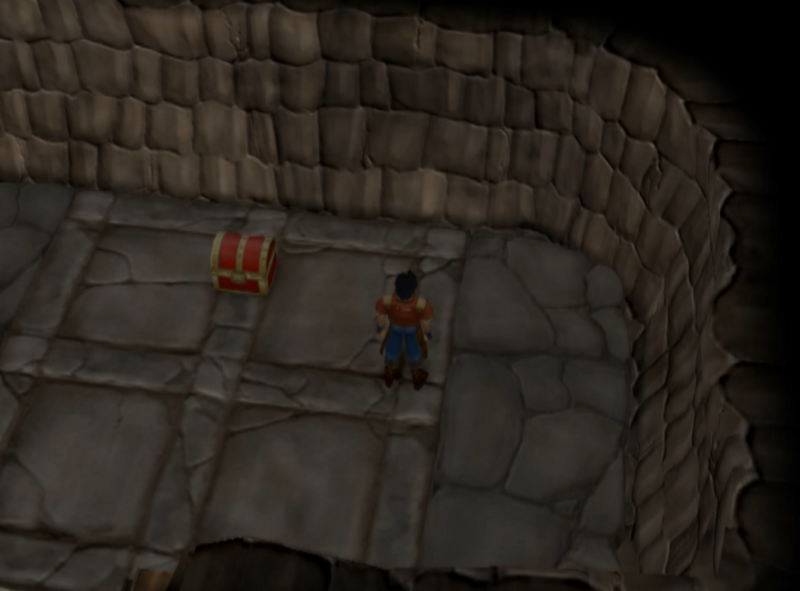
Our current objective is to reach the castle via the secret tunnel like we did last time.
…..but first.
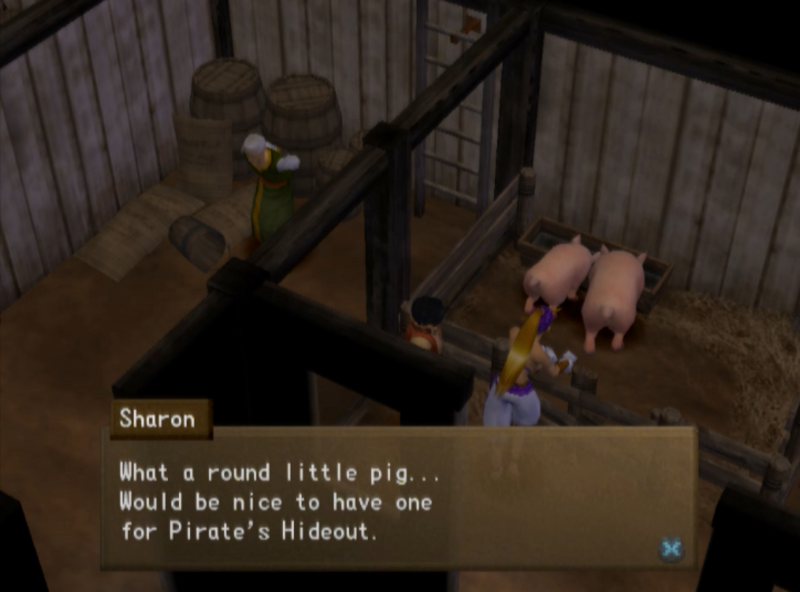
Naturally, Sharon joining us means there’s going to be new side content. However, at this very point, there’s actually remarkably little to see.
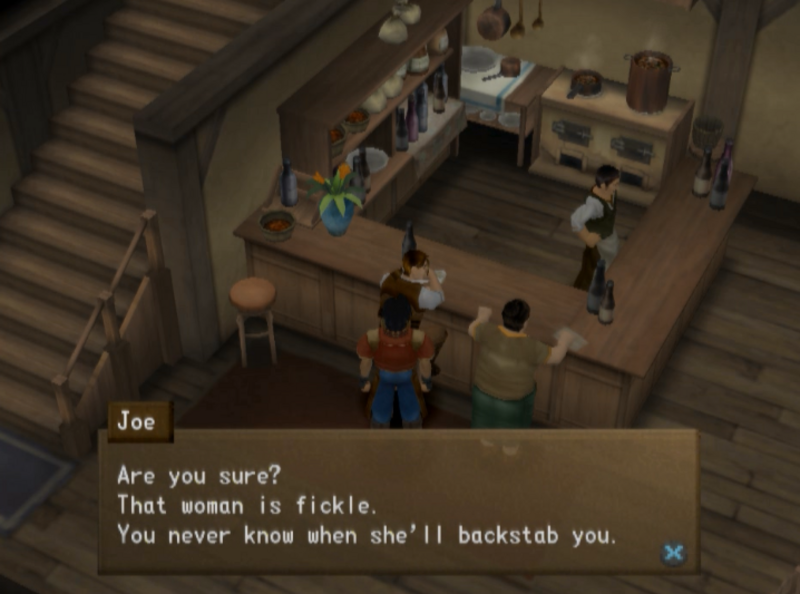
Before we leave, Joe has some comments on our new friend. This gives her the “Miss Fickle” nickname.
Taking Sharon back to Nohl doesn’t invoke a special scene like it did for Maya and Kazan, but she’s still here and commenting on things.
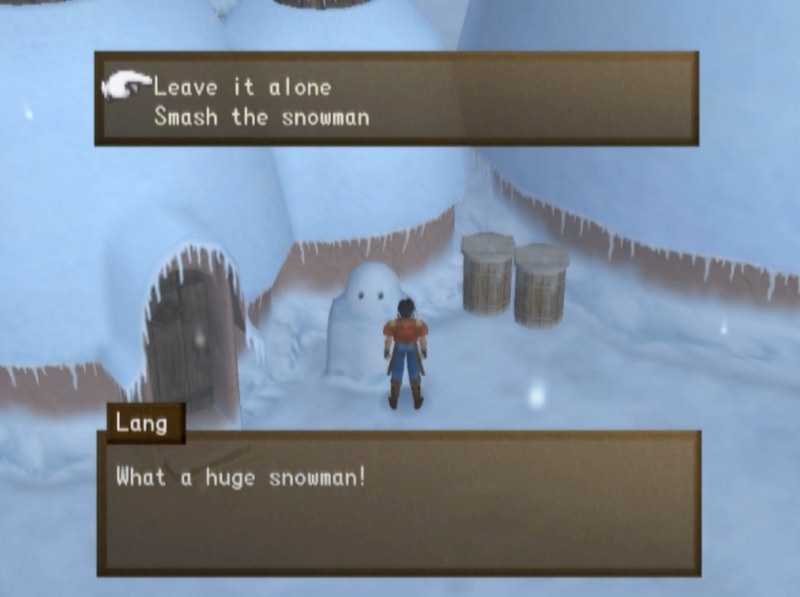
Although a bit out of character, I decide to smash the snowman. There’s content here, you see.
Whenever Lang attacks something outside battle, he performs this goofy animation.
First there’s a kick…
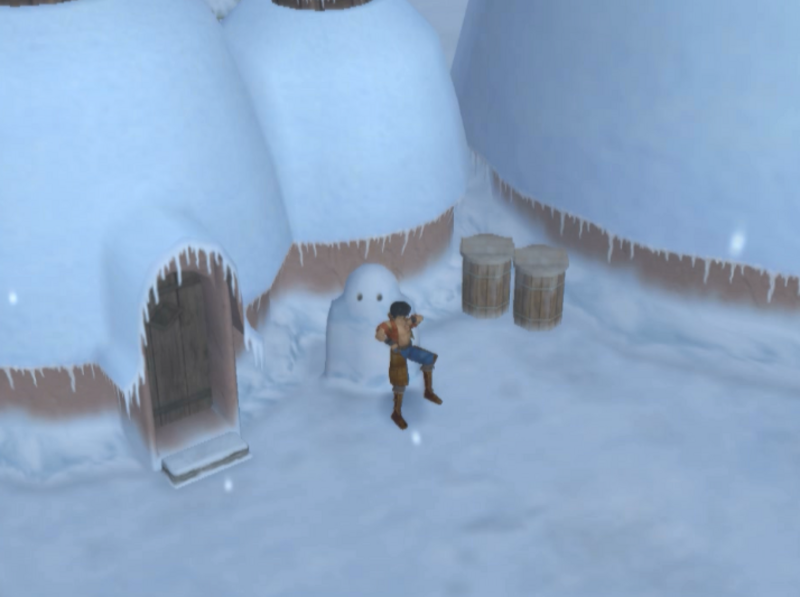
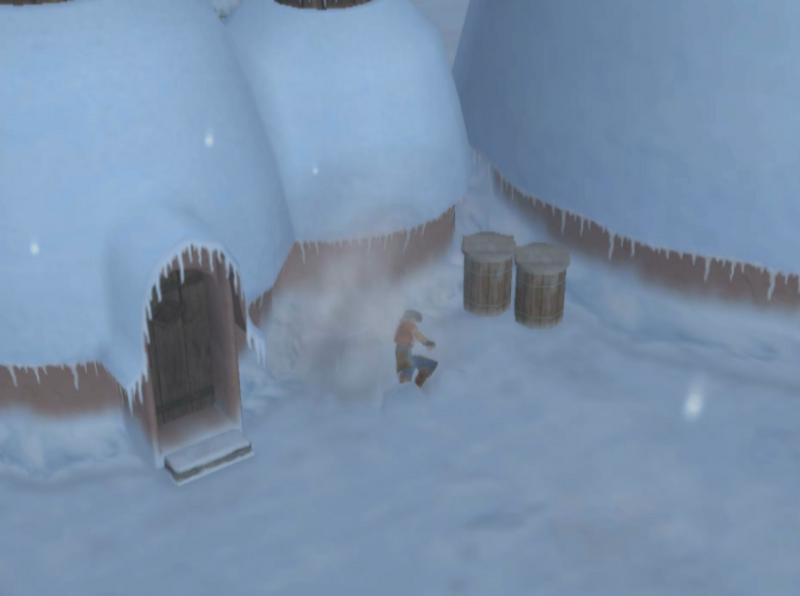
Then he elbow drops onto whatever he’s attacking. A bit excessive for a ruddy snowman to say the least.
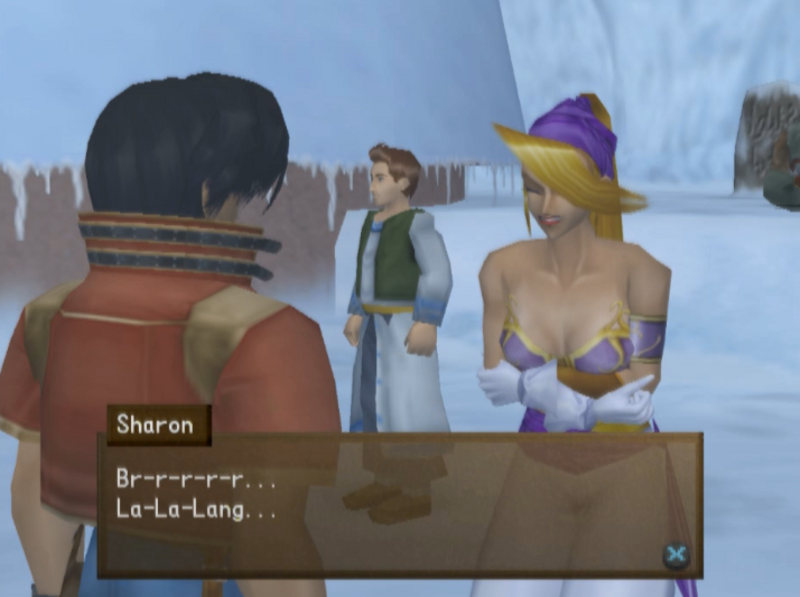
 “This is…t-too…cold…I’m going to f-freeze out here! Br-r-r! Hey! You okay?”
We get a choice of dialogue. I choose to have reality ensue.
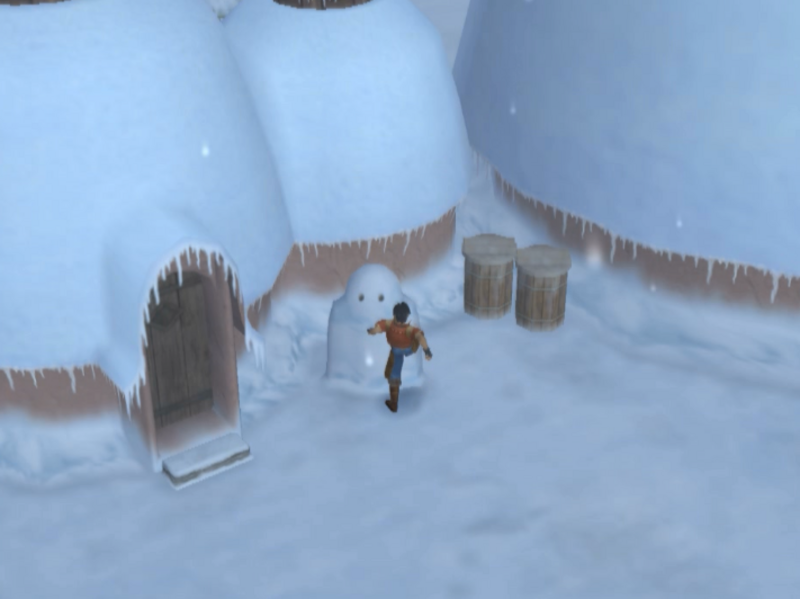
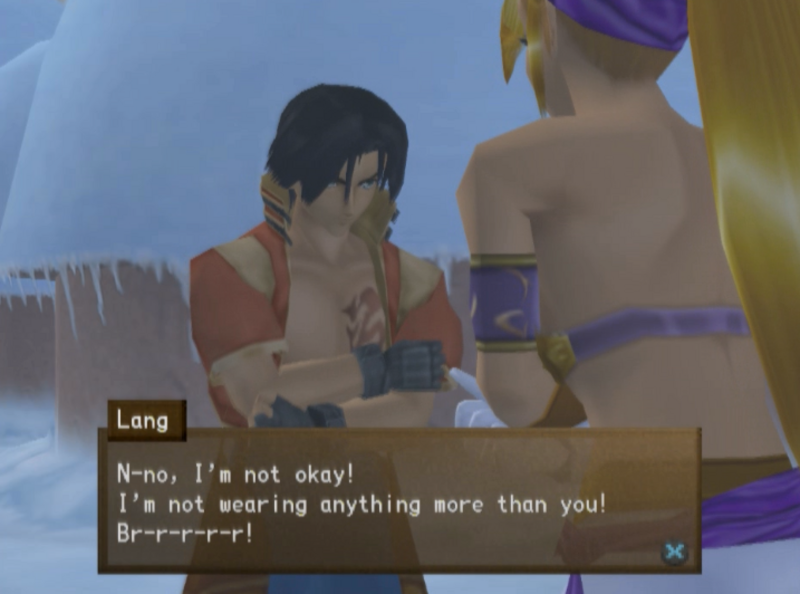 “Is…Is that so? I feel better…” “Ah, atchoo! So-so c-cold…”
This is all the side content we have today. Like I said, not much.
Now we’re going to actually head to the castle. Now, Maya and Kazan brought up the Three Star Hotel, but thankfully we don’t have to go back through the sewer entrance again.
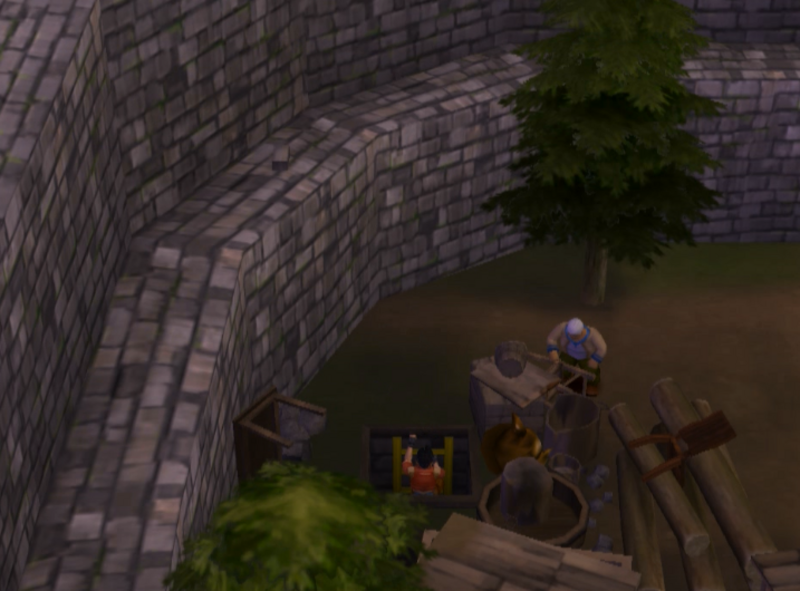
We still have the exit that places us right next to the Kabel Ruins. Of course, this means we still have to traverse the Kabel Ruins.
But that shouldn’t be too hard since we did it once already, right?
 “Impressive…” “Voila! Now, aren’t you glad you brought me along? Heh heh heh heh!”
As should be plain for all to see, the purpose of this retread of the Kabel Ruins is basically a big tutorial for Sharon. And in light of that, let’s talk all about Sharon, shall we?
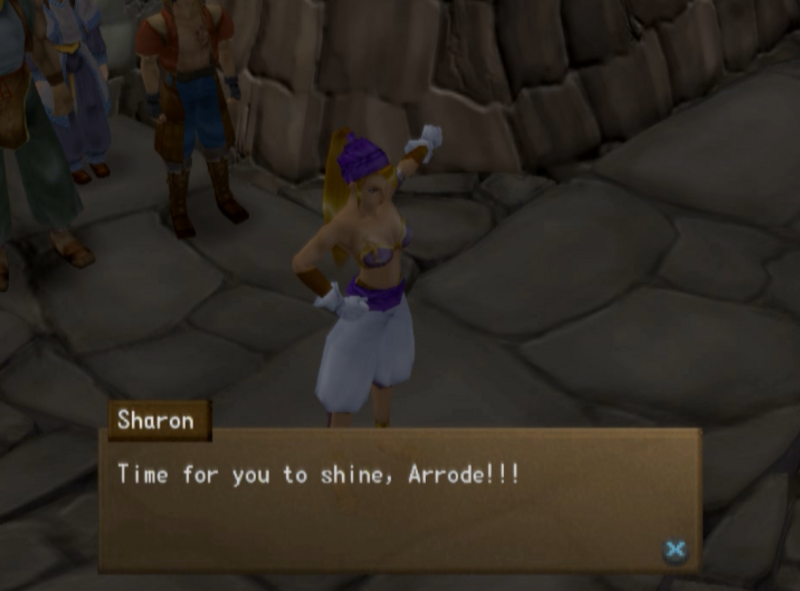
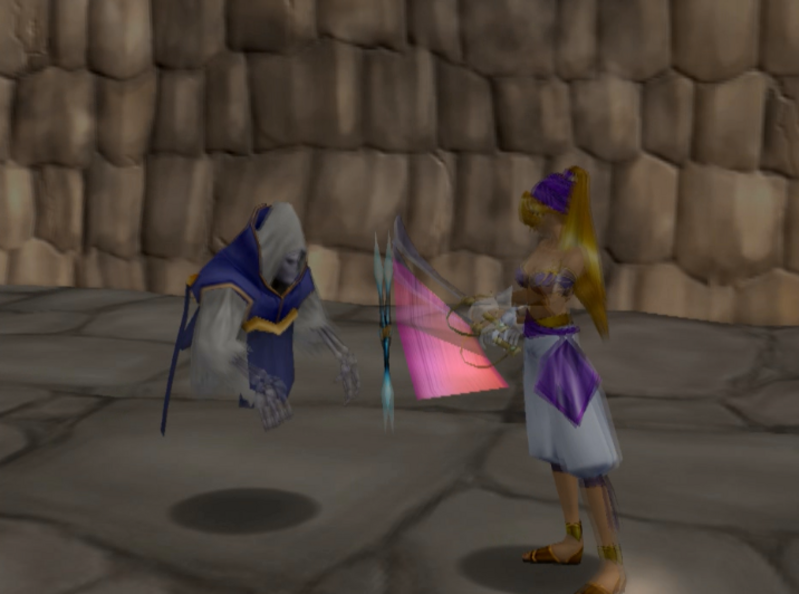
Sharon is our first new party member to actually use a weapon. Sharon has a special set of curved swords, like cutlasses and scimitars. These can be bought at shops, combined, and found like weapons for Lang.
Sharon is an obscenely fast character. From now until the end of the game, she will routinely be the first to act, both among your party members and usually even out of all actors on the field. This makes her perfect for getting rid of troublesome enemies before they can use a nasty status attack or something. At this point in the game, she’s also our hardest hitter and has the most Art Blocks of anyone present, even Kazan. With the addition of cooking and a Power Necklace, Sharon will annihilate enemies of all kinds and commonly do 10k+ damage every round.
Now I think it’s time you got a glimpse of her in action, eh?
Click here to see Sharon’s Art Exhibition and her Origin in action.
(Note I decided to record her Art exhibition elsewhere because my machine was feeling most unco-operative when I recorded the Kabel Ruins redux)
If it wasn’t already clear from the way battles have been set up thus far, you can only have 3 characters on the field at any given time. That means we have to bench someone to use Sharon. At this point, Maya’s the one lagging behind in damage output, and seeing as Arrode has all-hitting attacks that can destroy enemy formations, it’s obvious who’s getting subbed out for Sharon.
In case you’re wondering, no, it’s not possible to bench Lang.
Anyway, enough about Sharon. Let’s talk Kabel Ruins 2.

Shadow Skulls are just pallet swaps, but Vurans are new. It can cause poison, and it likes to block a lot.
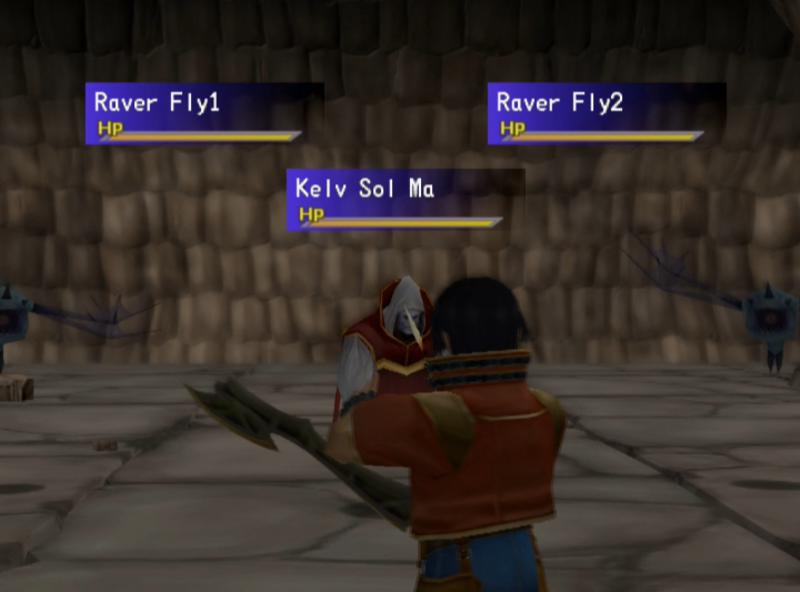
Kelv Sol Ma’s are a bit like the Baki in that there are variations on them. Kelv Sol Ma come with different coloured robes which indicate different elemental types; red for fire, blue for water, and purple for thunder.
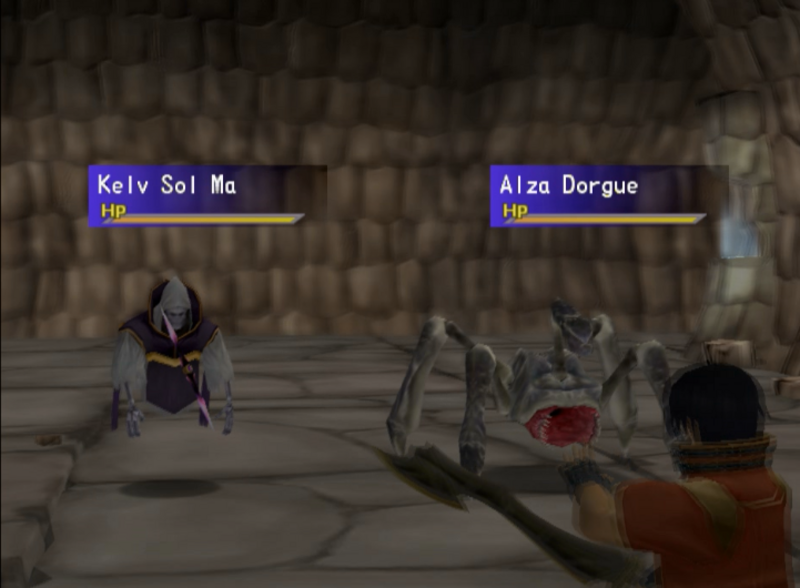
Kelv Sol Ma’s have a range of all-hitting attacks, some of which cause nasty status effects. One causes “Confusion”, which prevents you from knowing what attacks you’re making (all the directional attacks are marked “?” and the input is randomized). Another induces “Seal”, which prevents the use of MP moves like Origins.
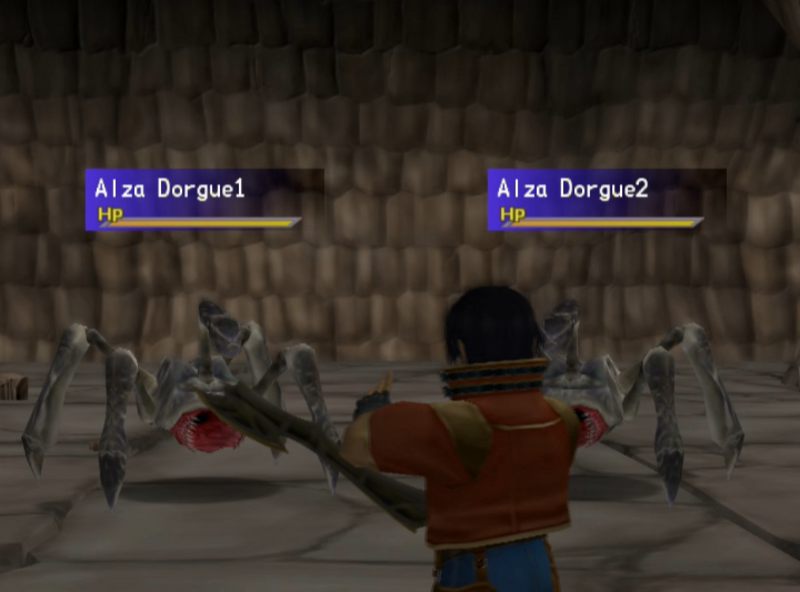
Alza Dorgue can put you to sleep, but otherwise they’re nothing special.
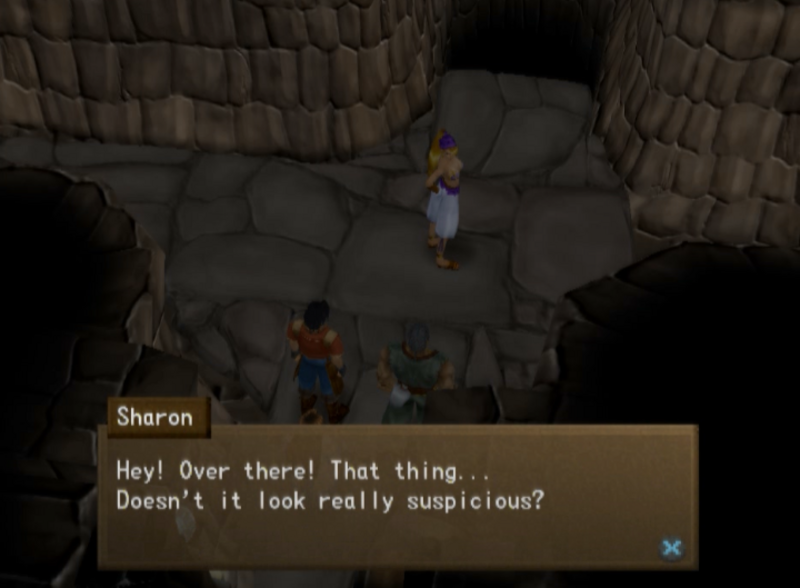
Seeing as we already cleared Kabel Ruins before, this should be a simple waltz to the exit, right?
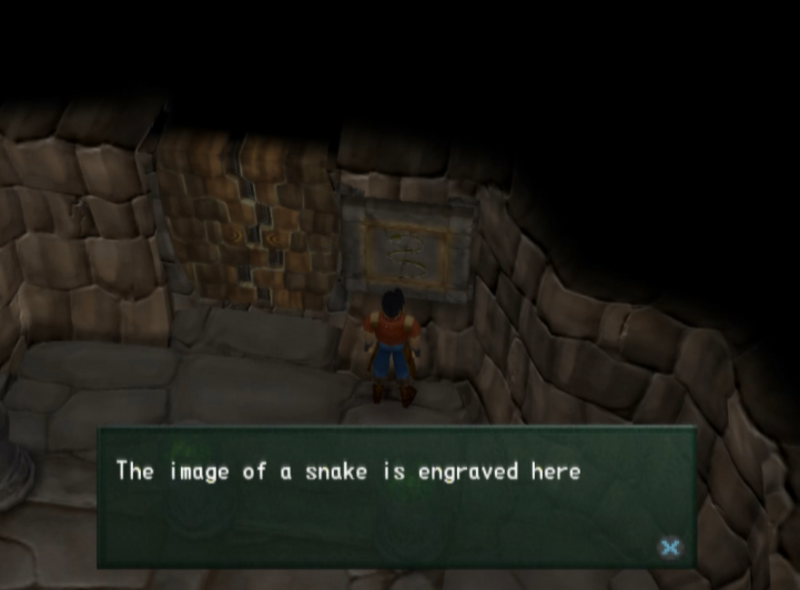
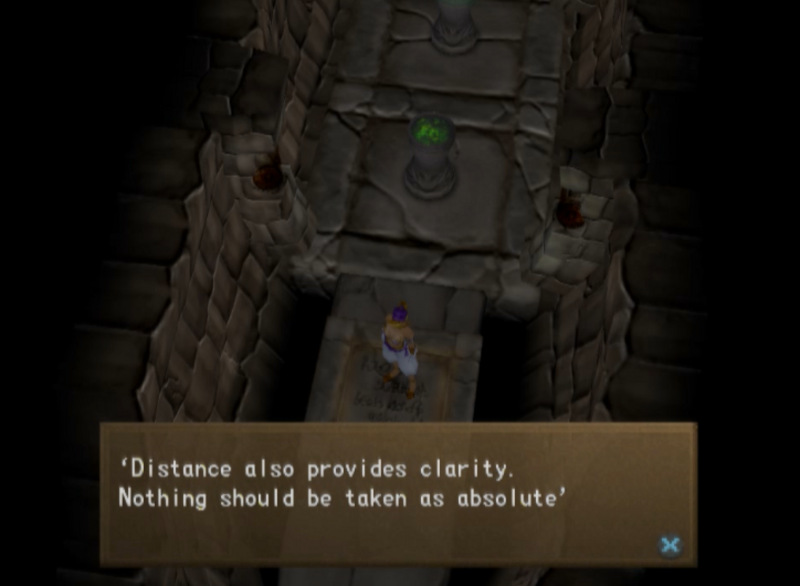
Wrong. All the puzzles that barred your path last time have reset and require new methods to solve them. New Explorer’s Notes have also spawned in certain places to help. In this room, where we needed to spell “SNAKE” on the pedestals, we now have to light every pedestal that doesn’t comprise “SNAKE”.
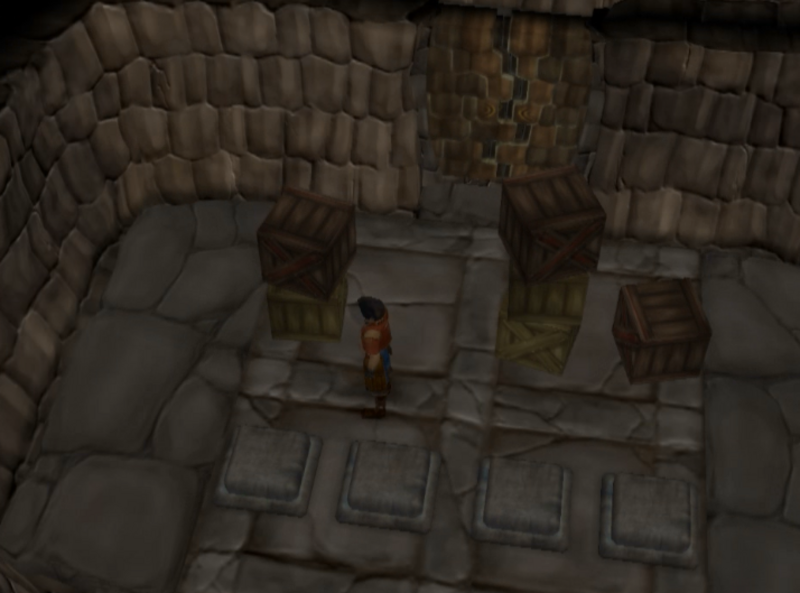
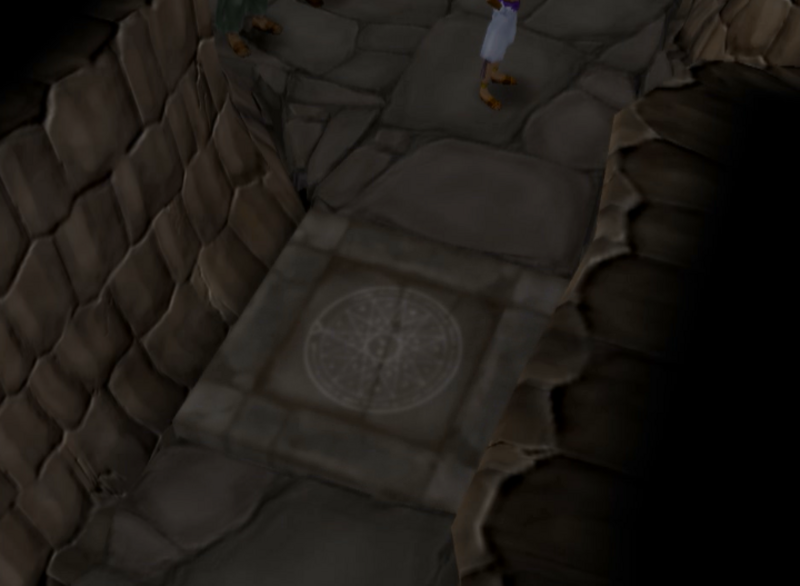
The puzzle to acquire the Explorer’s Note requires us to step on the pressure plates in the order denoted by the boxes.
We could have used this elevator the first time around, but without Sharon’s Arrode, we couldn’t proceed. Now it’s the only way, as an arbitrary wall blocks the route we used last time.
This puzzle called on us to light the closest pedestals last time. This is just that in reverse.
We stop at the camp site outside where we fought Slogar last time.
 “Hmm, I wonder. But no matter what he’s like, we’ve gotta be prepared.” “That’s right! We’ve GOT to get a Kravian Pass!”
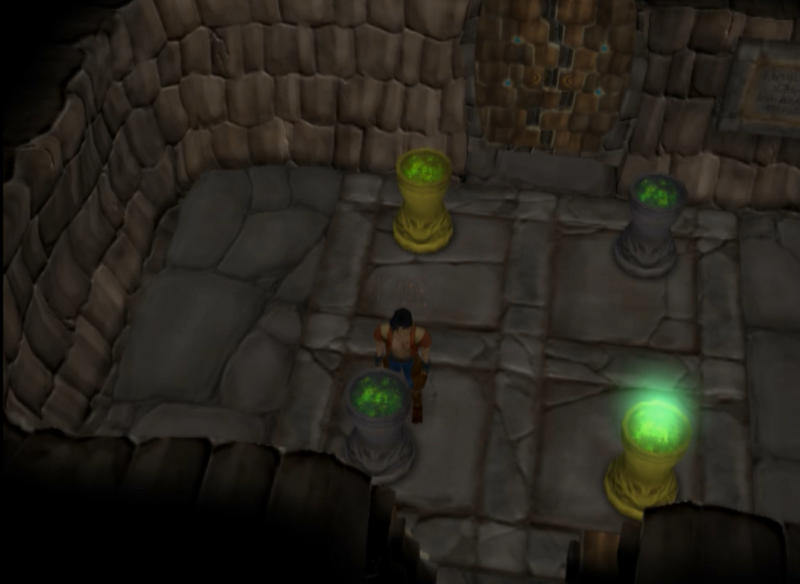
This is one of those puzzles where you change one thing, and the two next to it change status. I’m not sure if there’s a word for it, but it’s a common one in games with puzzles. All we have to do is mess around with it until all the pedestals are lit up.
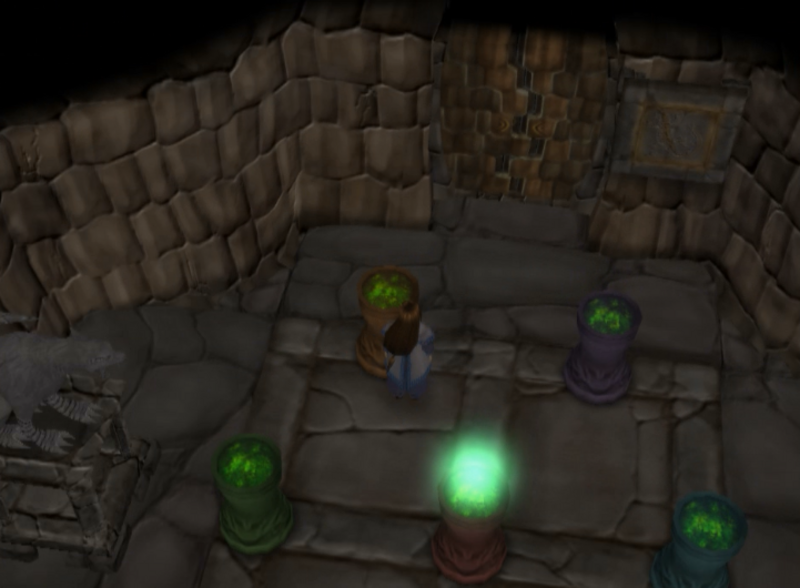
The colour puzzle just calls on us to do ROY G BIV this time around.
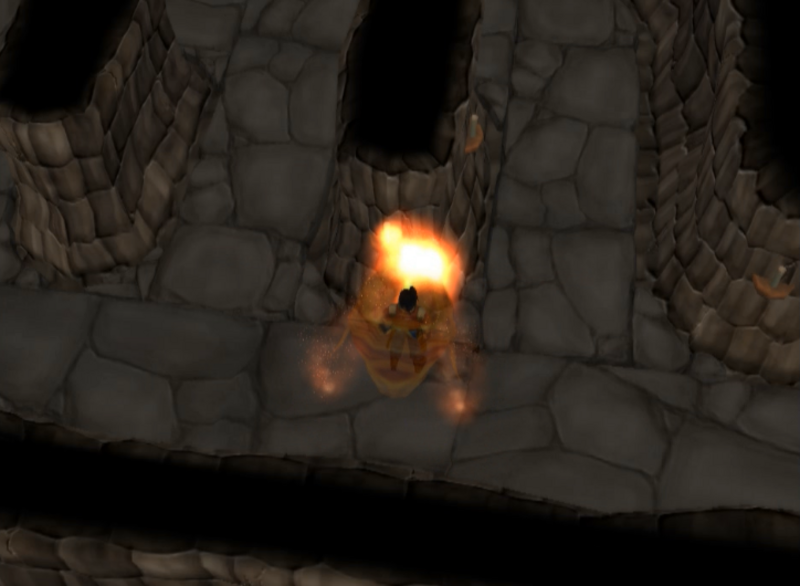
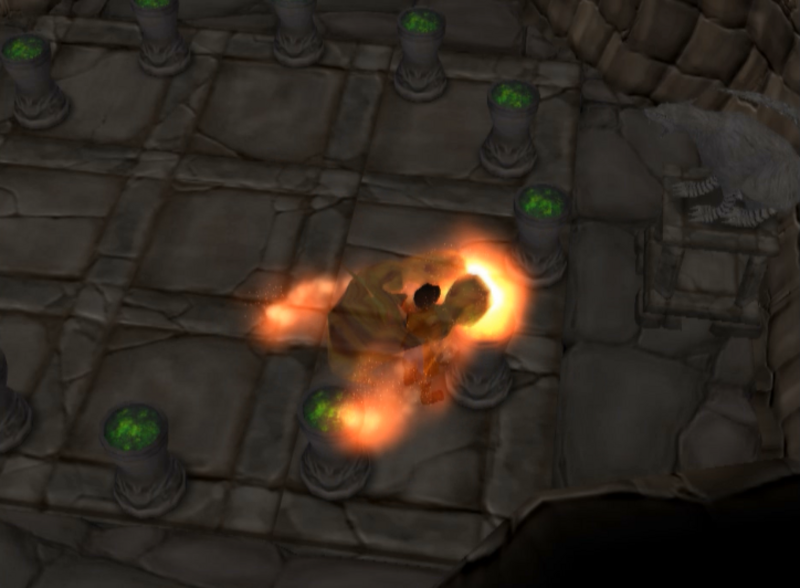
If we light these candles with Galea…
These guys pop out. A lack of a visible health bar is usually reserved for bosses and such, but these enemies aren’t too hard to beat.
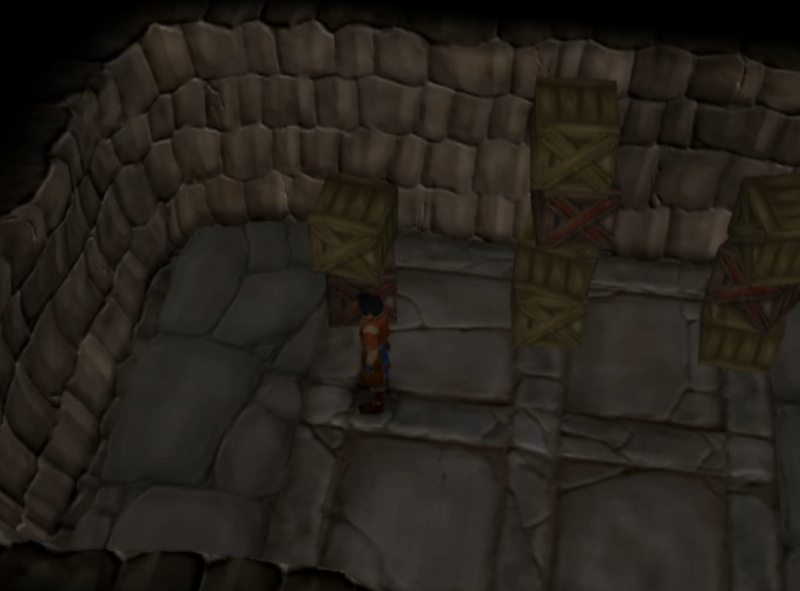
The trick here is to have only the special looking boxes touch the floor.
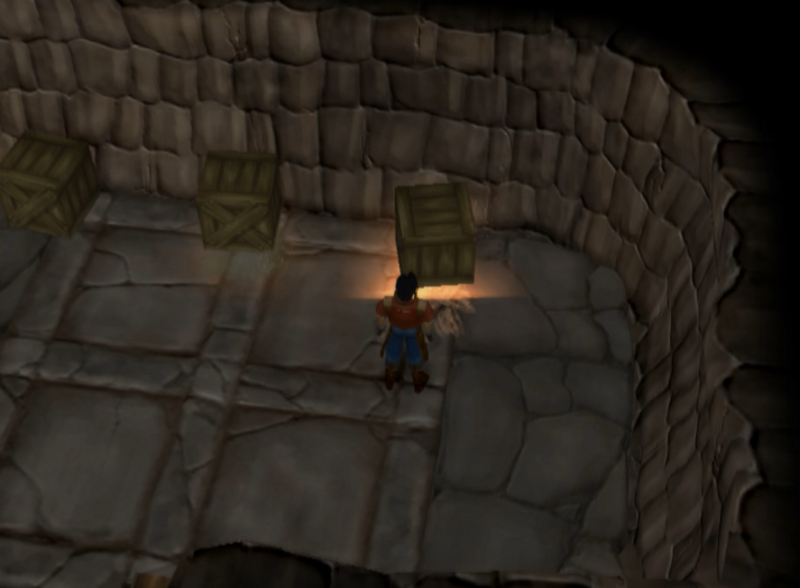
They all explode, revealing a chest with another Explorer’s Notes.
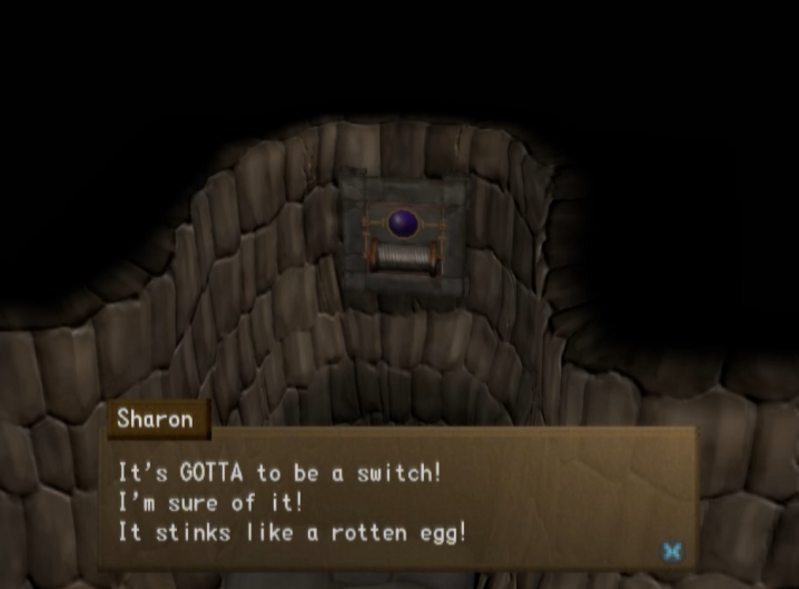
This puzzle calls on us not to simply light a set bunch of pedestals, but to light and extinguish them in a set pattern. Maybe I’m too stupid or something, but I couldn’t figure out how to glean the solution from the Note on this puzzle.
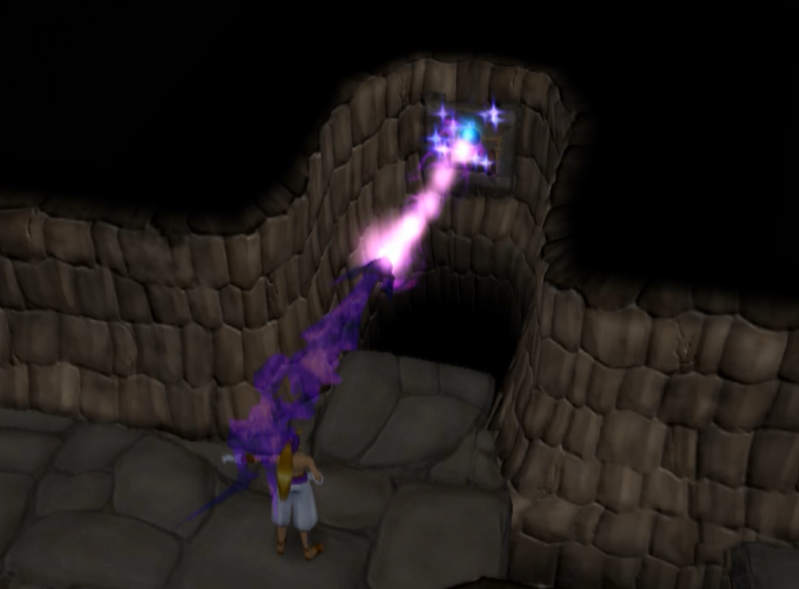
This area initially appears to be a dead end, but using Galea on the wall reveals an Arrode switch needed to get to the exit.
There’s a few important items that I didn’t actually grab while I was first here. These include the “Book of Fear” for Sharon, teaching her the Hyper Art “Fearful Arc”. You can also grab the “Spell of Earth” to teach Maya “Dust to Dust”. There’s also a “Prison Key” that opens a room in Doplin Castle. This is the subject of a small side quest, and I’ll detail it later.
We exit the Kabel Ruins and once again enter Doplin Castle.
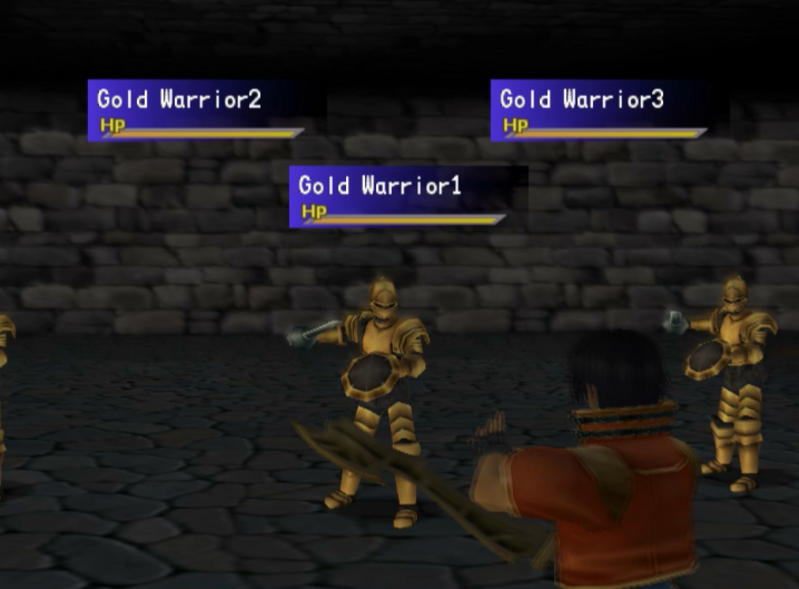
Every encounter here involves a set of the various knight flunkies we’ve seen thus far. These ones we actually haven’t seen before, but the others are what you’d expect.
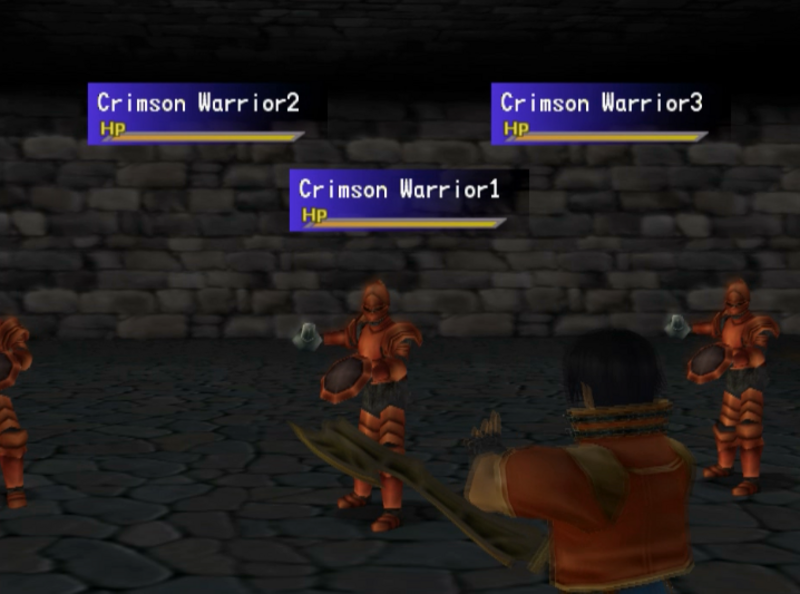
These are Raynof’s flunkies. Interestingly, they’re called “Crimson Warriors” despite explicitly calling themselves “The Red Knights” in Raynof’s cut scenes.
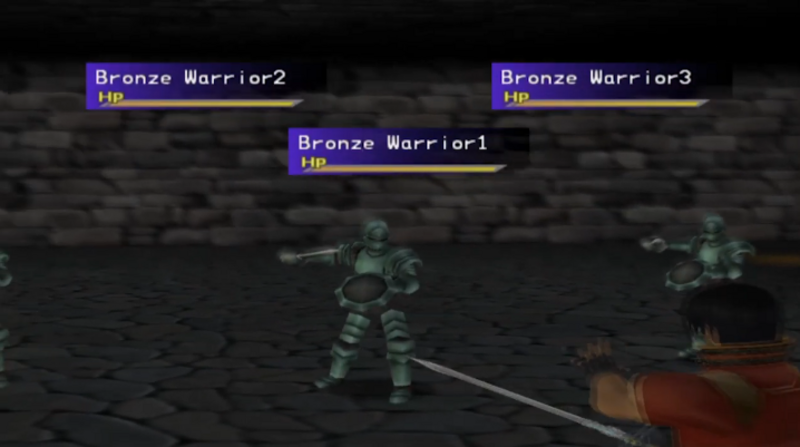
And these are the MIGHTY Balken’s subordinates, who stood around while he fought us. Note the image here is taken from someone else’s game, because I found it ridiculously hard to trigger an encounter with these guys. I didn’t see them the first time I went through, and I tried for way too long to get an encounter later.
If you’re confused about their “Bronze” nature, I believe the idea is their armour has developed a patina. The fact that they’re “bronze” warriors makes the Doplin Knight scheme weird. You’re got bronze and gold knights, but no silver ones. The middle ones are “crimson”.
We can leave the castle just like before. This lets us rest, cook and prepare.
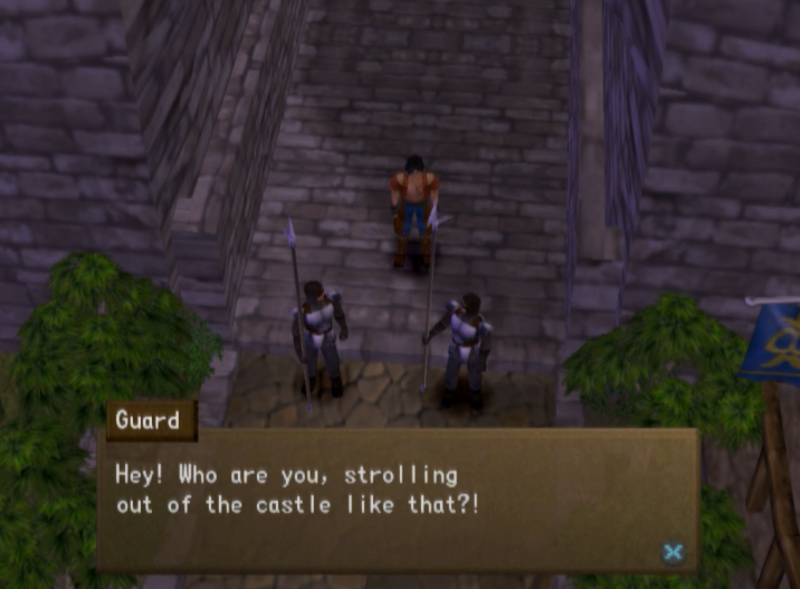
To find the new bishop, we have to head through this door, which was locked all the other times we were here.
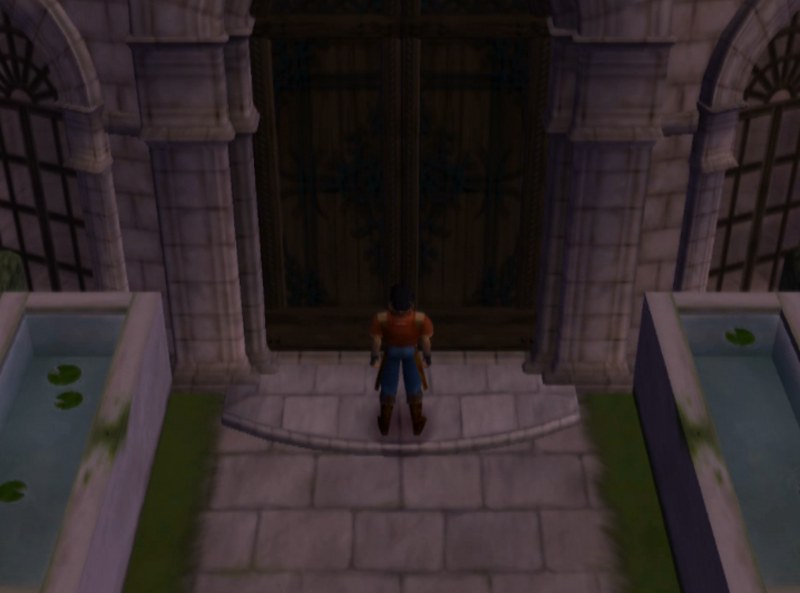
Out here, we can already hear the sound of the next theme playing, albeit softly.
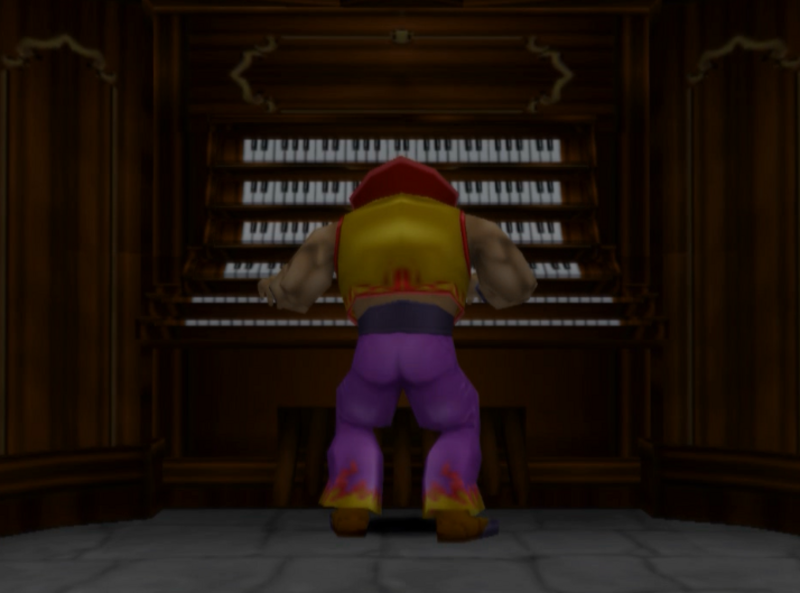
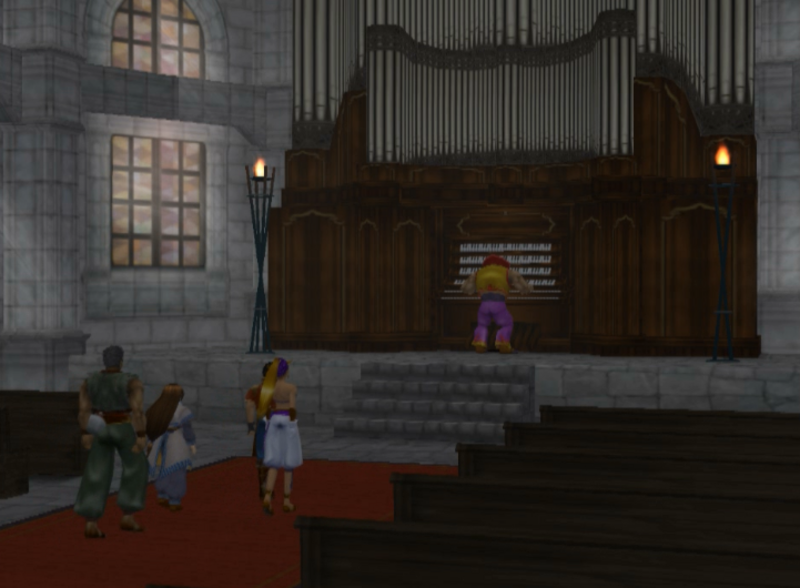
Now Playing – Boss’ Pipe Organ

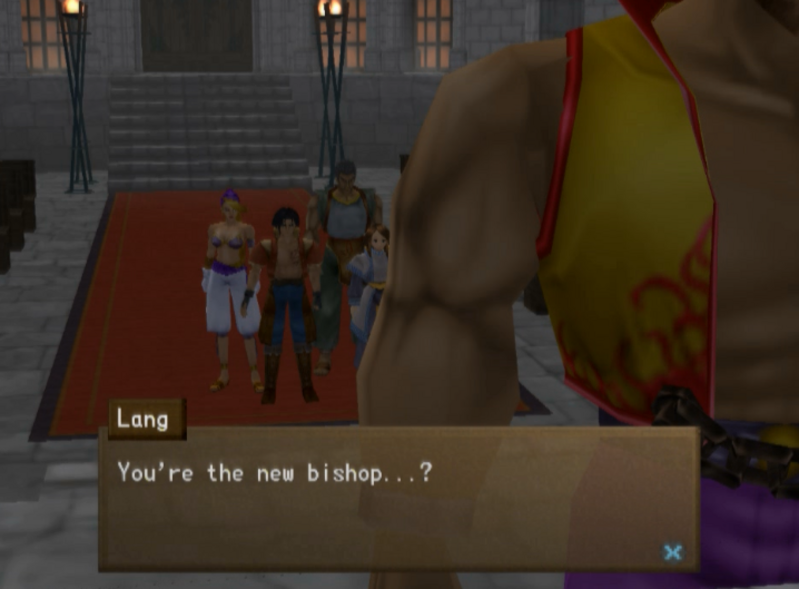
 “What? What kind of way to speak to a bishop is that…?!”
Now Playing – Holy Banderas Requiem
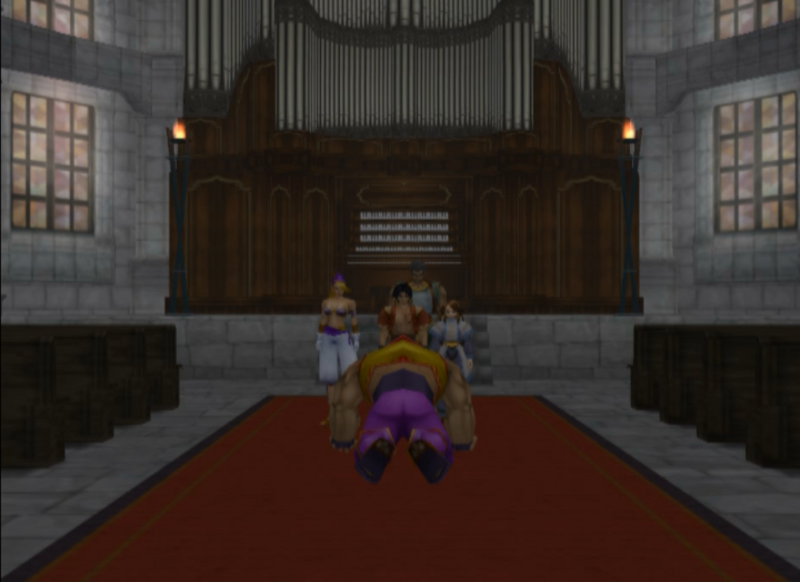
He turns around.
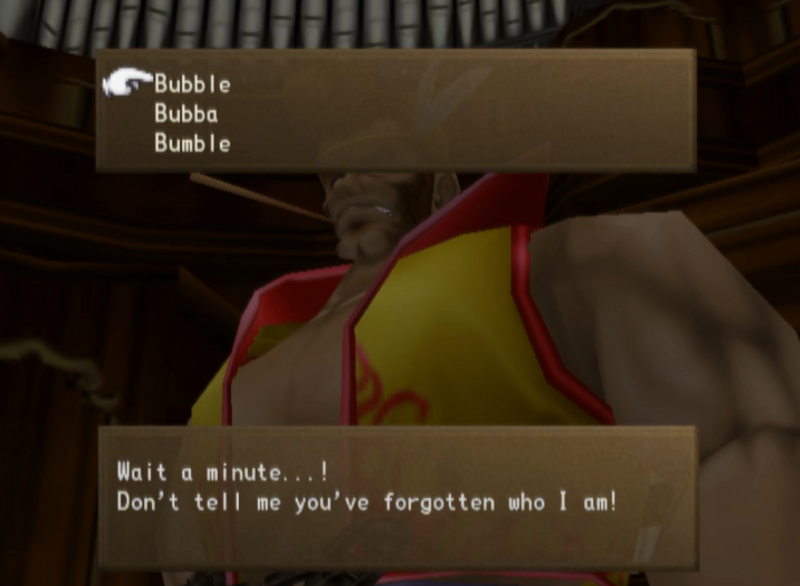
I can’t tell if the game is making a jab at itself, given how easy it would be to forget who he is by this point.
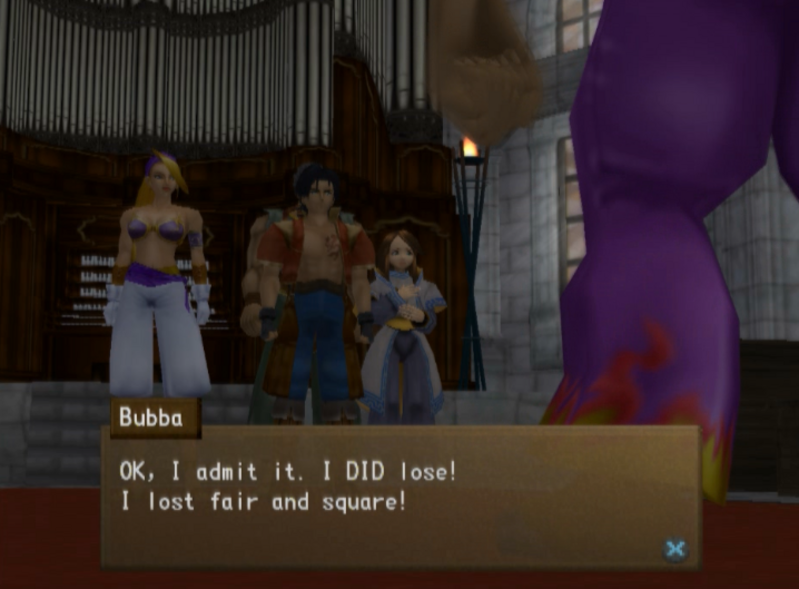
It’s Bubba, of course. Giving the wrong answer just makes him mad in different ways.

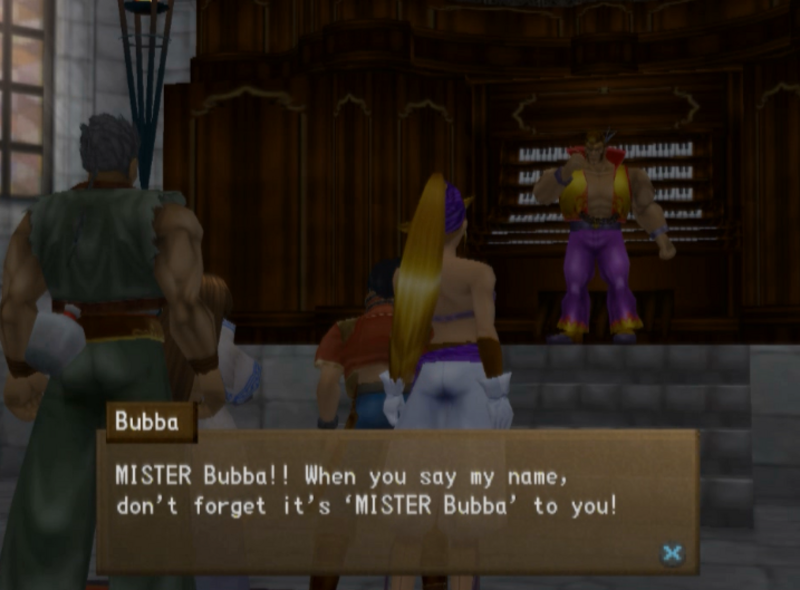
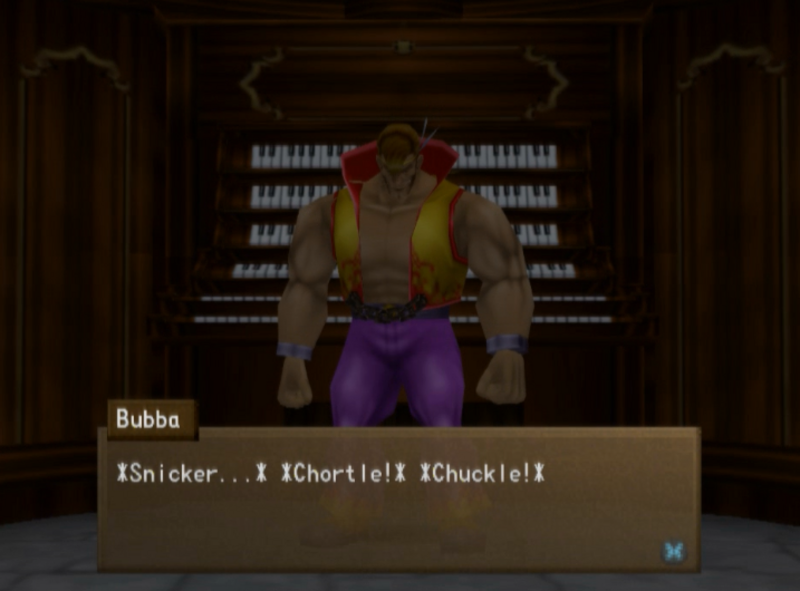
 “When Doplin told me to look after the castle while he was gone, I was mad at him at first. But now I’d glad he did!” (*Snicker!* That Doplin said if we kept the checkpoint closed, these guys would show up here…And by golly, he was right!)
 “Doplin…?”
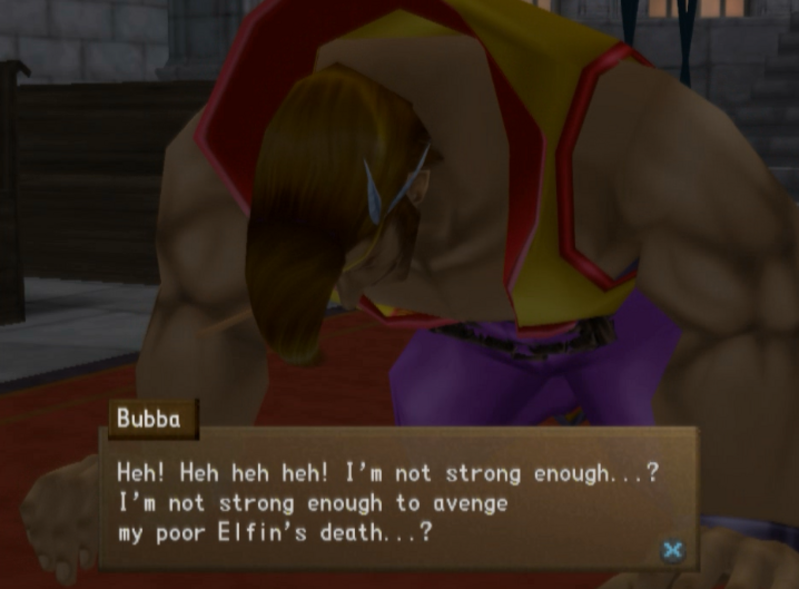
 “I don’t believe it…Don’t tell us you sealed off the checkpoint just so you could catch us…?!” ”…cause that actually makes perfect sense, seeing as I’m the ONLY threat to your master’s plans right now.” “No, no! Not ‘catch you’, exactly. More like ‘give you a good beating!’ I’m gonna avenge Elfin’s death!!”
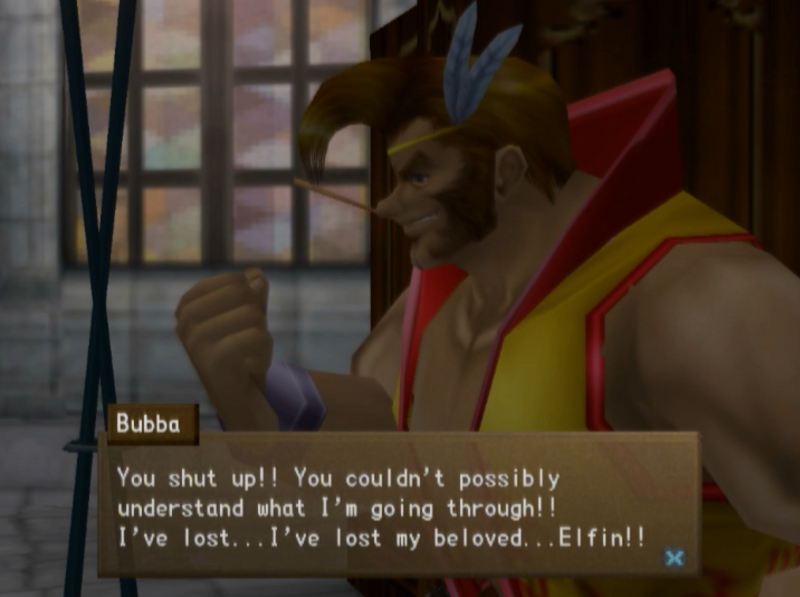 “Elfin…? Oh, yeah! That monster I defeated in the canyon.” “Elfin wasn’t a monster!! You killed…You killed my true love…! Aw, damn you to hell!!”
Cue boss fight.
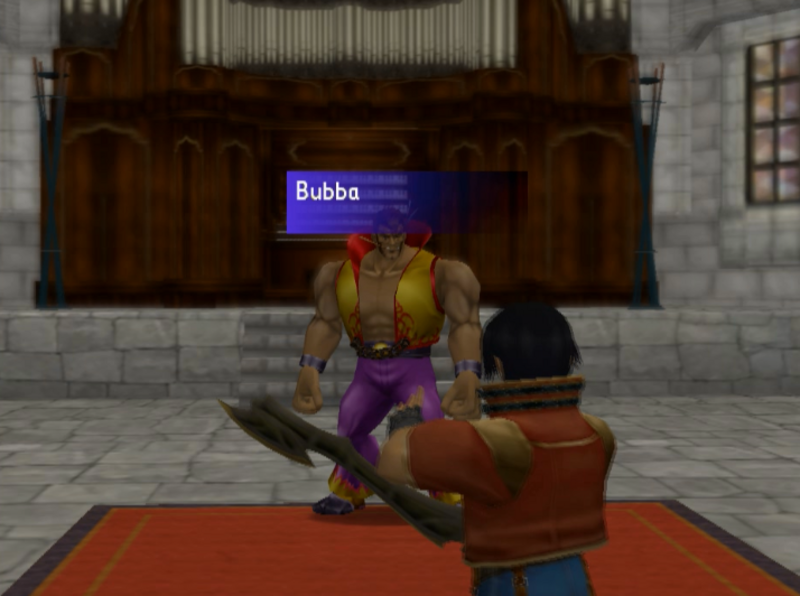
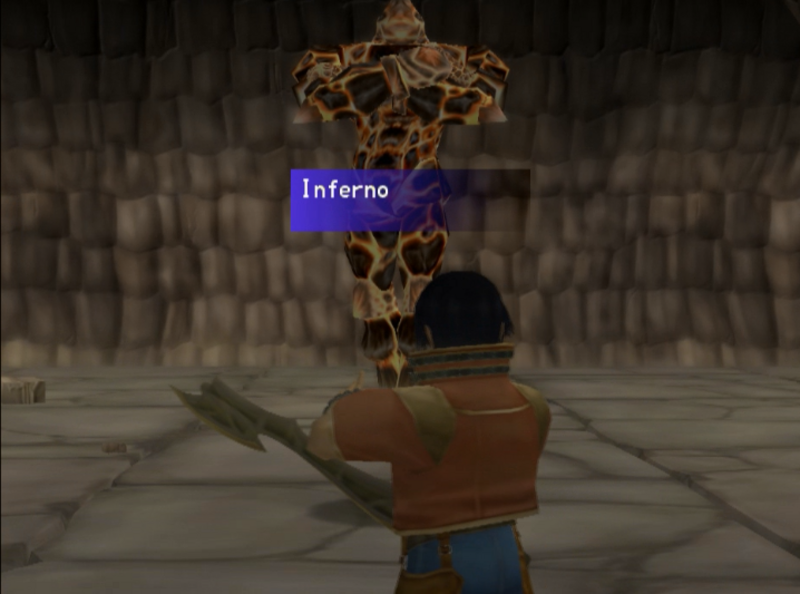
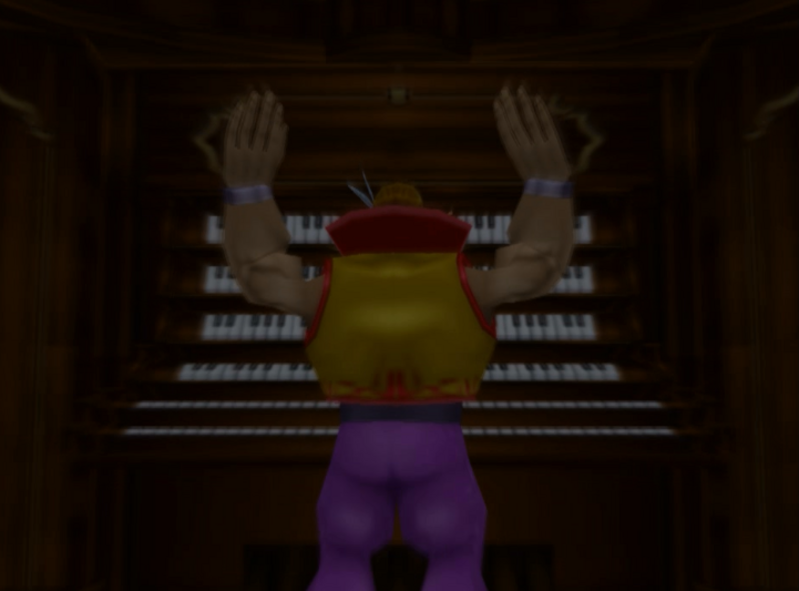
Bubba is meant to be a pretty tough boss. While he can only attack one character at a time, his attacks are all capable of destroying you in one go. One of his attacks will even cause the “Bewitch” status, that causes the character afflicted to attack allies.
…we destroy him in two rounds. He doesn’t even get a proper attack off.
Variable Arts do a pretty large amount of damage regularly, but couple that with the Power Necklaces as well as a good cooking recipe (either Kazan Curry or Heavenly Beef), and you become a wrecking ball that can easily overcome bosses for some time to come.
On the first round, after our Variable Art, we get this cut scene.
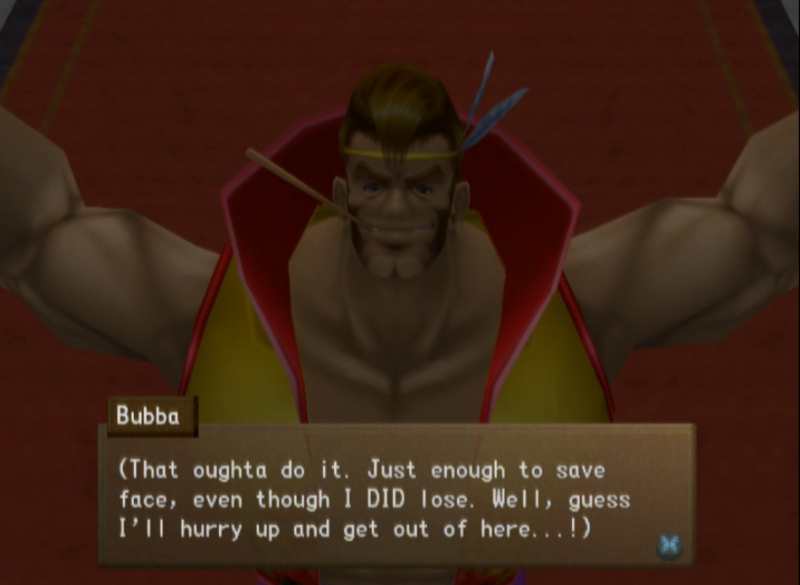
This is a “half way complete” kind of cut scene. On the first round.

He has to charge AP to use his attacks. This justifies how hard they hit, but as we’re destroying him this quickly, we never see him actually attack.
Click below to watch the trivial nothing that is the Bubba Boss Fight.
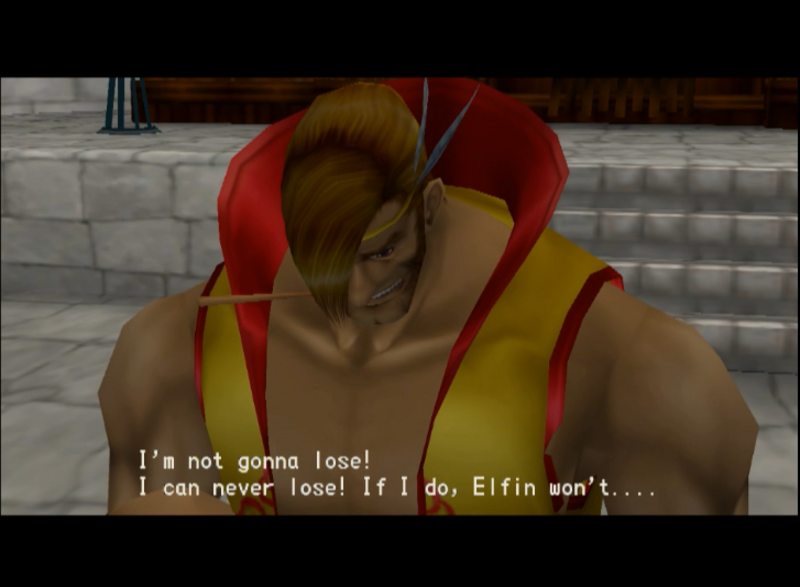
 “Elfin…!! *Sob!!* Damn it…! Damn it all…!!”
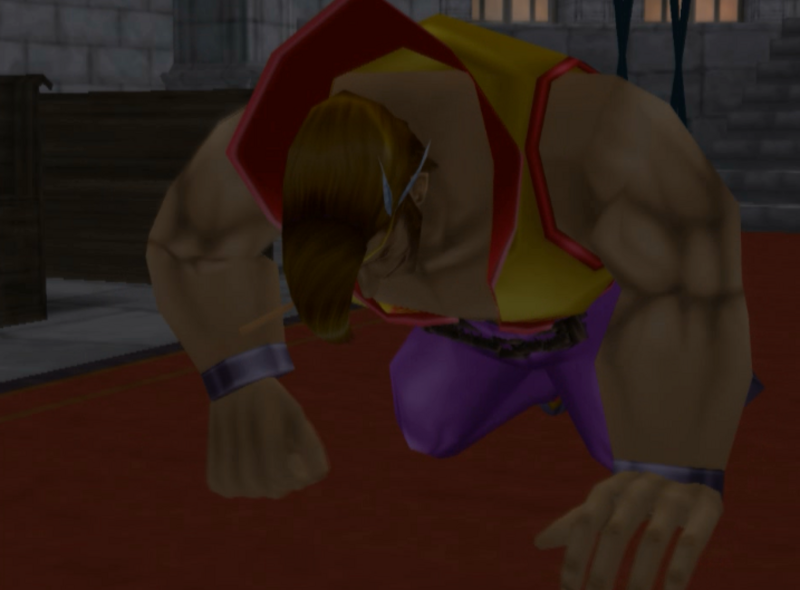
Bubba punches the ground repeatedly.
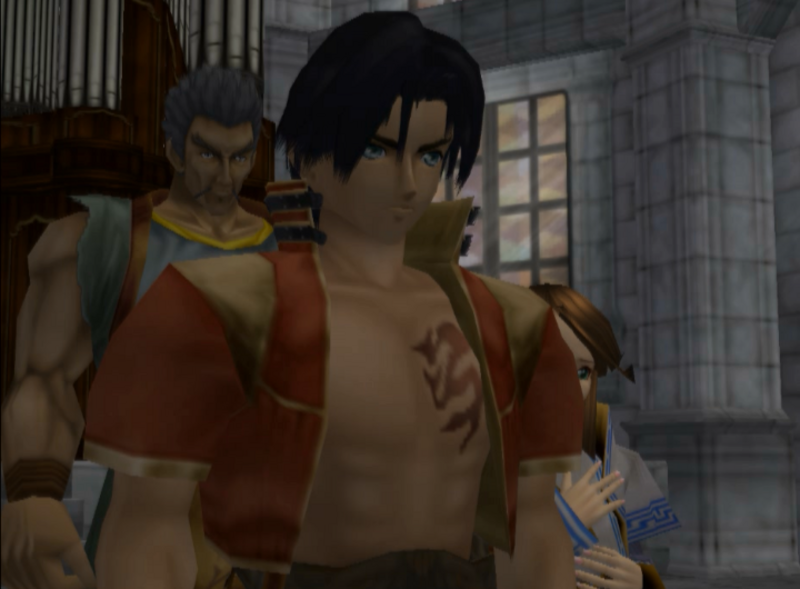
It’s a bit hard to see, but Maya puts on her concerned face.
 “He’s gone…Gone to that place beyond the twinkling stars in the sky…Gone to be with Elfin…”
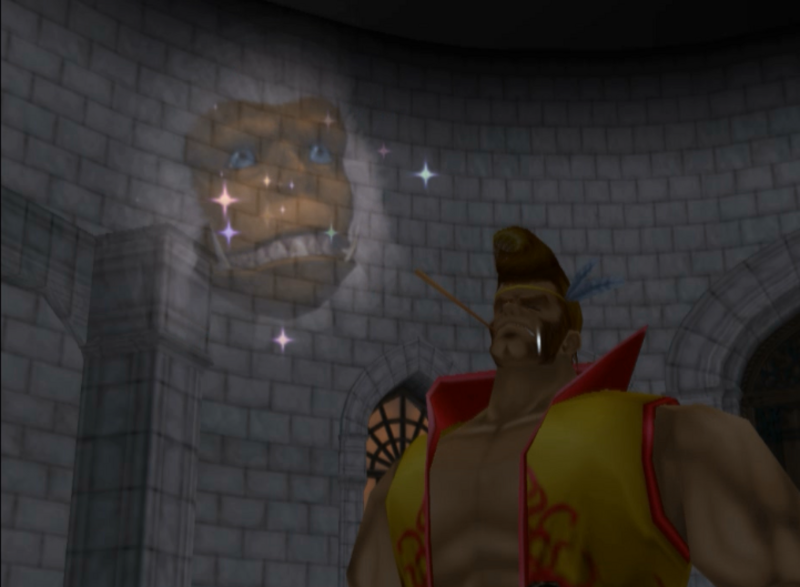
That’s Bubba shedding a single tear in Elfin’s memory, if it wasn’t clear.
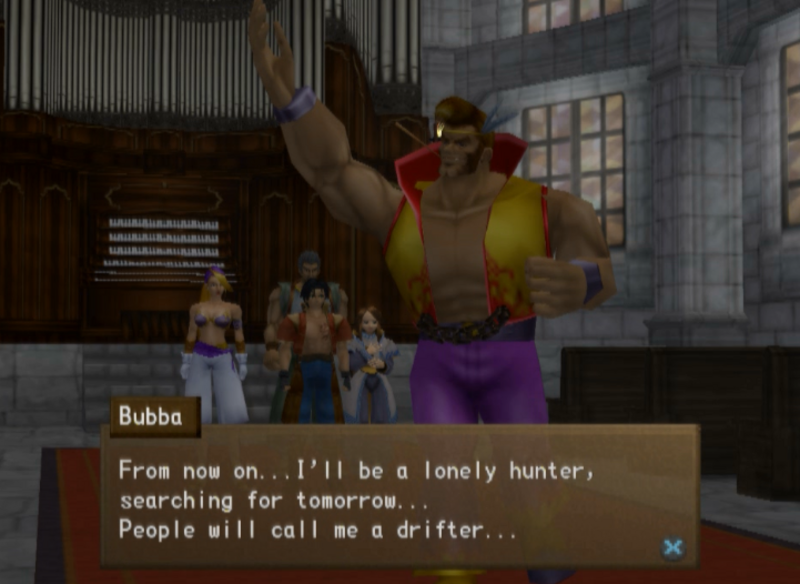 “Dreaming of an unknown tomorrow…Traversing a wilderness of blood and pain…”
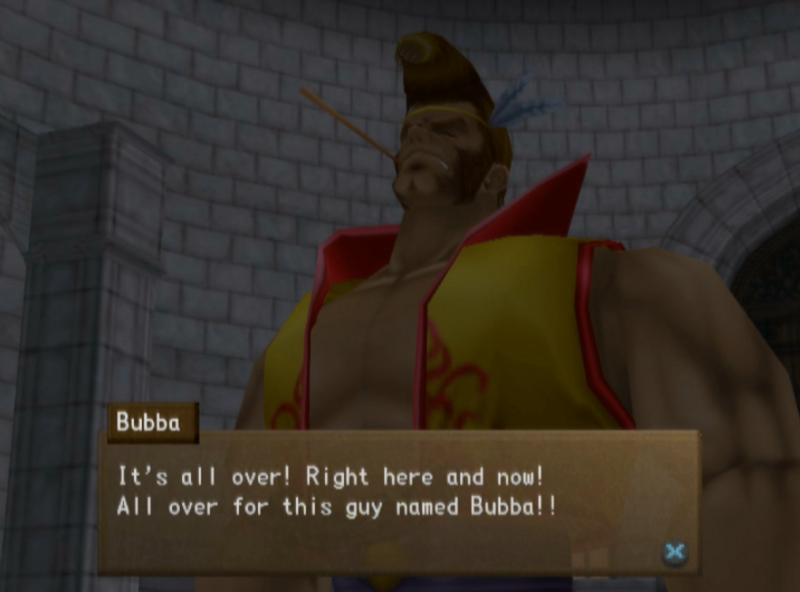
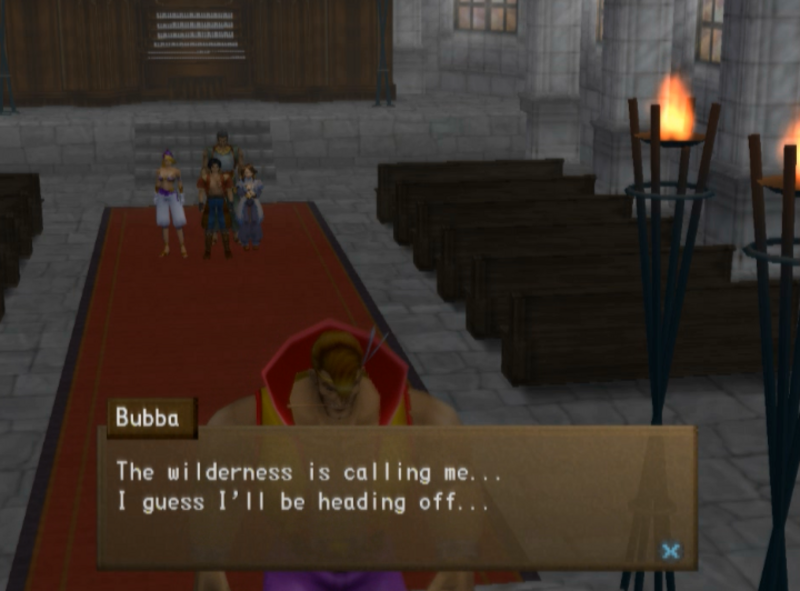 “I guess Doplin headed south, looking for something called a ‘sacred stone’.” “Bubba….What made you decide to tell us…?” “I, I dunno….It was just a whim, I guess…Instead of Doplin…I’d rather YOU guys…Nah….Never mind…” “….And here’s a little present from me. If you want to get through the checkpoint, take this.”
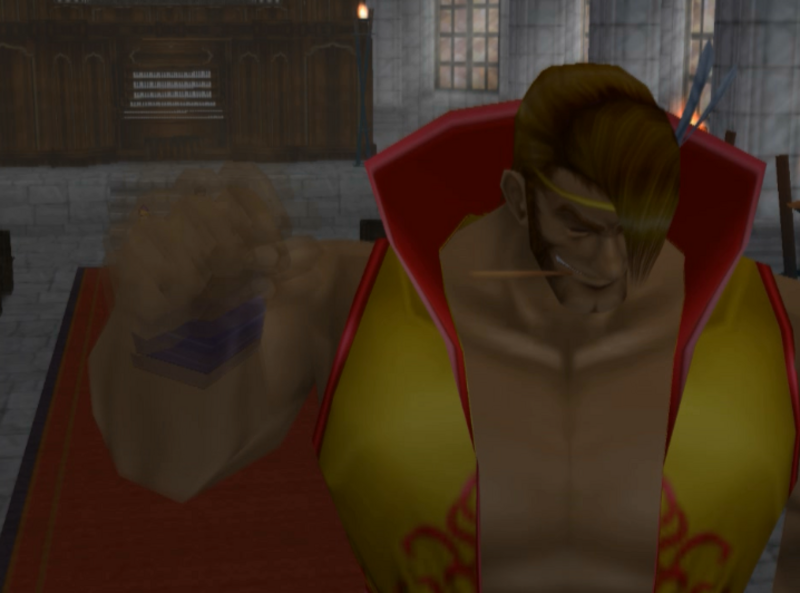
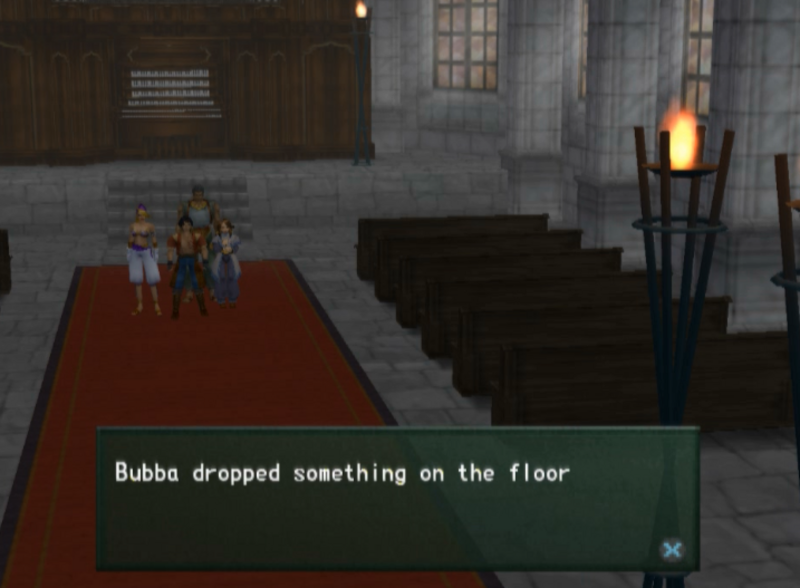

We get the Kravian Pass. Now we can leave and pass through Kravia.
”Wait a minute, guys, guys!” ”What is it?” ”We didn’t even fight a big bulky knight!” ”….did we need to?” ”It happened every time I came to this castle!” ”Lang, let’s just go…” ”I have such a bad case of blue balls right now…”
In case you’re wondering, we’ll be seeing the third son of the Mesai Clan eventually. Just not in Doplin Castle.
I will be leaving things on this note.
Join me next time, where we pass through Kravia and the game opens up a lot more.