Part 10: Wherein the Royal Vestments are Recovered
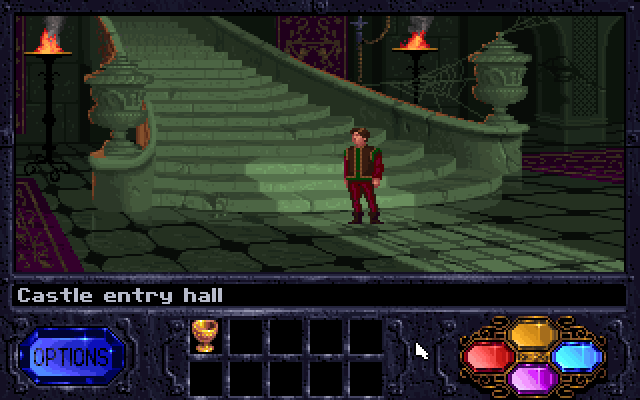
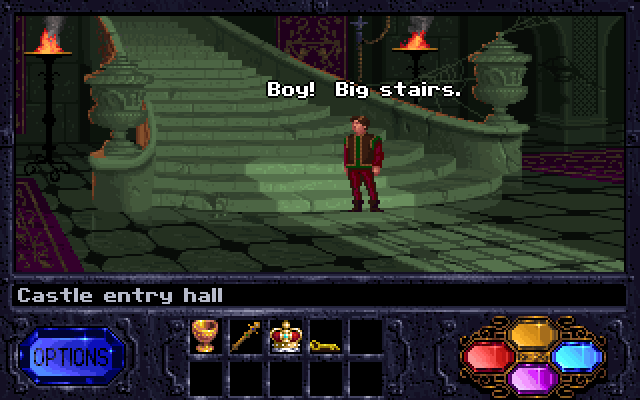
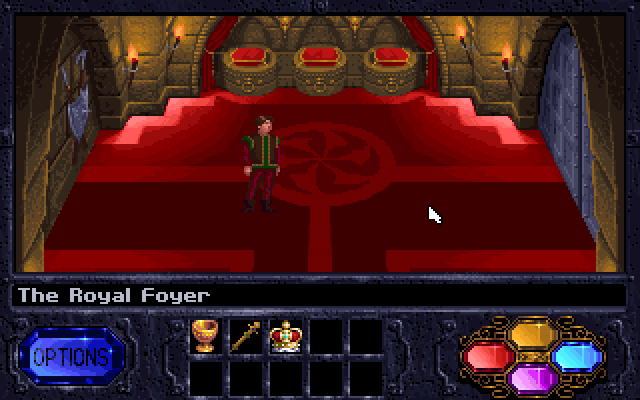
Last time, we finally made it all the way to Castle Kyrandia, and had a brief encounter with Malcolm the Jester in the entrance hall. The Kyragem is close.
The background music in Castle Kyrandia is a little unusual. There are actually two themes: one that's rather quiet and ambient and plays when you first enter or load a game. Once it has finished once, there's a second, more melodic theme that starts up and loops forever. I rather prefer the second one, myself.
Music: Castle Kyrandia A (Tindeck)
Music: Castle Kyrandia B (Tindeck)
Those stairs look mighty tempting, but let's start by exploring the ground floor of the castle.
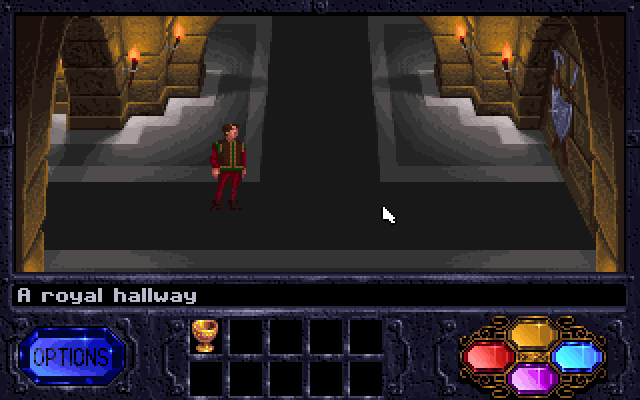
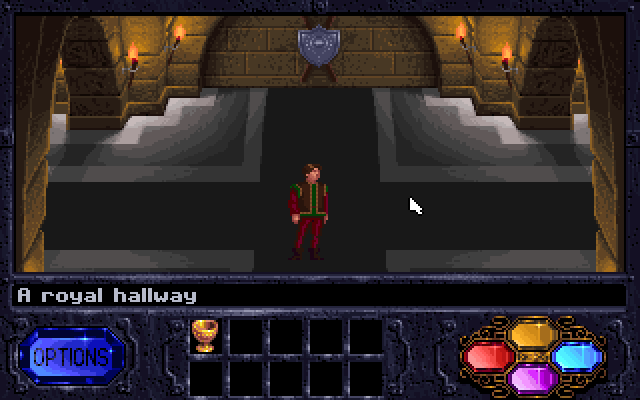
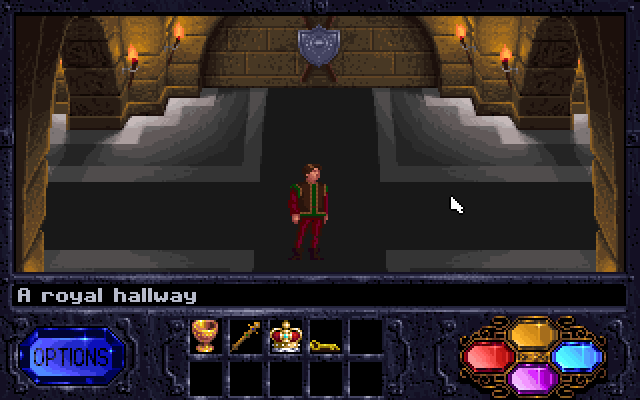
A lot of the castle consists of relatively featureless corridors like these. Fortunately, there aren't nearly as many empty corridors as there are empty forest locations in the rest of the game, and they're laid out fairly logically. The castle has an east and a west wing, each with two floors and with a few rooms on each side.
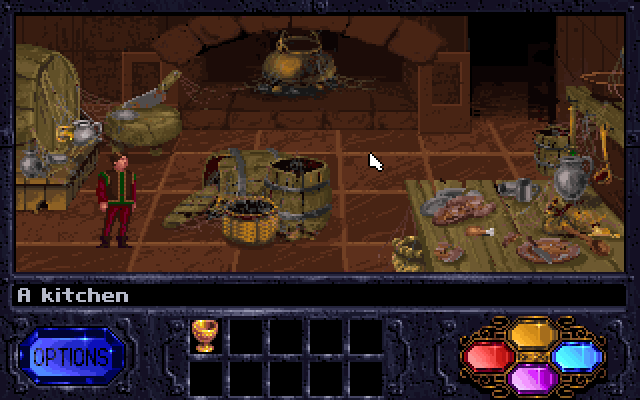
In the corner of the bottom floor of the east wing is the kitchen. It's pretty gross. Malcolm has been hanging out in the castle all alone for the last two decades and his hygienic standards leave a lot to be desired. We can examine a bunch of stuff in here, like the barrels in the middle of the room...
 Looks like they're filled with dust.
... and the tap on the left.
I wouldn't dare drink anything from that!It looks like there's an opening in the top right corner of the room, but clicking on it does nothing. Maybe you could go there in an earlier version of the game? What we're after in here is hanging from one of the hooks on the right.
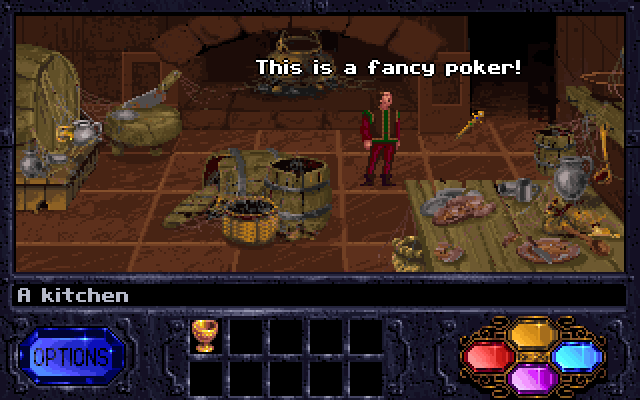
Not just any poker; it's the Royal Scepter, the second of the three Kyrandian regalia.
Obviously an item of royalty.There's nothing else in the kitchen that's of any use of us, so it's time to leave and get back to exploring.
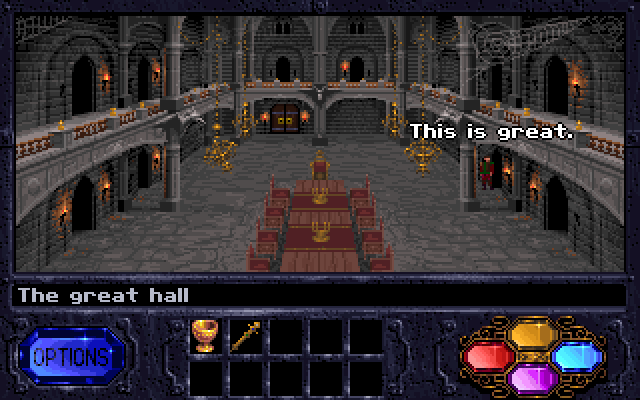
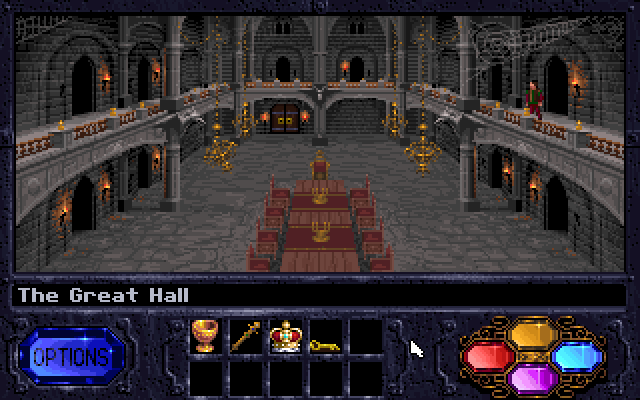
In the middle of the castle is the great hall. Brandon can't resist the temptation to break out a lame pun. Most of the little doors on this screen lead to other parts of the castle, and you can also get to this room from the top floor. The most important door is the one against the back wall of the bottom floor, with the two big golden bits on it.

Drat. We'll need to find a key or something. Wherever it is, it's not in here.
 Ugh. That makes Brandywine look good.
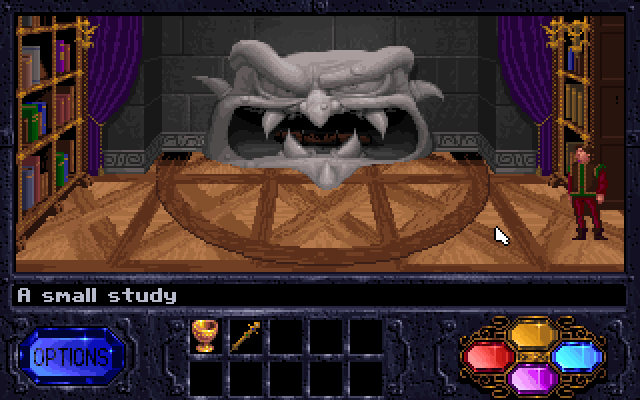
The only interesting room on the bottom floor of the west wing is this study. Most of the room is taken up by a massive and impressively ugly fireplace. The floor has a peculiar design on it, too. Of primary interest to us are the bookcases on the left and right sides of the room, however.
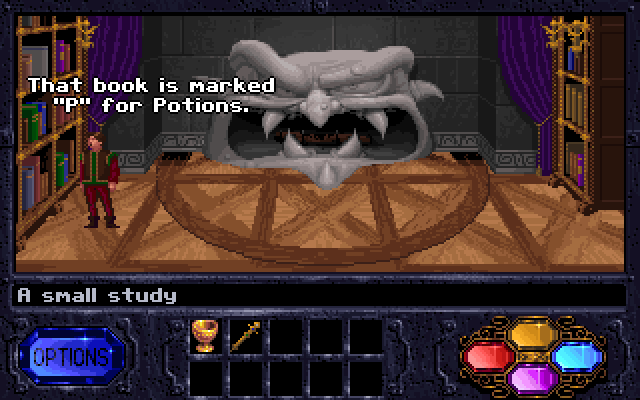
Clicking one of the bookcases makes Brandon pull out one of the books and comment on its title. There are six books in the left bookcase we can look at. In addition to "P" for Potions, there's:
That book is marked "G" for Gemlore. That book is marked "A" for Alchemy. That book is marked "M" for Magic. That book is marked "E" for Enchantment. That book is marked "N" for Nature.There are two more on the right.
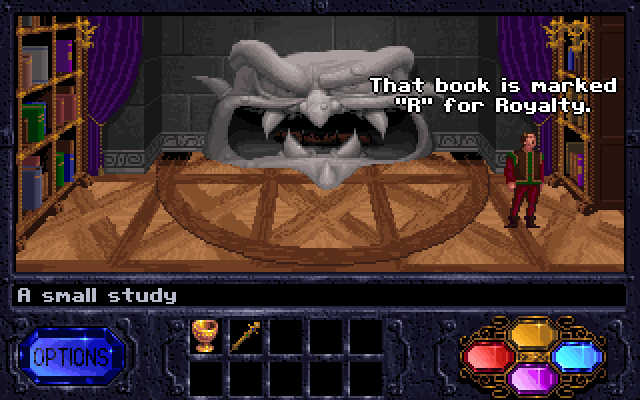 That book is marked "O" for Opals.
Interesting. There are eight books in total, labeled P, G, A, M, E, N, R and O. Clicking one of them again pushes it back into the bookcase. It almost looks like we could spell something with that. But what? There are a lot of words we can make from those letters, but one sticks out as particularly relevant. We'll leave G, A, M and R as they are, pull out the rest, and...
 PEON? NOPE!
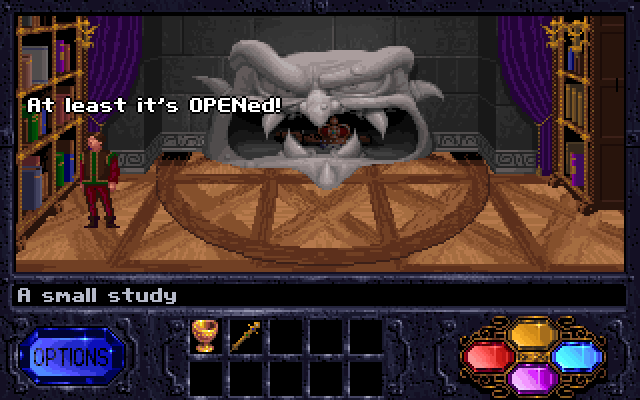
In an unusual twist, the game has presented us with a puzzle that's both logical and easy to do once you've figured it out. Spelling out "OPEN" rotates the hideous fireplace, revealing... another identical fireplace on the other side of the wall. Very useful. But what's that sitting among the ashes?
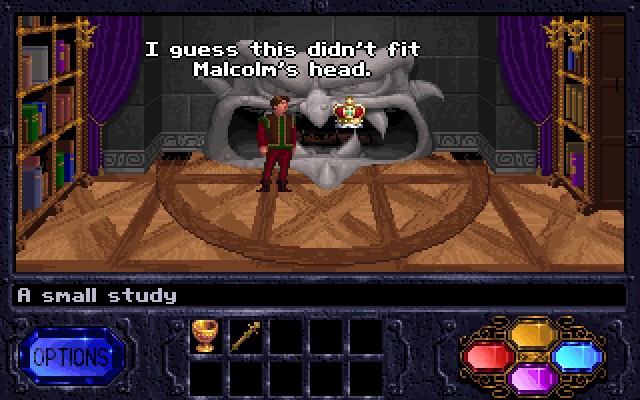
It must have been on the other side of the rotating wall. We have the full set of regalia now, although we're not really sure what we need them for yet. The door in the great hall looks promising, but we still lack the means to unlock it.
As it turns out, part of the solution to that little problem is staring us right in the face. With its own face.
Clicking the fireplace itself rotates the entire thing, depositing Brandon in a dark, dungeon-like room on the other side. You don't need to do the OPEN puzzle to do this - we could have done it right away, and if we did, we would've seen a glimpse of the crown on the other side.
Much to our dismay...
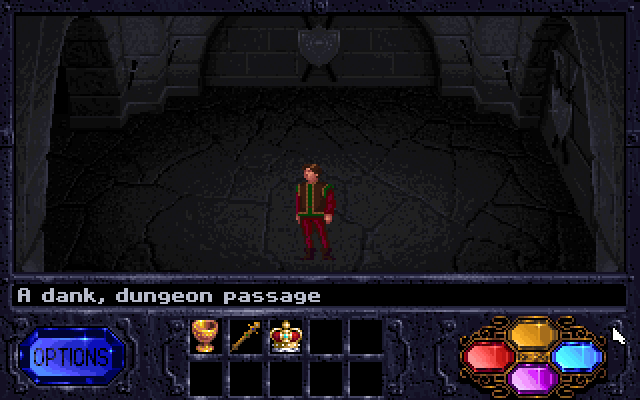
... this area is another labyrinth. Mercifully, it's not nearly as big as the one in the cave, and we don't have to bring any light sources with us. We just have to wander around randomly for a little bit until we come across something interesting.
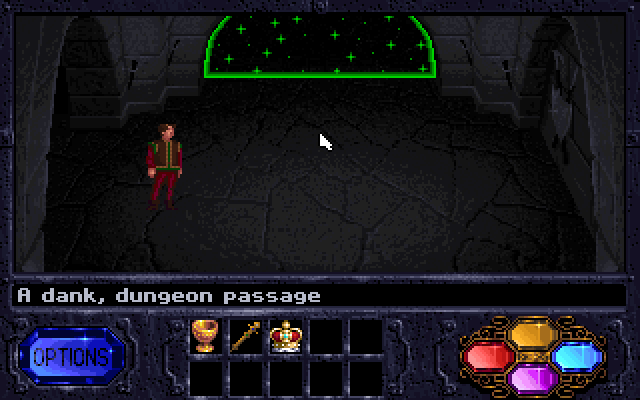
Like this, for instance.
Looks like some kind of magical force field.Indeed, the green light is preventing us from going that way, which is a sure sign that we should be going that way. How do we get rid of it?
This might work.
Good job, Brandon. The blue jewel on our amulet dispels the magic wall. Now, do remember that we were never told what this spell was actually called. Given what we used it for earlier, it's easy to mislead yourself into thinking the blue jewel is Telekinesis or something like that, rather than Dispel Magic. In other words, this is another puzzle where the solution is not really hinted at, and trial and error is necessary.

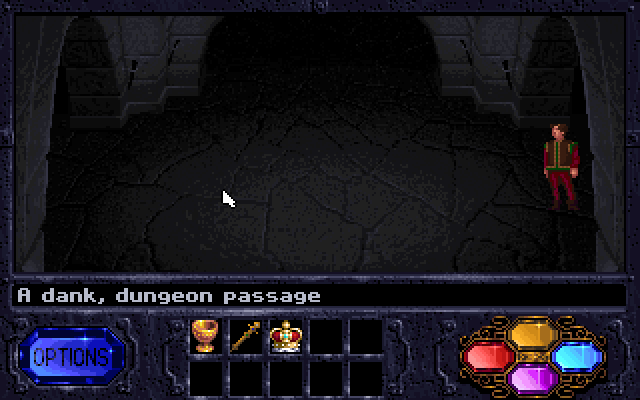
On the other side of the wall is more of the same. More dark, identical dungeon rooms. Fantastic.
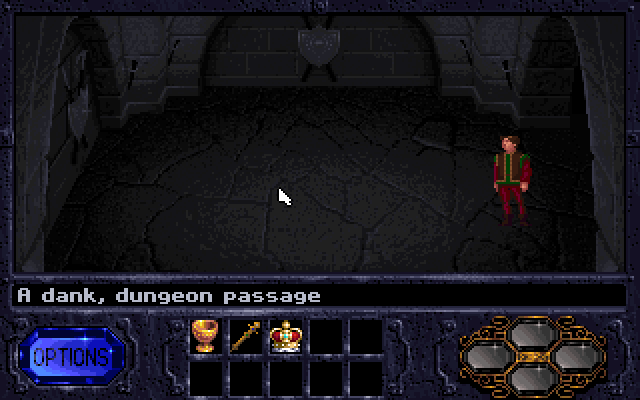
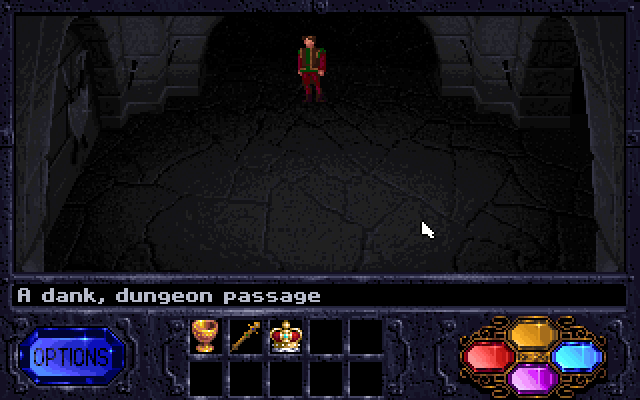
More random wandering on this side of the dungeon eventually takes us to this room. Do you see anything... different about this one?
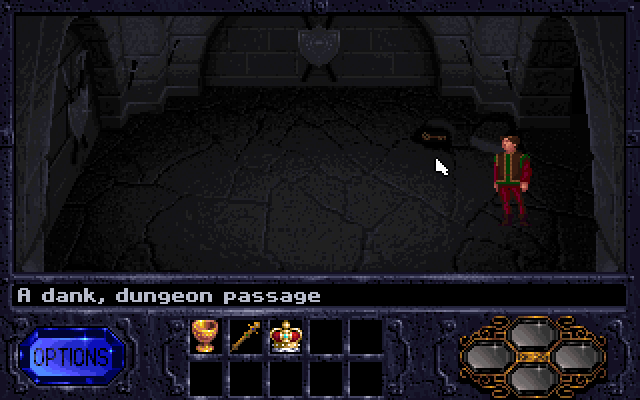
Part of the floor is slightly different, and can be moved aside, revealing a golden key!
This has to fit something. This probably isn't to the restroom!More likely, it will help us open that door in the great hall. Let's go give it a shot.
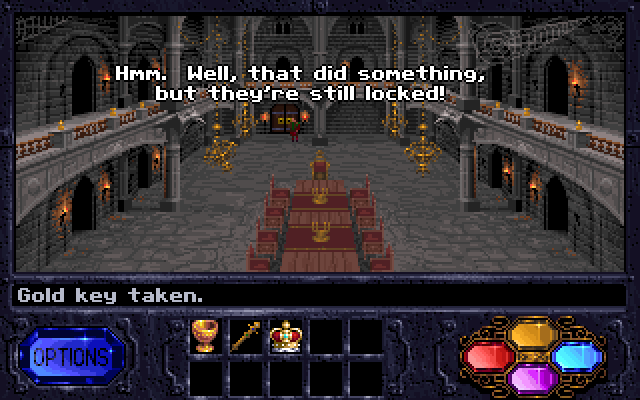
Drat. The key did something, but whatever it was, it wasn't enough. For now let's just reload our game and head on up to the top floor.
These stairs will take us right up to the balcony.

This room is actually a copy of the great hall with the balcony graphics overlaid on top. There's not much of interest here, other than the exits - we can go back down the stairs, or go east or west.
Both exits lead to more uninteresting corridors, just like on the bottom floor.
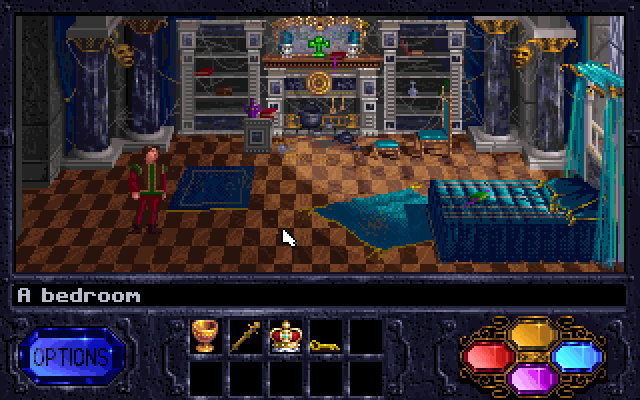 I think this must have been Zanthia's bedroom. Looks like a lot of Zanthia's useless stuff.
The top floor is mostly bedrooms. The east wing has Zanthia's bedroom in it. She was presumably kicked out of it along with everyone else eighteen years ago, so the spiders have had free reign of it for a while now. There's not much of interest here, although you can pick up the green ankh sitting on the shelf in the back.
 Could this be carved from emerald?
The item itself is useless, however, so we won't be hanging on to it.
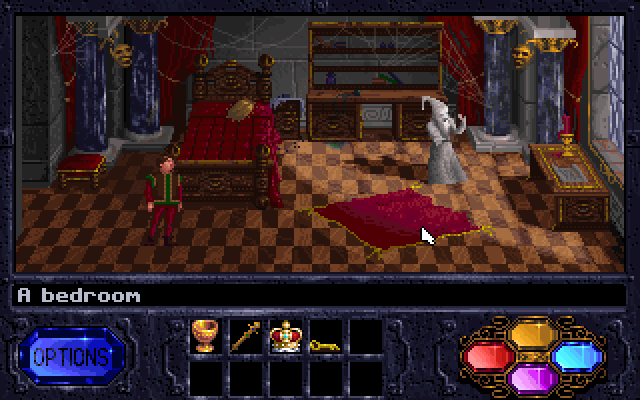
The next room over is Darm's, judging by the very lifelike statue of himself he apparently had made at some point before leaving the castle. Wait...
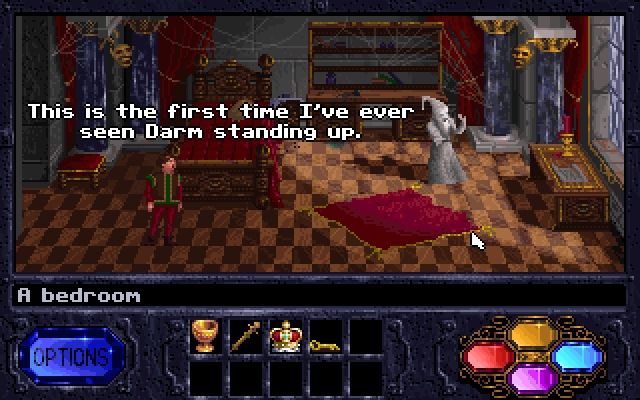 He didn't get Brandywine too, did he?
... that's actually Darm himself. Looks like Malcolm's been busy while we were running around making potions and talking to our dead mother. Alas, we can't cure Darm's present condition, and there's nothing else of any interest in this room.
Going west brings us back out to the top floor of the great hall. Those two doors in the background are just for decoration and can't be entered, but we can go west.
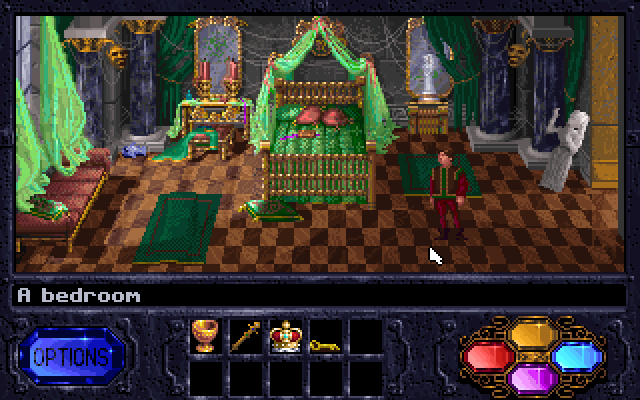 Judging by the decor, this must have been Brynn's bedroom.
The first room on the west side of the top floor is another bedroom, with another lifelike statue in it.
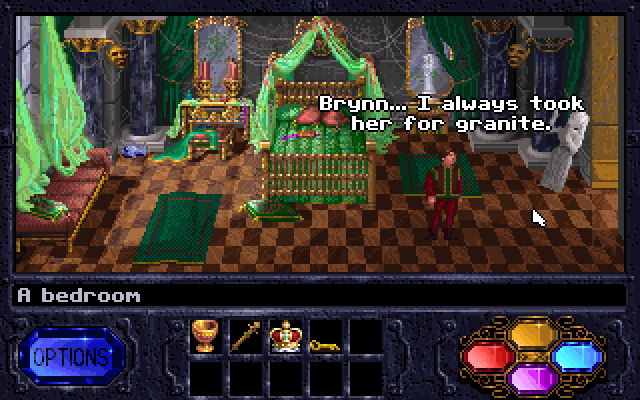
More rock-based puns from Brandon. There's an unusual item in the corner of the room.
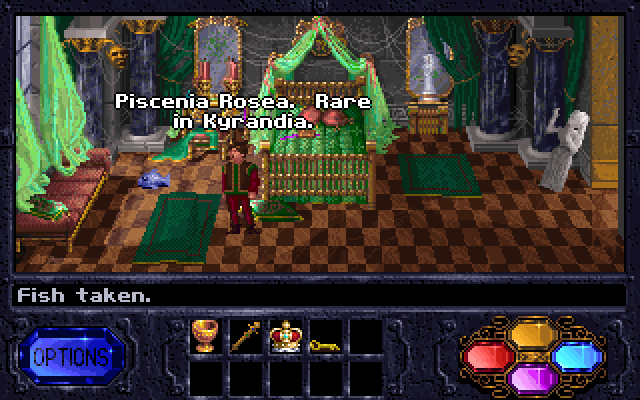
How long has that been there?
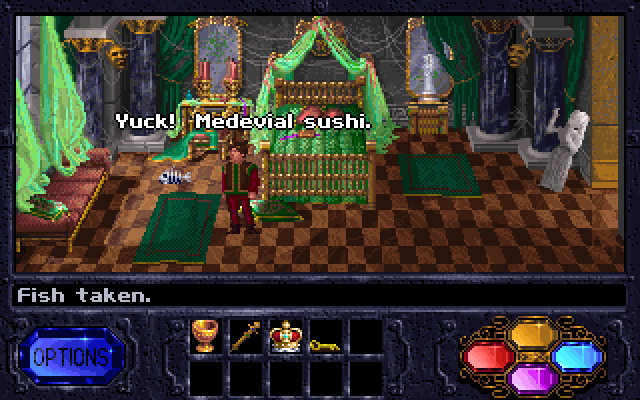
Yuck. The fish, like the emerald ankh, is another red herring (what are you talking about, it's clearly blue) and has no use in the game whatsoever. There's only one more room on the top floor to visit, and it's also on the west side.
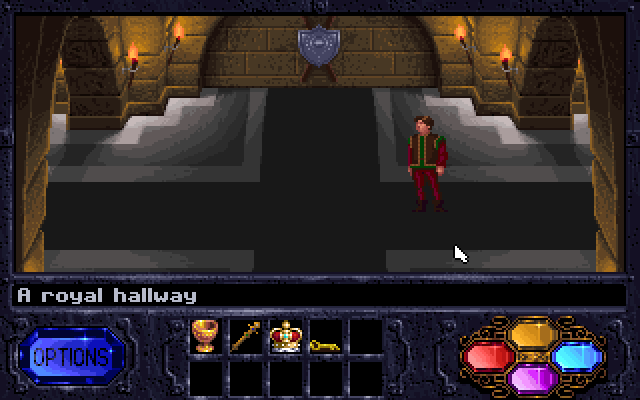
It's to the left of this otherwise unremarkable bit of corridor. Why are we stopping here? Keep going, Brandon.
Music: Danger (Tindeck)
Oh jesus. Er, hi, Herman. You look different somehow.
 Brandon, I have your saw!
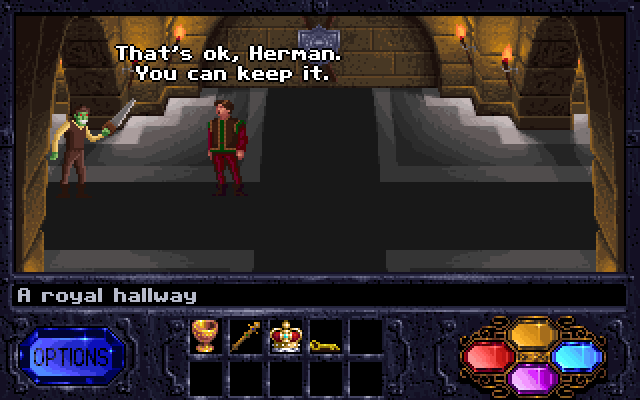 But I sharpened it just for you!
Looks like our old pal is back and just dying to return the saw we lent him way back near the beginning of the game. Well, green skin or no, we're not going to let that loser stand in the way of what we want, right? We can just push right past him.
I had a hunch it would be something like that.
Oddly enough, and unlike the gargoyle-induced melting we saw earlier, this particular death is just really cartoony and goofy-looking. I guess there's no PG-13 way to show someone being sawed in half, but couldn't they have done like a discretion shot or something? This situation is also different from the Malcolm encounter earlier, where clicking anything other than the single correct thing would cause instant death. We can do anything we like, even leave the room, and Herman will just stand there with his goofy grin on. The one thing we can't do is go left.
Okay, problem solving time. You might think the solution is perfectly straightforward: If the Invisibility spell worked on the gargoyles, it should work on Herman, right?
... but for some reason Brandon just turns visible again when you get near Herman. This always annoyed me, because it makes it look like Brandon deliberately ended the spell at the dumbest possible time, and invisibility feels like it should be the perfect solution. It's not explained why it doesn't work, either, it just doesn't.
We're in the right neighborhood, though. If we can't sneak past Herman, then maybe we can cure whatever magical influence Malcolm has on him?
... okay, not quite what I expected, but we'll take what we can get. The Heal spell is indeed the correct answer, but rather than actually cure Herman and require the developers to come up with something for him to say in response, the spell just puts him to sleep. The end result is nevertheless than we can get past him now.

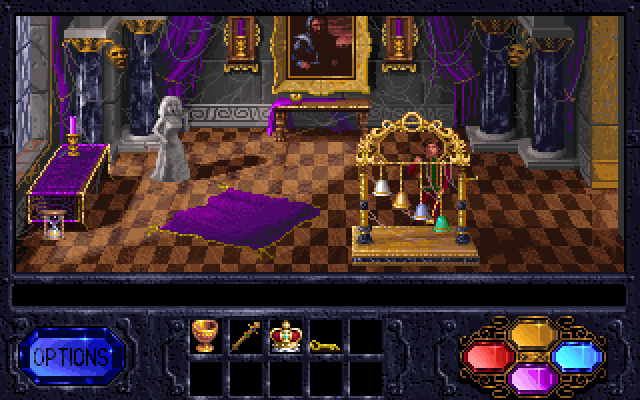
Beyond is another bedroom, this time conspicuously absent an actual bed. Looks like we found Zanthia, too.
Poor Zanthia. Hopefully she can be restored too.On the left is another peculiar item.
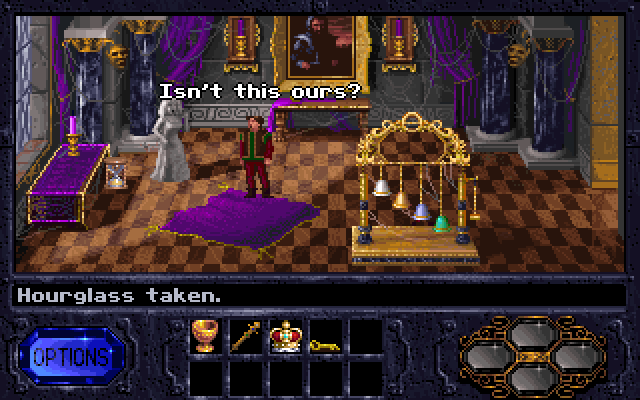
Seriously Brandon what is it about the castle that makes you break out in all these horrible puns? Sadly, the hourglass is yet another useless item. I'm not sure why there are so many items in the castle that have no use, but there you go. The only other thing we can meaningfully interact with is the set of bells in the middle of the room.
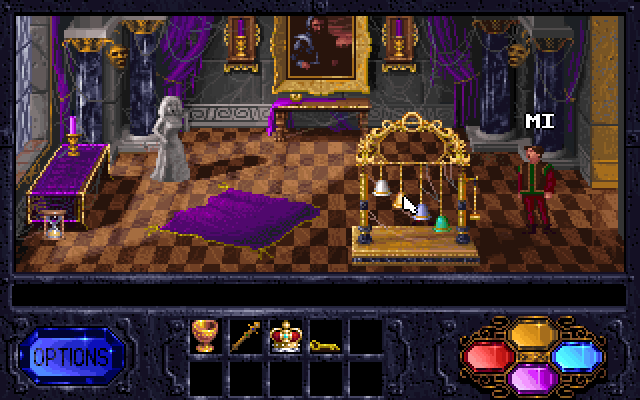
Clicking a bell causes Brandon to tell us what note the bell plays. There are four of them: DO, RE, MI, and FA, starting from the bottom. You can grab the mallet, which lets you play the bells by clicking on them.
After striking four bells at random, Brandon puts the mallet down.
I hope I'm not supposed to sing now!No, please don't. As you might have guessed, this is another puzzle with no hints to it in the game. The names of the notes are insignificant and the answer isn't a famous tune or anything like that. The random trial-and-error puzzles in this game are really getting tiring at this point, so let's cut right to the chase: Strike the bells in the order DO, FA, MI, RE and the puzzle is solved.
 Well, well, well...
Hey, the painting moved, and there's a key behind it.
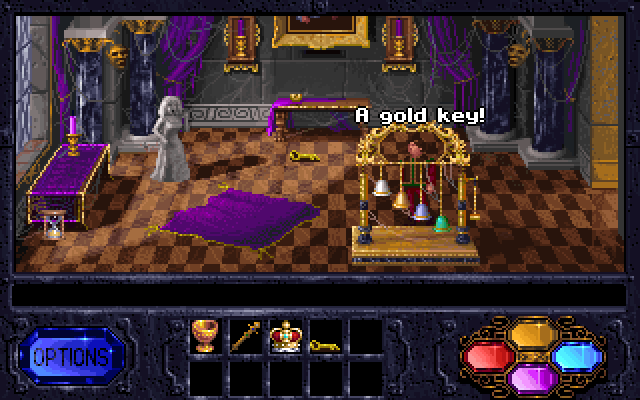
It looks identical to the one we got earlier. Maybe now that we have both keys, we can open that door?

Indeed! What could lurk within?
 That must be the Kyra-Vault!
We're so close that we can taste it now. The Kyragem is on the other side of that door. What should we do to open it? We'll find out... next time.