Part 6: Commentary: Updates 1 - 5

I decided to do some side updates where I simply go over batches of updates I've done and provide some commentary. I'm not going to go too into detail, but I figured I could point out interesting things that I couldn't really incorporate into a narrative. I'll do these in a set of five updates at a time, where I'll briefly go over each update. So today I'm doing updates 1-5.
Prologue
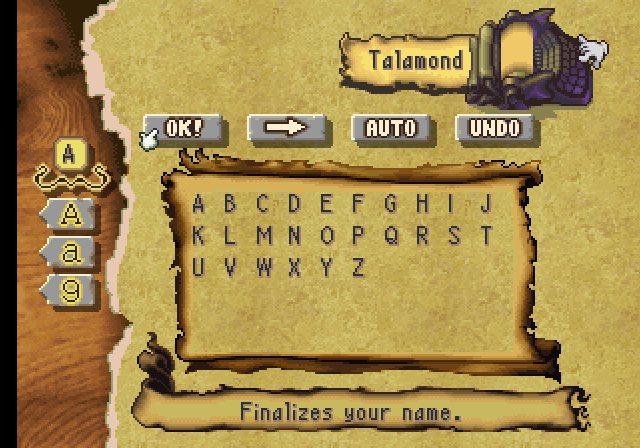
I went with the name Talamond simply because the first time I played this game, it was the name I got when I did Auto. I liked it and went with it.
The name generator has a ton of names in them, and many of them are names from previous Mana games, such as the six heroes of Seiken Densetsu 3, or some of the partner NPCs from Final Fantasy Adventure. There's also generic names that have no significance. I'm not going to bother going through them all, but it's a nice detail.
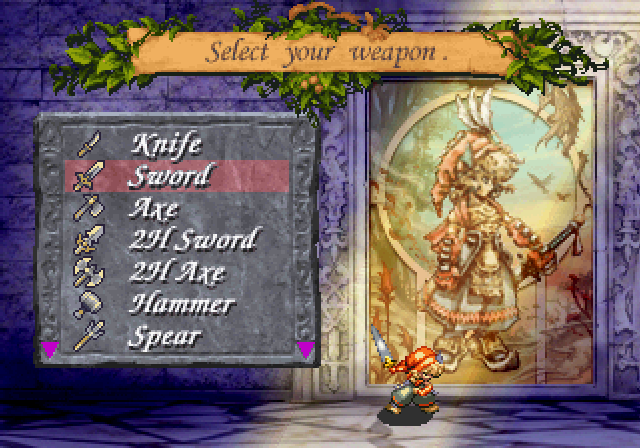
The stats you gain per level depend on what weapon you're using. 1H Swords tend to have balanced stats, which is one reason I use them, but they're also one of two weapons (1H Axe being the other) that let you use Shields. Shields are awesome, as they have high defensive bonuses and are among the cheapest armor you can get. Of course, the downside is that you can't use them with most weapons.
That said, once I get all the Special Techniques for 1H Sword, I'll switch things up. I plan to show off all the weapons and obtain all Special Techniques, though those will be shown off in bonus videos.
There are FAQs that go into detail on the best way to obtain all the quests while fulfilling other roles like giving access to demi-human pets, boosting mana intake for plants, opening up various-level shops, and so on. I'm using such a FAQ, thus leading to weird things like putting one of the two beginning quests on the backburner until it becomes my fifteenth or so quest. I'll go into detail later.
To be honest, I have no idea what the hell's going on in the intro. Lands become artifacts, the Mana Goddess is acting weird, and so on. Who cares, everything's pretty and nothing in this game makes sense.
I never bothered trying to leave without talking to the Sproutling before this LP. He gets really annoyed if you keep trying to do so, until he finally forces a talk with you. You can't leave without obtaining the Colorblocks, though it's not a big deal since there's nowhere else you can go anyway.
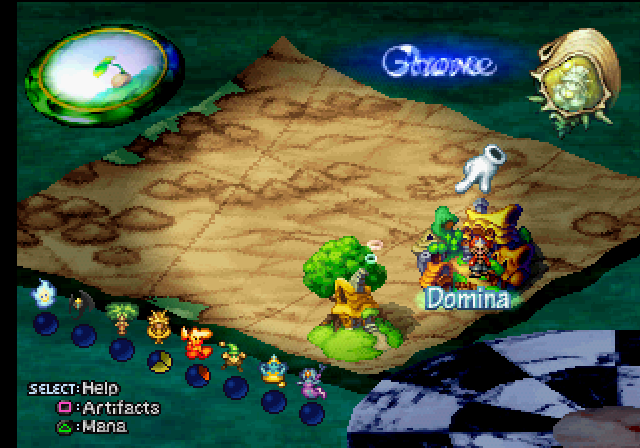
I'll go over the elemental spirits later, but just know there are eight, like the other Mana games. Except in this game, instead of Luna who represents the moon, we have Aura, who represents gold. Aura fucking sucks compared to Luna and he never shows up again after this.
Each land has values of each spirit, which affects certain things like produce, pets, and even what quests you can get there. You can boost a land's spirit values by placing other lands there. If you place a land with 2 Dryad next to Domina, for instance, it'll gain a Dryad. It's why map making can be such a pain, but luckily there's an easy solution for unlocking quests that I'll show off much later.
There's also a day system, where it takes a day to walk to a neighboring land. Entering a land also progresses the day after you leave it. There are six days named after the elemental spirits, with Wisp and Shade not incorporated.
Nothing really changes if you let Elazul interrogate her. You might be able to have him join then, but I don't remember. Not that it matters here since I'm leaving his quest until much later.
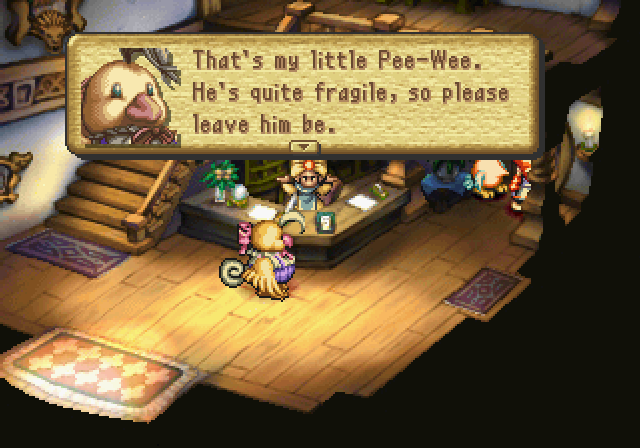
Talk to Pee-Wee enough times, and he'll shatter into pieces. It's quite amusing, and I'll probably show it off in the future, but I won't do it in the narrative because doing so prevents you from doing a quest later. This game can really dick you out of quests if you don't know what you're doing.
Niccolo's Business Unusual
There's three big quest lines, and then a few smaller quest lines like Niccolo's Business Unusual. It's one of two quests you can do at the beginning of the game, which gains you access to Luon Highway.

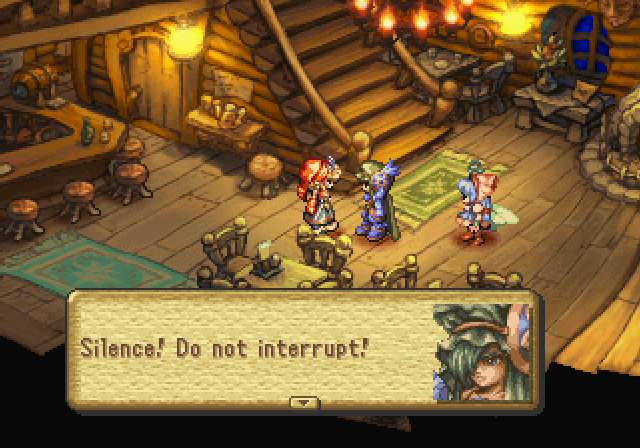
I'm surprised that Niccolo has so much dialogue in Domina. I knew about the Sproutling stuff (which greatly amuses me), but I didn't know about his dialogue with Capella. Plus there's several characters that have a ton of dialouge if you talk to them multiple times. It's also one of those games where it feels like every individual NPC has a ton of care put into them.
It's one of the reasons I love this game so damn much.
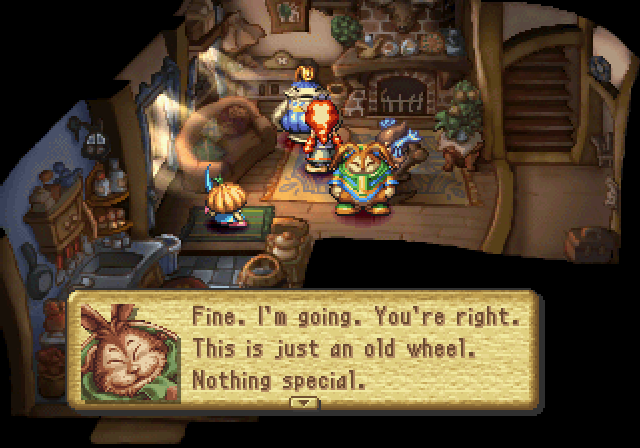
I'd always do the other quest first because I never could figure out that you have to visit Teapo to continue the quest, even though Niccolo outright tells you to go to her when he joins.
This is also an example of the wonderfully absurd dialogue that goes on here. Niccolo's a scam artist, but he's such a lovable one.
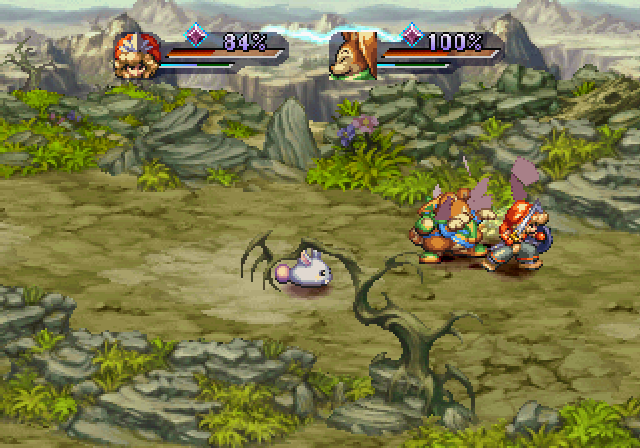
Warning: These next two images contain battle mechanics. Feel free to skip over them.
I kinda sucked at combining battle mechanics and narrative, so I'll post them here. There's two buttons, one for Quick Attacks, one for Power Attacks. You can build combos with Quick Attacks and end with a Power. There's Plunge Attacks for each weapon, where you move the control pad/stick (left-right or down-downleft-left for example) and hit the Power button to pull off different moves.
The other two buttons do techniques like Jump, Backflip, or Crouch. You start with a few, and can unlock more simply by winning battles while having certain techniques equipped. For example, winning battles with Lunge and Retreat unlocks Evade. You can even use such techniques before learning them by using both equipped techniques at once. So pushing the Lunge and Retreat buttons simultaneously will let you use Evade.
Special Techniques are also unlocked through regular Techniques, and they perform powerful moves. Under the red HP bar is a smaller bar that shows whether you can use a Special Technique. It builds up when you whack enemies around. Once it's full, you can use a Special Technique on an enemy or group of enemies. You can have four ST's equipped to the L/R buttons. Each weapon has its own group of ST's, though a few can overlap between weapons, but once you've "leveled" your Techniques enough you can simply switch to a new weapon and after a battle learn a ton of them at once.
Finally, there's Synchro. When two characters are close to each other, Synchro abilties are active, represented by the lightning effect between portraits. There's a ton of different Syncho effects, some of them quite useful. For example, the main character has HP Recovery to slowly recover HP during battle, whereas Niccolo causes extra Lucre to appear when killing an enemy next to him. Some Syncho effects are amazing, and there's one that's pretty broken, though we won't get access to that one for a long time.

When you defeat an enemy, they'll do one of three types of drops. They may drop Candy/Chocolate, which simply recovers some of your HP. They may drop bags, which will grant an item. Some are useless, but you can get seeds from plant enemies, or various meats to feed pets, or even weapons and armor, like the ElderBow dropped by Chobin Hoods. Finally, they may drop blue crystals, which is this game's experience. The farther away the land is from Home and the later it's placed, the more EXP you'll get from monsters (and the tougher they'll be).
Battles are self-contained. You enter the area and initiate combat. Once you're done, you regain full health. There are no recovery items you can use in battle, though there are ways to get Candy and Chocolate to spawn during battle. Battles aren't random, but every time you move through an area you will trigger any battles set there, which can make exploration tedious.
There's a bit more, but I'll cover all the rest later.
Each NPC has special dialogue when talking to Gaeus. I'll compile them all in a bonus update. There's also dialogue you can get when you talk to Gaeus alone.
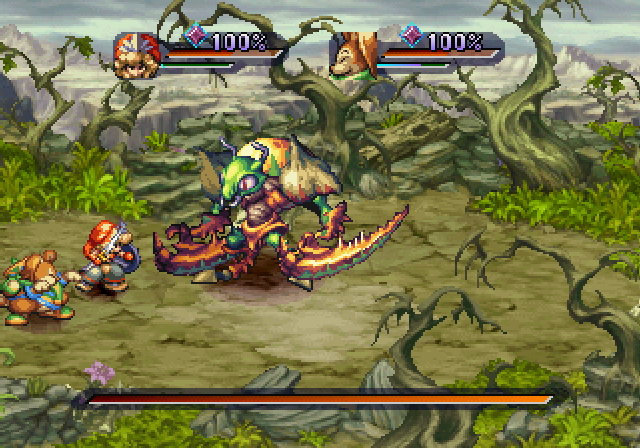
Most boss battles are rather simple. The boss may have special attacks and spells they can use, but overall you simply whack them until they die. There are a couple exceptions though, but I'll show them off when I get to them.
Bosses do give a lot more experience, as their crystals are worth ten times the experience of smaller enemies. You can't really repeat them, though.
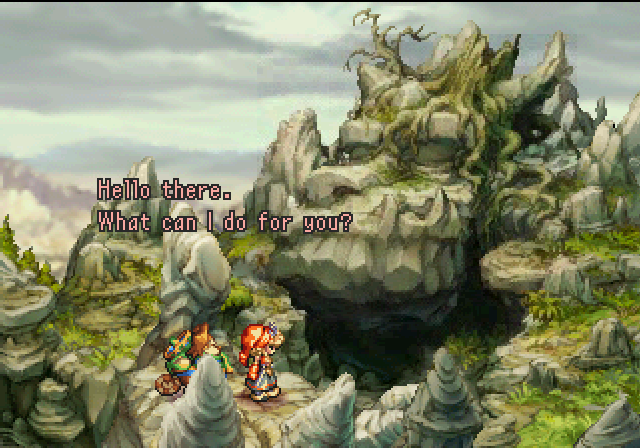
The Little Sorcerers
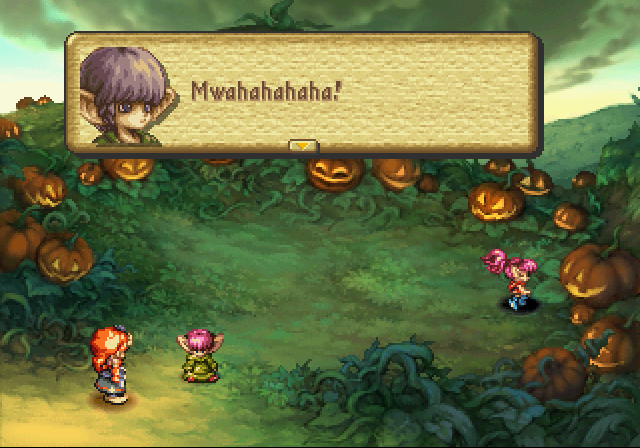
I don't have much to say about this one. These two kids do have several quests of their own, but the whole pumpkin thing never comes up again. They take awhile to beat, as they're pretty sturdy for children.
The Wisdom of Gaeus
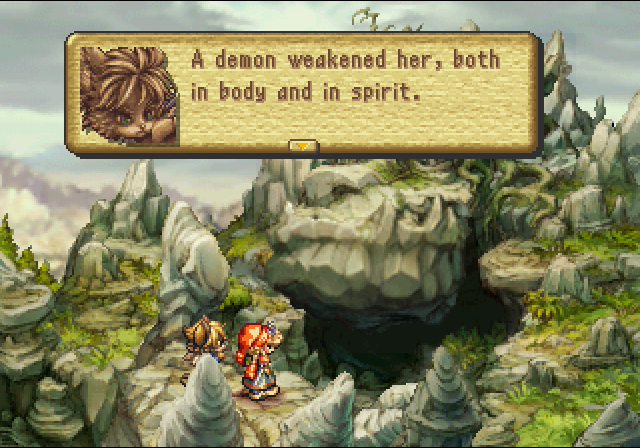
I think it's possible to miss this one if you go to Gato first, and I know later events can prevent access to this quest. Other than that, all this quest does is allude to future events and give you the Forbidden Ring, which splits experience you gain. It's generally useless for NPC partners to gain experience, but it's a nice way to level pets, who won't reliably grab the experience crystals from the enemies you slay.
The Mana Orchards
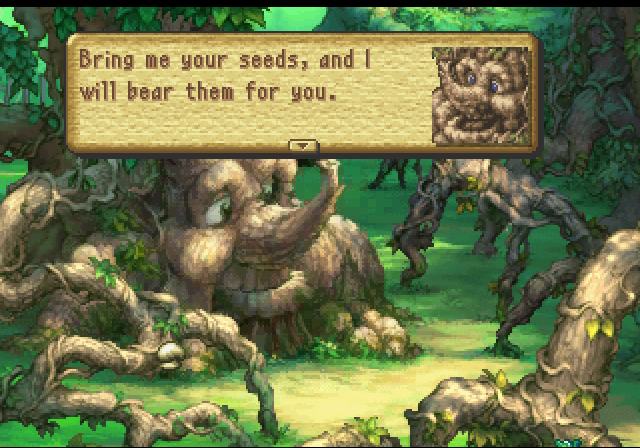
Plants are mainly used to boost the stats of pets. Each plant boosts different stats and affects a pet's personality, and you can feed up to three at a time to a pet. I'll go over the mechanics of that later.
You have a maximum of eight spots with which you can grow plants. One seed grows three plants, while a combination of two seeds grows four plants. It's pretty easy to obtain seeds, though, as you can gain them from plant enemies in combat, there are a couple locations where you can buy them, and sometimes Trent gives you free seeds after plants grow.
Vil corrected me on what determines the plants you get and how long they take to grow. You can get the technical explanation here, but to summarize, each combination of seeds has a set of plants that can grow from them, with each plant having a random chance of growing. The main thing that influences growth rates are the Mana levels in Home and the plants being grown. Each plant has a different value under a various element like Gnome or Salamander. Higher levels in that element means those plants grow faster. If Home doesn't have any of a spirit, it takes a long time to grow. There's a bit more to it, but that's the basic summary for it.
I hear the plant encyclopedia has wrong info, though I'm not sure on that. When you get it, everything's already filled out. I'm not showing off plants like I am enemies, lands, and characters, because who cares about plants? I may do a bonus update showing them off later, though, because some of them actually look pretty neat (a lot of plants look like animals, for instance), but I've got enough stuff in my resource section as is.