<< Previous Chapter
>> Next Chapter
^^ Index


TorpedoBeetle posted:

I just hope the strain of making this thread doesn't cause you to dereference yourself when you're done

I would, but Ultima 9 dereferences enough null pointers without any help.

Terfin: Part 1

This dungeon is enormous. There are dozens of secret passages and hidden doors and, frankly, if I were to do a "complete" guide for this dungeon it would take me 822 years. So this is a 'mostly complete' guide. Well... actually it's almost a speedrun. Okay, it is a speedrun.

Besides, you know what they say: "You can't take it with you." Once we enter this dungeon we can't leave, so there really isn't any point in collecting the billions of gold the Guardian has stashed away.


Video


The teleporter drops us off in this tunnel.


Moving forward leads to this room.


Stepping on the pressure plate in the corner opens the gate out of this room.


...only to have it close behind us as soon as we're through. This is a one-way trip.


At the end of the hallway is a loose block. Pushing on it makes this set of doors appear.


The faint brown lines are actually tripwires. If we cross one it makes a 
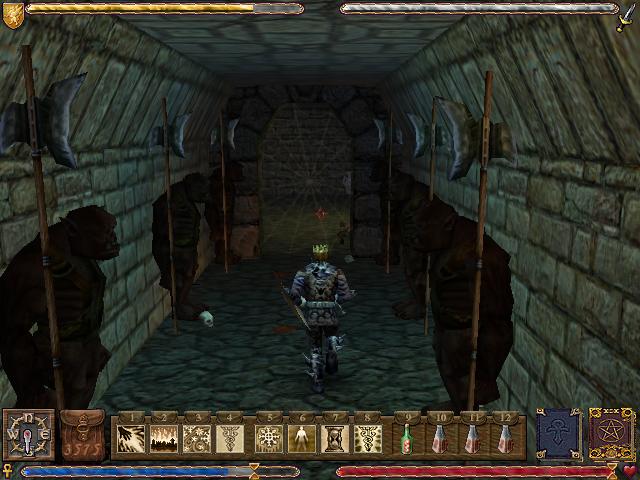
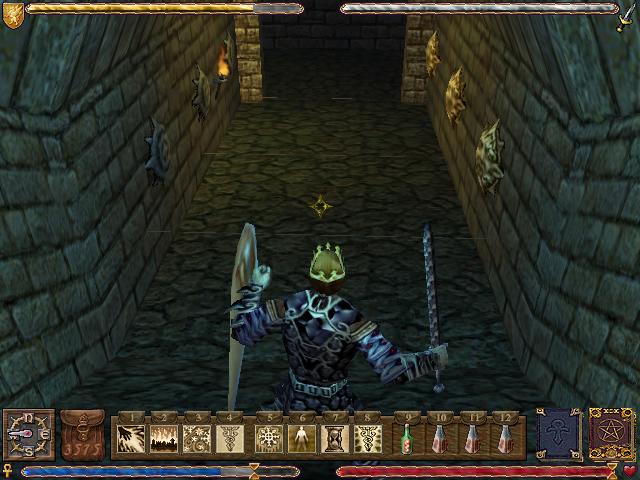
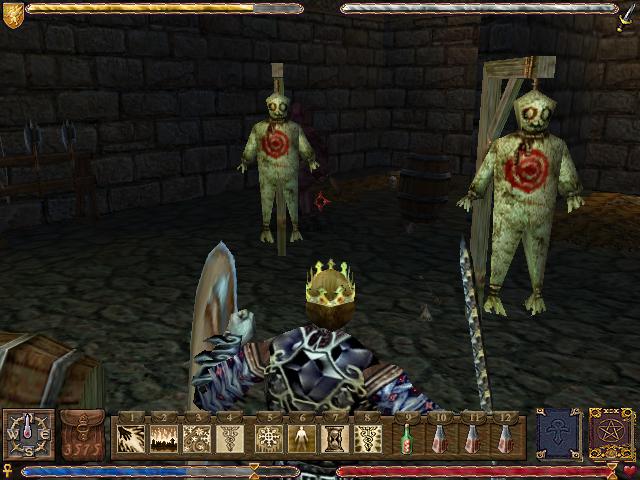
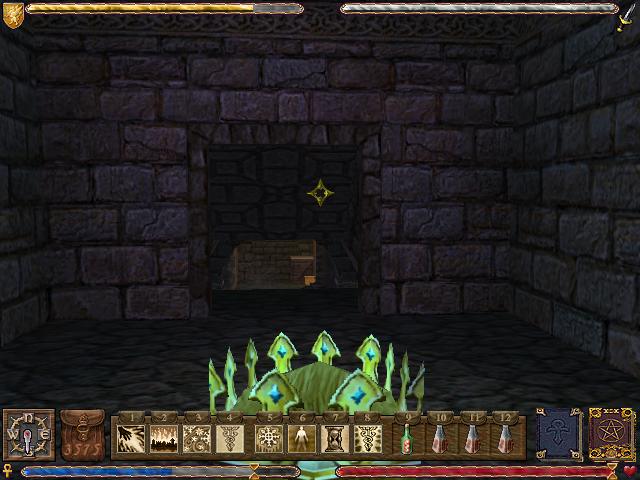
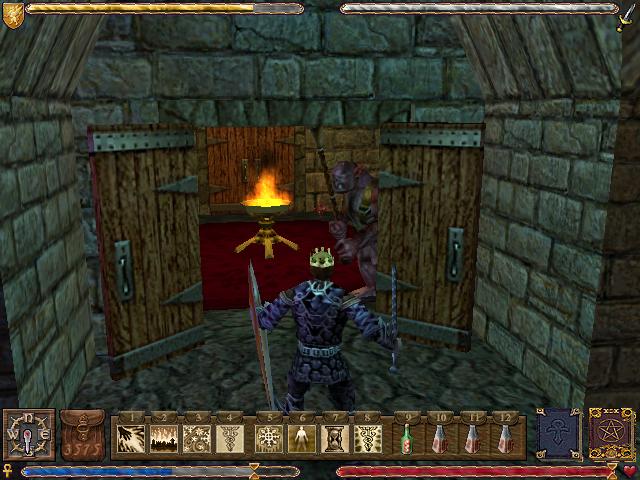
shoot a fireball at us, so we jump over them carefully.


We head left to the tavern area.


There's a key sitting on the bar.

Now we head back in the direction we came.


We head down the passage across the hallway from the door we made appear.


It leads to a Gargoyle training area.


In the corner is a button that makes a wall disappear, revealing another set of doors.


We unlock the door with the key we got from the bar and head down the ramp.


Going down the ramp puts us in this small room.


After we enter the room, the doorways seal shut and the walls start to close in on us. At the last second a button appears that resets the trap.


We go left at the next intersection...


...and then stop at the first set of doors on the right.


There's a key on top of the table. We grab it and head through the doors in the back of the room.


Only one chest in this room is real; the rest are Mimics. The real chest contains a key. After getting the key, we exit through the double doors and continue in the direction we were going.


Eventually it leads to this area. For some reason this part of the dungeon reminds me of horrible things that I did to myself recently.


The tunnels flood as we walk into them.


There is a valve on the wall. Turning it opens a door at the end of the room.


The small room that the door leads to has a key on the floor.


It also has a valve. Turning the valve lowers the water level so we can get out of this area.


Now we head back to the intersection right after the crushing trap.


Pushing on the right block makes a door appear.

One of the 'incorrect' blocks teleports us to a different room, one does nothing, and another summons a Winged Gargoyle. I don't remember which is which, but the correct one is the rightmost one.


The door unlocks with the key from the Hythloth-esque area.


<< Previous Chapter
>> Next Chapter
^^ Index