<< Previous Chapter
>> Next Chapter
^^ Index
Dungeon Covetous: Complete solution (Part
3)
The elevator stops at level 2.
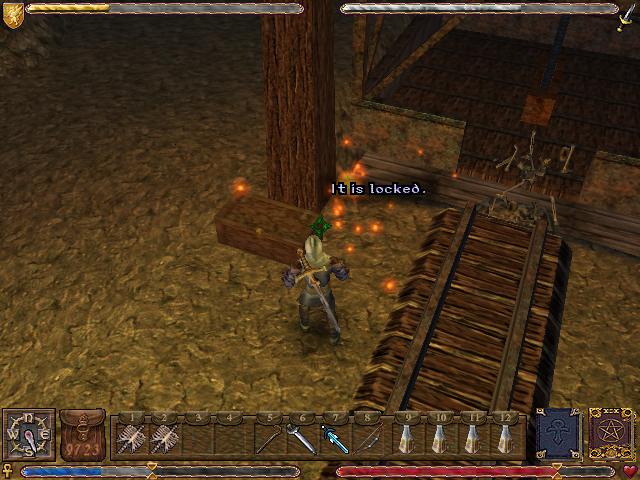
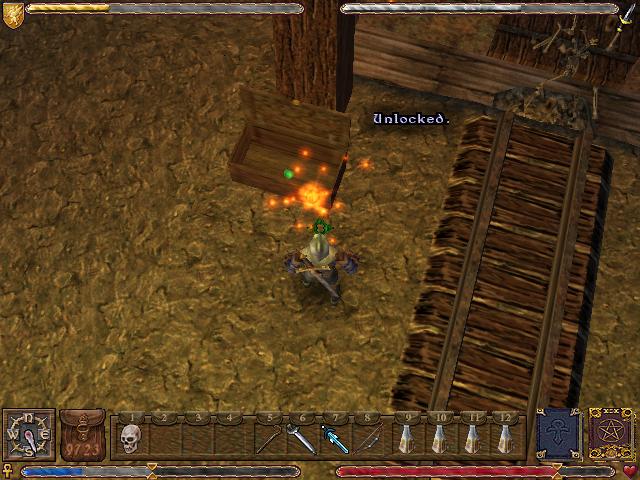
Outside is another locked box containing another button
that controls another large wooden door covering the elevator shaft. This
is a recurring theme. 
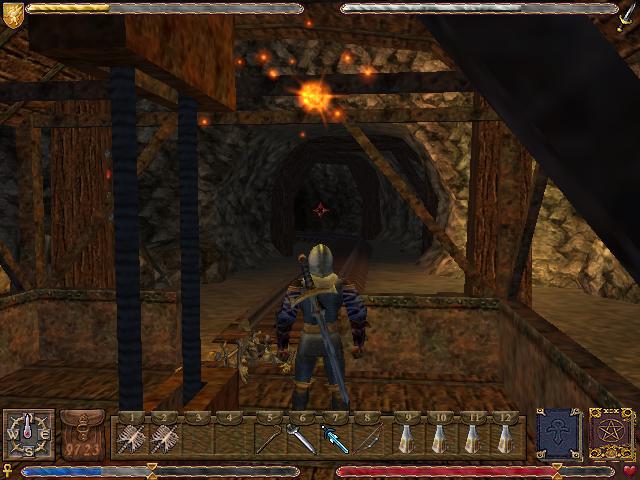
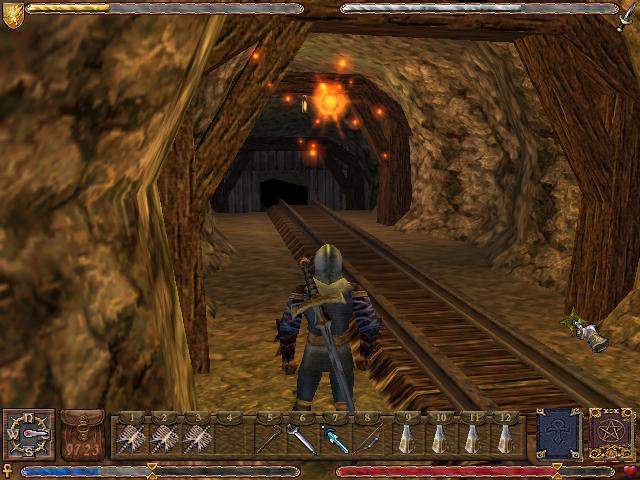
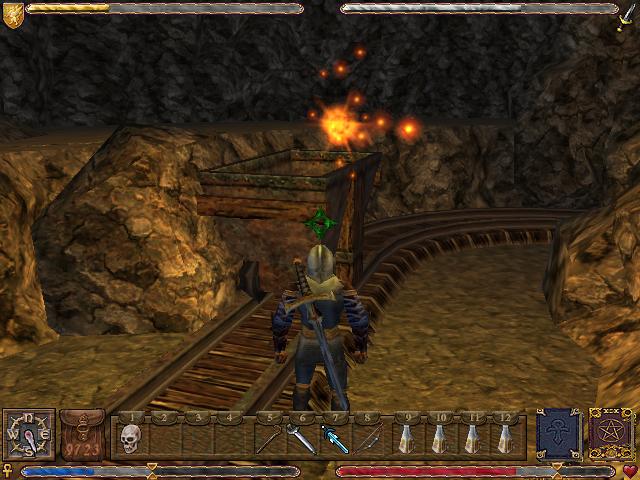
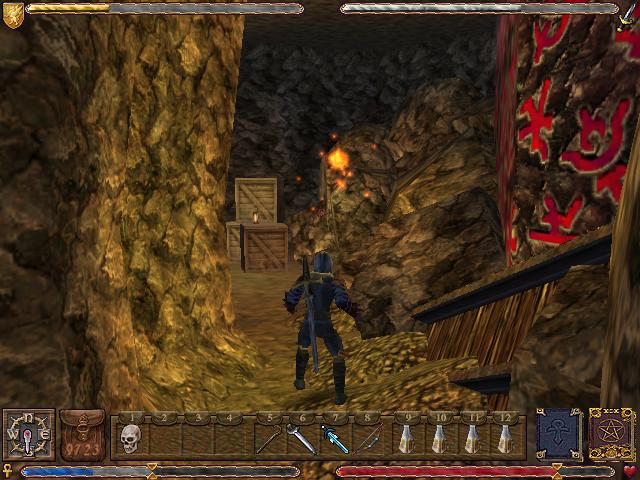
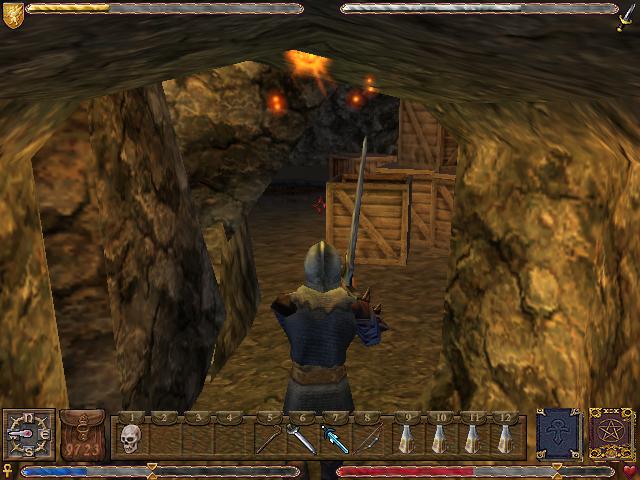
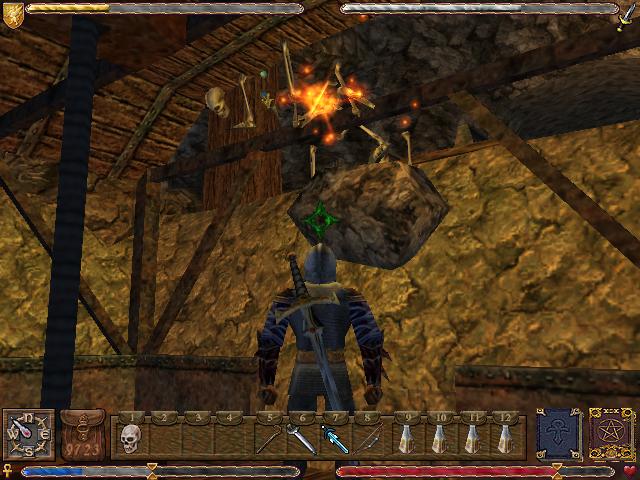
This is the first major room of this floor. For now we'll
have to keep following the tracks.
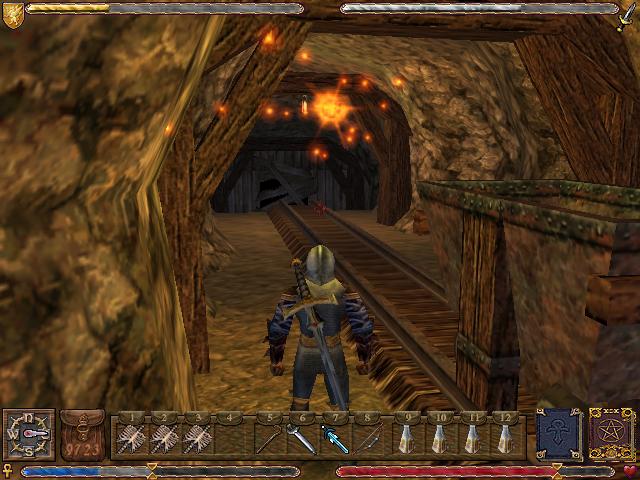
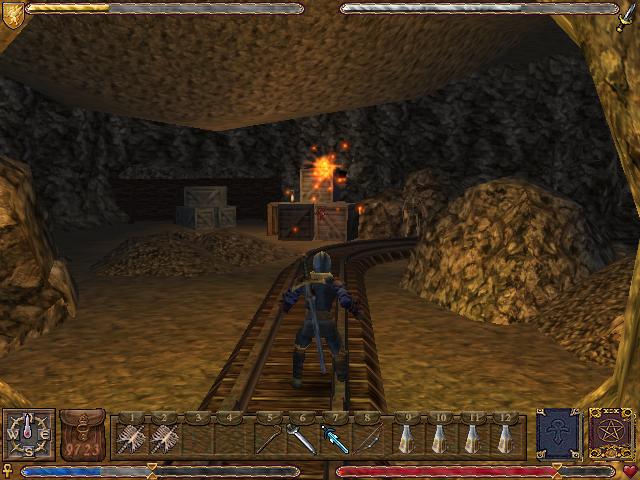
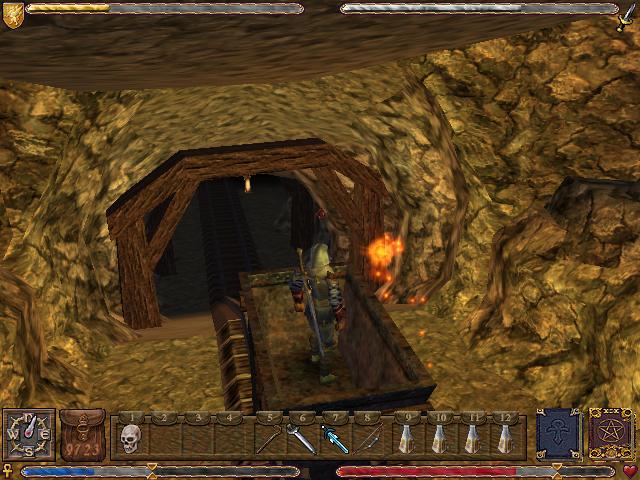
This tunnel is boarded up at the end.
Pushing on the cart makes it glide slowly through the
boards. Then a sound effect plays and the boards
disappear.
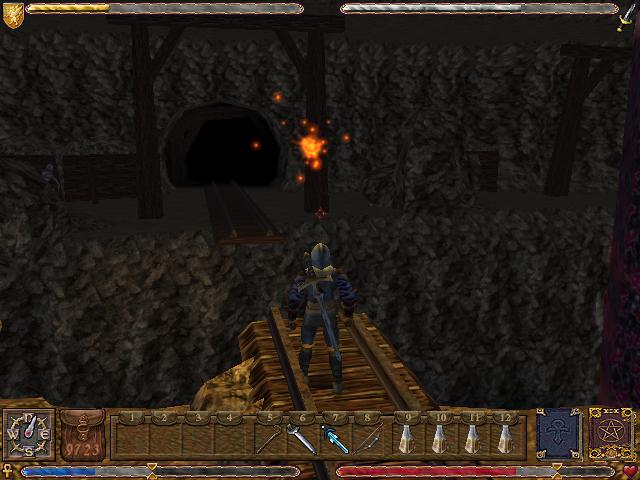
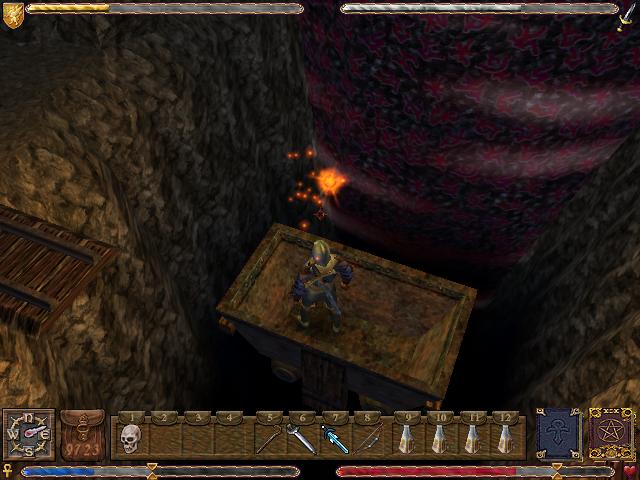
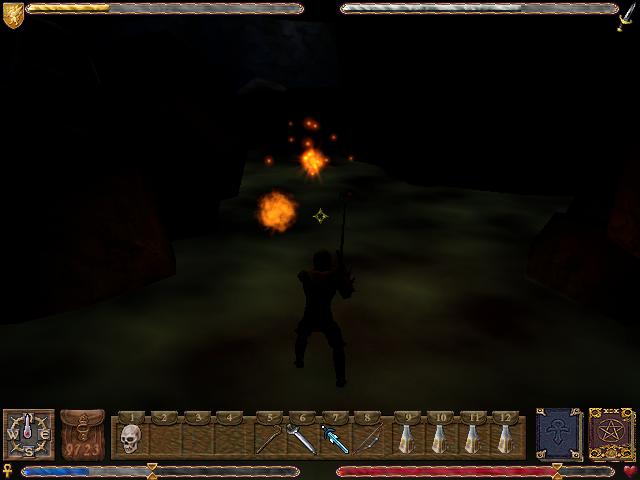
The track ends in a giant pit near the
column.
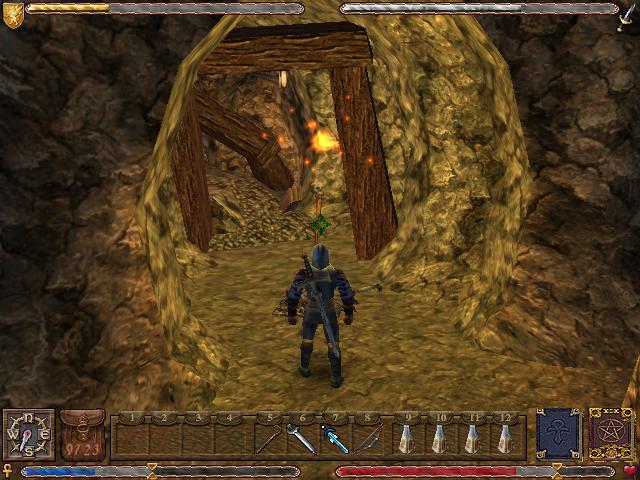
Off to the left is this... um... guy.
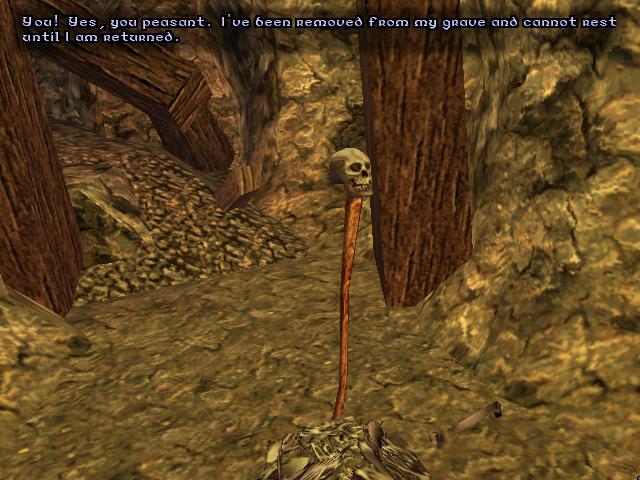
His name is Skully. 
 : Do be so good as to assist me. I'm so turned around; the grave
could be anywhere!
: Do be so good as to assist me. I'm so turned around; the grave
could be anywhere!
: Take me along with you and examine every grave that you
encounter.
: I'll let you know when you have found mine.
 : Umm, alright. I'll help you.
: Yes, yes, yes... Grab my skull and let's get on with it. I'm in
a hurry.
Once again, we aren't helping him because we want to...
we're helping him because we have to. 
We take Skully's skull and go back down the
tunnel.
Now... I can only think of one way to get across the
gap.
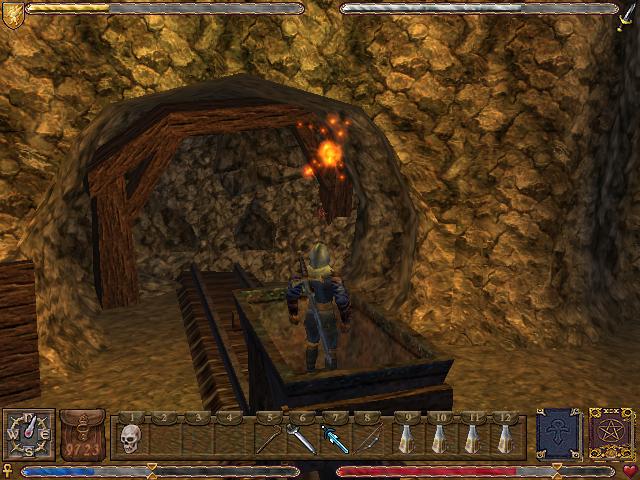
WHEE! 
There's a hidden area behind the column.
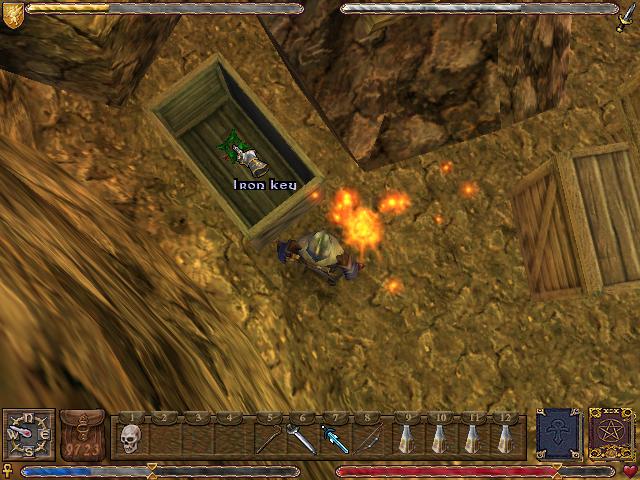
Inside an open crate is a rusty Iron Key. It has been
scientifically proven that open crates in hidden areas on the opposite
side of chasms are the best places to keep rusty things. 
A series of small ledges let us jump back to the side we
came from.
We're now technically "done" this level, but there's
one more area I want to check out.
The first main area of this level has a narrow passageway
leading off of it.
At the other end of the passage is this poorly-lit room
full of skeletons.
Going through the darkened room takes us to this
passageway.
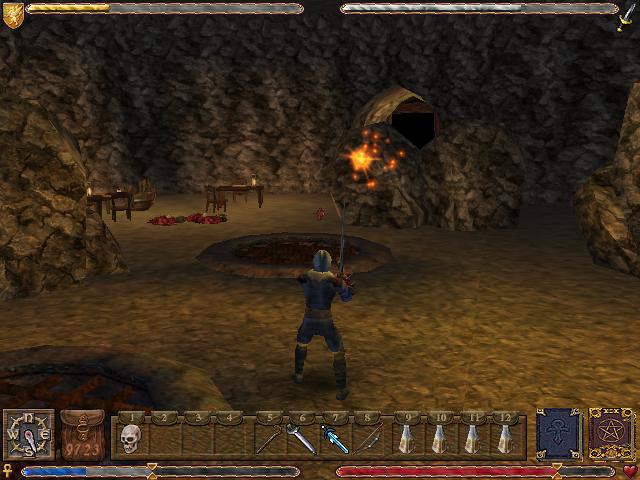
This is the room it leads to. There are two grates in the
floor in this room: one is filled underneath with debris, and the other is
a shaft leading down to darkness, with a wailing noise coming from
it.
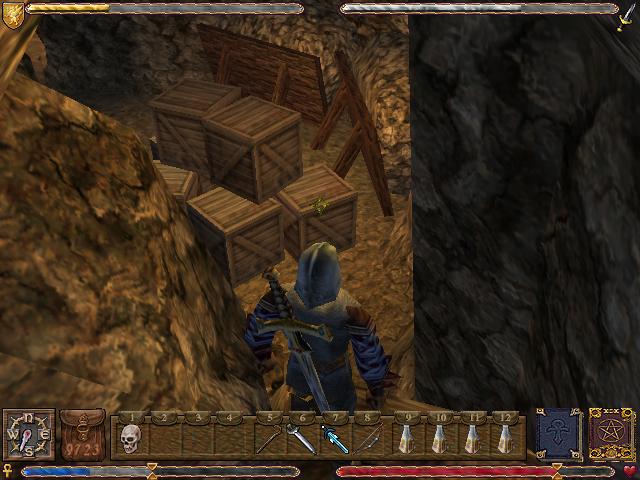
In the corner is this pile of rocks.
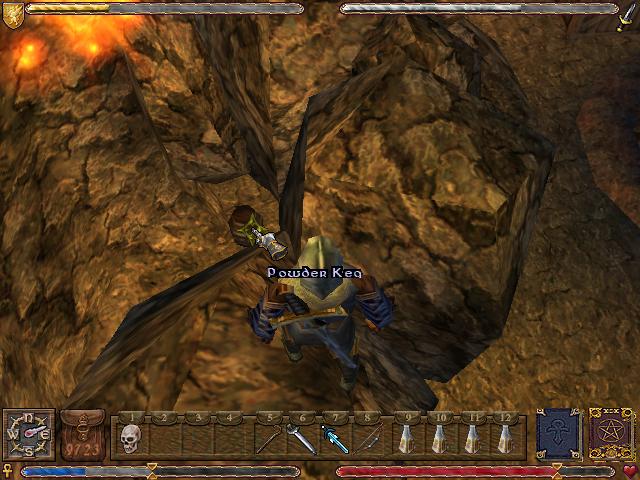
Behind the rocks is a Powder Keg.
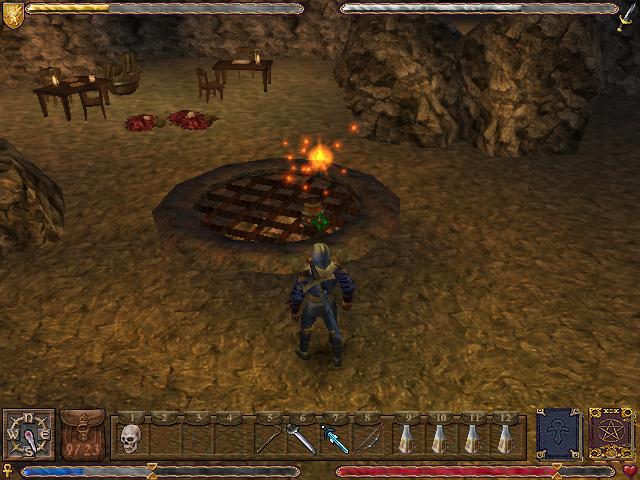
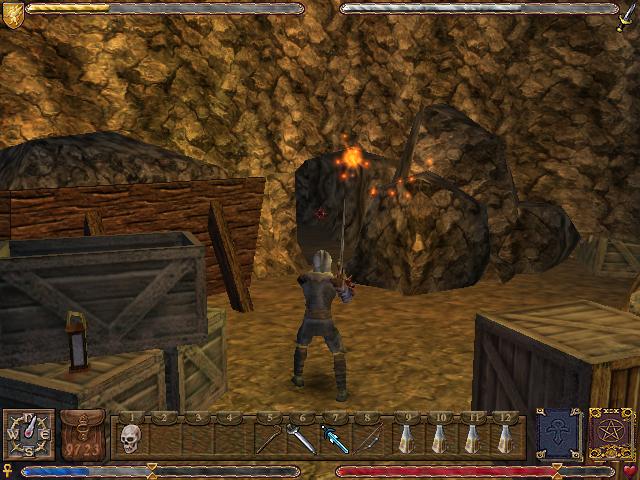
What we do is move the powder keg and set it on top of
the grate of darkness and wailing.
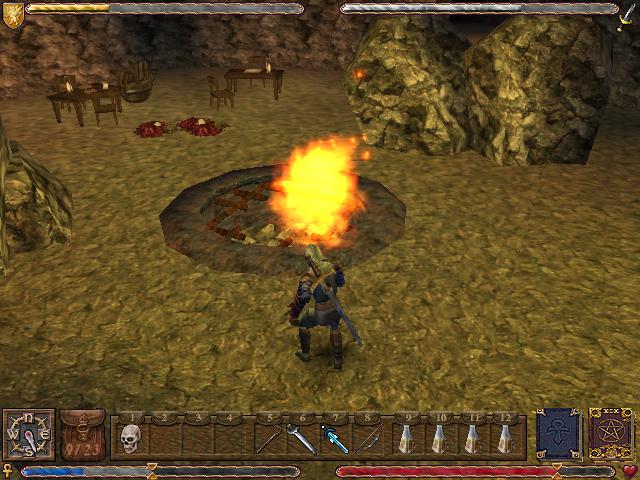
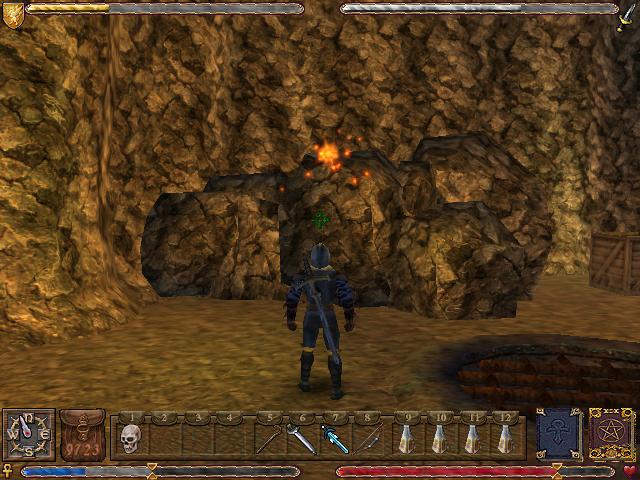
Clicking on it makes the powderkeg explode, ripping a
hole in the grate.
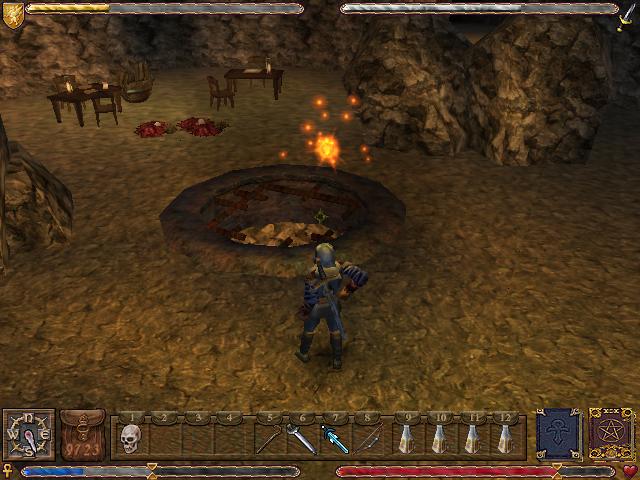
 Shortcut Alert!
This hole leads directly to the boss of the
dungeon! This is a massive, massive shortcut!
But we're not going
to use this shortcut. Yet. I'll explain later.
Onward to level 3!
<< Previous Chapter
>> Next Chapter
^^ Index