Part 14: The Submarine, part 2
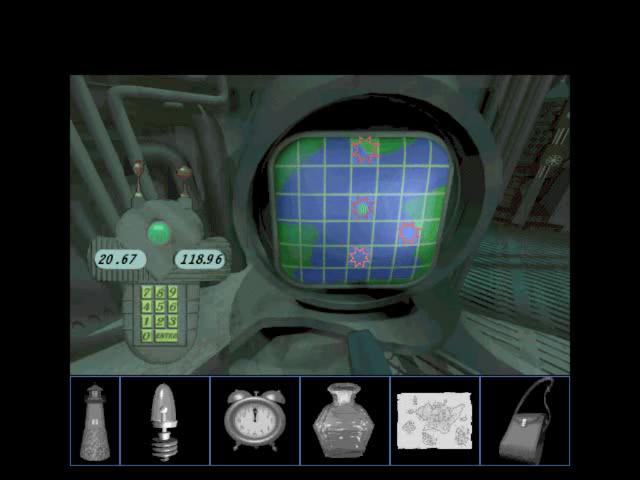

Our first destination is the (presumed) coordinates of that ship we found an S.O.S. from. Assuming that map I found isn't pinpointing this location for a completely different reason. We'll see.

Judging from what we could see in the video, I have indeed stumbled upon a shipwreck of some kind. I'll need to take a closer look, though - and given that the submarine is controlled by coordinate-input to only two decimal points, I don't think I can use it to do a detailed survey of the wreck.
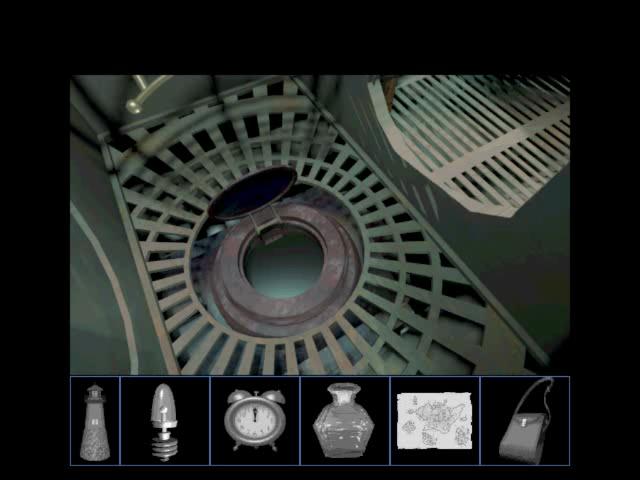
Directly underneath the entrance to the submarine is another passage leading further down.
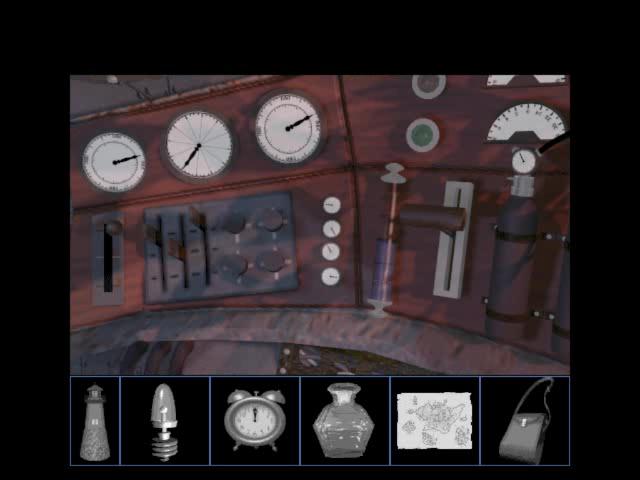
Control Panel count: 8

That's right, there's a grand total of four control panels in the Submarine, way more than any other area we've visited so far. (Though there's another coming up that might give it a run for its money. And the Temple still holds the record for the single largest panel.)
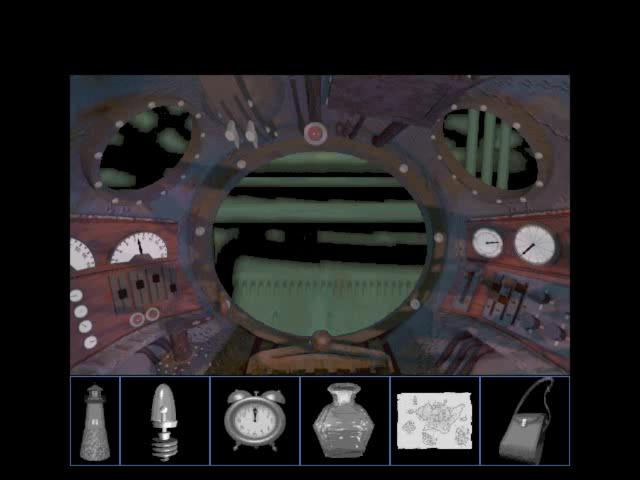
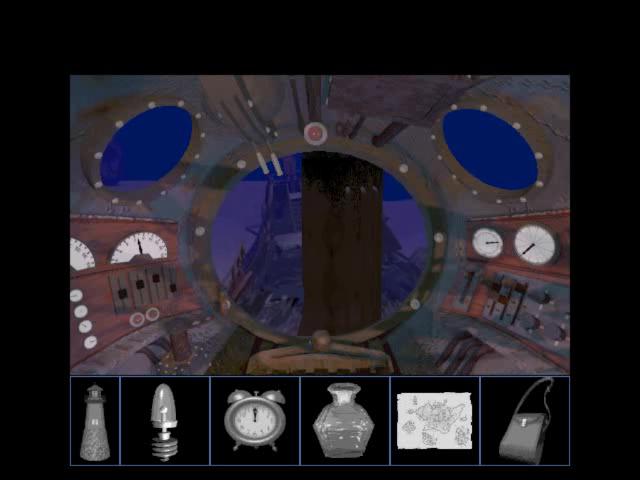
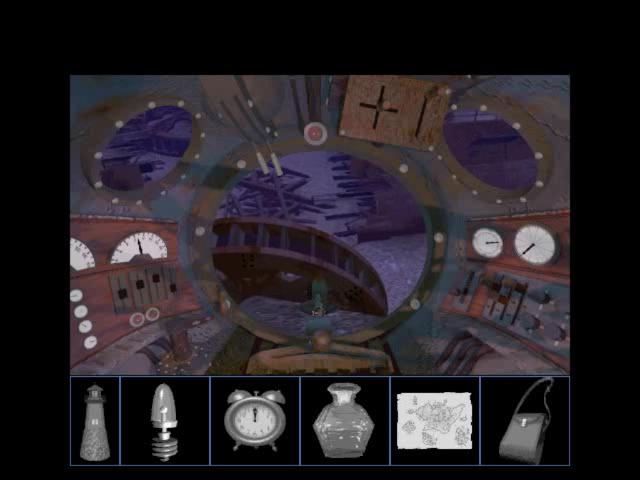
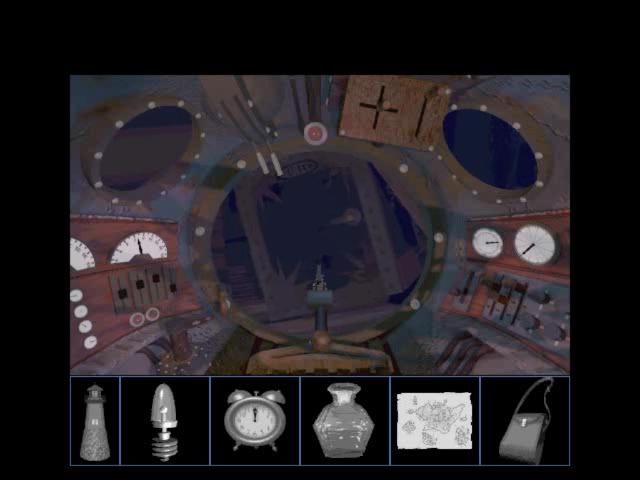
Now, since I managed to get the submarine this far without seeing this, it's obviously not part of the main control system. So... what is it? Actually, this is better shown than told.
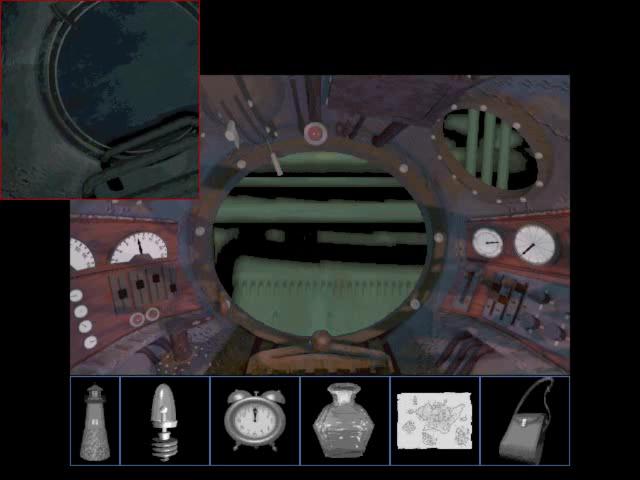
The first of the white levers near the top closes the hatch I came through. The other disconnects something from the outside of the sub.
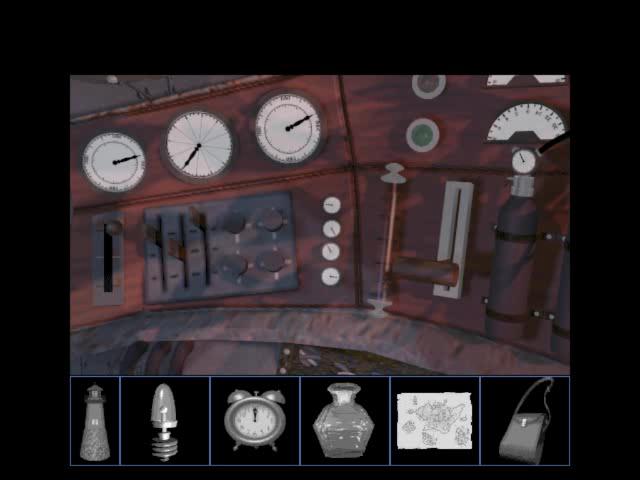
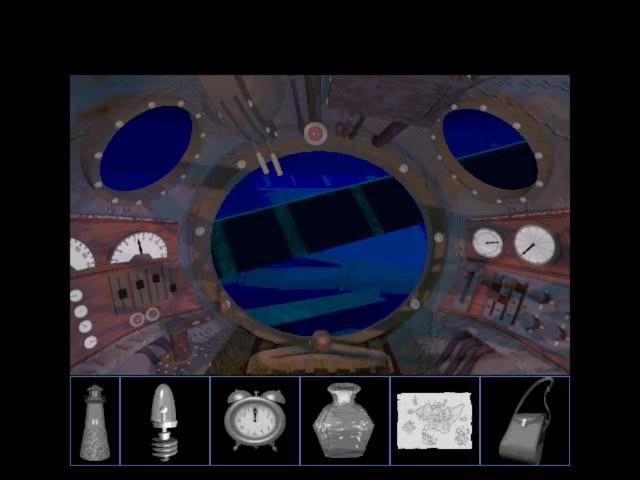
Then I just need to pull the big lever over there. (The three smaller ones and the dials next to them are non-interactive, which kind of annoys me. This thing is complicated enough, Sierra, there's no need to go adding ornamentation!)

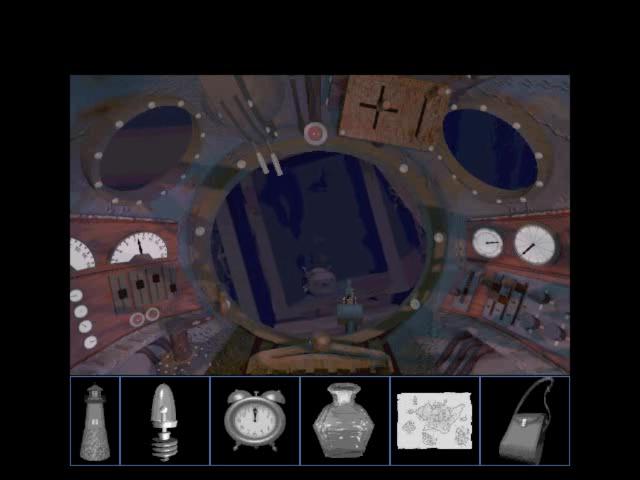
There we go.
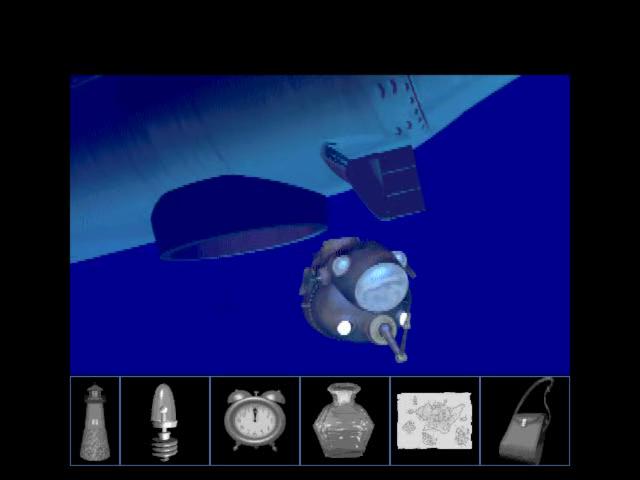
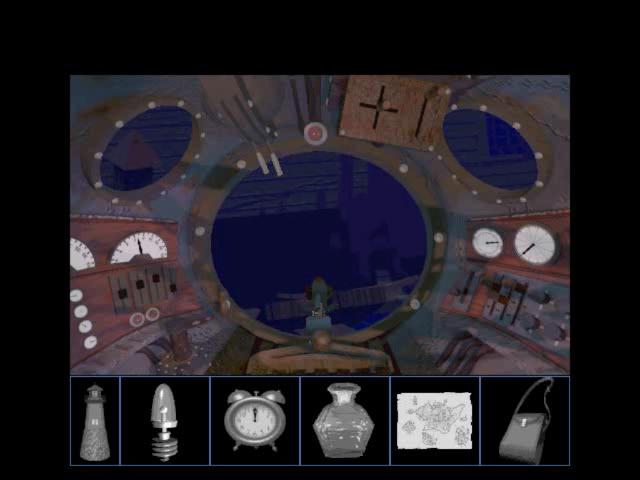
Cutest minisub ever


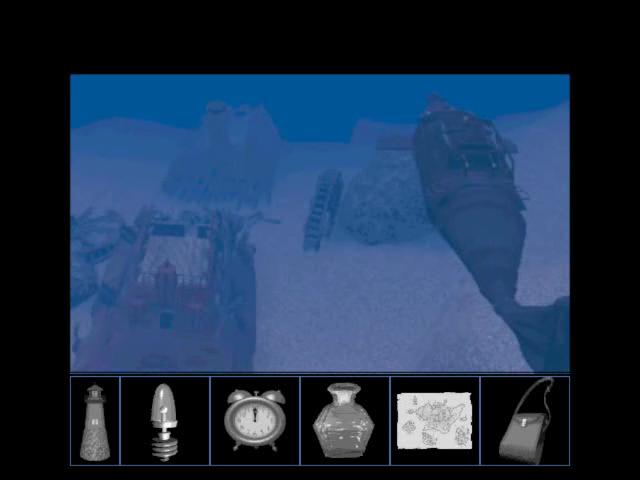
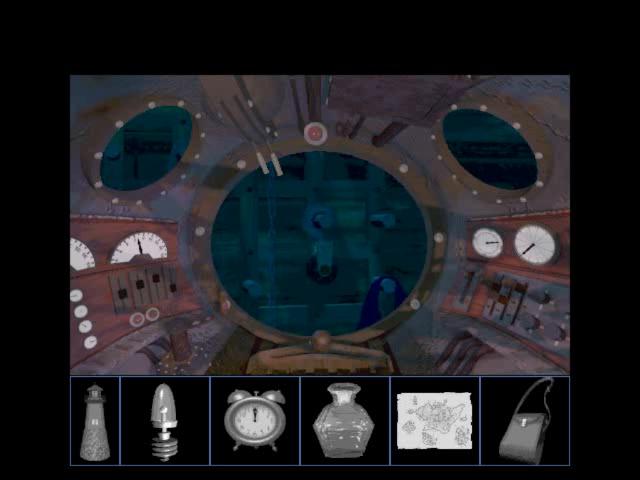
Now that I've actually got a usable viewport, I can take a closer look at this shipwreck. Let's just glide around to the port side here, and...
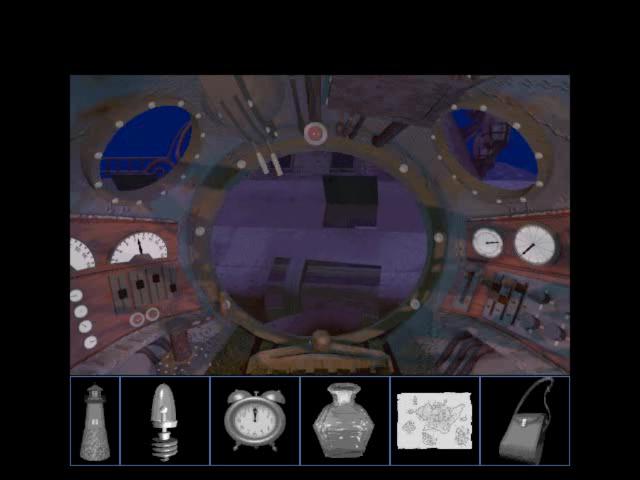
Hey, is it just me or is ship... shiny? No way this thing is just made of wood; it's got a layer of armor on it. What do they call ships like that? Armored ships? No, there's another name for it. I think they were used in the Civil War...
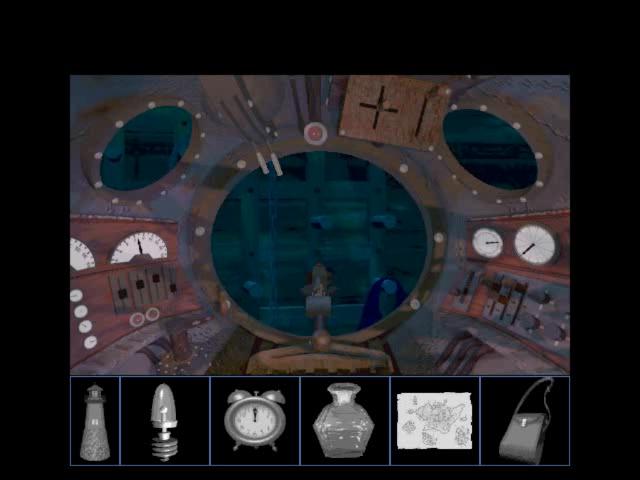
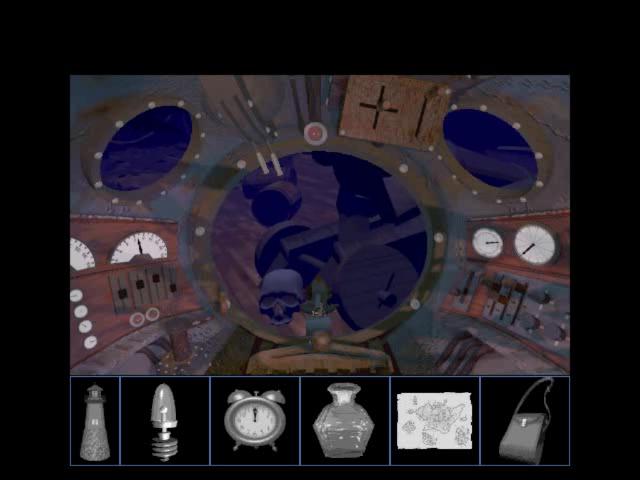
Ironclads! That's it. This is an ironclad ship!
...Oh no. No, no, no. This is the ironclad ship.
I'm so sorry, Lyral. The priests aren't coming back.

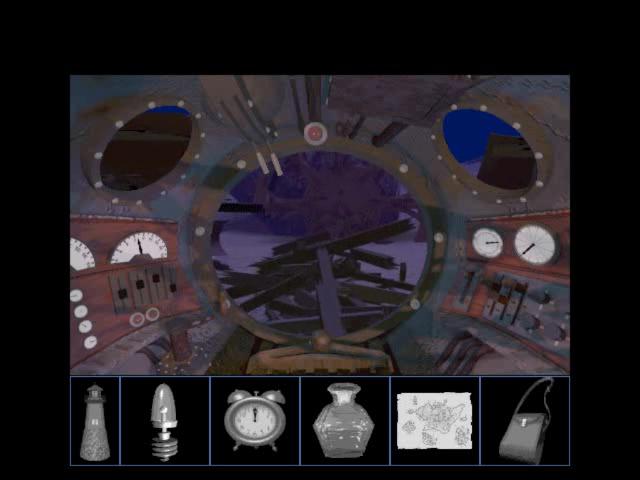
All right, I need to get serious about this. The priests set out to gather up the components of their anti-Dark-Being weapon; I'd be a fool to assume they sank before getting any of them. I can't exactly pick through the wreckage, beam by shattered beam, but the fore and aft sections look mostly intact.
I haven't explained how I'm piloting this thing, have I?
Okay, see the knob in the middle there? It has three settings: left, right, and center, or L / R / C for short. When you pull the crank next to the knob, the minisub moves in that direction.
It's not quite as simple as it sounds, though. The settings can mean different things on different screens. So while right now L means "circle the ship to the left," in other places it means "turn left." C doesn't work on every screen, and because the sub sometimes turns on its own there's at least one place where going C twice sends you in a loop. In other words:
Maze count: 1

By the way, the compass doesn't work here. (Why do I even have it then?
 )
)
It's not that bad, really - at least you can see what you're doing for the most part. The way the "stopping points" are arranged is quite logical and even symmetrical - it's just the way you move between them that gets a bit confusing. I was going to draw a map, but it turns out it's pretty easy to explain.
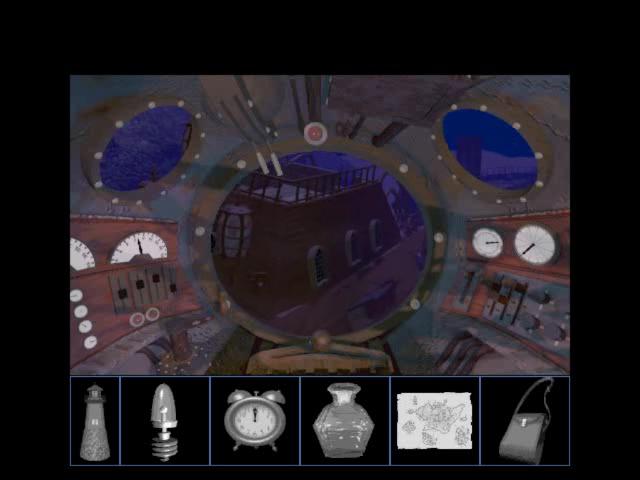
I start out facing the aft of the ship, and by moving L and R I can cruise around the ship in increments of 45°. I'm "circle-strafing" the ship, in a sense.
Aside from the eight compass points, there are three other positions I can move to: the ship's intact fore and aft, and its destroyed midsection. I get to them by moving C from the SW/SE, W/E, and NW/NE points respectively.
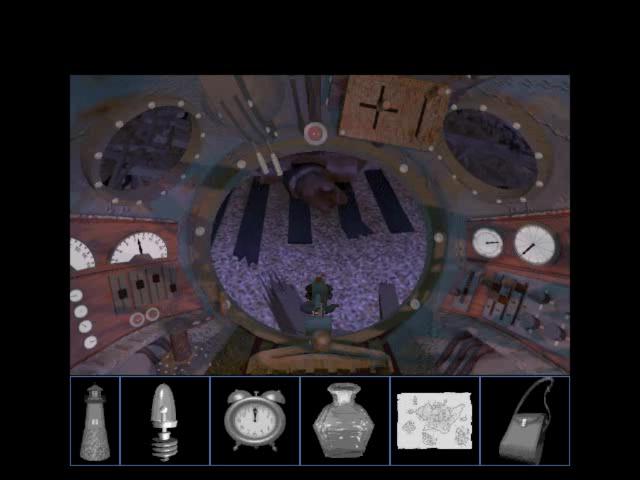
Let's assume, for sanity's sake, that the ship is pointing due north. Then the six screens you've seen so far have been South, SW, West, NW, North, and now NE. (I've been moving L every time.) From here, I can move C to position myself directly over the northern half of the ship.

The game helpfully points out that there's a minisub-sized hole directly below me at this point.
Now, I don't recall how I did in this section as a kid. What I do know is that when I replayed the game as an adult, I recognized enough of the game to cruise through without trouble, with two exceptions.
This was one of them. For the life of me, I could not remember how to make the minisub go down. L and R take me back to the compass points, and this is one of the screens where C doesn't work. Ultimately I had to look it up online.

The answer, of course, is blindingly obvious: you just hit the depth-control lever again. The minisub magically knows that you want to go down rather than up.
There isn't room to move around inside the aft section, but I can go L or R to pivot in place so there's technically four screens here.
Two turns later, I find my reason for coming down here.
>
...Yeah, I can't just put it into my inventory. That would be silly; it's out there and I'm in here, see? Of course you see, it's just common sense.
Fortunately, the minisub offers a solution to this problem! See the little lever in the top right?

Pulling it deploys a little manipulator, along with a little panel that lets me control it. When I pull the vertical switch, the claw grabs hold of the hook.
This will be important later, I swear.
The depth control lever takes me back out again.
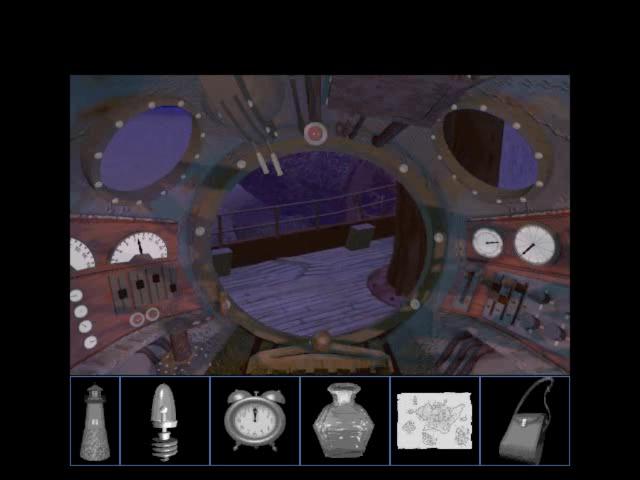
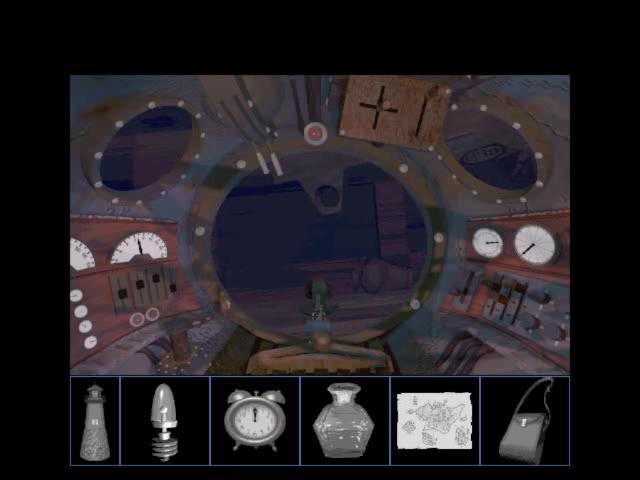
Well, I've explored the front half of the ship; all that's left is the back. There isn't a convenient hole to let us in this time, though, so I need to come in from below instead.
As I mentioned earlier, I can get to the midsection of the ship by moving C while directly west or east of the ship. While moving, the minisub automatically pivots to point north.
The midsection is like the interior region I was in before, allowing me to pivot in place with L or R before I advance with C. Going west or east returns me to the ship's exterior, while heading south lets me slither into the ship's back half.

The game animates the minisub's transitions, presumably because navigation would be nearly impossible if I didn't have some idea how I was moving between screens. This particular one is unusually long, so I'm throwing it up as an example.
*insert Shakespeare joke here*
Since I turned around at the end of that little trip, moving C would send me right back outside. I can pivot with L and R, for some reason, but you can probably guess what I actually need to do, right?
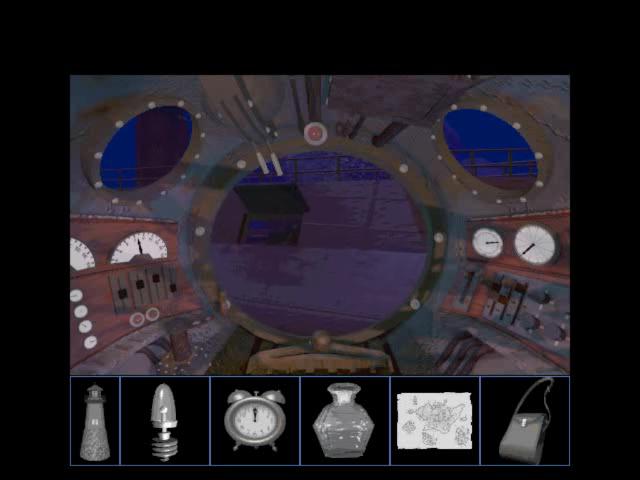
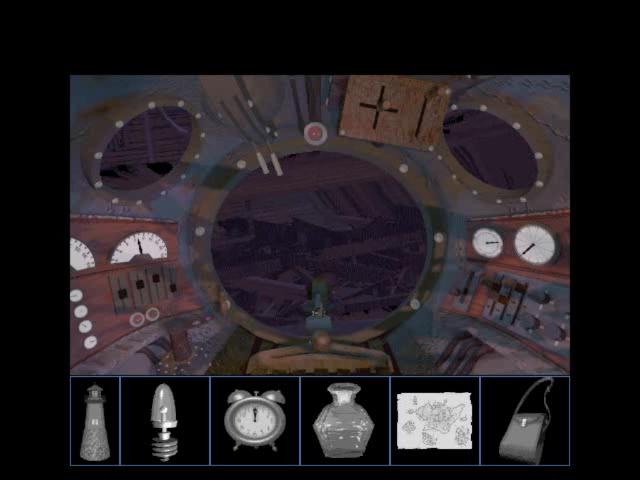
This is the last area of the ship I need to visit. Once again, I can turn in place with L and R.
This safe is my target, but those loose planks are blocking me from opening it.

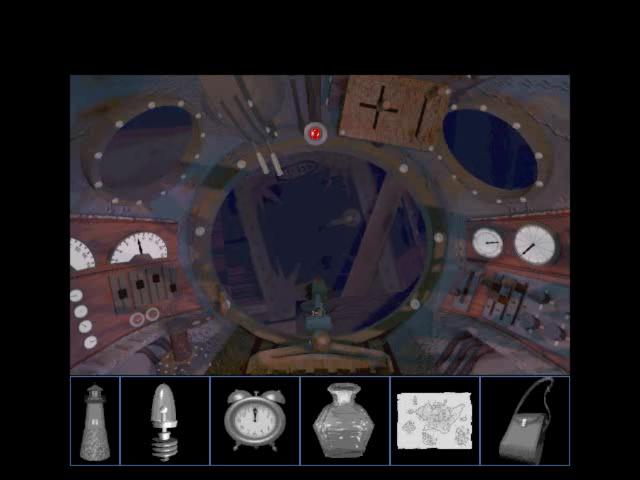
I should note that aiming the manipulator arm was a massive pain in the ass in the original version of Lighthouse. It's really hard to judge exactly where the arm will end up once it's extended, and there's no indication of exactly where you need to aim for anyway.
A later version of the game modified the interface, adding that red light at the top of the viewport. It lights up when you're directly over a valid hotspot. (It helps tremendously.) There's one or two other "indicator lights" like this later in the game, too.
The second plank can't be moved directly. Instead, I have to look to the left, where I find this convenient hole. I can't actually face this way until I've removed the first plank, because
Now you know what the hook is for.
The safe lies exposed before me.
Everyone ready for a repeat of the combination-lock game from the Lighthouse? No?
Good, because the safe isn't locked.
The object inside the safe is part of the weapon - component #3, to be precise. I don't know where the priests had hidden this artifact, but it's not anywhere I know how to reach. If they hadn't managed to retrieve it before the ship sank... I probably never would have found it. Which would make the whole "saving the world" deal considerably harder. (At the very least, I'd need to find myself a new superweapon.)
Of course, it's out there and I'm in here. I can't just pick it up; that would be silly, remember? I can grab it with the manipulator, but I'll need to think of a way to get my hands on it physically. Maybe if I bring the sub back to Martin's Roost, I can climb into the water, dive down...
> Got Artifact of Hope(the third of six)
...or it could just phase through the glass, that works too.


The minisub, somehow aware that I've acquired the only item of interest in the shipwreck, automatically returns to its larger cousin.

And with that, I'm done with this area. Next time, we tackle either the Volcano or the Island, depending on how the thread votes.
END OF CHAPTER
Addendum:
For anyone following along, an optimum path through the minisub maze (using D to mean "hit the depth lever") is:
R - R - R - C - D - R - R
Pick up the hook.
D - L - L - C - L - L - C - D - L
Move the smaller plank out of the way.
L
Put the hook on the larger plank.
Manipulate the safe handle.
Take the artifact.