Part 2: Meat and cheese.

Our prehistoric pal here won the vote by a landslide, so let’s take a look way, way back.
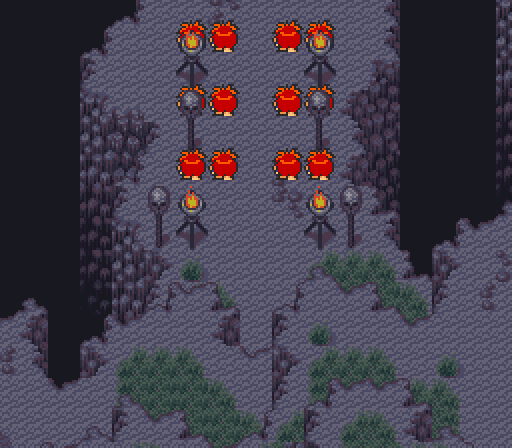
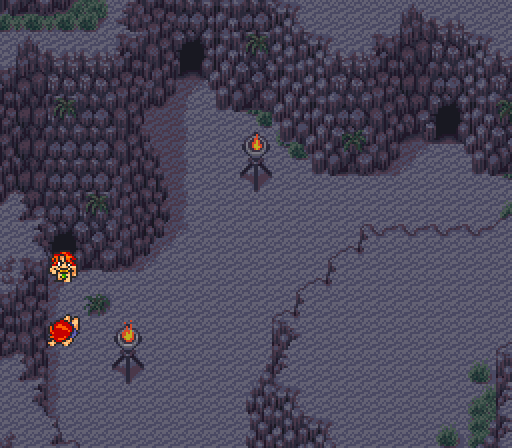
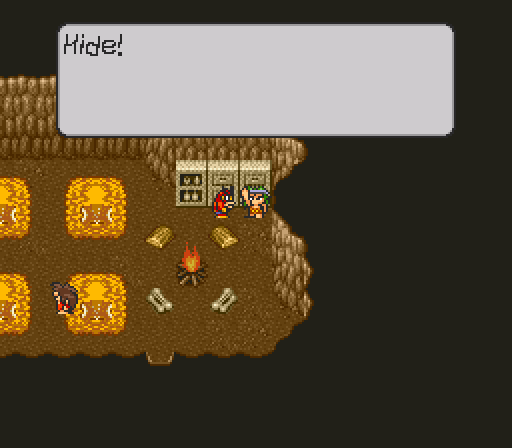
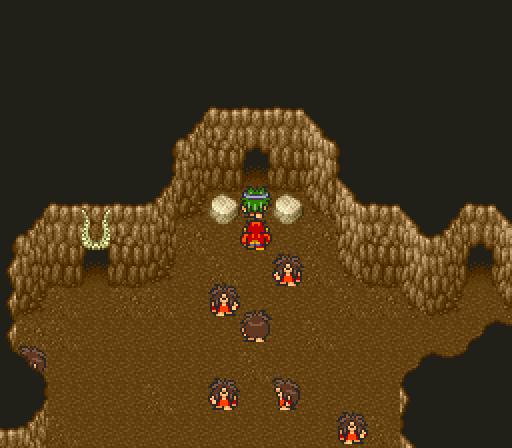
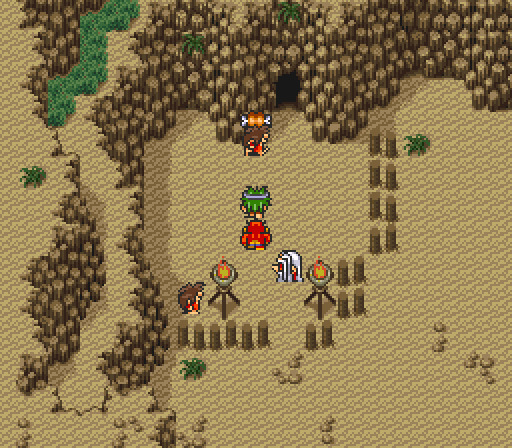
As we fade in, wind howls through the gorge these perfectly fine fellows have mounted skulls on sticks next to.
...Well, this can surely only be used for good.


Fortunately, there seems to have been a development.
Their intended sacrifice is managing to am-scray all on her own!
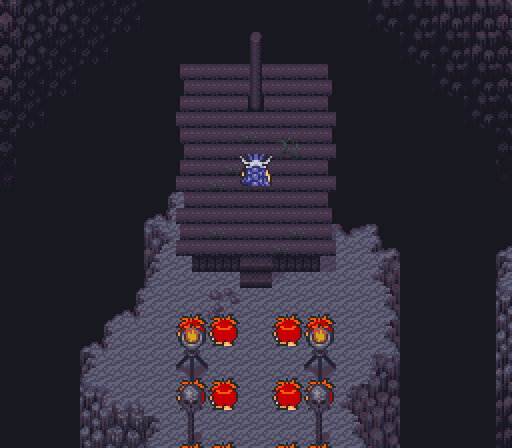
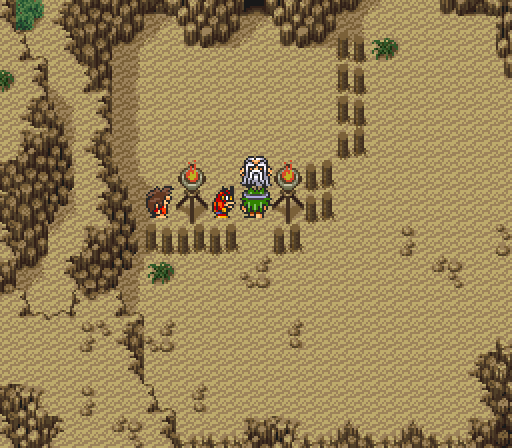
Though not entirely without detection.

Still, given how incompetent these guys appear to be, this may not be an issue. And who is this the bumbler bumped into?
Why, only
 personified.
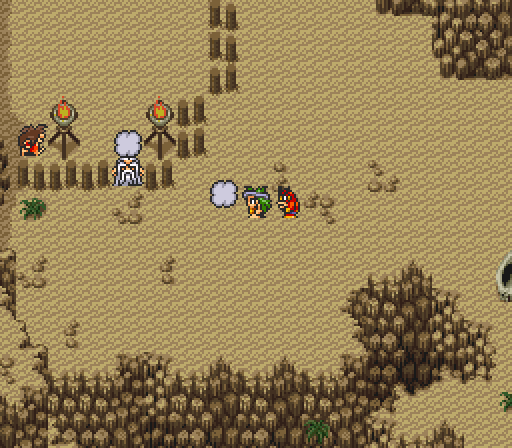
With Sir Swish in command, the redheads proceed to go full Flintstones and drive their boulder mobiles outta here.
-------

...Did I mention that the Caveman chapter involves a lot of slapstick?

-------

Oh, and each chapter has its own font. I hope you can read this scrawly one.
 Alright, let’s get this show on the road.
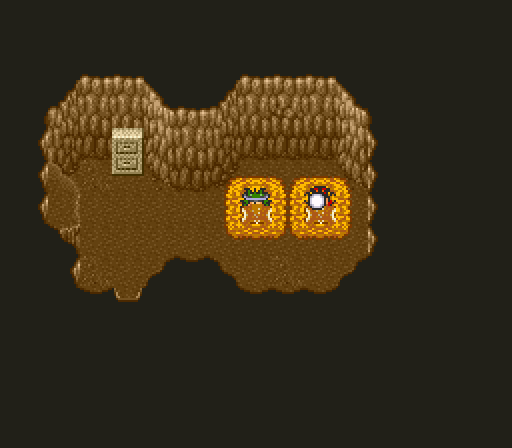

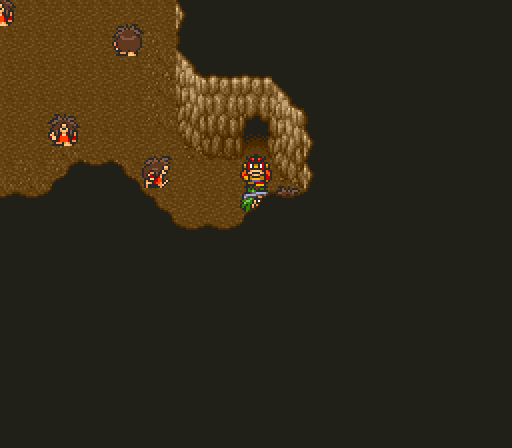
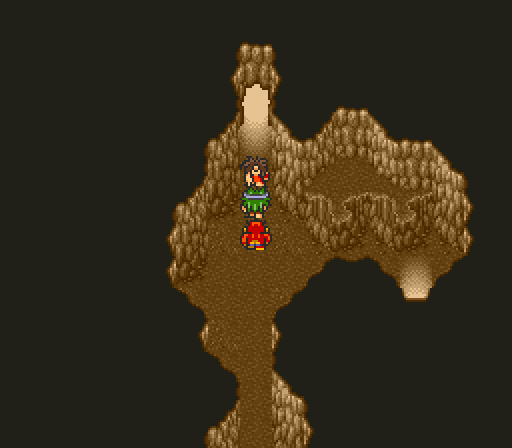
Waking from his dream of being chased by mammoths, it’s time for young Ayla to begin his journey, having finally come of age.
Naturally this means taking everything that isn’t nailed down.
And waking up our ape buddy by popping his snot bubble. Classy times, these ain’t.
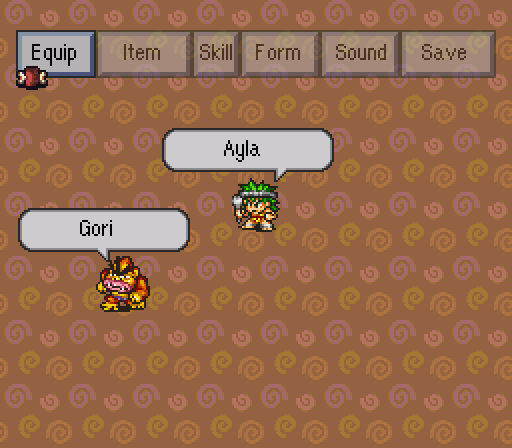
This ugly beast is Gori, and Ayla is the only member of his tribe who has befriended a non-human instead of killing it for food.


The fact that Gori could kick his ass up and down the cave may have something to do with it. Ayla is only level 1, and his stats are just nowhere near as good as Gori’s.
So, some mechanics chat:
- Atk/Def are a measure of your equipment’s effectiveness. So since Gori has nothing equipped, his are both 0.
- The other four stats are straightforward… I would assume. I can’t actually find any confirmation of their effects, and no one has bothered to translate the manual. (I do have pictures of it if someone would be willing to take a look.) But I’d be willing to bet that Pw is added to Atk, Vt is added to Def, Sp affects how quickly your turns come up and IQ affects certain techs.
- You need 100 Experience to gain a level. This does not change, but the formulas for how much you gain are a touch more complicated. More on those later.
- The equipment slots are Head, Body, Gloves, Weapon, Feet and five Accessories.

Aside from checking out equipment and stats, the menu allows us to look at our items, skills, change our formation, save anywhere, and if you’ve

Edit: AlphaKretin later proved that the music select fills in with each chapter's songs once that chapter has been beaten.

Enough about that for now. Let’s get to exploring the cave Ayla calls home.
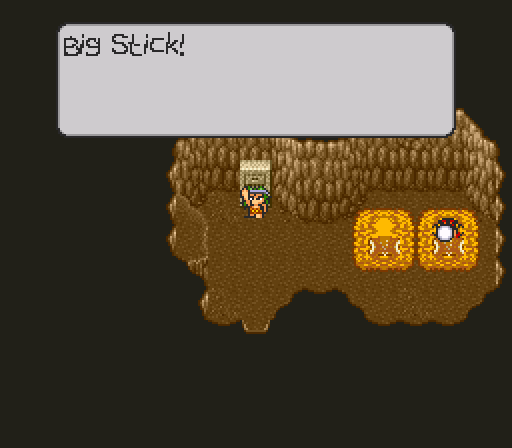
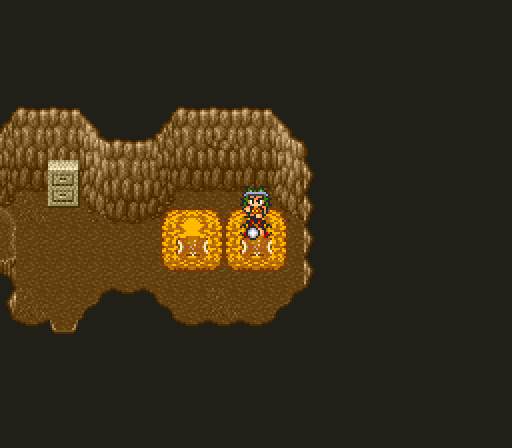
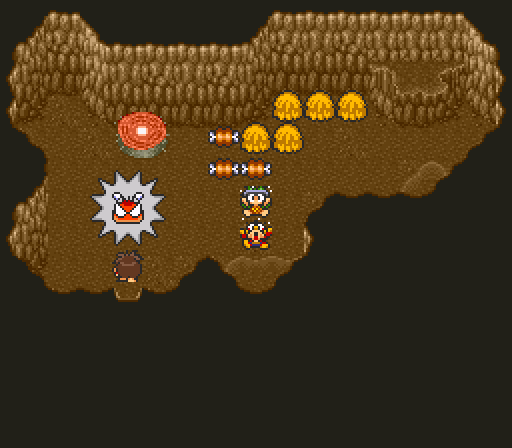
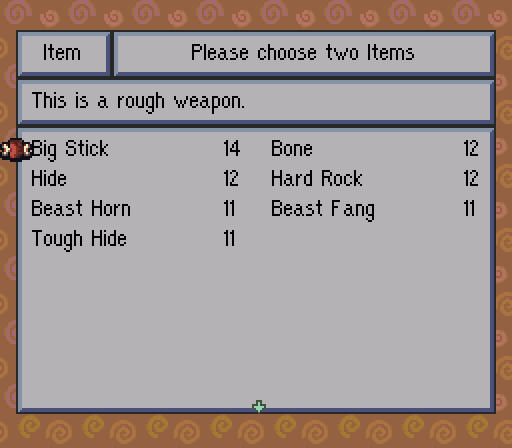
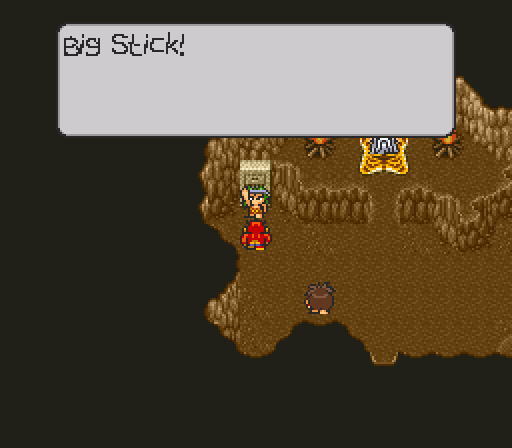
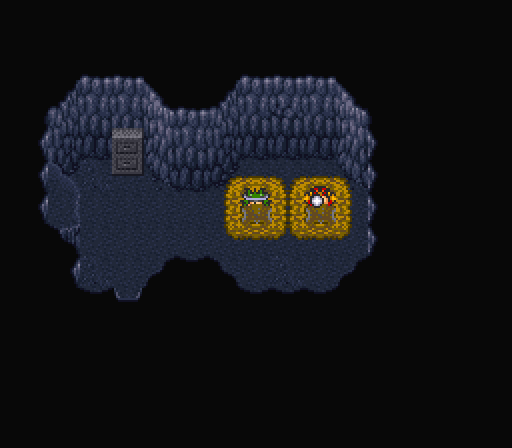
The door at the end of the hall is home to these clowns, who kindly leave so we can grab the Big Stick and Bone behind them.
The room between that and Ayla’s has three more items, the other being a Hard Rock and another Big Stick. It is also home to the method of breaking this chapter’s difficulty curve just a tiny bit.
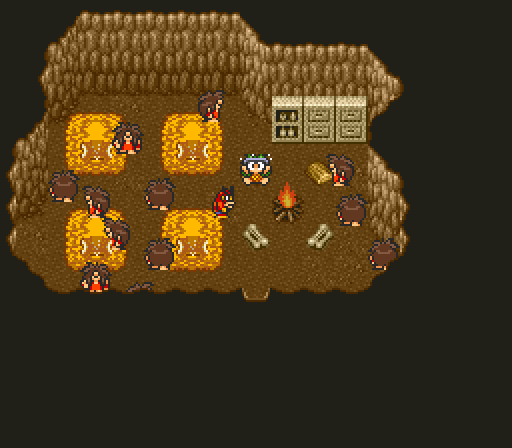
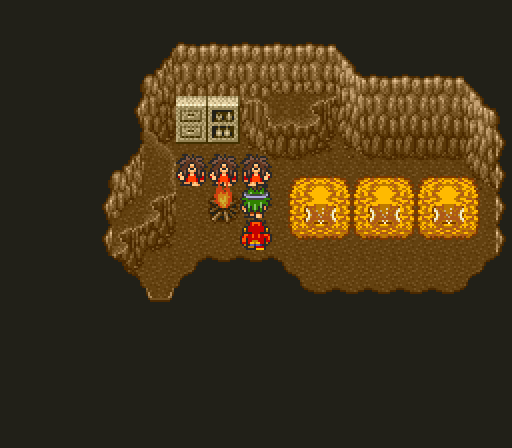
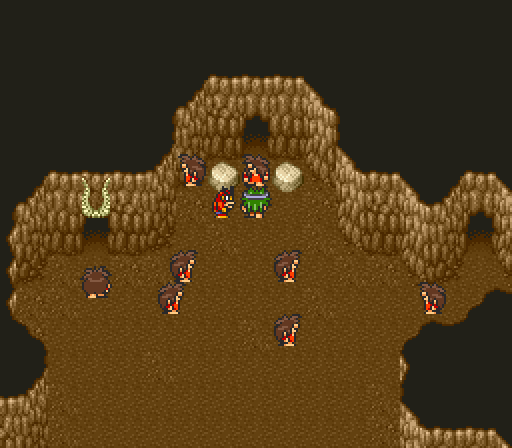
You see, talking to the caveman who is running wildly around the room spawns a second one. Talking to either invites in a third. And so on, and so forth.
Also, fire hot.
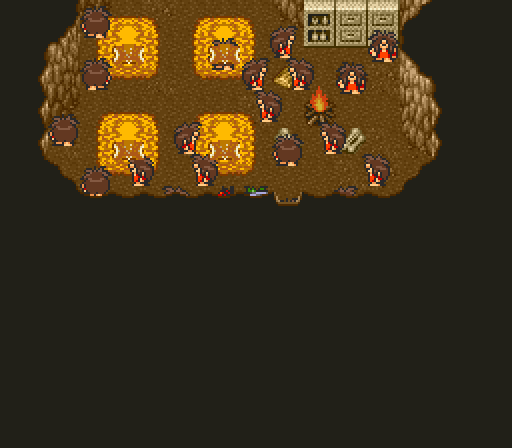
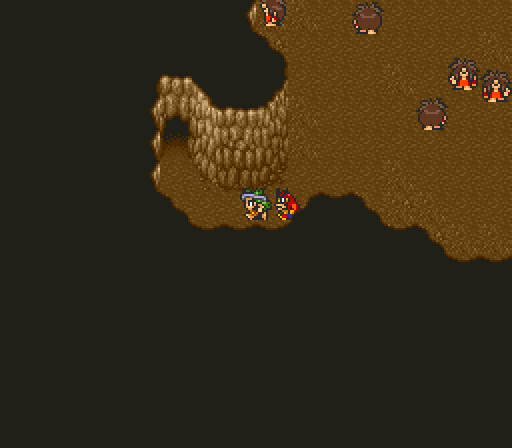
Talking to one once there are twenty generic cavemen in here causes them to empty out and drop back down to one. Unless, that is, the one you speak to is the last caveman to have entered. (It’s the one Ayla is facing in this shot.)
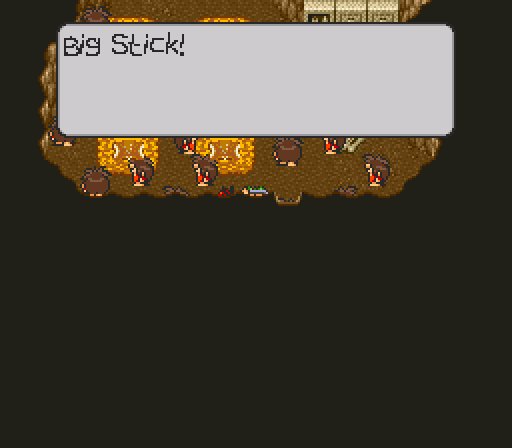
If you talk to that specific caveman, he gives us items. Ayla receives one of each of these: Big Stick, Hide, Tough Hide, Bone, Hard Rock, Beast Fang, Beast Horn. You can then empty out the room and do the whole thing over. You will soon see why this is ridiculous.
Moving on, the main room of the cave is full of a bunch of random dudes who do strange things. Including the rude asshole who farts on you whenever you interact with him.
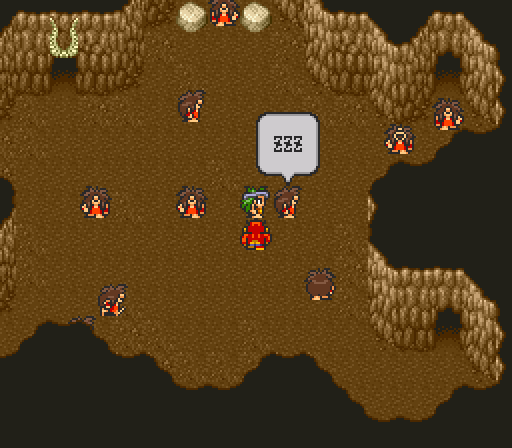
The sleepwalking caveman.

The laughing caveman, the one who gets bumped whenever you move next to him, one who falls over, one who spins…
This fellow who gets surprised, and finally…
The ninja caveman.

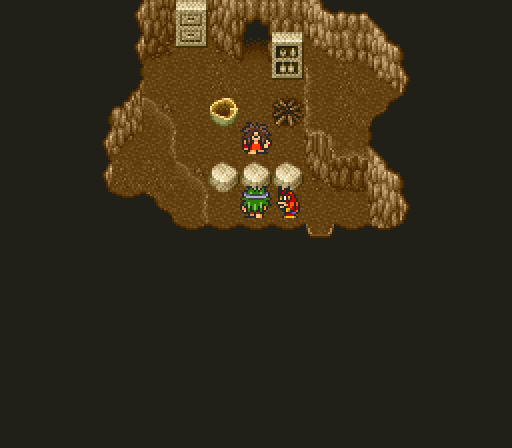
The top right room is where Ayla’s tribe keeps their food, but we can’t steal any of it. Pity, I hear their Jurassic Pork Soup is quite tasty.
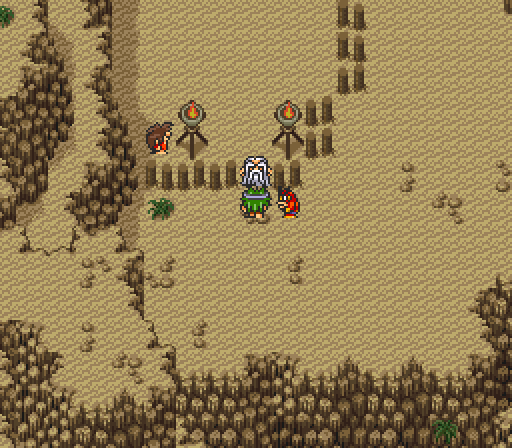
Okay, I’m guessing the hair elemental is in charge. Which means those swanky pair of horns must be over his door.
There’s one more room to explore before that, though.
Why yes, this chapter does have a crafting mechanic. And like 99% of crafting mechanics, it can make things go much more smoothly once you know how to abuse it.
Some of the assortment of junk that I was given by the room of many cavemen can be used as equipment in its own right, but it makes much more effective crafting material. Everything in this chapter can be made out of these seven items in some combination or another.
In particular, you want to use these recipes:
Crafting List posted:
Hard Rock+Tough Hide= Gatsun Glove. 5 Def, 16 Pw.
Beast Horn+Tough Hide= Ooh! Mask. 10 Def, +15 IQ, Mind Evade Up, Sleep Evade Up, and Wind Evade Up.
Bone+Hard Rock= Stone Knife. Crafting material, also serves as an attack item.
Hide+Stone Knife= Leather Cord. Crafting material.
Bone+Stone Knife= Smoulder Spear. 25 Atk, +10 Spd.
Tough Hide+Stone Knife= Wild Armor. 24 Def, -8 Spd, +10 Vt, Blunt Evade Up, and Sharp Evade Up.
Bone+Hide= Beast Hood. 4 Def, +10 Sp.
Beast Horn+Bone/Hard Rock= Gigigaga Wakka. +2 Sp, +3 IQ, and Blunt Evade Up.
Hide+Leather Cord= Wild Dress. 48 Def, +10 IQ.
Big Stick+Leather Cord= Swish Whip. 10 Atk, +16 Sp.
Tough Hide+Leather Cord= Wild Bag. 40 Atk, +20 Pw, +8 IQ.
Beast Fang+Beast Horn/Bone/Hard Rock= Nose Ornament. +8 IQ.
Making all of these things right now requires 11 visits to the room of many cavemen.
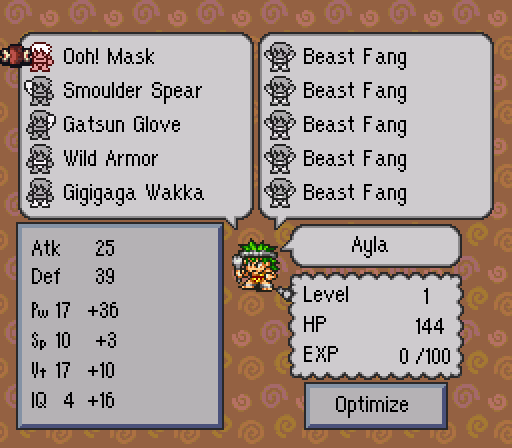
Throw in some leftover Beast Fangs (+4 Pw) and Ayla is looking a whole lot more formidable, isn’t he? The Smoulder Spear is only his second strongest weapon, but the Sp boost compensates for his armour’s penalty and then some. (The strongest is Stone Knife+Leather Cord= Buzzing Knife, which has 30 Atk instead of 25.)

These are the only pieces of equipment Gori can actually use, but at least they make him much quicker.
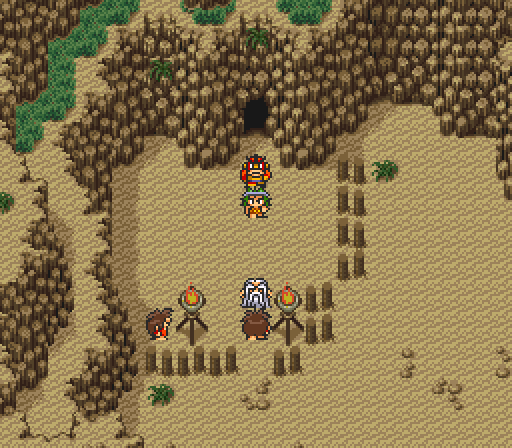
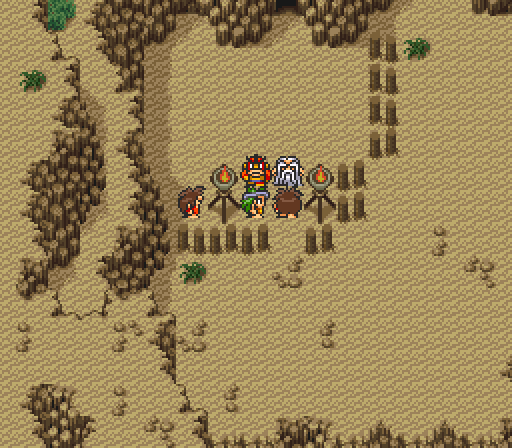
Okay, enough screwing around. Let’s have a game of charades with the Elder (and steal his stuff).
...Some of his stuff.

He tells us to go out, kill things and get meat. None of this sissy farming nonsense.
Coming through, proof of age quest going on here.
Oh, he went thatta way. Thanks, bud.
Alright, where’s all the prehistoric fauna we need to murderise?
As the game hinted at in the chapter intro, we’re going to have to sniff out our prey today.
Once that guy takes his back to the larder.
...Yes, Gori does snicker in a very Muttley-esque fashion. And the Elder is rude.

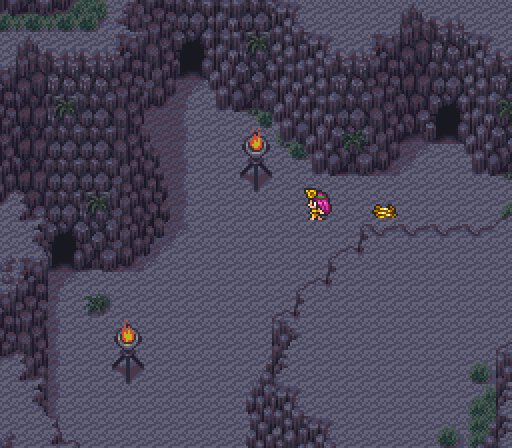
But yes, along with A to Interact, B to cancel/sprint and X to open the menu, Y is our chapter-specific ability button. In Ayla’s case, it lets us get some idea of where the enemies are.
You see, this chapter does not have random encounters. It has wandering enemies… which just so happen to be invisible.
So let’s finally get a look at some combat, shall we?


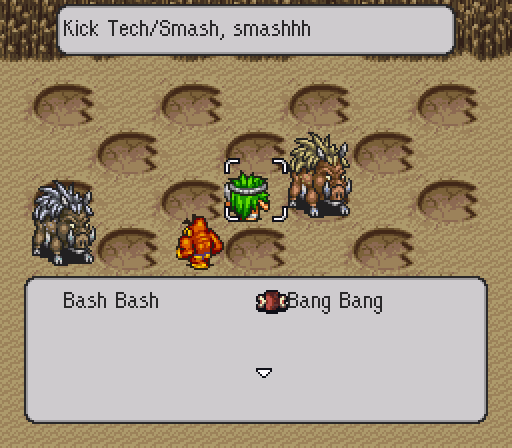
Say hello to this chapter’s battle theme, the tropical grooviness of ‘Kiss of Jealousy’. And also to the cutest little puppies.
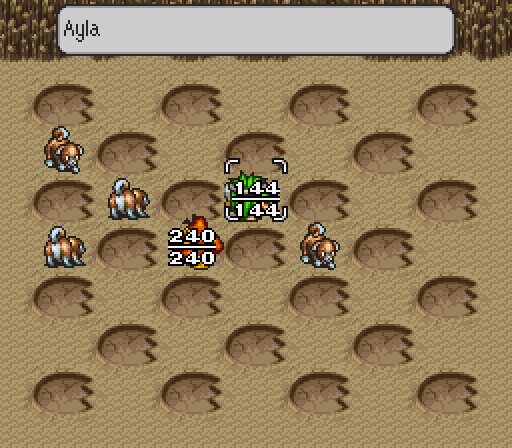
The battle system is rather strange, as enemy turns come up and charged attacks complete themselves as you move around (or open the action menu, which consumes a little time). However, your characters will always act in their formation order.
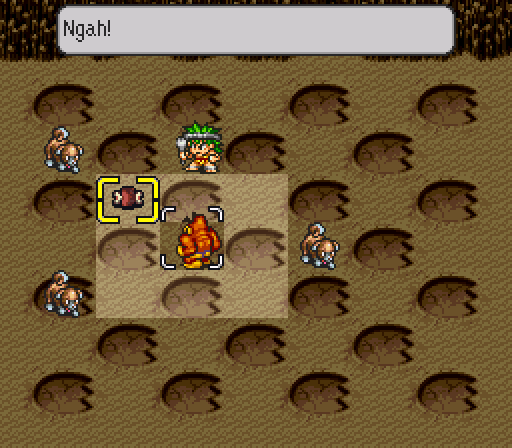
You also have no basic attack command, just a list of techniques. There’s no MP to worry about, but some moves do take a little while to pull off. They also vary wildly in terms of range, target pattern and area of effect. Both Ayla’s Bash Bash (Blunt tech) and Gori’s Ngah! (Hand tech) have a range of one, an effect of one and target in all eight directions.
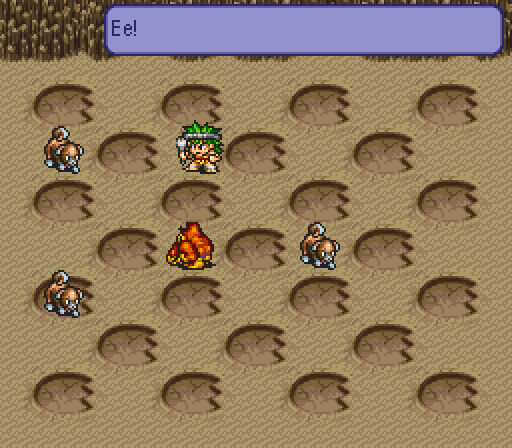
Gori also starts with Ee!, which is a Mind tech with a 3x3 area of effect. Mind techs are based off of IQ, so this move will always be very weak with Gori’s rock-bottom IQ.

Suffice to say that the last puppy does not last much longer than its friends.
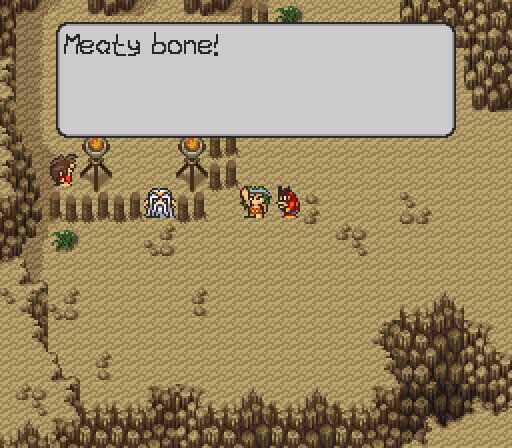
The elder wants us to fight three encounters and bring back these meaty bones, but I manage to find the same group of puppies each time. So…
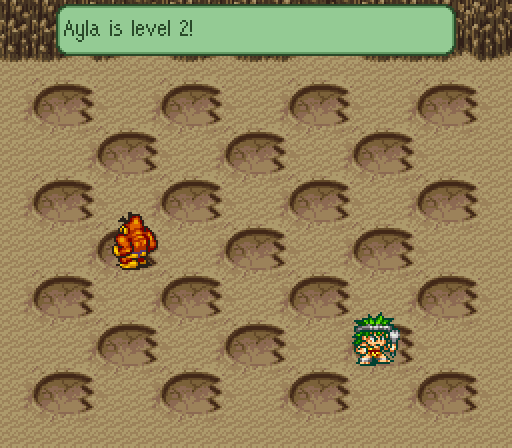
Let’s have a quick chat about how experience gains work. Each specific encounter has an EXP value associated with it, and the game compares this to each character’s level to determine how much is actually awarded. The puppies encounter has a value of 3.
If (encounter value - character’s level) > 0, then EXP gained = ((encounter value - character level) x 16) + 8.
If (encounter value - character’s level) is equal to or < 0, then EXP gained = (16 / character’s level) + (encounter value / 2). This formula is also used for any characters that do not act in battle.
tl;dr version: If a character’s level is less than the experience value of an encounter, they get way more experience than they would otherwise. So Ayla got 40 EXP compared to Gori’s 5.5 (rounded down to 5).
At any rate, we have our three pieces of meat and the elder is satisfied that we know how to hunt. We can go back to Ayla’s room to progress with the story, but we can also head back out onto the hunting grounds and fight more stuff. Naturally, grinding ensues.
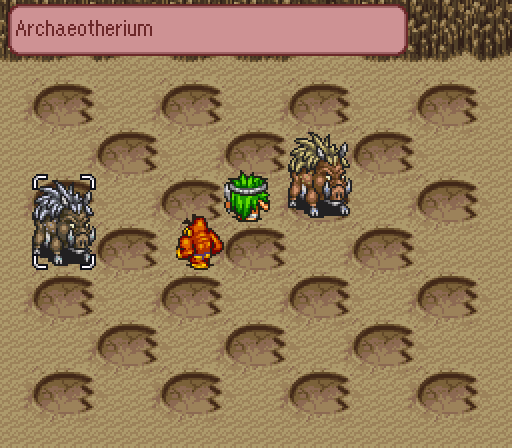
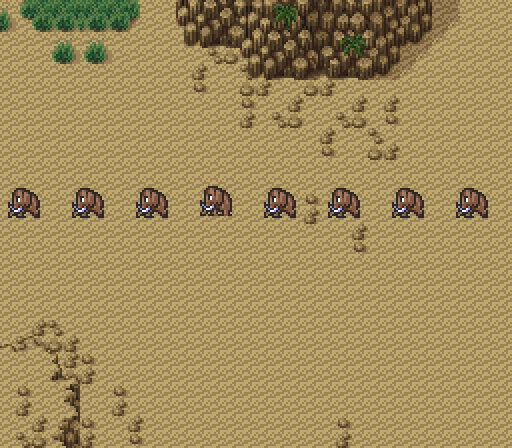
The prehistoric pig and its mate offer an EXP value of 6. The male one (on the left) can counterattack if you hit him up close, but they still aren’t anything to worry about.
Ayla’s new move is rather weak, but knocks the enemy back a space. So you could use it to avoid aforementioned counter.

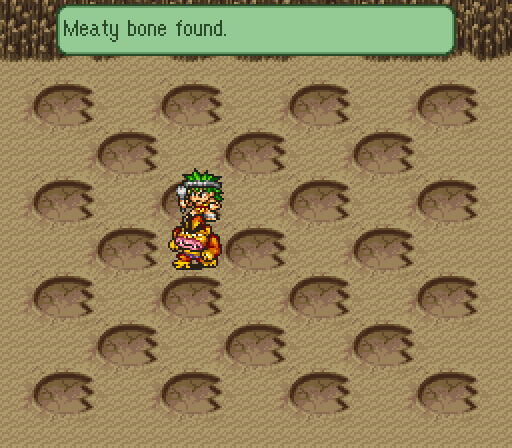
Meaty bones serve as our main source of healing for this chapter, so stock up. This is actually one of those games where you get healed back up to full after every encounter, so healing items are purely for helping with tough fights rather than overcoming dungeon attrition.

Aside from revealing a slight bit of inaccuracy on the game’s part (as only the male of this species is believed to have had their Y-shaped horn), these jerks have the ability to lower a character’s level, which causes some general stat loss. Their EXP value is 4.
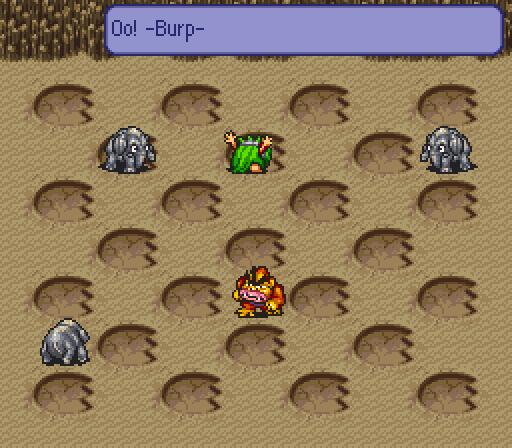
Also featured: farting on baby mammoths, everyone’s favourite pastime.

Gori doesn’t want to be shown up by Ayla though.
 These poor little guys also have an EXP value of 4.
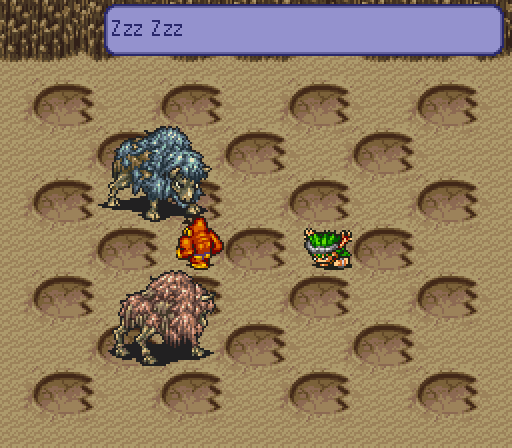
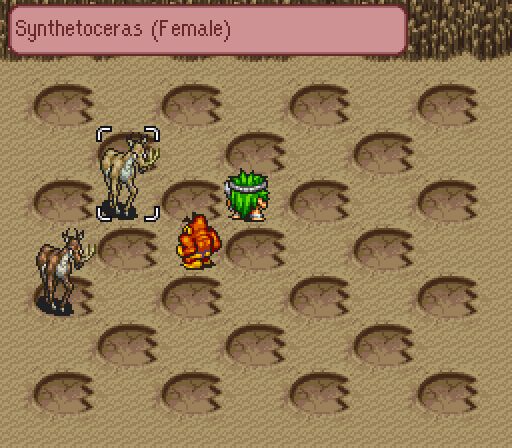
The last enemies out on the hunting grounds are the male and female Primeval Bison, shown here being put to sleep by Ayla’s new Zzz Zzz move. It does exactly what you think. The male bison alone offers an EXP value of 7, and 8 for the pair.
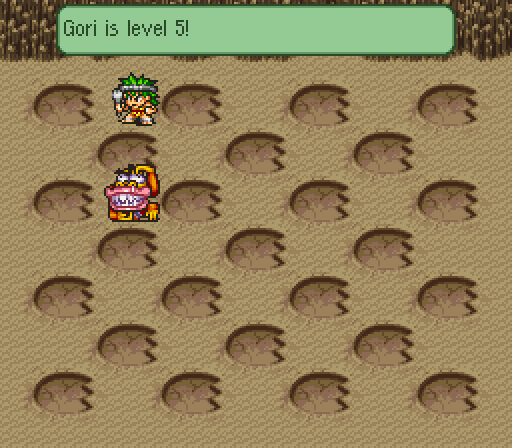
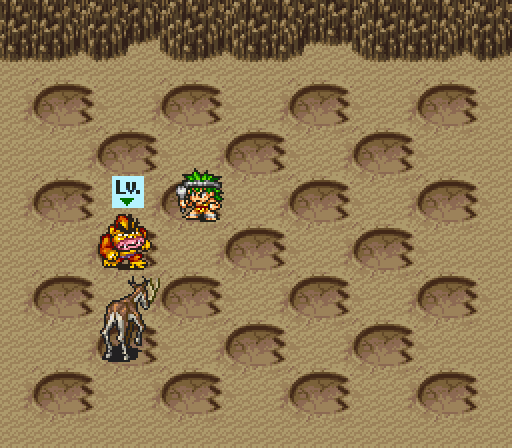
Oh, and please try not to let this picture of Gori’s level-up face haunt your nightmares.
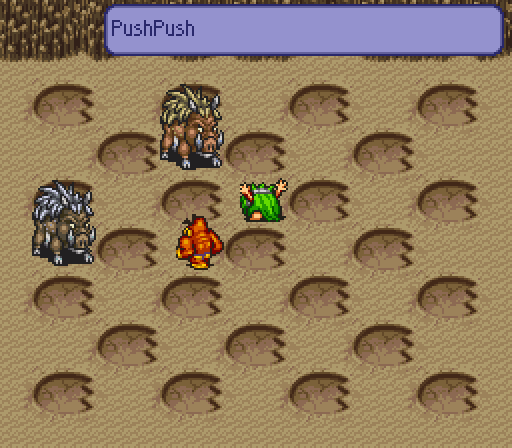
The training session closes out with Ayla at level 5 and Gori at level 6, bringing one more new move. Push Push has a chance to Stun, which is like Sleep; except that it wears off quicker and you can’t be knocked out of it.
Alright, that’s enough for one day. Let’s give Ayla a chance to get some shut-eye, and I’ll see you all next time.