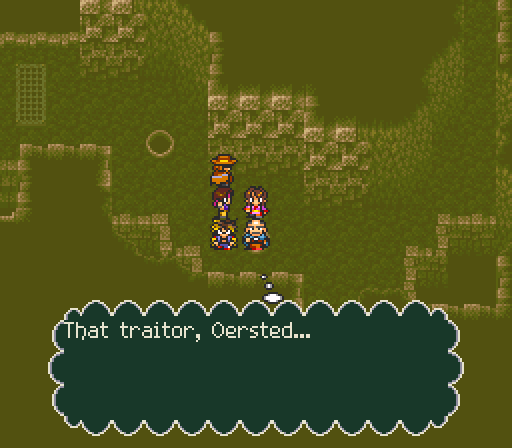
Part 33: Gee, ya think?
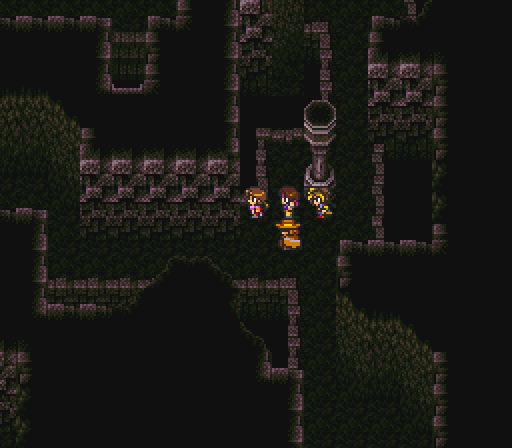

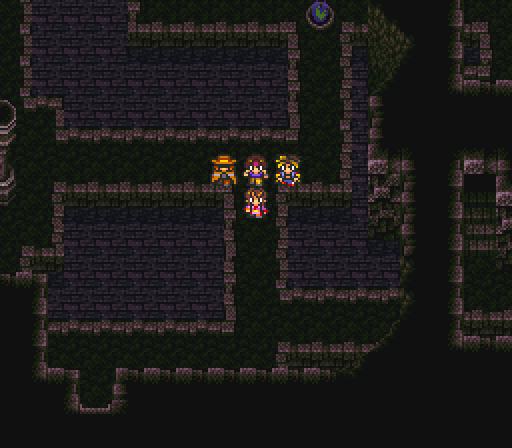
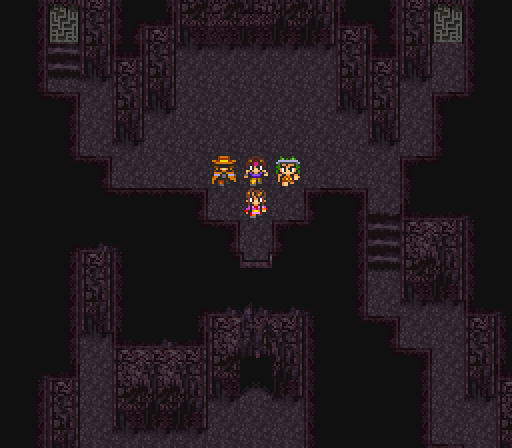
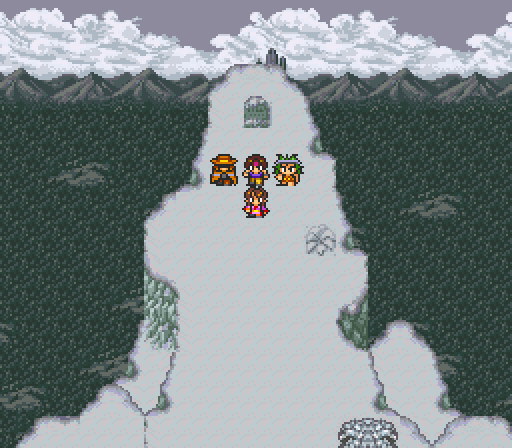
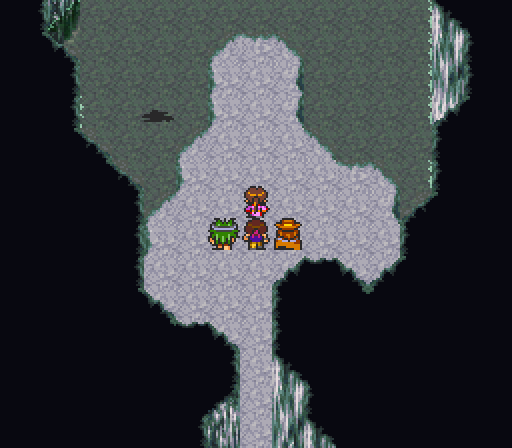
So after a brief foray into Devil’s Peak, Coop’s teleporting shenanigans dumped us into the Dungeon of the Mind. There are actually four different places where you can start off, and this is the best one by virtue of being closest to treasure and the exit.
While inside any of the dungeons, the music changes to a new track. I’d say it fits quite well with this dungeon in particular.
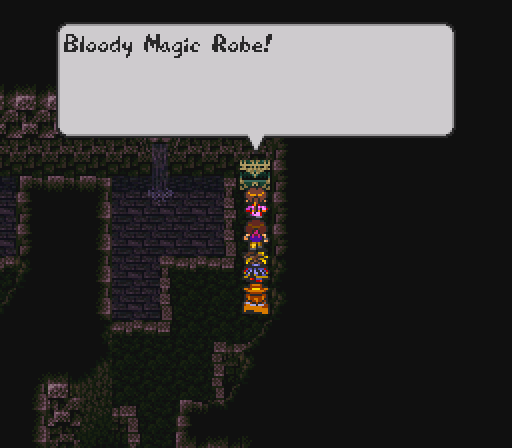
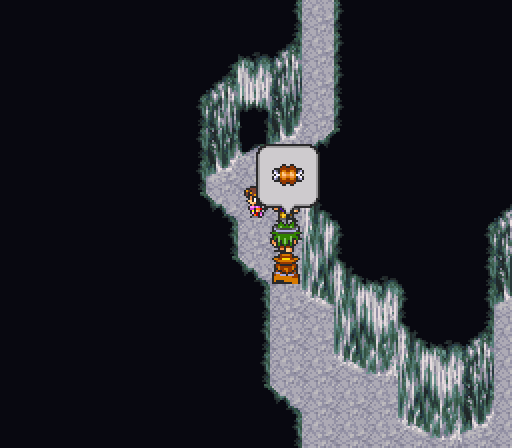
Just north of our starting point, we find the first of four treasure chests in this mazy place. This robe has an abysmal 1 Def and a whopping -40 to IQ, but offers +60 Pw. I suppose it’s there for those who want to really go on the offensive.
After that, turn back and head left at the pillar, heading down to that staircase.
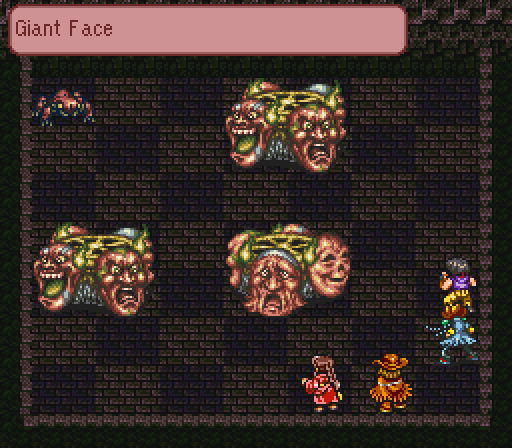

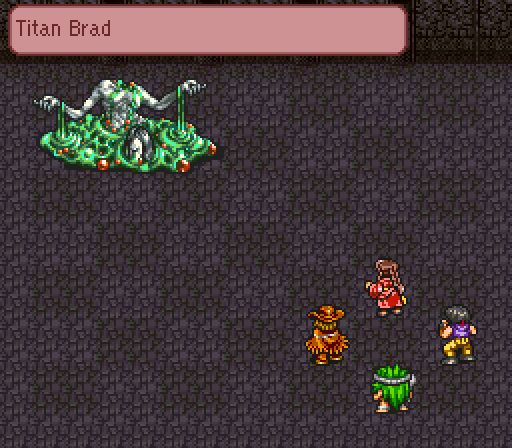
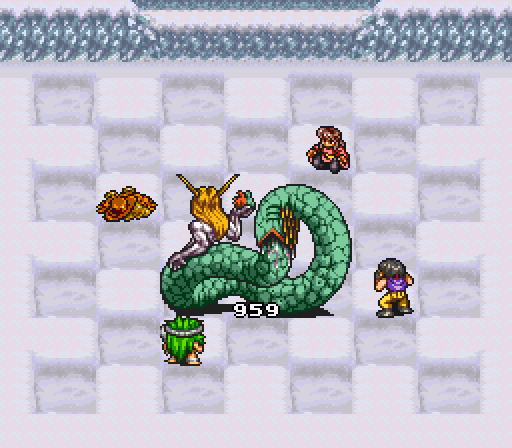
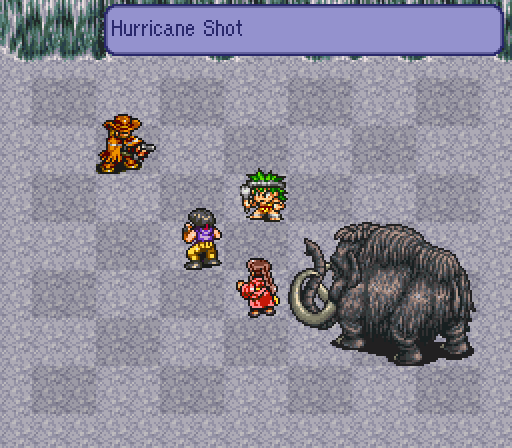
Along the way, a Mustard Dragon and its buddies decide to attack us. The Giant Faces use different attacks based on which face is pointed at your characters, but they break down if the little guy dies.
Mustard Dragons have a lot of defence, but there are a few attacks that will reliably clean their clock.
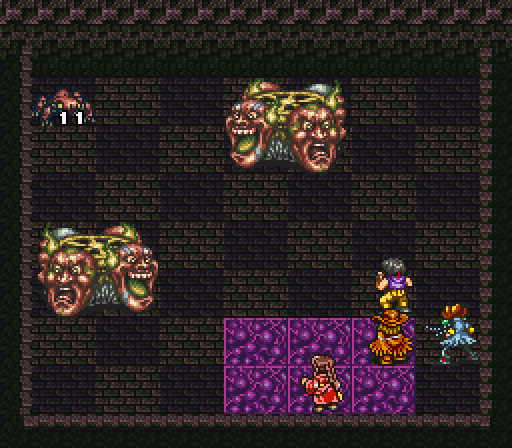
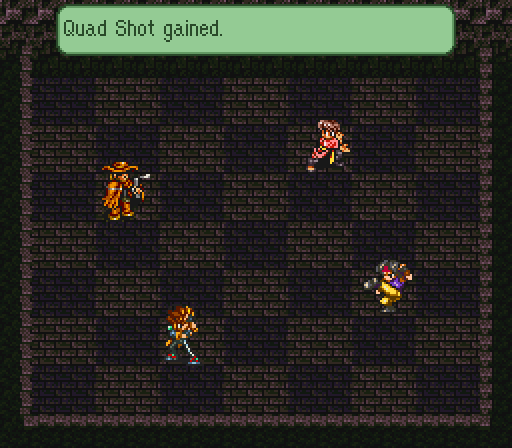
Like pretty much all of the Waco Kid’s attacks. He can reliably two-shot them at base level, and one-shot them when he gets better techs.
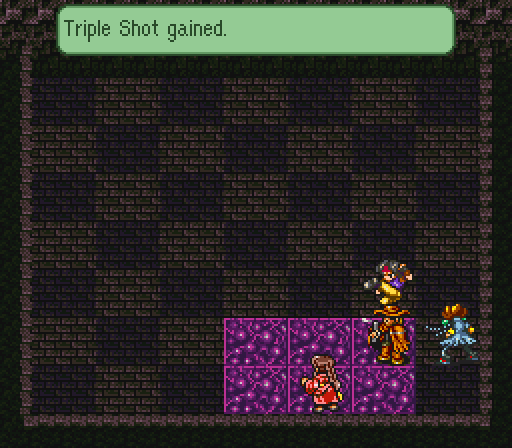
This is literally Double Shot, but more damage. His next level will be Quad Shot, which… well, you get the idea.
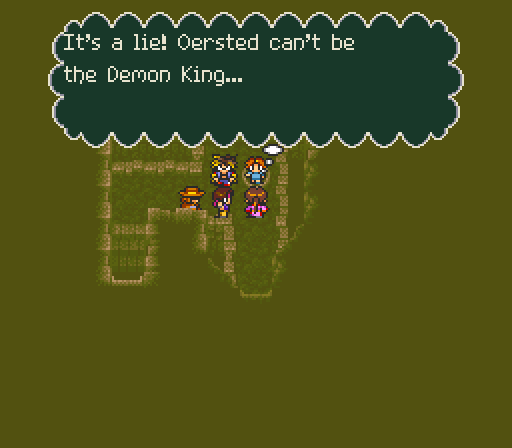
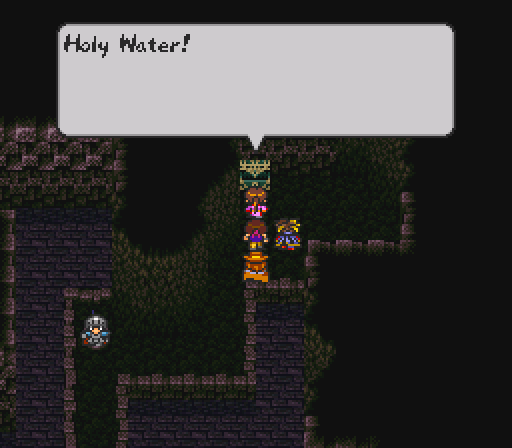
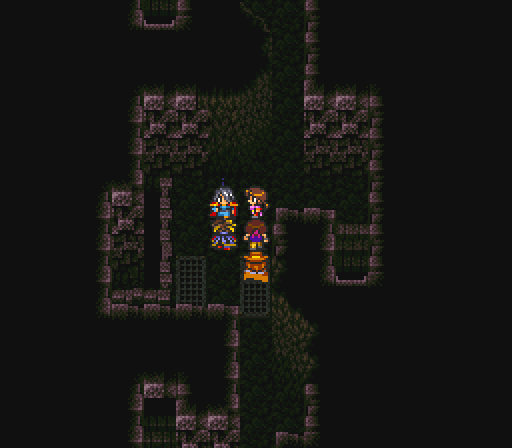
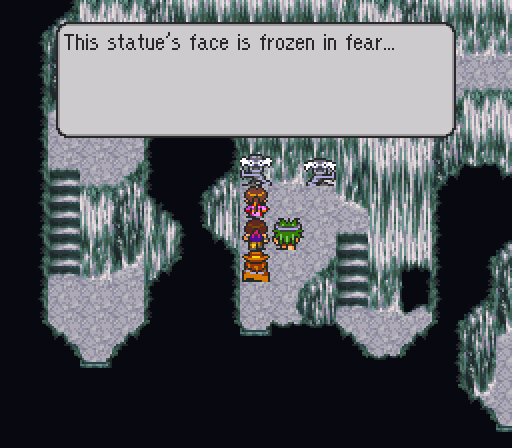
The gimmick of this dungeon is that if you talk to any of the blue flames hanging around, one of the kingdom’s dead residents will appear. Coop can then read their minds for some insight before they disappear again.
It seems that everyone’s souls are trapped here, and are aware of what Oersted is doing outside.
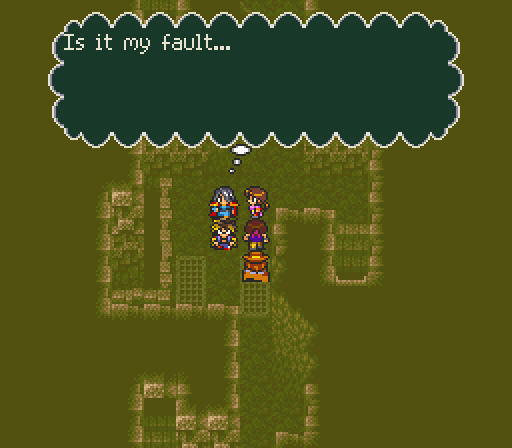
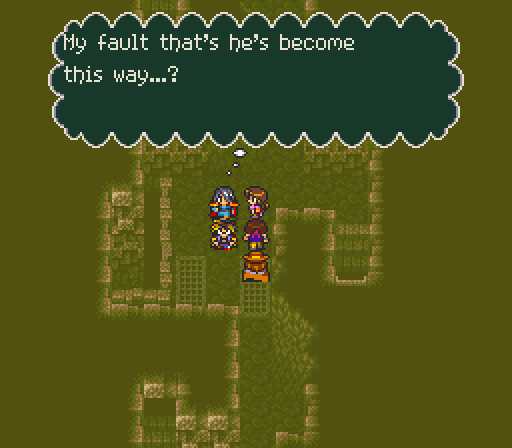
 (He is the true Demon King…!)
Only because you lot helped push him into becoming it…

If you go through the southern door by the minister’s flame, you can get to this chest. After that, head back and go north.
That lets us loop around the room and go for that staircase.

We’re heading north from here as well.
Upstairs is where we’re going from here, but first…
Oh hello again.

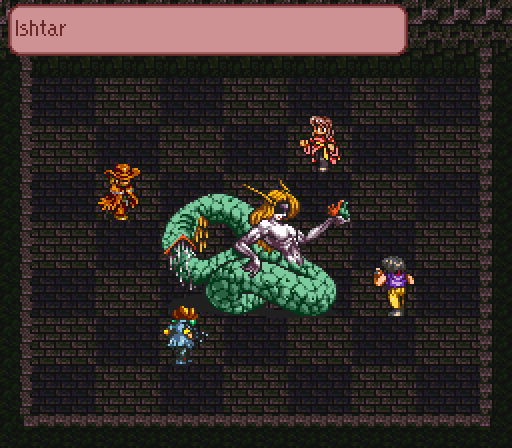
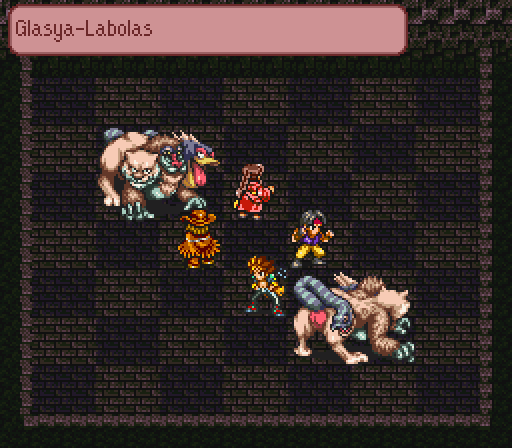
EponymousMrYar gave a rundown on Ishtar between updates, but here’s my version: Ishtar has 1600 HP, which is more than any boss we’ve fought aside from the Great Inko Statue.
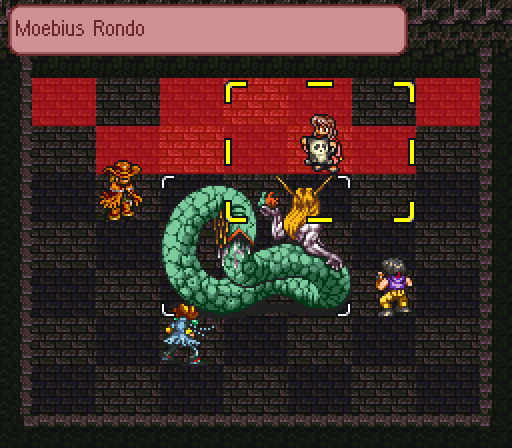
Ishtar has two really nasty techs that will debuff and inflict status ailments all over the place.
However!
Unlike a true boss, Ishtar’s defence is awful. And he also has a pair of dud techs, Constrict and Tail. Those will deal almost no damage.
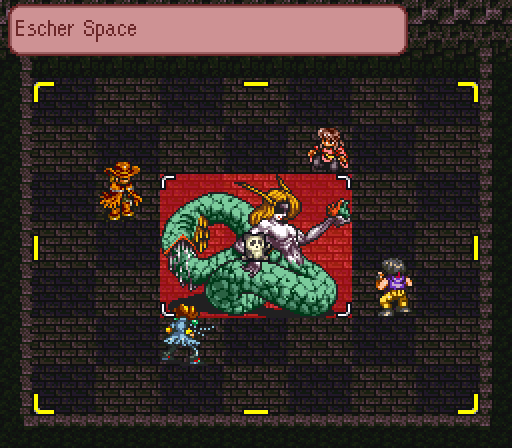
Add in the fact that he can be stunned with Squirrel Kick, and Ishtar is often fairly manageable. It’s just a matter of dealing enough damage before he throws out Escher Space too many times. Once you get access to level 16 techs, this should be a breeze.
Sidenote: Earth-Rending Fury is Andre’s level 16 tech if you don’t learn it from Jackie. It’s by far the worst of the lot.
Okay, so here’s the good news about Ishtar. He has an insane EXP value of 45, so fighting him is worth a full level right up until you hit 40. There’s unfortunately no spillover, or everyone would have gone up several levels at once. (Andre was at 9; he would have gotten 632 experience, enough to put him at 15.)
Uhhh… Well, about that…
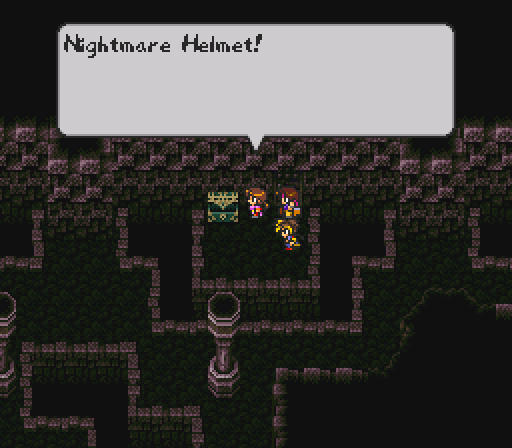
Just gonna take this helmet and go, sorry kid.
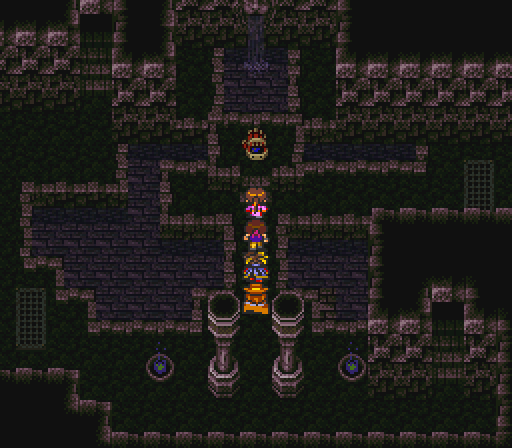
This is the point where all the different paths through this place converge; we’re going south down the stairs, then east.
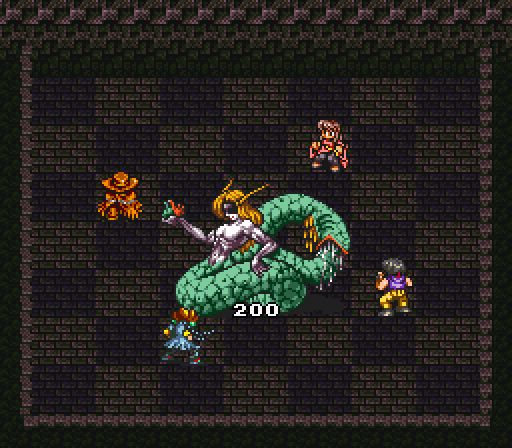
Ishtar shows up to get clowned on with Quad Shot and such. See you later, you weird ouroboros lamia.
And we come to an intersection. Going northeast leads to treasure, south toward the pillar to progress.
Oh, these guys. 256 HP, EXP value of 12, can drop Giant Meaty Bones. Definitely worth the time to kill, because AoE healing items are great.
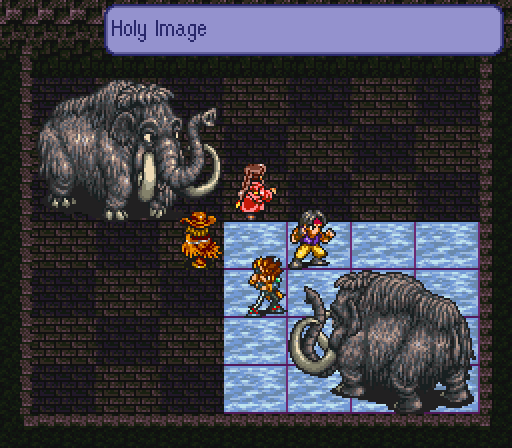
Coop has hit level 16 and learned his last tech, but this is a poor showing for it. Holy Image hits the whole vertical length of the battlefield and two columns either side of Coop, potentially lowering each of the enemy’s stats.
This is just a Giant Meaty Bone or Castella by another name. Still, it’s appreciated.
Pictured: Chimeras done very, very wrong.
West from the pillar, down to the next, east from there…
Say hi to His Majesty… Which reminds me, someone asked if the illusion Oersted saw could attack. The answer is no; there are a few enemies with no techs at all, the other most noticeable one being the women in Sonic’s chapter who you weren’t meant to be killing.

From there, it’s down the stairs to… Oh boy.
Look who it is, everybody! Let’s get Straybow’s thoughts on how that whole scheme of his worked out.
 …
…
…
I have no words. Thread, help me out here.
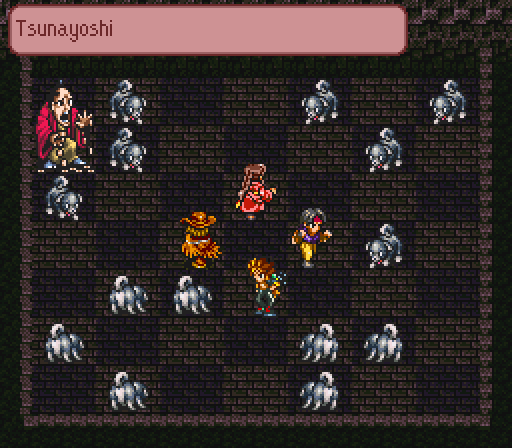
Moving on from… that… We encounter Tsunayoshi and his Lord O-inu pals.
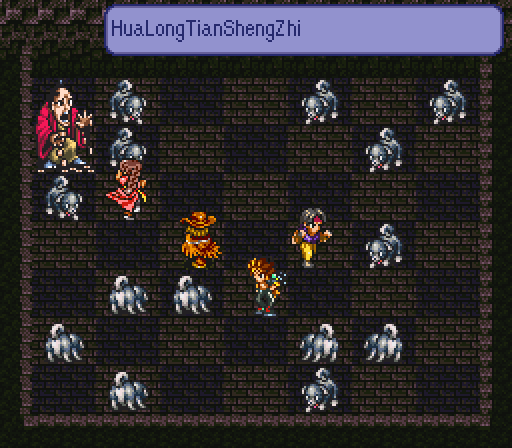
They are prime fodder for the second of Li’s new unique techs. HuaLongTianShengZhi requires a brief charge time, but it hits the entire screen and will pick up a decent bit of damage in the next few levels.

This is another good encounter to find, because it will often cough up another Castella for the pile.
 (That fool…)
Heading down the stairs directly right of Straybow leads to the old Heroes, who are not terribly impressed with how things turned out.
Ooh, fancy.
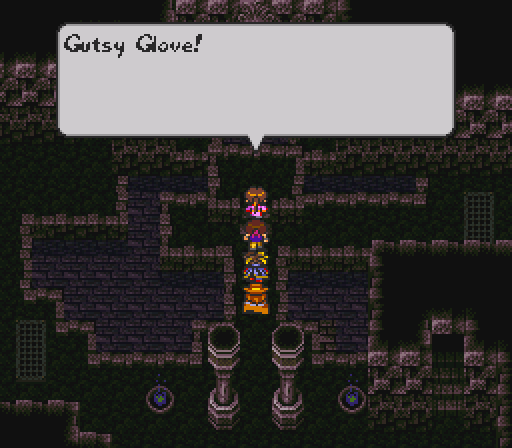
The Gutsy Glove is Coop’s ultimate weapon, establishing why we should do each character’s personal dungeon. Even if you don’t plan on using that person, a lot of these weapons can be used as offhand equipment by other characters.
After you take it, Alicia pops up in its place. Reading her mind will kick you out of the dungeon, never to return. (Coop stops having random teleport screwups as soon as you arrive.)

 (Please stop him…)
-------

...Well, that was unceremonious.
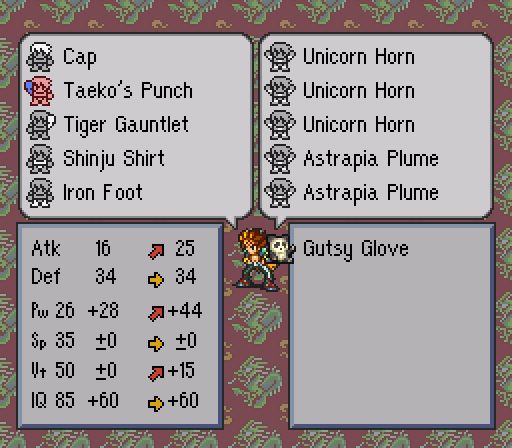
The Gusty Glove offers +16 Pw and +15 Vt for Coop, or +8 to both as an offhand item. There’s no defence on it as an offhand; however it does offer immunity to foot/arm locks, poison, stun, sleep and being drunk.
We’re going to give Coop a little time on the sidelines, though.

Since I had planned on looting Devil’s Peak earlier, it’s time to head back there and clear the place out. The music’s pretty great here.
Almost every dead end in the place has at least one bit of treasure, the only two exceptions being the upper-right and bottom-centre openings pictured here.
The total haul consists of:
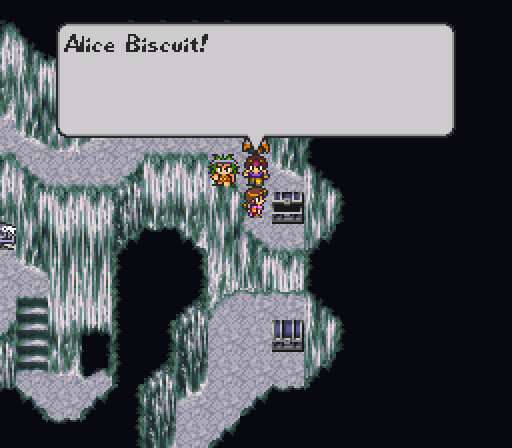
- Alice Biscuit, Demon’s Cloud, Fujin’s Scroll on the first screen.
- Unicorn Horn, Demon’s Cloud, Fudo-Myoo’s Fuda on the second.
- Izanagi’s Scroll, Gold Topknot on the third.
- Golden Robes, Venus Figurine, Algos’s Eye, Potion No.9 on the fourth.
The only new items in this lot are the Gold Topknot, Golden Robes and Algos’s Eye. They are a weak helmet (0 Def, +5 Pw/IQ), awful body armour (0 Def, -20 Sp/Vt) and decent accessory (+8 IQ, Sleep Immunity) respectively.
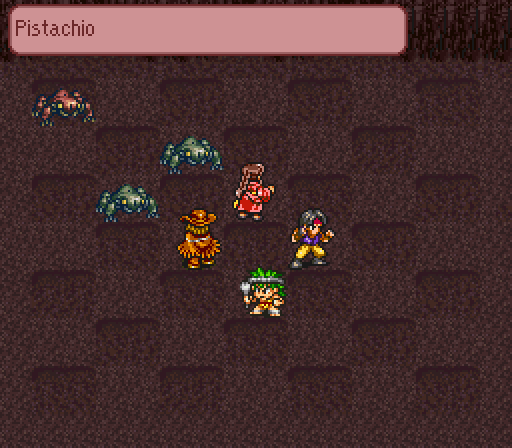
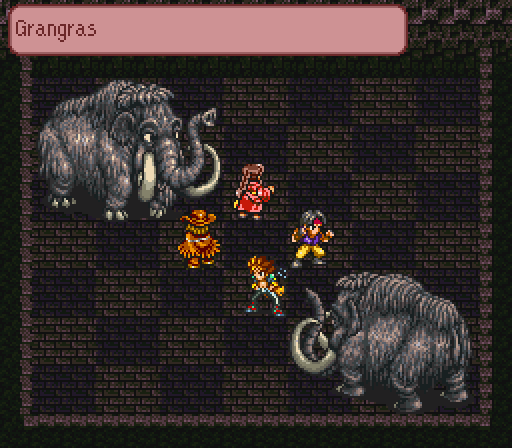
New encounters here include this melty jerk who has an EXP value of 0, and the Pistachio. Do not attack the Pistachio. It has five times the Mustard Dragon’s HP, its only attack is a counter, and that will do very nasty things to you.
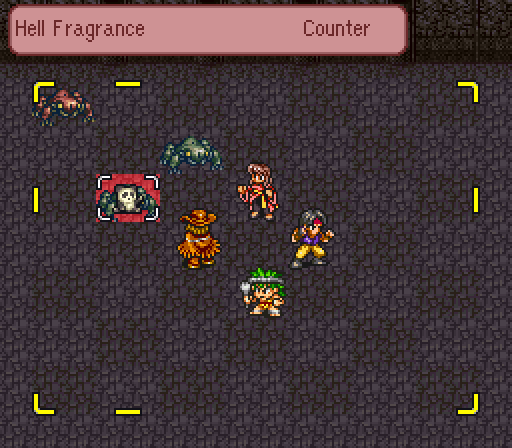
Seriously, don’t attack it. This is some Malboro-level bullshit.
-------

When we reach the stone idol room, we find that they’ve been shuffled around so that the main protagonist has theirs in the centre. This is something EclecticTastes thinks points to Coop as being the ‘intended’ choice for this chapter, because his was in the middle originally.
And yes, everyone will react to their own final boss’ statue. (Ayla makes monkey noises at his.)
 (Silence.)
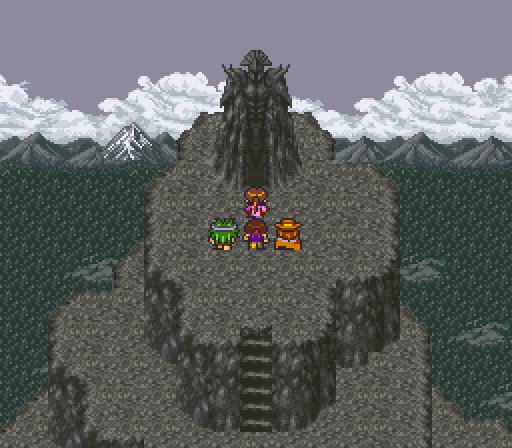
Up on the mountain peak, nobody seems to be home.
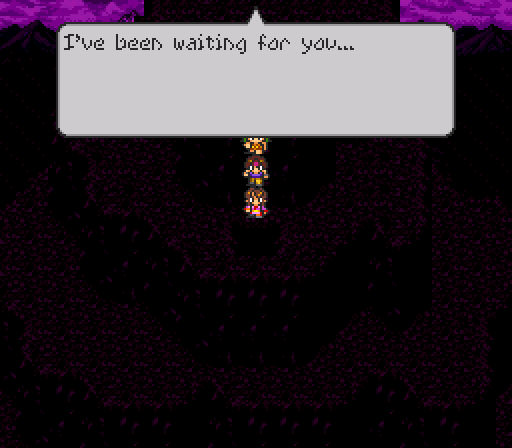 (Loud rumbling.)
It’s not until we try to leave that the fallen knight speaks.


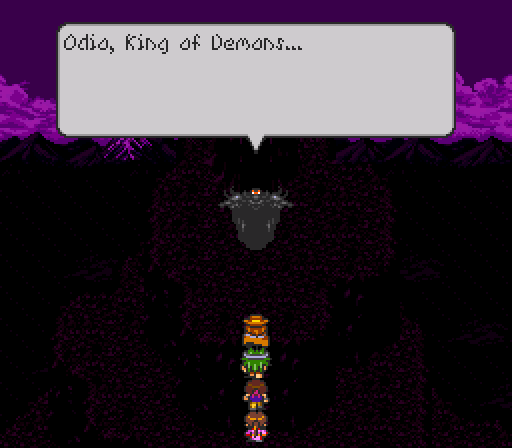
Okay, so. We could go and have a chat with Odio there, start up the final boss fight right here and now.
We’d get our ass kicked, but it’s a thing we could do. I tried it for curiosity’s sake; got through the first phase, got murdered horribly by the second. And yes, of course it has multiple phases. This is Squaresoft we’re talking about here.
 From… From my world…
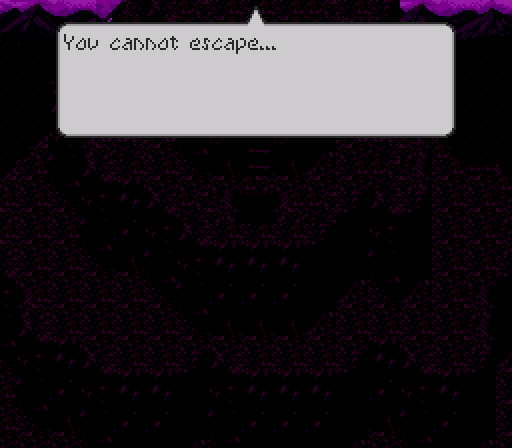
Instead of doing that, let’s just fake him out and run away down the stairs.
This annoys him enough to dump us back in the void for a time-out.
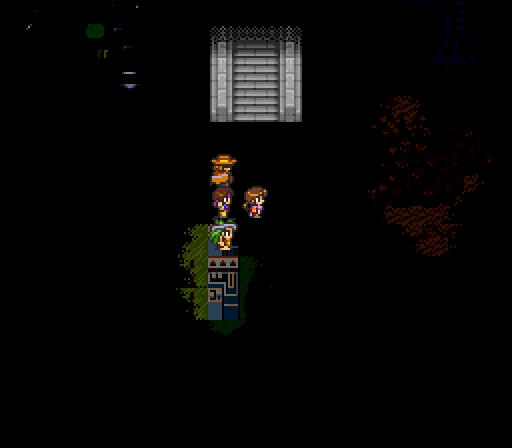
We’re going to want to come back to the void again; it has an optional boss that will attack us after wandering around long enough, who will drop some nice equipment. We’re not quite strong enough to reliably deal with them yet, so we’ll see that boss later.
Exiting the void drops you back at your starting point; aside from boosted sprint speed, his proximity to Devil’s Peak is another advantage Sonic would have as protagonist.

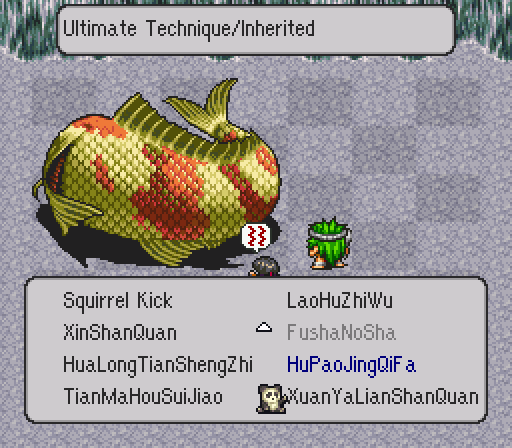
We’ve been quietly picking up new moves throughout the update; Li has learned a good self-healing tech (HuPaoJingQiFa) and a very strange move that rotates her like Hexaflange, but also changes Li’s position (TianMaHouSuiJiao).
The Waco Kid has picked up Shot Storm and Neo Shot Storm, which are 3x3 AoE moves that divide their damage between targets, but outperform Quad Shot on a single opponent.

So long as we’re up here, let’s head slightly north of the Waco Kid’s second hiding spot. There’s a wall that smells like meat over here.
 …! L-… … L-……! … Loooove!
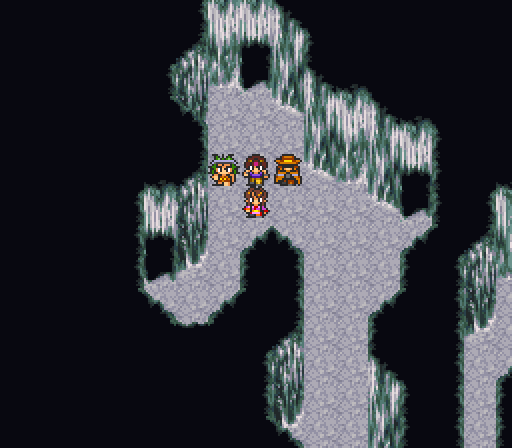
This is, of course, Ayla’s dungeon. This one is the Dungeon of Instinct.
And by instinct, I mean ‘following your nose’. The doors that lead toward progress smell like meat, so that’s where we’re gonna go.
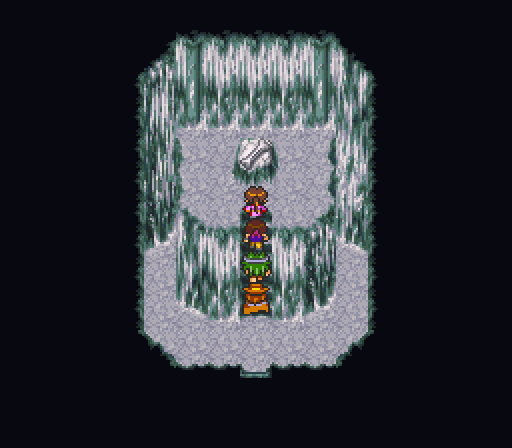
It’s through this door, west, south…
Follow the path to this door…
Then discover that all three doors here smell of meat, because they all lead to different parts of the same room.
The first leads to this individual full heal, and the third leads to yet another Unicorn Horn. (Apparently medieval times were full of that particular mythological creature before being hit by their equivalent of the ivory trade.)
A name, partially worn out, is written on its clothes. “Watana…”
Of course, we had to get one final incarnation of this joke. There’s actually a little something extra you can do with these two… Coop can read their minds.
 (If you keep running away, you’ll end up like us! …)
 (Like my dad and me… Th… that black panther…)
This is a hint to another optional boss. The game starts warning you when you’re getting close to being attacked by them, though.
Taking the door to the right of the Watanabes, we head up…
And around to this intersection. Left goes to an Astrapia Plume (+15 IQ accessory), right is progress.
Take either southern door.
We’re heading south from here, but we’ll be back in a minute.
As the southern exit is a straight path to Ayla’s ultimate weapon.
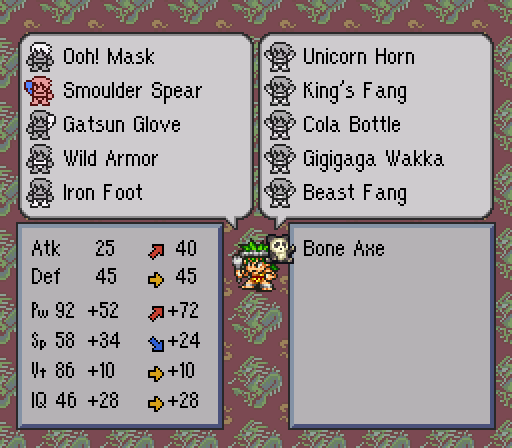
The Bone Axe doesn’t have a speed bonus like the Smoulder Spear, but we’ll cope. It’s worth just +10 Pw as an offhand.
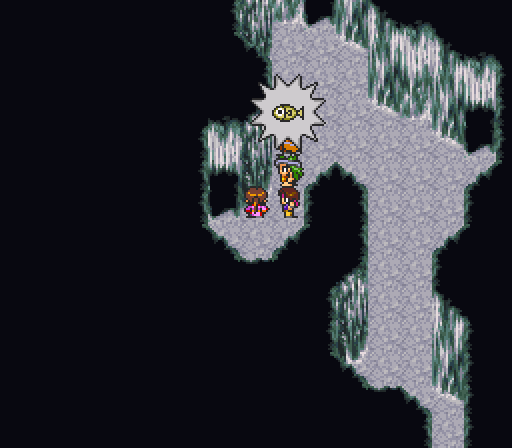
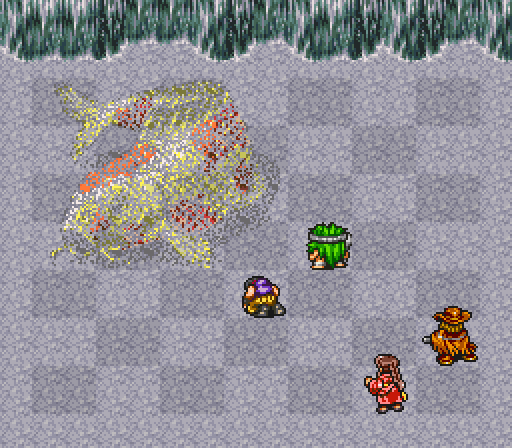
Heading back a few rooms, this sidepath gives us a new scent.
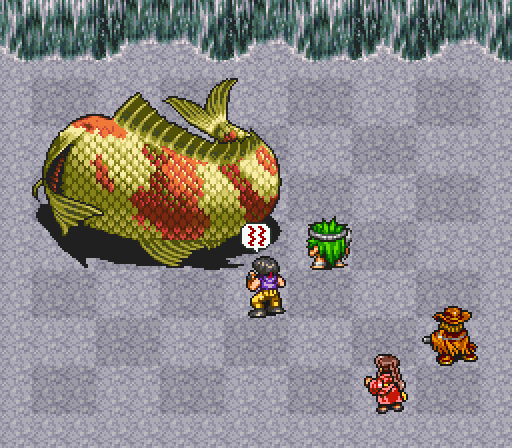
Unsurprisingly, it leads us to a fish.
A talking fish, no less.
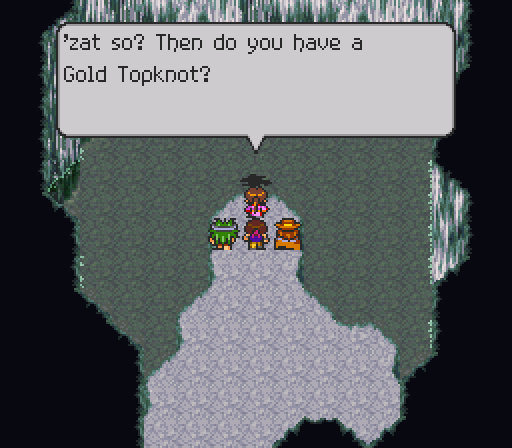
We do! There are two Gold Topknots in the chapter; we snagged ours from Devil’s Peak, but there’s another inside Andre’s dungeon.
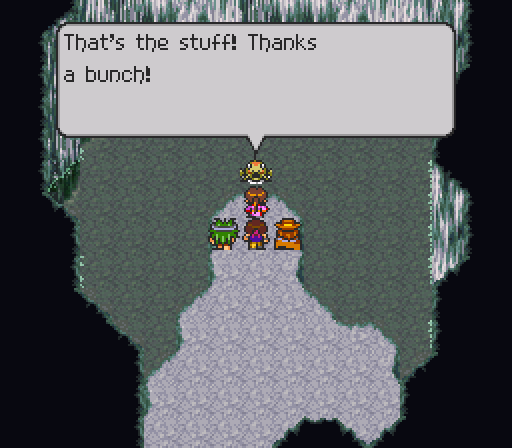
 Can I help you with something else? Is there something you want to ask me?
Uh… Sure?
It’ll cost you a lot… Let’s see…
…Hang on a minute.
*Some grinding later*
Okay, let’s dance!
-------
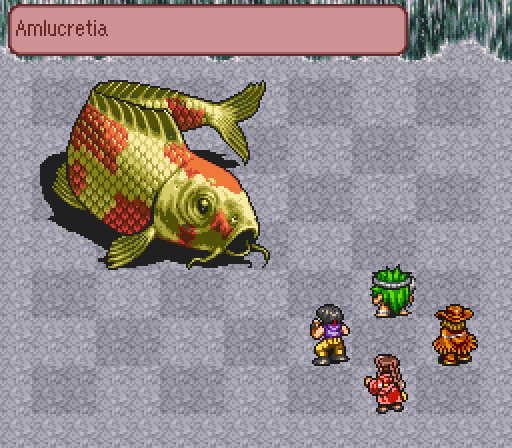

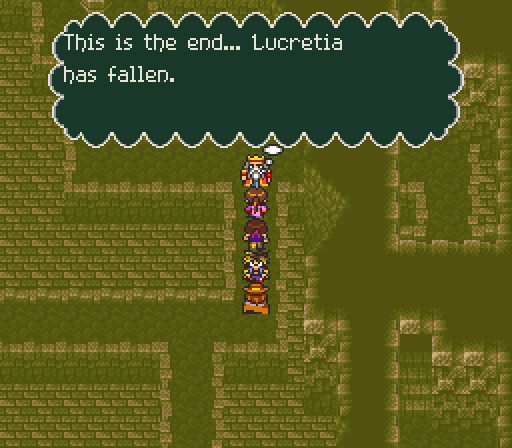
Amlucretia is another of the bonus bosses for this chapter, and the first one we’ll be taking on. I did have an attempt at this without grinding, but between being slightly underleveled, lacking ultimate weapons and not having a good strategy, winning took most of my good healing items.
As for the boss itself, this fish is basically Lord Iwama turned up to 11. It has two powerful techs that only hit on the diagonal (Crushing Bite for 350+, Body Bash for about 120), Poseidon’s Whip (which still poisons and stuns), and Tail (weak, knocks back).
The worst part, however… Amlucretia has insane evasion, and seems to have better than normal defence. Without grinding, the Waco Kid was utterly useless, missing or dealing 19 damage at best.
This time, though… I have a plan.

Notice the placement of Ayla and Andre. This pins the fish in place, forcing it to use its weaker attacks on two giant sacks of HP. Who happen to be in range to heal each other with Castellas and the like.
Also note that Li and the Waco Kid have their ultimate techs, and can attack with them from perfect safety while Ayla throws in the odd Dodegesden. (Andre is hopeless without his ultimate weapon; he also misses most of the time.)
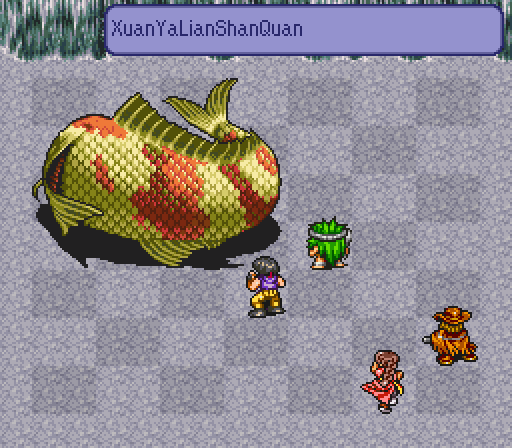
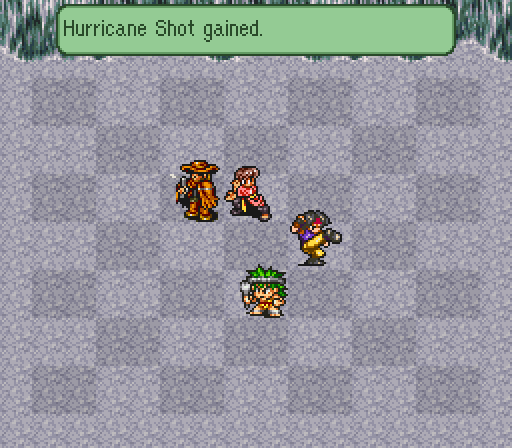
Here’s a classic for you. The final technique of WuTang Kung Fu is instant-cast, quite powerful (especially on regular enemies and with Li’s ultimate weapon) and usable at range. Its only downside is how long the animation takes.
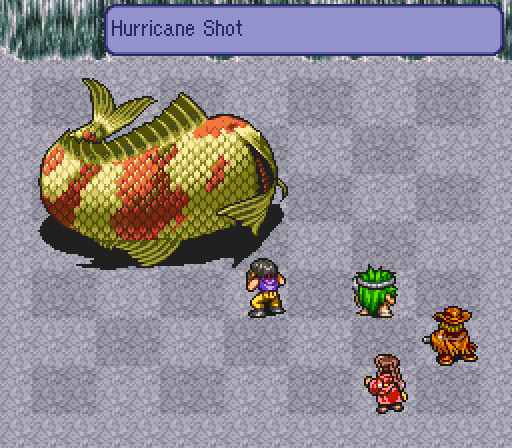
The Waco Kid’s has a reasonable charge time, but it’s far better than the 19 damage he was doing two levels ago with Quad Shot.
Oh, and by the way… That’s the damage when most of the shots miss.
This is the true power of Hurricane Shot.

I used a grand total of one Castella in this fight.
-------
 You can have this!
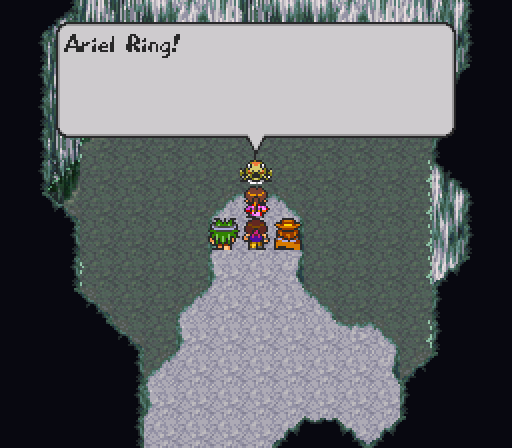
The Ariel Ring is pretty damn handy; in addition to +10 Vt and a whole bunch of evade boosts (including to Mind and all the elements), it has the very important quality of conferring Petrify Immunity. We, uh… We may want that later.
But the golden topknot is mine! I won’t give it back!
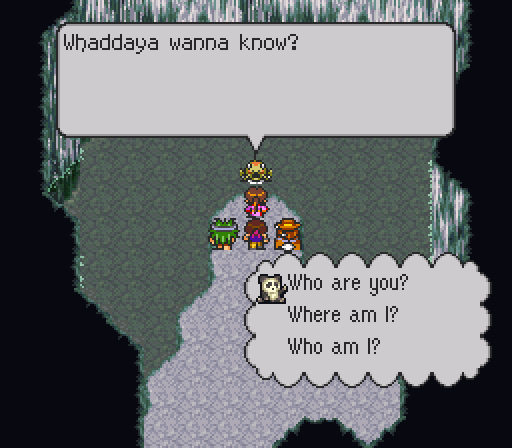
Almucretia has some extra info for us, so close things out by hearing what it has to say.
Who are you?
I am Almucretia, and I am older than the history of Lucretia itself. I’ve lived so long I’ve become nearly a god myself. I’m not sure why, but all the humans disappeared from around here some time back. It’s kinda weird, but at least it’s quiet, y’know? I do feel some kind of presence in the southeast, but I don’t know whether or not it’s human.Where am I?
This is the Dungeon of Instinct. Only those with a strong, wild nature may pass into it. There are also Dungeons of Power, Intelligence, Technique, Mind, Time, and Keys.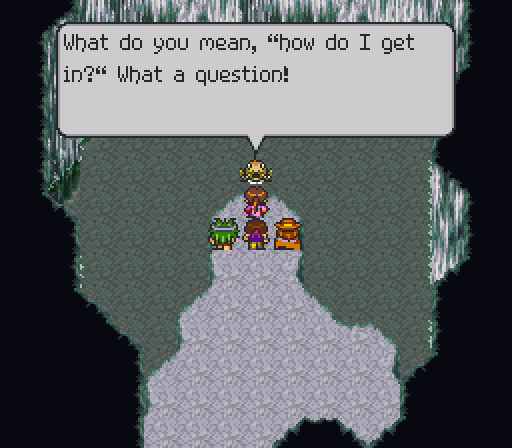
 C’mon, I’m sure you can do it. You found your way here, after all. Besides, your drive to achieve is what makes you human! Lose that, and you have nothing.
Who am I?

…He may have a point. Next time, we'll tackle more personal dungeons!