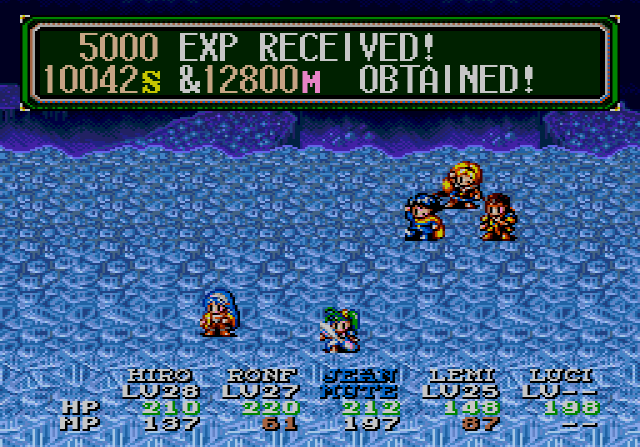
Part 33: The White Dragon Cave
Chapter 28: The White Dragon Cave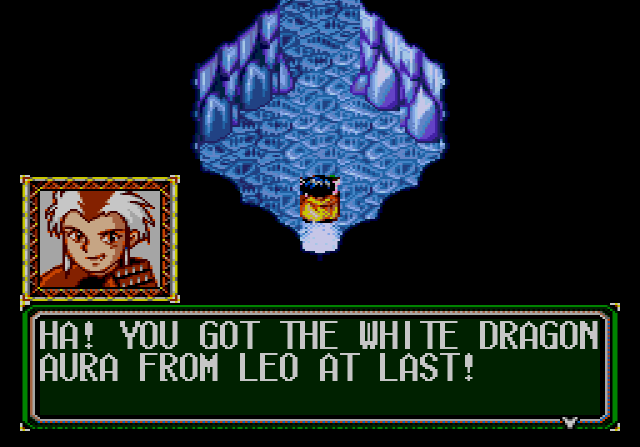
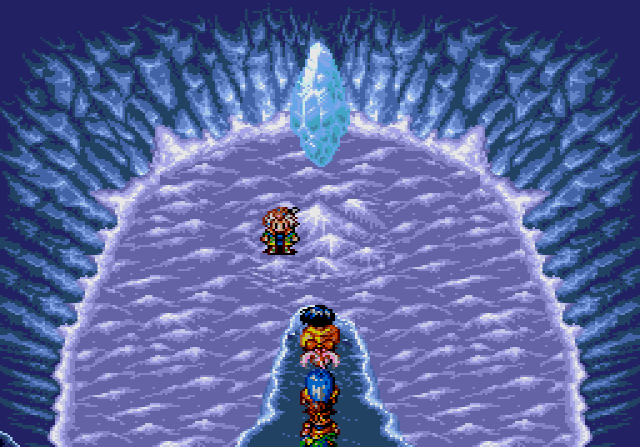
 : Hey, Nall! Where in the heck are you?
 : I'm where you need to be! Listen, you need the four ice treasure to open the passage to my lair. Once you've got those, you may have to backtrack a bit, but the way will be open. Each one is in a big white ice chest in the corner of this cave. Hurry up and get them. I'll be waiting... and I don't like waiting.
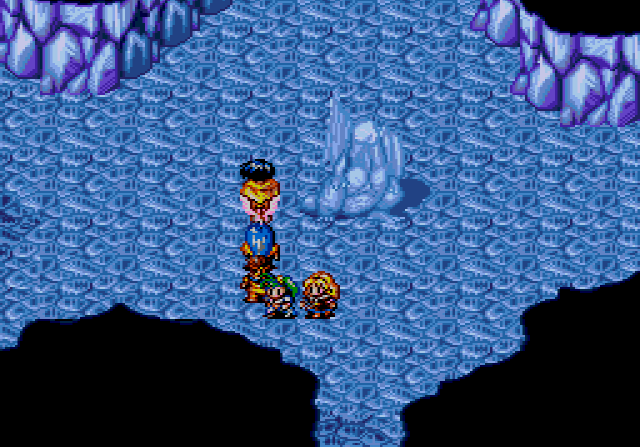

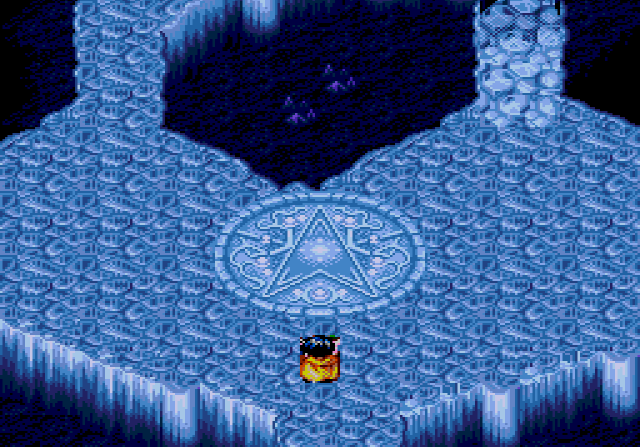
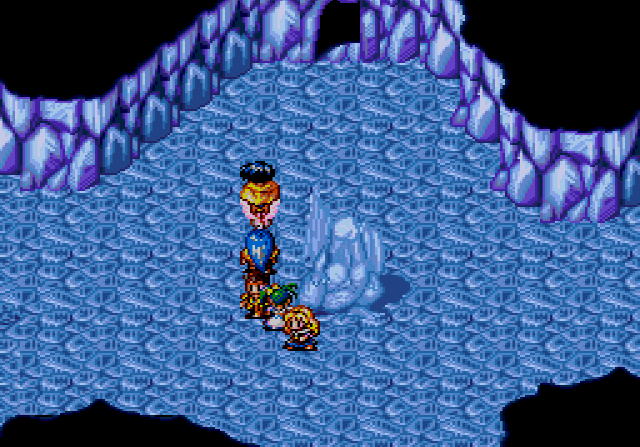
The White Dragon Cave has undergone a bit of an upgrade from the first game. In the original, the White Dragon Cave is extremely short and easy, which is fitting for the very first dungeon of the game. Here, the gimmick is that we have a main room that branches off into four seperate areas. In each area there's a special "ice" treasure chest. We go down each of them, get the treasure, and then the way to the end is open. Simple enough. So I start in the southwest-
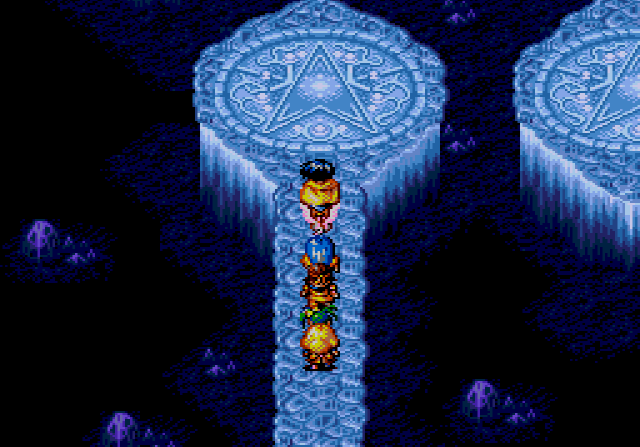
It's a teleporter puzzle. Yeap. Another one. I actually kind of forgot about it until I flipped through the guidebook again. What a wonderful surprise.
Let's save some time, and I'll just give you the instruction right here:
Go through the teleport pictured, then up, right, into the same teleport, into the same teleport, go left to get a Silver Light, same teleport, down to get a Dover Nut, same teleport, same teleport, same teleport, up, and there you are.
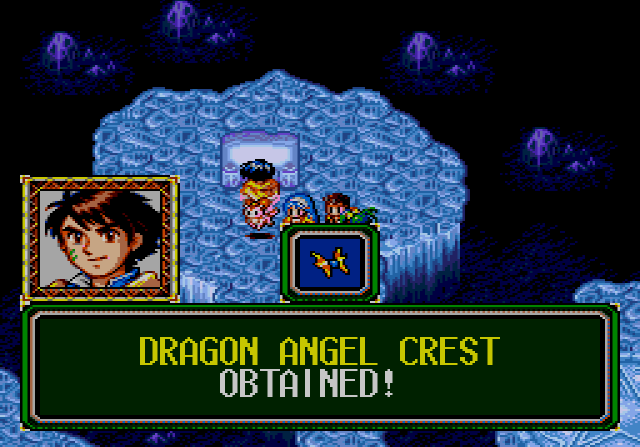
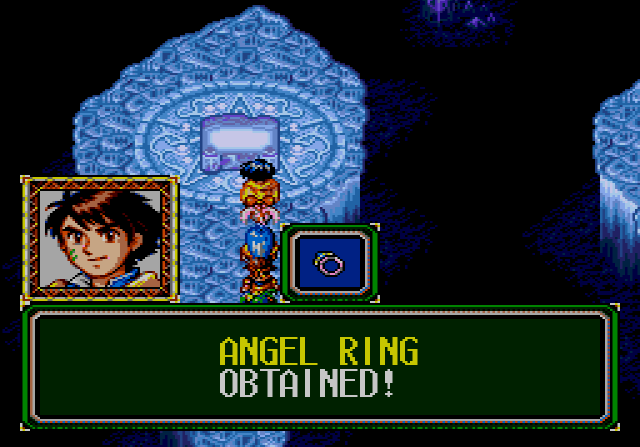
First off the Dragon Angel Crest, which protects against dragon breath attacks. Hm, I wonder if we'll have to fight some dragon like enemy... well, it'd definitely be silly if I had just thrown it into the bag without actually looking at it. Yeah...
From here, just go into the same teleporter, and you're at the beginning. At least the backtracking was painless. Here, anyway. Anyway, we leave and then go north.
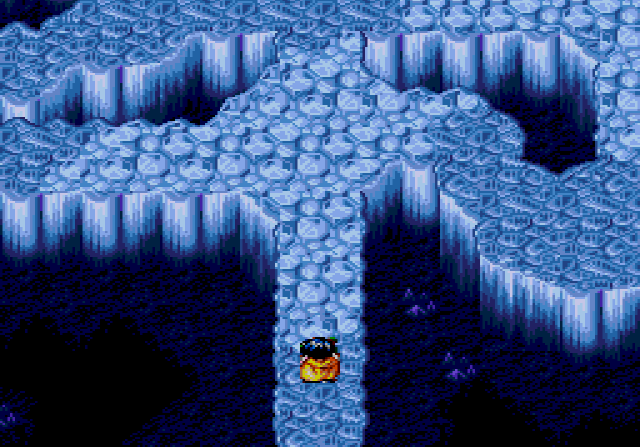
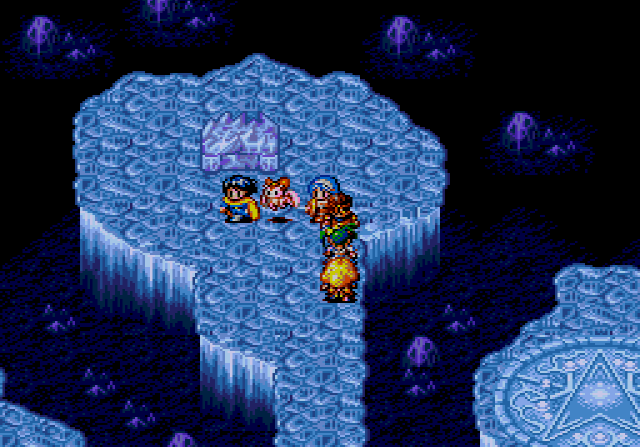
To be honest, the teleporter maze is about the only interesting thing in the dungeon. All the other rooms are just mazes, and I'm using the word "maze" charitably. This room in particular is rather boring. You just go all the way left, up, grab the chest with the silver along the way, and then right a little bit. Once you get here:
You can see the chest at the bottom of the screen here. If you go right and down, there's a treasure chest with a Dover Nut. Otherwise, circle around for the ice chest.
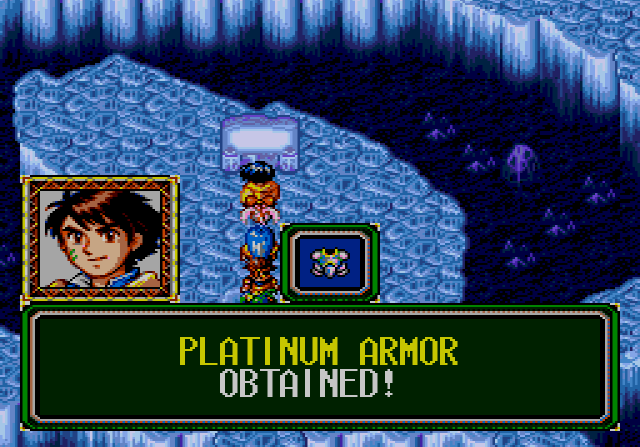
Platinum Armor is... okay. Gives Hiro a bit of a defense boost and poison resistance. Poison resistance really isn't all that great except in boss battles and his current armor gives him an agility boost, so the Platinum Armor goes in the bag.
Now that we've got what we needed, sadly we do have to backtrack. Yay. Before we move onto the next room, let's look at the random encounters.
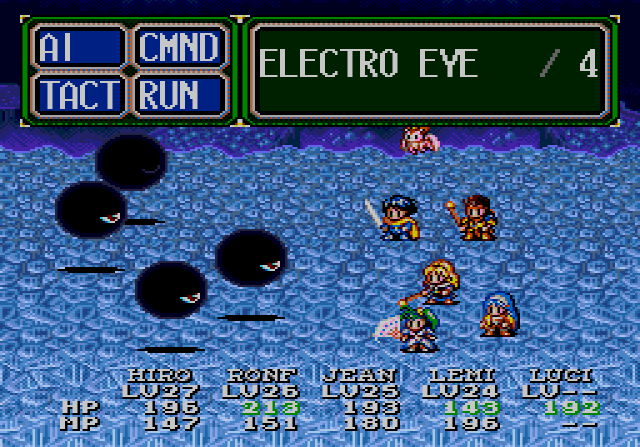
Electro Eyes are fairly benign. They have rather low HP, just a smidgen over 100, but they take no damage from regular attacks. They usually don't move, and don't always attack.
And their attack isn't terribly threatening, either.
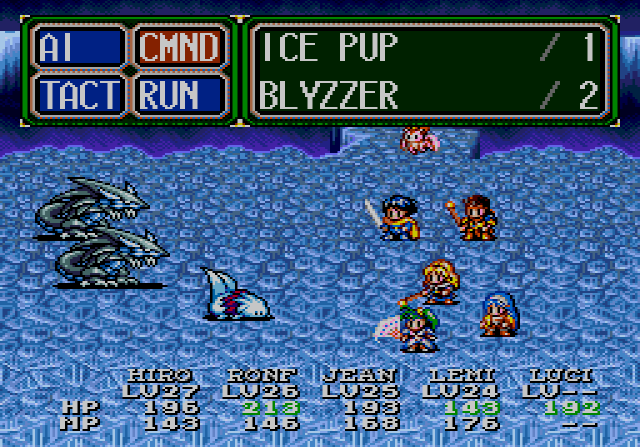
Ice Pups we've seen, and the Blyzzer is just a palette swap of the Razor Wolf.
Their special is a hell of a lot nastier, though. Fortunately, they're susceptible to Jean's Needle Step or Charm Dance. Alternately, Poe Sword takes them out in a hit. Either way, when they're burying their head, kill/stop them immediately.
And keep yourself healed up, just in case.
Speaking of keeping healed up, I ended up giving Lemina the Heat Ring. It's not a bad idea to have her as the healer for dungeon crawling, as her MP total is high and she can steal MP anyway.
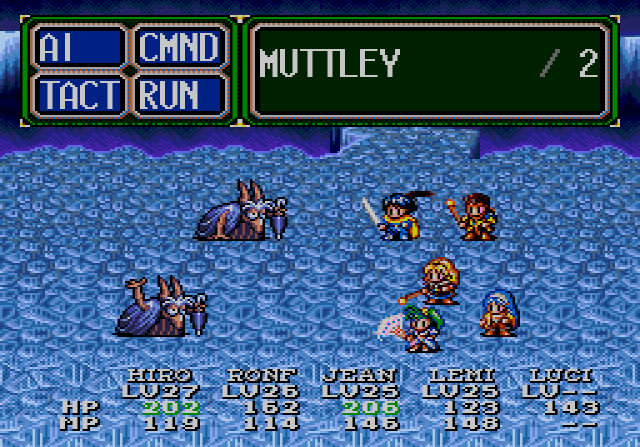
Muttleys look rather odd, but don't do much of anything special.
This, again, inflicts a status ailment. And again, it's Sleep, Freeze, or Poison because Jean resists it. I think it's Sleep or Freeze, but I've not seen it hit.
They'll heal themselves, but, again, Hiro's Poe Sword can just kill in a hit anyway. So it ain't too bad.
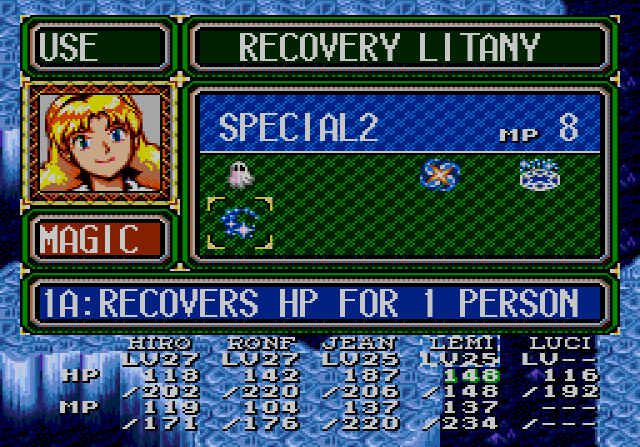
Oh! And I got Ronfar's Health up to 15, which nets him his fourth Health spell, Priest Litany. It's just a regan spell. It hits the whole party though, so it's a good idea to start boss fights off with this.
Anywho, let's head to the northeast room.

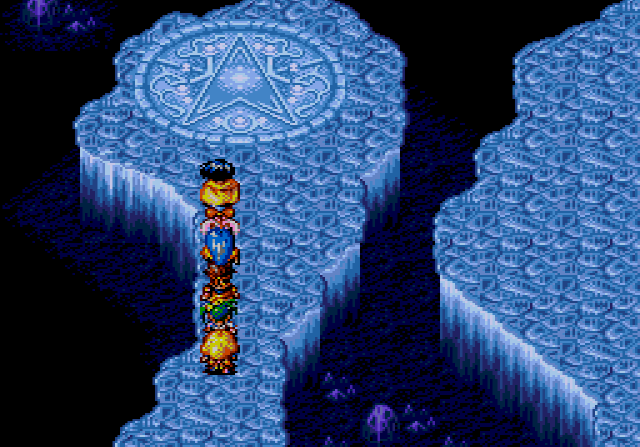
This room's gimmick is that there are a paths that weave under and over each other. It can be a bit obnoxious, but there's not much in the room. There's two teleports (they just lead back to the entrance of the room) the ice chest, and another treasure chest right next to it. So there's no real point in exploring. There are four paths branching from the entrance. Take the right most one, then head straight north.
Unlike the Platinum Armor, the helm isn't replacing anything all that great, so it gets equipped. Also, the helm provides poison resistance too.
From here, head left, grab the treasure along the way, and if you go down a bit, left, then up there's a teleport.
Super easy.
Although as I'm writing this up, and this literally just occurred to me, you can use the White Dragon Wings to warp out instead. Since all of these four areas connect from the main room anyway, you'd save a bit of time. That would have definitely been nice in the northwest room.
 Hindsight's 20/20...
Anyway, final room.
Second verse, pretty similar as the first. Four paths from the entrance, each leading to a long pathway to a teleporter and some treasure, with the leftmost one and the third from the left leading to the same place. Let's start with the rightmost one.
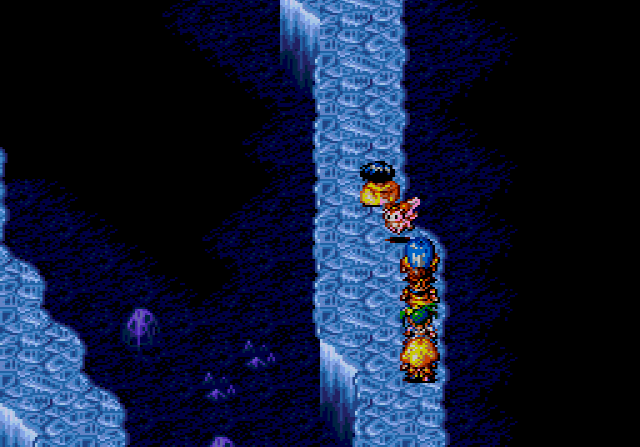
It's a long fucking path.
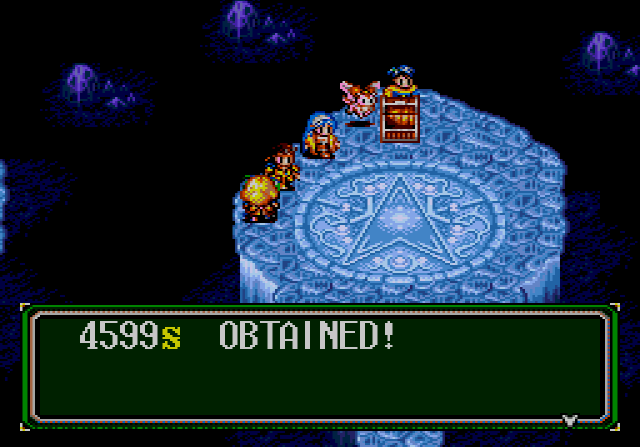
And it's just some money. Lame. Take the teleporter back to the start. From here, take the path that's third from the left.
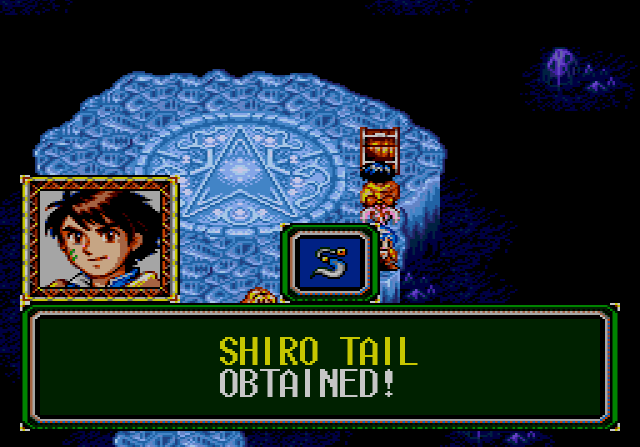
Now that's what I'm talking about. The Shiro Tail gives you a 20 point boost in agility. You can put it on Ronfar to make sure he goes first, which is really nice to have in boss battles, on Hiro so he can kill random monsters before they attack, or maybe on Lemina so she won't be so damned slow. It goes on Ronfar for now. Let's warp back to the start.
Go to the path second from the left, grab the ice chest.
There's no teleporter here, so you'll have to walk out or warp out. But that's it!
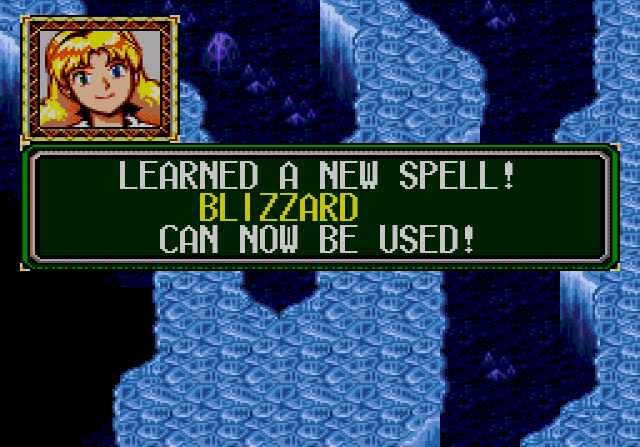
As I was walking out (because of course I did), I got Lemina's fourth ice spell. Obviously we're not going to be using it for now, but it'll come in handy.
Before going on, I'd recommend trekking back to the Destiny to heal. It's not that long a walk and I think we can all guess that you're going to want your MP close to full. Just don't bother to try and take down the Ice Mongrels.
In any case, getting the chest opens up a new door in the main room.
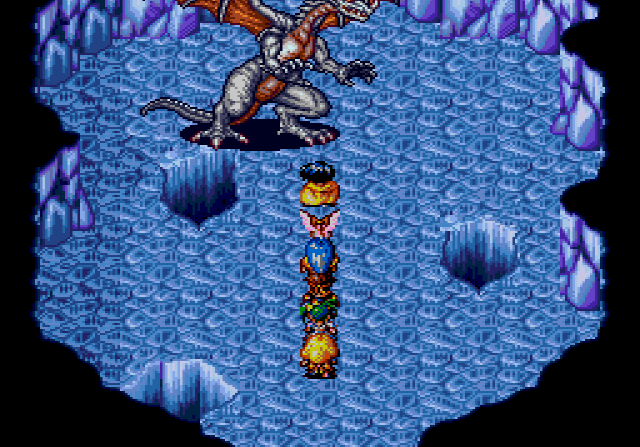
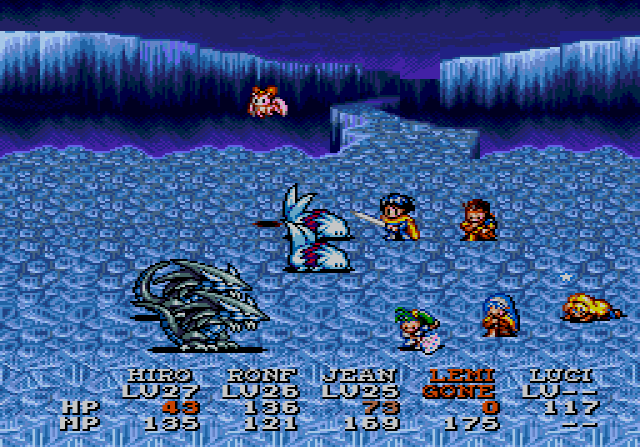
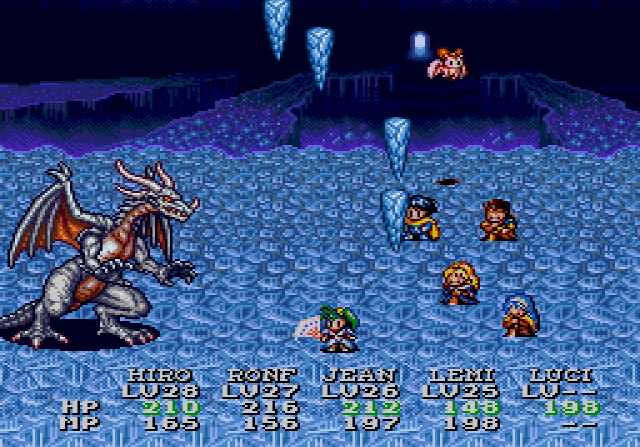
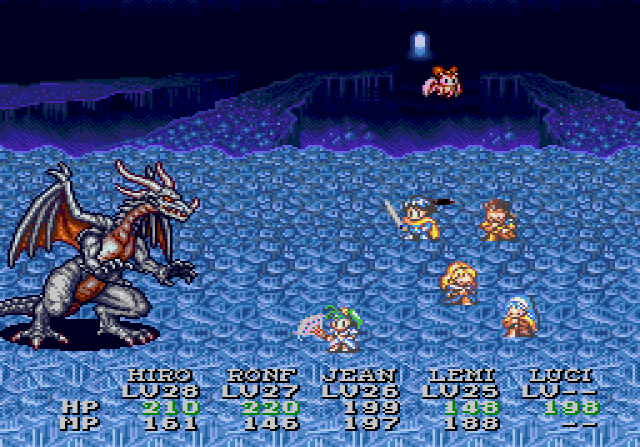
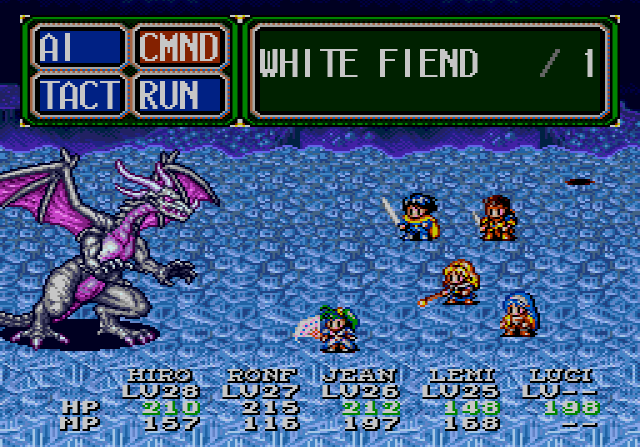
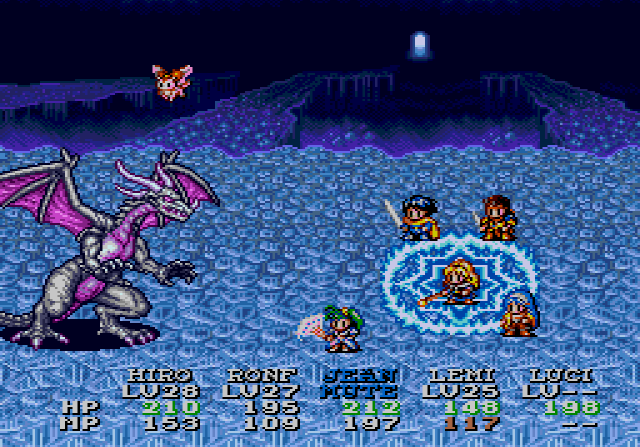
And the boss.
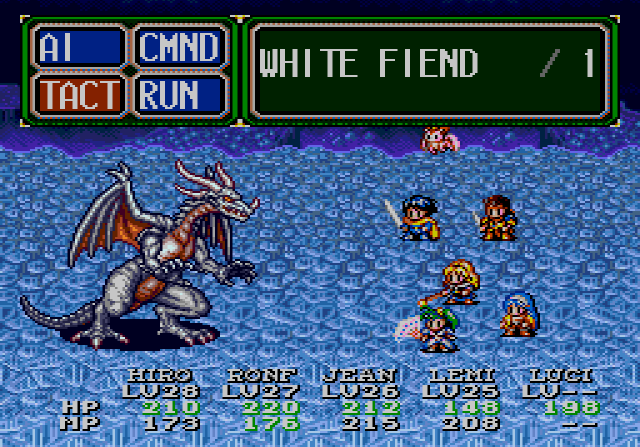

This boss is pretty easy, to be honest. It has a ton of HP, over twice what the Missing Link has, but it doesn't do a whole hell of a lot of damage.
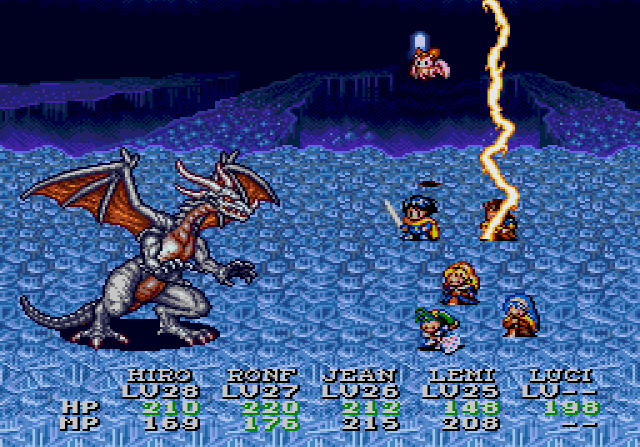
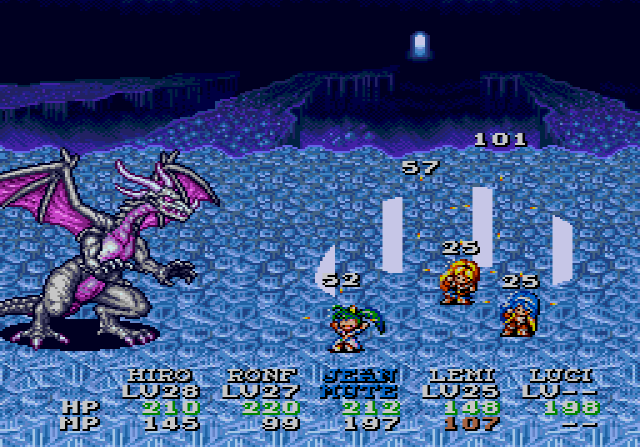
It likes to do that lightning attack, which only does about 40 to 60 to a single character. If you have Priest Litany on, that heals about 20-30 a round.
And here it is in action. Not that impressive, although these spells always looks weird in screenshot.
Your plan of action is pretty simple. Hiro does Poe Sword, Ronfar Light Litany if he doesn't have to do anything, otherwise he heals, and Lemina uses Flame Shot. For Jean, I've decided she's just going to use regular attacks. With regular attacks she can get criticals, and since Jean is the luckiest character, she gets crits with decent regularity.
Sometimes it likes to drop icicles on you instead. It's only marginally more threatening.
Sometimes, it'll also make you characters flash. I believe this removes your buffs.
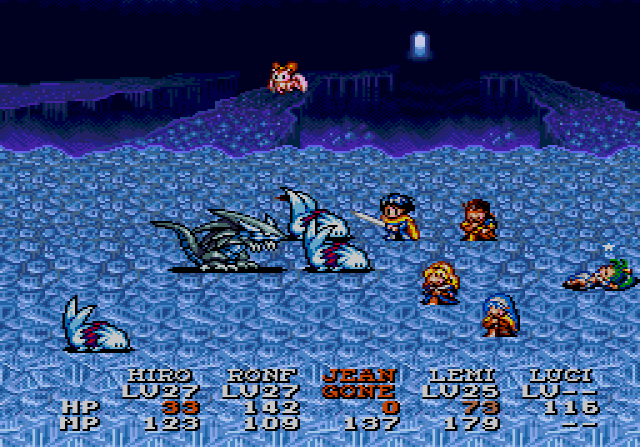
But it does have one nasty move up its sleeve.
Coma Blast does a pretty nice chunk of damage (especially to Ronfar, ouch) and it inflicts mute. However, a good chunk of my party is immune to mute, with the exception of Jean. Who wasn't using her spells anyway. A Calm Litany patches everyone up pretty quickly, so it's really not a big deal.
But I bust out Lemina's Magic Shield anyway. As mentioned earlier, the spell provides a bit of protection to Lemina and anyone close to her. I believe it only works once before dispelling, although I may have to get back to you on this.
It ended up protecting me against Coma Blast, which is nice. Also, the area of effect seems rather small. The animation makes it looks like it's protecting everyone, but clearly it's only protecting Lemina and Lucia there. That kinda sucks.
Also, I'd be remiss not to mention that it has an icicle attack. It's rather rare; the Fiend never did it the first time I fought it.
So it looks like I had this fight in the bag. Mostly. But then weird stuff started to happen.
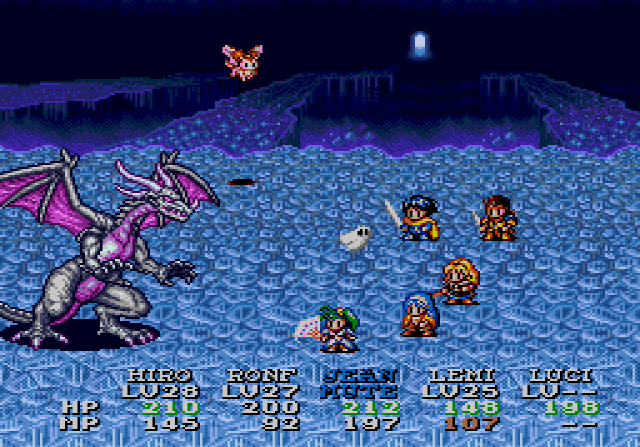
After it cast Coma Blast, when Lucia's turn came up it played the "magic failed" noise, and she ran up to the Fiend. Now, that would happen had she gotten muted, but she hadn't. (Hiro has immunity, and therefore so does she.) And then this happened:
I have no idea why that happened.
I could not find any information on what the hell's going on. It doesn't cast a spell or anything. I can't tell when the Fiend is reflecting spells and when it's not. I ran another test through this fight and the exact same thing happened. Very strange.
After I rezzed Lemina, I had her mostly buff in fear of losing her again. (Also, I didn't have another Angel Tear equipped.) Thankfully, by then, the battle was almost over.
Other than some weirdness, not a hard fight.

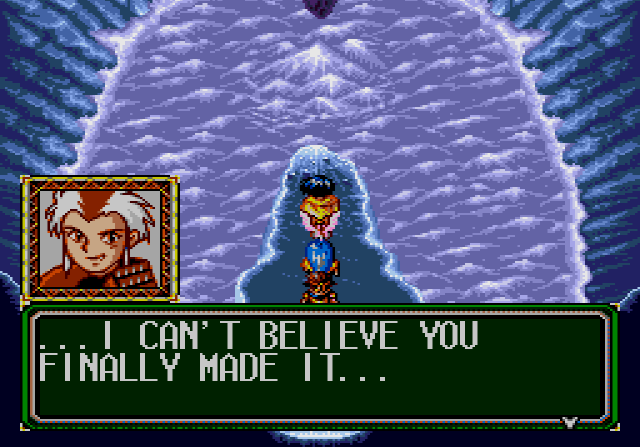 : I was beginning to think you were a lost cause.
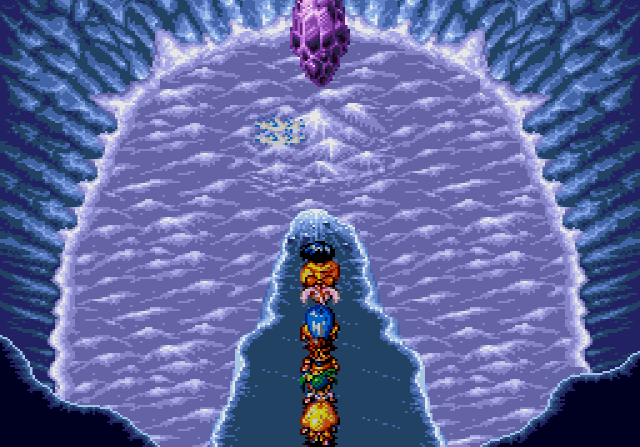
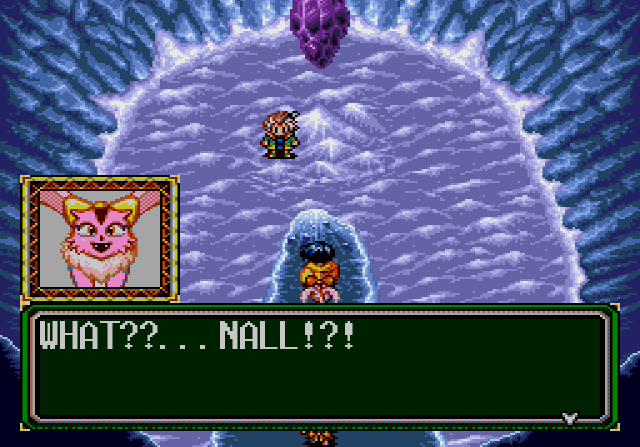 : How did you do that?!
Pentagulia was nothing but an unending parade of people warping here and there for particular reason and now it surprises her?
: It's not important. Doesn't matter. Now that you're finally here, at last. You must throw the Dragon Aura directly at the crystal. Once the aura touches the crystal, the seal will be shattered, and my Dragon Power will be released!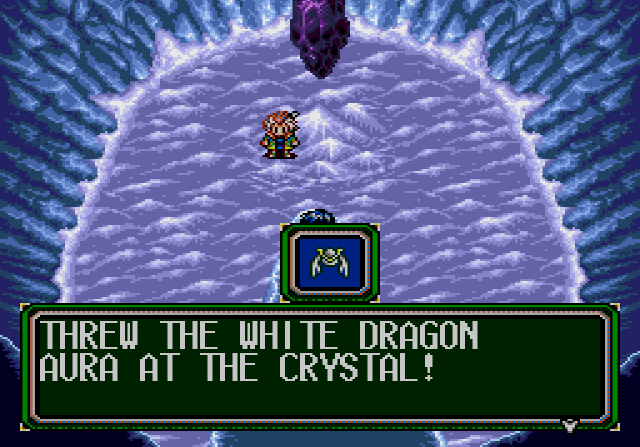
The crystal starts to glow...
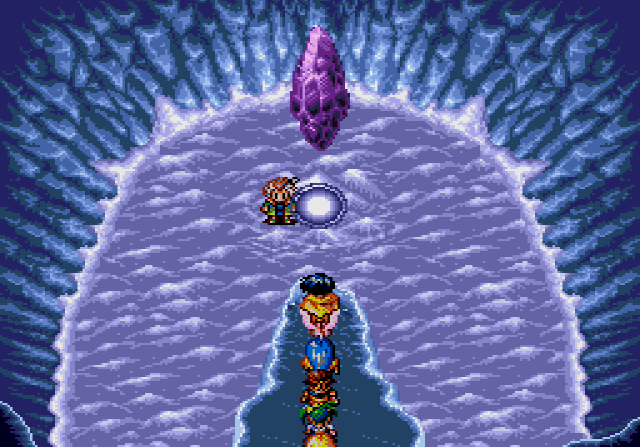
 : Listen! You haven't seen the coolest part! This is gonna blow you away!: It's gonna take more than you've got to blow me away, buddy!: Yeah?! Well, watch this!
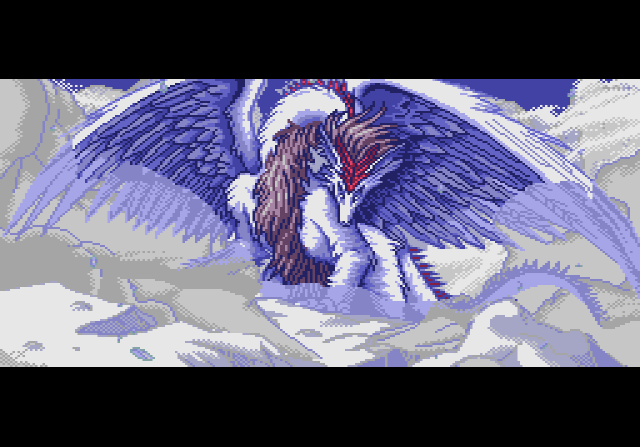
Holy crap. Little Nall is all grown up.
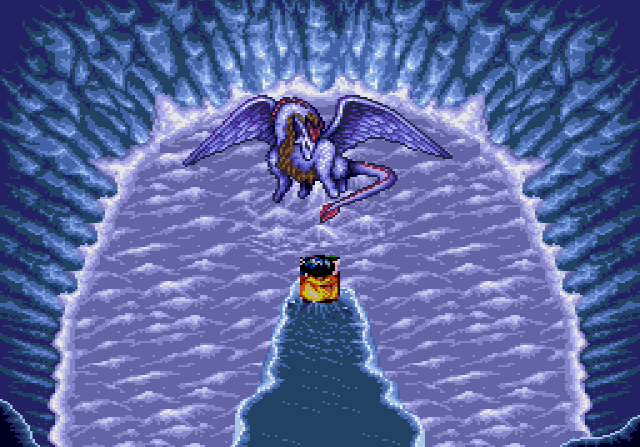
 : See?! See?! I told you this would be cool!
But some things never change
 : If I hadn't seen it, I wouldn't believe it!
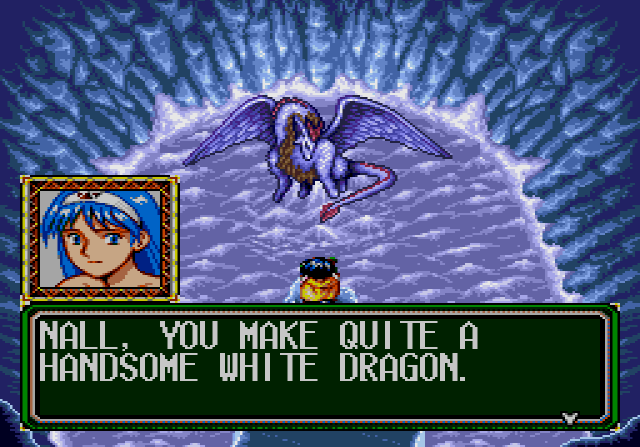
 : Say, can the other seals be broken in this same manner?: Yes, but you must have the correct Dragon Aura for each seal. Ghaleon made certain that the Dragon Aura was the only way to unlock them. You should unlock the Blue Dragon's power next. Lunn is guarding its aura at the training city of Horam to the south.
 Awesome, we get to beat up Lunn next! What can I say, I like the prospect of beating up on a child slaver for some reason.
: The way is treacherous, but I will melt some of the iceburgs blocking your path. Oh, and here... I'll leave you something to help you on your way. Good luck.
 : Lucia, you're right. Nall is really quite a handsome White Dragon. Too bad he's such a pain in the butt... ...hm, maybe there is hope for him...
Aw, could little Ruby be entering Dragon puberty?
: But I can't leave Hiro... what would he do without me?...probably not quite yet.
Anywho, we now have our first Dragon spell. 'bout damn time! Now, in the original game, Dragon spells were just really, really nice damage spells. Also, only Alex got them.
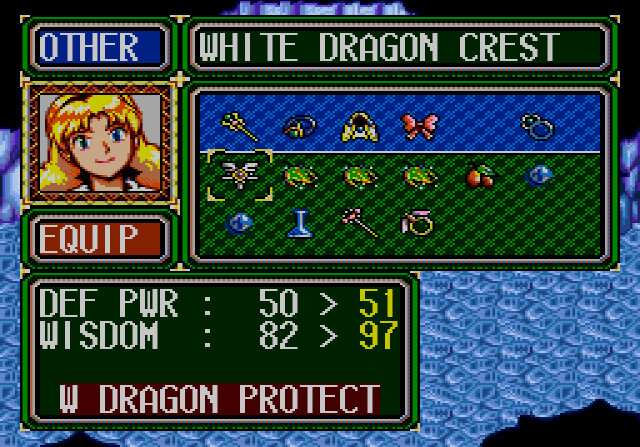
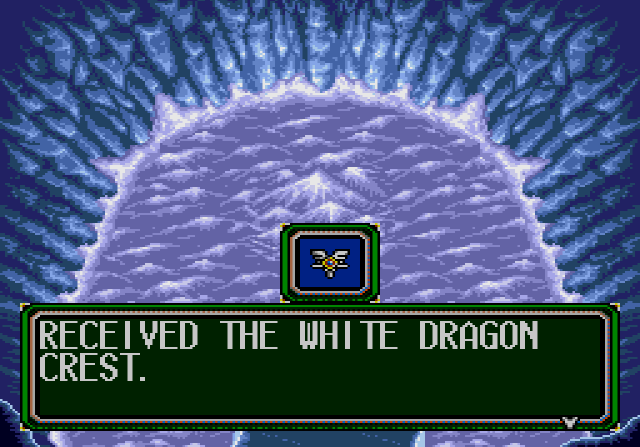
In the sequel, however, you have to equip the crest to use the Dragon spell. Also, instead of being damage spells, each has a different function. The one we got, White Dragon Protect, completely negates damage from one attack for each party member. As you can imagine, this is really nice to have in boss fights. It's also a staggering 99 mp, so even in boss fights you have to use it sparingly. It can really be a butt-saver, though. For now, although it does gives a nice wisdom bonus, there's no need to equip it.
Anyway, we're done here. Let's hop back into the Destiny and head south.
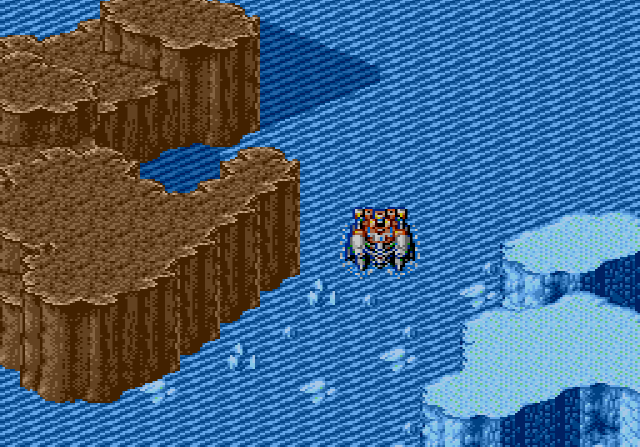
Now that Nall melted the ice burg, it's time to plan our assault on Lunn. 'till next time!