Part 1: The Beginning
The Beginning
There is a neat thing about the main menu. It's animated. Not only the scenery but also the actors. Akhmet and the dog will do several little things if you take the time to stare at the screen. Pretty cool that they did the work, if you consider that most players will never see the animations.
Let's take a quick look at our difficulty settings.
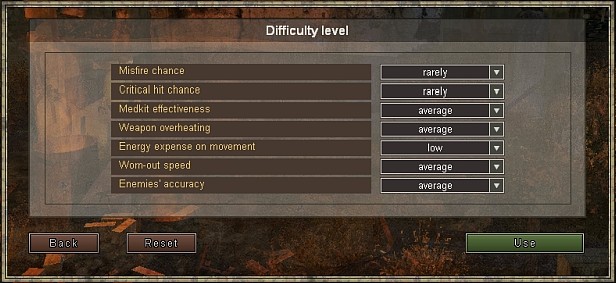
You can choose from easy, normal and hard difficulty or customize these settings. This is pretty much the normal setting, but I set energy expense to low because it will make moving outside of combat much easier. You'll understand later. It doesn't affect combat that much if you play with higher expense, so it's just to ease my playtime.
Time for character creation.
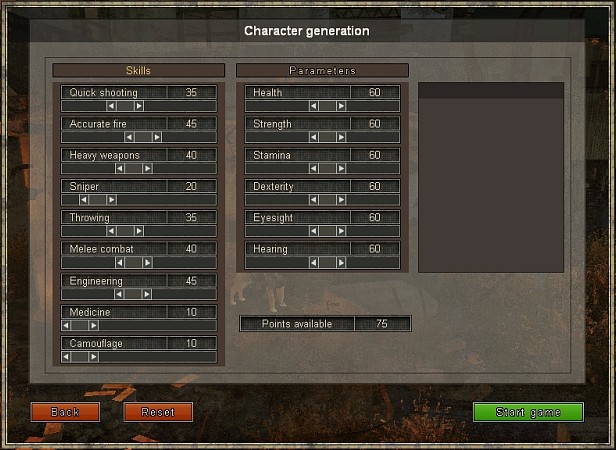
Don't worry too much about these stats, I'll do an info dump later. You can shuffle points around and even if you make some bad decisions, you can fix that a bit later on.
Since I know this game, I go with a certain spread of stats.
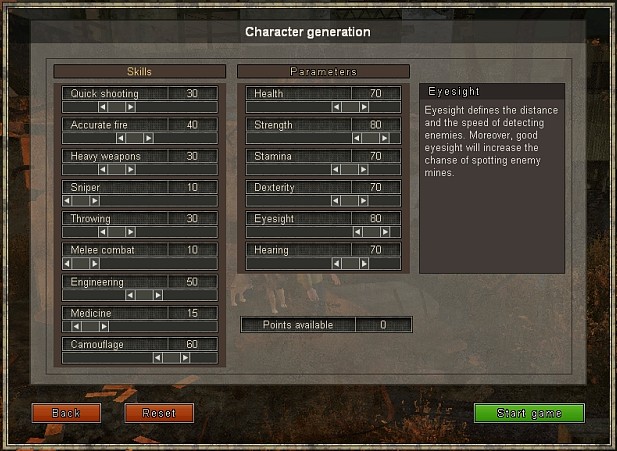
Akhmet's attributes are pretty even with a slight focus on strength and eyesight. His major skills are Engineering and Camouflage, for several reasons. He used to be an engineer in the army and there are a lot of mines and locks in the game. You can grind this skill but it does help to start with a nice base. Camouflage will keep Akhmet alive on his own and is very hard to raise. In fact, he'll be the only sneaky guy in the game.
Let's start...


Say hello to Akhmet!
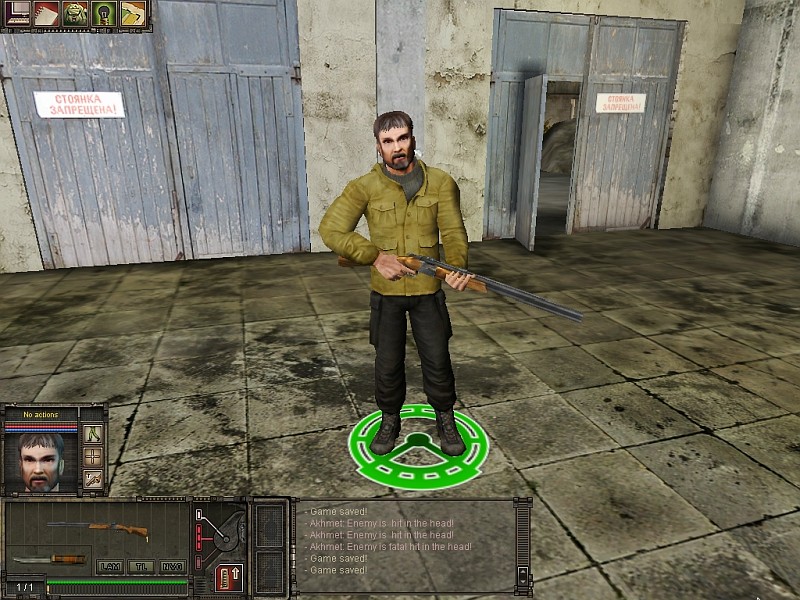
Not the friendliest fellow.
The game will offer you a tutorial at this point and it's a good idea to do it. But I'll do a better job at explaining things.
Let's have a look at the UI.
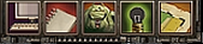
The first icon is just for the menu, nothing important here.
After that comes the journal.
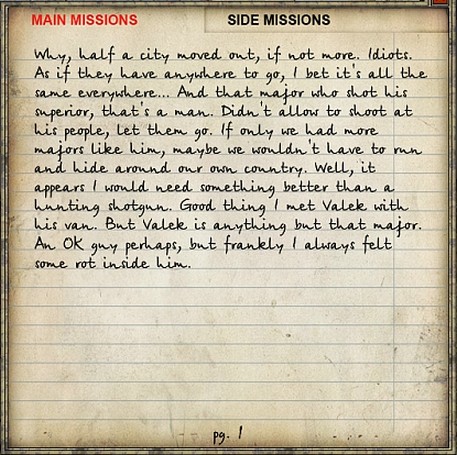
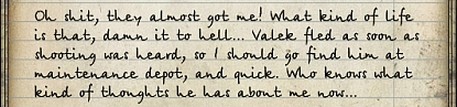
Akhmet will write about the things going on and will provide us with some insight on our objectives. It's pretty cool! I'll crop the later entries for ease of view.
Then we have the inventory.
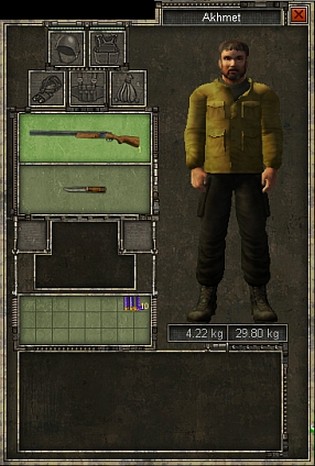
Sweet, ain't it?
The top slots are for gear and self explanatory. The middle slots are for his active items and you can switch between whatever you have in them. The rest of the screen is of more importance. See that checkered green space? That is Akhmet's pocket. Inventory space and item size is measured in cells. And you have to play a lot of inventory Tetris to fit the things you want in there. The two big black spaces will eventually offer more storage space, but we need gear that will provide it.
This is another interesting aspect of this game: what things will you bring to maps and what things will you loot when leaving? Aside from a small exception you can't revisit maps. Torture for OCD people and Packrats. Lastly there a two small grey boxes, which are quick slots for one grenade each. Another neat thing is that Akhmet's model will display clothes and gear that he is wearing.
Let's take a quick look at what we start with.
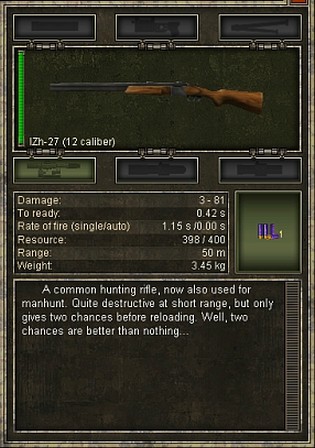
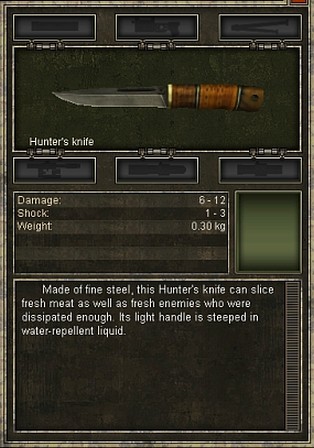
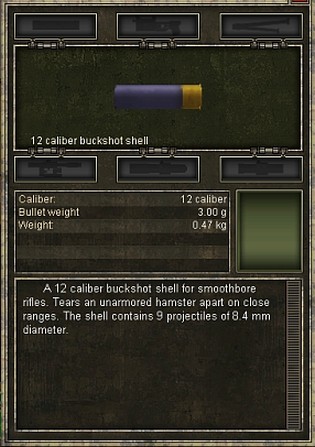
Not much but it'll do for now. I'll show you the majority of item descriptions and if I don't say something about it, you can assume that it's only used to trade. Also our shotty can take two shells, but I fired one during the tutorial.

Next up we have the character sheet.
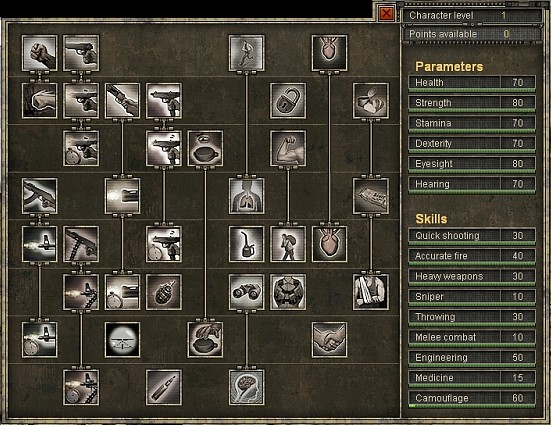
Oh god! What is all of this?!
Patience, young one. As I said there will be an info dump. For now, be content with knowing that this is where you pick your perks and can see your stats. The little bar below a stat shows your advancement towards the next point. Handy when you want to grind but there is little room for that. In fact, you don't really need to, as you'll see later.
The last icon is for our map.
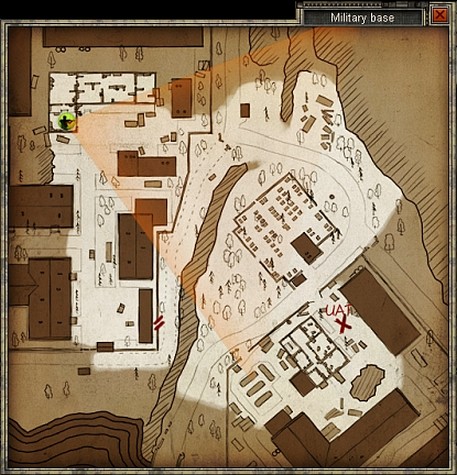
Important things will be marked in red, and people will be displayed here, if you have line of sight to them. Friends will be green, neutrals yellow and hostiles will be red. Easy, eh?
On to the next part.
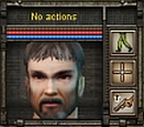
Akhmet's face is a little bit like the Doom head. While he won't become bloody he's always animated, looking around and talking during battle taunts and such. Neat!
The three bars above his head are experience, health and stamina. On the side we have three icons. The first one governs your stance and movement speed. You can sprint, walk, crouch or go prone.
After that we have aiming modes. Right now it's set to "Quick aim" which is inaccurate but also fast. It's used for CQC or OH-SHIT situations. The next mode is "Aimed fire" which takes more time but is way more accurate. I'll use this for the most part. Lastly you can use "Snipe" for the most accurate shots, but your gun needs to have a scope with magnification for that to become available.
The last icon lets you raise your gun and keep it up. This is important!
As actions are based on time, shooting works in different steps. You raise the gun, take aim and then shoot. Each step will take time and having your gun already raised cuts out some. But there is a downside. You'll move a bit slower and heavier guns will start do drain stamina after a moment. Try holding a big chunk of metal in your outstretched arms, you'll see. Also switching aiming modes will cost a bit of time when you have your gun raised as Akhmet will actually switch the position of his gun. From the shoulder to the hip, for instance.
Almost done, just this last part..
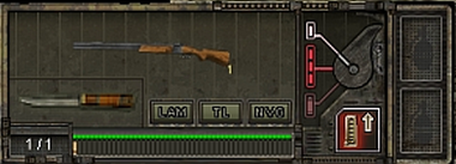
As you can see, this is where your active slots can be selected and switching does take time. The three little tabs under the shotty are for attachments and a certain piece of gear, which can all be switched on/off. The green line at the bottom shows the current condition of the item you're holding. Guns will seriously malfunction if you don't keep them in shape.
The bar and 1/1 below that is connected to the selector switch. This will let you choose the fire mode of your gun. Like single, auto or grenade launcher, if your gun has any of this. Our shotty can fire both barrels at once. I would have to put the selector on the middle setting and the number at the bottom would show 2/2. If you have a full auto weapon you can manually define the approximate size of your burst, the default is three shots.
Below the selector you have a reload icon. But it can be wonky when you have differently sized mags or several ammo types for the same gun, so I tend to reload by hand. Lastly we have the two quick slots for grenades. Switching between your hand item and a grenade takes no time, which is sweet. But actually throwing is not that fast, and you have to be careful not to get shot and drop a live grenade at your feet.
Phew! With that out of the way, let's get into the game.
The game wants us to move out but let's not. There is more stuff to grab before that.
A handy thing is that you can highlight containers and items on the ground by pressing "Ctrl". So you don't have to hover the mouse over every thing.
There's a nice amount of stuff to find here.
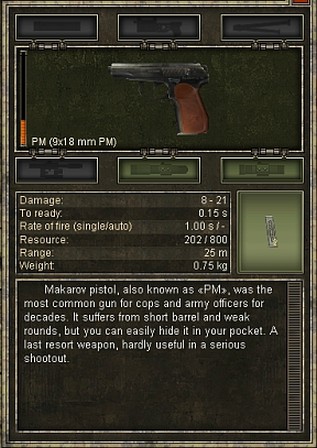
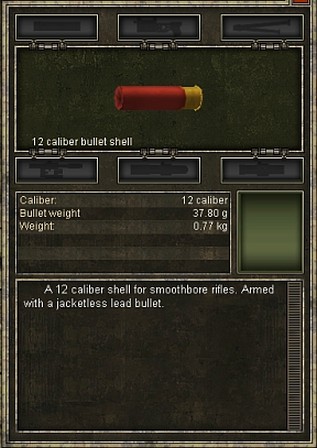
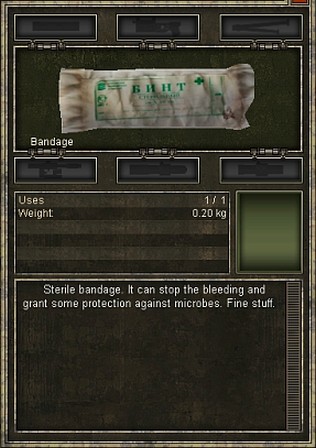
That Makarov is a piece of shit but it could still save Akhmet's live. The slugs give our shotty some range and the bandages are used to stop bleeding.
Damage works in two stages. If you get hit you'll directly lose a certain amount of health, but you'll also get some bleeding damage. If not treated you'll eventually lose those health points too.
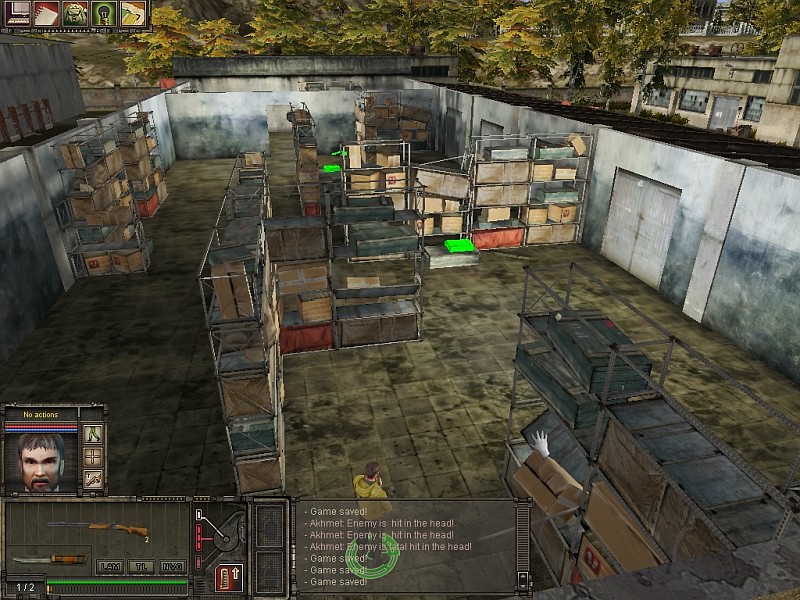
In the back of the storehouse, Akhmet finds some special crates.
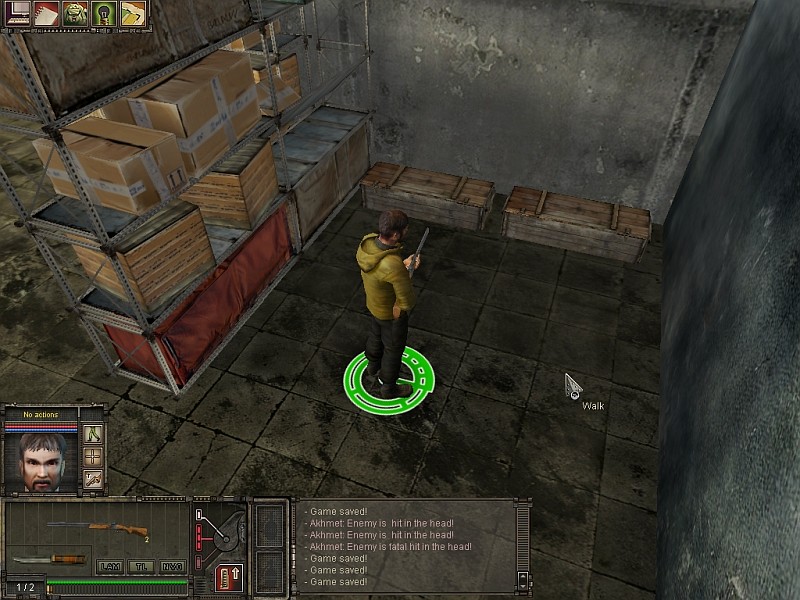
One of them is locked, and the other has this..
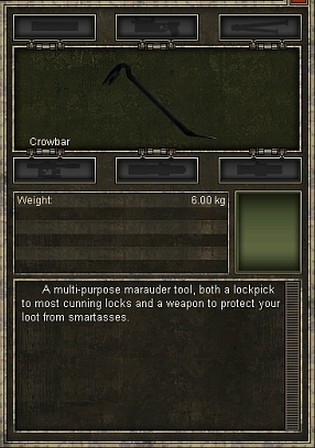
The crowbar relies on your strength score and can be used as a melee weapon, in a pinch. A very handy tool! Though it can't open every lock, as I'll explain later.
Let's crack that box.
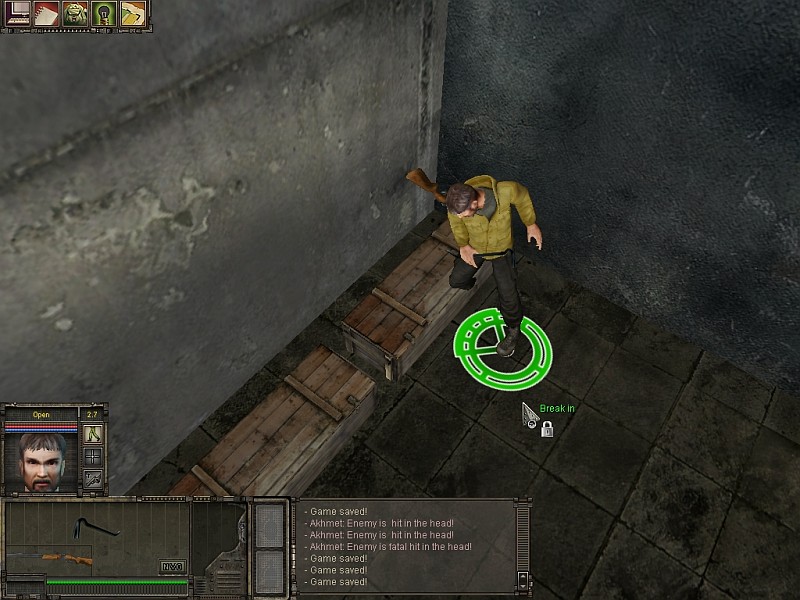
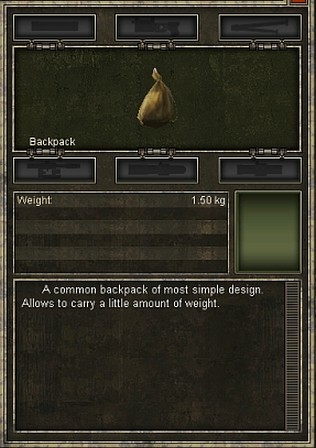
Neat! It may just be a sack but this is the first backpack you can find. Very important to have it from the beginning. It doesn't add a whole lot of space, but it'll be enough for now.
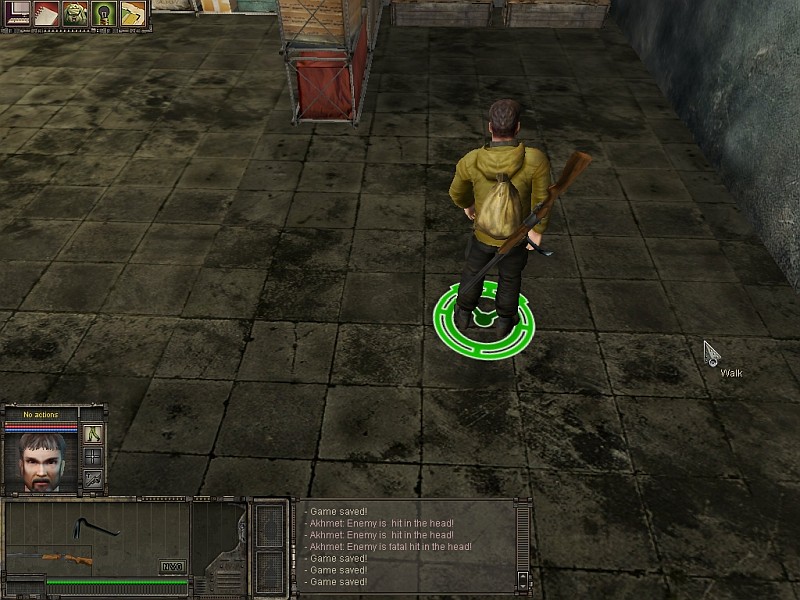
It's also displayed on Akhmet's model.
Lastly, Akhmet found this.
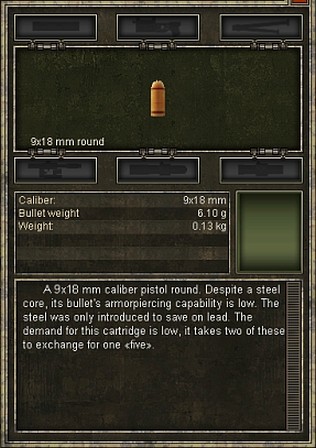
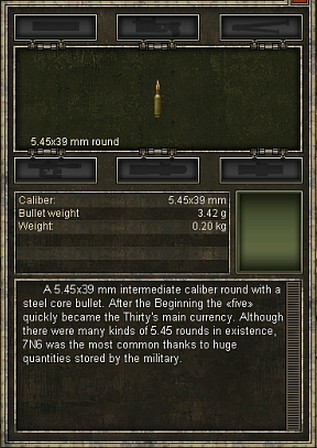
Ammo is nice and all, but more important is the description. Since everything has gone to shit, ammo has become currency. "Nines" and "Fives" are equivalent to 50 cent and a dollar and bigger bullets have even more worth. I like this, as it makes you a bit careful with your shots, as you are literally spending money on every squeeze of the trigger. As a tidbit, Metro 2033 also used Fives as currency.
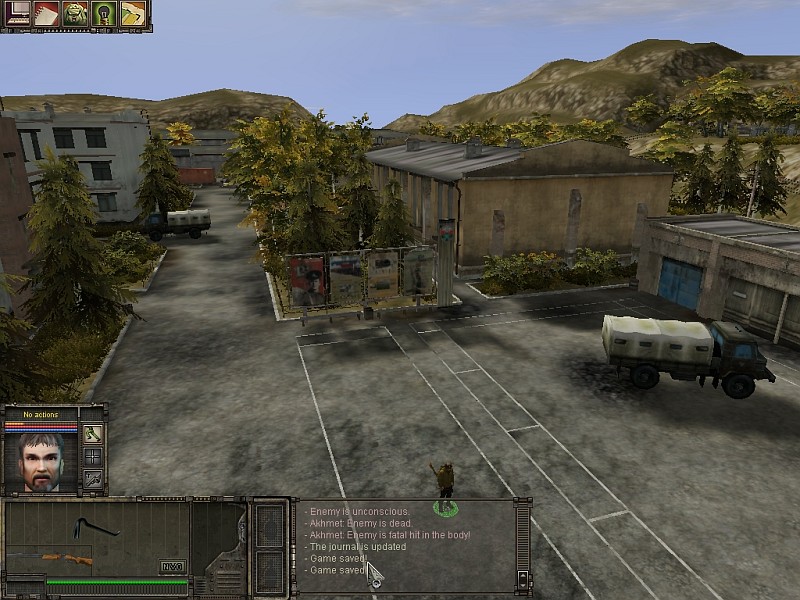
With all the stuff bagged, it's time to get out of here.
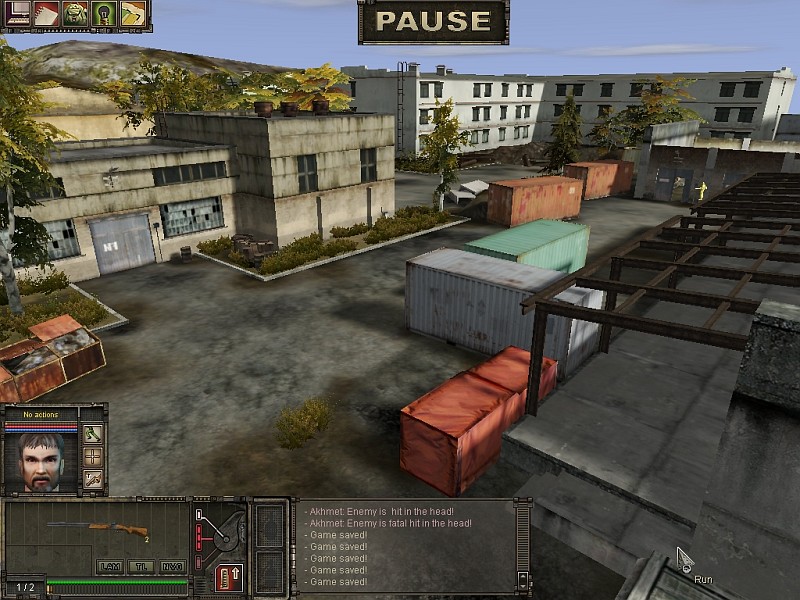
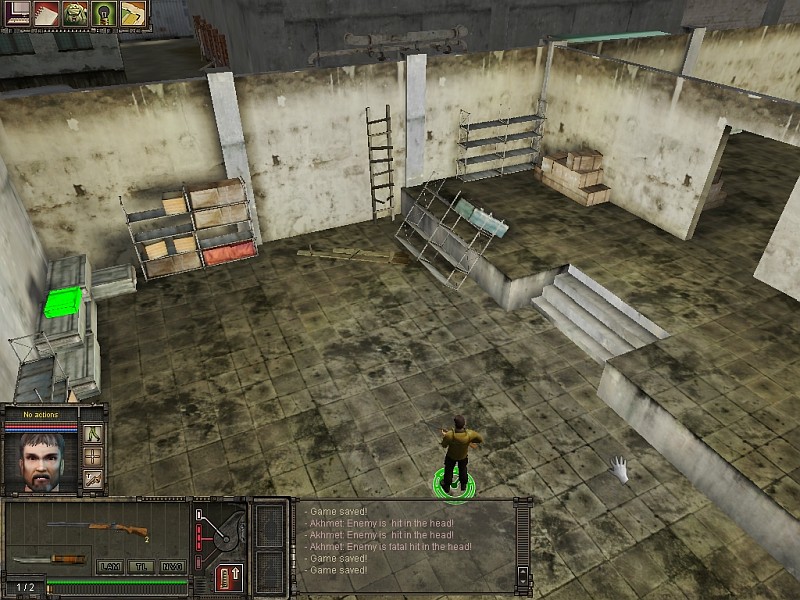
The military base is pretty big. It's not a bug that you can see the silhouette of Akhmet through the wall. It's like this so that you don't lose track of your guys all the time.
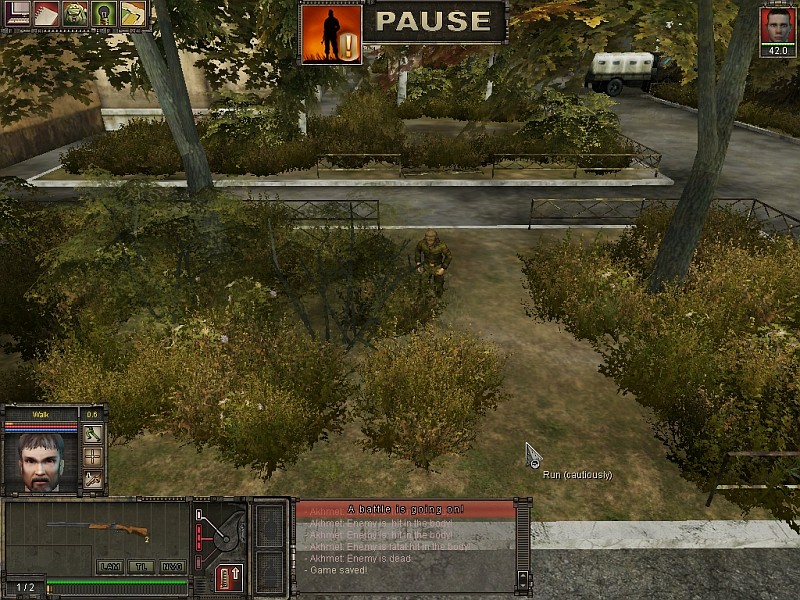
Akhmet sneaks out of the storehouse.
Ahw, shit...
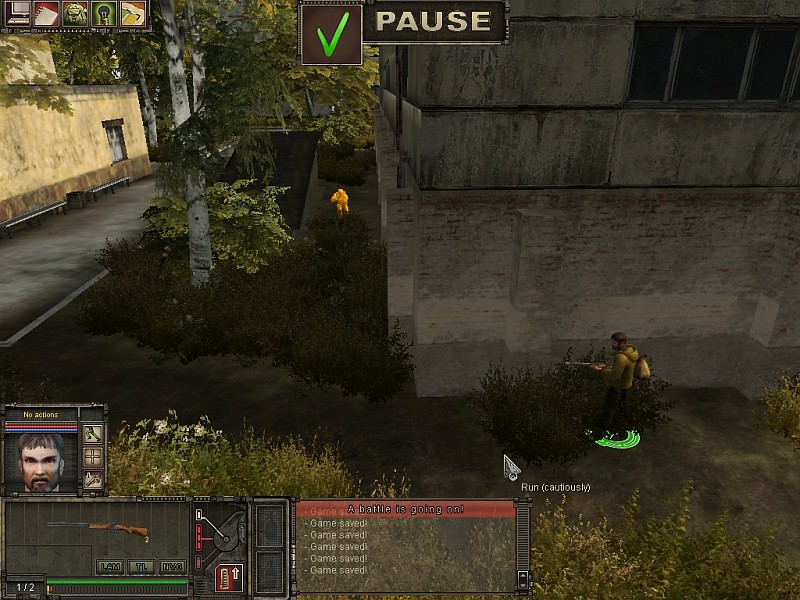
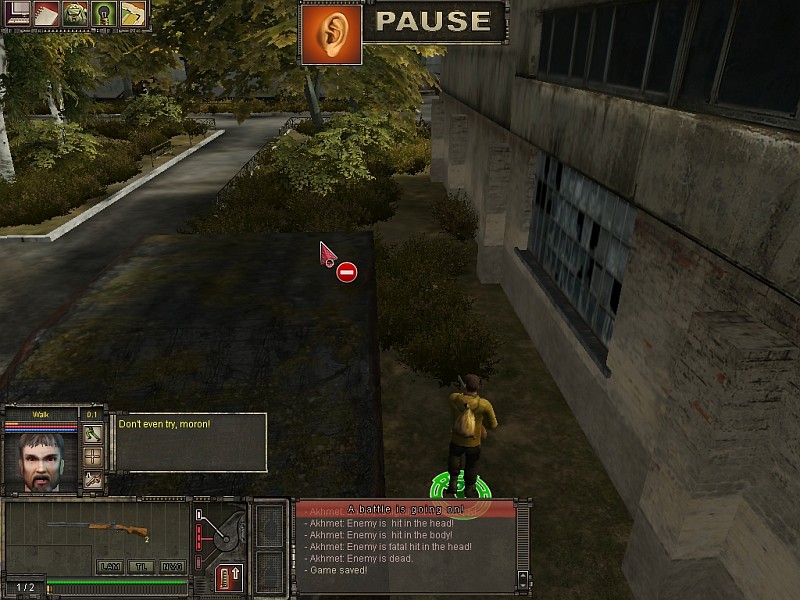
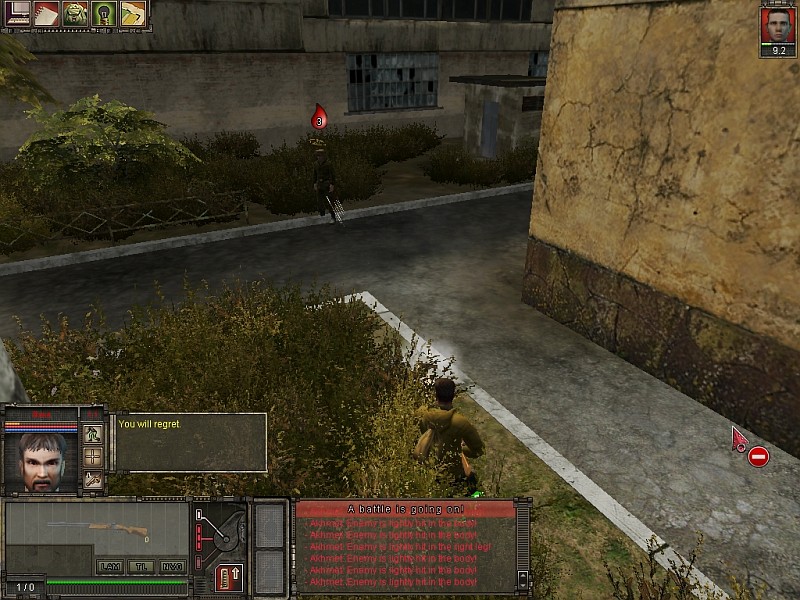
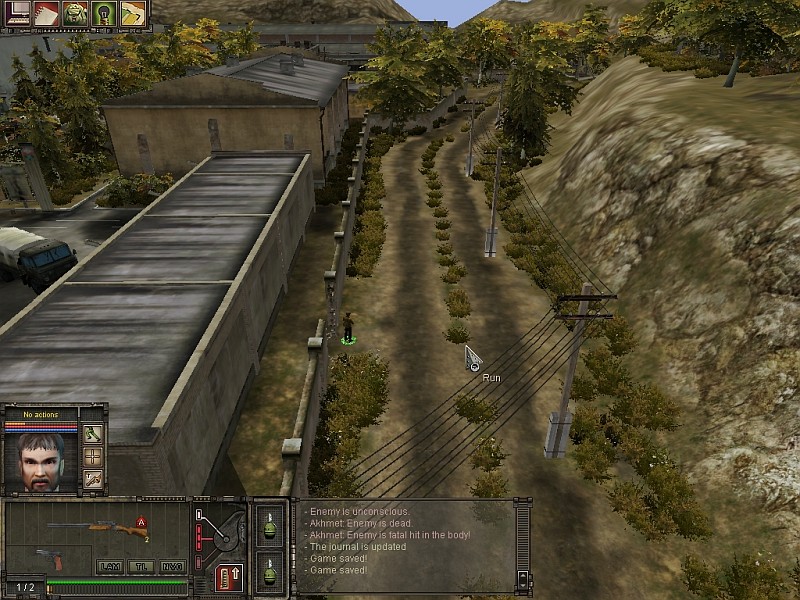
Let's take a look at this fella.
A former soldier with a dinky pistol. Not that threatening but I bet that he isn't alone. See that head in the upper right corner? It's also animated and has a health bar below it. If you put your cursor on it, the game will highlight the enemy that it belongs to. Very handy if there are several guys around as you often want to pick your targets.
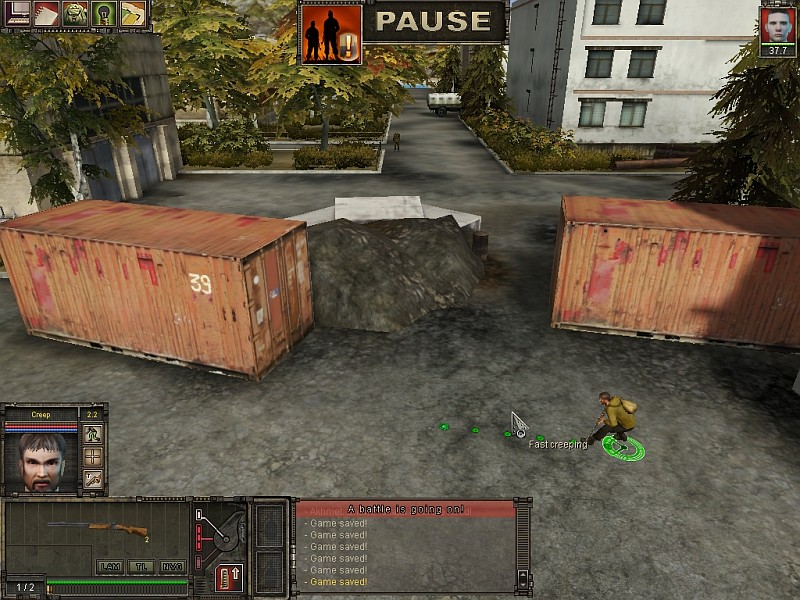
Time for some action! It would be dumb to engage him from here or to run up, so I take Akhmet to the left and let him flank.

Good idea, as a few stray bullets fly towards his old position. Told you that the guy isn't alone. The yellow silhouette marks the source of a noise. Don't rely on it to be the exact position though.
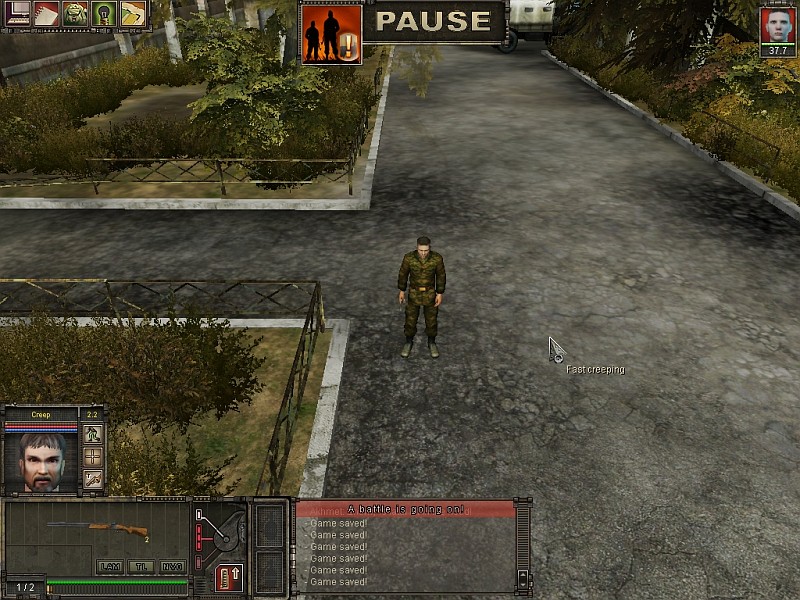
Akhmet has made his way around, but the enemies also heard him running.
So he get's ready and waits a moment.
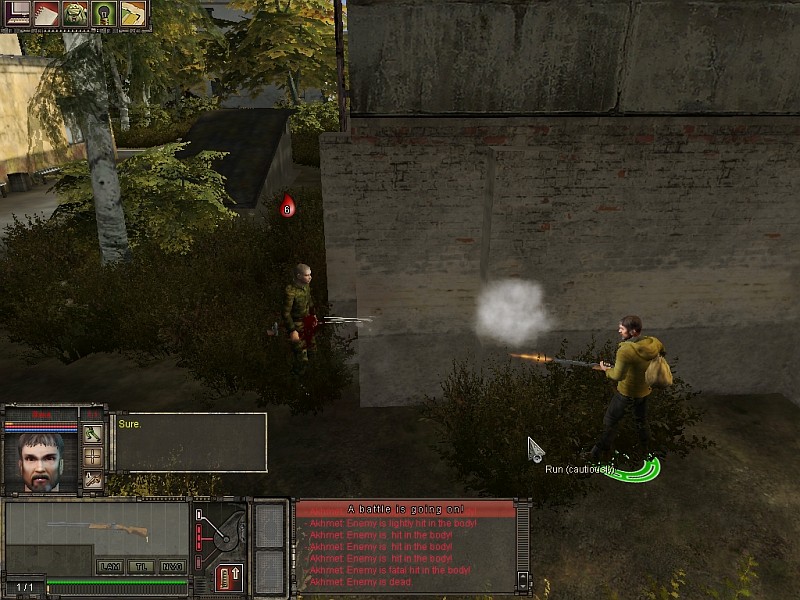
Buck to the gut!
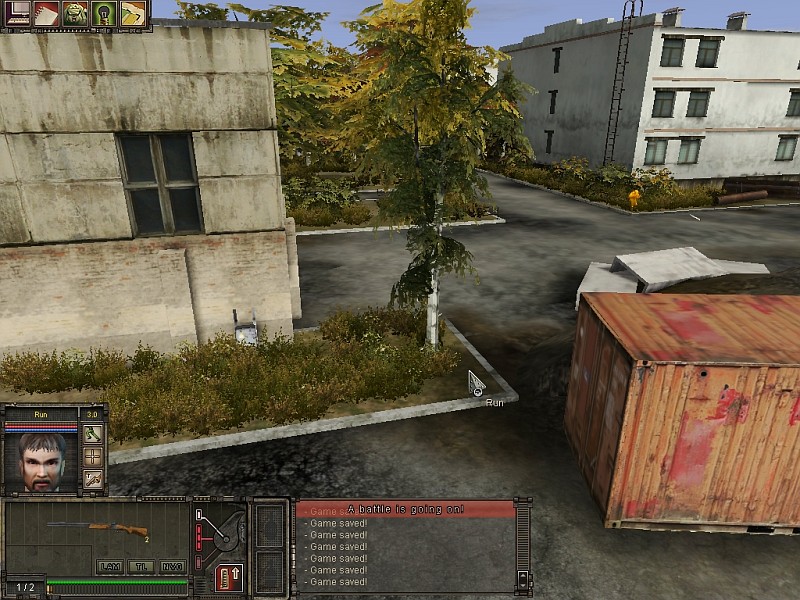
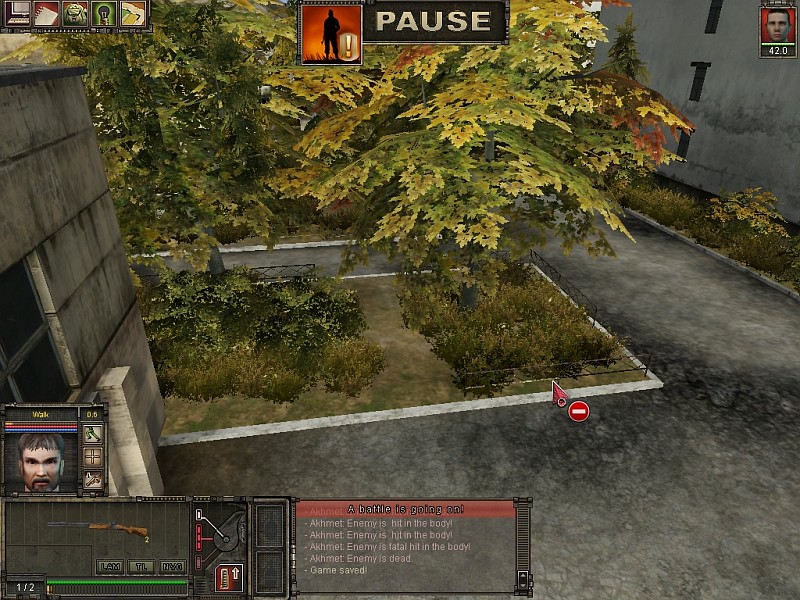
There is a noise from where Akhmet started, so I let him round the corner and press on.
Or maybe not.
This gives me an opportunity to show of another cool feature.
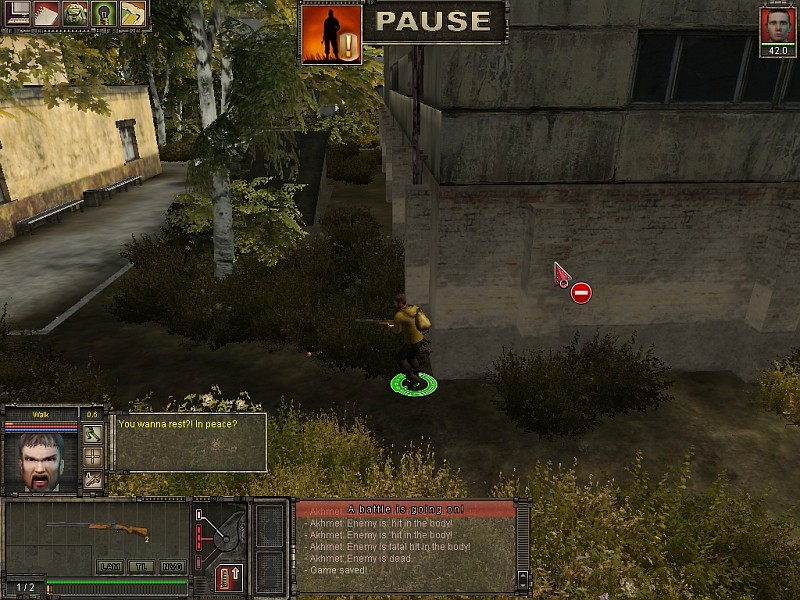
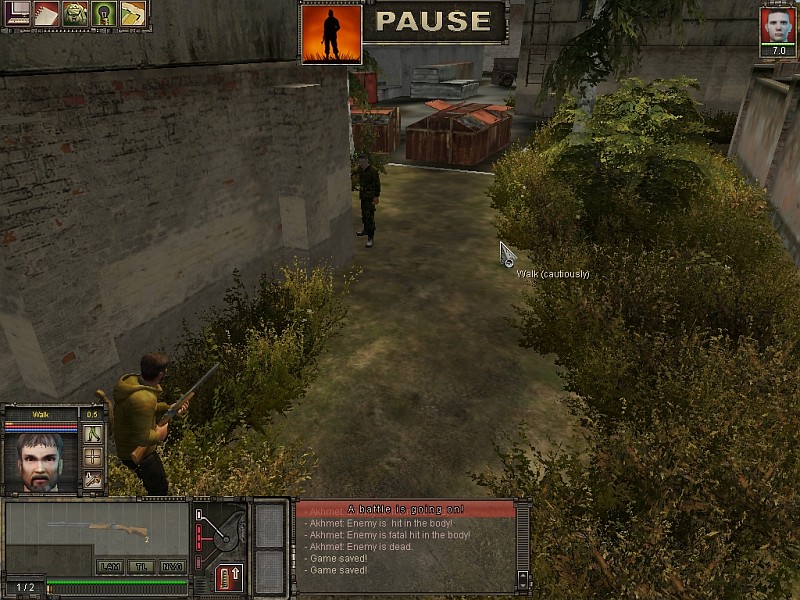
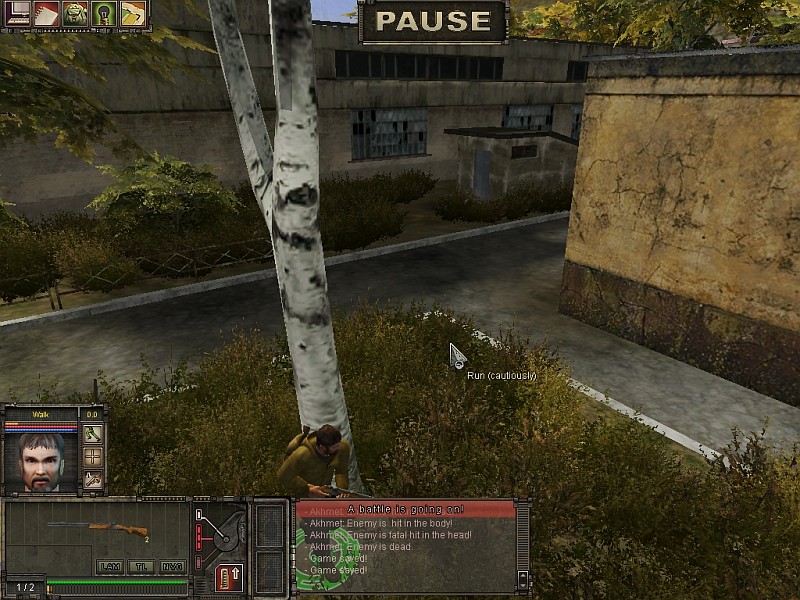
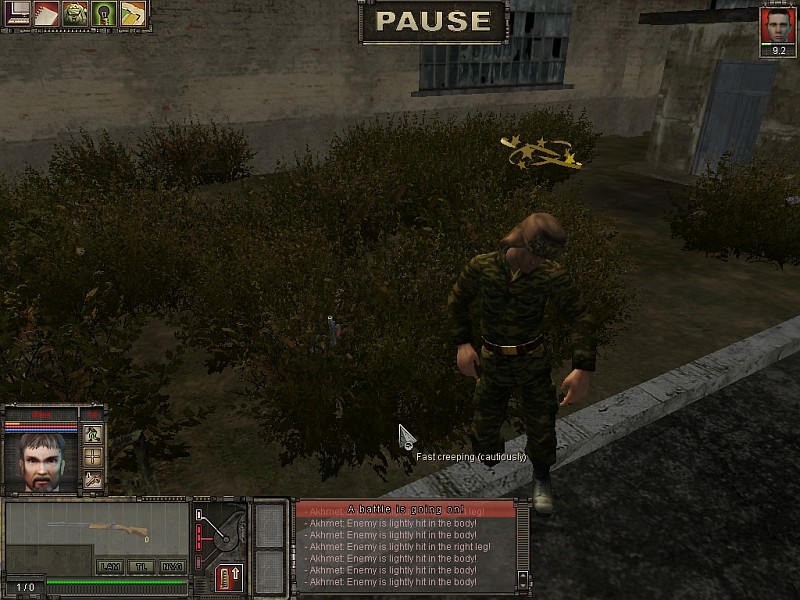
You can't see the enemy in this screen, right?
Now you can.
Treetops and foliage will get increasingly transparent when you zoom in with the camera. I don't think I've seen this in another game. Cool beans!
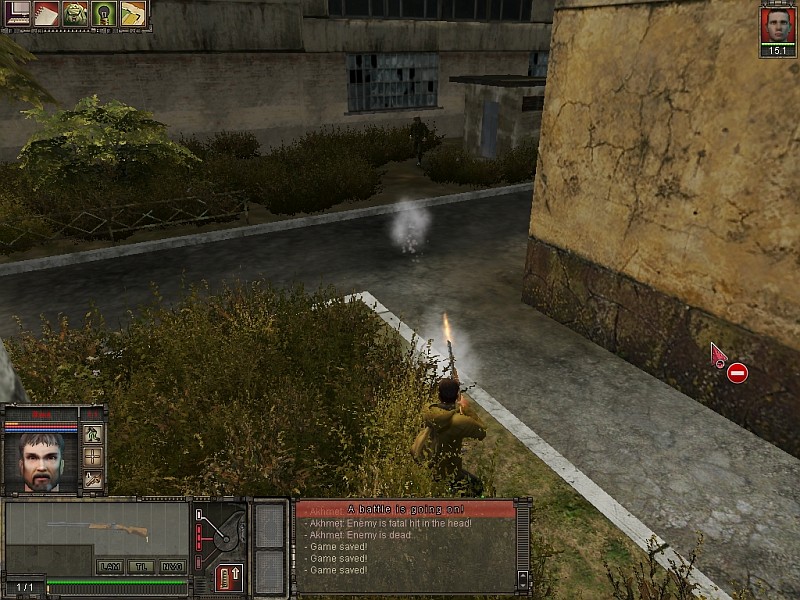
Well, going against him is not a good idea, so Akhmet turns around and waits for the other guy behind him.
There he is.
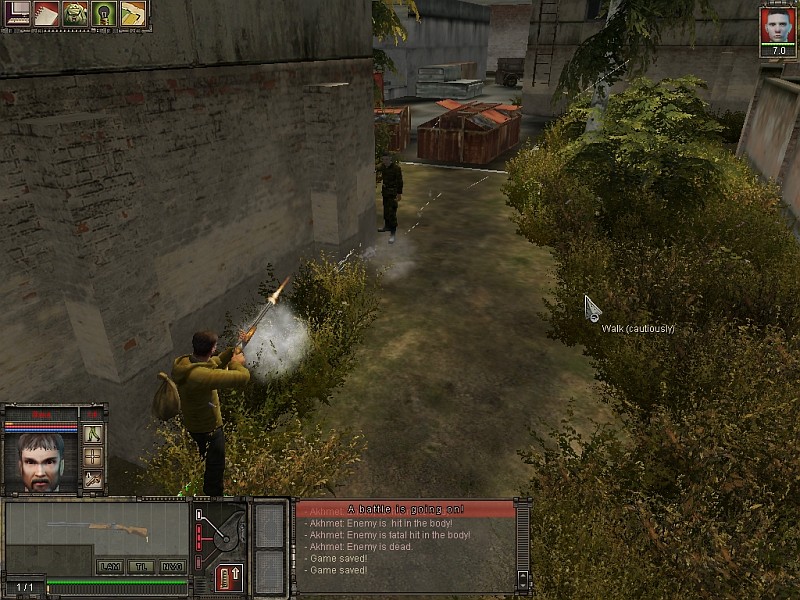
The wonders of quick aim, buck goes everywhere around the target.

In theory Akhmet should have died right here, but a quirk of the game saves him. With the way the enemy is positioned, his shots will be stopped by the corner he came out of. He has the pistol in his right hand and uses quick aim. That's why this happened. With real aim, he would be holding the pistol differently and not against the corner. This can happen occasionally but don't count on it. I was short of running away from him, not gonna lie.
That's better.
It's time to take care of the other guy.
But he also moved around to get in Akhmet's back, and he actually hears two sound sources.
Facing two at once isn't going to work, so Akhmet set's another ambush.
Opposite to the corner he was in before.
And here they come.
The second guy is smart enough to take cover behind the concrete shack thingy. That way he is pretty safe from buckshot.
Akhmet breaks line of sight by sidestepping a bit and will deal with the close guy first.

I said: Akhmet will deal with the close guy first!
Thank you.
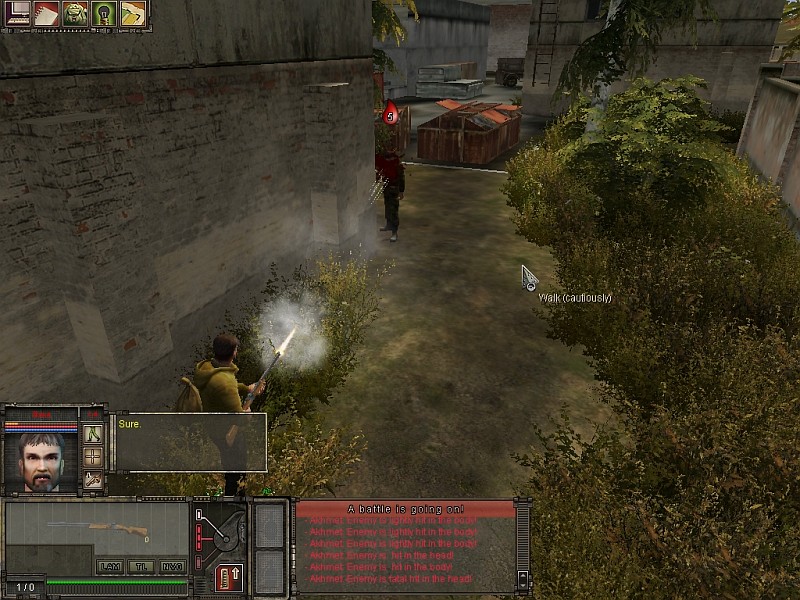
Time for another mechanic.
See the stars over his head?
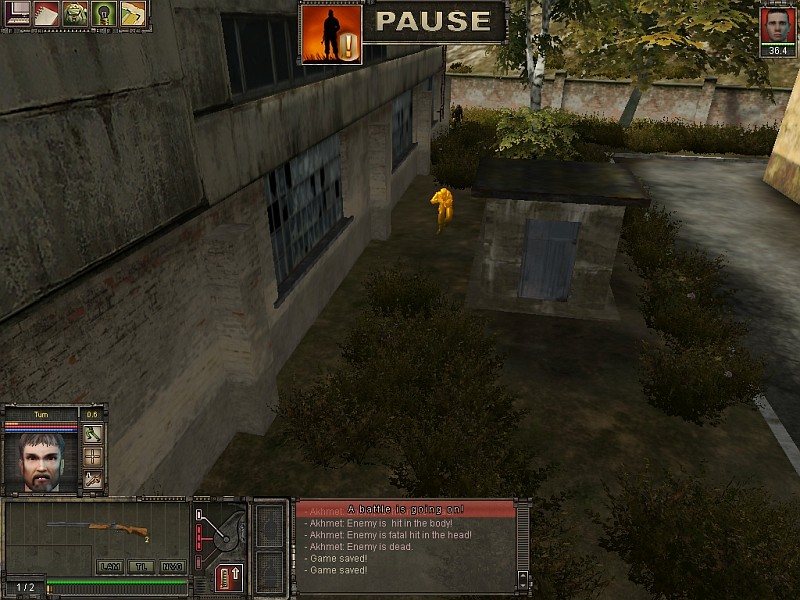
Every form of hit will put a certain amount of shock on you, even if it doesn't do damage. You can't act during shock and have to hope that you can act again before getting hit again. Stun locking is a very real thing in this game. Shock is extremely dangerous!
Also hits will do stamina damage and when your stamina reaches zero you will pass out. You'll recover with time, but if there's an enemy around you probably won't. When passing out, you will also drop the item that you are currently holding. That's why the Makarov is floating in this picture.
With the guy out cold, Akhmet set's the next ambush and forces me to explain another mechanic.
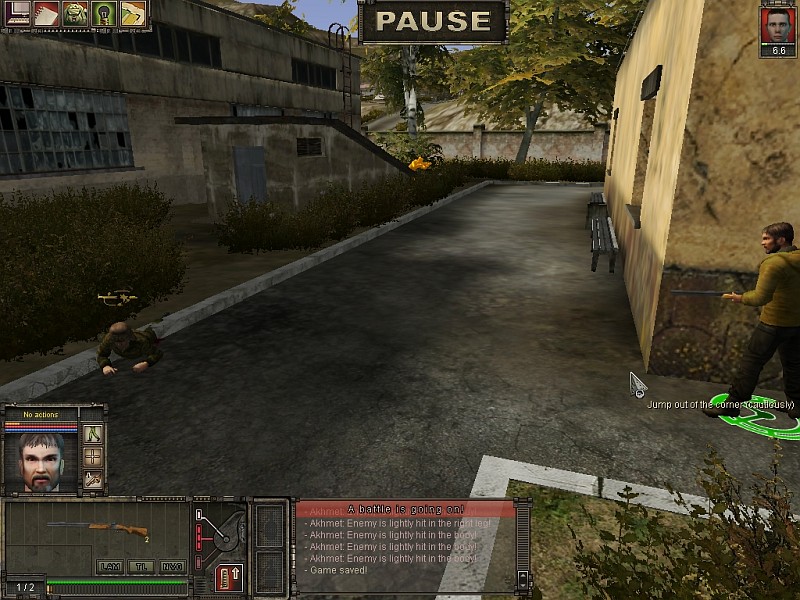
Look at where my cursor is. It says "jump out of the corner".
This is a special action and very powerful. Basically, Akhmet will instantly jump in and out of his corner while moving would take several seconds. While being a powerful mechanic it's also wonky. You have to be in a certain distance from the corner, and then you have to find the right area with your cursor to get the prompt to show. Also you will sometimes face in a weird direction after the jump and have to adjust manually. It's still faster than moving though.
And I'll be abusing it often.

That guy survived with a tiny sliver of health. But that's okay as he'll just bleed out in a few moments. Enemies will also take bleeding damage, just like you. And they don't seem to use bandages.
The other guy is waking up again, and Akhmet isn't going to waste a bullet on him.
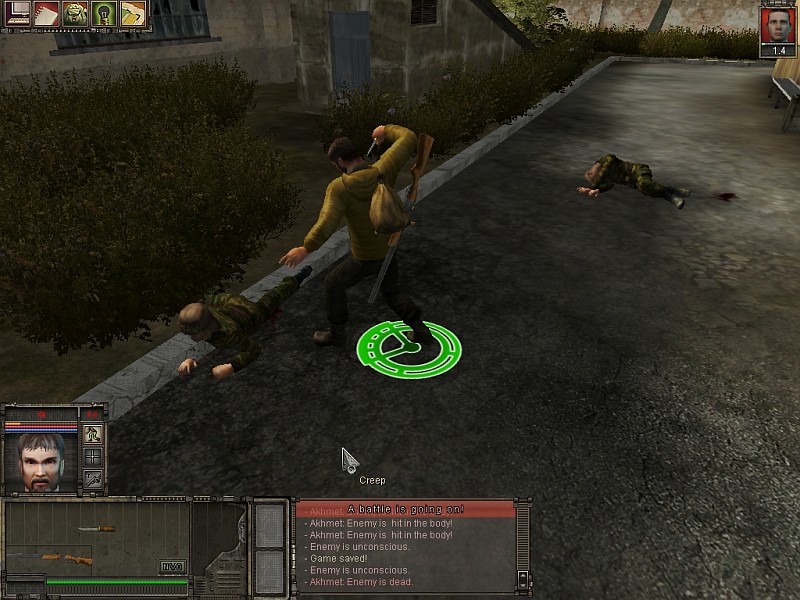

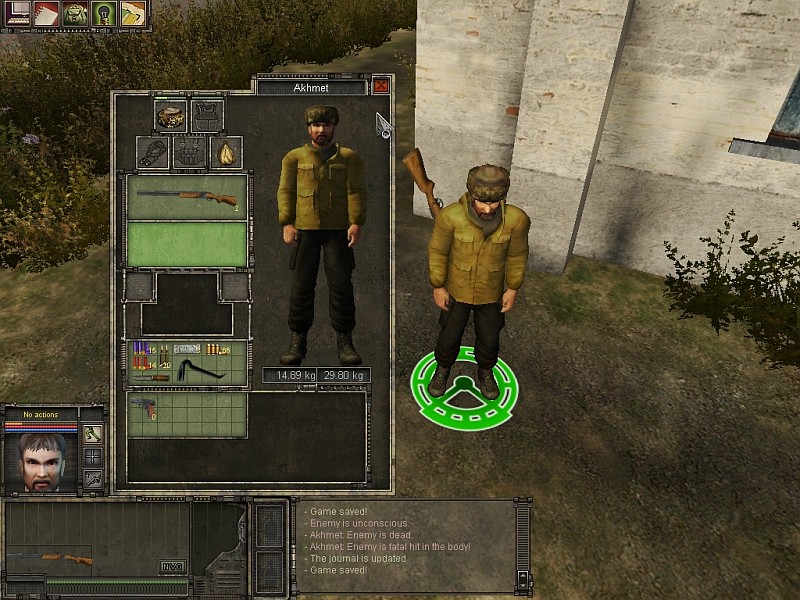
With the battle over, Akhmet loots the bodies. Aside from some ammo he also drops the shitty Makarov for one that's less shitty.
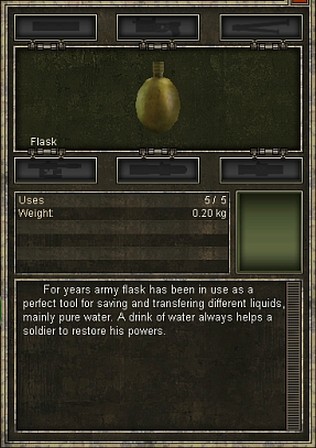
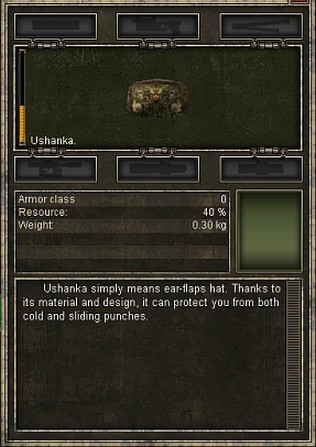
Flasks will restore your stamina but I don't really use em. That Ushanka will actually give you a bit of melee protection for your head.
Also it looks snappy.

While we're free to move on, it's a good idea to take another look around.
As I've already said, the base is big and there are more sneaky chests. Also I'm not going to mention small shit like ammo and bandages from here on, and just bring up the good things.
Take a look at these sweet textures while Akhmet does his Marauding.
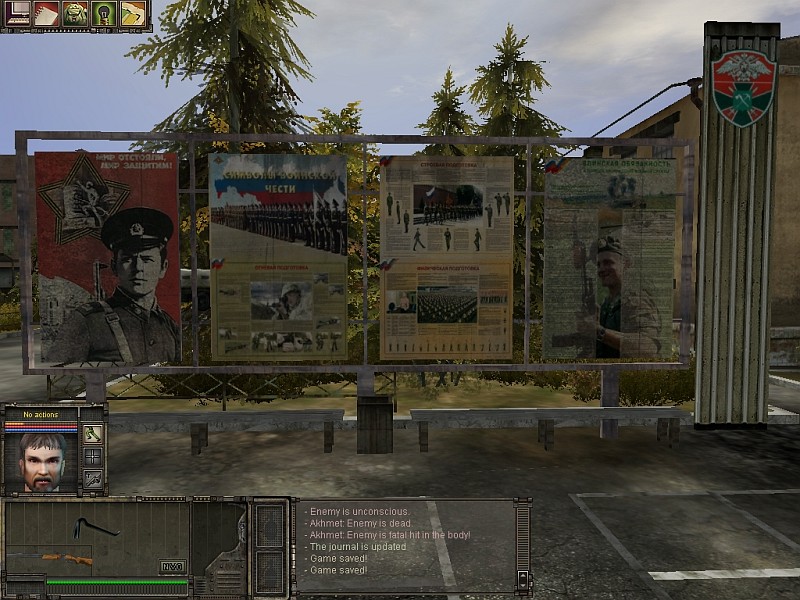
Really wish that I knew how to extract them.
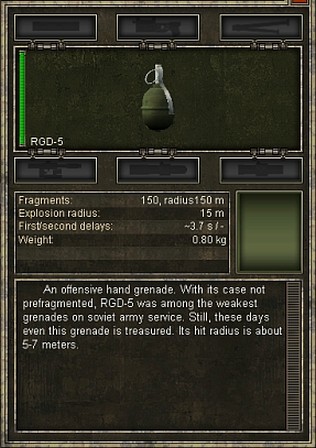

The grenade is much weaker than you'd expect. Really, it's difficult to score a kill with this type. But it's the lowest type and later grenades are quite dangerous. Still, I got two and they will come in handy sooner than later.
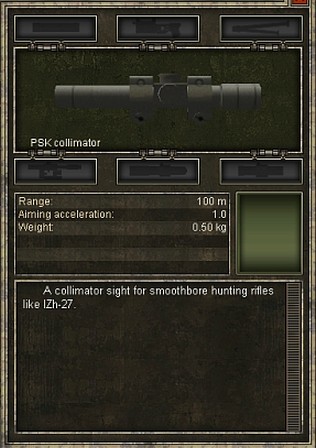
The scope also needs a few words. It has no magnification and will only reduce the aiming time. But it will also change Akhmet's shooting in a special way, you'll see that real soon. This is a pretty powerful thing at this stage in the game, and you need a good strength score to open the box which hides it.
Now Akhmet is ready to leave, and make his way to the meeting place with Valek.
But that is for next time...
Author's note: I'm splitting the first map a bit because I don't want to drop too much stuff on you/be boring from the beginning. I have the next part ready and will post it tomorrow.