Part 20: GeneralYeti engages KingMan in a challenge fight, only able to use RockCubes.
Oh hey, Kingman. I guess I should do my thing then, huh?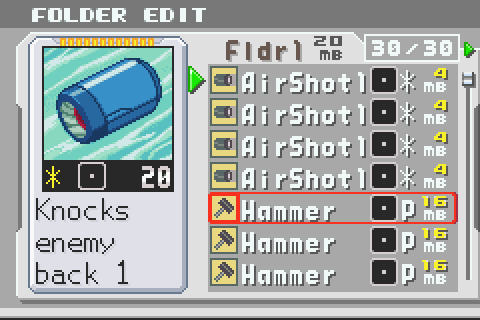


Right, so this is the folder I eventually went with for the challenge. Everything is built for fluidity; I want to be able to go through as many chips as possible so that I can get to the ones that matter. That's the biggest problem when only twelve chips are necessary. Oh? What challenge, you ask?
A no-hit challenge run, obviously.
Restrictions in play:
* Can't get hit (obviously)
* The only damage I can deal is through the RockCube + AirShot combo
For those unaware of it, when a RockCube is hit with an AirShot, it goes flying to the end of the screen. If it hits something, that something takes 200 damage.
Kingman has 800 health. I have 4 RockCubes. Do the math.
ANYWAY. Since Giver didn't really go over Kingman in much depth, I'll talk a little bit about him and his fighting strategy.
We start off in what I'll call the Plan-A formation: two Pawns and a Knight. The Pawns rest on the front lines, just chilling out, until you enter the row with them. When that happens, they attack with a LongSword. If you're not in the row with them, they'll move as close to you as possible - in essence, they're like Object-element Swordy viruses. Only these can't be killed.
The Knight is a lot like the Quaker virus; it hops around, trying to land on you. When it lands, it makes a shockwave. I would try out what happens on a SandStage, but I needed the mobility more than I needed the safety.
Kingman himself just sits in the back row. If you enter the same row as him, after a bit he shifts rows. Not too bad to deal with.
Now, you might have noticed a flaw in his attack patterns. That is, the back column is completely safe; just move up and down along it and neither the Pawns nor the Knights can get you. Kingman has a counter.
He's got two different shifts in his attack patterns, both called Plan-B. For ease of reference, I'll call one Castling and one En Passant. Now, let's talk about them. There's two separate triggers for each Plan-B, and once he's shifted into one he won't change it. The first one I'll talk about it Castling.
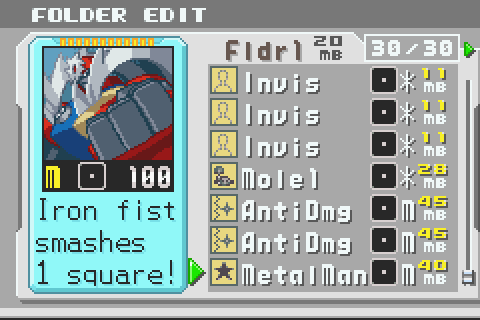
Castling is triggered by the permanent destruction of the Knight in Plan-A. That requires forcing it to jump into an empty square; accomplished through MetalMan's punch or a PanlOut chip. Risky, though. Either way, once it's gone Kingman will Castle. The two Pawns disappear and two Knights and a Rook spawn. The Knights are on alternate timers, so they jump at you constantly. The Rook is a new kind of piece; it's in his center column and moves up and down to match Kingman's row. Kind of a pain, especially with this challenge, so I tried not to trigger it.
The second Plan-B is called En Passant. Remember when I talked about the back column? This is the counter. Kingman will capture your front column and his two Pawns will shift up to the front lines. This is exactly what the Swordy viruses do. Of course, they also have the Knight there, so your mobility is super limited. This is also bad for the challenge, so I needed to avoid that. It's simple enough to not trigger it - just stay out of the back column.
Kingman's final attack is called, appropriately enough, Checkmate. He didn't show it off in my video, but that's because I killed him before he could use it. After using either Plan-B, eventually Kingman will jump into the center of your field. When he lands, he sends out a plus-shaped explosion. Basically, that leaves you the corners. Don't forget, though, you have the Knights to worry about.
In essence, Kingman isn't too terribly hard to deal with. I had to get a bit creative at times, but that was entirely because of the challenge.