Part 51: Couldn't Fit These During the Boss Rush. Deleted Scenes!
Hi, Giver back again. This won't count as the update for next week, and Yeti won't be joining me this time. Think of this as just an in-between.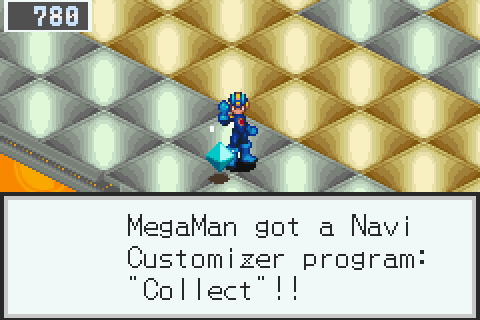
Anyways, some important information got missed in the previous few updates. Yeti opted not to commentate on a few things, and left me to do this part. I guess you can call these "Deleted Scenes."

Now that we have Collect, collecting BattleChips is a trivial task. No more stupid Zenny rewards. Much less frustration, and a much happier Giver. However, it's because that we have Collect that I want to bring back an old point I may have mentioned WAY back: your HP. Notice my HP is in the red in this screenshot.
What's the deal? Certain drops depend on MegaMan's HP being below 37.5% in order to obtain. Prior to obtaining Collect, we had a high chance of getting Zenny, but also getting an HP restorative item after the battle, filling up your HP by a certain percentage. And even if we did get a chip drop, there was no guarantee getting the one we want. As you can imagine, I neglected to go into this because that's just asking a lot to be patient through. With Collect, we can bypass a good amount of the RNG and go straight into this.
This first debuted in Battle Network 2. In that game, viruses dropped different rewards at MegaMan's HP being greater than or equal to 75%, more than 25% but less than 75%, and simply less than 25%. Now that we have multiple versions of these games, instead of having 3 HP ranges to determine code drops, they just split them up between the viruses.
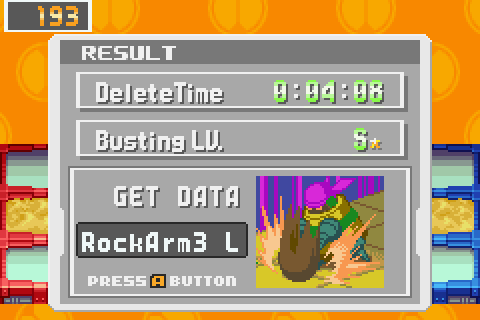
So, not every virus drops rewards at low HP. Breaker is an exception. I've did some grinding and compiled a list for you guys a long time ago. It's about time to show it.
Breaker:
RockArm3 C: Custom Style Rank drop
RockArm3 I: Rank 9-S drop (Blue Version Only)
RockArm3 L: Rank 9-S drop (MegaMan's HP must be at 37.5% or less -- Blue Version Only)
RockArm3 T: Rank 9-S drop (MegaMan's HP must be at 37.5% or less -- White Version Only)
RockArm3 Z: Rank 9-S drop (White Version Only)
This game, sometimes.

It takes very little effort to obtain chips at lower ranks now. And sometimes, their chip codes may just flow better into the folders you're building. I know S-ranking is the name of the game, but still.
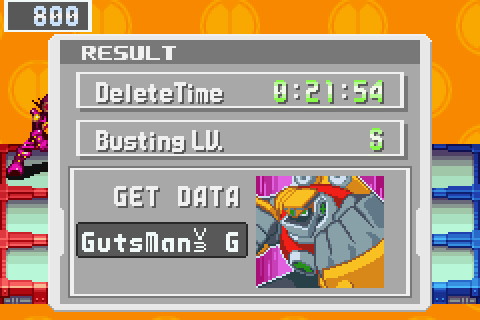
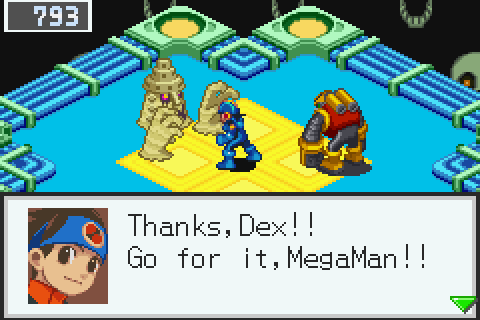
So let's talk about this, next. I chose to fight GutsMan to grind for BugFrags. I mentioned before that he's one of the easiest way to rack up BugFrags quickly.
And I exploited that. Even using GutsMan, going from 196 to over 2000 BugFrags still took me eight hours. This wasn't anything more than what it was -- preparing for the postgame.
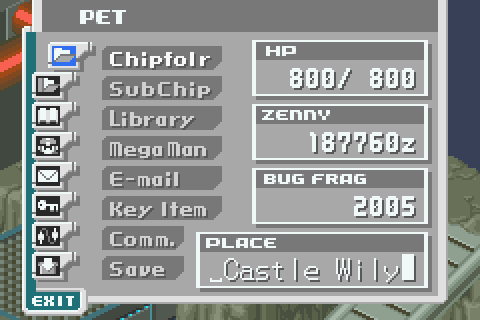
This screenshot right here? It can die in a hole. No, really. Take a look at my BugFrag count. That is not enough! According to memory, I will need a minimum of 1,300 BugFrags post-shop clearing to be completely finished with that currency. What could possibly need so many, you might ask?
This. True, I'm only 150 or so away from being done. But the point being that even after eight hours of grinding, I still need more BugFrags!

Some of you completionists may want to shoot yourself right now. Note that I said "minimum." You could very easily spend more than 1,300 just on the post-game if your NetBattling skills aren't up to it. We'll see what I mean when I get there, but really, if it wasn't for the gameplay, I probably wouldn't have bothered with 100% completion.
Moving on to another topic:
Since these were all Alpha form boss rematches, they proved somewhat of a pickle to keep interesting. This is a flaw of killing Beta/Omega Navis earlier on in the LP. Fortunately, I had an idea in mind.
 : We must perform the magic trick.
 : Killah pls.
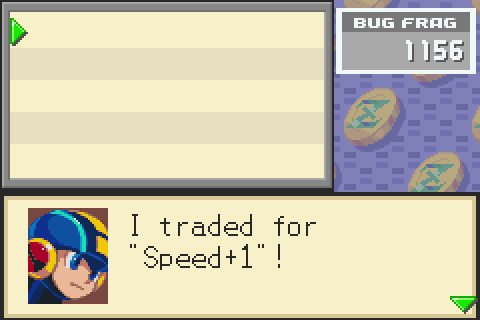
Using black magic, I traded chips over from White to Blue. I traded over exactly 4 unique items:
Magnum1 T x4
Magnum3 S x4
Plasma 2 G x 4
Punk P x1
Why bother with the first 3?
Magnum1 A: Rank 5-S drop
Magnum1 C: Custom Style S-rank drop
Magnum1 H: Rank 4-5 drop (Blue Version Only)
Magnum1 T: Rank 4-5 drop (White Version only)
Magnum1 V: Wily's Keyboard; Chip Trader for the other copies
Not having that last code in Magnum was driving me nuts.

Magnum3 is a little more interesting, and actually went into my folder. I NEED the S code to complete the thread's namesake.
Magnum3 D: Custom Style S-rank drop
Magnum3 F: Rank 9-S drop (Blue Version only)
Magnum3 I: Rank 7-10 drop (White Version only)
Magnum3 S: Rank 9-S drop (White Version only)
Magnum3 W: Rank 7-10 drop (Blue Version only)
Damn White Version gets the superior code lineup.

We'll be seeing this in greater detail in the postgame, where White Version gets easier access to an instant-virus death combo. I also covered some of White's code lineup advantages a little while ago.
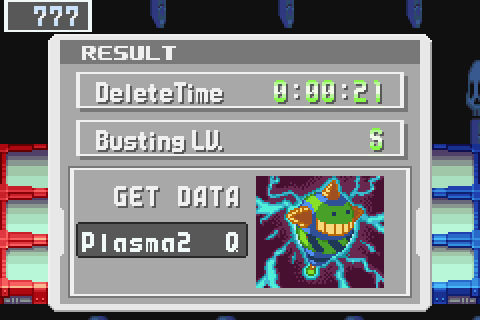
And Plasma2 G was used in the hacked battle in the last update. There's a good reason why I chose this chip specifically.
Plasma2 A: Custom Style S-rank (Blue Version only)
Plasma2 G: Custom Style S-rank (White Version only)
Plasma2 K: 7-10 rank drop
Plasma2 M: 9-S rank drop (White Version only)
Plasma2 Q: 9-S rank drop (Blue Version only)
Let's examine the S and G codes for a second:
G code contains:


S code contains:


I don't know about you guys, but I'm seeing some similarities here. Really, I find these codes the best for overall Custom Style S-rank virus busting. And isn't it nice we have G for Giver and S for S-ranking.
Case in point:

You can do the same thing. Use the above chips as a basis, and then go from there. I throw in CopyDmg because...well, you shouldn't need to ask at this point. Complete your chip library in a week.
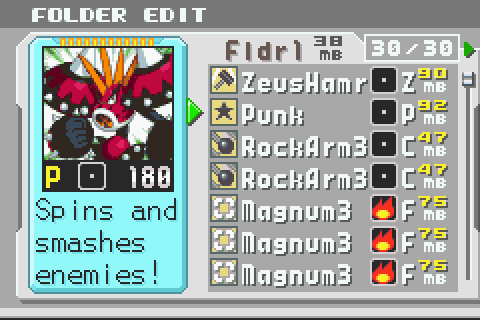
Now, for the last chip I had traded to me. Punk is a promotional event exclusive NaviChip. There are no higher levels to this chip and can only be gotten in this day and age by cheating, or on Wii U Virtual Console release. You went to a Capcom-sponsored event in some random part of your country, download some data, and there you go, free Punk chip. And guess what? It's overpowered as shit.

So this is what it does:
Pretty decent, right? 180 breaking damage to the column with the closest enemy and it's stopped by holes. Now, let me go back a second to this:

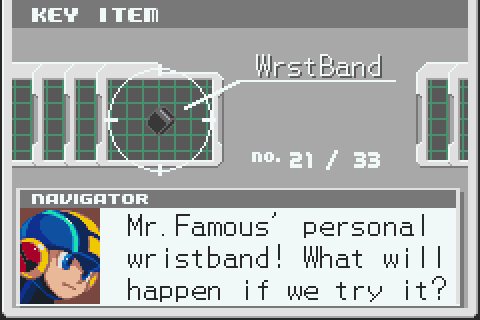
You see, when you have this particular KeyItem in your inventory, Punk's chip changes drastically.

That is 360 breaking damage to everything in front of you. The attack power of it just doubled. Why yes this is amazing.
But wait, there's more!
Now, if we input another super secret command code...
...we can make Punk do this. This was shown last update in the Omega level boss fight video. As soon as Punk appears, press Left+B and he'll do this attack. It deals a whopping 400 damage, causes confusion, and since it attacks from the back, it can get around frontal obstacles the enemy puts up.

Time for...the hardest command code to pull off in the series.

Punk's Merry Go-Round: 100(shoulder pad)+100(shoulder pad)+400(Double Slash) = 600 damage
In order to perform this command code, you need to have a set of pre-requisites fulfilled:
-The first and most obvious is obtaining Mr. Famous' Wristband. It's hard to find the exact Lotto Number in promotional material. I don't believe the chocolates that the shop in Yoka's Metro Station will give you these. It's way more Capcom-like to only sell certain Lotto Numbers in exclusive material. Buy a guide, check this LP, or check GameFAQs.
-The second is having a fully-charged buster shot. That is, you must see the pink orb on MegaMan's body. Failure at this stage means just the basic 360 damage move.
-The third step is to be located on the exact same panel I am on.
M = MegaMan
[_][_][_]//[_][_][_]
[M][_][_]//[_][_][_]
[_][_][_]//[_][_][_]
If you're located anywhere else on the field, no dice.
The fourth step is also a giant subversion of expectations. Say you complete steps 1-3 correctly. If you did that, you will ONLY get the 400 Doubleslash maneuver. Meaning, you probably thought you discovered a new attack by accident and were feeling gleeful. But, what you need to do now is press Down, Right, Down, Right in a window of .25 seconds(feels like less) just when Punk appears, but before he attacks. If you did this step correctly, congratulations, you got the full 600 damage combo off. If you didn't, you'll only get 400 damage.
Asking how I know this shit is definitely the million dollar question.
Now that we have this, it's time to do some rare virus hunting.
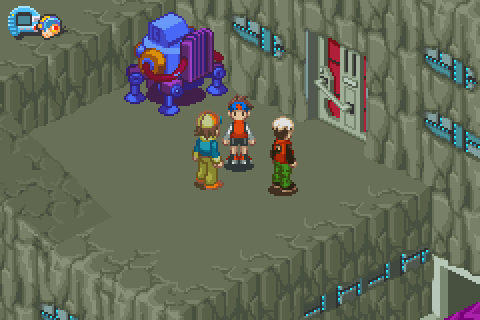
We're back in familiar territory. In my very first update, I found a rare virus just hiding along in here. I got "lucky," considering it's extremely hard to run into it regularly.

You know, I'm starting to think these rare virus placements were just decided via dartboard.
"Where can we put another rare virus to get the most of our elemental attractors? How about the third area of a random computer!"
 You can meet THESE things this early in the game? Okay, you know what? I like that. Battle Network 3, you just love putting goodies everywhere in the game, don't you?
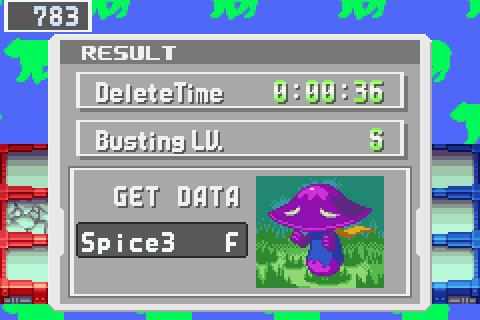
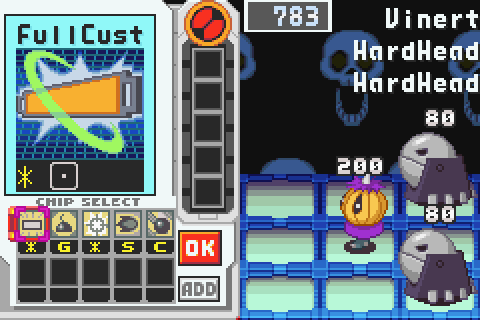
You can also get a Totem2 chip in Hospital Comp 3, which is the same area that PlantMan spawns in.

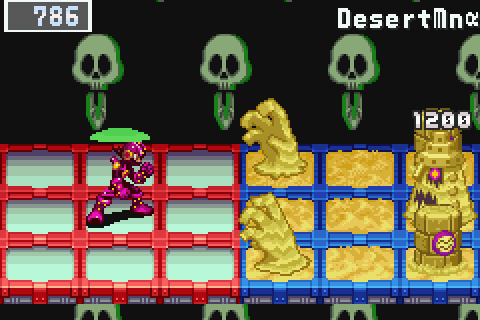
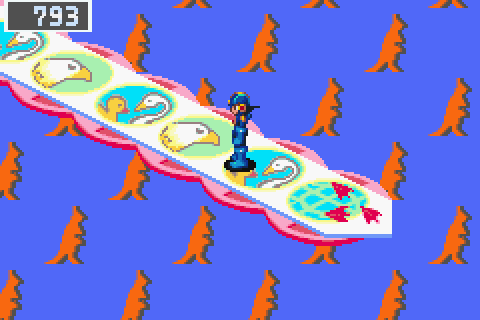
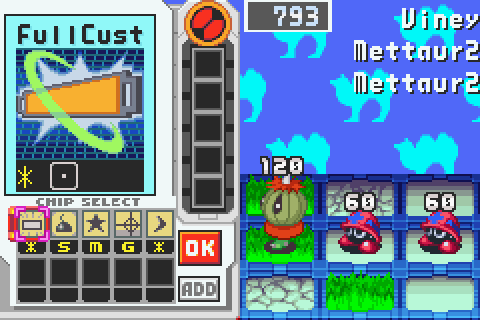
So, if I equip a program that searches for Wood viruses in a dungeon full of ELECTRIC enemies, then obviously I get...
...I get an extremely rare Wood-elemental virus in what has to be in the Top 3 for hardest virus battle to S-rank in the game. Two viruses who are immune to everything except Breaking, and another who is immune to everything except Fire. Great.
Now, S-ranking these types of encounters is still not that hard, provided you are only going for normal S-ranks. What my goal is during the postgame area is to give tips on how to get a Custom Style S-rank (No buster and No NaviChips) with minimal chip usage. After all, we don't want to have to
 to get a 5 chip draw capable of shutting them down, right? That's stupid.
 Getting a normal S-rank:
 +
+ +
+
That easy. Not the only way, but you get the idea.
Getting a Custom Style S-rank:
 ++ BlackBomb3 and Sensor2 come in G code
That's pretty much the most efficient way I can come up with outside of CopyDamage+Zeushammer. Honestly, if you guys have another method of doing it that requires less chips, by all means post it.

I don't do efficiency guides for storyline encounters because there's little point. Those viruses are so easy and have so many ways of approaching them that you shouldn't need any help. It's ones like this that do.

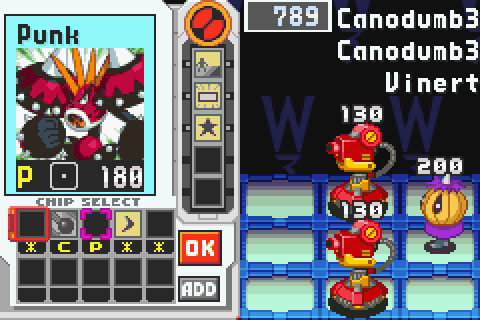
Even barring that, you could honestly just nuke the encounter with the dual Canodumb3s. The other encounter is really just there to challenge players who want it.
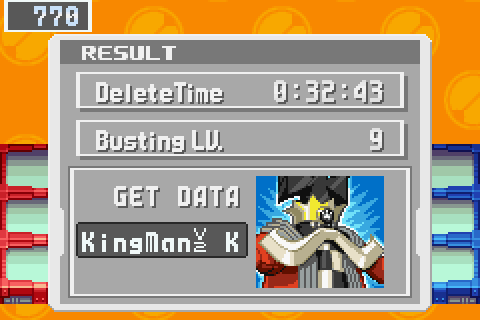
And for the last section:
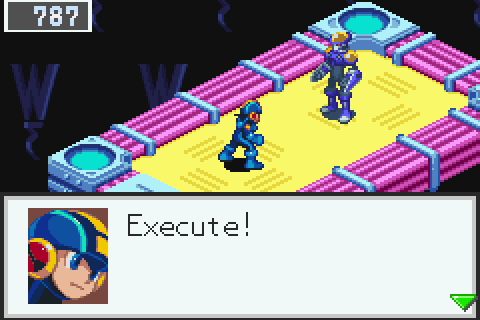
We can finally fight KingMan Beta and use him to grind for our V1 to V4 NaviChips.
Time to end this on a boss fight video.
https://www.youtube.com/watch?v=8WikhiiLlQw
Oh, hold on. That won't do.

Nevermind, I'm fucking terrible.