Part 58: The Best PostGame Area in the Series.
It's time. It's finally time. My big guns are about to come out.HI Imm Yeti and I'm writing this will coming out of general anesthesia for wisdom teeth removal. Giver don't correct myt errors please.
Why would you do this
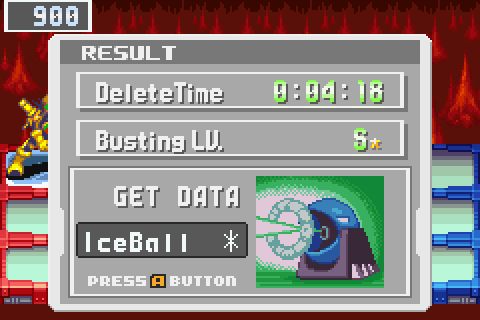
Many updates ago I wrote that I wanted to check what the Custom Style S-rank reward is for this virus. And now that I've re-acquired Custom Style, we can see that it's IceBall *. But now, it's time to make a huge callback to my very first update.
Time for Giver's favorite thing in the world showinv off how much of a COCK he is
Battle Rewards System:
Time
0.00 ~ 5.00: +7 points
5.01 ~ 12.00: +6 points
12.01 ~ 36.00: +5 points
36.01 and up: +4 points
Movement
0 ~ 2 steps: +1 point
3 or more: +0 points
Times You Took Damage
0: +1 point
1: 0 points
2: -1 points
3: -2 points
4 or more: -3 points
Multiple Deletion:
Double Delete: +2 points
Triple Delete: +4 points
Getting a Rank of S requires 11 points. Therefore, in a match with two viruses, we need to get a Double Delete(+2) without getting hit(+1) in 5 seconds or less (+7) whilst moving no more than twice (+1). This is the hardest and most frequent scenario of S-ranking.
Let's not also forget that by getting an S-rank WITHOUT using NaviChips in Custom Style AND your time is at 5 seconds or less (it's possible to get an S-rank at over 5 seconds), we unlock a new rank: S++ or Custom Style S-rank
S++ is like C++ but not a program language instead its' a buster rank
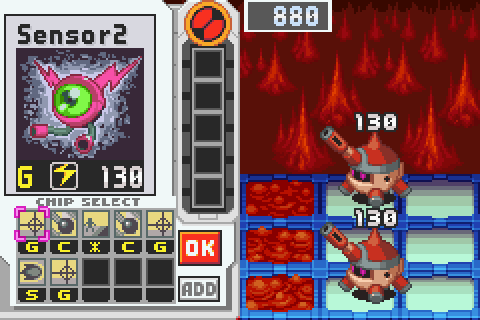
We can see this here. This is the S++ reward for Deetle viruses. However, let's rewind time a bit.
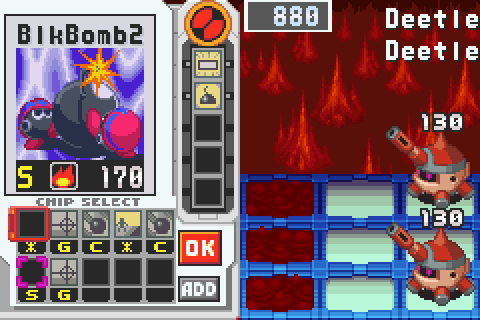
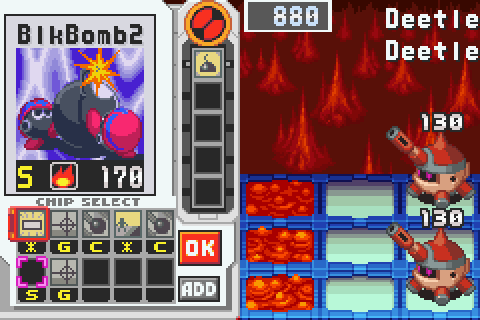
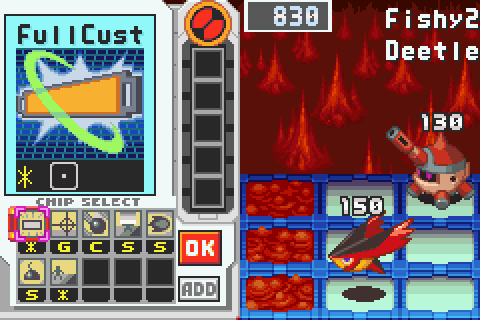
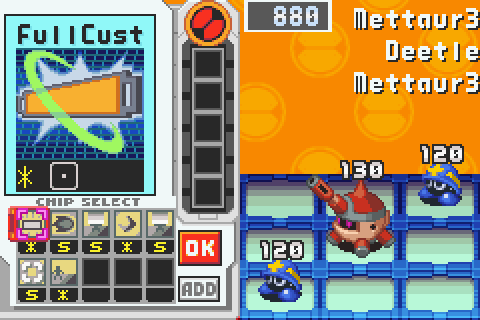
Instead of one-turning these viruses, I will instead select FullCust first.
Hmm, everything seems to be in order. Let's go out into the field and delete them.
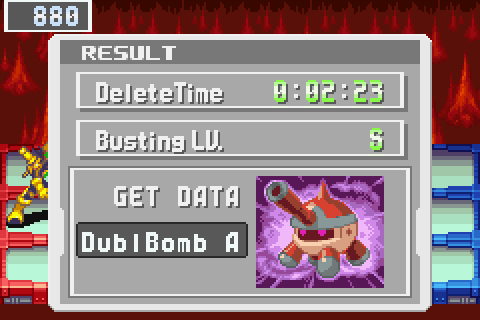
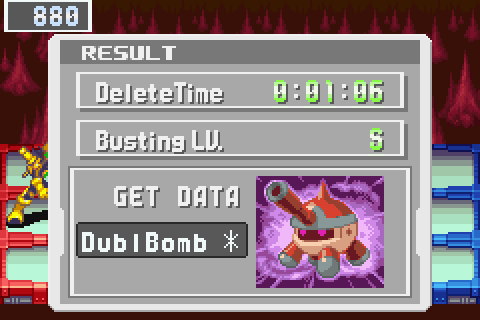
Well? What happened to DublBomb *? Good question. We just unlocked a hidden third level: Rank S+ otherwise known as Off-Color Custom Ranking.
You're a wizard, Giver, that's the only explanation
You see, on SOME viruses, if you had to pay a visit to the Custom Screen more than once, you will get a different reward than if you one-turned them. There are a only a few ways of doing this while still staying under 5 seconds: Fastgauge, FullCust, Folderbak. I'm serious. There are additional rewards for some viruses if you happen to use 3 of the several hundred chips in the game!
A wizzaarrrd
Our final list of requirements are:
S+
- Must be Custom Style
- Enemies must be viruses
- Busting LV. must be S
- Didn't fire regular shots
- Didn't fire non-elemental charge shots
- Didn't select any Navi chips
- Must be under 5 seconds
S++
- Must be Custom Style
- Enemies must be viruses
- Busting LV. must be S
- Didn't fire regular shots
- Didn't fire non-elemental charge shots
- Didn't select any Navi chips
- Must be under 5 seconds
- Didn't visit Custom Screen more than once
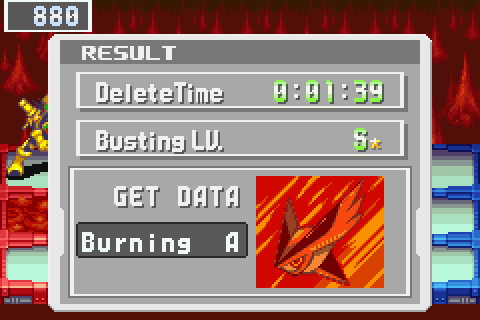
Now, about 3 of the many viruses in this game will drop a completely different BattleChip if you get a S+or S++ rank. Fishy2 drops Burning, which is basically just a "+" that forms one square ahead of you.
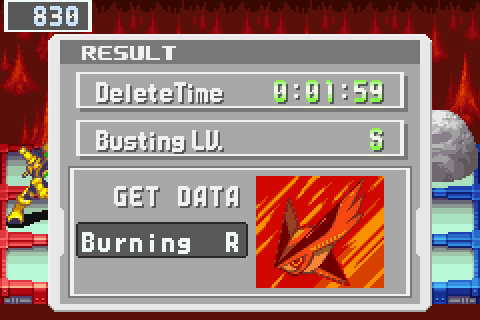
And it just so happens that any of those 3 viruses will drop a different chip reward at Rank S+ or Rank S++. Compare the Burning R to Burning A
The second of the viruses is actually Mettaur3!
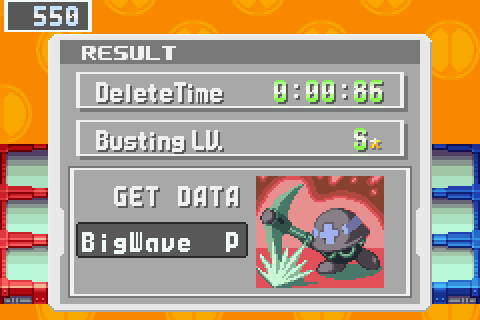
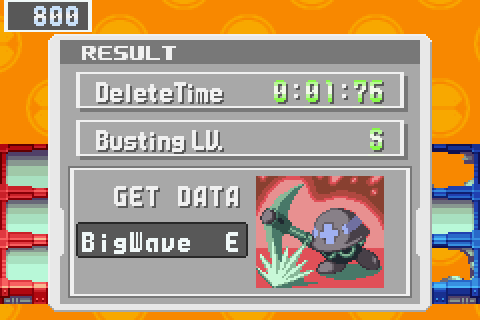
And he drops one of the best chips in the game.
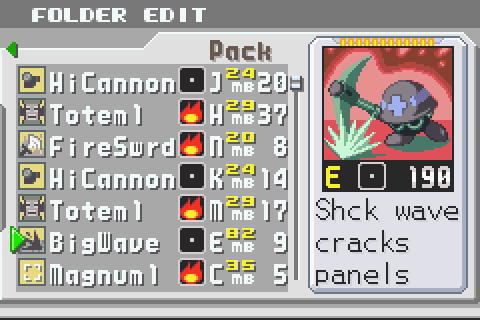
BigWave is fantastic. A solid 190, extremely fast wave that cracks all panels in a row. Great chip and it even comes in some of the best codes in the game. I'm impressed that the starter virus family drops a chip that managed to keep up in power even throughout the postgame
It's like Dynawave from one of the other gavmes or someting I don't remember which game
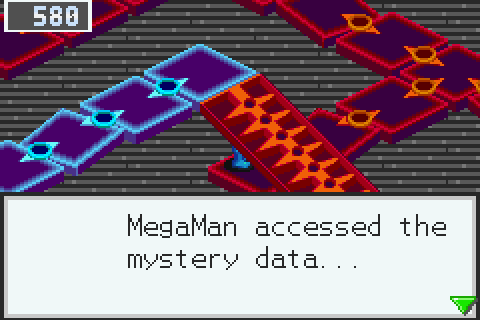
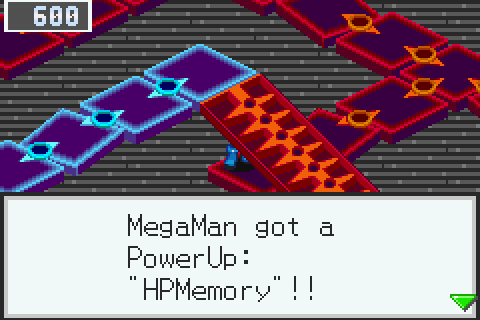
Missed this one in Undernet 5. This is somewhat of a rare find.
Now we have 20 more HP that Giver can never lose yay.

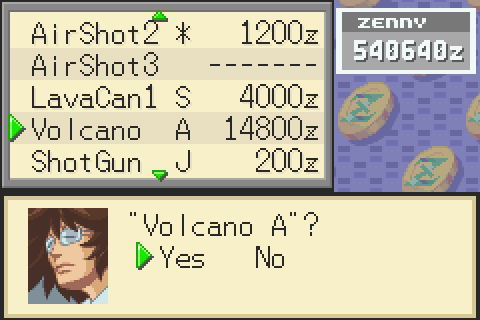
The third of the viruses that drop different rewards are the Volcano family.
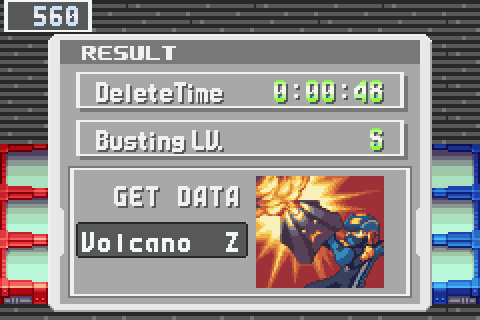
What's cool about this virus family is that it will drop the Volcano chip at all levels -- even though we can only fight the Basic form of it right now.
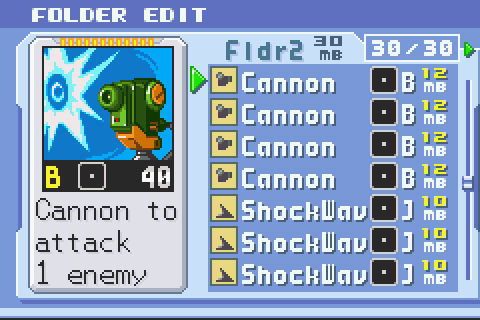
Now, it's time to grind heavily -- both to make up for not getting Custom Style rewards earlier in the LP and for these new chips. Here is a complete list of every. single. Custom S-rank reward. Both versions are accounted for here.
[Much grinding ensued]

Whew, that was fun.
Showfof. You're a showoff. Jerk. You're why
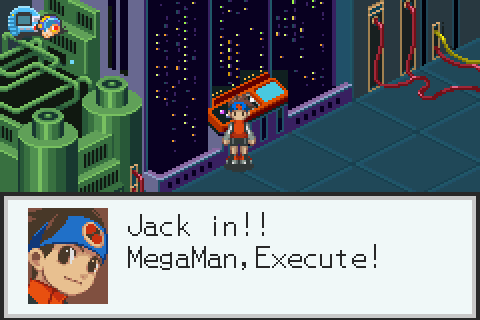
Now, by going back to where we got our "GigFreez" program that was only relevant for one scene, we can enter the Secret Area. In order to enter, we need to have beaten Alpha and have at least 100 Standard chips. Needless to say we fulfill both requirements. What's going to be in the postgame? It's UNDER the UnderNet. Could it be even darker?

https://www.youtube.com/watch?v=Sg61DWzNsgw
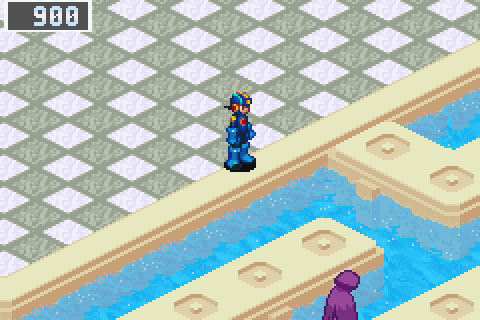
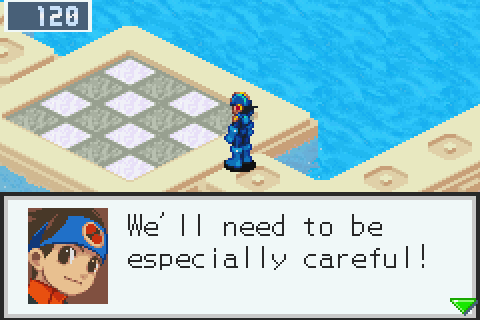
Holy shit, look at how pretty this looks. And the music is so chill! An area under the darkest part of the Net lies a serene area.
 Really, that's a better name for it than "Secret Area" Capcom!
SEcret Area seems like it's the kind of thing they'd call a secret porn stash. 'Where were you Lan' 'I was in the Secret Area, Mayl, don't judge me'
Naturally there are lots of tough enemies and great rewards to find. Let's take this approach in the least painful way possible.
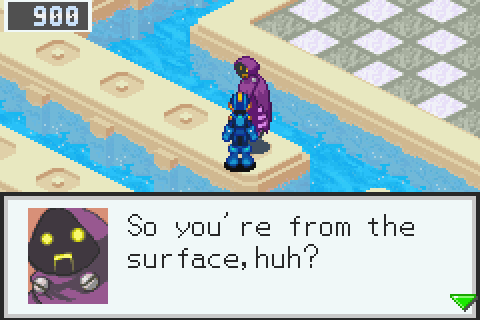
I guess these guys beat Alpha and got more than 100 Standard chips too.

Or they were let in here by S (that dude we were trying to kill a while ago)
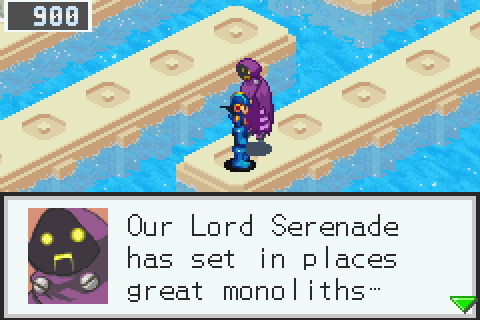
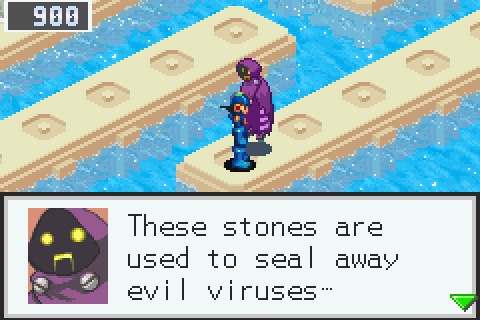
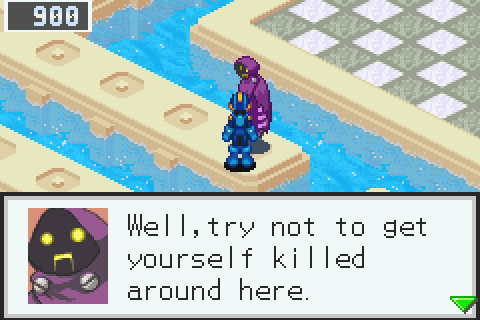
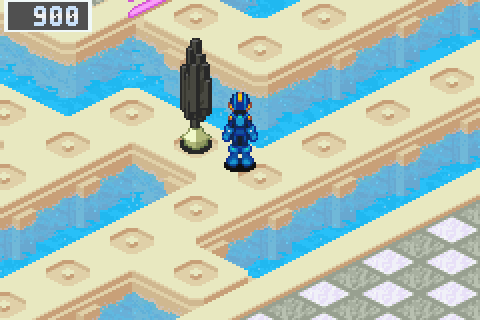
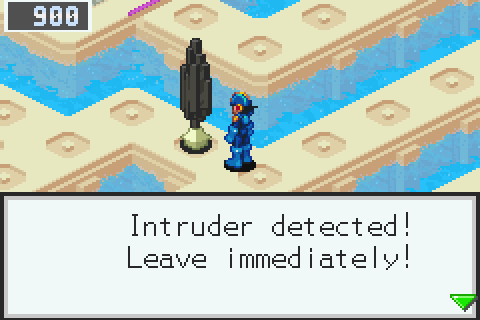
That is, we will have to fight an endurance round ranging from 10-30 virus battles if we decide to break these monoliths.

Break them, got it.
 This is your bloodlust speaking, Giver, smash it to the ground! Smash EVERYTHING to the ground! I want to see it burn!
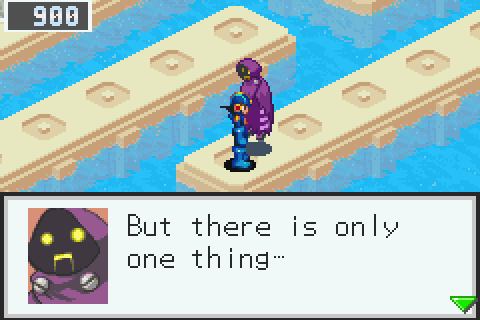
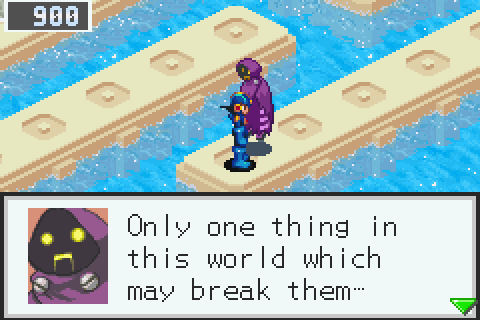
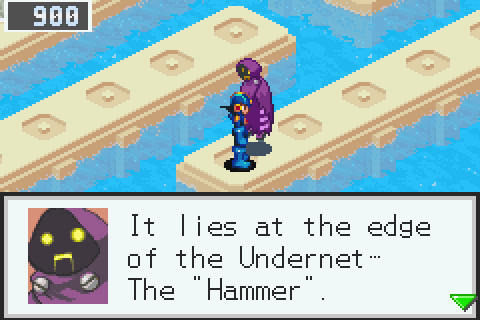
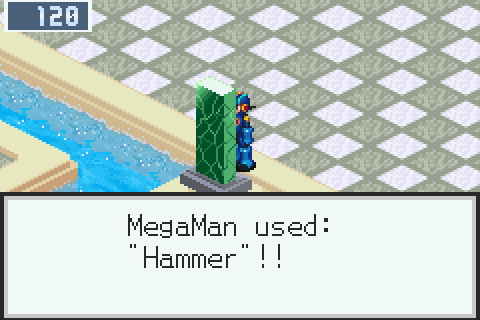
It's Mjolnir.
In other words, what I got a while back. To refresh your memory:
The Hammer posted:
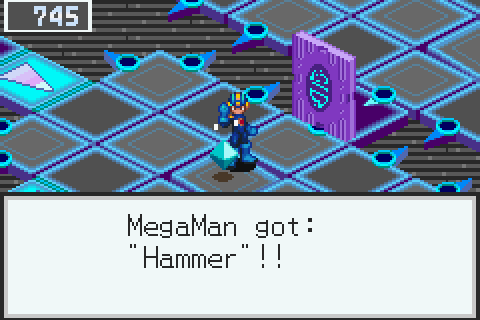
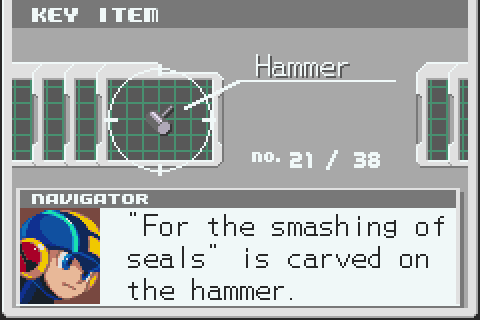
You need to kill FlameMan Beta and then kill DrillMan Beta. Or, just kill FlameMan Beta and then pay 50 BugFrags depending on which path you take. Which means, I hope you've followed this LP at least somewhat and killed a few Beta-level ghosts along the way.
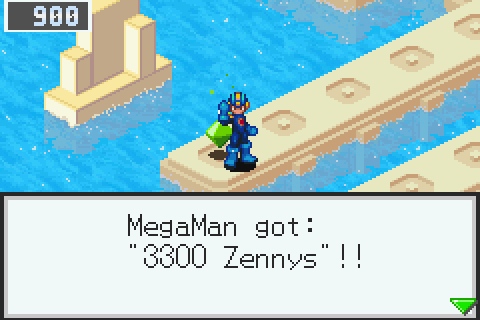
Prizes in the green mystery data yield an absurd amount of money. The maximum amount of money you can get in this area caps out at a whopping 8,000Z. Now, there are no BattleChips in this area, so it's strictly a money-farm only. However, by paying 800Z for 8 Untraps, you will no doubt get your money back in no time. This... this is what I was alluding to earlier in the LP when I said "I don't really need to abuse Gambler NPC for insane amounts of cash." This right here is perfect for people who don't use savestates. This is THE money area.
But abusing NPCs is fun unless they're Mr. Progs. Mr. Progs aren't humanoid so it isn't as fun tearing their limbs off and watching them flail
.PNG)
I went from my money total last update to this amount in a few minutes.
Now, before we talk about the viruses in here, go to the SubChip dude that's right outside Lan's house in ACDC and purchase a few LocEnemys. Expensive, yes, but it leads into what I'm talking about next.

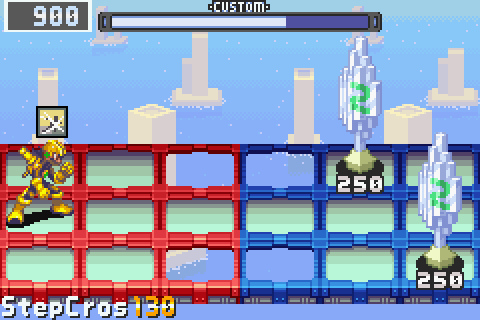
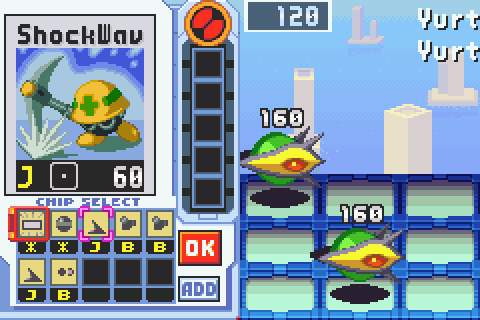
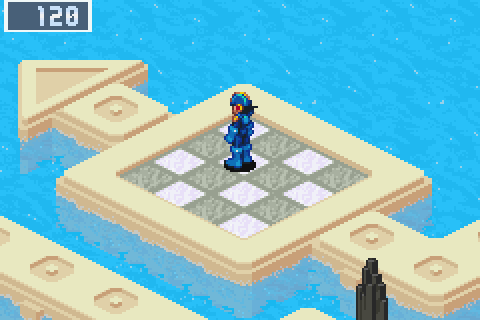
Well, this is the first virus room I encountered in this area. Just look at this. The enemy gets free Holy Panels, we got a nigh-invincible virus, there are obstacles blocking the usage of most chips and now Ice Panels want to disrupt me. Hoo boy.
So, just because this is the postgame it doesn't mean we should stop trying to get Rank S++ rewards. Oh, no, no, no that should be the incentive. I know it looks tough, but I've made something for you guys to help you along.
We are going to be looking at how to get a Rank S++ rank on each encounter in the area. I want to use no more than 2 BattleChips per fight because honestly... having to rely on more than that just makes this too much of a
 That isn't something that's easily repeatable or grindable. We want to be able to grind the good rewards easily, yes?
Solution:
 And
And 
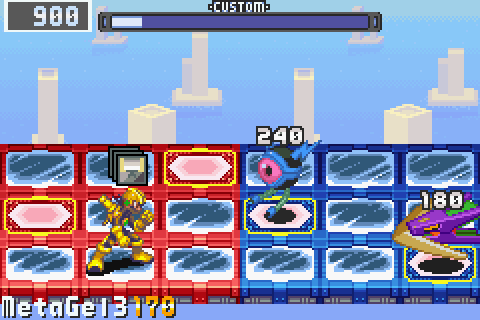
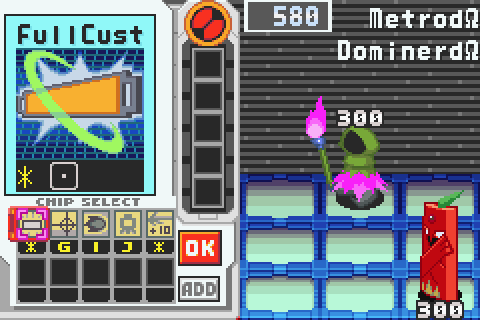
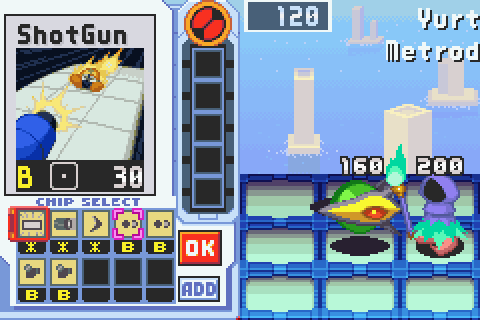
Strangely enough? The Metrodo carries 2 BattleChips! They are 2 AreaGrabs. The reason the Attack+30 is here is because neither virus will die if we use Jealousy by itself. The boost given is JUST enough to kill this encounter and get you an S++ rank.
This is what I meant. We have something easily repeatable and grindable. If you bought a few LocEnemys, just visit this encounter over and over again.
Kaaaayyy. You should install a few Custom 1/2 and set FullCust to increase the probability you draw the chips. GIver told me to say it
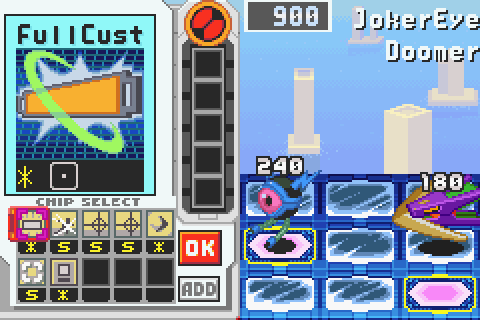
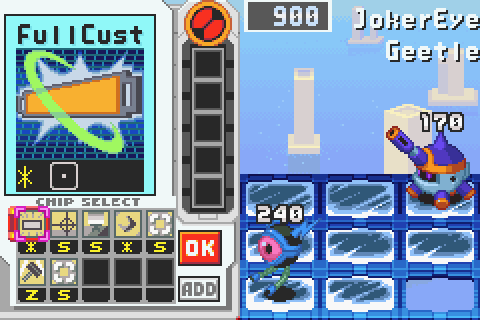
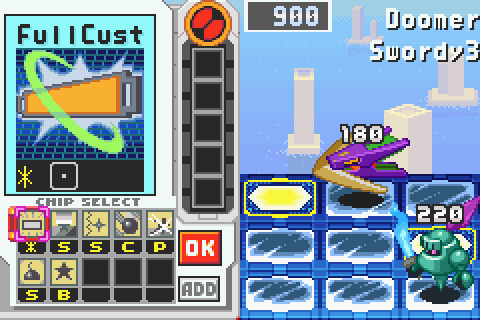
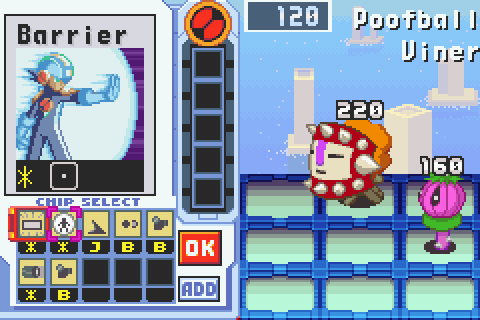
Another hard one. The JokerEye is already resting on a Holy Panel, which halves damage and the Doomer is about to park his ass on one as well. He's also nigh-invincible when he has the boomerang in his mouth.
My field isn't much better -- Ice Panels really make positioning yourself difficult if you're sans an Aqua Style.
Solution:
 THEN
THEN Doomer has two panelgrabs, meaning Jealousy does 200. Even if we boosted Jealousy with Attack+30, it wouldn't be enough to kill this encounter. I have to use Jealousy when they're off the Holy Panels to satisfy my requirements of making this easily grindable. AirSword will blow JokerEye off the HolyPanel, but be careful. Do it at the wrong time and you risk trapping the Doomer, preventing him from moving off the Holy Panel.
This GIF demonstrates the proper timing. The only snag in my plan is that the boomerang will come out and attack you. This can be dealt with by equipping SuperArmor NCP (EX Code or otherwise) or having up a Barrier (a 3rd chip). I chose to use my free Left+B Reflector Shield. It's really rewarding to get good with that.
So that's why yuou waited instead of trying to murder them right away
Solution:
And 
Second verse, same as the first.
Open your custom menu so we can put 'em in a hearse
Oh, this one is EASY.
Solution:

Although in the GIF I travelled across 3 panels, I actually only moved twice. When you slip on an Ice Panel, the panels you're sliding across don't count against your movement points for S-ranking. Abuse this when possible. This probably the easiest to grind. YOu can LocEnemy this encounter, preset ElecSword and get easy Sensor3's. Sensor3 is a fantastic chip, so you should get more copies. Very equitable encounter.

COCKLORDS OF DOOM
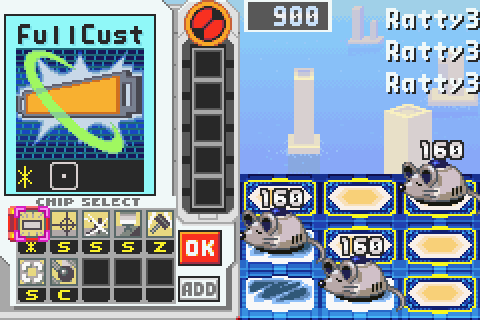
No no no Rattys are eeeeevillllll
I admit that the Ratty's speed and unpredictability make most strategies unreliable. Anything I came up wasn't exactly repeatable and we can't have that. So, I'm forced to bring out the cheap BattleChips.
Solution:
 And
And 
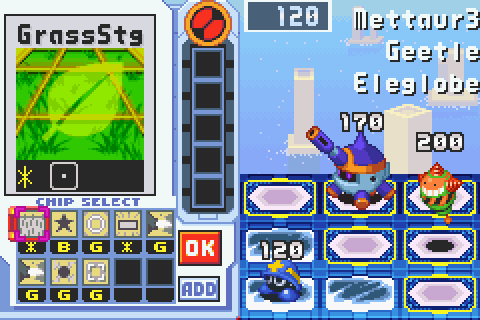
Blue gets GrassStage R and White gets GrassStage *. You can preset either of these and just have to worry about drawing Meteors.
Who called the exterminator?
Ghostbusters!
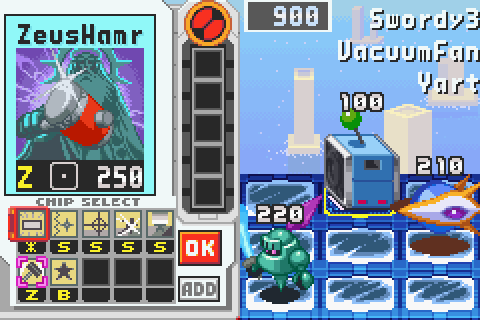
See that ZeusHammer I drew? Just use that. You may take one hit, but you'll get +4 for a Triple Delete, offsetting the loss of a point. Or, if you want to preserve your hitpoints.
Solution:
And 
I'm glad we have Teacher Giver here to give the lecture because I never made it this far in the games I played. Granted that was like 5 years ago but still.

I mean, for as long as it works, I"ll keep showing it.
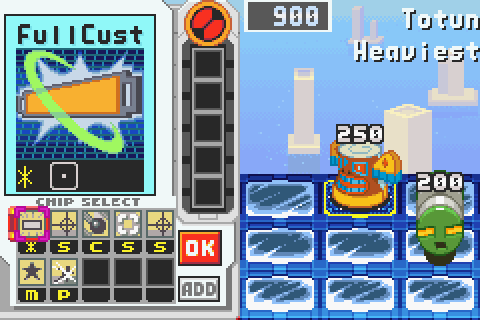
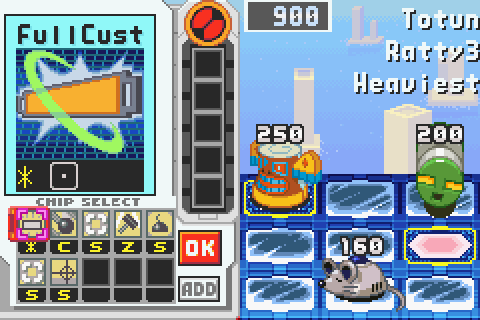
Hm, with that Totem on the Holy Panel, this effectively equals 500 HP we have to take down. Fortunately, this encounter is really easy.
Solution:
 And
And 
That's only 250, so how will it kill the Totem on the panel? What's actually happening is that the Blackbomb hits the Totem for (220+30)/2 = 125 damage. The bomb then EXPLODES, dealing an additional 125 damage to the virus and 250 to the whole field. This happens so quick that a Double Delete is possible.
Like so.
Booooom!
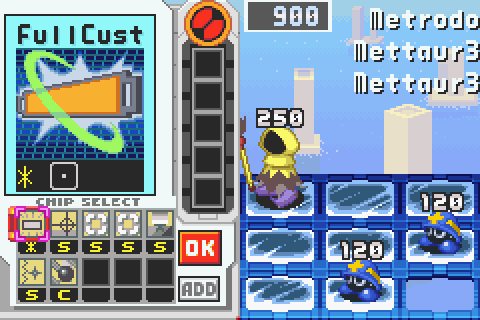
And this encounter is just a harder version of the last one.
Solution:
And Same solution.
Badda Bing Badda BOOM
It's like performing calculus while playing a video game which is what you're doing right now!
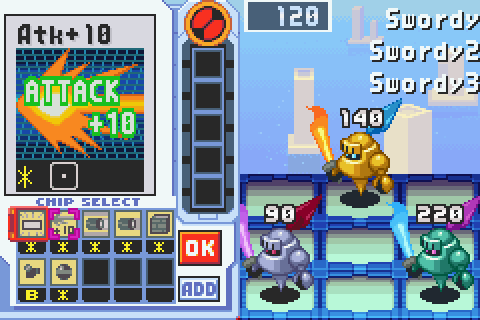
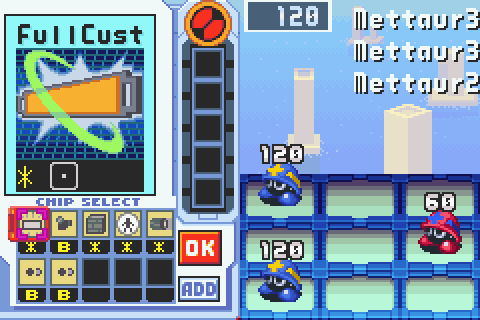
Okay, what the fuck. Why are Mettaurs in the encounters in the god damn POSTGAME. I'm not making GIFs of these. If you legitimately need help with THESE, then you have serious problems.
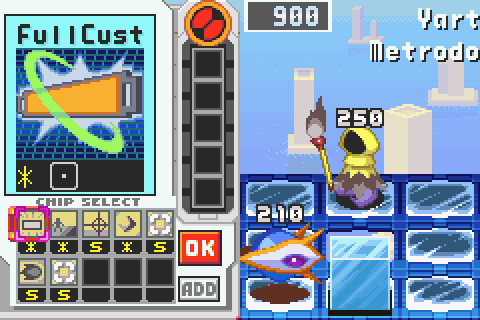
Easy peasy. They have 4 BattleChips combined so one use of Jealousy is insta-death. But just in case
Solution:
 Then
Then Stay calm, paint the Doomer when it crosses the row. Then, be patient and wait for the Swordy3. Easy.
CopyDmg copies the bonuses from Elec !!! too, right?
Yes, yes it does.
If you saw ZapRing3, then take note that it works just as well as the solution I gave. ZapRing3 will deal 240 damage to Swordy3.
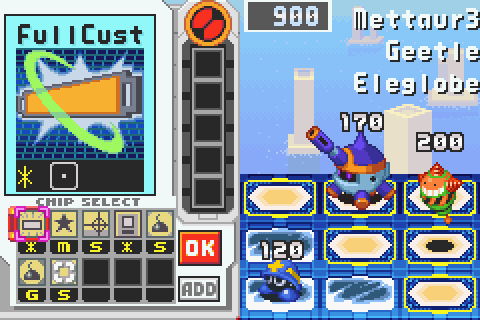
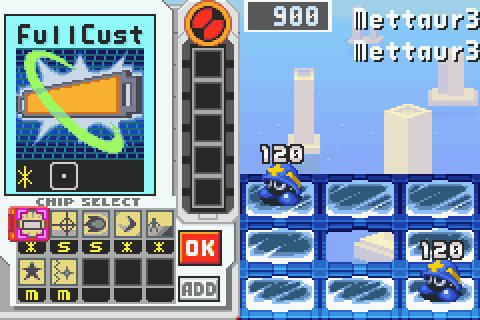
And here is the last one.
Solution:
Then 
You will feel good once you learn how to pull this off consistently.

This is a consistent timing, as the Mettaur will always move up and slide onto the Holy Panel. The wonderful thing about BigWave is that because it cracks panels, it's actually breaking the Holy Panel before the damage is applied. Ergo, 190 true damage is being applied to both the Mettaur and Geetle, which is 380 damage copied directly to Elesphere. Yes, CopyDamage ignores Holy Panel's 1/2 damage effect.
Hahahah woww that's stupid and it's funny at the same time
I have one last thing to cover. It's time to take a brief look into how easy White Version gets it.
 : So what if White Version gets it easier, they get shafted in so many other ways.
I had White version as a kid, not Blue. It was fun enough but I didn't like the GIga chips.
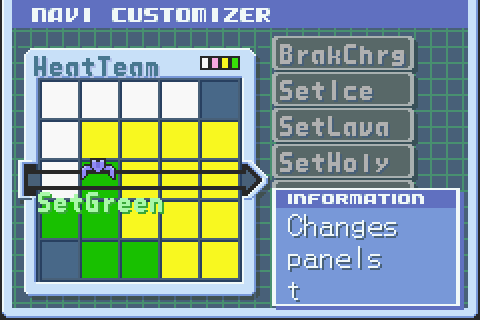
If you achieved Ground Style in White, then you should probably some of the fantastic programs like SetGreen.
However, equipping them doesn't force the encounters in Secret Area to change. These encounters are immune you see. However, it matters very little.
Update Discussing White Version posted:
There isn't 3 copies of Invis * here. Makes sense since Shadow Style is really for Blue version. Instead, we get the far superior GrassStage *. And better yet, there are three copies of it!
BambSword is now the biggest early-game buy, which will take out 280 of FlashMan's HP. Damn. And while White Version does not get Areagrab * in its first shop, it instead gets three Areagrab * in Yoka Square's Shop.
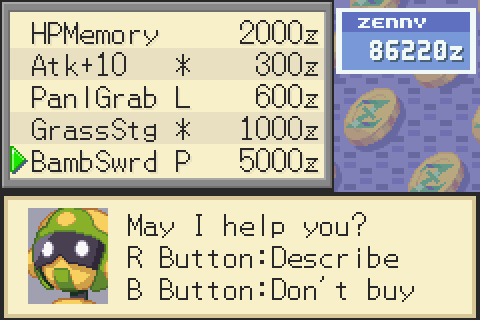
Make fun of me knowing little stuff like this all you want, but the fact is that very small change drastically changes what you can do. Because Blue only gets GrassStage E and R, it can't combo with most Fire Chips.
Asterix codes are wildcards! Maybe the developers were Unix users.
That chip is Volcano -- the same Custom Style only chip I got earlier. It can hit the whole field if used in the middle. That's 300 to every virus. This will give you an easy S++ Rank for the vast majority of the virus fights in the game. And in case it ever doesn't, you have easy repeatable strats. I love Volcano.
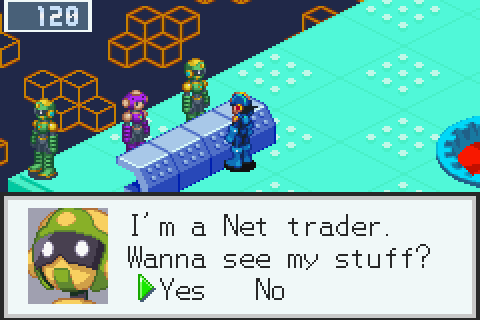
We covered every virus encounter, so now we come across these...things.
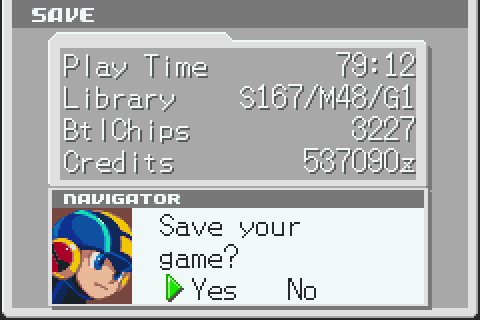
 SAVE YOUR GAME BEFORE TALKING TO THESE.
II've heard of these guys! Spoiler, they're dicks. DIIICCCCKKKKKKSSSSS

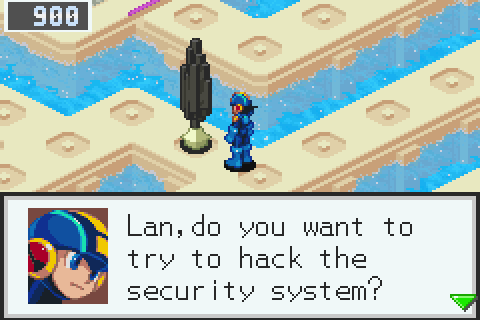
Aw yeah, baby. We're hacking. Make sure you unequip your Collect NCP program too.
No chips from these guys

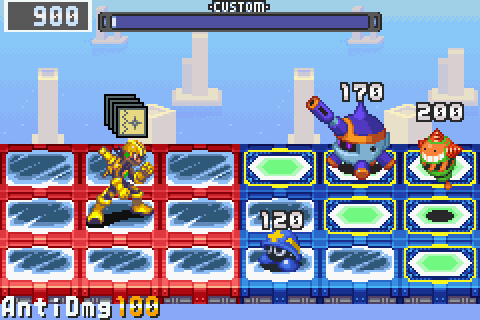
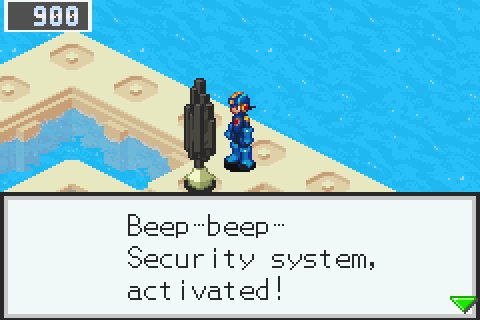
Numbers: Secret Area's security system. The numbers on their body indicate the order in which you must delete them. If you try to delete them out of turn, the security system will reform and hit you with "Err&Del" which is 1,000 invis-piercing electric elemental damage. You can equip AntiDmg or some sort of Barrier to defend against that. To make things worse, you must kill their entire HP total with one big attack. If you have multiple Number enemies with the same number, they must deleted at the same time.
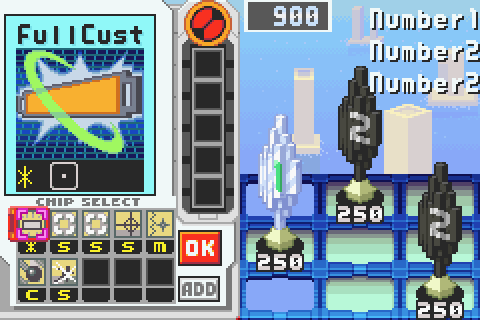
Since our max HP non-Navi Cust is 1000, this is essentially a one-hit-kill. More so if you have Aqua style, you poor bastards.
This one is pretty easy. Just deal 250 damage in one go three times over. If you're playing on Blue, you have Folderbak to make this a non-issue. The easiest way to kill these is to simply think: Can anything I dish out come to at least half of their HP? If it does, can you double their damage with Grass or Ice Stage? If not, can you augment it further with Atk+ ? For example, in this screenshot, a simple Blackbomb with Fire+30 kills "#1" A GrassStage FlamMan chip with Attack+10 kills another. And Program Advances like LifeSword can knock out a number. Zeushammer is also a popular choice.
Just make sure you have a barrier or FlotShoes to avoid ZeusHammer's backlash.
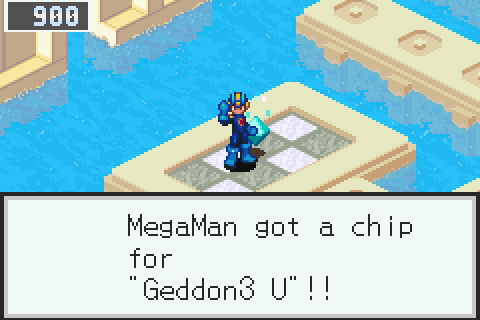
This one had Geddon3 tucked away which lets us to make the entire field into Poison. A popular strategy is to just use Geddon3 and Repair * right after to let the enemy have all of the poison.
Poison for you! And poison for you! But no poison for me!
I really wanna whistle Twisted Nerve right now but I can't because I have gauze in my mouth.
This could be a small issue. See how two of them have #2? That means after we kill #1, we'll have to kill both of those.
Like so. CopyDamage or ZeusHammer works wonders here. But if you're feeling smart, you can use FlamMan's second command code.
Recall that holding B and pressing Up, Right, Down, Up, Right, Down or Rotating the D-pad clockwise lets you attack in this way, which is coincidentally the same way the panels are formed. Now just throw down a GrassStage and a Atk+10 and it's all yours.
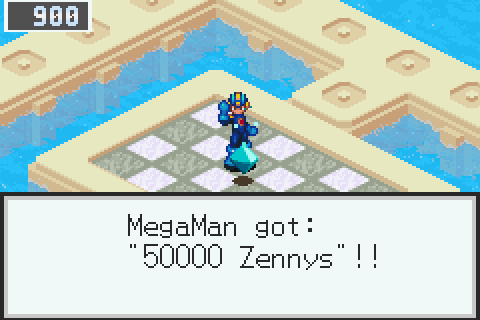
This reward references Battle Network 2's 50,000Z Green Mystery Data reward. As a famous man once said "I'm rich, biatch!"
I don't know who you're referrencing. And I doubt I'd know it even if I wasn't still fucked up from the anesthesia.
Well, now it's time to smash these things. This is the last thing to do before we reach the second area.
Take a look at my HP total up there - I'm back on my White Version. I was going to do this in Blue, but after seeing the first encounter, I turned off the game and switched over.
And changed my folder to THIS. Let's see exactly why.

 Now do you understand? THIS. IS. SHIT.
This is the POSTGAME. WHY am I fighting trash? A single virus, too!
You know, it's sad that DrillMan's scenario respected the player more than this.
Really now. We fought Dominerd Omega in DrillMan's scenario and that could have very likely been the first time you encounter a Dominerd.
It's so easy to nuke this encounter so fast that the Areagrabs will never come out.
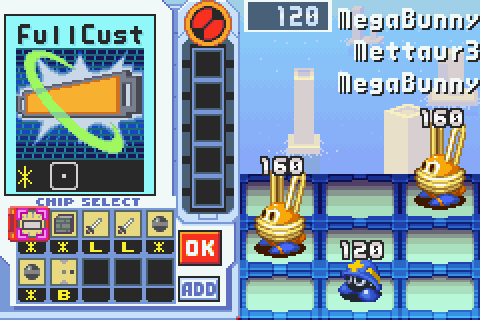
Oh, fuck you game. Now you give a Mettaur-fucking-2.
METTAURS ARE HARD GUYS. I CAN'T WIN! ABANDON THE LP! HELP! HELP! HELP!
Oh no, we lost another LPer to this game. Now the last team up is EPM and MissEchelon just so we can come full circle.
Can this please get interesting?
Whiny Giver is whiny!

At least we can see what happens when you destroy their mask and then push them away.
Round 7, and we're still dealing with trash. Need I remind you guys you have to kill FlameMan Beta at the minimum to unlock this?
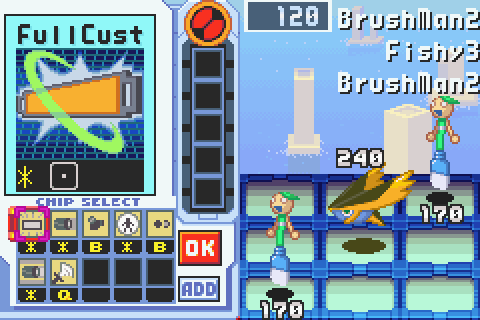
BrushMan2 can make Lava or Poison panels on your side and make Holy Panels on their side of the field. However, Fishy3 is a bad virus to support.
*yawn*
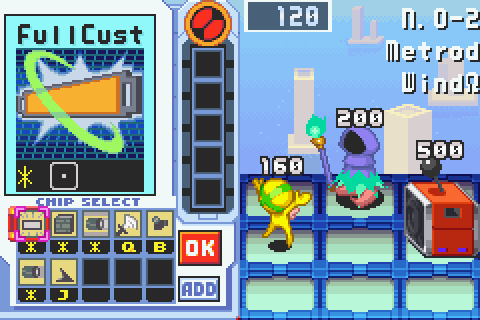
The last round. And even with the N. O-2 it disappoints me until the end. Yes, Wind Omegas have 500 HP.
Just to be a dick they give the stupid things 500 health. Jerks.

How could you drop the ball so hard on this. Inexcusable.
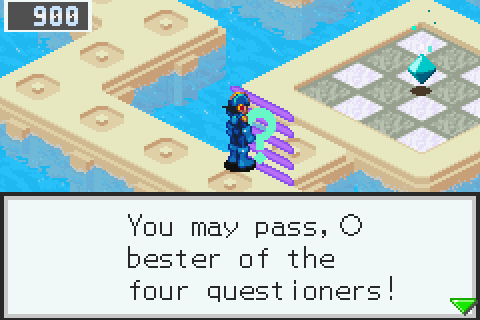
There's a requirement gate lying beyond the monolith that only opens up if you beat all 4 Quiz Givers. Luckily we took care of this already.
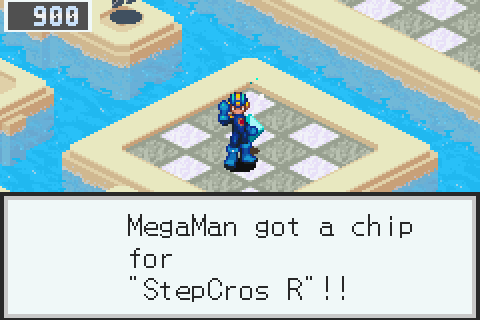
You get a second StepCross R.
Yay! That's good, right? I think it's good, it's in a BMD
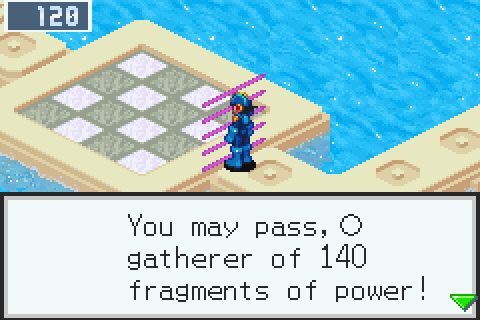
Moving on to the end of the area, we see another requirement door. This only opens up if you have at least 140 Standard Chips. It's kinda weird to require 100 Standard chips and then immediately require an additional 40. Personally, I think this door should have asked for a certain number of MegaChips to keep things varied.
Also, yes you should save.
It's the end of a Secret Area! You know what that means! And if you don't, read for about five or six images.
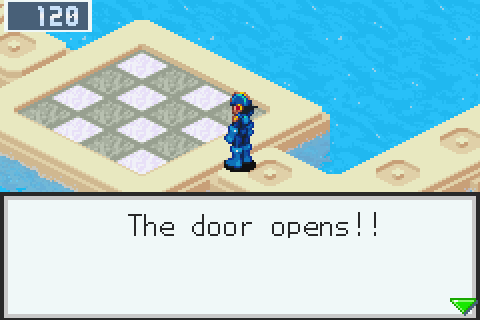
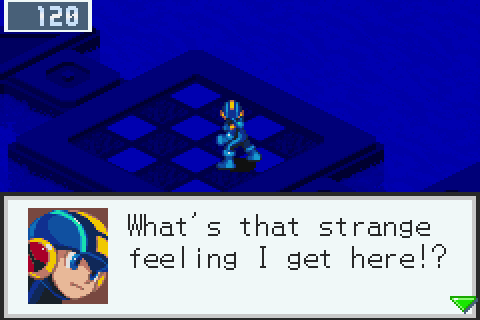
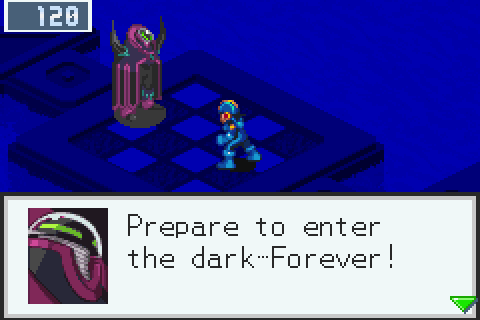
Woah, everything went dark.
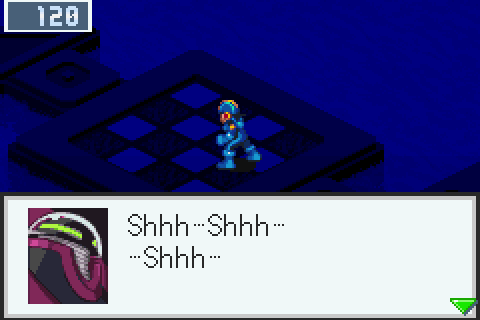
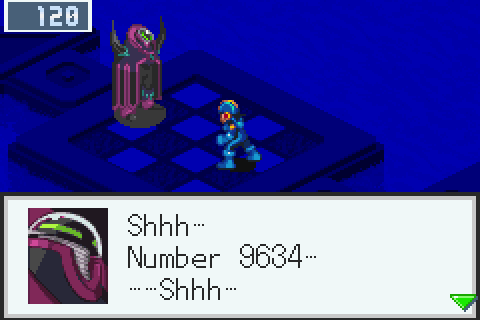
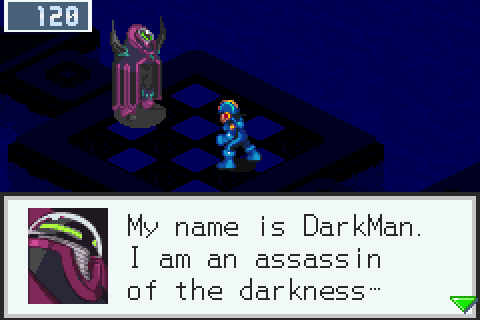
 : Damn, son. I know you're dark, but you don't make that shit part-a your NAME.
Ohh so we're number 9634, not number 1. I wanna recount!
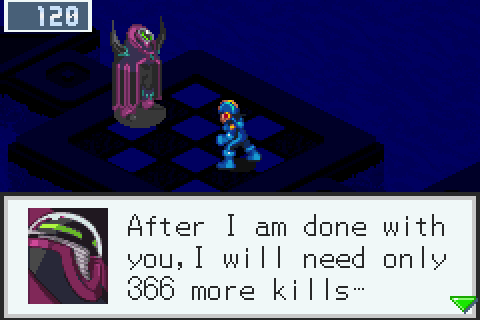
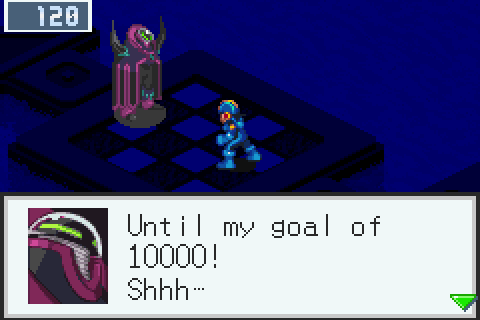
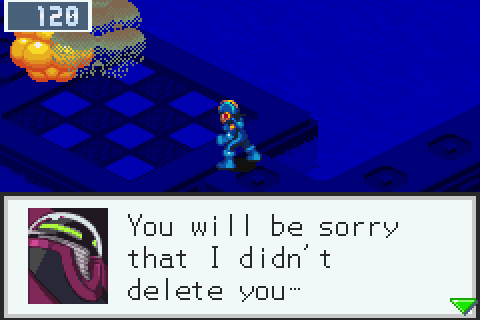
Tidbit: Serenade wrecked his ass, and forbad rematching DarkMan until he got 10,000 Navi deletions. Damn, even I'm not that harsh.
DarkMan is a jerk. JERK. Killing those Navis is supposed to be for fun, not so you can fight another dude!
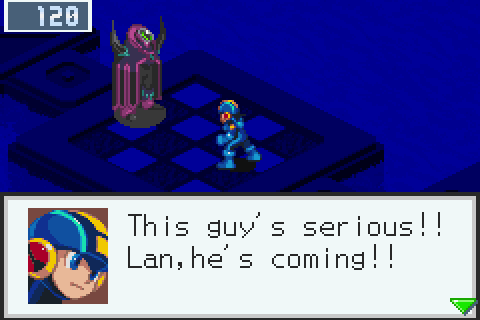
DarkMan is a nice step up from what you've been fighting throughout the story with the exception of DrillMan. He can't flinch from your moves and his elemental moveset covers all of the ones you're weak to except for Electric. In lieu of a Wood attack, he gets a move that locks you down via summoning Bat Caves. All you do is just AreaGrab to escape from it. You can very easily exploit DarkMan's AI. He only uses an elemental attack on an even numbered movement. He starts from Fire, goes to Aqua, Elec, then back to Fire.
Move 0: Fire
Move 1: No Attack
Move 2: Electric
Move 3: No Attack
Move 4: Ice
Move 5: No Attack
Move 6: Fire
[...]
Using this we can exploit his pattern, and well, murder him.
https://www.youtube.com/watch?v=ll5C9xBtHLA
I've never fought this guy before! Well, until today... Keep tuned for a special little gift from me pretty soon. It might be funny, it might not be.
Giver2g
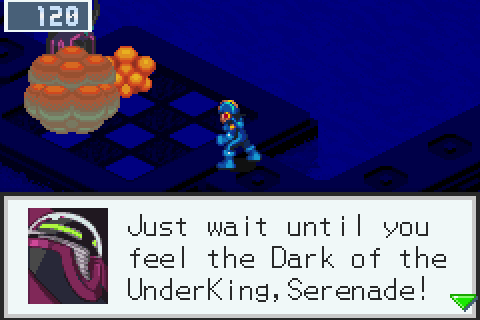
His advisor is the Shadow of the UnderKing, Boombox.

Not if those virus rounds were anything to go by.

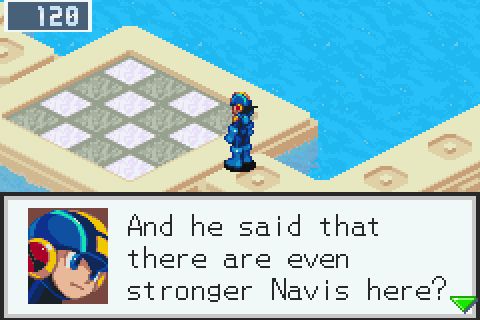
Actually, besides Serenade, no he didn't. Serenade was a given, however.
Hooray for blatantly lying to the player. Yay!


But that's a good thing! Look at the awesome contrast!
Yeah, it's actually fun to be in for once.
Eh, I'm not yet convinced.
That tower you see over there just means I didn't kill them on White Version.
That's just being lazy, Giver. Inexcusable. Go out and hunt every last virus to extinction. YOU MUST KILL.