Part 2: Update II - So you're the one who caused all this trouble!
Update II - So you're the one who caused all this trouble!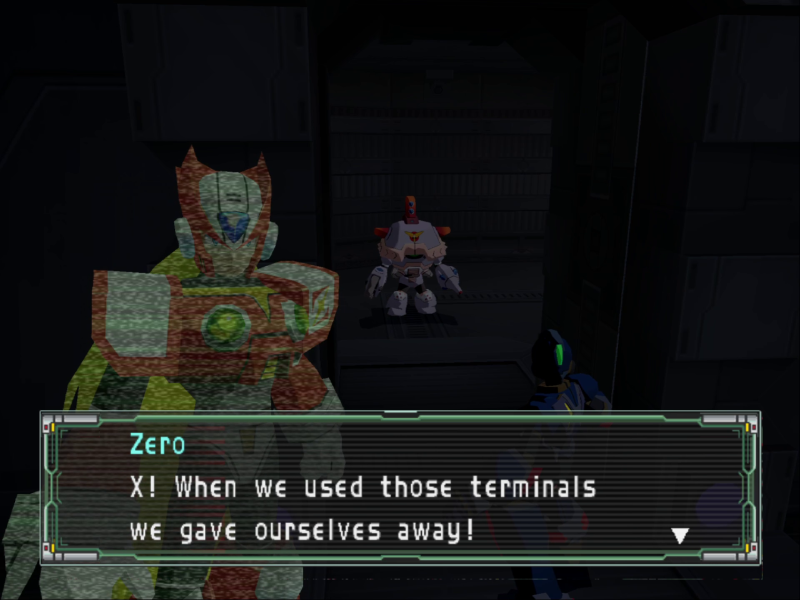
 Engaging possible Rebellion troops! Commencing attack! X! Stay on guard!
 Music: Event Battle
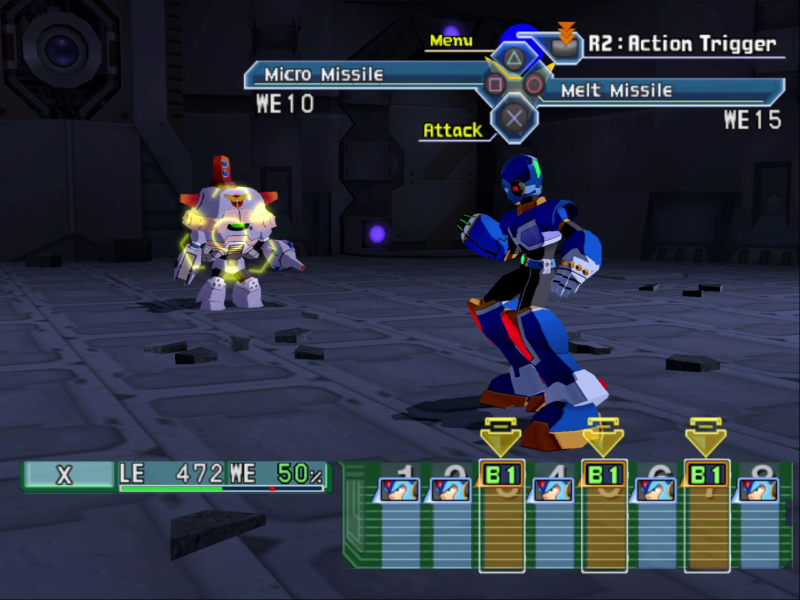
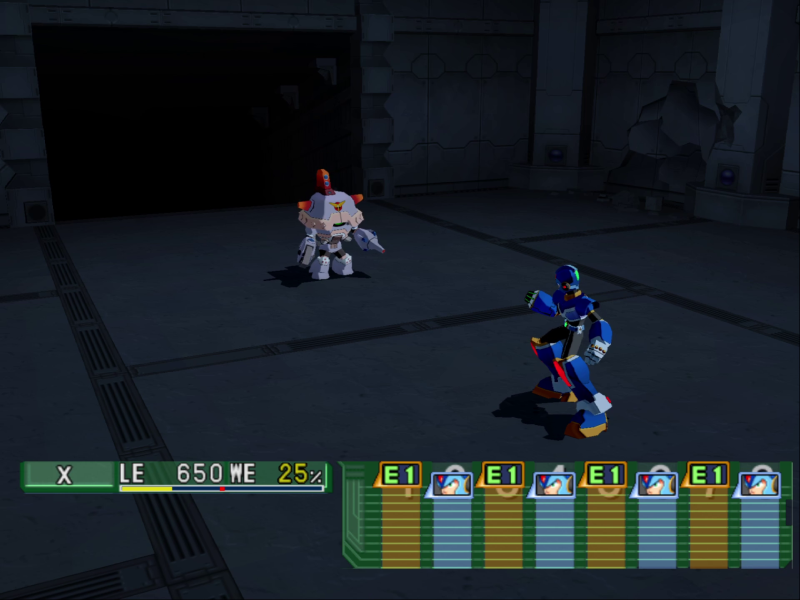
Meet the Preon, the Rebellion's bread and butter mook unit. This little fella is a Preon Chaser, and is able to hit you, attempt to Bind you with Stungun and try to land a low accuracy, high critical chance shot with Greedy. A Chaser is a bit beefier than the small fry fought up till now, but just one isn't a threat.
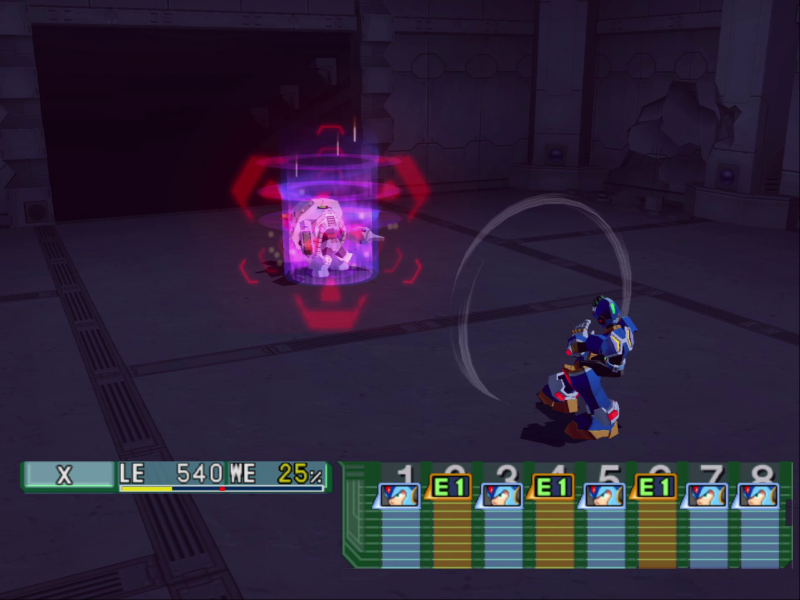
Fun little fact about the battle system: Sub Weapons alone cannot kill an enemy before you end your turn. If you bring an enemy to 0 LE with them and choose to end your turn early, you get...
This will never, ever get old.
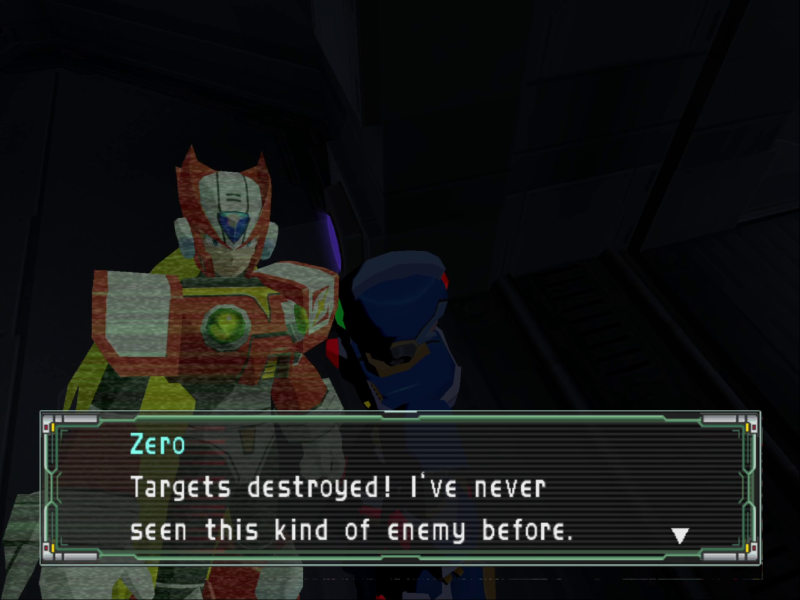
Music: Victory Jingle + Trajectory of Battle I

From the debris, we get our first bits of Force Metal!
Music: Place of Oblivion
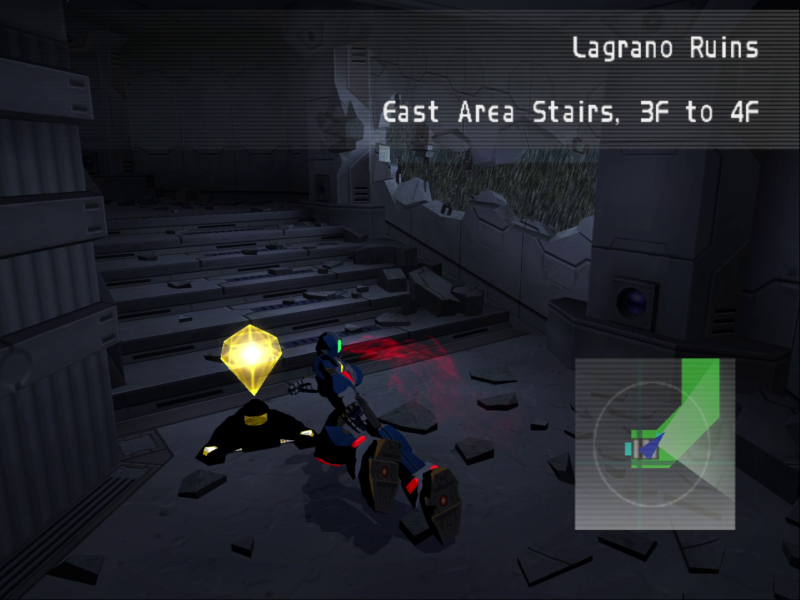
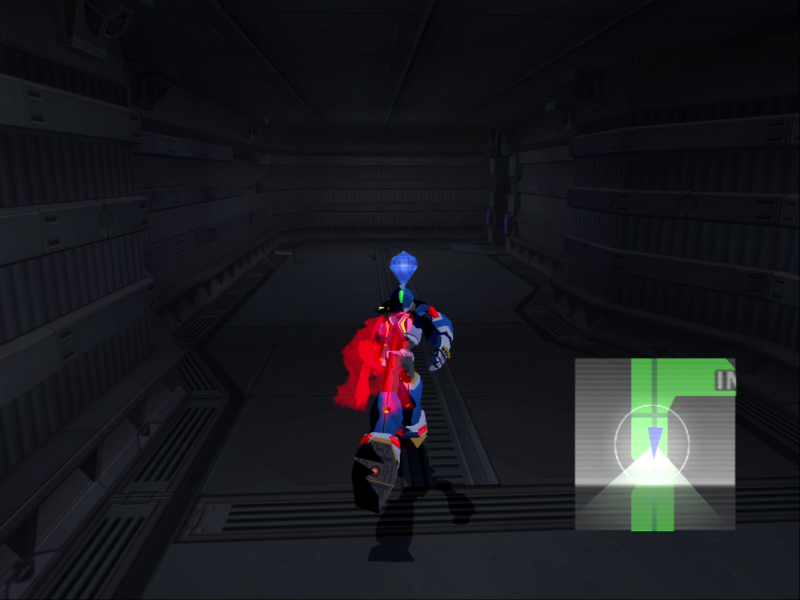
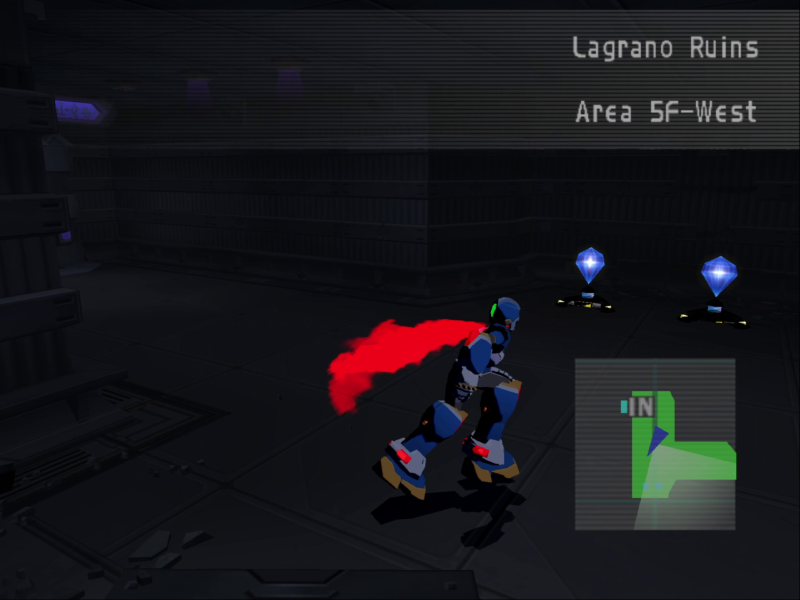
 Something must be upstairs! Heading to 4F to investigate!
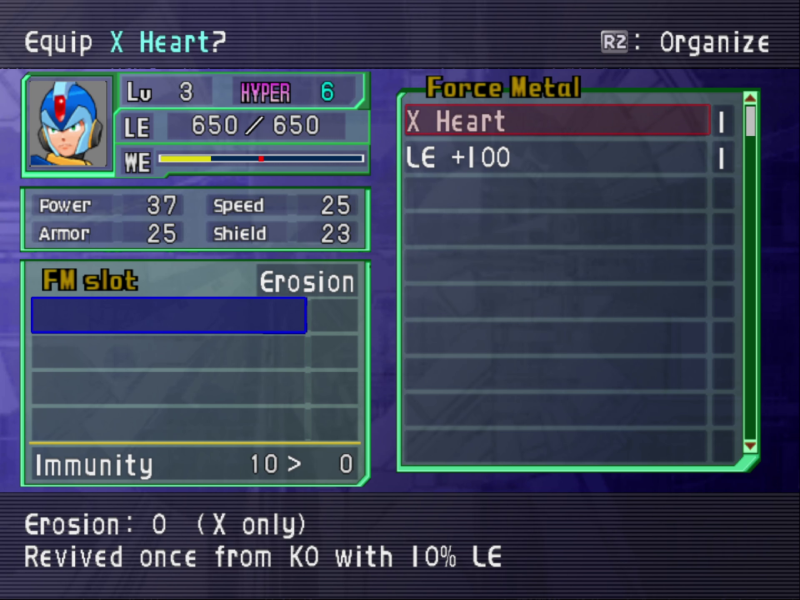
Funny how a random grunt had something only X could use. I bet he forgot to read the fine text and got really disappointed when that auto-revive didn't go off.
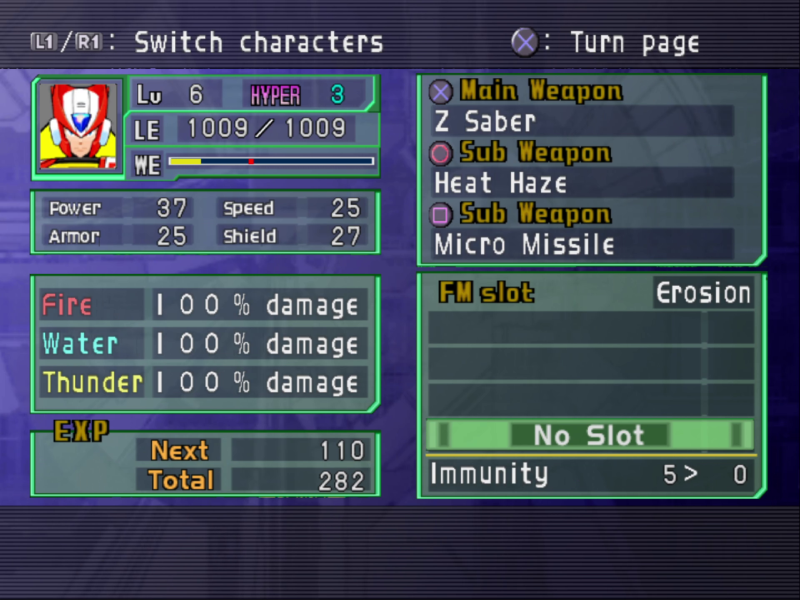
Force Metal acts as this game's version of accessories. Most FMs contribute to Erosion. If Erosion ever exceeds a character's Immunity, they get hit with Force Metal Hazard, which gives worse and worse penalties the more Erosion they have.
X here, being mister Infinite Possibilty himself, has a full four FM slots and sky high Immunity. I give him both the X Heart and LE +100 and move on.
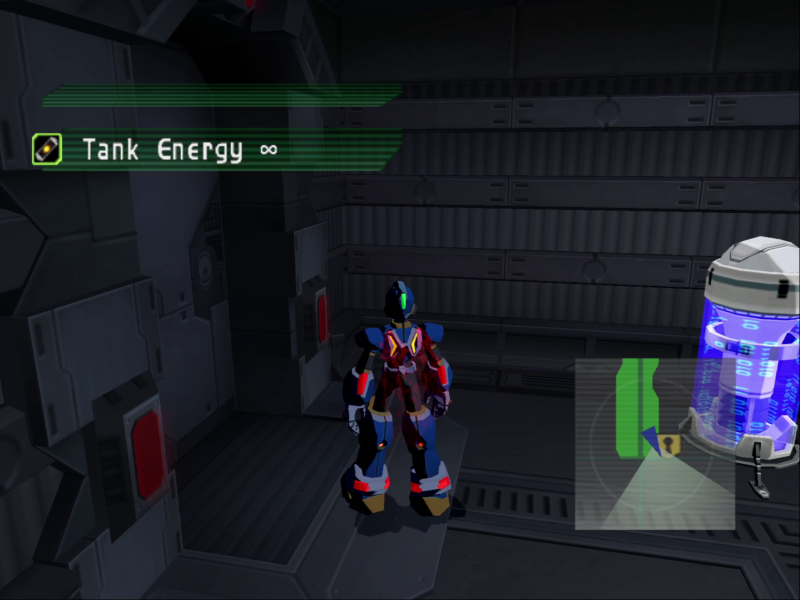
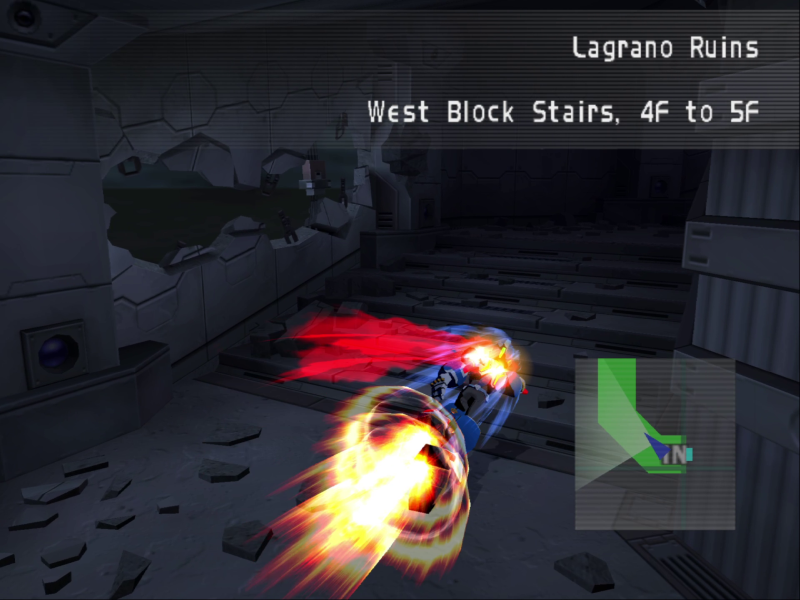
Heading up, we have yet more stairs, as well as a Tank Energy 50.
Music: Irregular Battle I
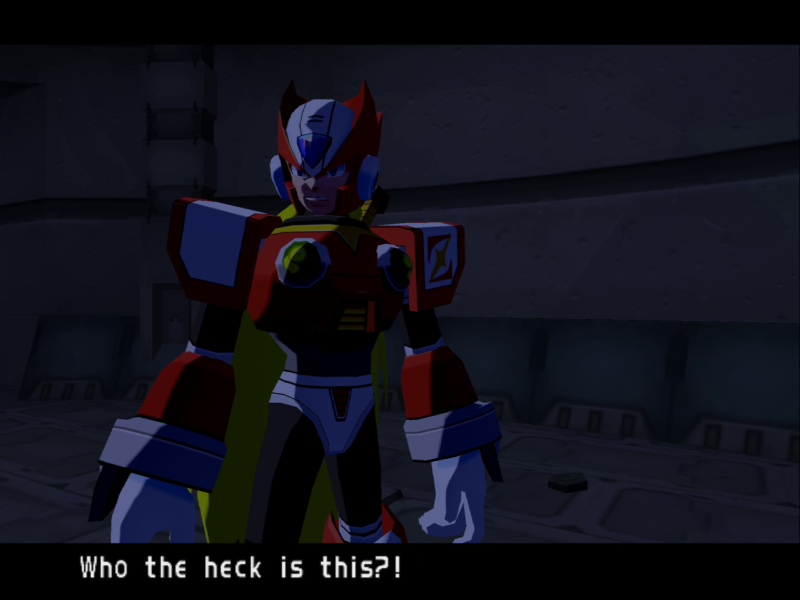
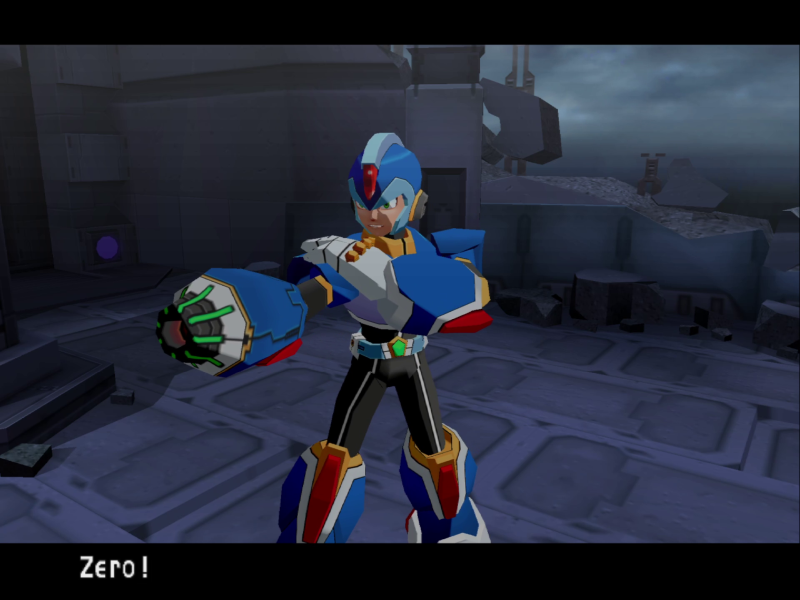
Now that X has given himself away, Preons now join the random encounter table.
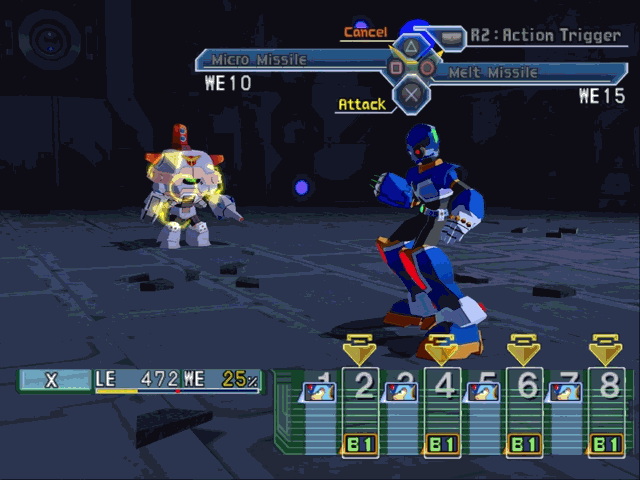
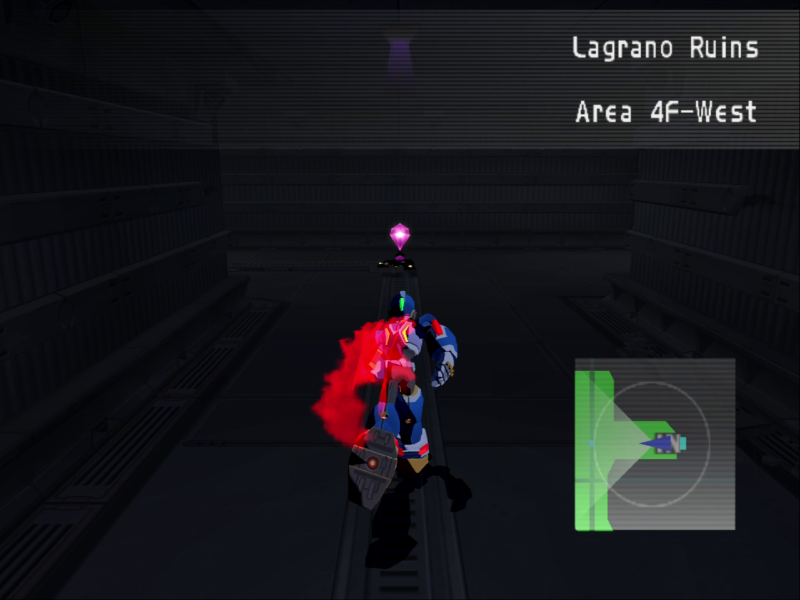
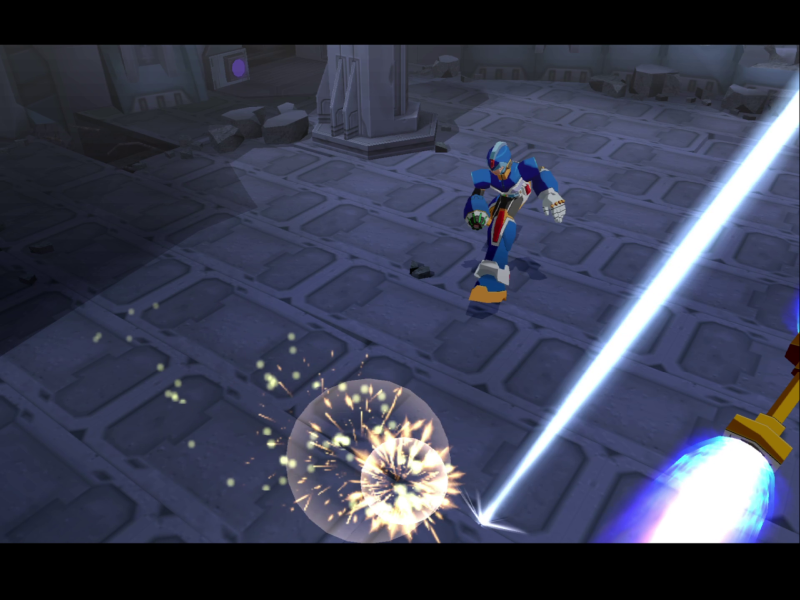
While we're here, might as well test out our Melt Missle.
You may see a shiny particle effect, but don't be fooled. The Chaser's Shield is untouched.
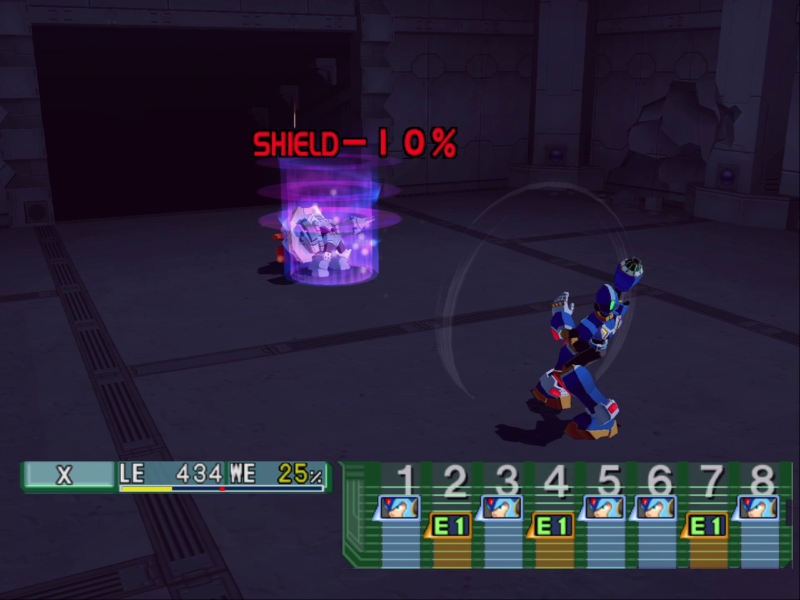
Debuffs always give big red text to show if they work.
Music: Place of Oblivion
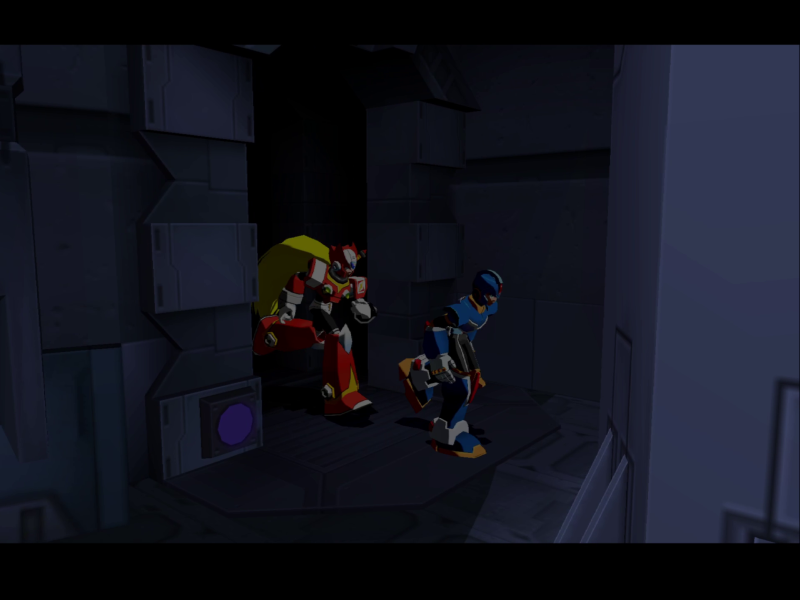
 Looks like we can meet up here. I'll be waiting for you on the cental floor.
At the end of the hallway are two items, an energy pickup, and a save point. You couldn't signpost a boss harder if you tried.
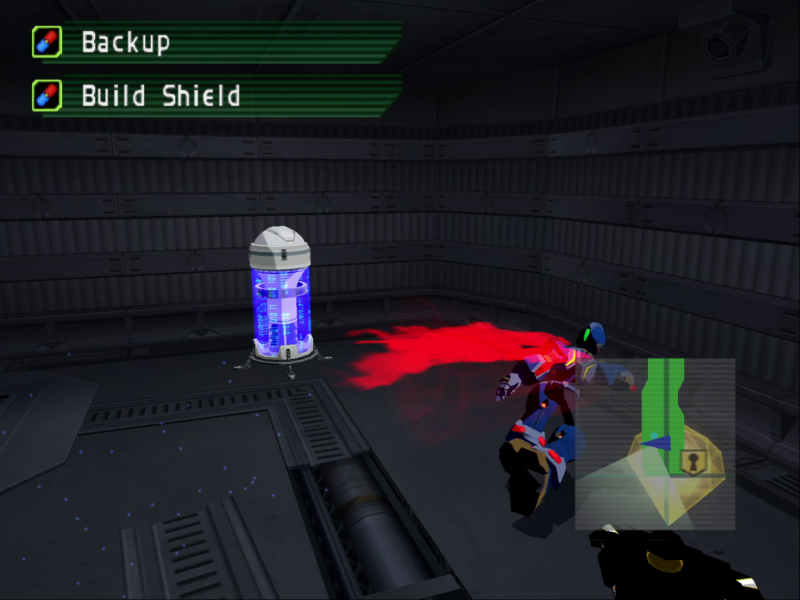
The Backup is a full revive, compared to the 25% revive of a Reboot. I feed the Build Shield to X.
The energy pickup is a full restore. Boss fights usually place either this or a Tank Energy 100 beforehand.
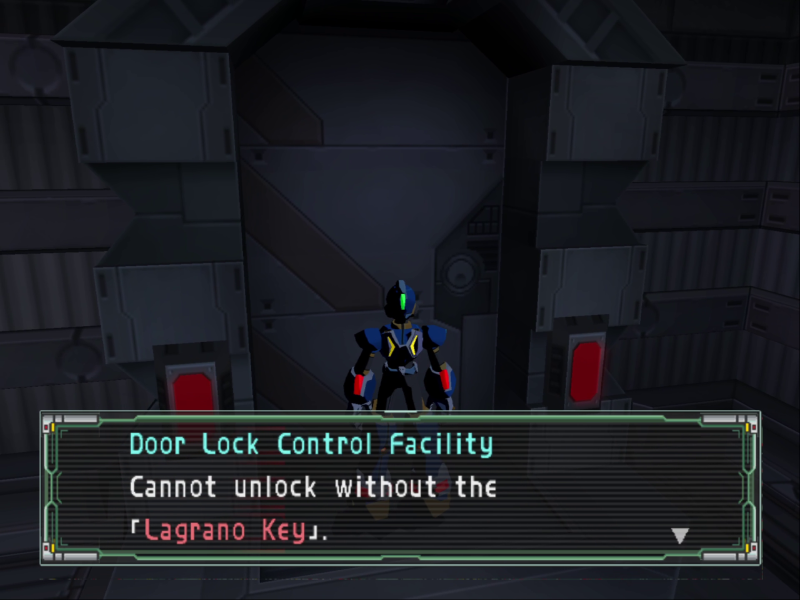
There's probably something valuable behind this locked door. We'll have to keep an eye out for this key.
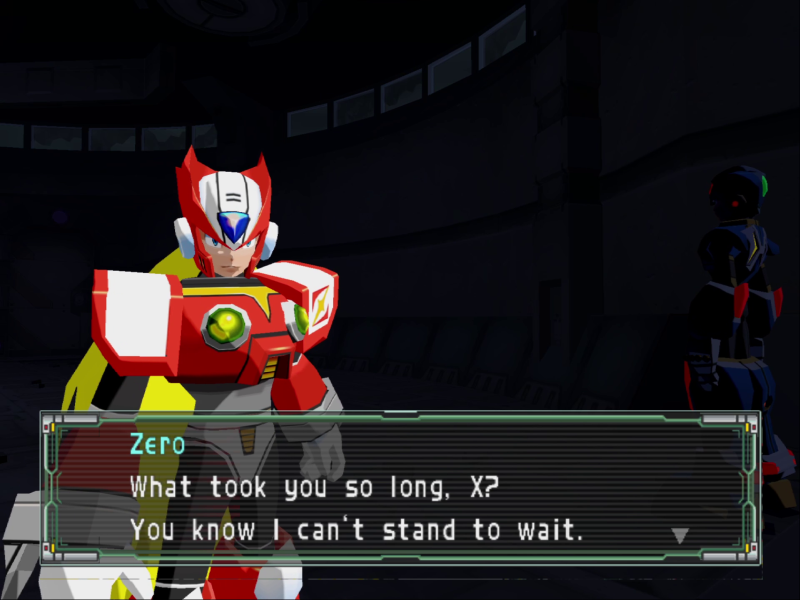
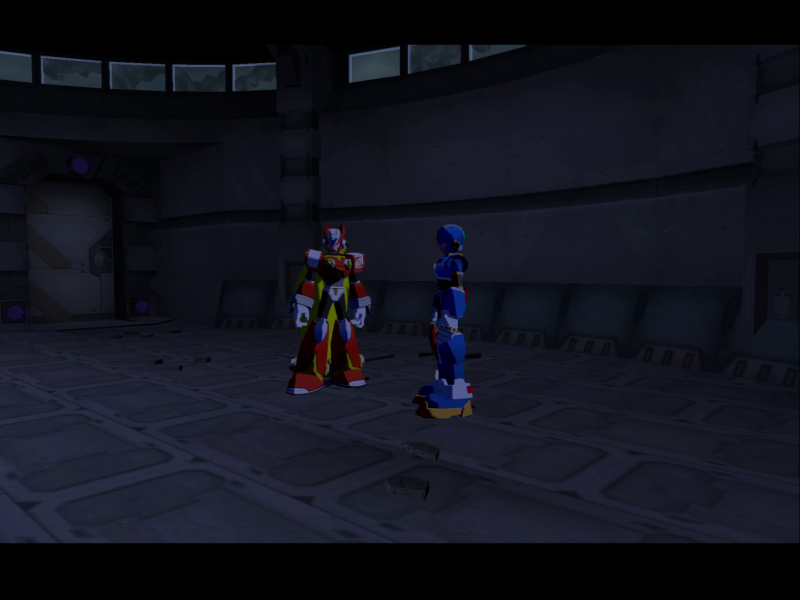
Going into the center room, we find...
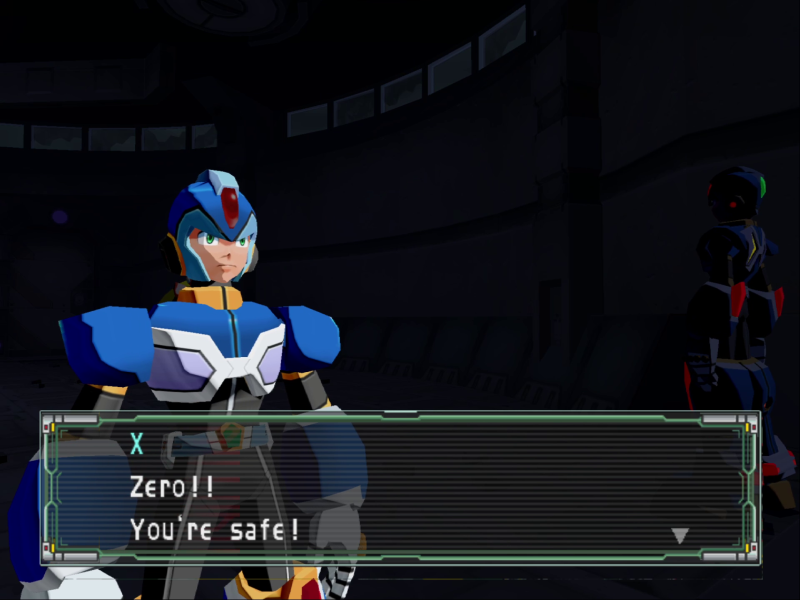
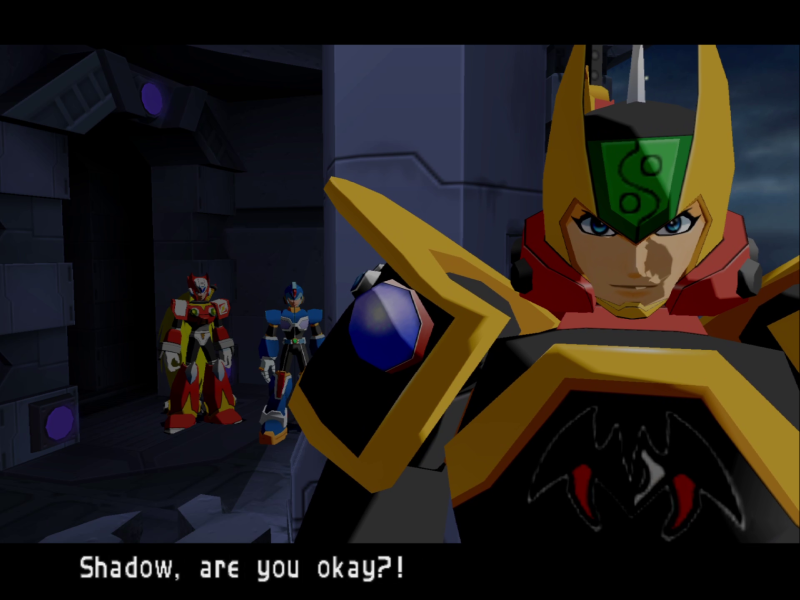
Hmm, Shadow is nowhere to be seen. How convenient.

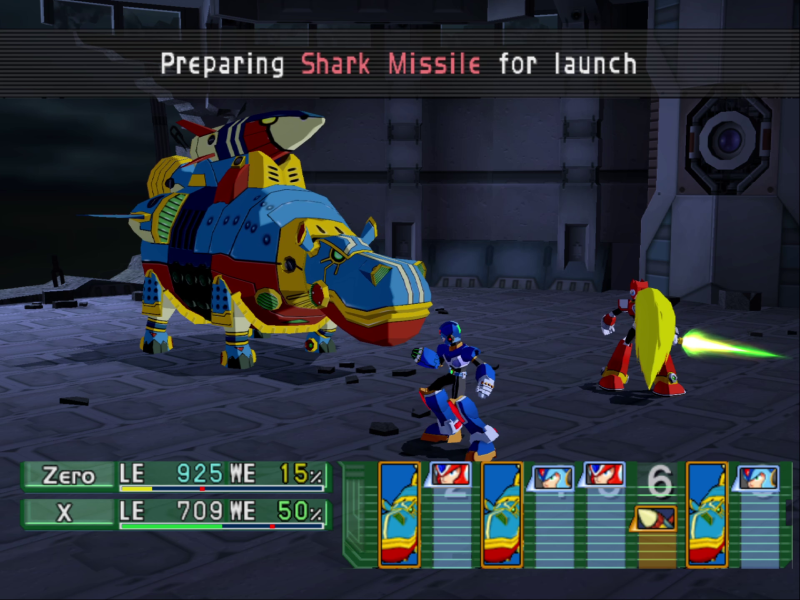
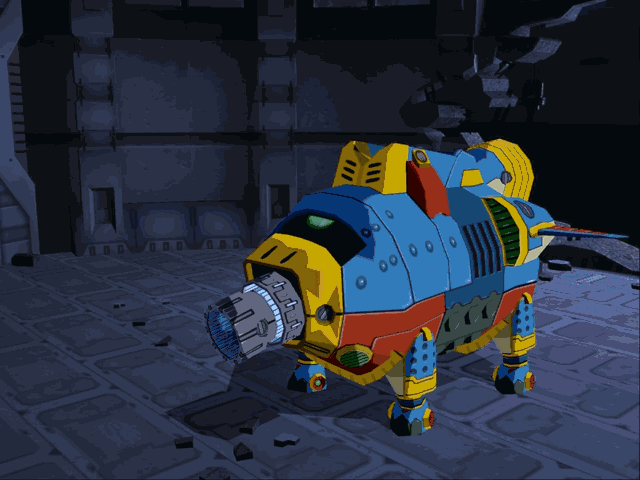
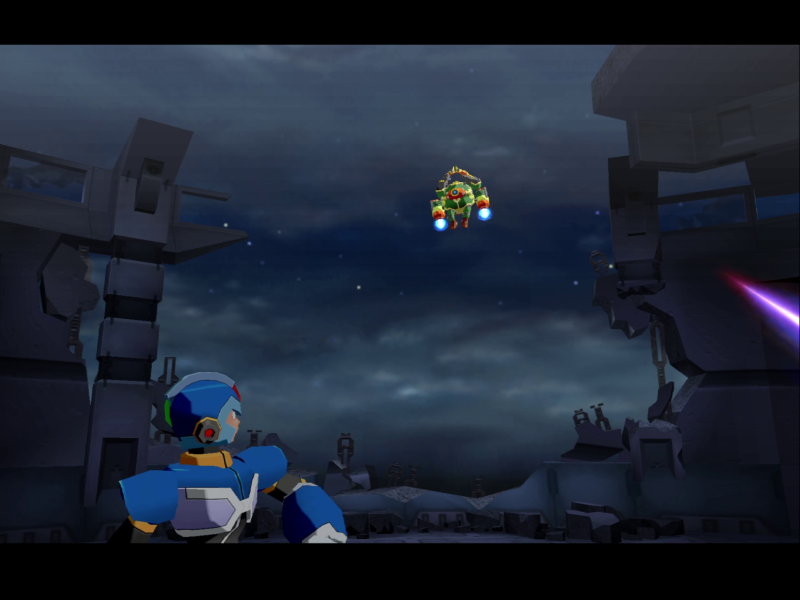
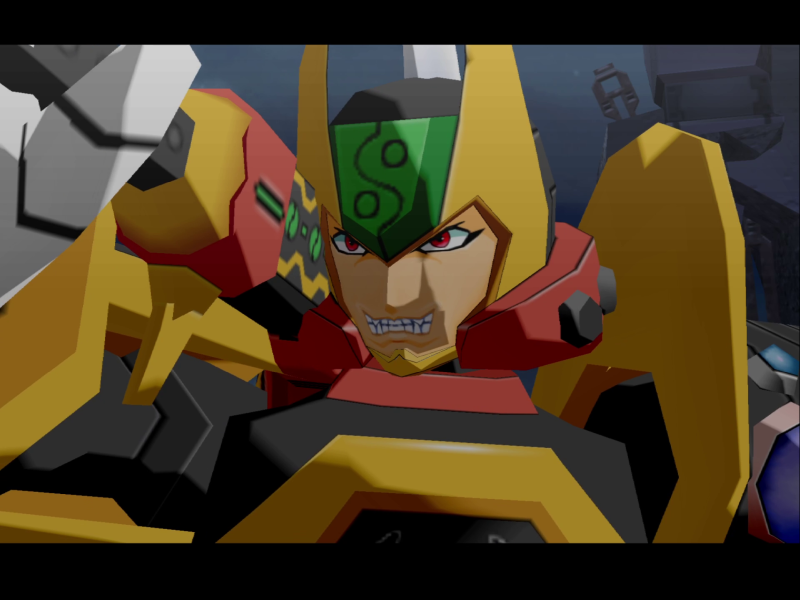
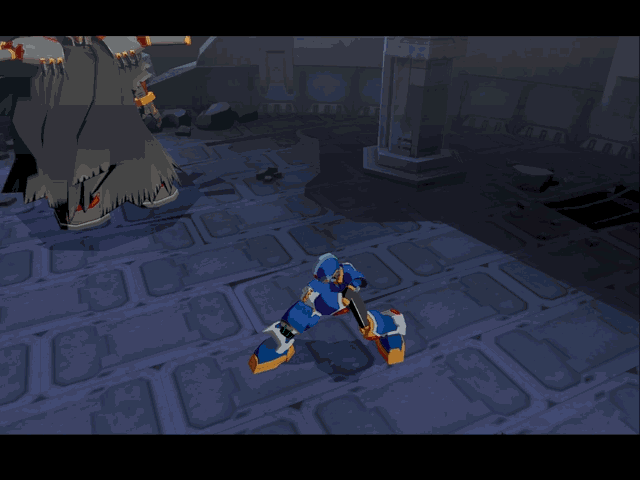
Movie: Hippopressor + Boss Fight: Hippopressor
X and Zero are standing around, when suddenly there's an explosion!
Music: The Rebellion's Mission
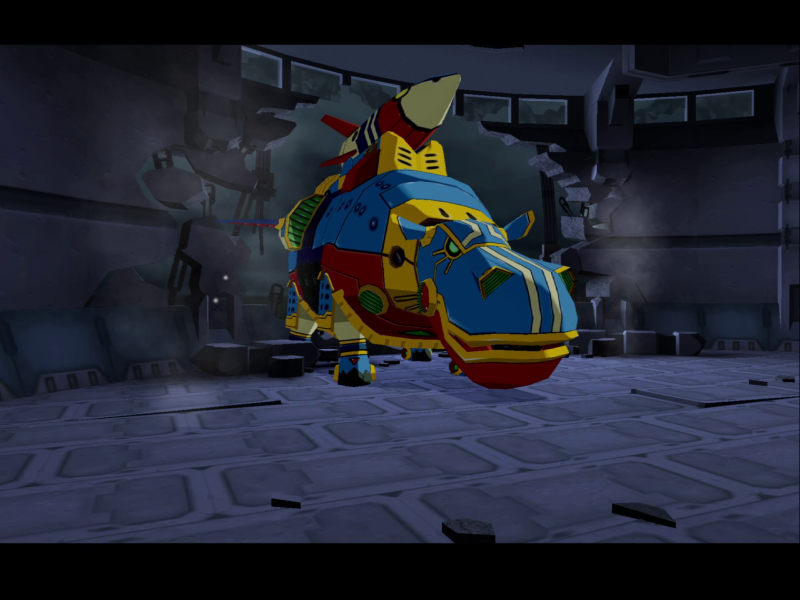
A giant hippo robot has broken in.
I repeat, a giant hippo robot has broken in. We are four floors up. Either this big guy holds several high jump world records, or there's a plane outside that yeeted this guy through the wall.
Excellent question, Zero. The answer?
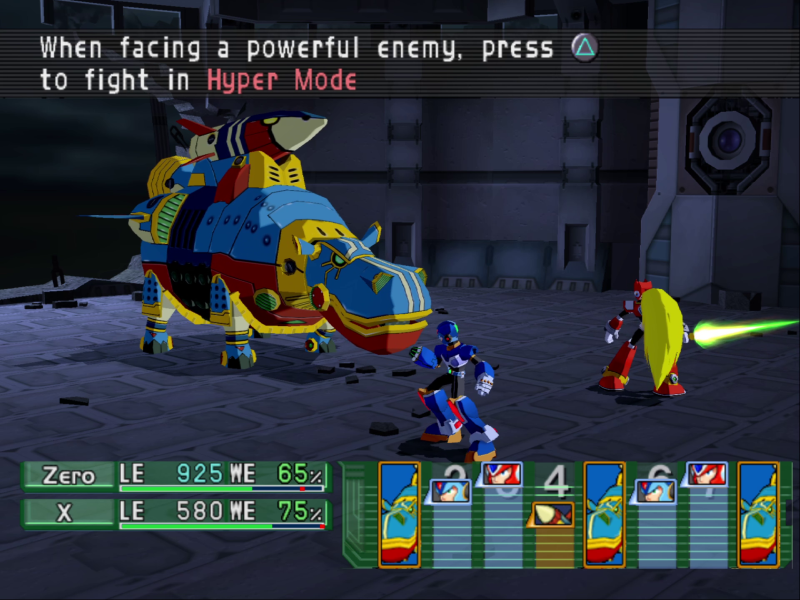
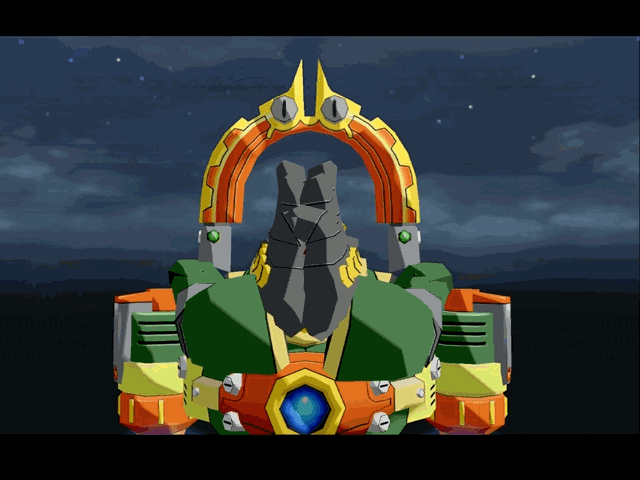
The first boss of the game!
Music: Standby, Zero
 ]
]We can't have an MMX game without a big WARNING sign on a boss.

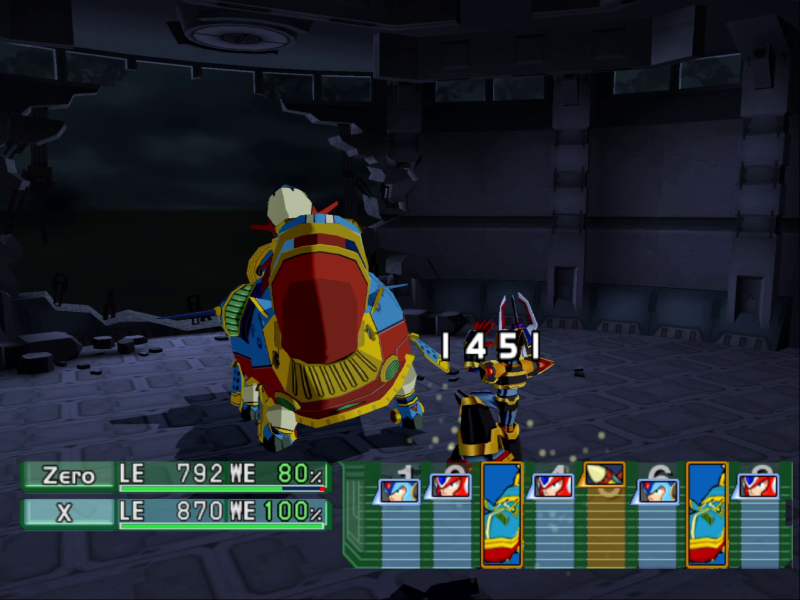
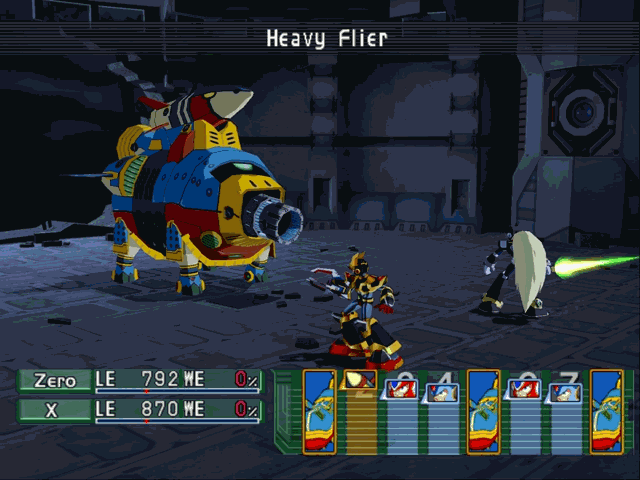
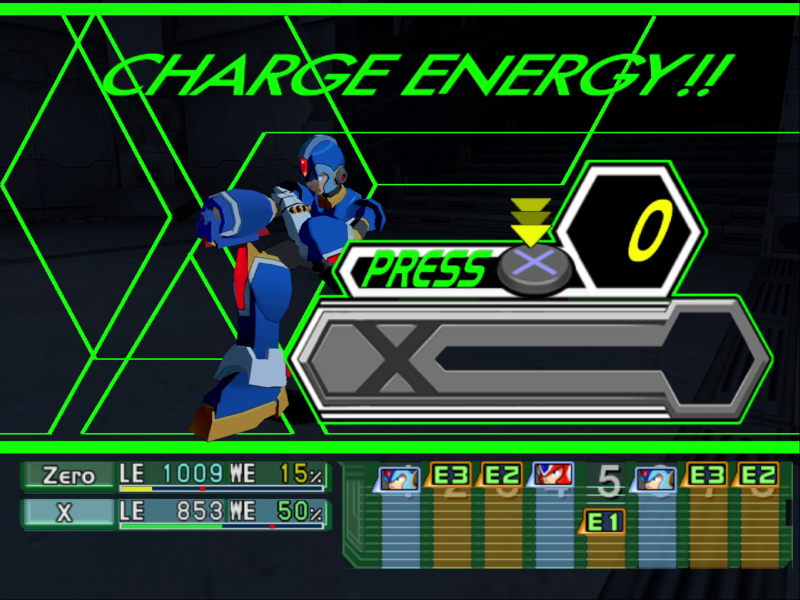
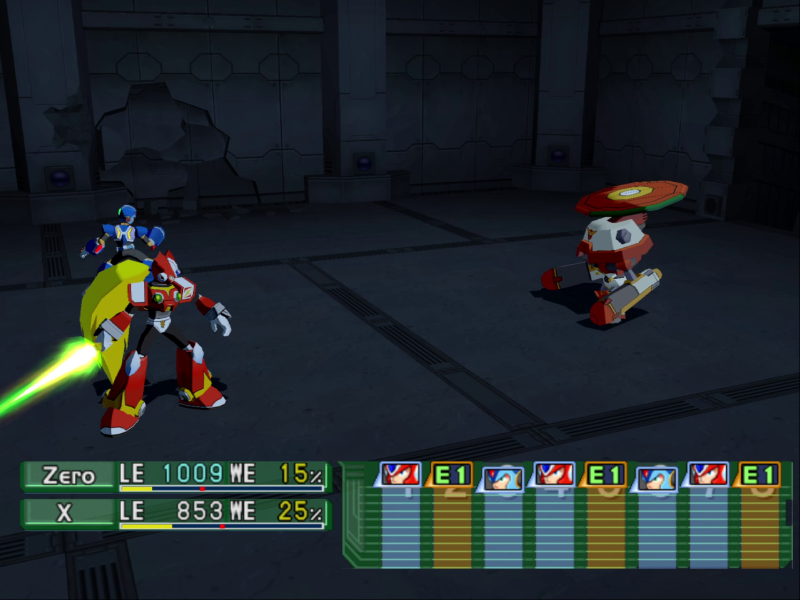
First thing to note, our new friend the Hippopressor has a different turn icon. To make it harder to tell how close you are to killing a boss, their icons take up the whole bar and never change no matter how close they are to death.
We can also see that Zero has more LE than X, but also has far less starting WE, meaning he'll have to wait an extra turn to use his AT at 100%.
That sounds bad.
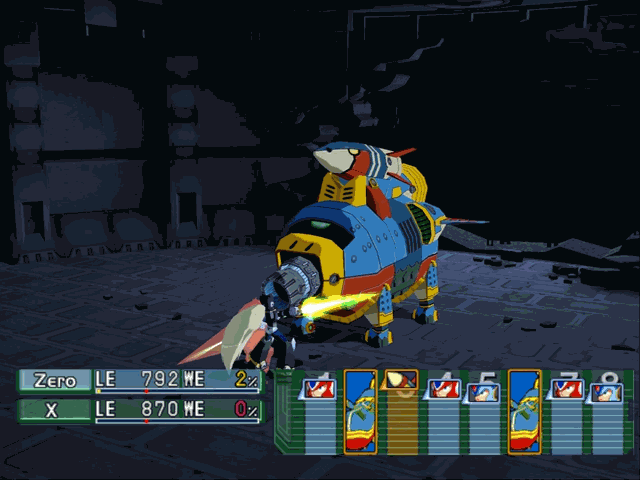
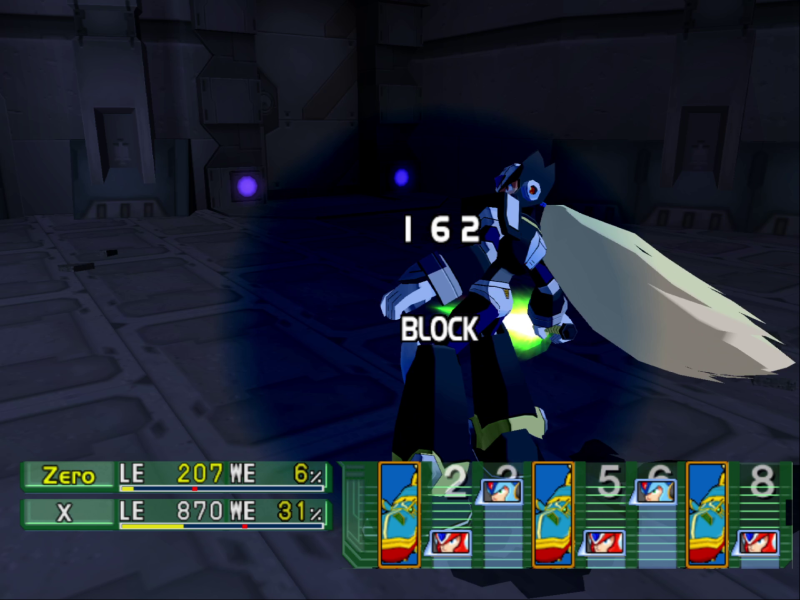
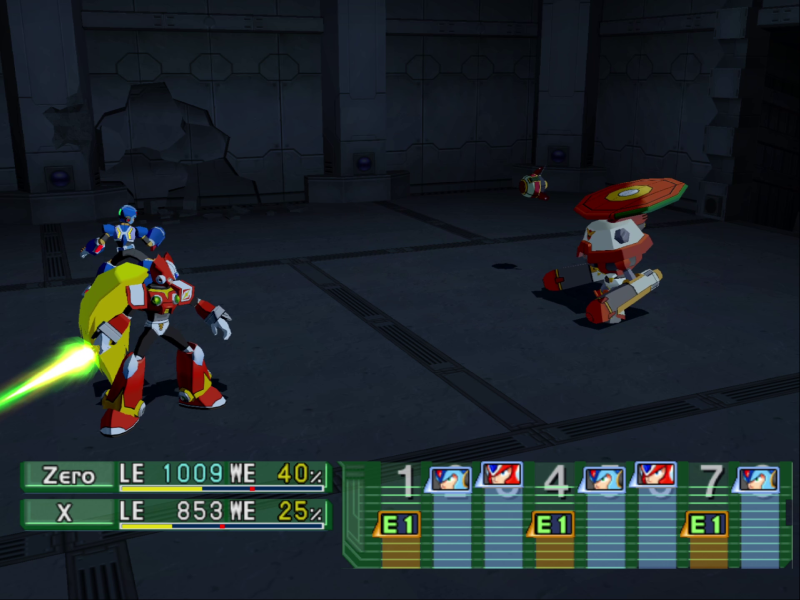
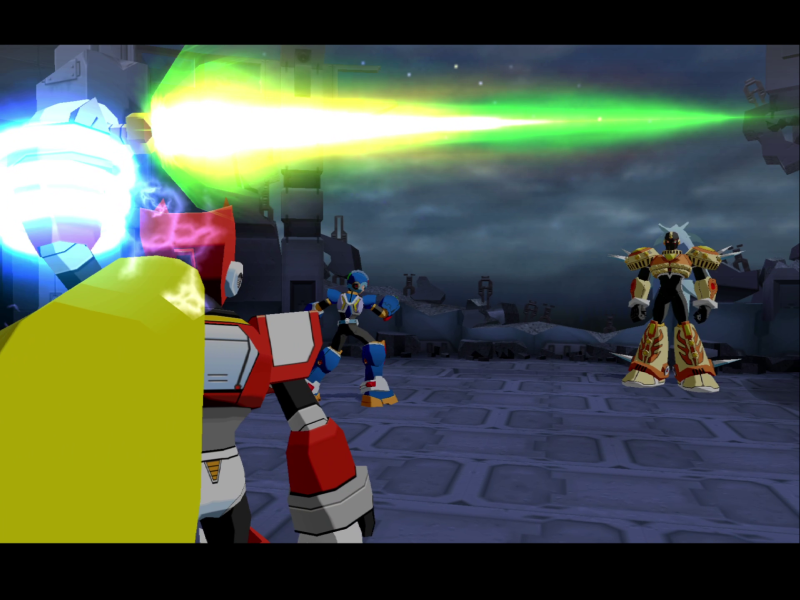
Hippopressor's basic attack? A god damn gatling gun in his throat. It takes a decent sized chunk out of X.
On Zero's turn, I have him take out the missile before it can try anything funny.
Zero's normal attack is stronger than X's, and hits twice for good measure, but that miss wasn't an accident.
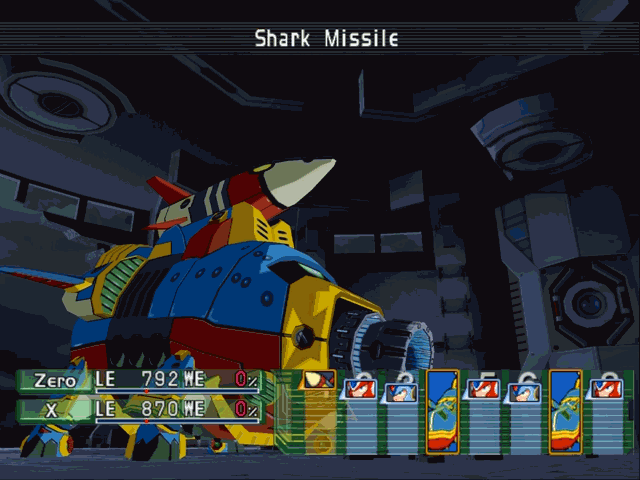
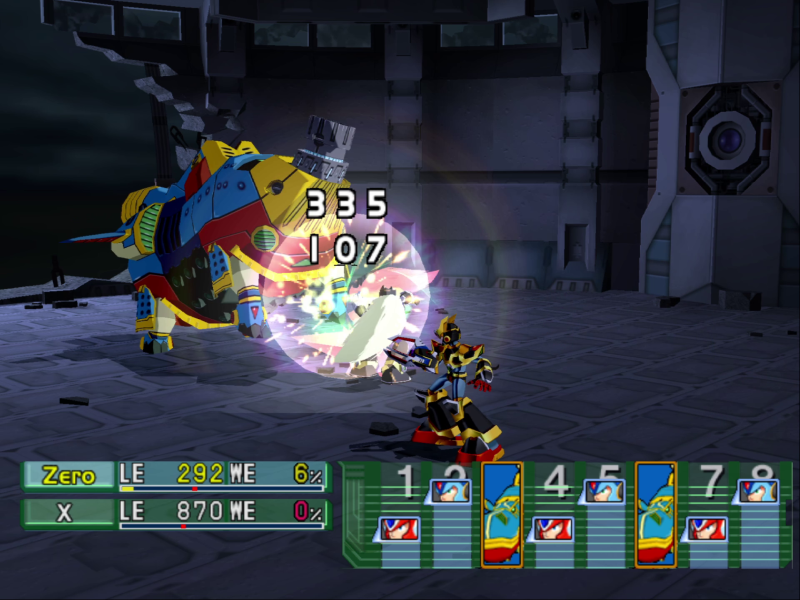
Here's a good time to go into one of the more important bits of Command Mission's combat: Attack types. All attacks are split between S(hot) and C(ombat), and each has fields they're good at. Here, the Shark Missile is treated like an aerial enemy, meaning Zero's Combat attacks have a good chance of missing. Meanwhile, Shot attacks like X's buster will have a much better chance of hitting the missile, while attacking the hippo directly will result in:

Some enemies heavily reduce Shot type damage. From here, the flow of the battle becomes clear: Zero wears down the Hippopressor while X handles the Shark Missiles.

Of course, he won't make it that easy.
Well if you insist.
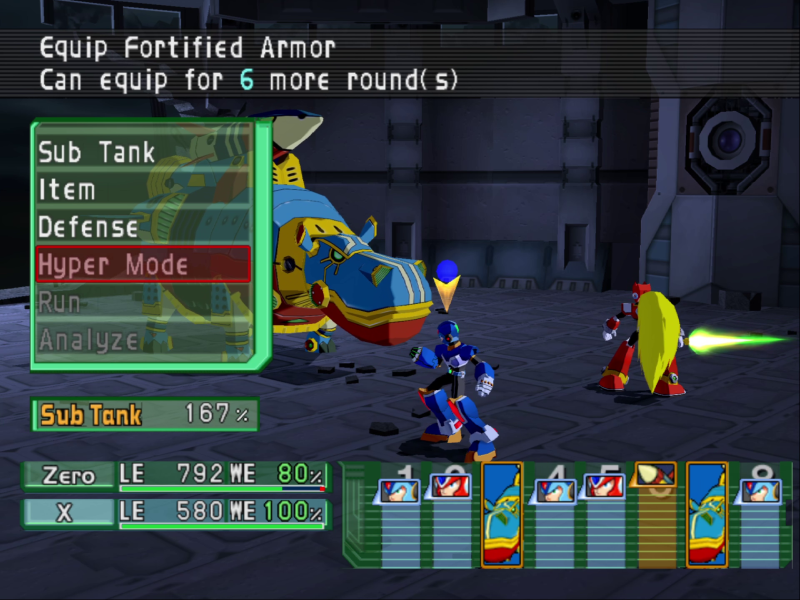
Hyper Modes are the big guns. All stats go up, you hit harder, and you get a shiny new look to boot! X, being the guy the game is named after, gets X Fire as his Hyper Mode, with a whopping 6 turns of sustained use.
X Fire changes his attacks to C type, replaces his sub weapons with Power Charge (boosts next normal attack by 1.5x, 2x if used twice) and Shell Buster (a backup S type attack). X Fire also gives +50% LE, +50% Power, +25% Speed, 50% less damage from C/S attacks, and +25% WE Gain. That's 25% of his natural WE gain, mind, we aren't hitting 50% per turn.
...yet.
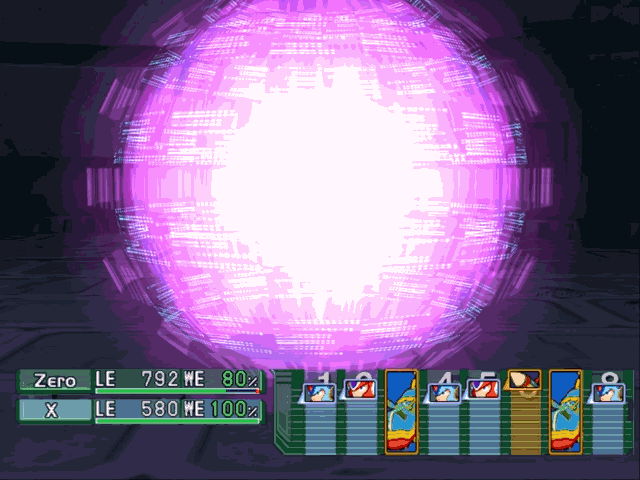
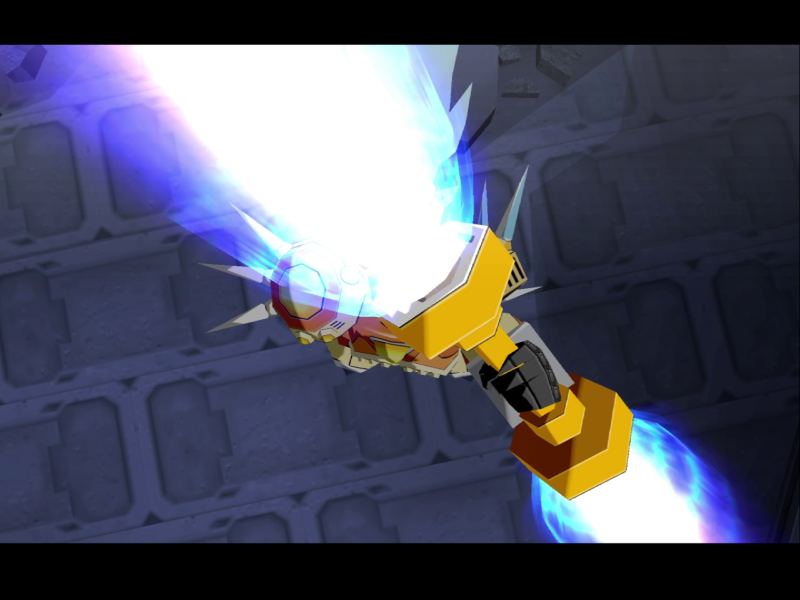
And on top of all that, X Fire also changes his AT, going from the multi target Charge Shot to the single target...
X Collider.

Now that's a lot of damage!
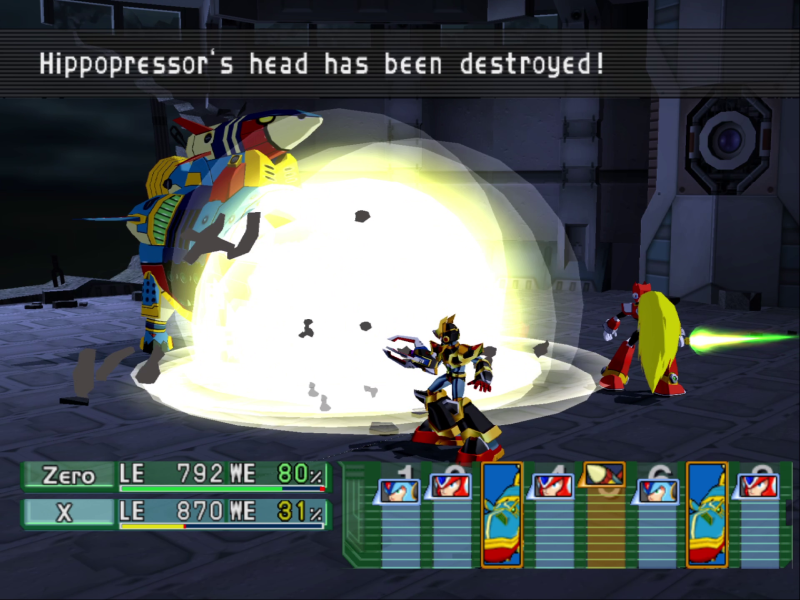
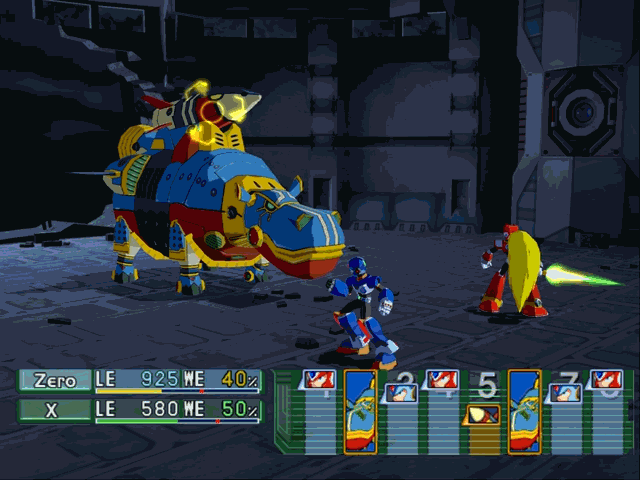
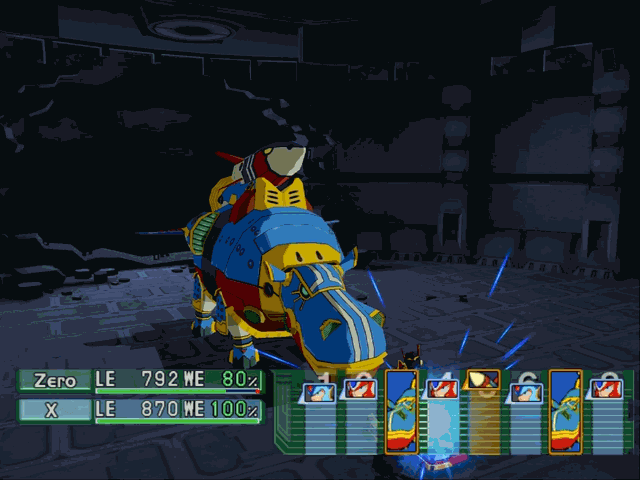
So much damage, in fact, that it destroyed the Hippopressor's head outright! Normally you're supposed to get a notice after a bit of damage mentioning that his head has cracked, but I ended up skipping right past it. Destroying the head removes his Shot resistance.
Granted, this won't come into play since X isn't leaving Hyper Mode for the rest of the fight.
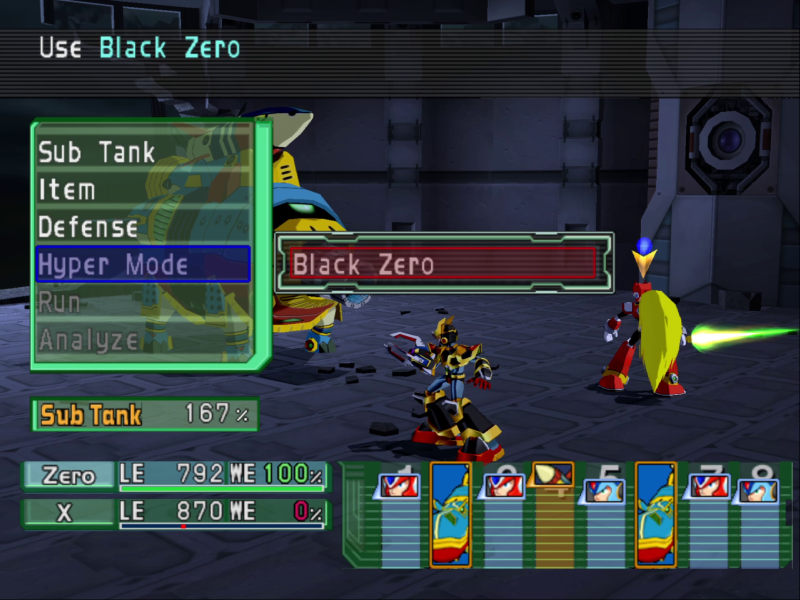
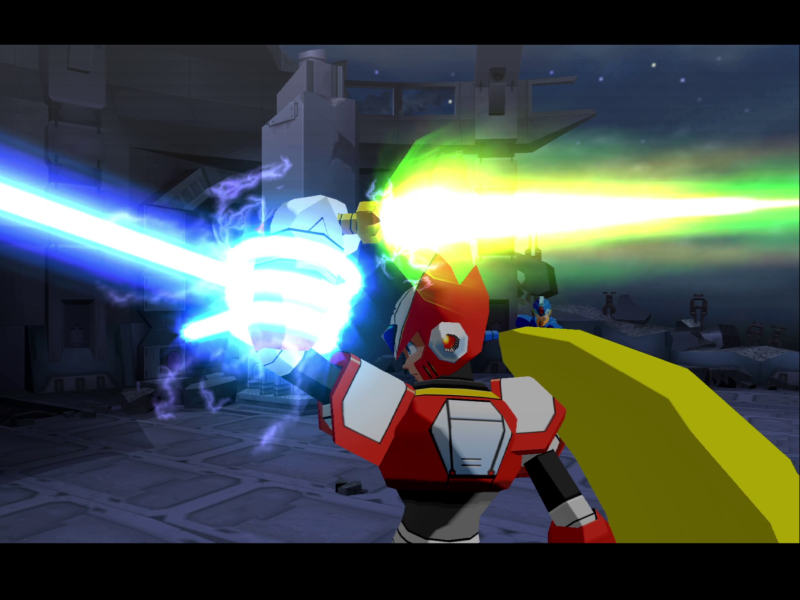
Zero joins in on the fun.

Sadly, the full upgrade is reserved for X himself. Zero will have to make due with a simpler transformation animation and the palatte swapped Black Zero. Black Zero only has three turns of use, but in exchange gives +100% Power, +50% Speed, +25% WE gain, 25% less damage from Fire, and a chance of counterattacking anything that hits him.
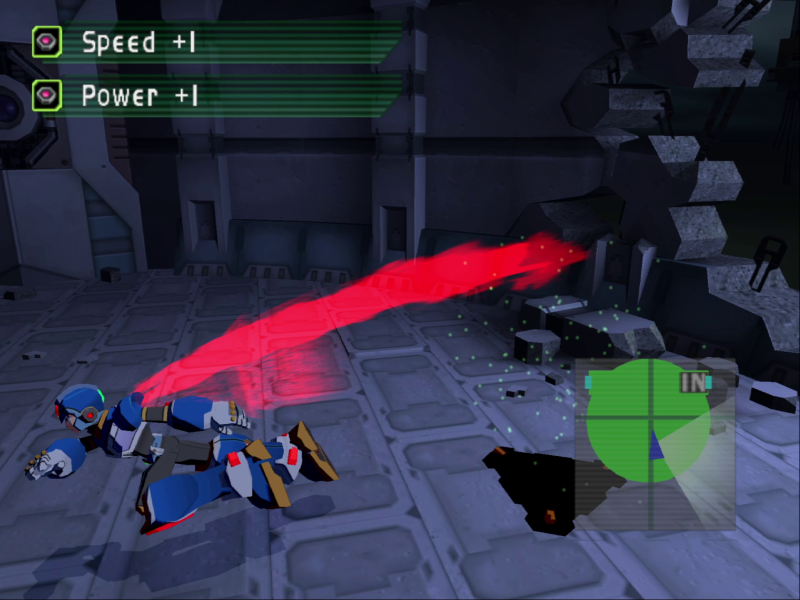
I've also used his sub weapon Heat Haze, which gives him a phantom copy that doubles all his hits for lower damage. This combos nicely with...
(I was going to make a quip about MVC3, but it turns out Zero's already had some fighting game experiance with SNK vs Capcom and Onimusha Blade Warriors, which honestly surprised me.)
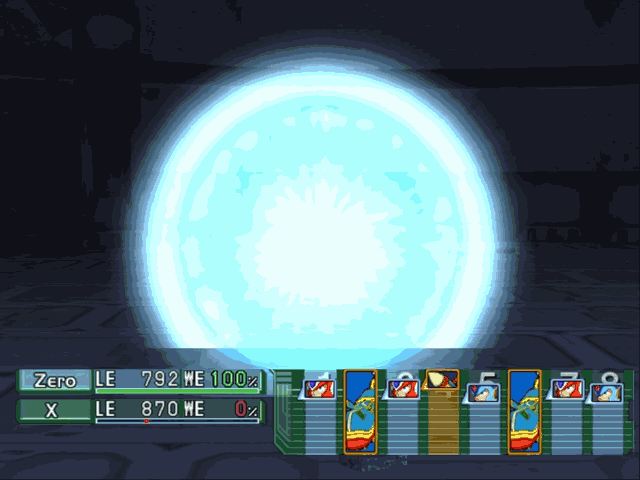
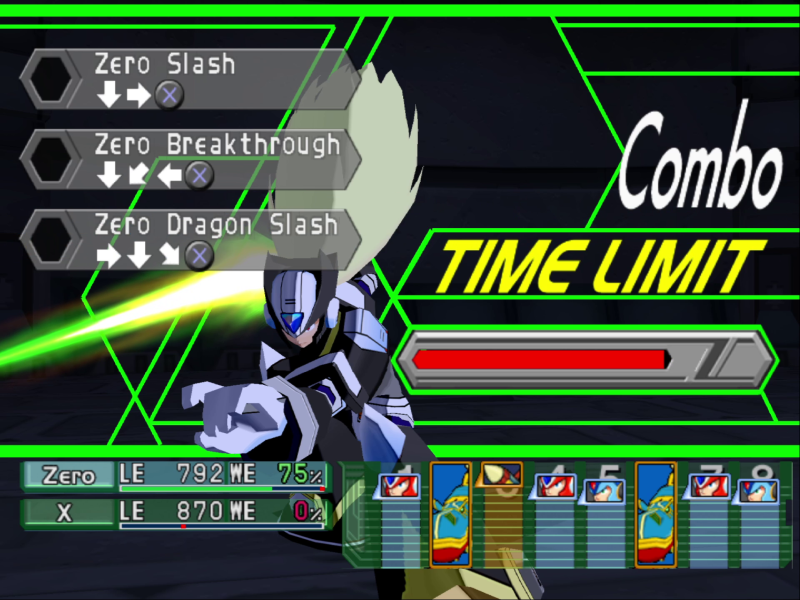
His Action Trigger, Command Arts. By inputing those fighting game inputs on the top left, I build up a combo, which is then used when time runs out. The more WE used with the AT, the more time I get to do inputs. Each hit deals progressively less damage, capping at 30% damage at 7 hits and every hit after. His three inputs are:
Zero Slash: A basic attack.
Zero Breakthrough: An attack that does low damage, but ignores enemy Armor.
Zero Dragon Slash: A more complicated input, but hits harder than Zero Slash and ignores the accuracy penalty when attacking flying units.
Now, you might be wondering why I used 25% WE on Heat Haze when doing so directly cuts into the Command Arts timer. Well, when I say that Heat Haze doubles all hits
I mean all hits.

The entire thing is a fun little balancing act. Do you avoid Heat Haze and use his AT at 100%, or take the time cut for a damage boost on what you do get? Do you risk flubbing the harder input on Zero Dragon Slash, or do you spam out Zero Slashes to get in as many hits as possible?
Anyways, Hippopressor decides to respond to this vicious assault.
It doesn't work out, although maybe he really did jump up here. He doesn't get an accuracy cut for missing his head either, I had to redo this fight to get some footage I missed the first time around and he used it twice with his head intact with the same results.
However, you might have noticed that he isn't the only thing acting this round.
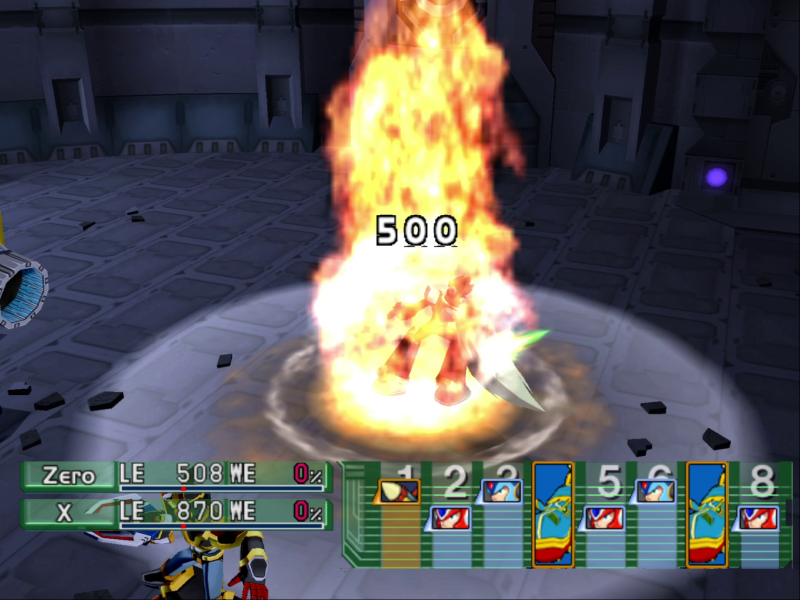
That's a fixed 500 damage. This early on, that's terrifying, and drives home the point that if a boss has a gimmick, you should not ignore it.
You can see Heat Haze doubling normal attacks here. I'm not bothering to heal since he has to be near death after the beatdown he's been taking.
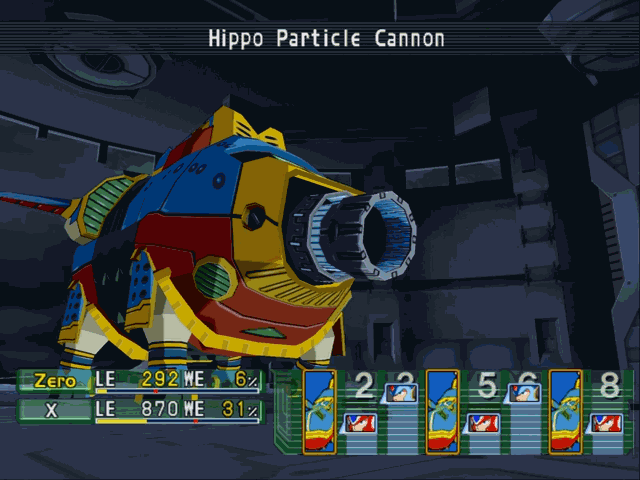
His backup weapon when the mouth gatling breaks? God damn lasers.
A nice bonus to Hyper Mode is that they all give a blanket immunity to status effects, the particle beam would have inflicted Bind otherwise.
Zero's close to death, but one more hit and...
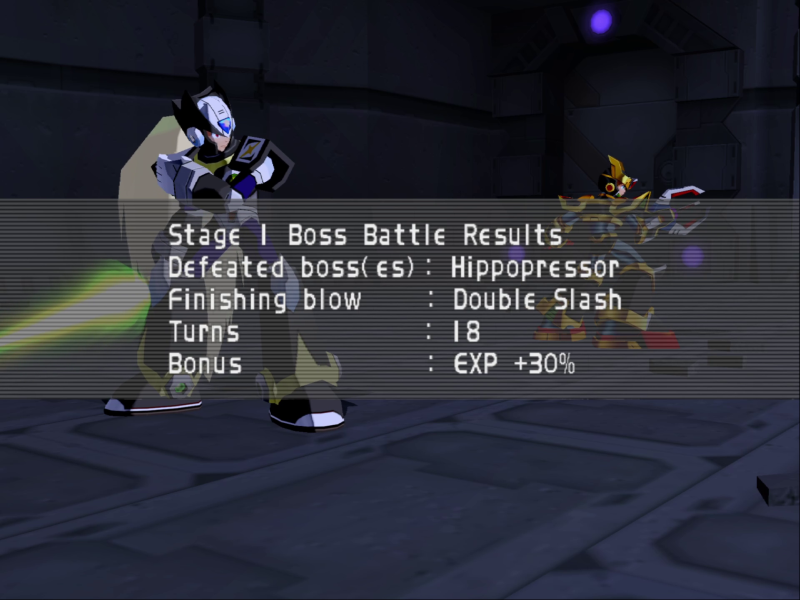
That's the fight!
Music: Boss Victory Jingle + Trajectory of Battle II
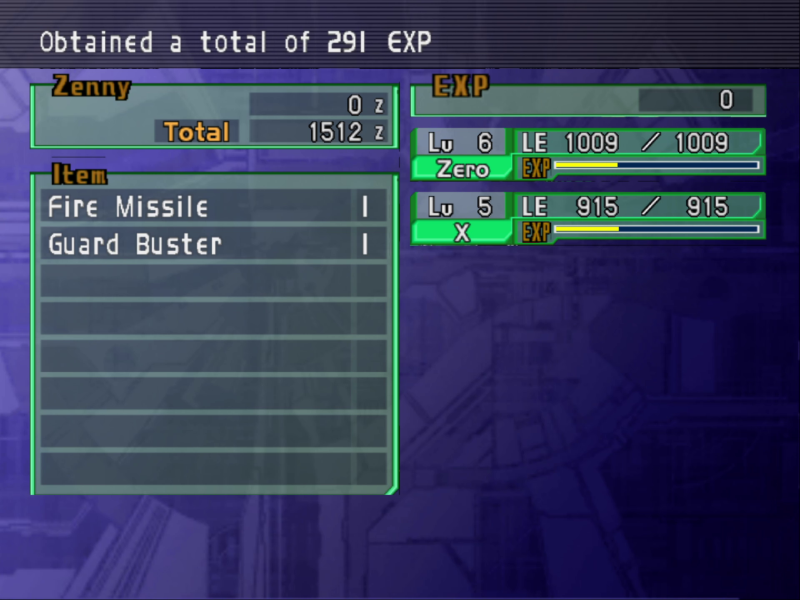
On top of gaining several levels (and conveniently getting Zero a full heal), we also get some new gear as a reward.
Music: Place of Oblivion
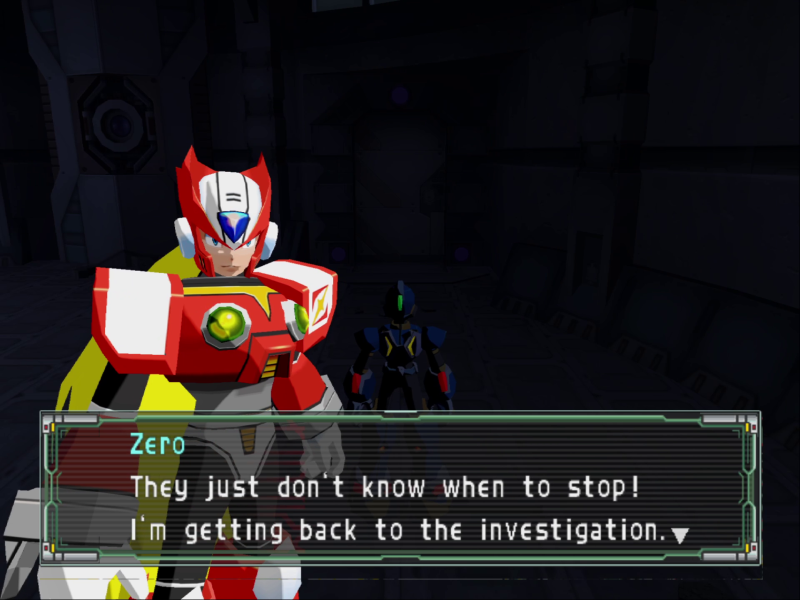 I'm getting back to the investigation. There was a door leading to the upper floor in West Block. Shadow has gone to check on the upper floor. I'll follow suit and catch up with him.
Near the hole in the wall, even more gear! But first:
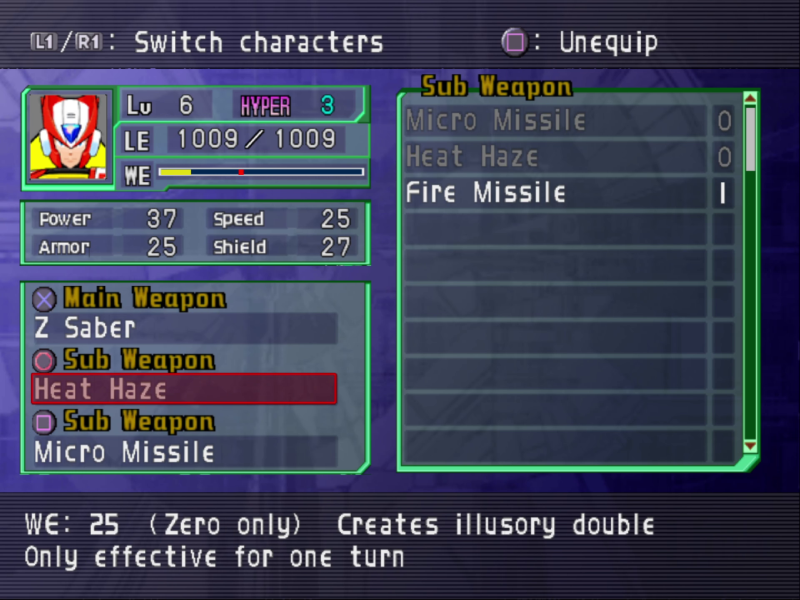
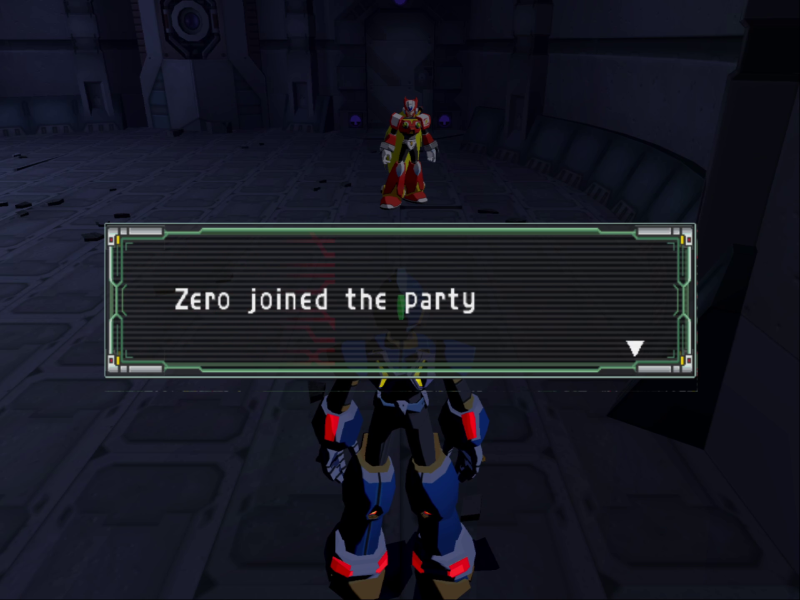
Now that Zero is in the party, I can talk about him! The important thing to note here is that Heat Haze is locked to him. I can't slap it on X for a double shot.
Stat wise, he's roughly on par with X. He also only has 3 FM slots compared to X's 4, and due to the whole 'designed to carry a virus that turns him into a genocidal maniac' thing, his Immunity is pitiful.
In the crystals is even more Force Metal. These both boost their listed stat and give 3 Erosion. I forget to equip both of them.
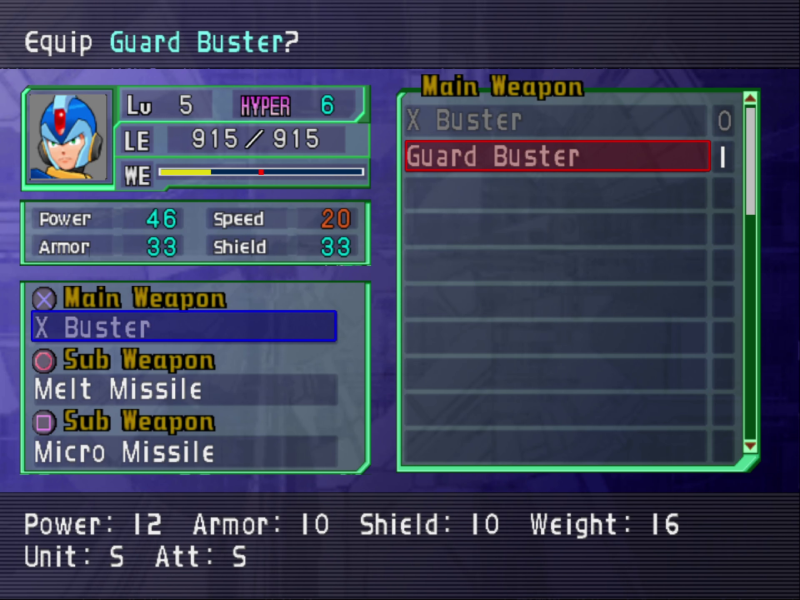
I do, however, remember to give X his share of the loot. The Guard Buster is better on both offense and defense, but also makes him slower. Much like Fire Emblem, a weapon's Weight is taken out of a unit's Speed.
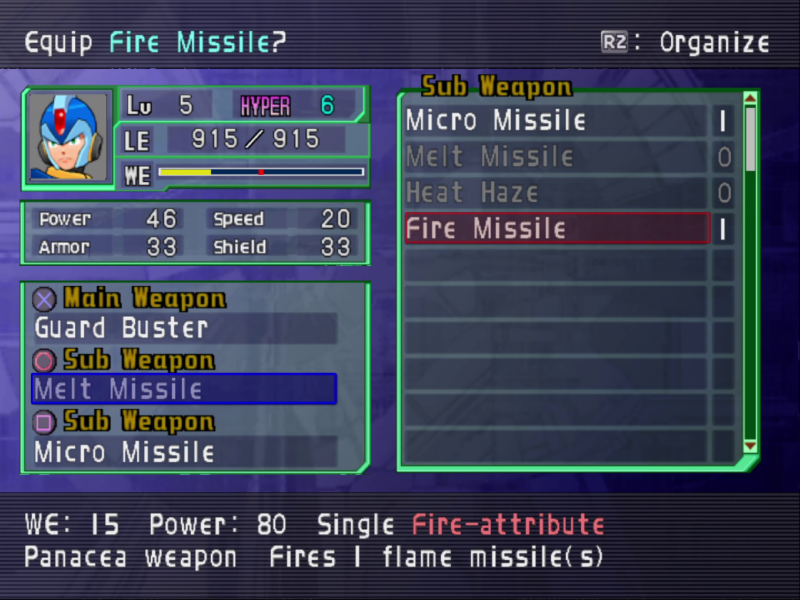
I also swap his Melt Missile for the new Fire Missile, I figure dealing more than double damage is worth not having to leave a debuff to chance.
Finally leaving the room, we see a new color of crystal!
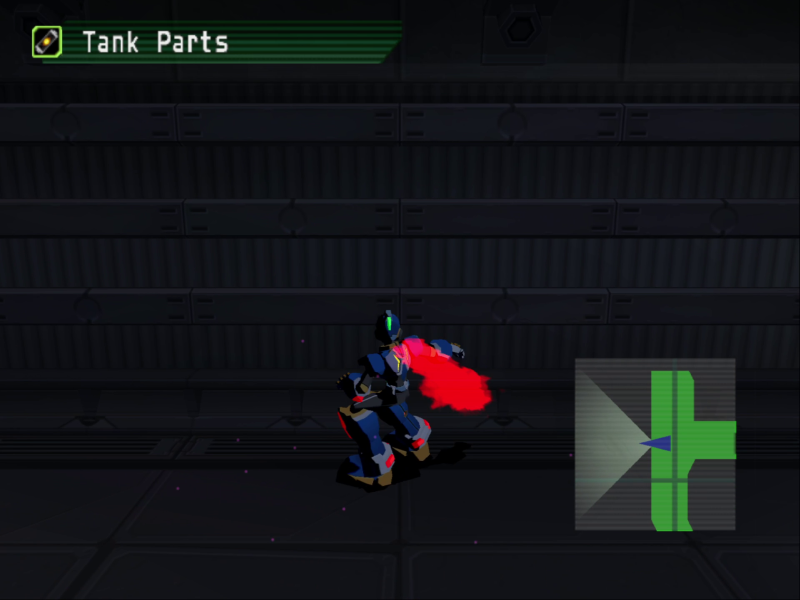
Purple crystals hold key items, this one has some Tank Parts! These are similar to Pieces of Heart in a Zelda game. Get four, and they turn into a new Sub Tank, giving us another 100% worth of energy to use.
On the way, I'd like to point out that the Guard Buster has a shiny new model.
That crystal holds 80z, at the end of the hall is the door to progress.
Past the door, even more stairs! At least the rain has finally stopped.
I sure hope you loved the Chaser's boxy torso, because the Preon Bitmaster shows that the Preon line will get a ton of use out of it.The Bitmaster can use Bit Shift to, well,
Create a Bit. The Bit can only shoot you for low damage, but the Bitmaster itself can keep summoning more until it hits the enemy cap of 4. Past that they can either start bopping people on the head or going for a party speed buff.
As an aside, I find their name a bit strange. I mean, Bit was kinda a big deal back in X3, and now throwaway drones stole the name right out from under him.
One last room before the end, I grab a Vaccine Program and Reboot and keep going.
Video: Epsilon + The Cadre
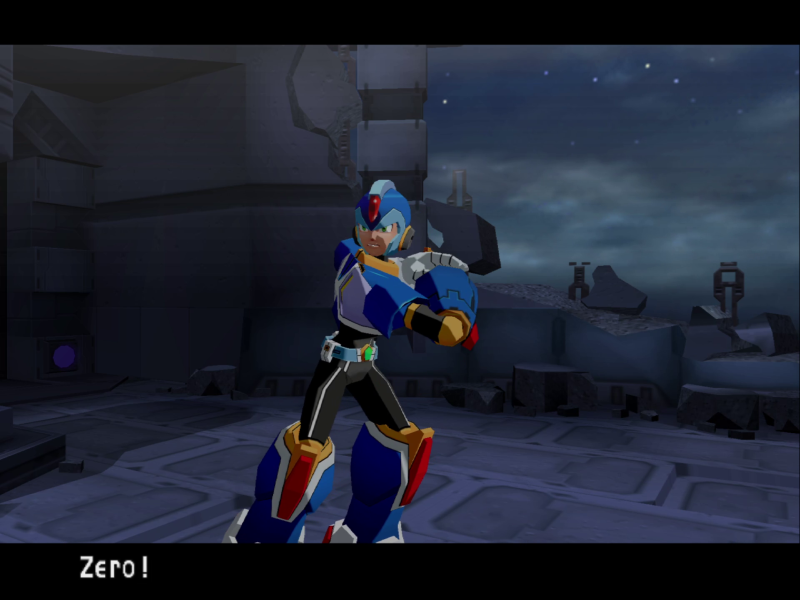
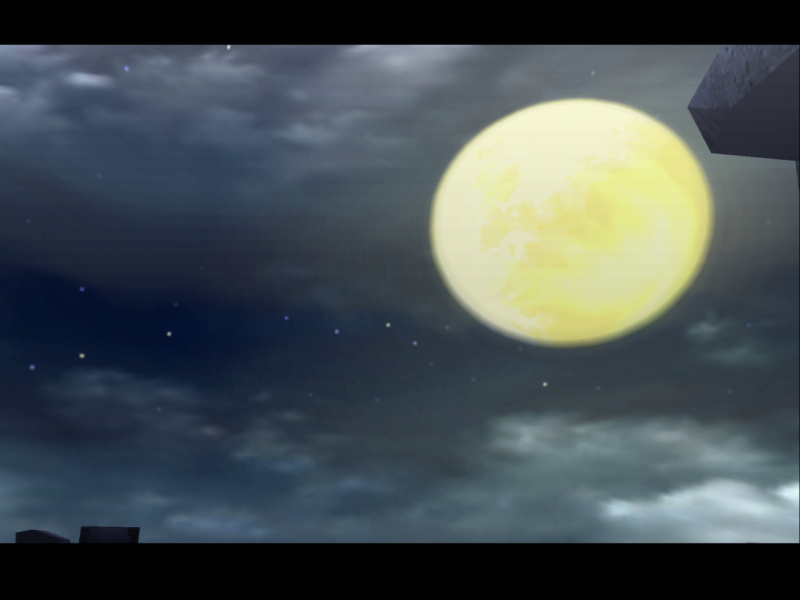
X and Zero finally make it to the roof.
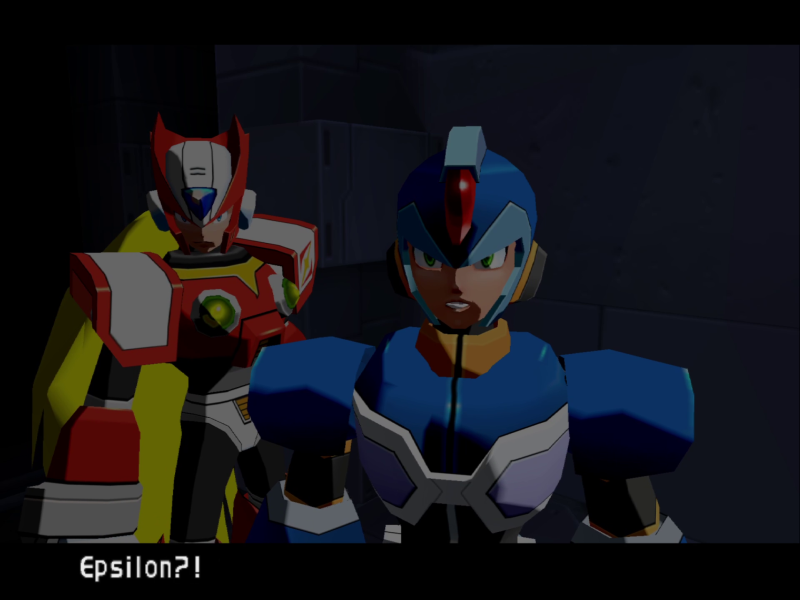
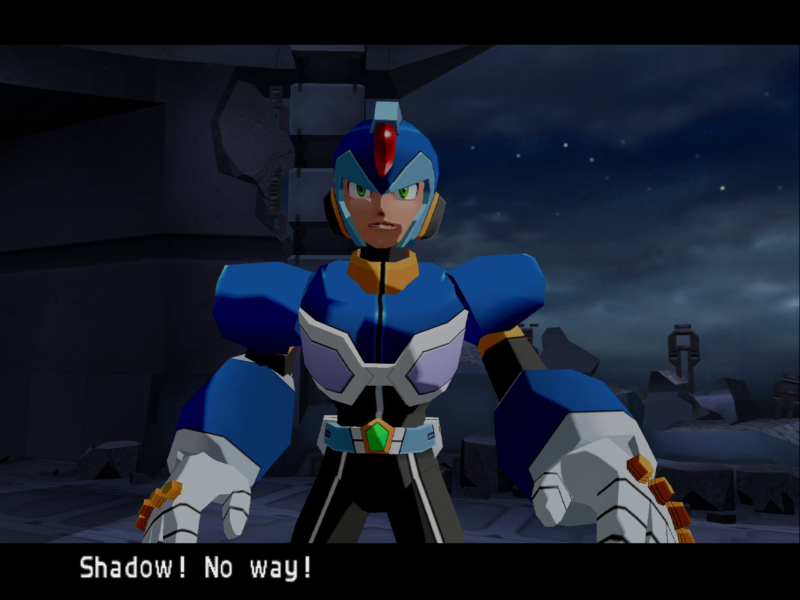
 Yeah... But look...
X takes a step back.
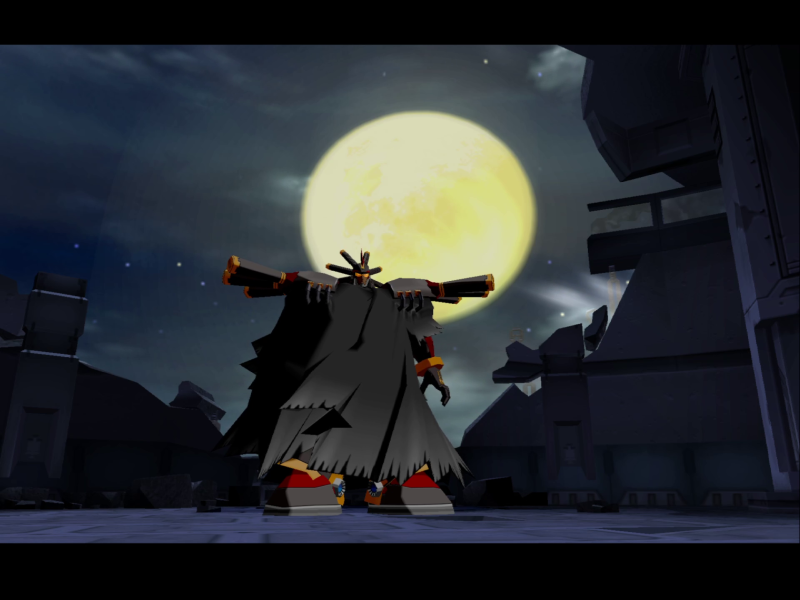
That's bad. I mean, he doesn't look like Sigma but at the same time that cloak is easily big enough for him to hide under.
...you think he's been standing there in front of the moon all night just to be dramatic?
You'd think after Sigma they'd stop naming high end Reploids after Greek letters. That's like naming your new ship the Titanic 2, it never ends well.
Music: The Rebellion's Ambition
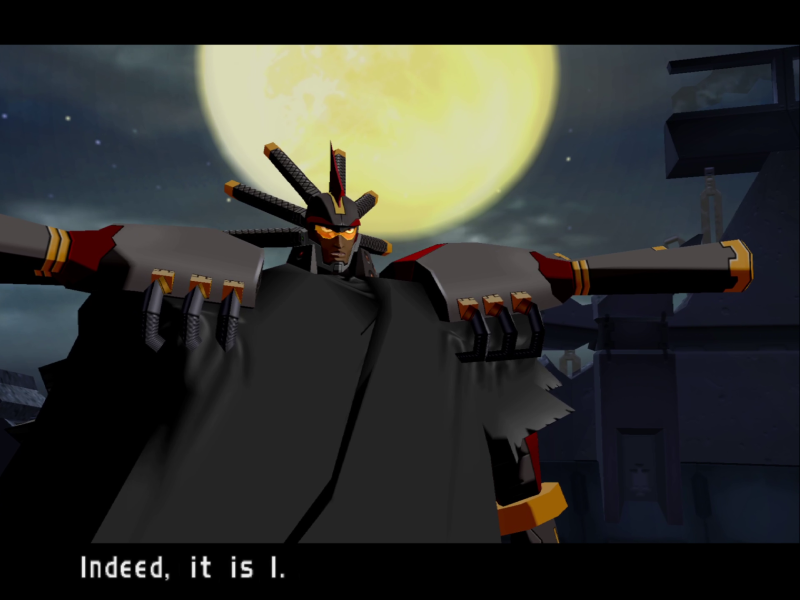
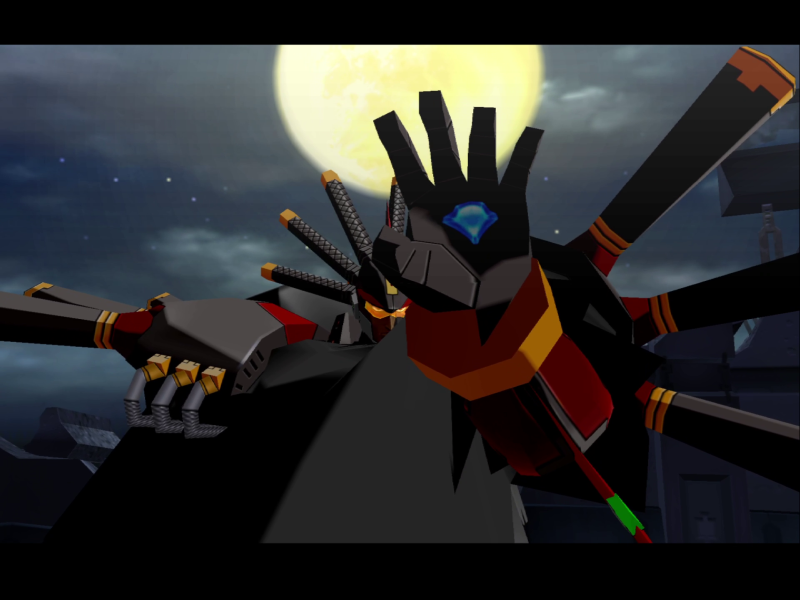
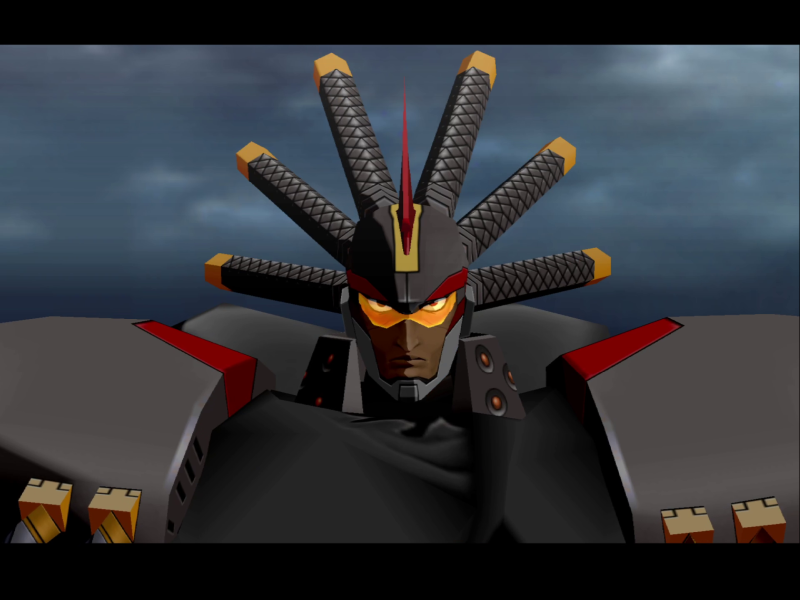
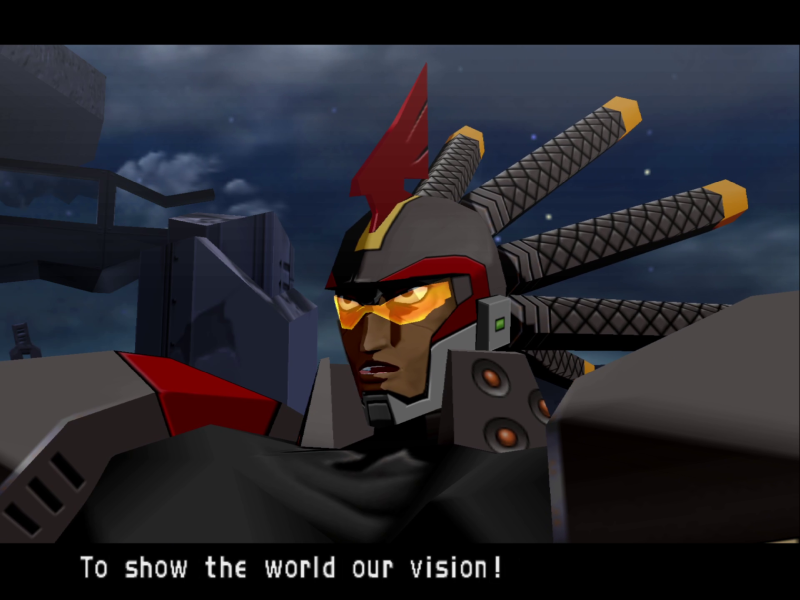
 Epsilon, the Rebellion Army Commander.
 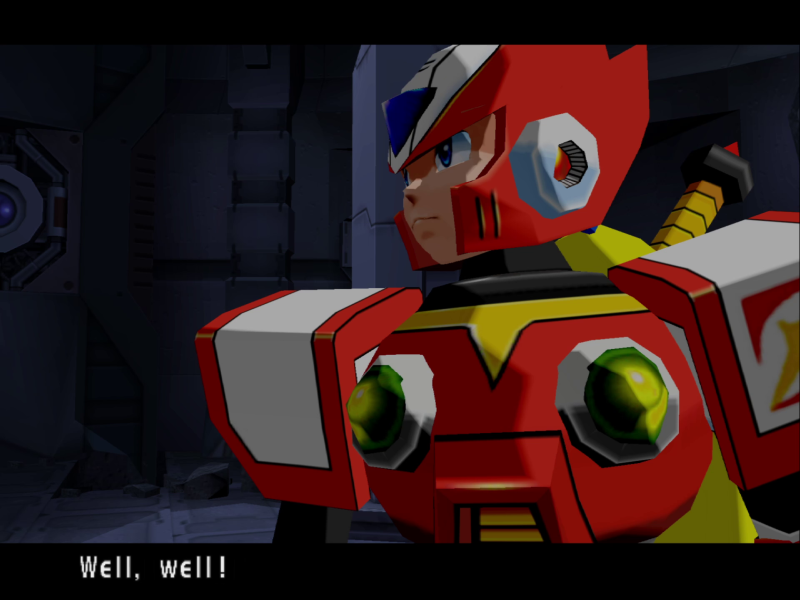 So the great Commander came out just to greet us?
 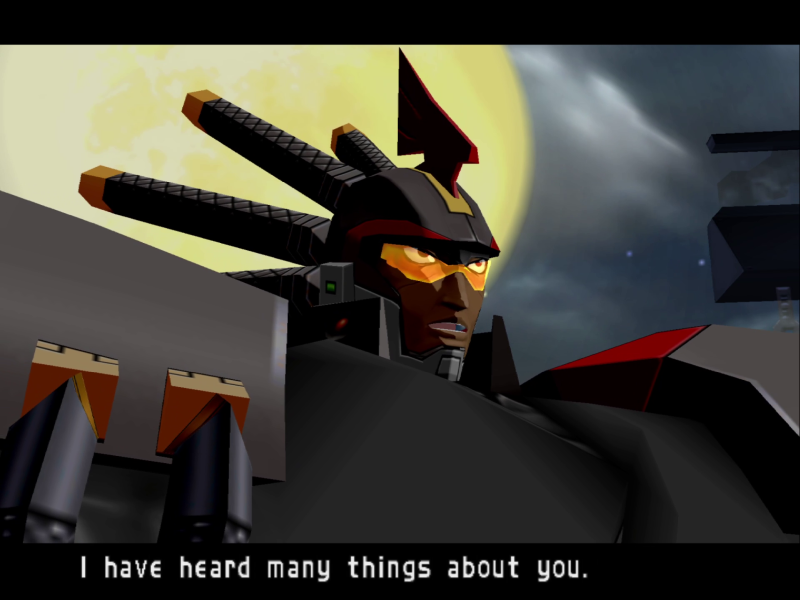 The great Maverick Hunters...
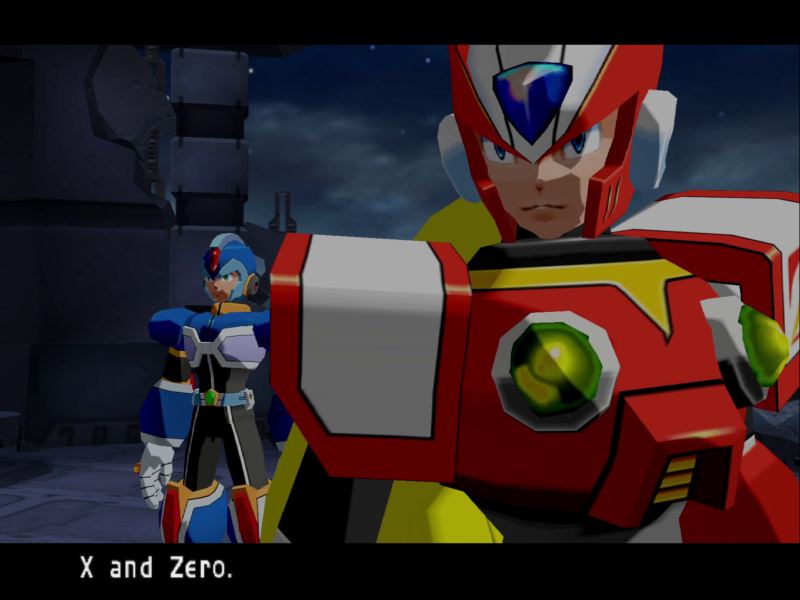 You truly are elite Reploids. Won't you fight alongside us,
Zero, you should know better than to say things like that.
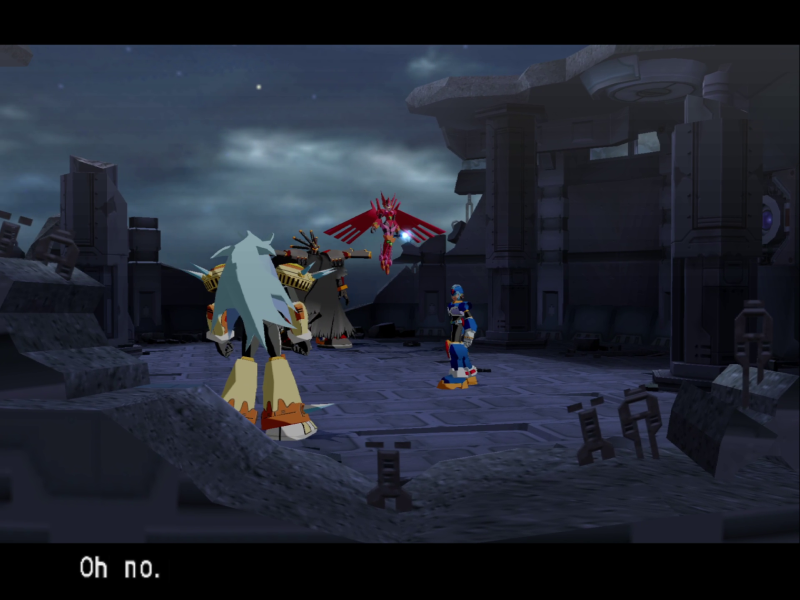
Oh no, Shadow was a traitor all along! How totally unexpected!
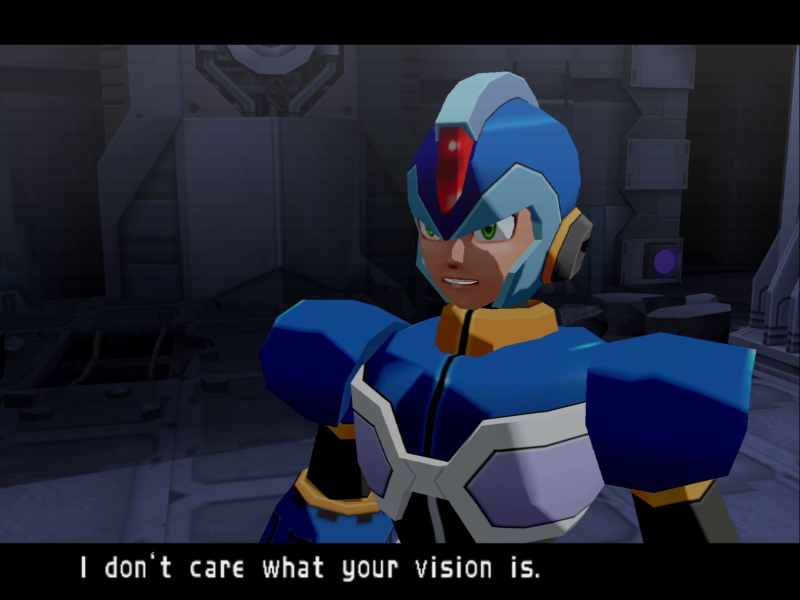
 He understands our goals. I'll ask again: whose side are you on?
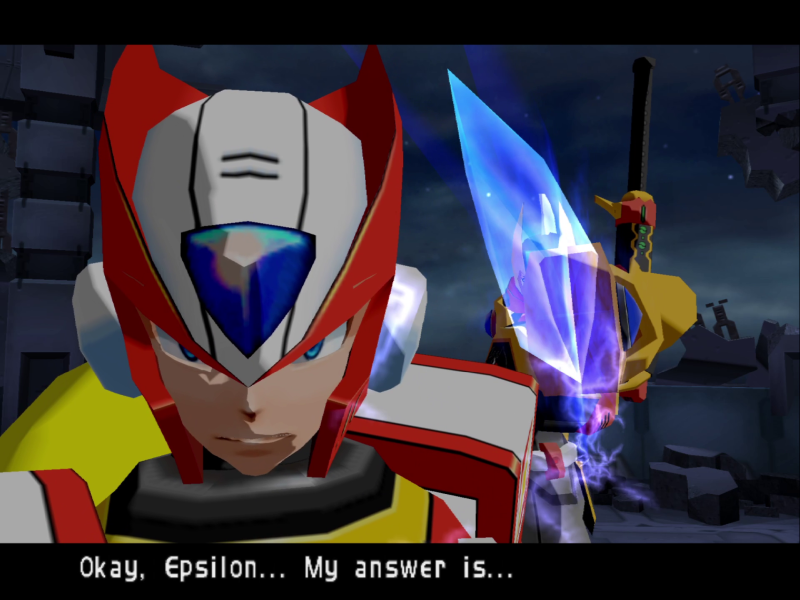
I really like this bit. X and Zero have been partners for well over a century. No words are needed, no quick gestures, X just instantly takes a shot because he knows what Zero's answer is:

He hit so hard it went into a loading screen!
Music: The Rebellion's Mission
Turns out the leader of a major organization doesn't leave home without guards, who knew?
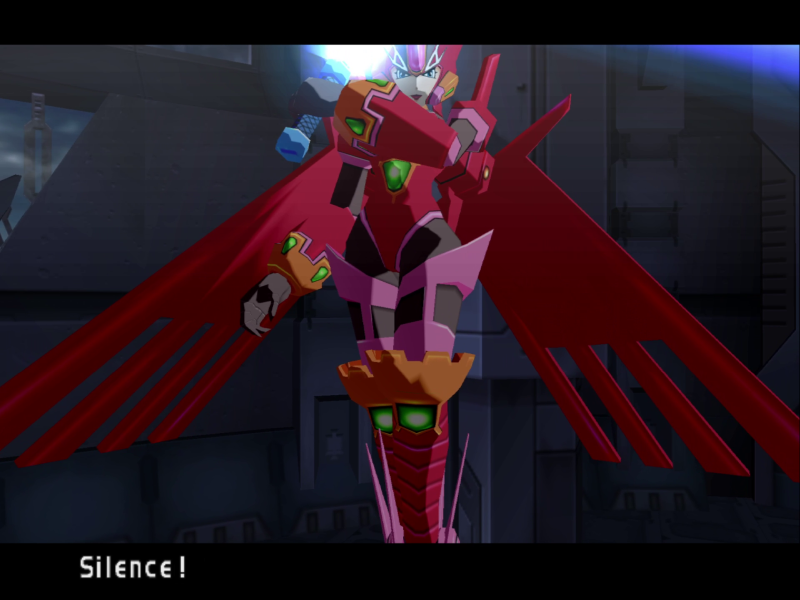
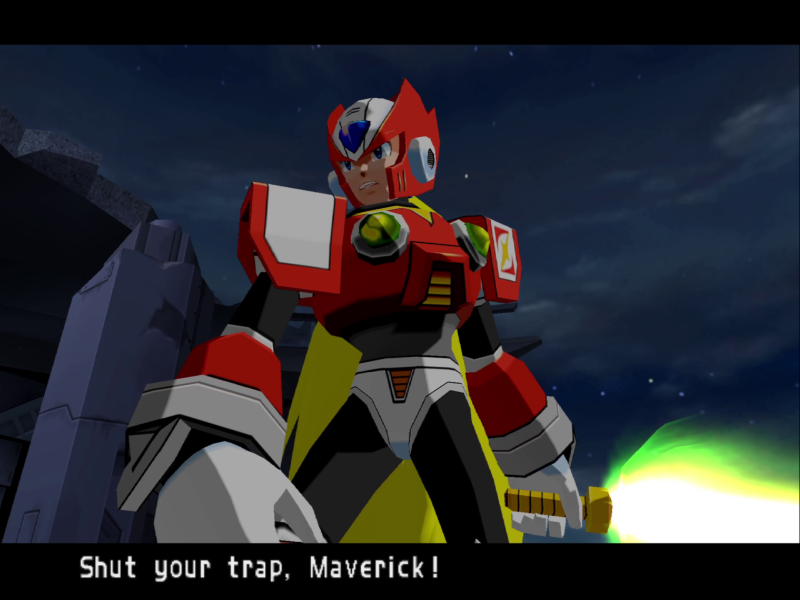
 Show the Commander some respect!
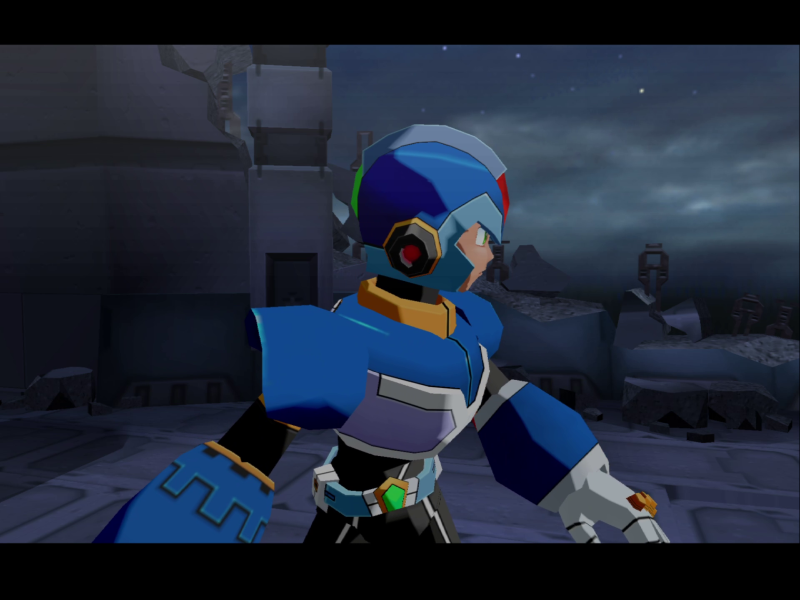
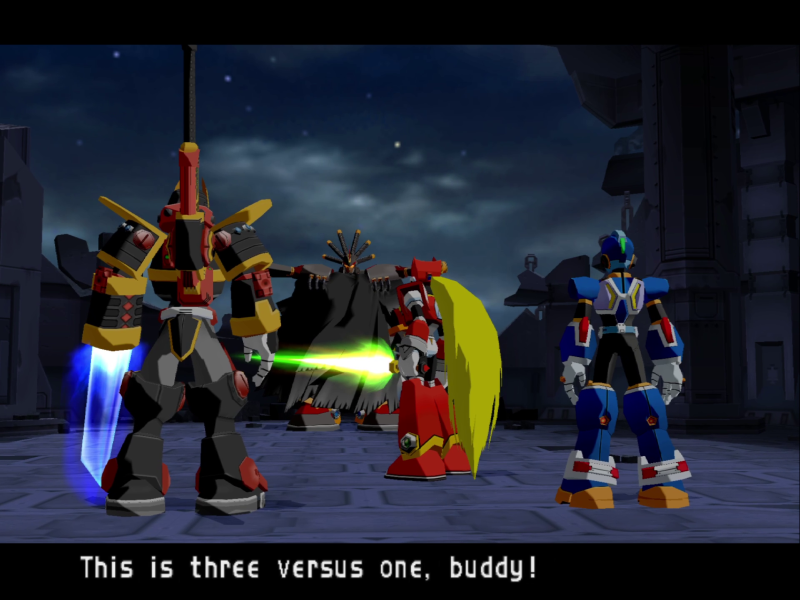
X sees something!
Well now we have a 2 on 4.
This must be Scarface, the guy from the other pod from Epsilon's room. His weapon?
A giant double ended beam saber. Between that, the mask, and all those spikes, becoming a bad guy was sorta his only career choice.
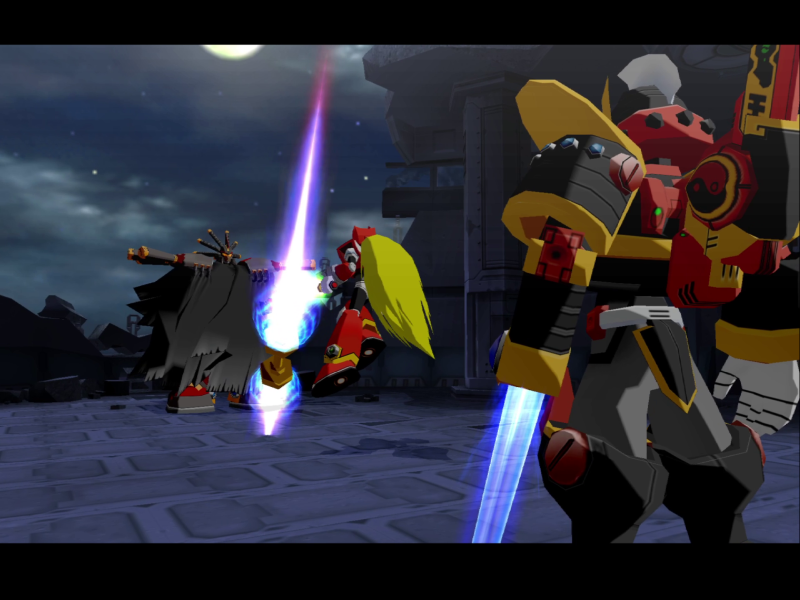
I'm not kidding when I call it a giant saber, the damn thing is taller than Epsilon.
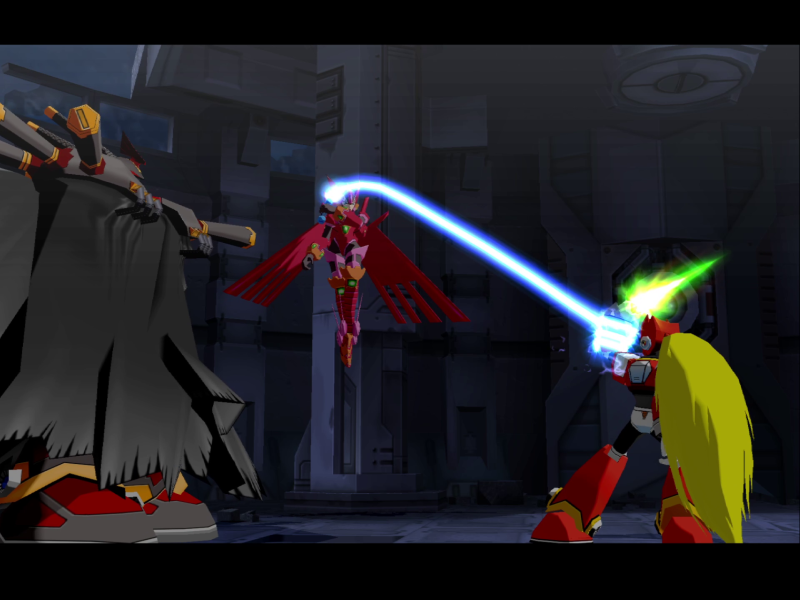
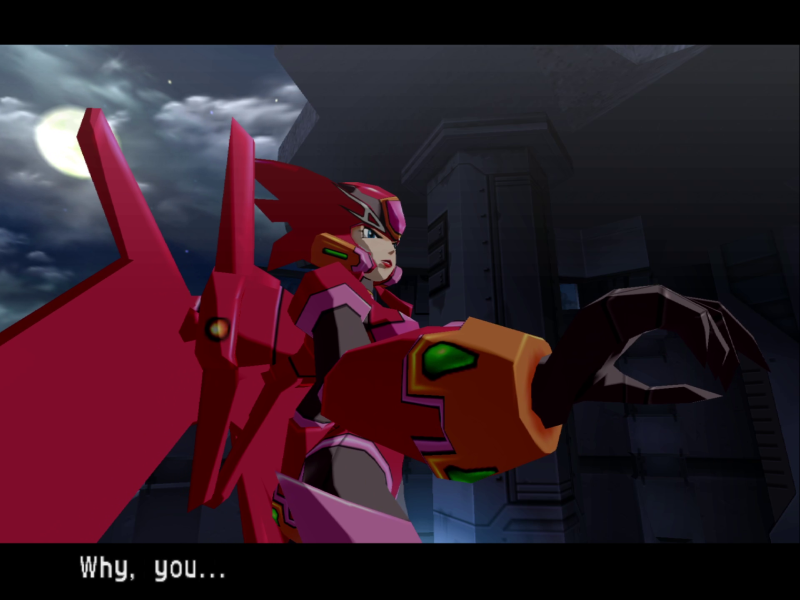
X shoots the mystery lady's whip, letting Zero dodge Scarface's throw. However...
RIP Zero, 21XX - 21XX, 21XX - 22XX.
X tries to go after Zero.
But now we have a 1 on 5.
The shooter is a flying fat man.
He's having fun, at least.
5 bosses, and X is doing a buster only run. Today just isn't his day.
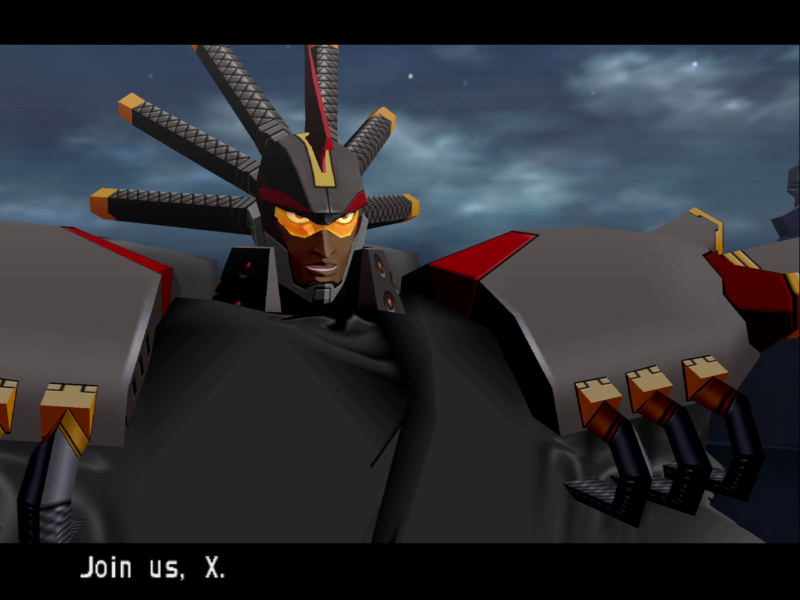
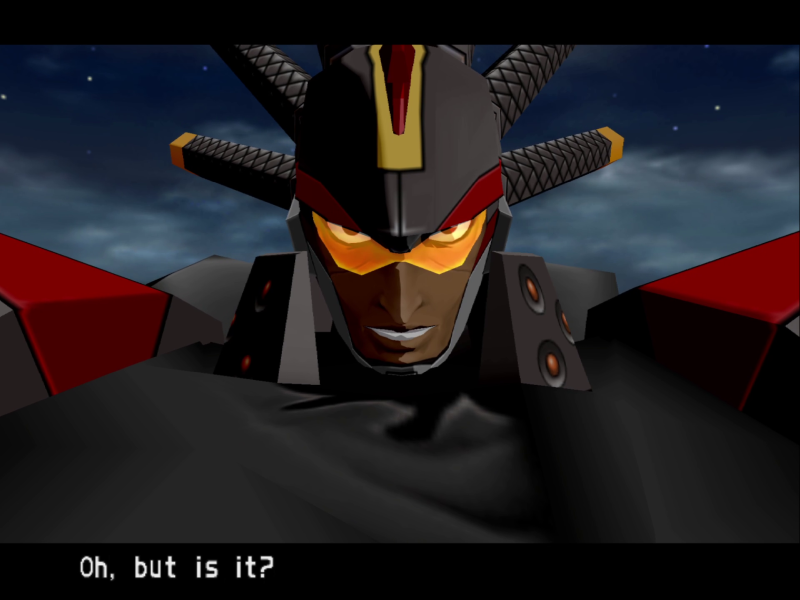
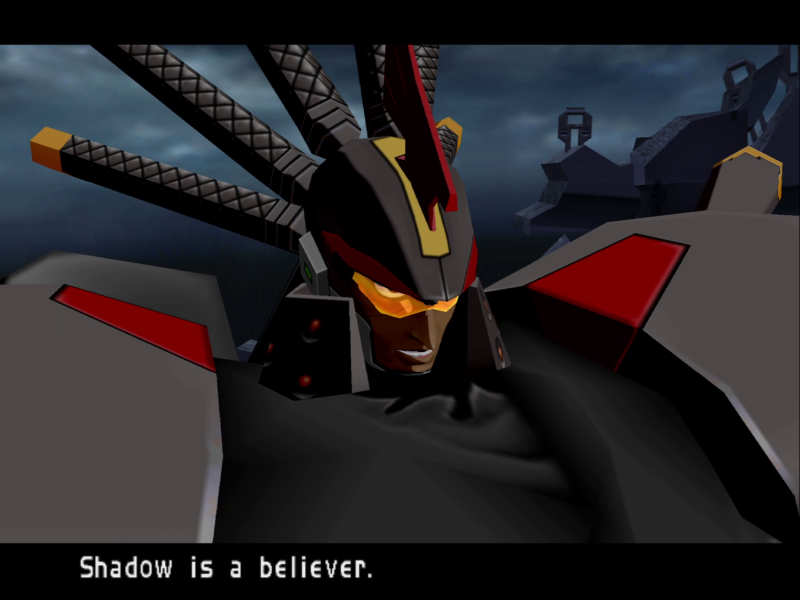
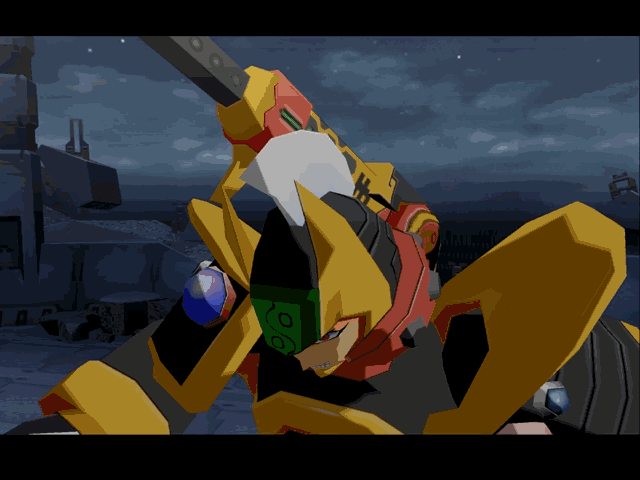
 You're still a bunch of Mavericks! And as you know, I am a Maverick Hunter! Shadow...
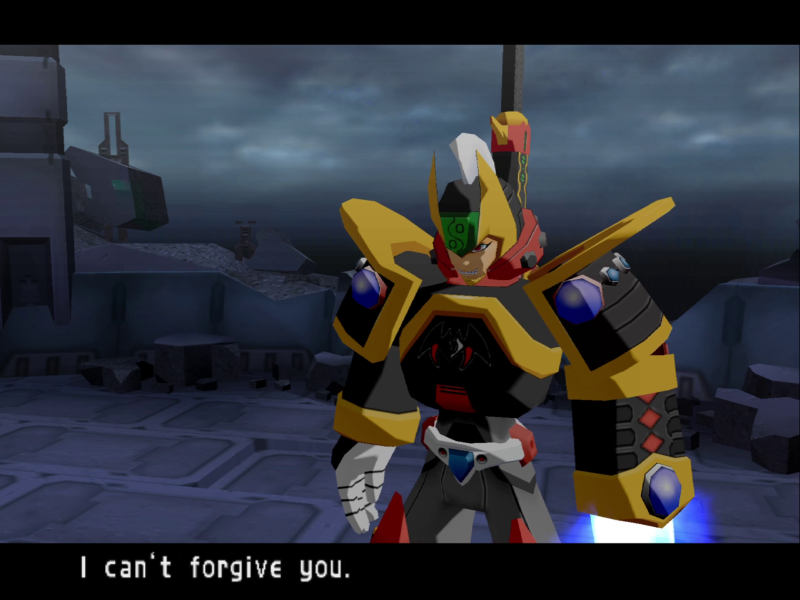
I'd like to remark that Shadow's eyes have turned red. You think that comes stock for Reploids? Zero does the same thing when he goes into Black Zero, but at the same time changing to red eyes is incredibly on-brand for someone created by Dr. Wily. Did Shadow have to shell out for EvilEye.exe? Is he wearing colored contacts? The world may never know.
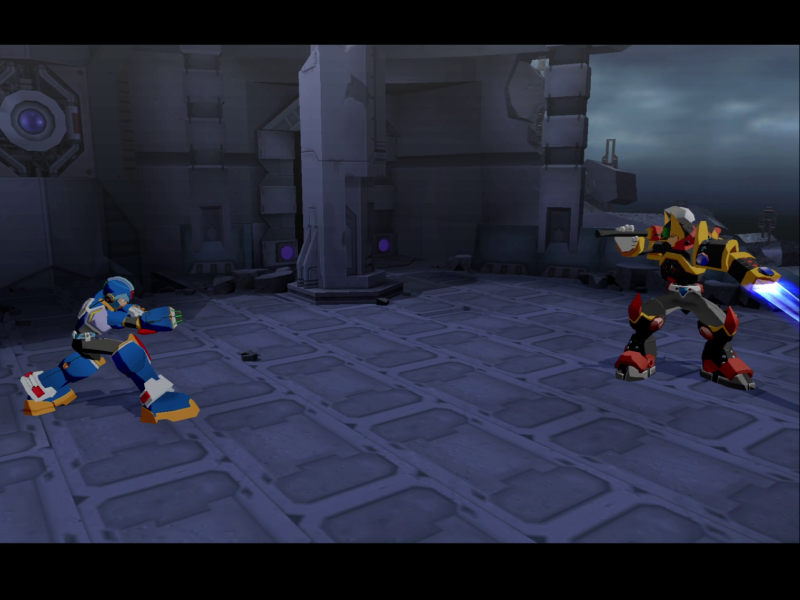
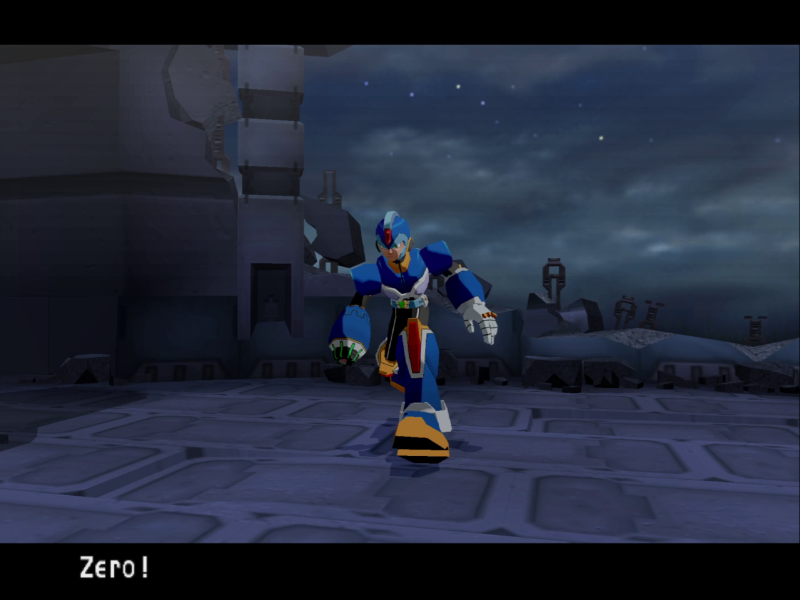
X and Shadow prepare to face off, but then...
Music: Stops

He aims down.
I like how everyone but X and Epsilon just completely vanishes from the scene for this.

X uses the explosion to jump clean off the tower!
 You won't get away!
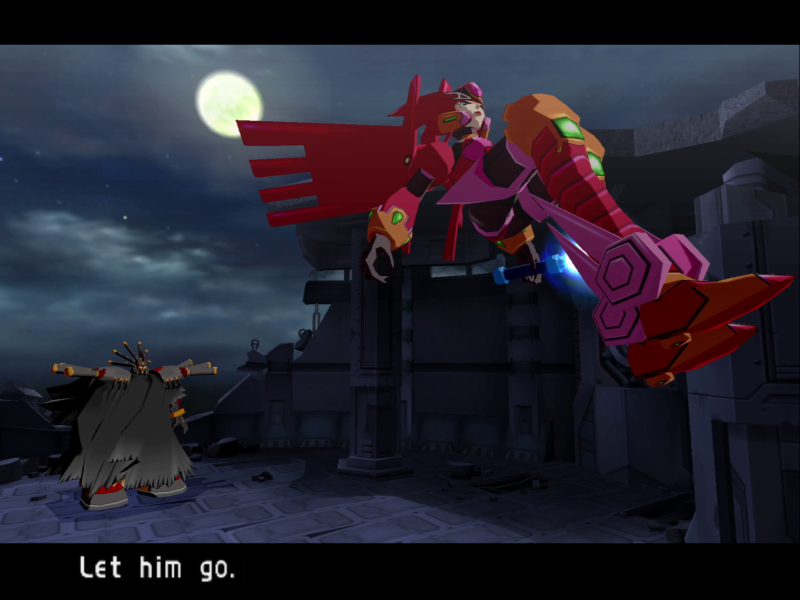 He will be back.
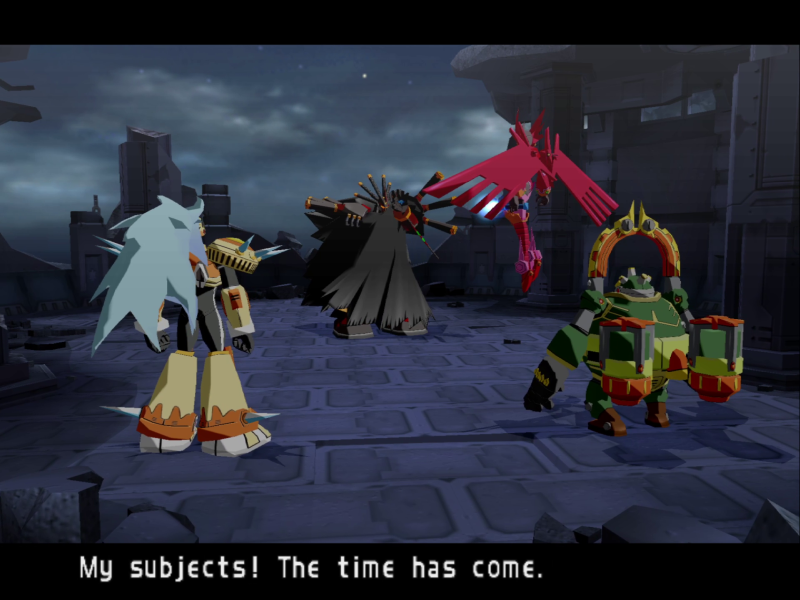
Where did Shadow go?
Little did everyone know, this was all just a massive marketing stunt for Epsilon's new optometry company...
Zenny Optical.

Next time: