Part 22: Update XXII - It was challenging, but I'm OK.
Update XXII - It was challenging, but I'm OK
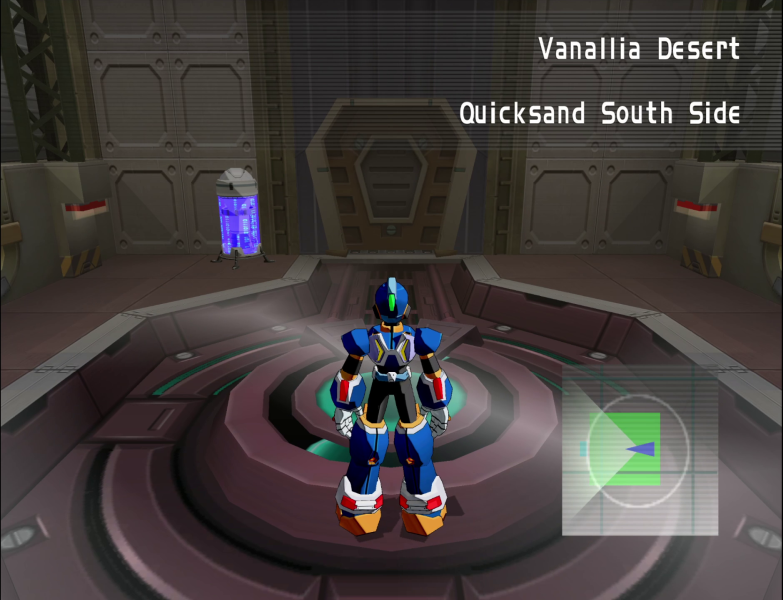
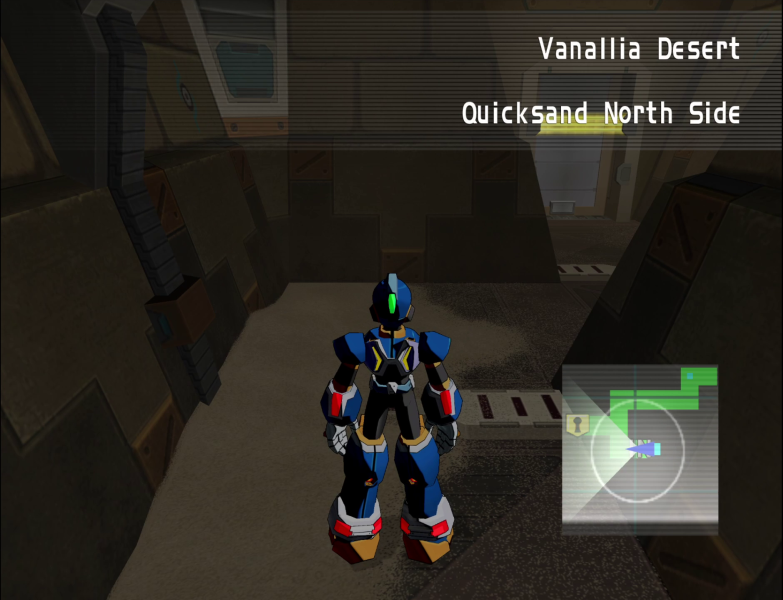
Despite the area name, we'll be seeing very little quicksand today.
 Visibility is terrible in this sandstorm. Lose your way, and you’ll be finished. Proceed carefully, X.
Music: Chapter Title

Music: Desert of Confusion
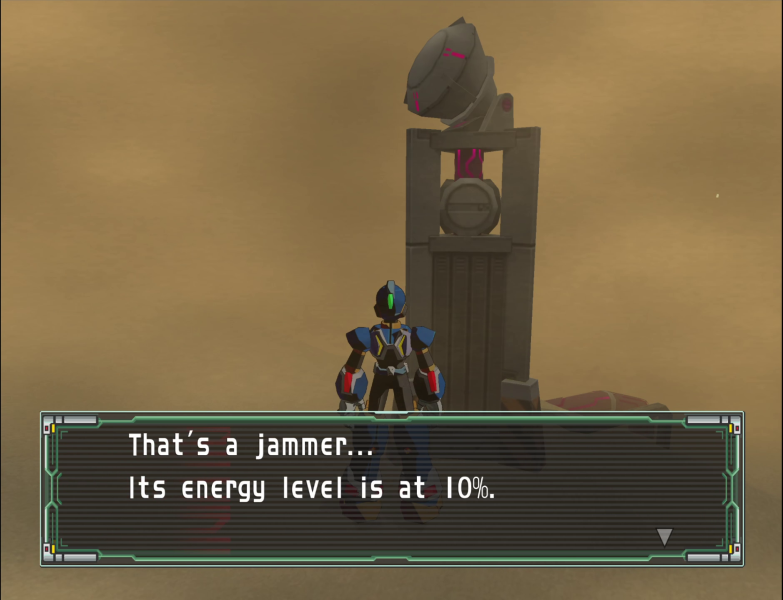
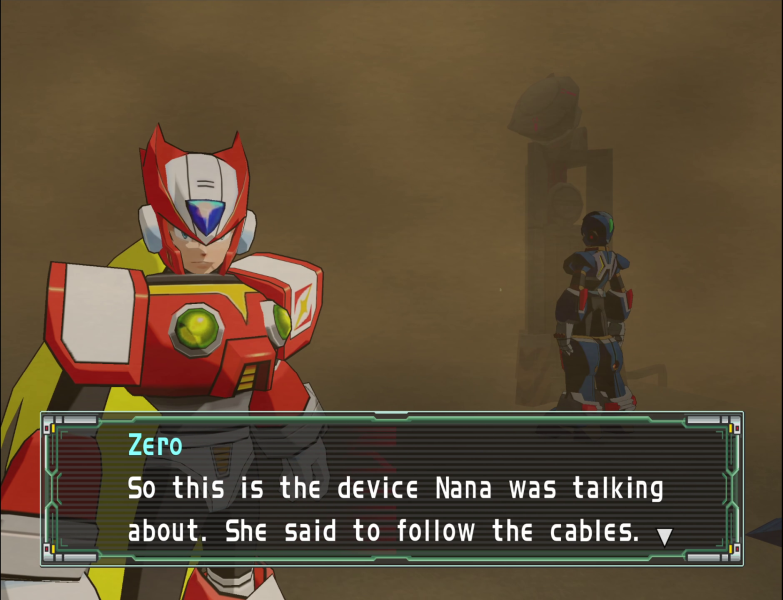
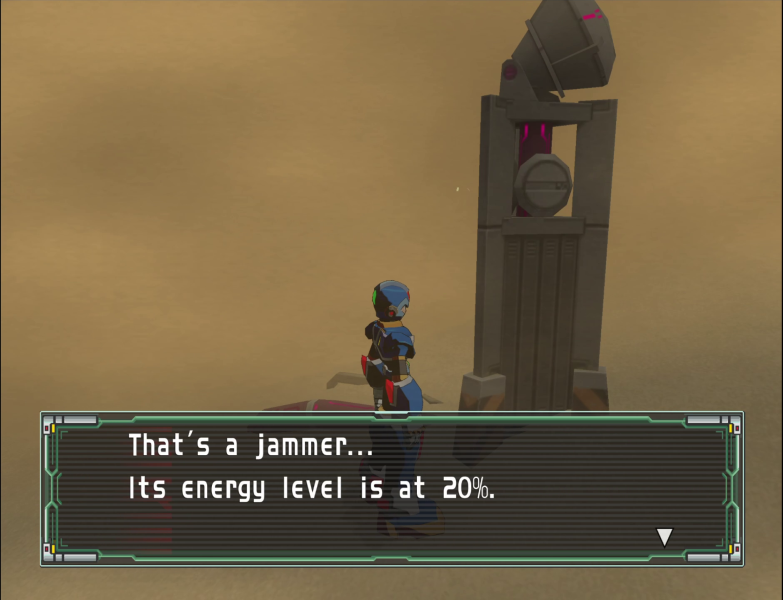
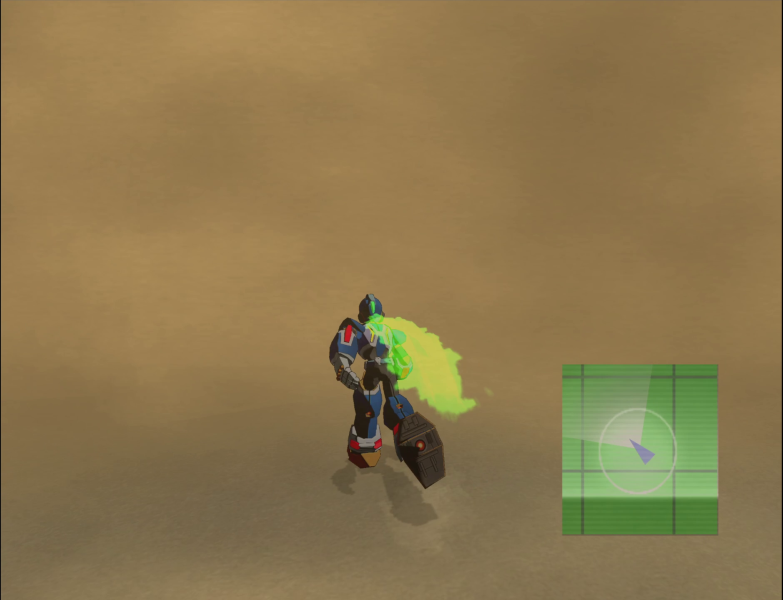
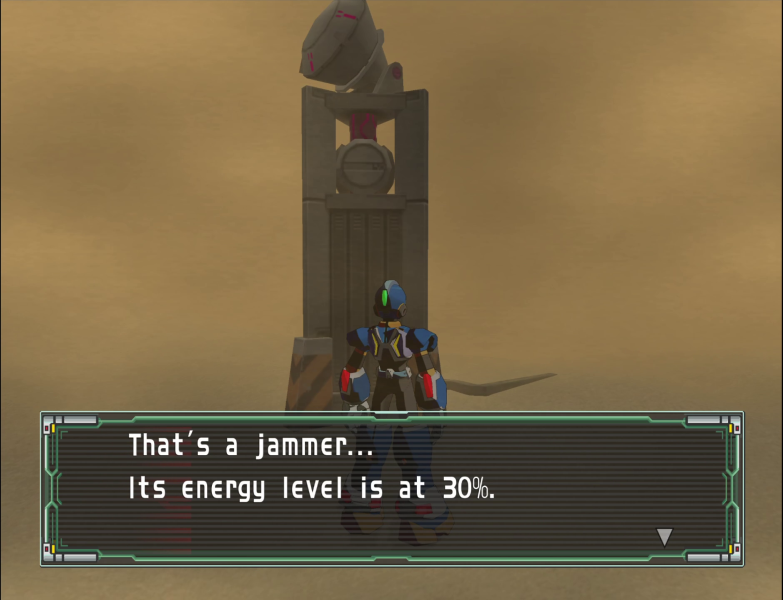
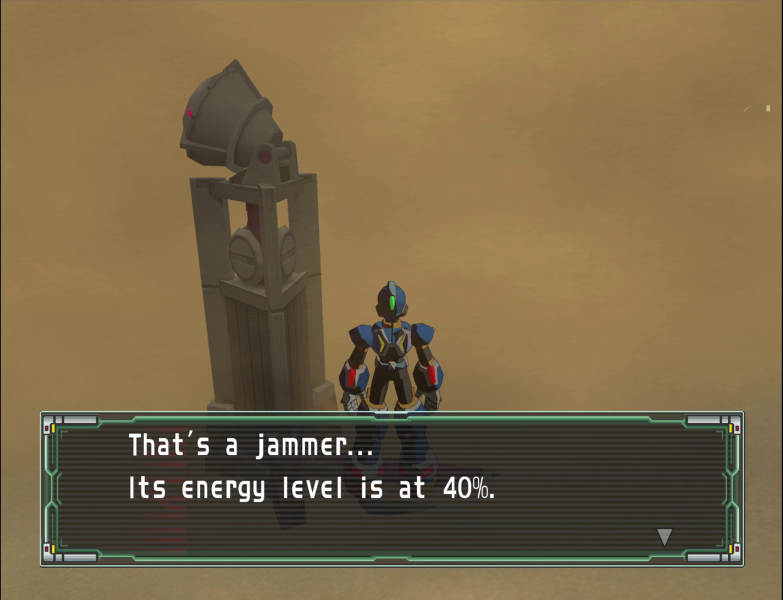
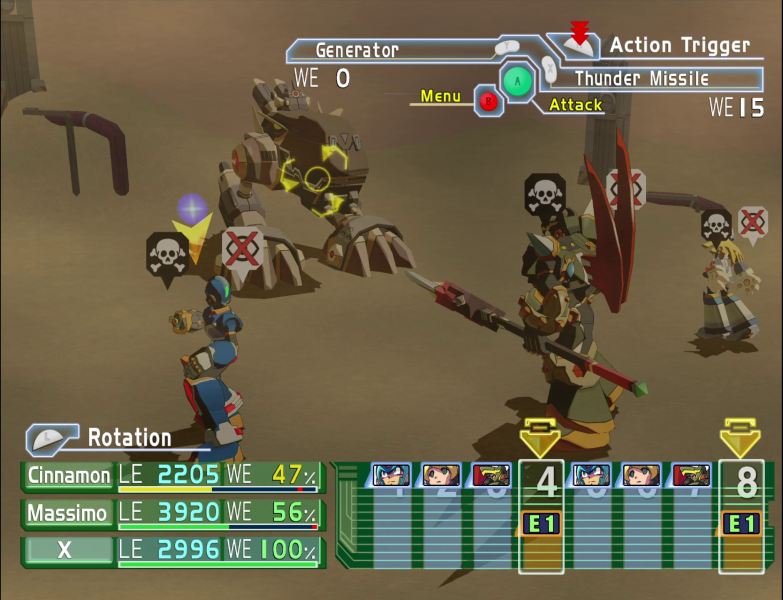
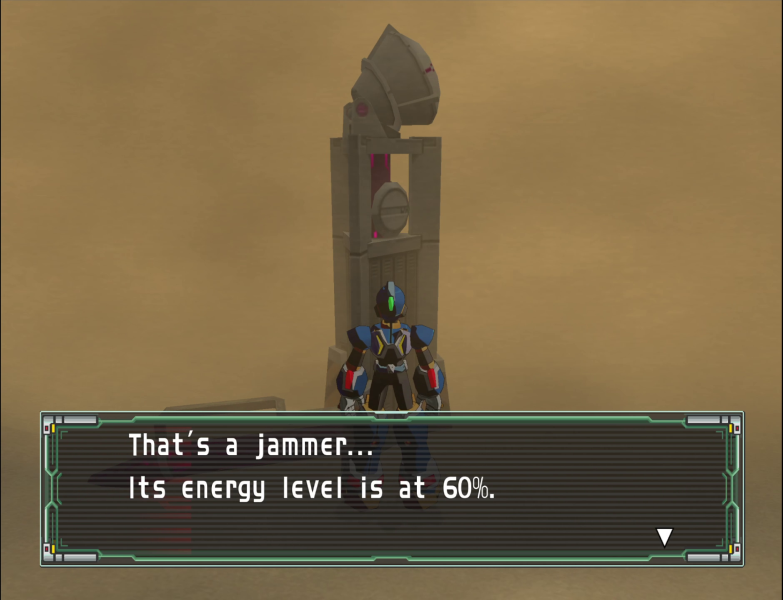
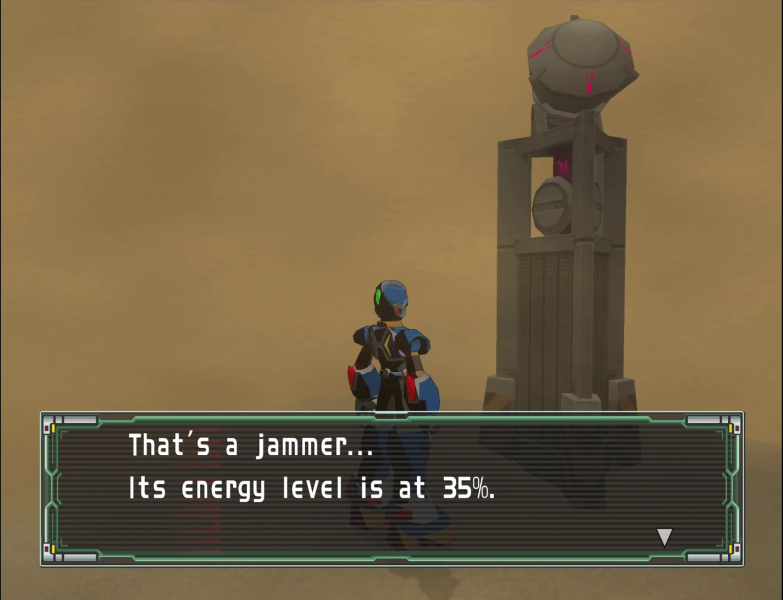
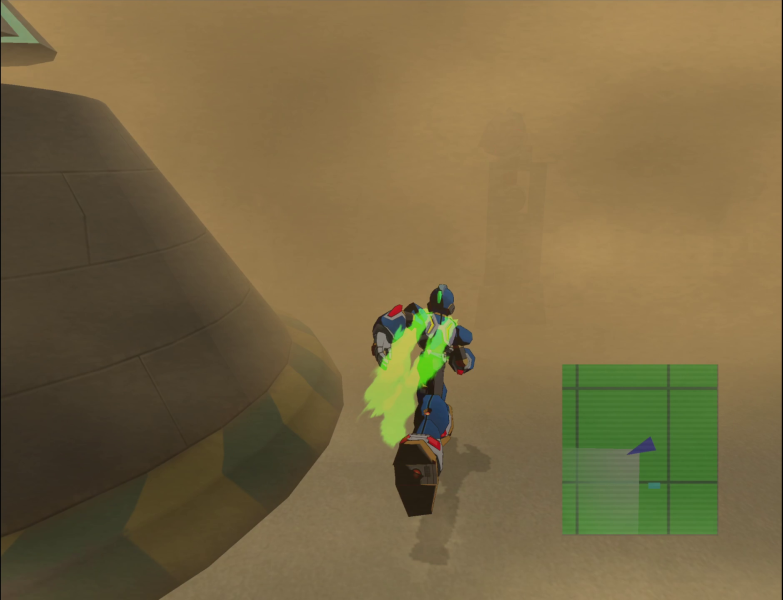
The first thing the dungeon throws at us are these towers. Each jammer has cables leading to the next one, which has cables leading to the next. We have to use them to find our way to the jammer with 100% energy.
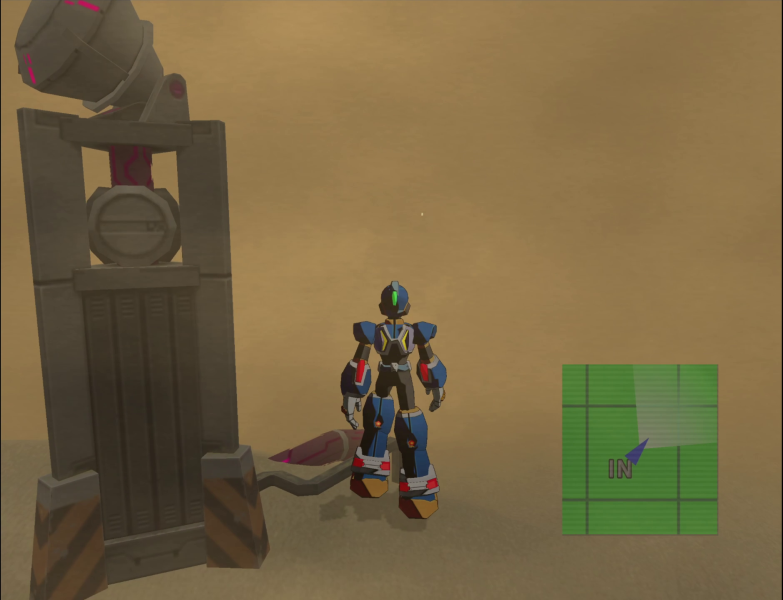
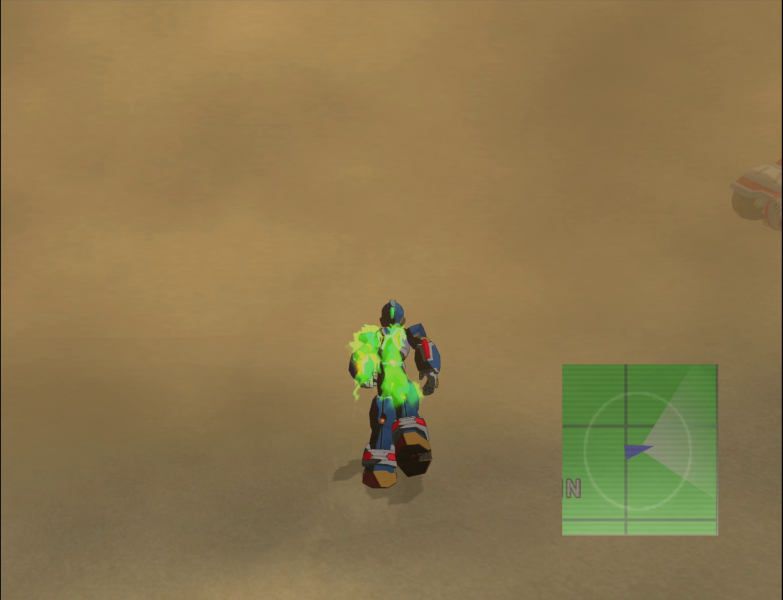
You also can't see anything 10 feet away from X, plus the map is useless here, so pray to god you don't drift off from the cable's line and start running in a random direction.
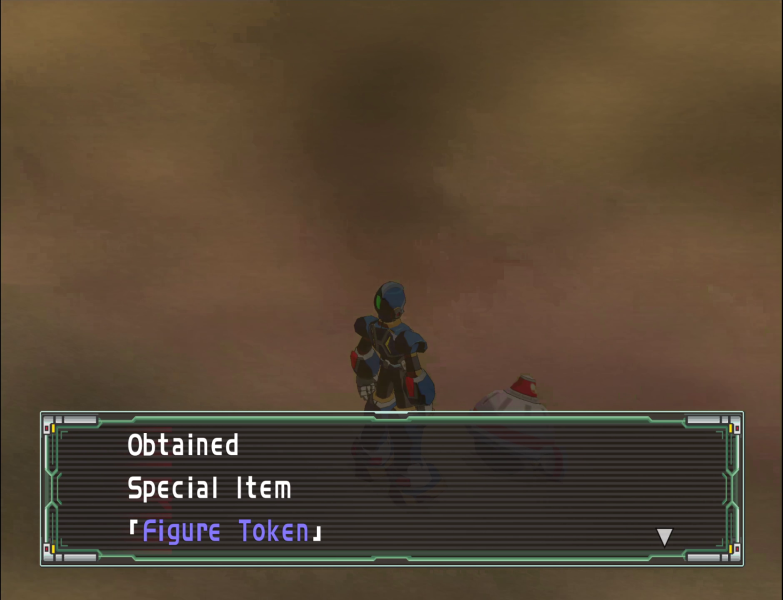
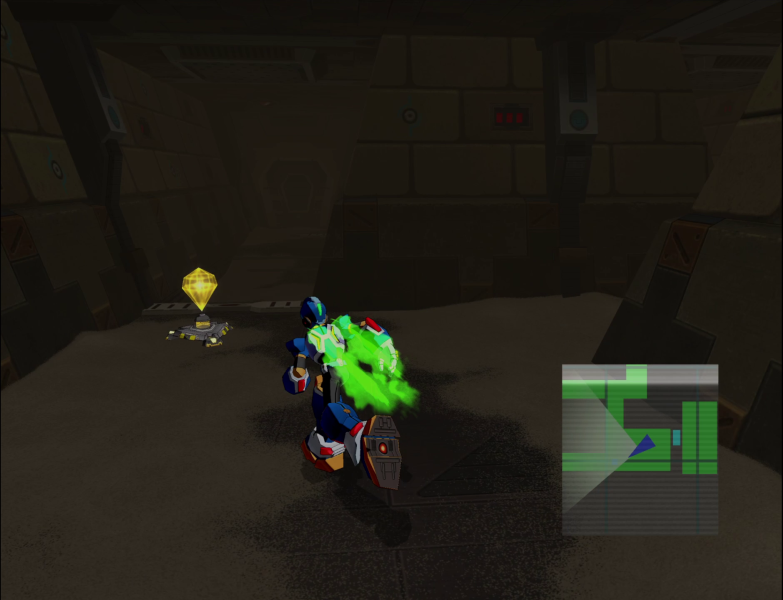
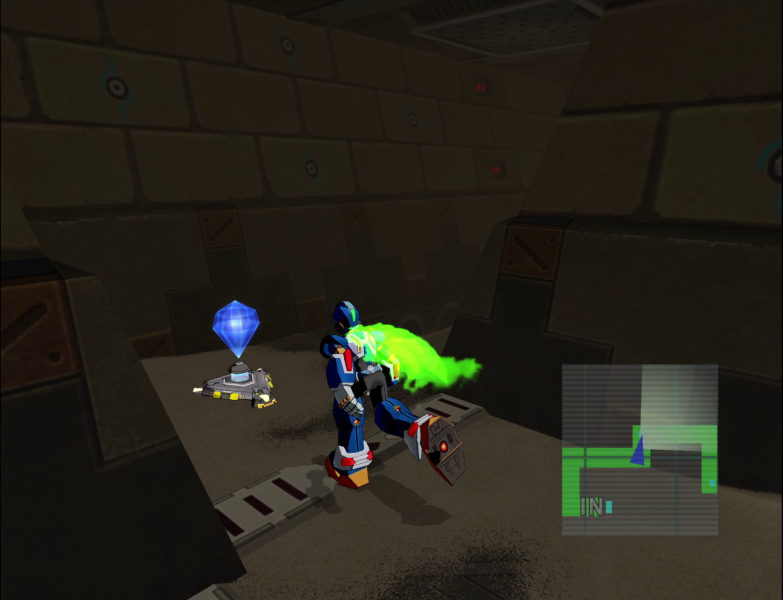
Oh hey, a Mettaurcure!
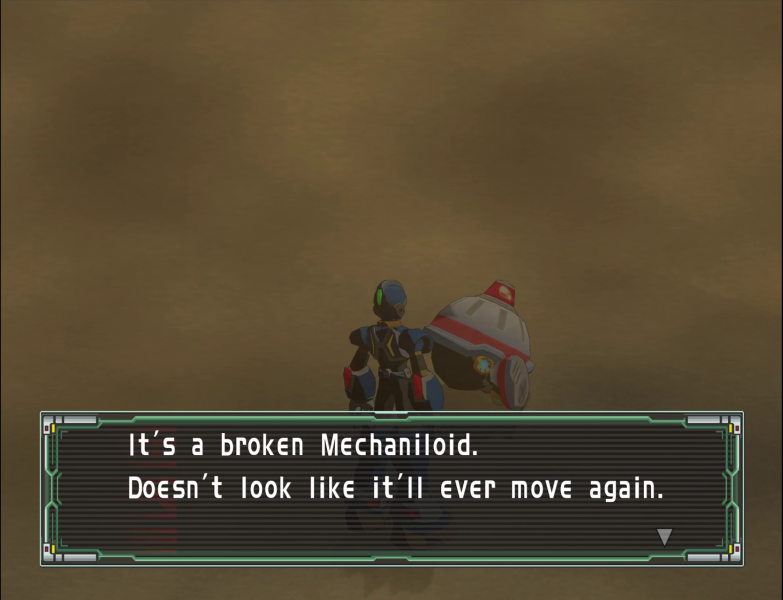
Haha, psych, it isn't actually a Deployment bot.
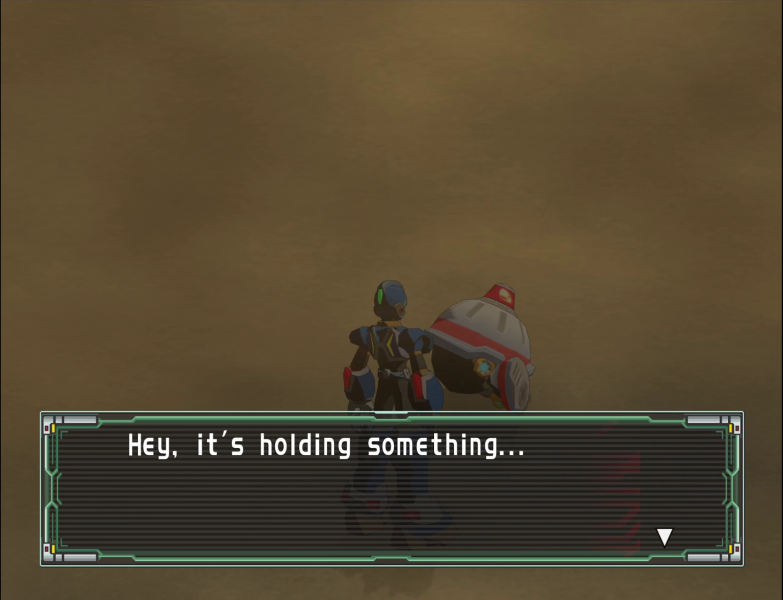
 Obtained Special Item 「Figure Token」
Instead, for this one single area in the entire game, they use Mettaurs instead of item crystals. My guess is that a crystal's light wouldn't play nice with the blinding sand and let you beeline right to them. They also stay on the field after getting their item, making it easy to hit up the same bot multiple times if you get lost.
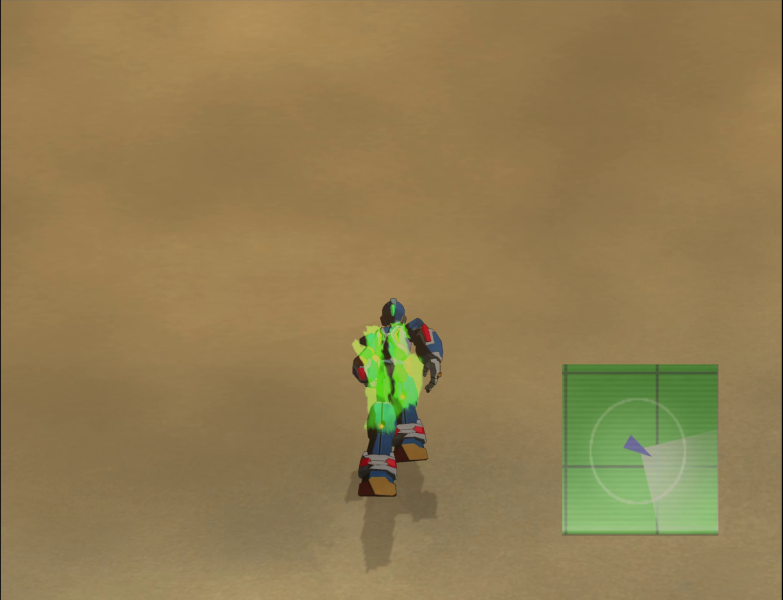
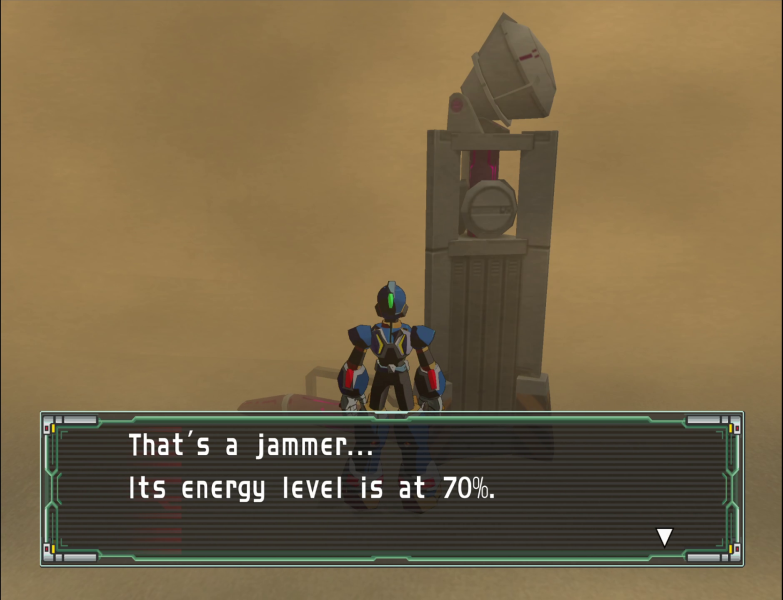
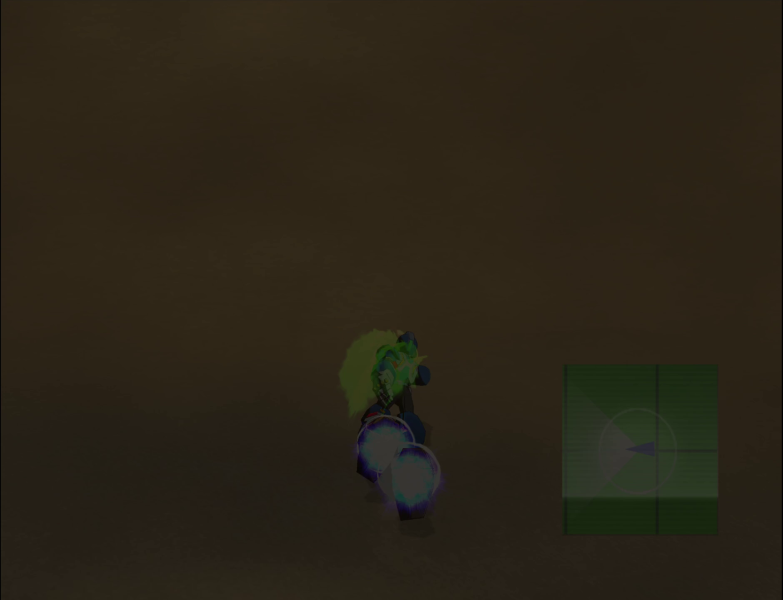
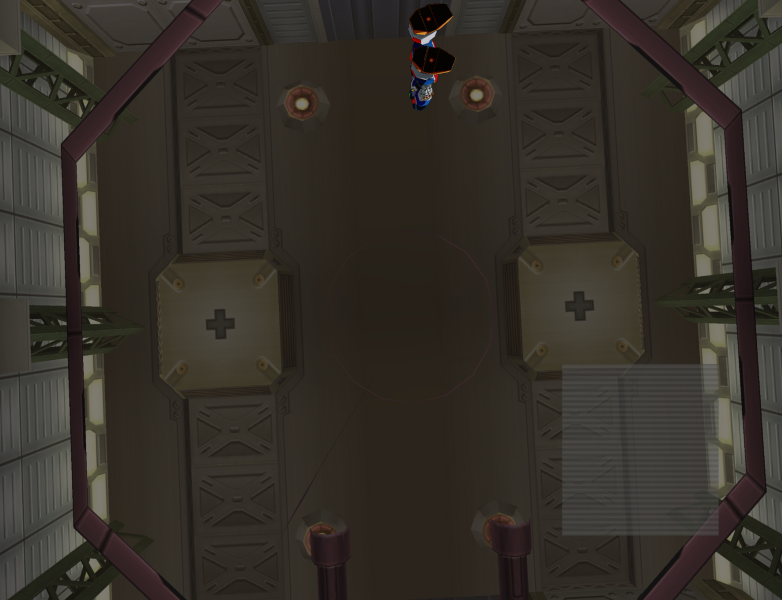
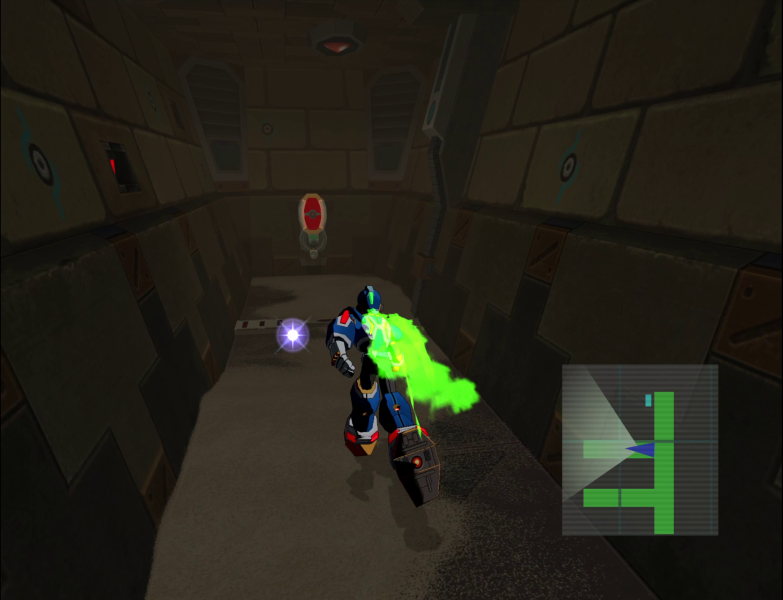
I hope you all enjoy not seeing anything.
Can you tell how far I am from the last tower? Can you tell how close I am to the next? What a coincidence, neither can I!

And getting lost means more time to rack up random encounters.
Music: Irregular Battle II
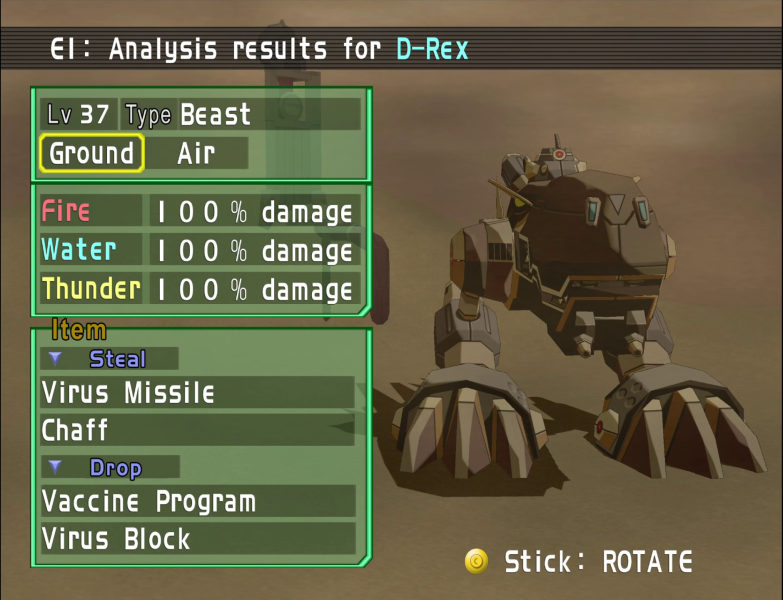
We're now starting to get into the RPG staple of upgraded palette swaps. The D-Rex here is an upgraded D-Shark from Tianna, swapping out Mega Blizzard for Ultra Giga Fire, holding on to Mini Shark (now renamed to Mini Rex), and, most infuriatingly...
Gaining Heterostorm, which inflicts both Blind and Virus to the entire party. The D-Rex will always open a fight with either this or Mini Rex just to be a jerk.
On the plus side, the Chaff in their steal list inflicts Blind on all enemies, while the Virus Block is an upgraded Virus Protection FM, giving full immunity to Virus.
Now, you could take the time to constantly throw out status healing items every time one of these guys drops in...
Or you could be a stingy bastard and use Hyper Mode to clear status effects.
Music: Desert of Confusion
Oh hey the fight's over. Hope you didn't forget the line you needed between then and now!
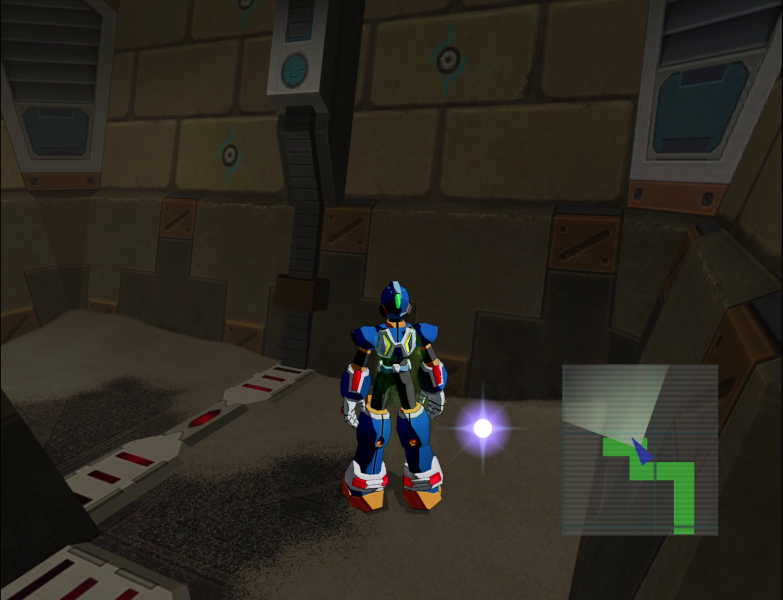
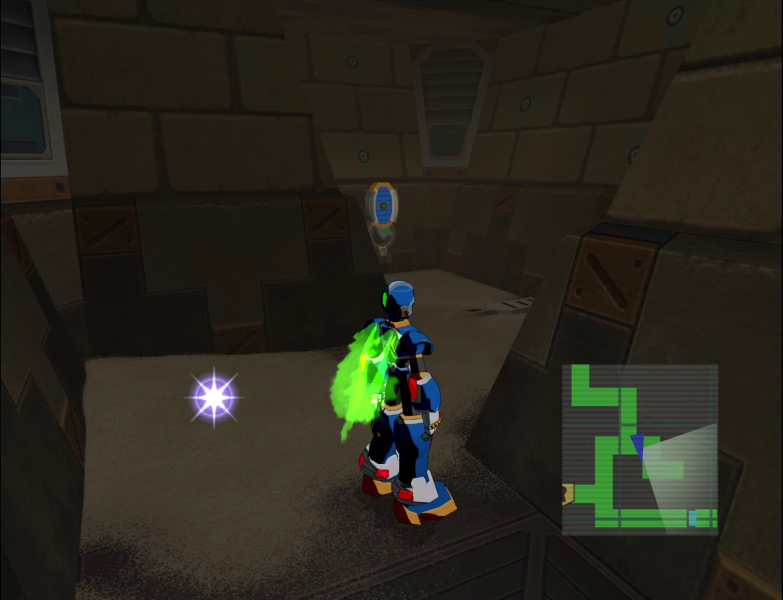
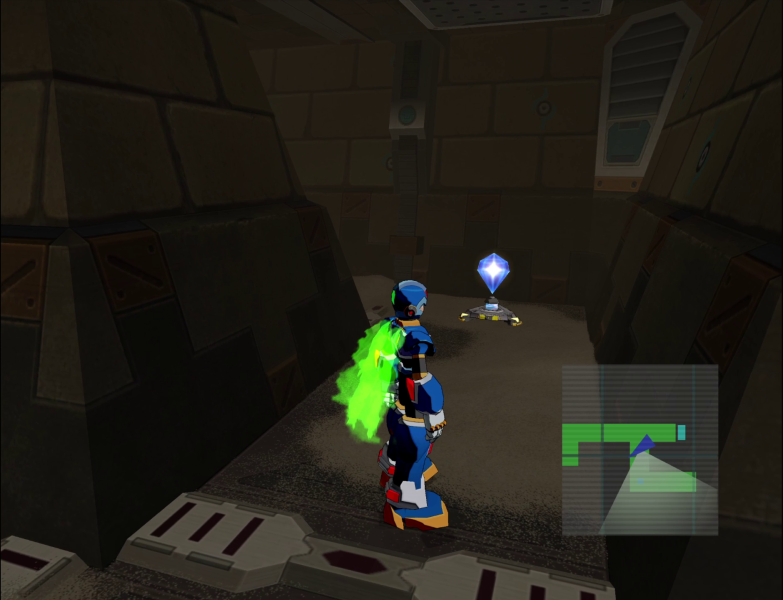
There's a glowy thing off in the distance.
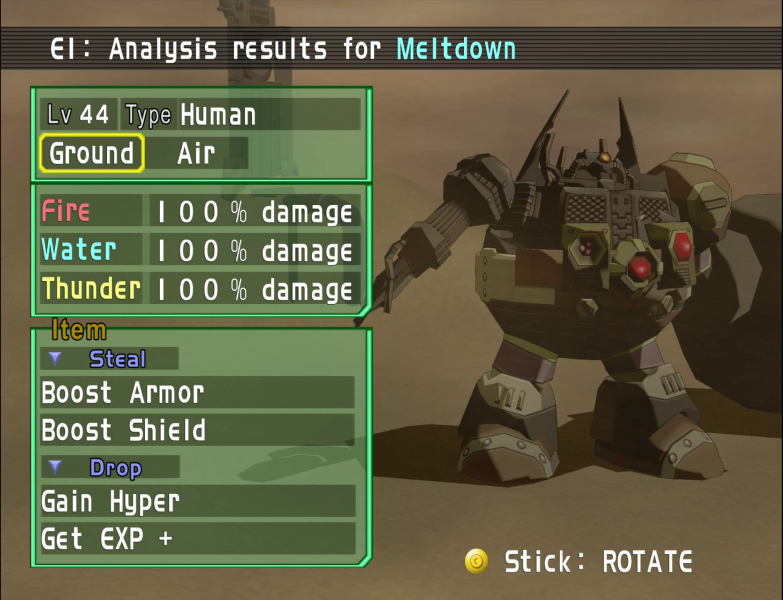
On the way over to it, we find a Meltdown. Meltdowns are simple enemies, every turn they move closer and closer to you. On their fourth turn, they use Atomic Fall to deal 9999 defense-ignoring damage to the entire party.
And with 26,000 LE (2K shy of Mach Jentra), a casual player will be hardpressed to burst it down, but between Ultimate Armor X and Massimo, they aren't a threat to me.
To compensate for this, a Meltdown has a whopping 6,000 EXP payout if you can kill it, but it gets cut in half for every turn you let it take.
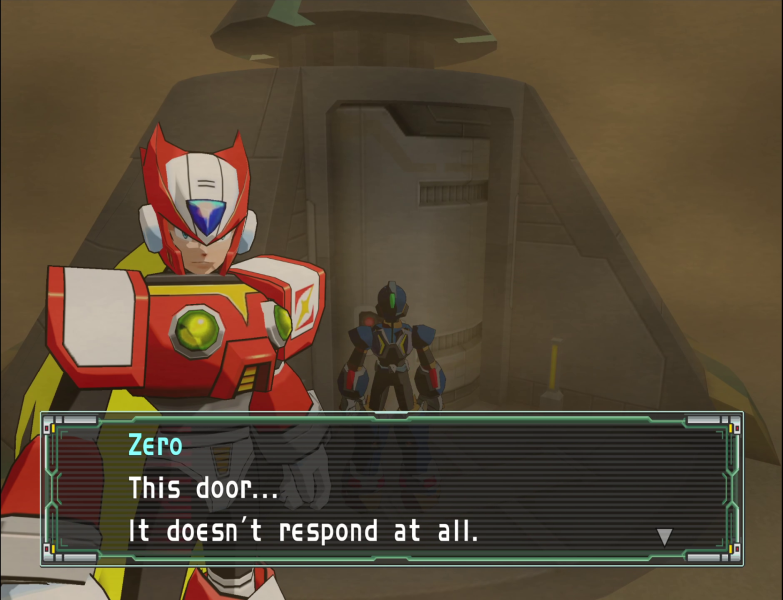
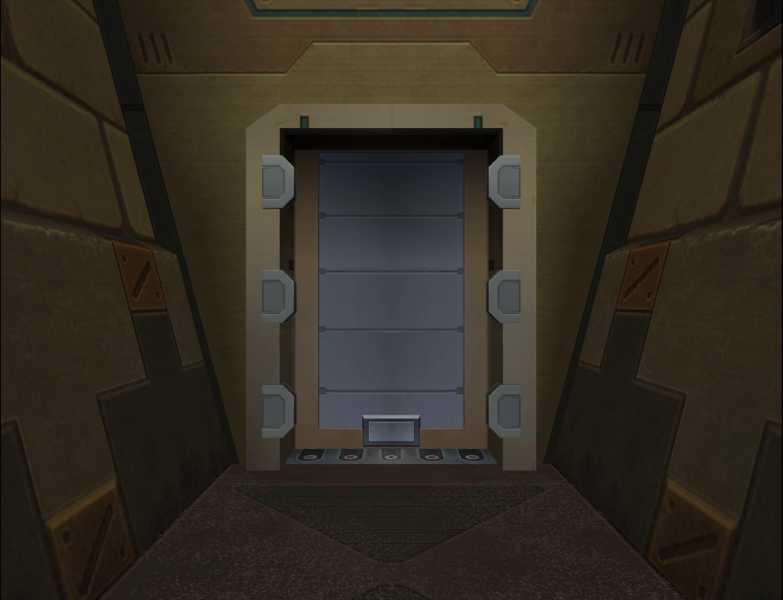
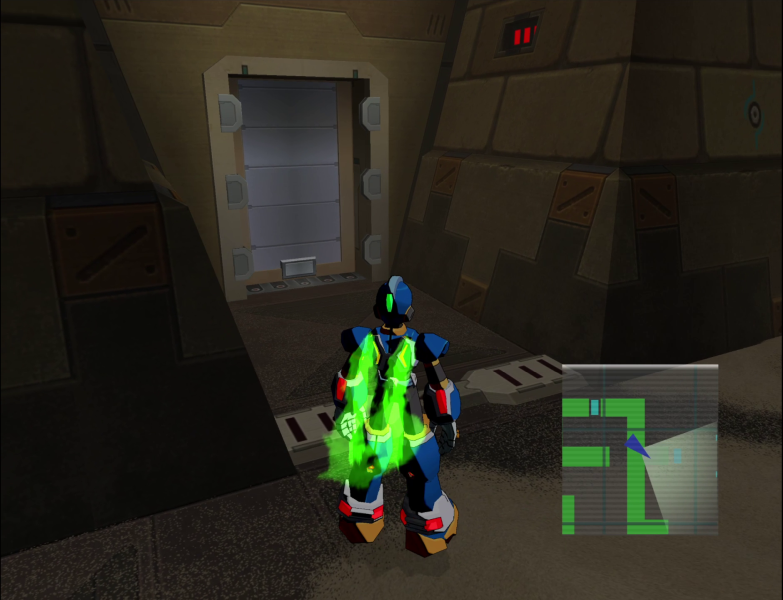
The glowy thing turns out to be a broken door!
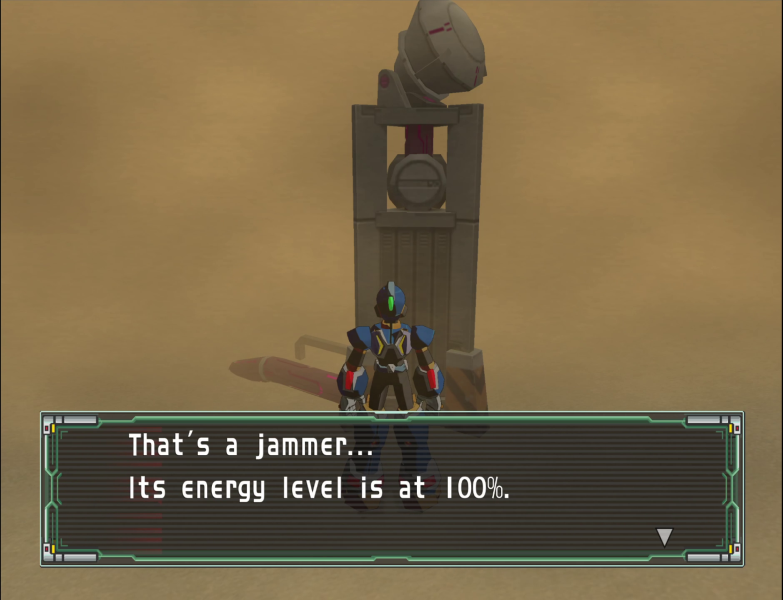
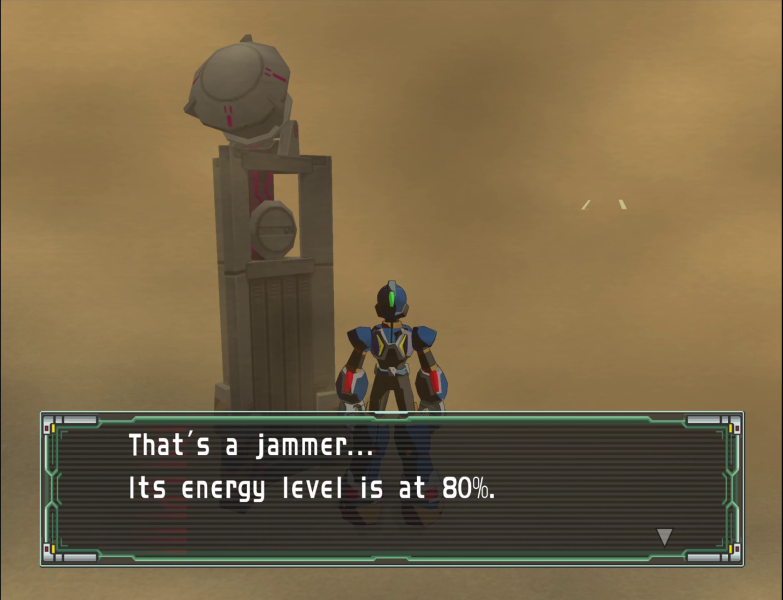
And right next to it is the 100% jammer.
If you look carefully, you could see the light even from the 10% jammer, meaning all this following cables was completely useless. Just aim at the light and walk towards that, and you'll be at the 100% jammer in record time.
Of course, there's still the small issue of finding the trigger for the next cutscene, and I got lost trying to find it.
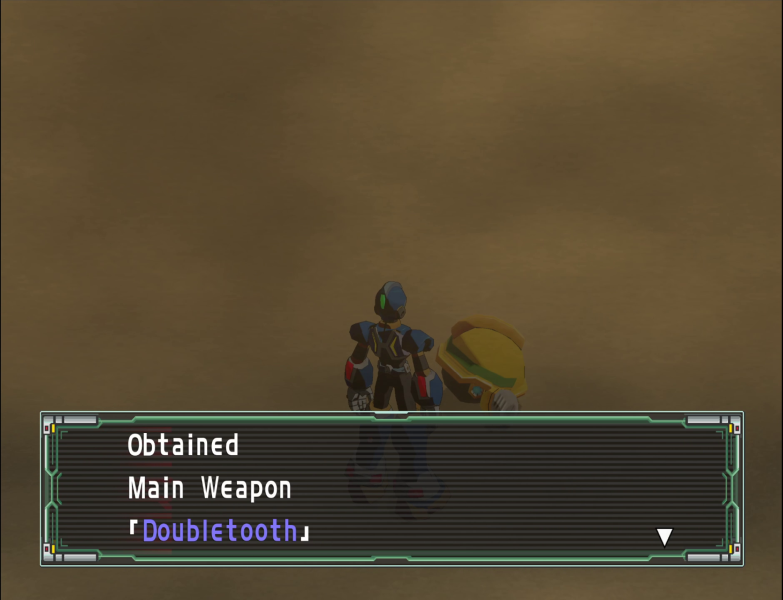
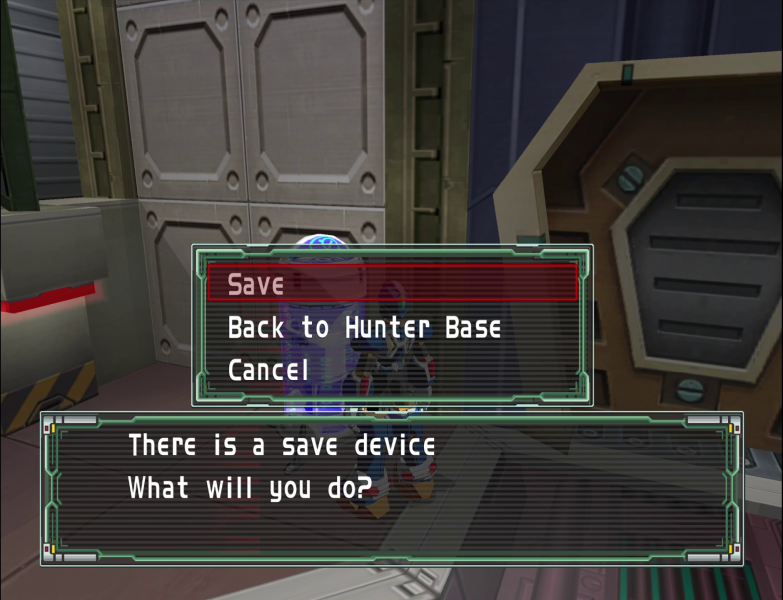
Found this saber for Zero, though.
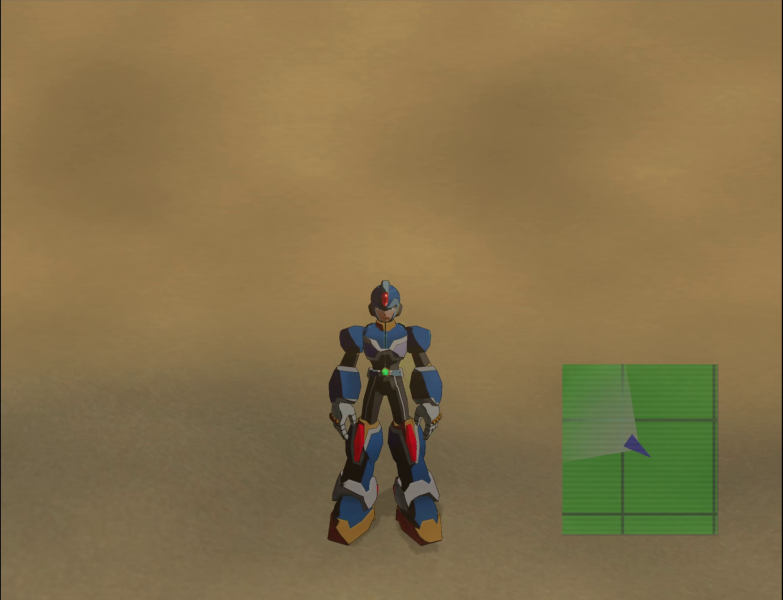
Can you tell where I am? That's right! By an invisible wall!
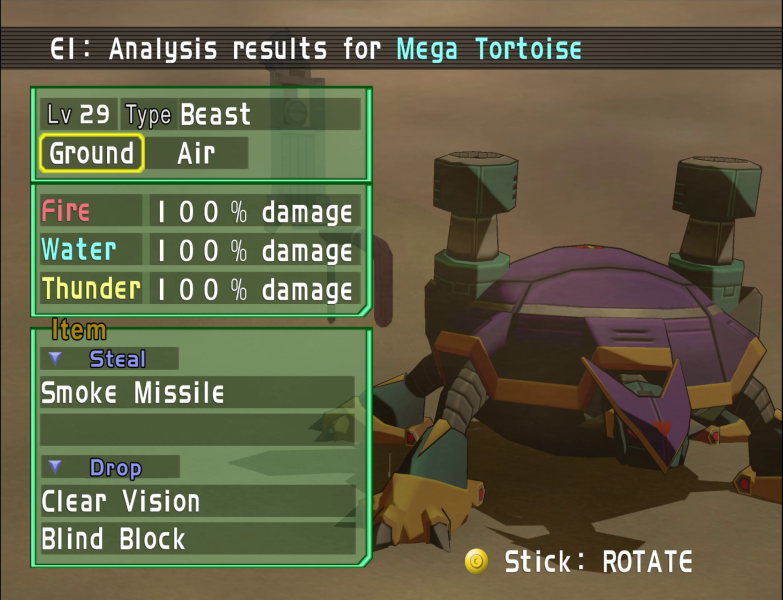
While wandering, I ran into a Mega Tortoise. An upgraded Mega Mantor, the Tortoise trades out Mega Fire for Mega Blizzard, and Flame Ray for Phalanx to deal physical damage to the entire party.
The Tortoise also picked up Jamming to inflict Blind on the party, and will always open with it just to drag out the fight.
Items in Command Mission have a limit of 9. Blind (and Virus) persists after battle, and the only things that cure them are Clear Vision/Vaccine Program, Cure One, and Cure All. Between the Tortoise and the D-Rex, it is very easy to end up burning through your item stock if you don't exploit Hyper Mode's immunity.
On the plus side, the Blind Block it holds is a counterpart to the D-Rex's Virus Block, so I guess if you want you could grind a bunch out and dedicate 2 slots on everyone just to deal with these two enemies.
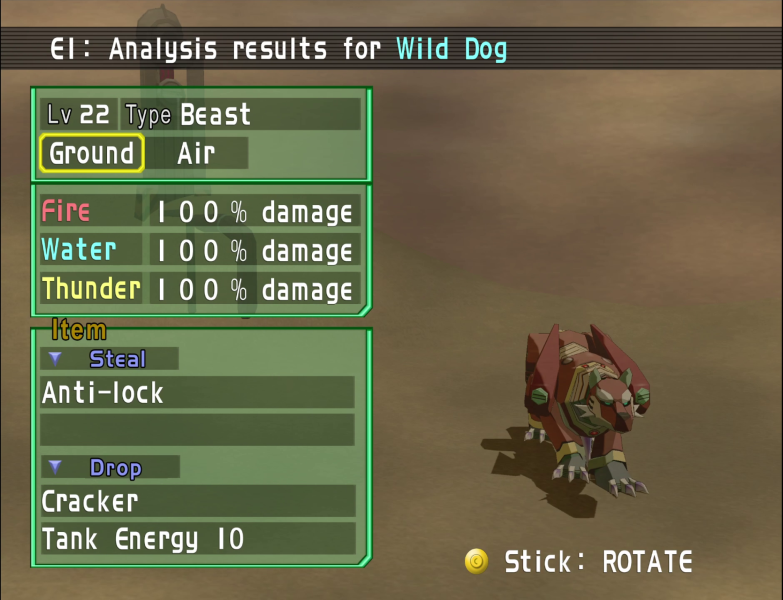
As a break from upgraded enemies, we have something new in the Wild Dog.
They're rude as hell and use Riot and Lunatic (single target Berserk) when under half LE, tend to come in packs of 4, and are fairly fragile. That's all they have.
To give an idea of how lost I got, the recording for this dungeon is a touch over an hour. I spent 20 minutes in this one zone alone.
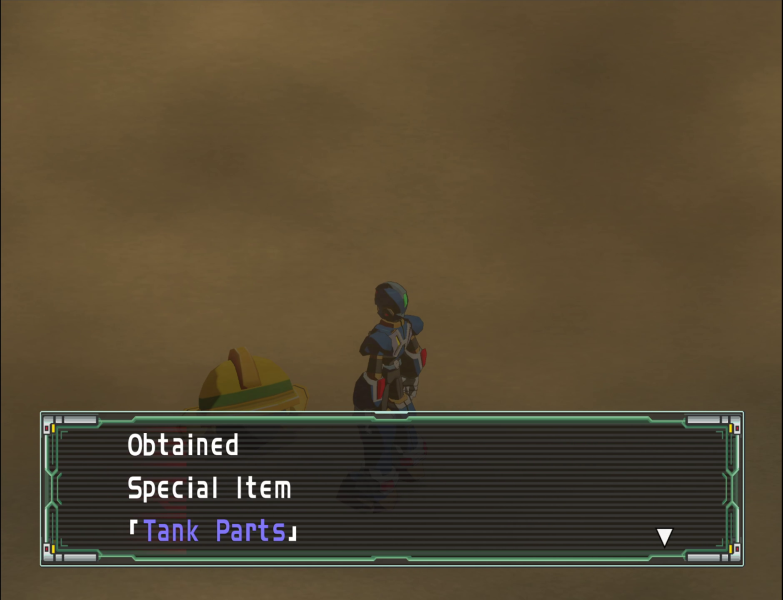
Found the Tank Parts, at least.
It was at this point I gave up and googled a map.
Turns out, the trigger was due west of the door, slightly off from the 100% jammer's cables.
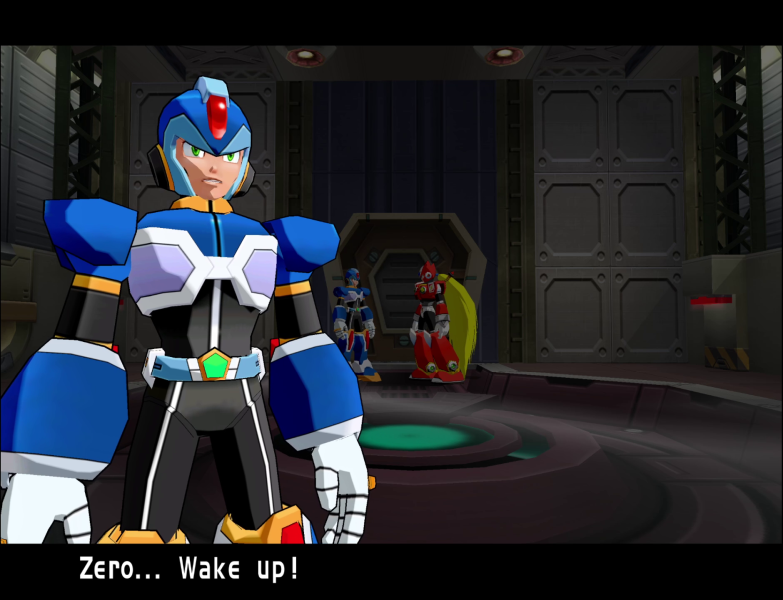
Video: Ferham
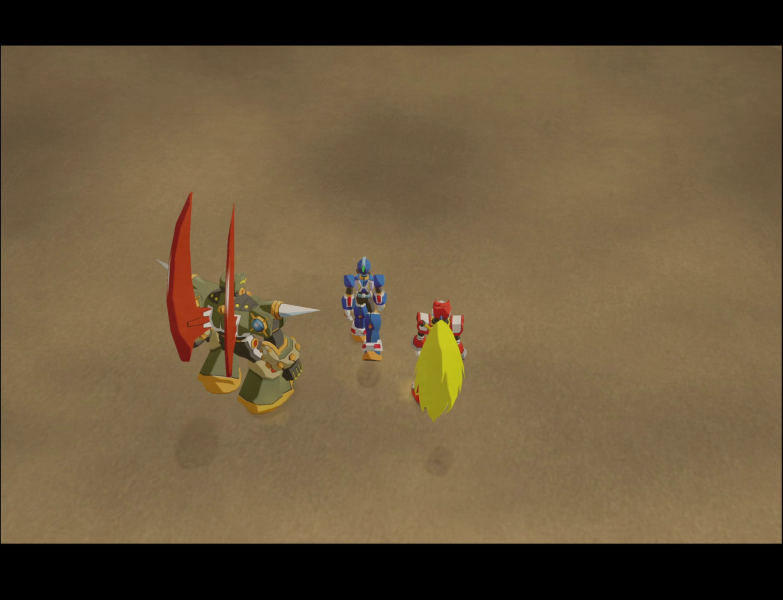

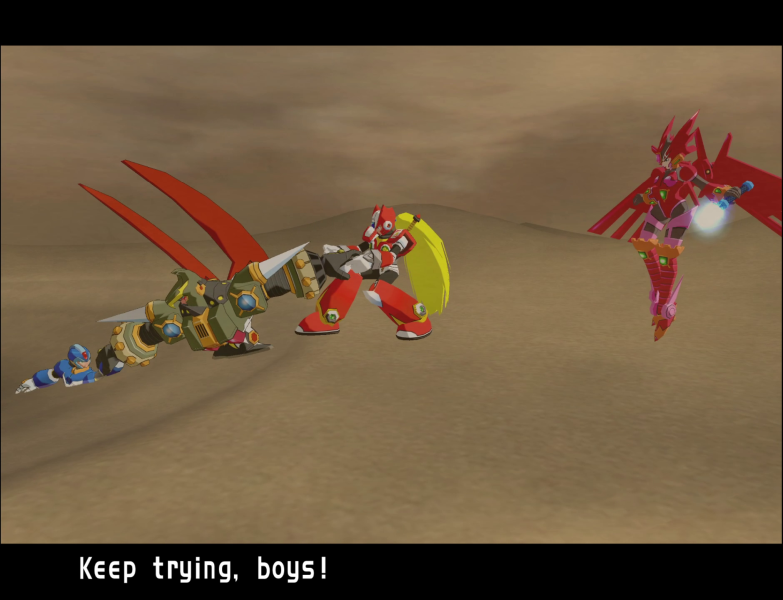
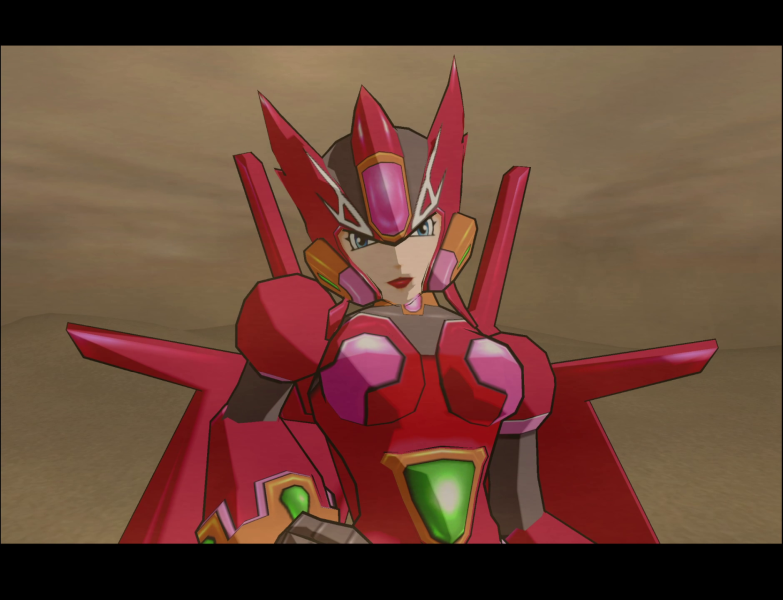
The winged lady from Epsilon's elite guard finally enters the stage.
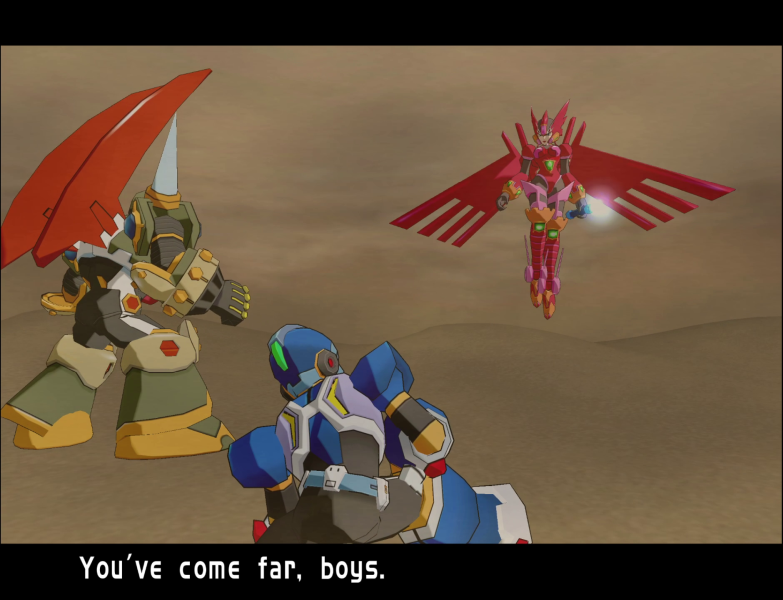
 But I, Ferham, am here to make sure... you don’t make it a step further!
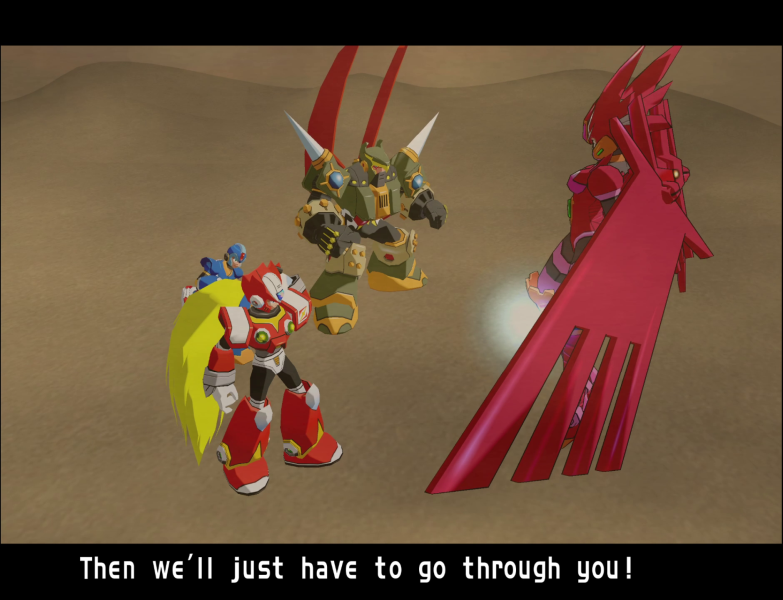 Oh, you're a brave one! I like that. But...
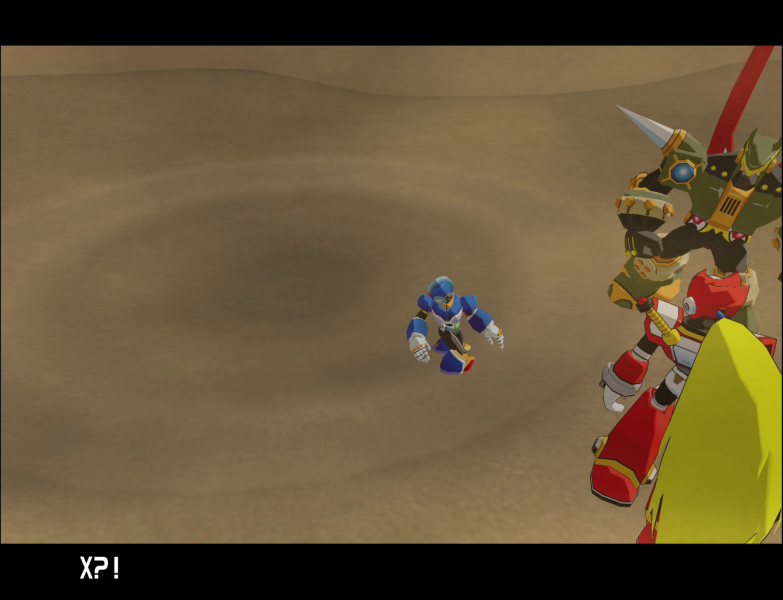
This right here is the sole quicksand pit in the entire desert. X's luck is just awful.
 Massimo! X!
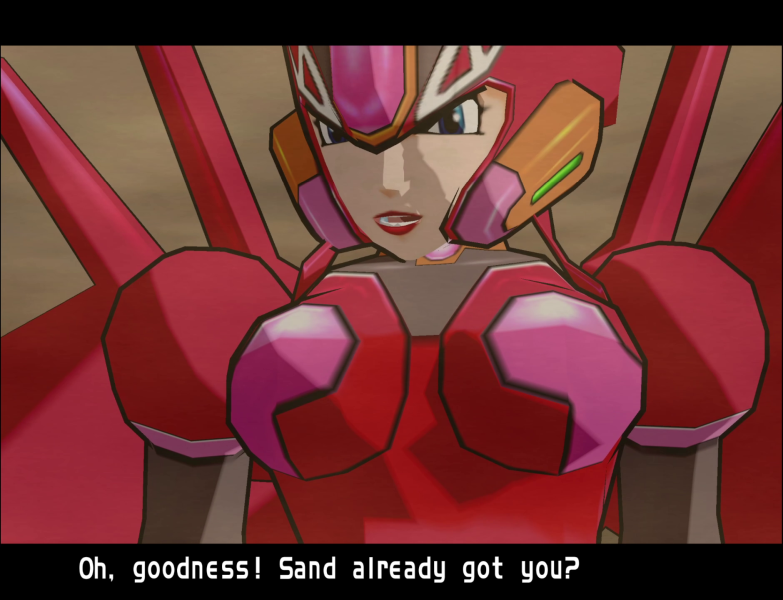
 But it’s no use, I’m afraid!
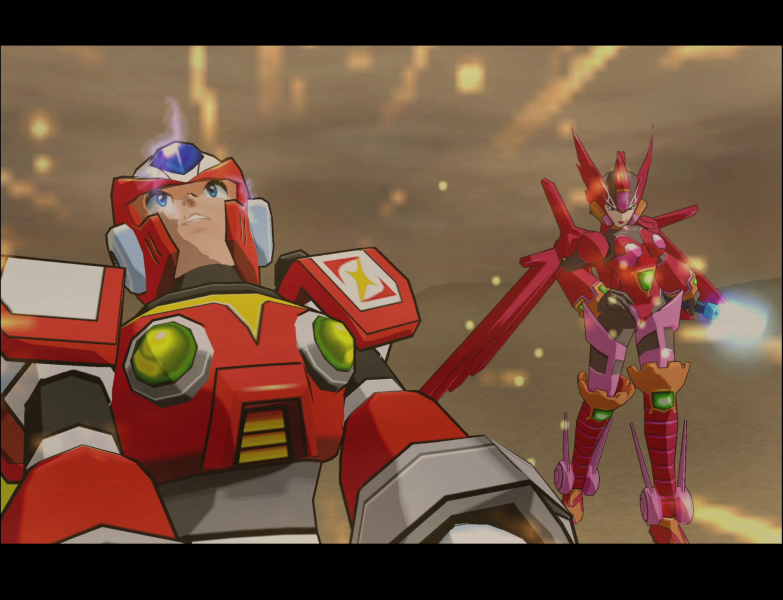
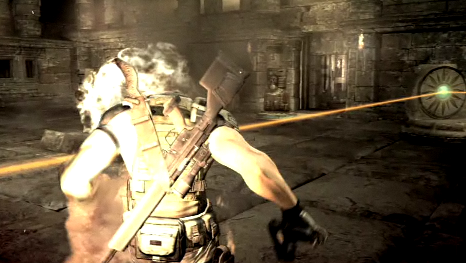
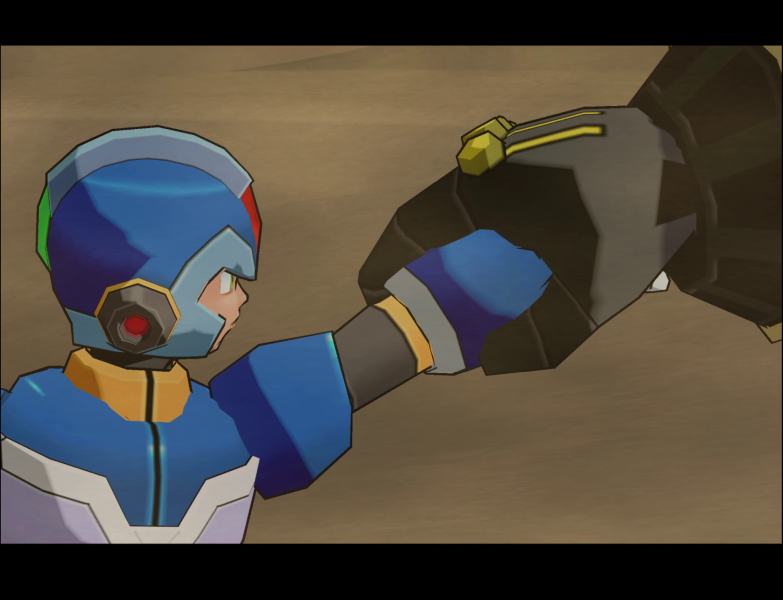
Ferham starts whipping the now-defenseless Zero.
What's wrong, kid?
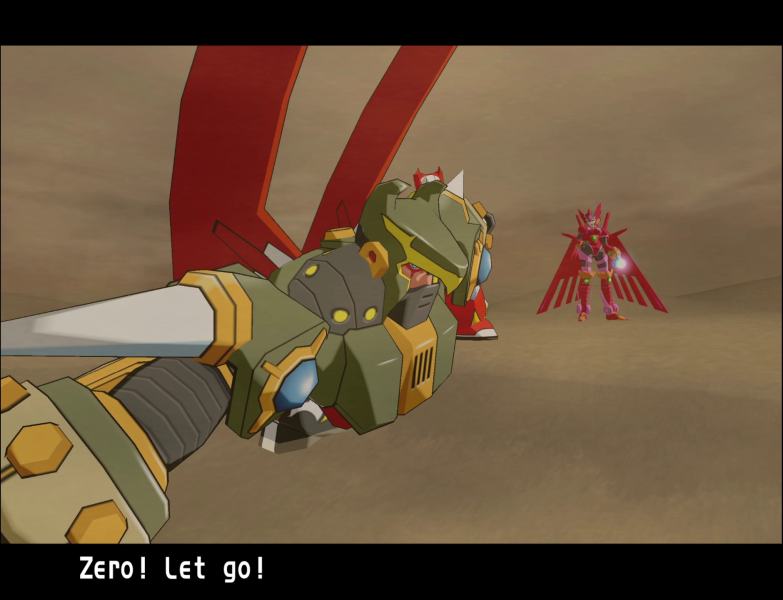
Zero got hit so hard he stopped rendering for a moment there.
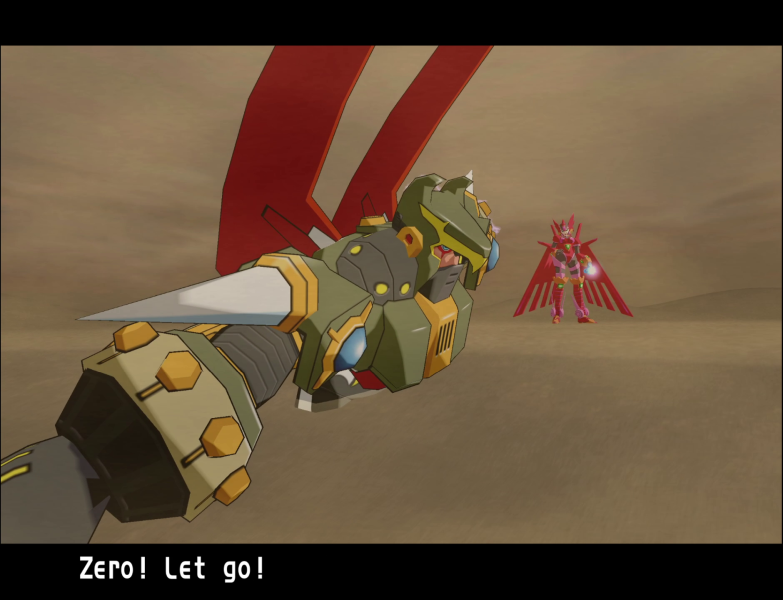
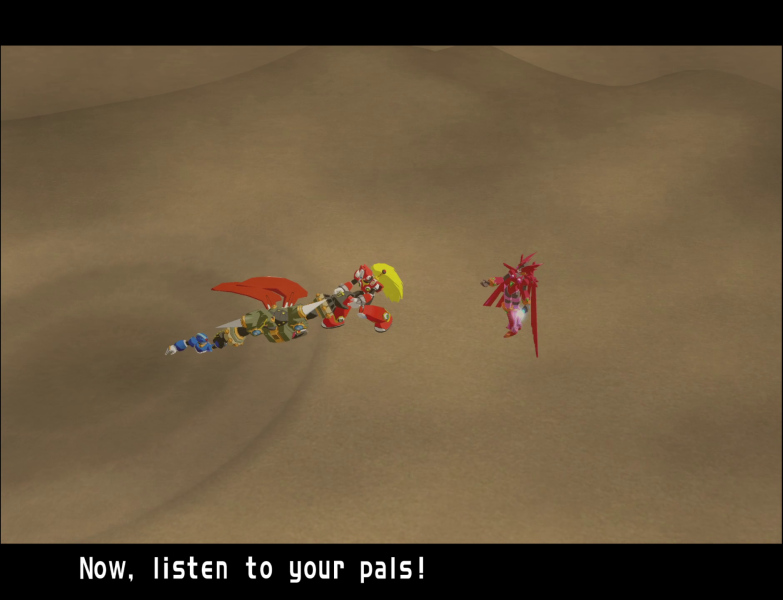
 Save yourself!
 Do it, Zero! Defeat her, even if you have to do it alone!
Did you not see the wings? Zero got his ass handed to him by Jentra, Ferham is way out of his league.
 Forget about them, and come over and see me! C'mon, Zero. I know you want to beat me!
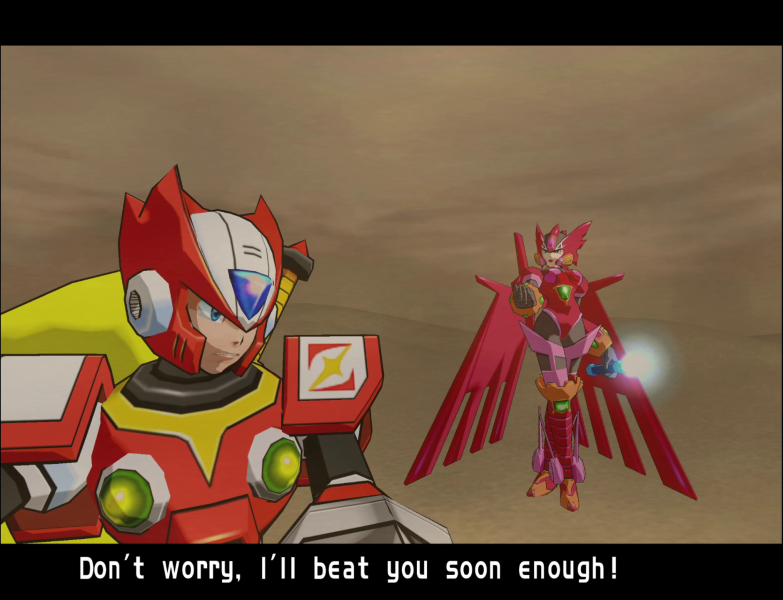 As soon as I save them!
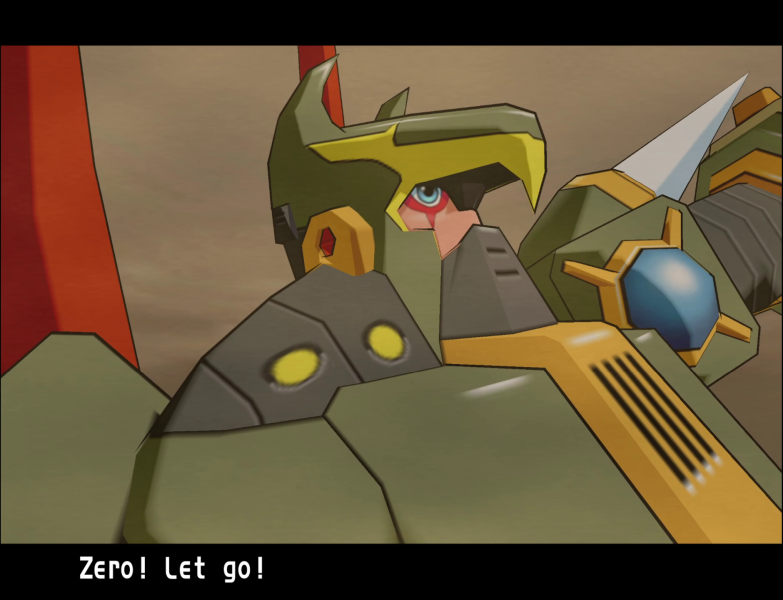 Shut up! I won't stand by and watch another friend go down!
 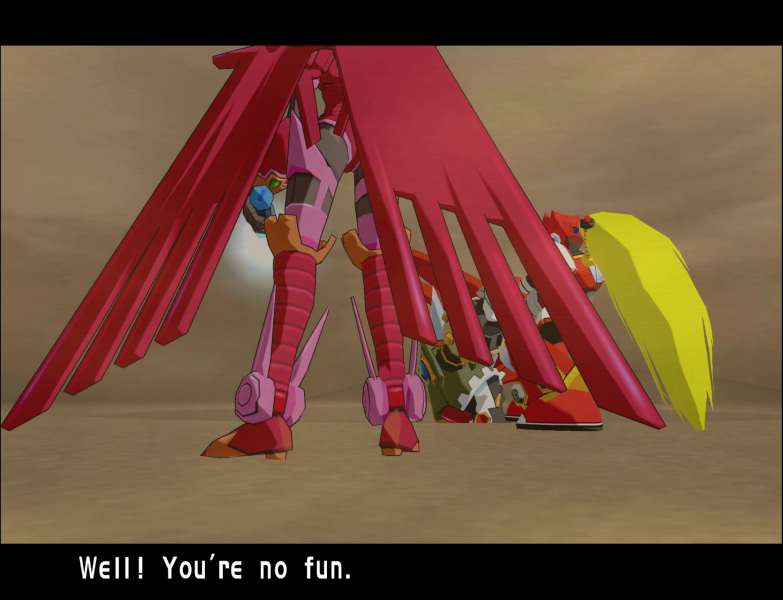 I guess it’s goodbye. This is the end.
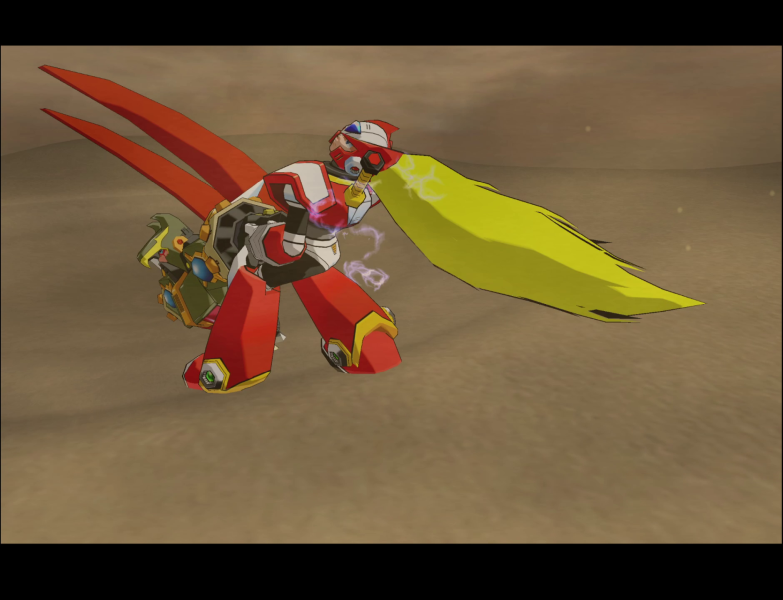
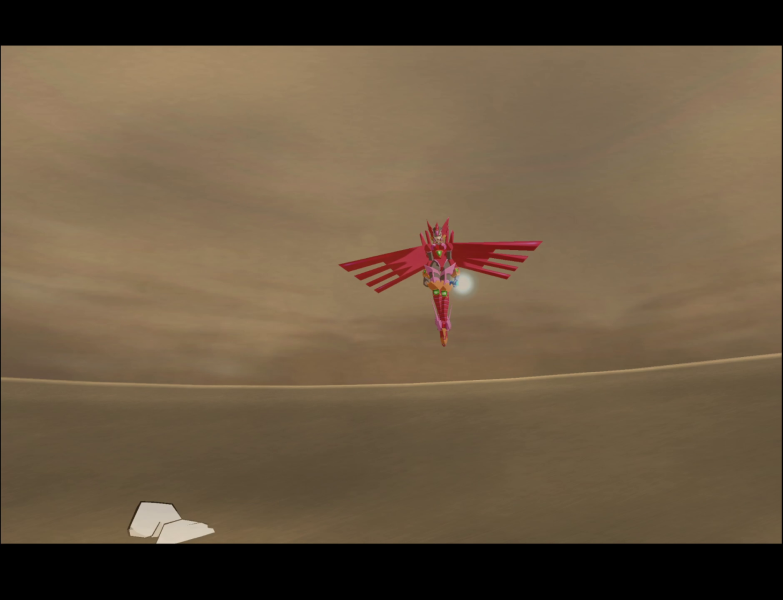
One last whip makes Zero lose his footing and slip into the quicksand.
Ferham just watches it play out.
Sooooo, Reploids clearly don't have actual lungs, considering all the underwater stages in the series, so is the party just going to be trapped down there forever until they run out of power?

In an unexpected twist, the party is killed, letting Epsilon and the Rebellion finish off the Resistance unopposed and create a true Reploid nation. My name is BisbyWorl, and this has been Let's Play Mega Man X: Command Mission.
Music: Mystery of the Force Metal
Nah, I'm just fucking with you.
We hit solid ground below the sand. Maybe this leads to the Rebellion Army facility? In any case, we’re safe for now. And if we're lucky, they'll assume the quicksand killed us. Hey, I didn't know that you cared about your friends so much. I already have a debt to Spider. I didn't want to owe any more. Okay, let’s do it! For Spider! Let’s go!Music: Desert of Confusion
Now how's that for some Deus Ex Machina bullshit? Out of all the places to get dragged into quicksand, they get the one spot that leads to a Massimo-sized hole that drops into an underground dungeon that hasn't been flooded top to bottom with sand due to aforementioned Massimo-sized hole.
And thanks to the wonders of Dolphin's Free Cam, I can point out that directly above us is solid steel
Now, those of you with good memories might have noticed an inconsistency in the plot. Namely:
Update I posted:
Wild Jango, Silver Horn, Dr. Psyche, Mach Jentra, and Incentas. We've only fought 5 of those 8 Mavericks, so why are we now dealing with the Rebellion big shots?
The answer, as it turns out, is due to either time or budget constraints. Originally, there was going to be three more chapters to deal with those three missing bosses, but they had to get scrapped. The Mavericks themselves were kept in, but got shuffled around to places with no plot relevance. Rafflesian was one of them, and we'll be seeing the other two down the line.
A part of me thinks this dungeon was hacked together from some surviving assets from those cut chapters, just due to that quicksand cut being so out of left field.
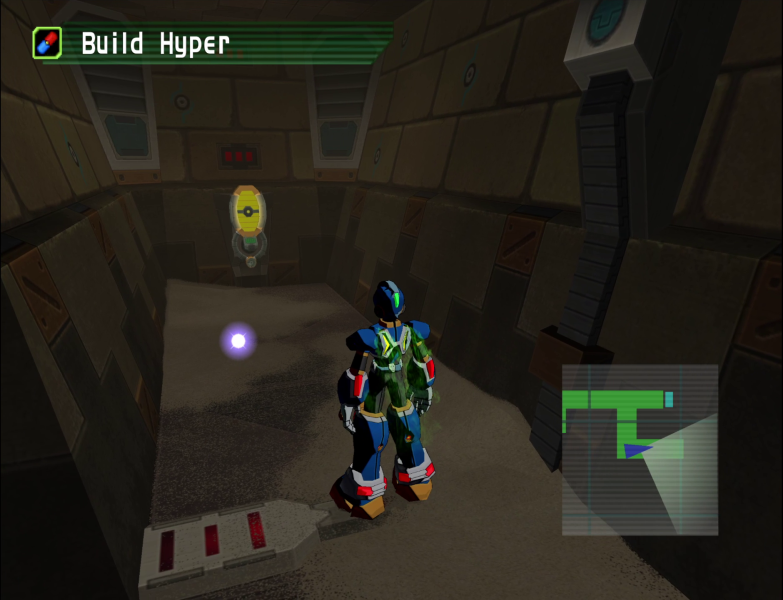
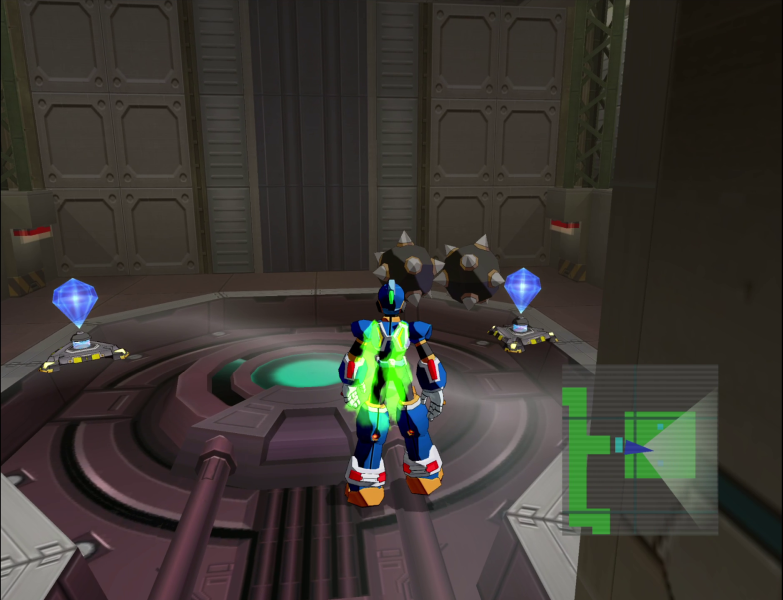
Finally leaving the room, we find dark, dingy corridors covered in sand. There is not, and never will be, a Reploid-sized hole in any ceiling here. The crystal holds a Tank Energy 50.

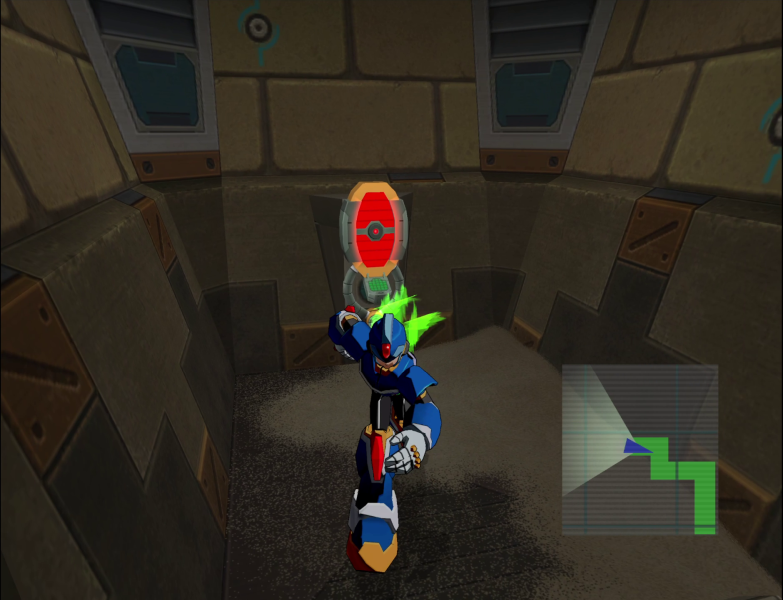
To the north is a dead end, which obviously means something good will be down it. Not this Vaccine Progam, though.
The dead end has this dungeon's first Treasure Token.
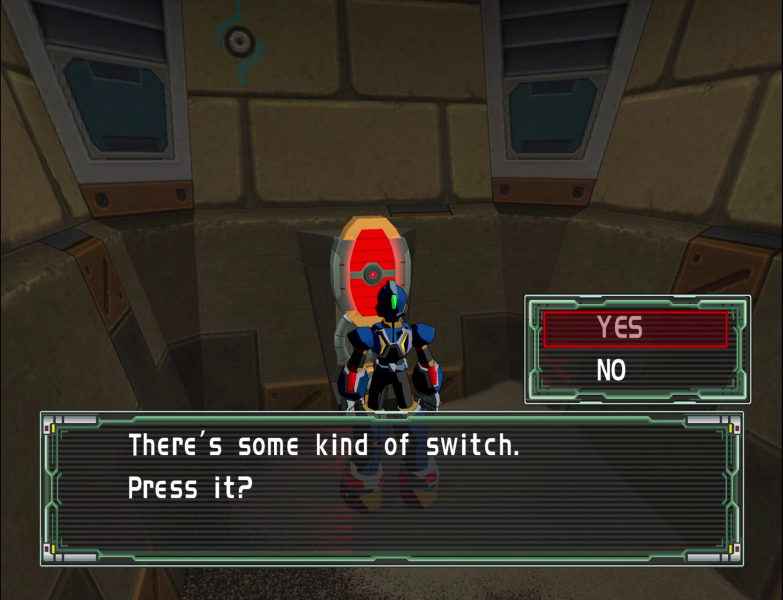
And a button.
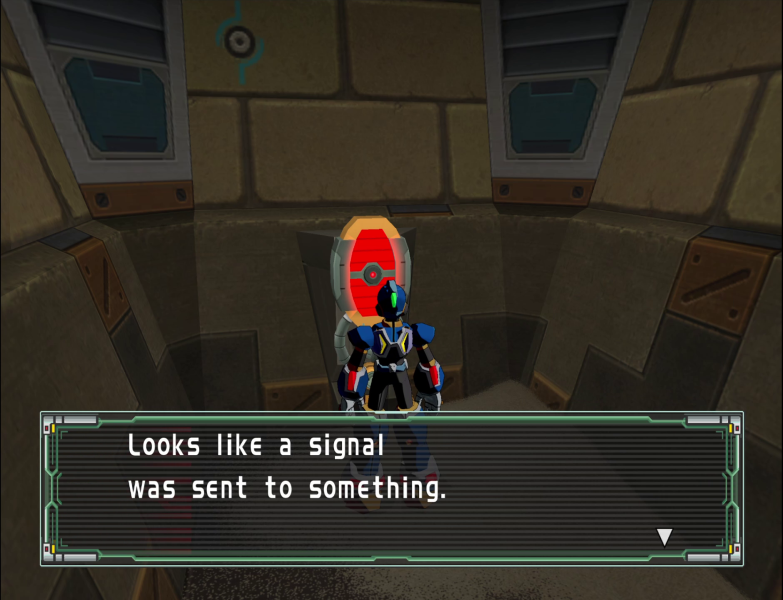
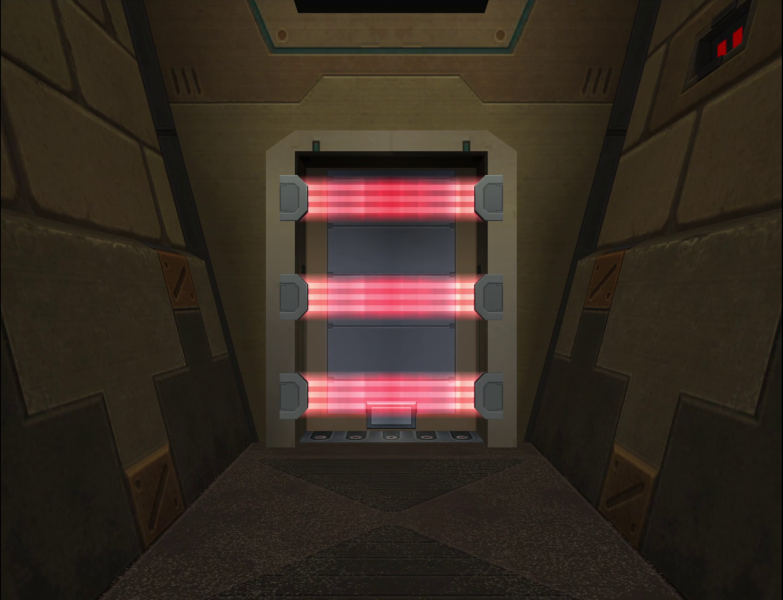
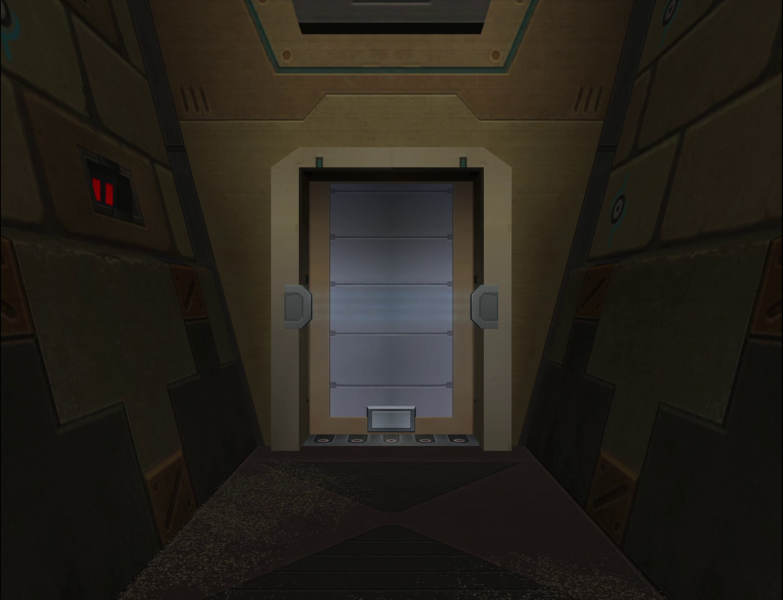
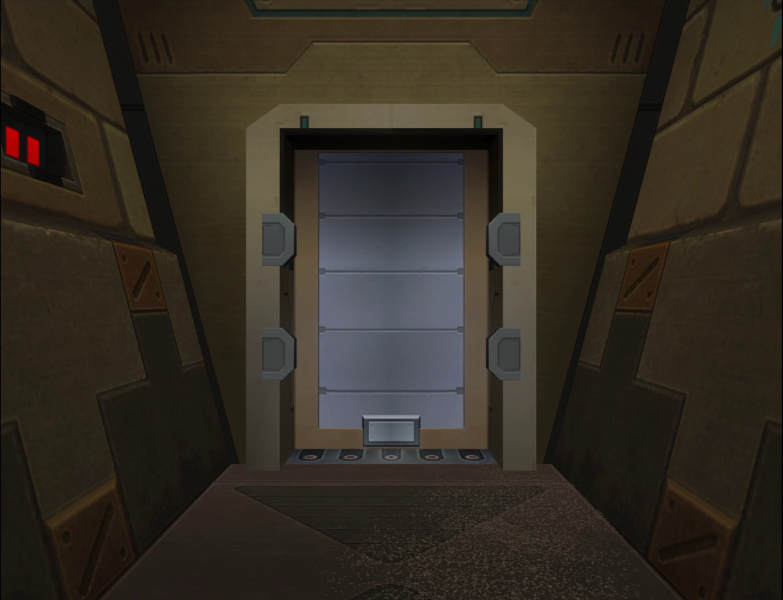
The camera cuts to this door.
After a second, one red beam fades out.
This whole button business is technically optional, but I'm not one to turn down free stuff.
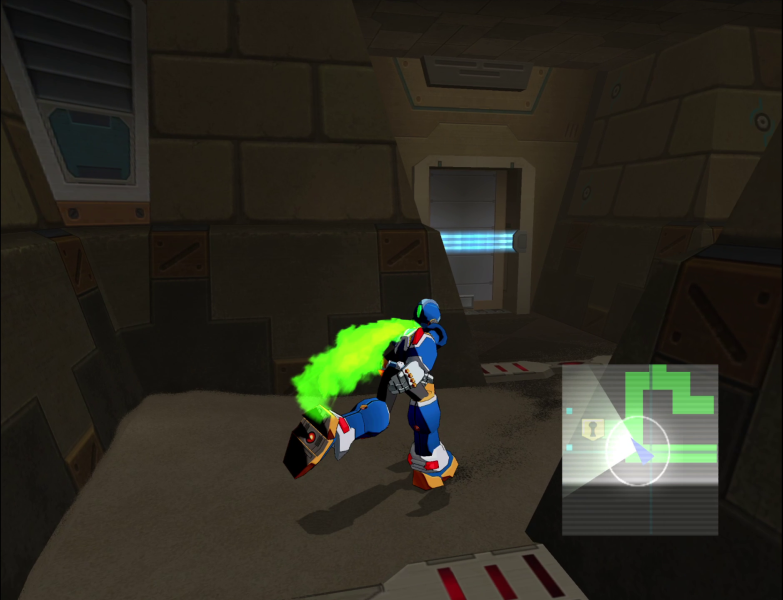
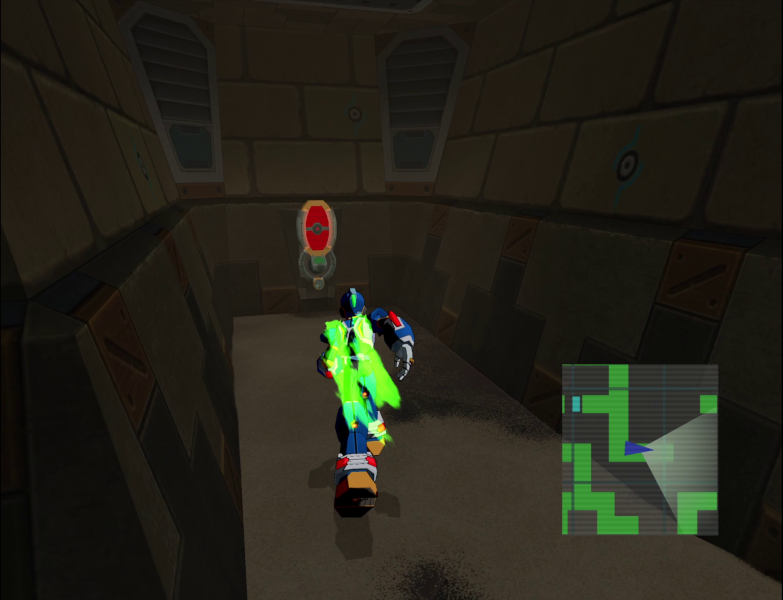
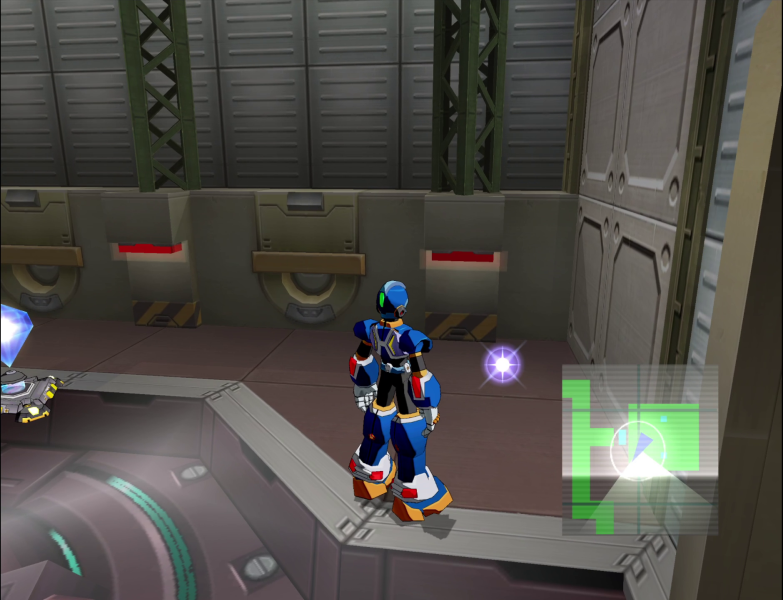
Moving forward, we find a door with a single blue beam.
The button for it is just down the path, right next to another token.
The one beam fades, and the door unlocks.
As a reward, we get a Build Power, Build Armor, Build Shield, and Build Speed.
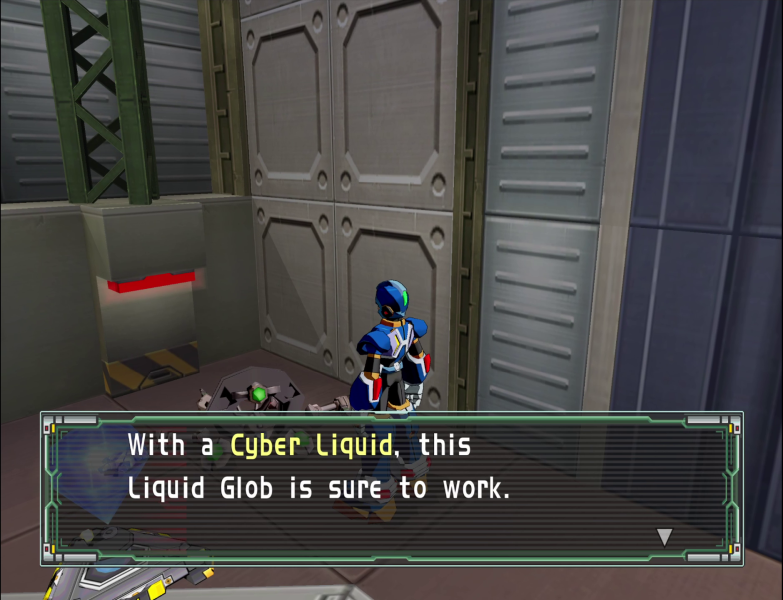
Also a Glob for when we find the right key item.

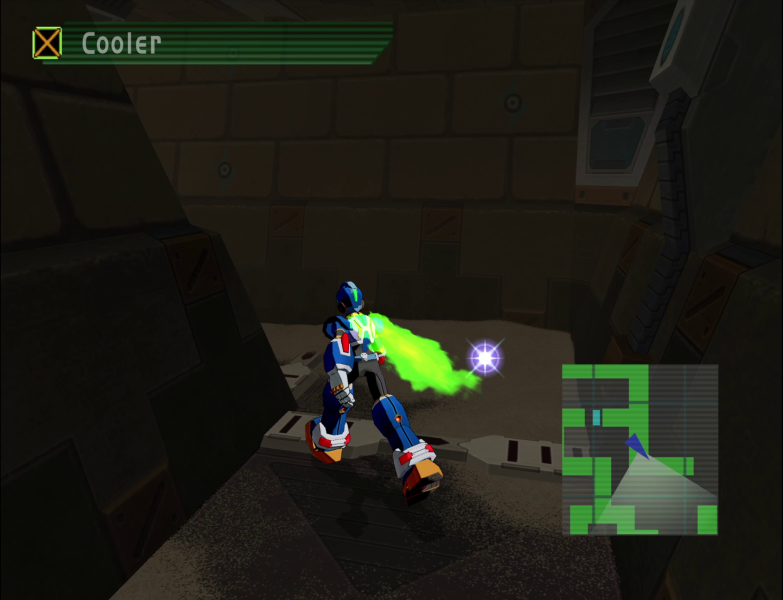
Past the blue door, we find a Cooler. To the south is another dead end.
It has yet another token.
And our second red button.
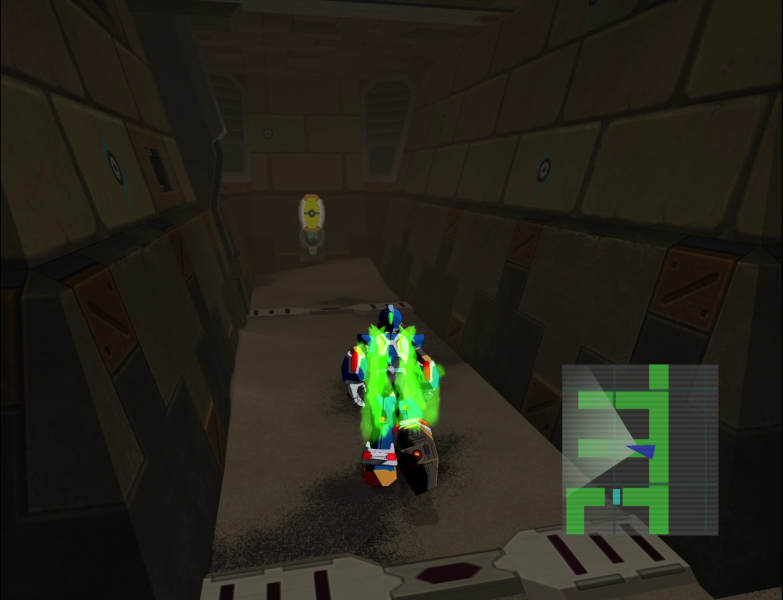
Heading up has some branching paths. This first one has a yellow button.
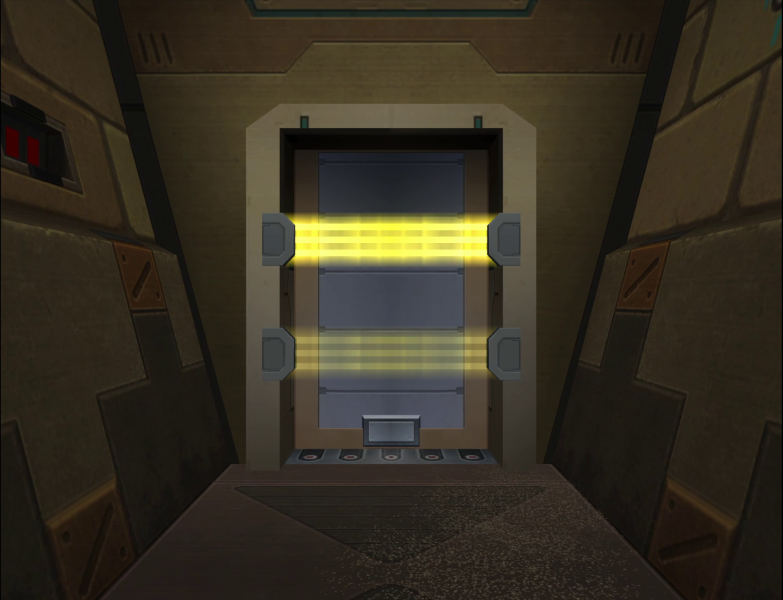
This one, as you might have guessed, has two bars blocking it.
The other branch has a token and the final red button.
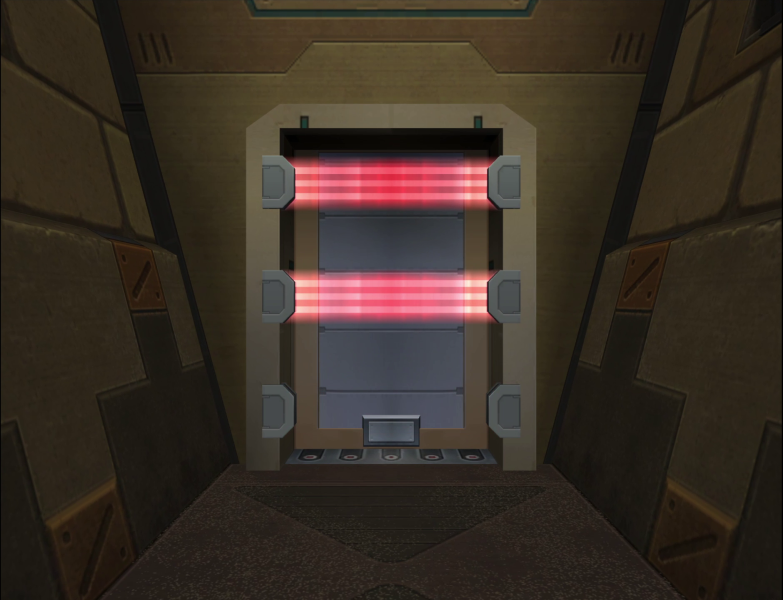
And with that, the red door unlocks, wherever it is.
Much like the blue door, the yellow door will need some backtracking.
Down the hall is a Cure All.
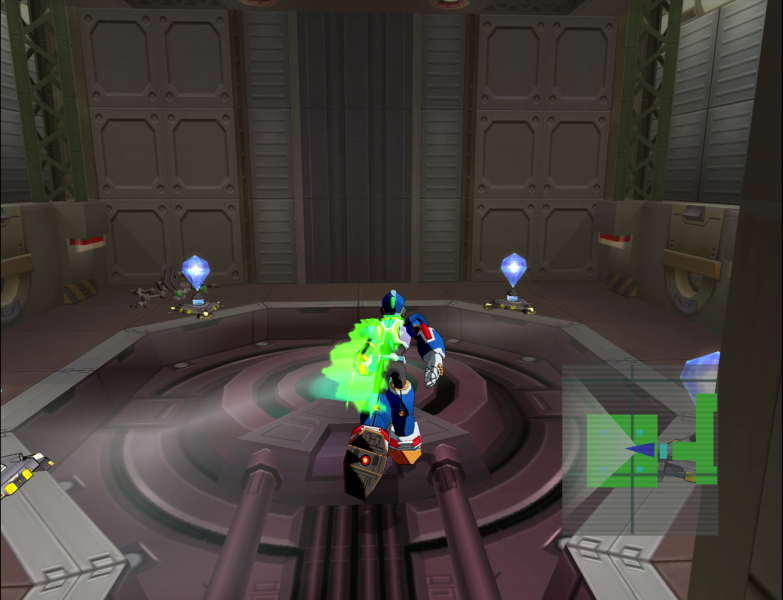
And down this branch is a special crystal.
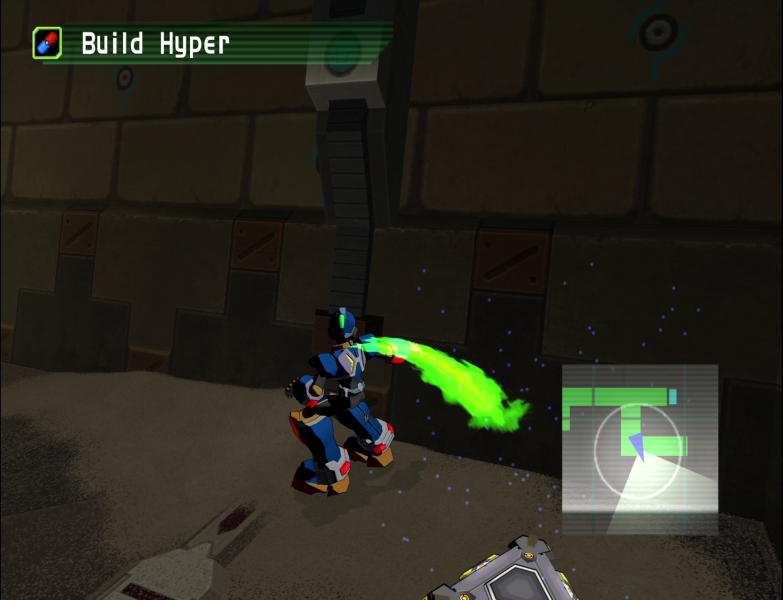
Holding our second Build Hyper! Massimo's good with 4 turns right now, so I'll hold on to this for another rainy day.
Plus another token and our final button.
This is the end of our color-coded button pushing adventures.

The yellow door only holds two things, 800FME and 800FME.
...It took more work and backtracking to get here compared to the blue door, and this is what I get!? I already have 80,000FME, this is nothing!

Here's hoping the red door is better, at least.
1800z, 2000z, and the Ball and Chain Hammer for the Einhammer at Ulfat.
...I just unlocked the Gimialla Secret Area! I'd get twice this much in a single fight!
Between stumbling around in the desert looking for broken bots, and now these buttons, you can tell that this dungeon has a theme of 'mediocre loot in exchange for tedious bullshit'.
It has another token at least, but that doesn't help anyone playing on PS2 or unable to use a GBA and Link Cable on GC!
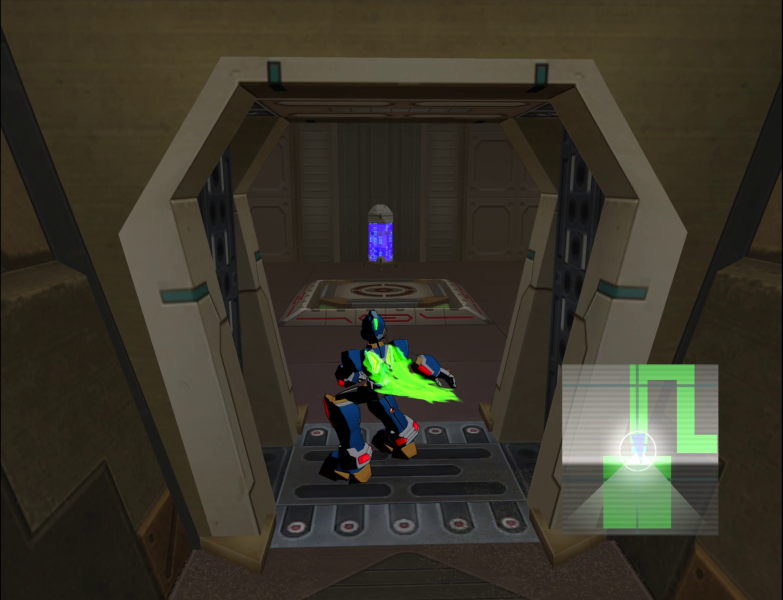
From the red door, its a straight shot to the end of this segment.
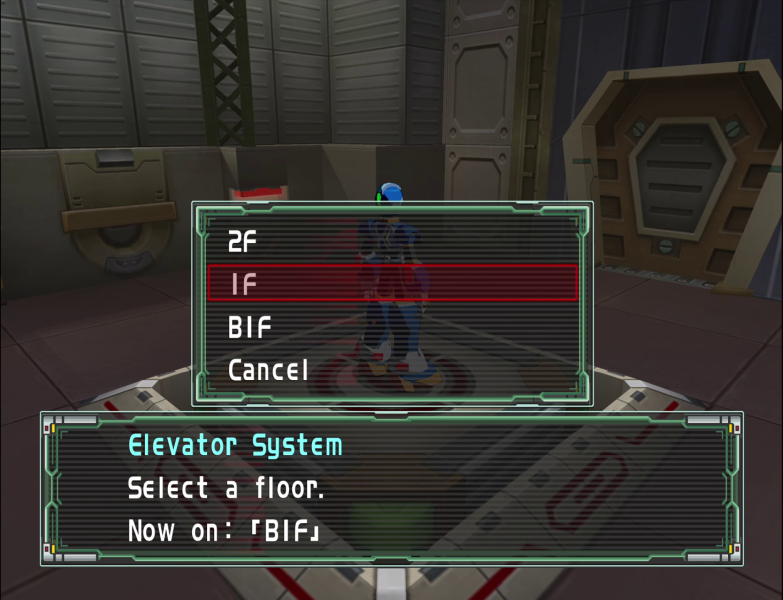
In a stunning reversal from Gimialla Mines, the final area of this dungeon is all about going up an elevator.
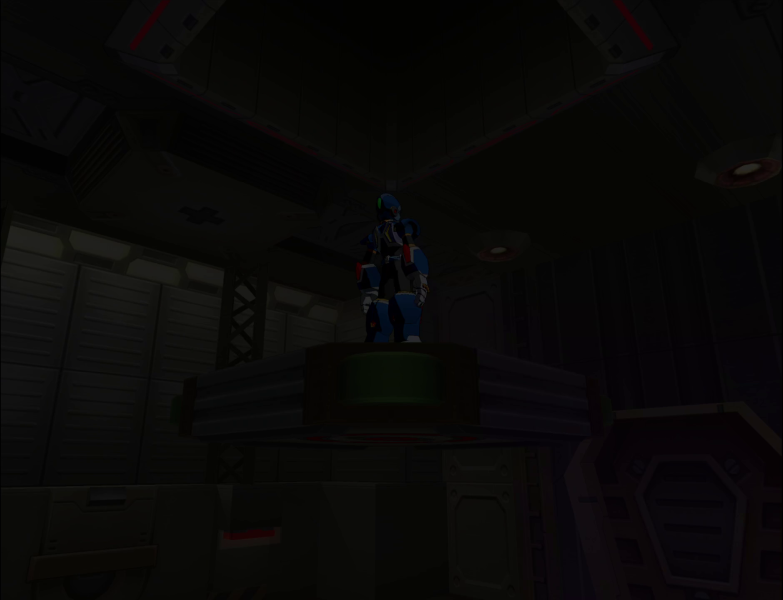
And trust me, things aren't going to get any better.
Next time: