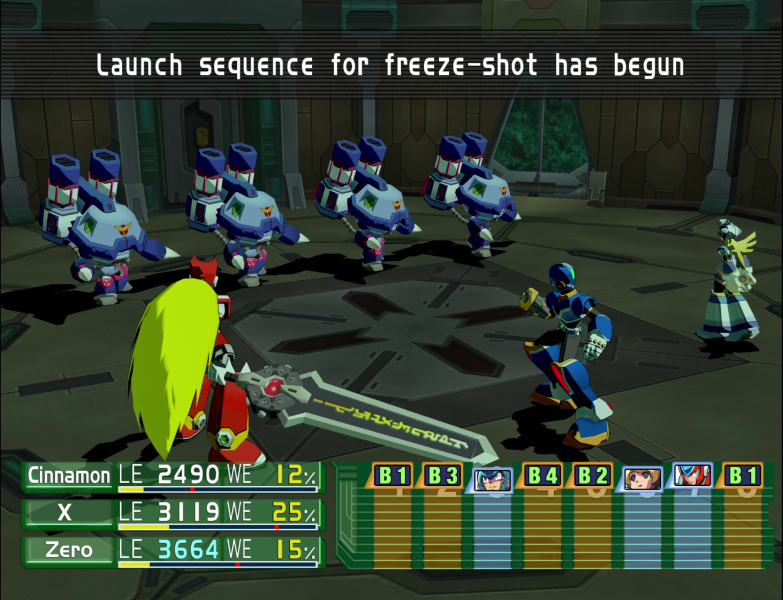
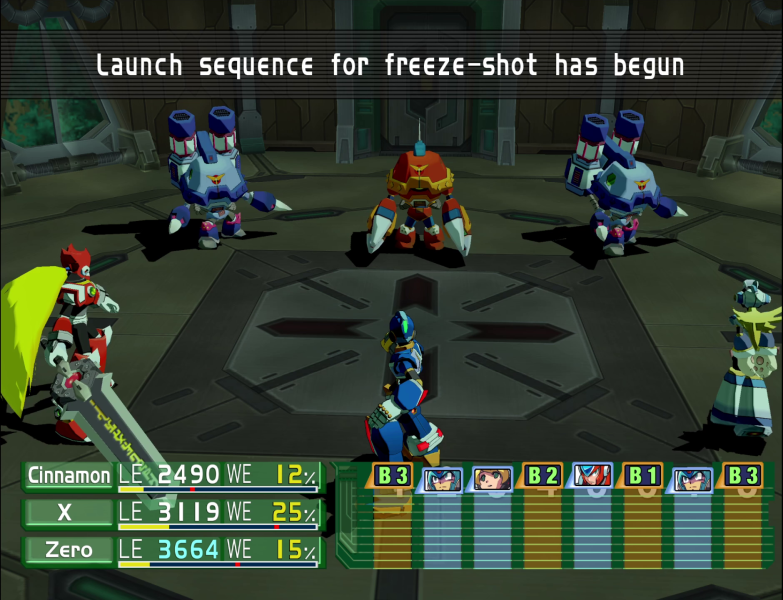
Part 30: Update XXX - THE BADDLE HAZ JUSD BEGUNN!
Update XXX - THE BADDLE HAZ JUSD BEGUNN!Music: Dangerous - Machine - One - Hair
Music: Event Battle
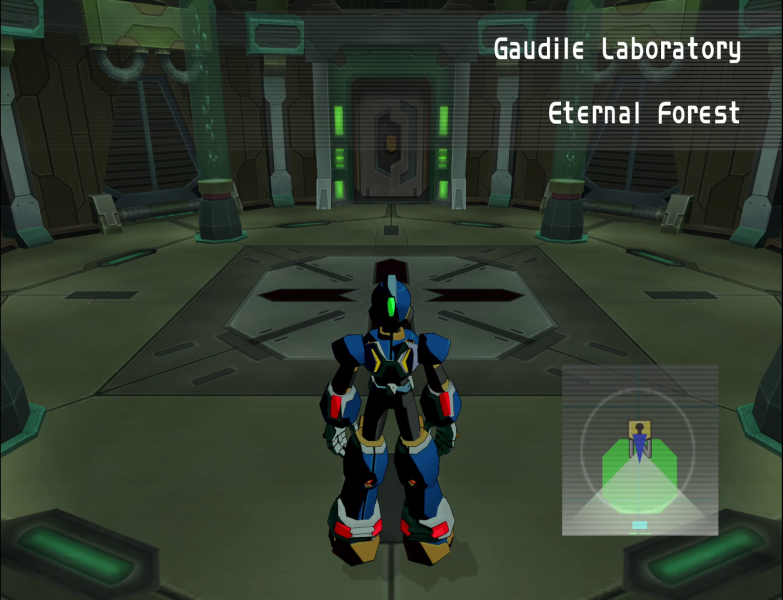
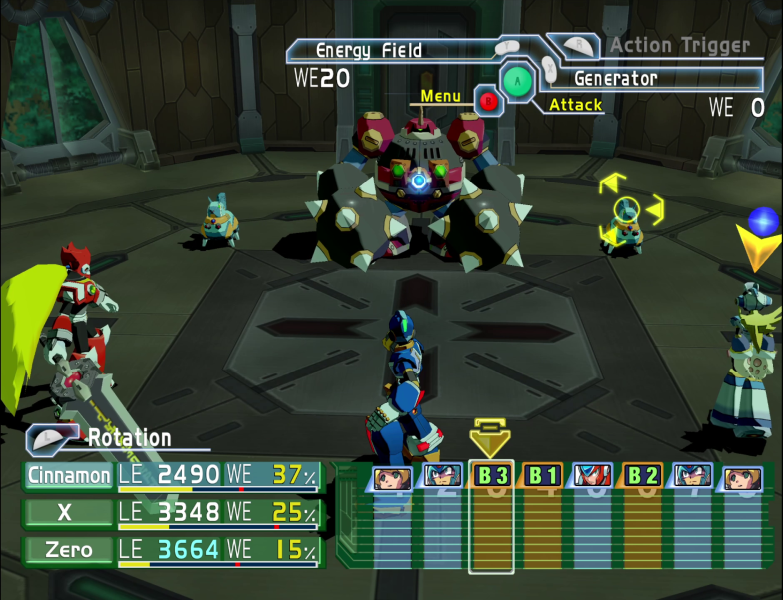
As a refresher, the Eternal Forest is an optional segment in Gaudile's Lab, consisting of multiple forked paths, each with a strong or a weak fight at the end. Weak fights will move you closer to the exit, while strong fights will make the enemies ramp up. In total, there are 21 total pathways to take, each with their own rewards.
Last time we were here, I got Spider's Joker and continued on.
Today, I'll be covering every route. If you don't want to see 100+ fights and nothing else, I suggest skipping this update.
For the proper Eternal Forest Experience™, please open both music links, listen to the first 30 seconds of one, then the first 30 seconds of the other, then do it again and again and again and again and again and again and again and ag-
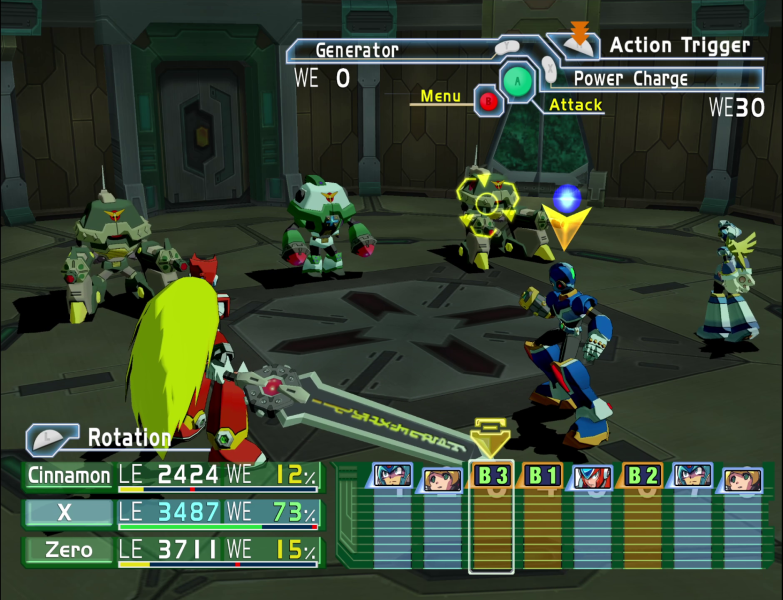
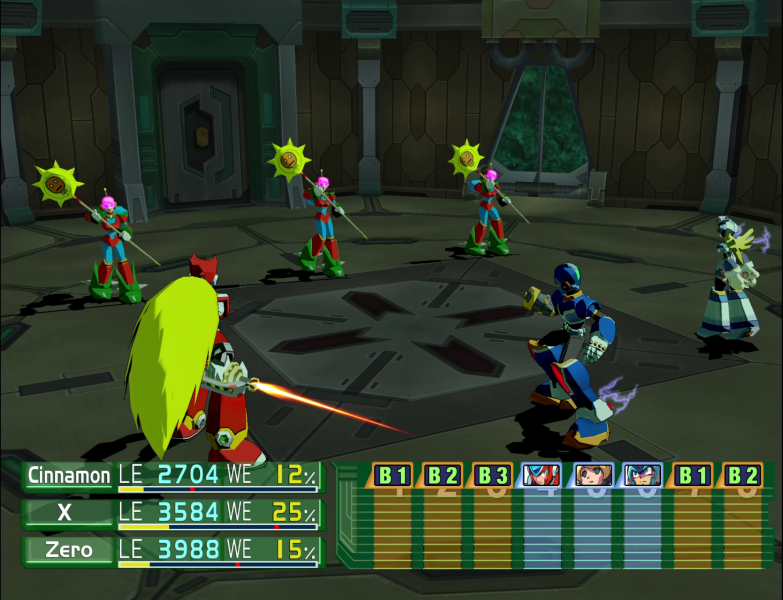
Route 1 - Weak, Weak
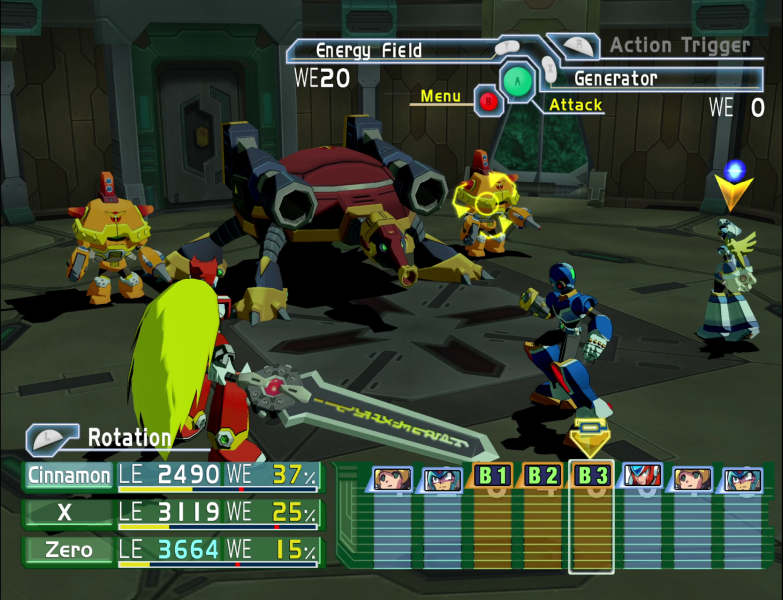
Battle 1: 4x Bat Bones
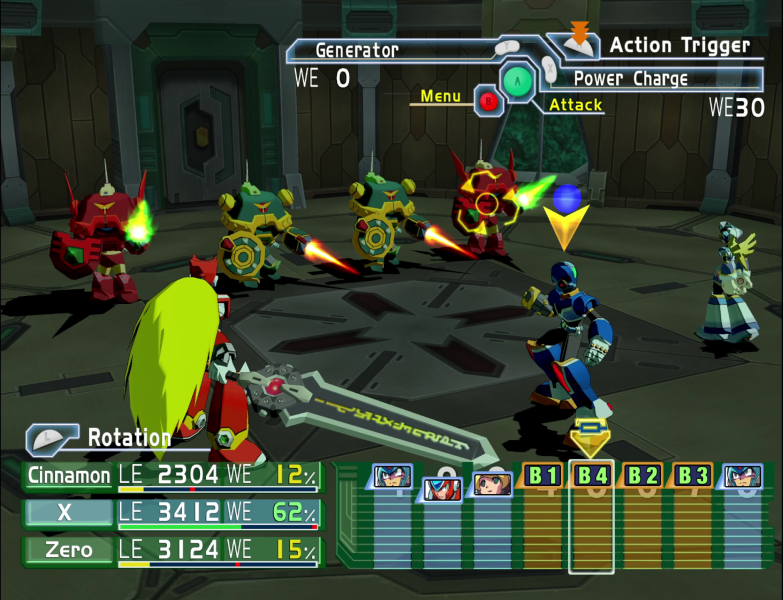
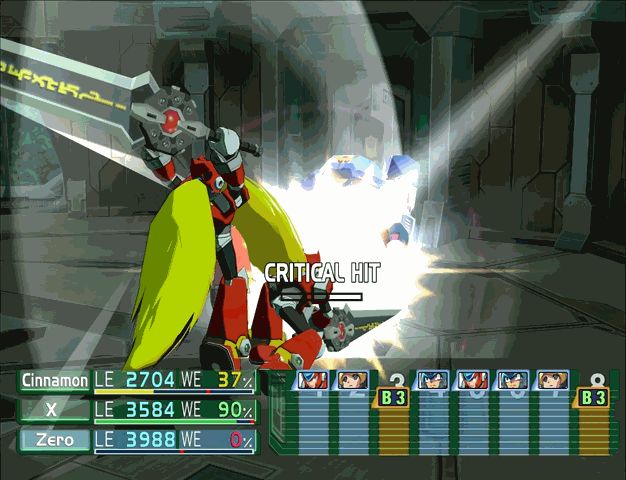
I went out and got the Soul Saber for Zero. Look at it, the thing is bigger than he is!
Battle 2: 3x Wild Patrol Dogs

Reward: Tank Energy 25
Again.
Route 2 - Weak, Strong, Weak
Battle 1: 4x Bat Bones
Battle 2: 2x Preon Chasers
Battle 3: 3x Sinedroppers
Reward: Cure One, Tank Energy 25
Again.
Route 3 - Weak, Strong, Strong, Weak
Battle 1: 4x Bat Bones
Battle 2: 2x Preon Chasers
Battle 3: 2x Preon Chasers, 1x Preon Spark
Battle 4: 2x Wild Rescue Dogs, 1x Einhammer
Reward: Tank Energy 50, Cure One
Again.
Route 4 - Weak, Strong, Strong, Strong
Battle 1: 4x Bat Bones
Battle 2: 2x Preon Chasers
Battle 3: 2x Preon Chasers, 1x Preon Spark
Now, there's a reason I have Zero in the party for this.
Namely, that he also has an evolving AT, gaining a new move at 200 commands.

Battle 4: 3x Preon Spark
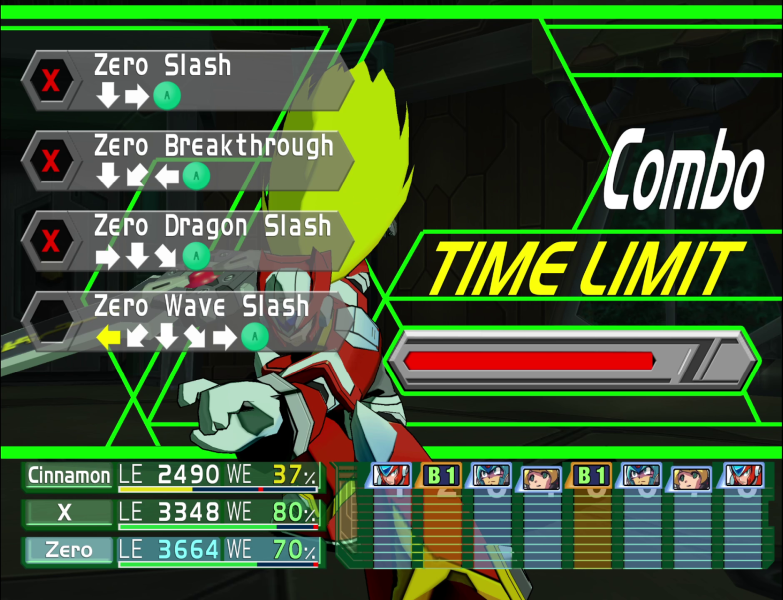
Said new move is the Zero Wave Slash, which has a wide damage range.
Zero has one other move to unlock, and that opens up at 999 inputs.

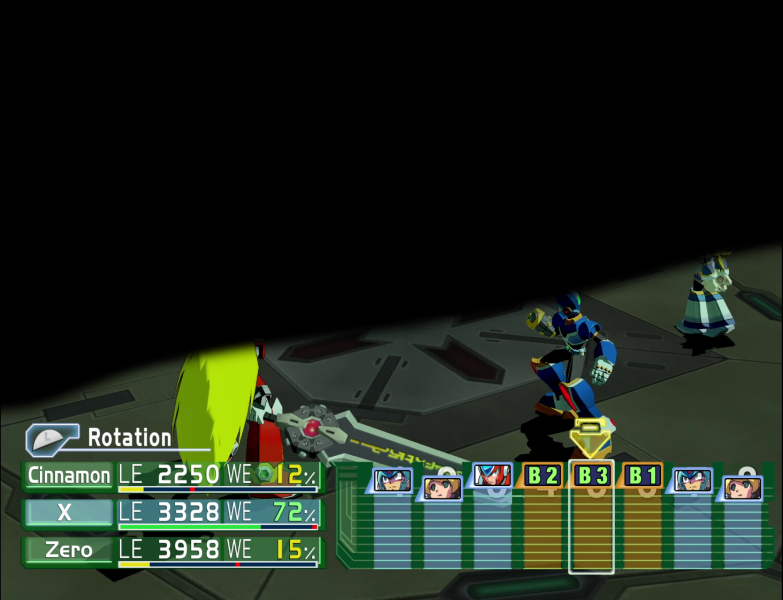
With his current setup, Zero can do around 10-12 attacks each fight, so keep that in the back of your mind as we go.
Reward: Backup, Tank Energy 100, Joker (obtained on prior visit)
Again.
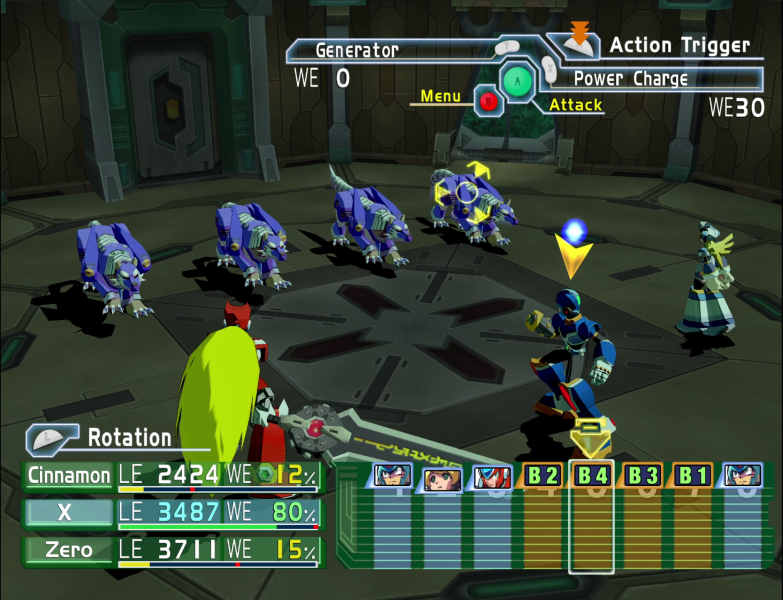
Route 5 - Strong, Weak, Weak
Battle 1: 1x Preon Bitmaster
Hey, I hope you like this bastard, because he'll be starting off every single route from this point on.
Battle 2: 1x D-Rex
Battle 3: 2x Dober Man, 1x Big Monkey
Reward: Tank Energy 25, Cure One
Again.
Route 6 - Strong, Weak, Strong, Weak
Battle 1: 1x Preon Bitmaster
Battle 2: 1x D-Rex
Battle 3: 4x Preon Pod
Battle 4: 3x Mettaur Commander
Reward: Tank Energy 25, Cure One
Again.
Route 7 - Strong, Weak, Strong, Strong
Battle 1: 1x Preon Bitmaster
Battle 2: 1x D-Rex
Battle 3: 4x Preon Pod
Battle 4: 2x Preon Gunners, 1x Preon Elite
Reward: Tank Energy 50, Cure All, Treasure Token
Again.
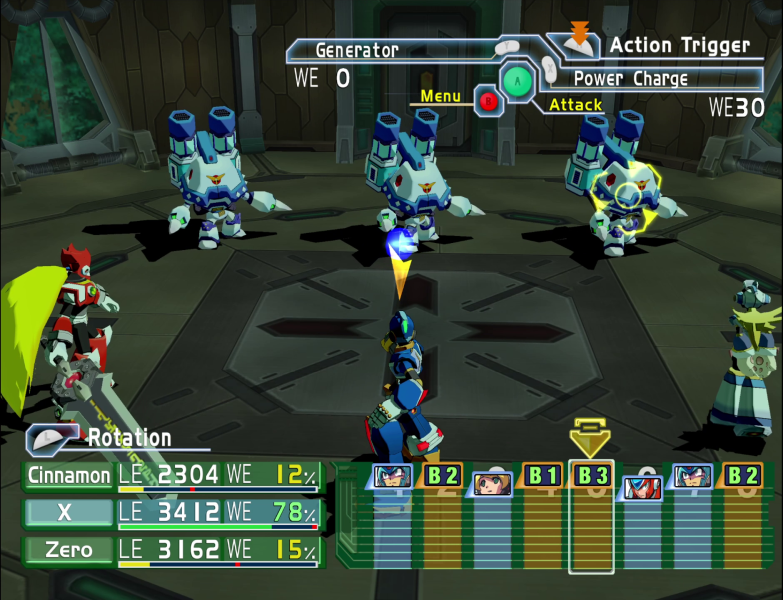
Route 8 - Strong, Strong, Weak, Weak
Battle 1: 1x Preon Bitmaster
Battle 2: 2x Preon Pod, 1x Preon Spark
Battle 3: 2x Killer Mantis, 1x Pararoid
Battle 4: 2x Super Tripuffer, 1x Gulpfast
Reward: Cure All, Tank Energy 50, Treasure Token
Again.
Route 9 - Strong, Strong, Weak, Strong, Weak
Battle 1: 1x Preon Bitmaster
Battle 2: 2x Preon Pod, 1x Preon Spark
Battle 3: 2x Killer Mantis, 1x Pararoid
Battle 4: 1x Preon Hybrid, 1x Preon Soldier, 1x Preon Nurse
Turns out that Hybrids do show up outside of that one sequence after Jentra! Who knew?

Battle 5: 2x Preon Tank, 1x Mega Mantor
Reward: Tank Energy 50, Backup, Treasure Token
Again.
Route 10 - Strong, Strong, Weak, Strong, Strong
Battle 1: 1x Preon Bitmaster
Battle 2: 2x Preon Pod, 1x Preon Spark
Battle 3: 2x Killer Mantis, 1x Pararoid
Battle 4: 1x Preon Hybrid, 1x Preon Soldier, 1x Preon Nurse
Battle 5: 3x Preon Shielder
Reward: Tank Energy 50, 1000z, Build Armor
Again.
Route 11 - Strong, Strong, Strong, Weak, Weak
Battle 1: 1x Preon Bitmaster
Battle 2: 2x Preon Pod, 1x Preon Spark
Battle 3: 2x Pararoid, 2x Preon Gunner
Battle 4: 3x Rush Loader
Battle 5: 2x Mettaur Counter
Reward: Tank Energy 50, 1000z, Build Shield
Again.
Route 12 - Strong, Strong, Strong, Weak, Strong, Weak
Battle 1: 1x Preon Bitmaster
Battle 2: 2x Preon Pod, 1x Preon Spark
Battle 3: 2x Pararoid, 2x Preon Gunner
Battle 4: 3x Rush Loader
Battle 5: 1x Liquid Glob, 1x Plasma Glob, 1x Fire Glob
Battle 6: 1x Mega Tortoise
Reward: Tank Energy 50, 1000z, Build Power
Again.
Route 13 - Strong, Strong, Strong, Weak, Strong, Strong
Battle 1: 1x Preon Bitmaster
Battle 2: 2x Preon Pod, 1x Preon Spark
Battle 3: 2x Pararoid, 2x Preon Gunner
Battle 4: 3x Rush Loader
Battle 5: 1x Liquid Glob, 1x Plasma Glob, 1x Fire Glob
Battle 6: 2x Preon S Botos
Reward: Tank Energy 100, 1000z, Build Speed, Treasure Token
Again.
Route 14 - Strong, Strong, Strong, Strong, Weak, Weak
Battle 1: 1x Preon Bitmaster
Battle 2: 2x Preon Pod, 1x Preon Spark
Battle 3: 2x Pararoid, 2x Preon Gunner
Battle 4: 1x Mettaur Counter, 1x Mettaur Cure, 1x Silver Mettaur, 1x Gold Mettaur
Having a Gold and Silver Met as mandatory fights for the last few routes means you get a good bit of zenny from this alone.
Battle 5: 4x Wild Dog
Battle 6: 2x D-Rex
Reward: Tank Energy 100, 1000z, Build LE, Treasure Token
Again.
Route 15 - Strong, Strong, Strong, Strong, Weak, Strong, Weak
Battle 1: 1x Preon Bitmaster
Battle 2: 2x Preon Pod, 1x Preon Spark
Battle 3: 2x Pararoid, 2x Preon Gunner
Battle 4: 1x Mettaur Counter, 1x Mettaur Cure, 1x Silver Mettaur, 1x Gold Mettaur
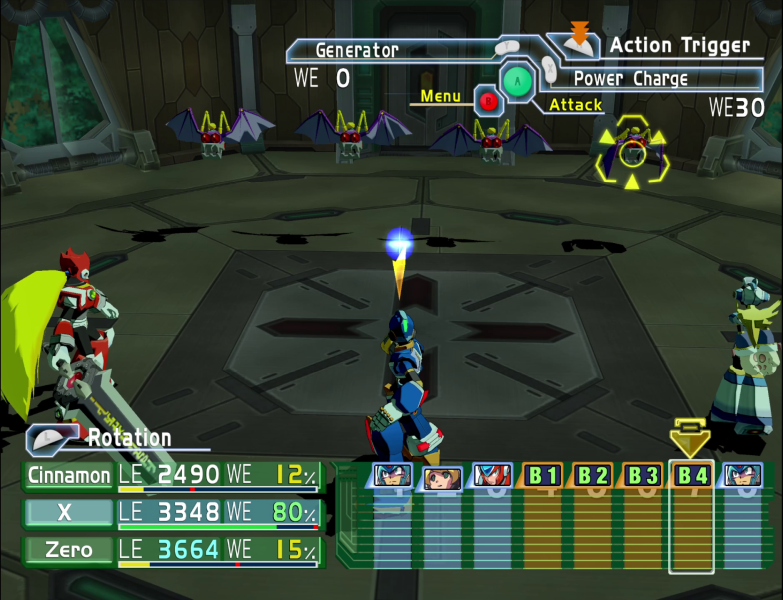
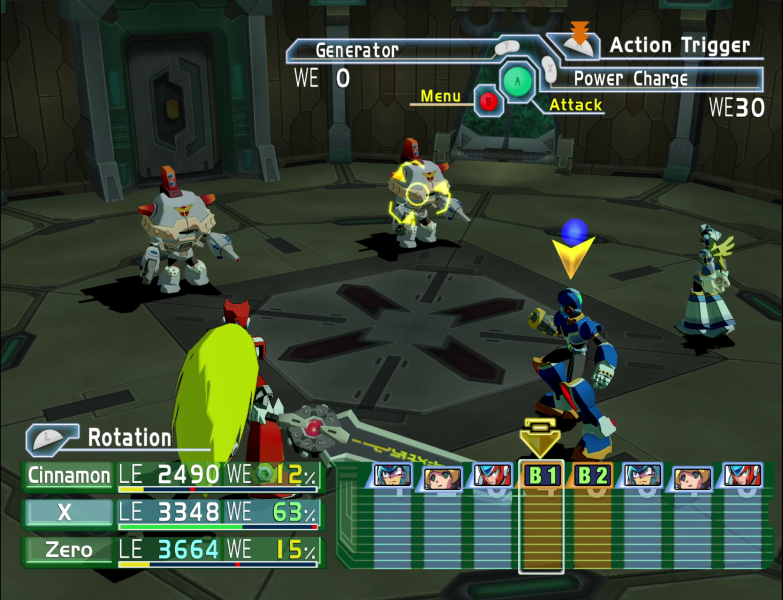
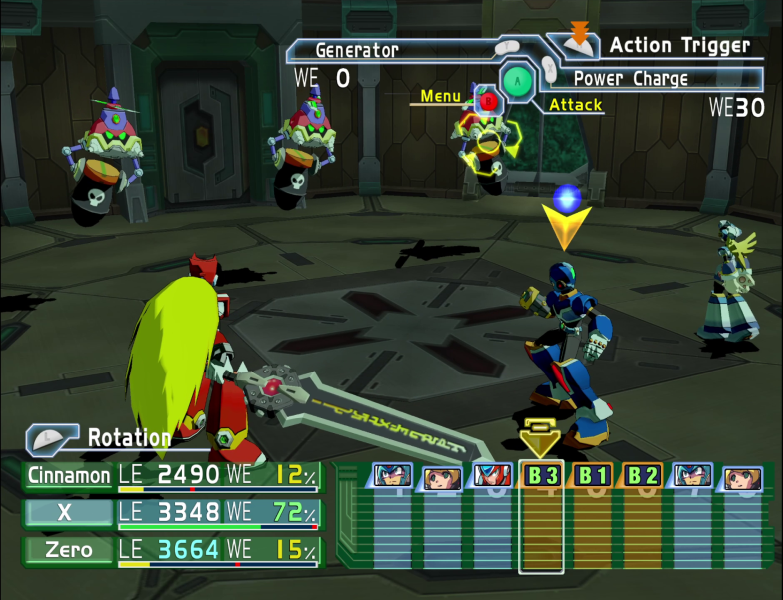
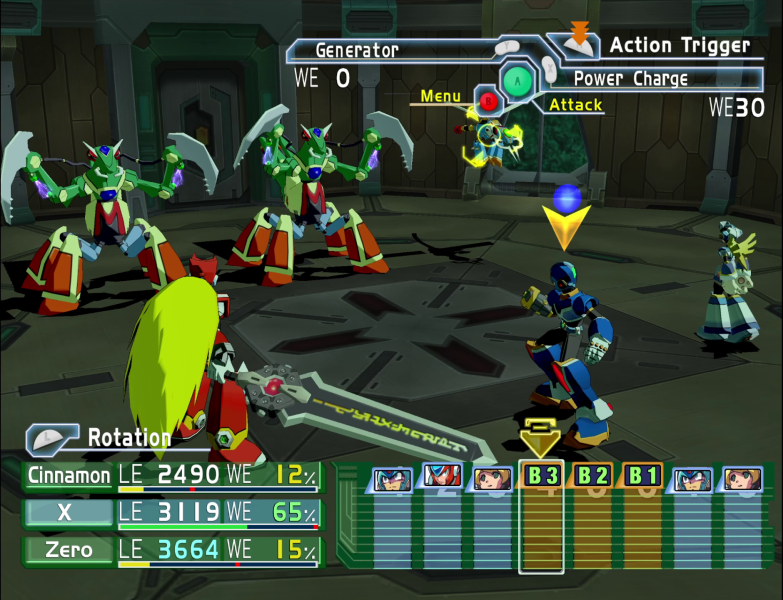
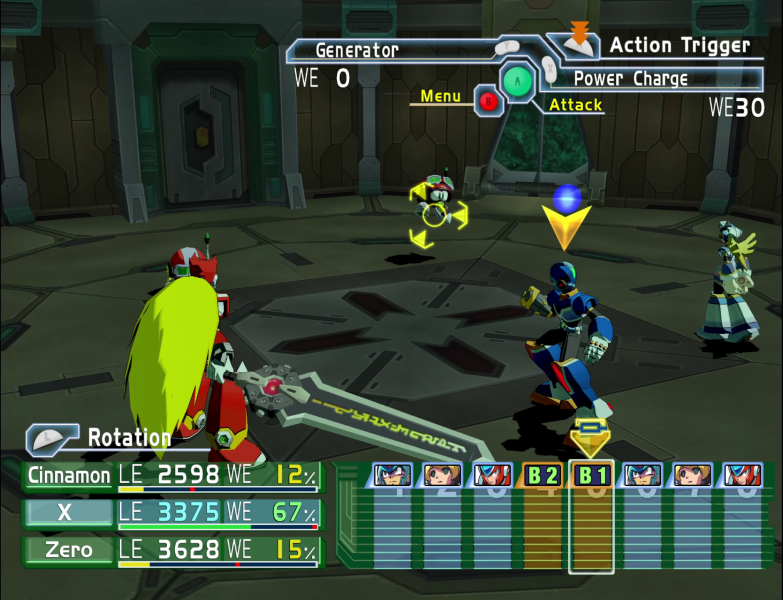
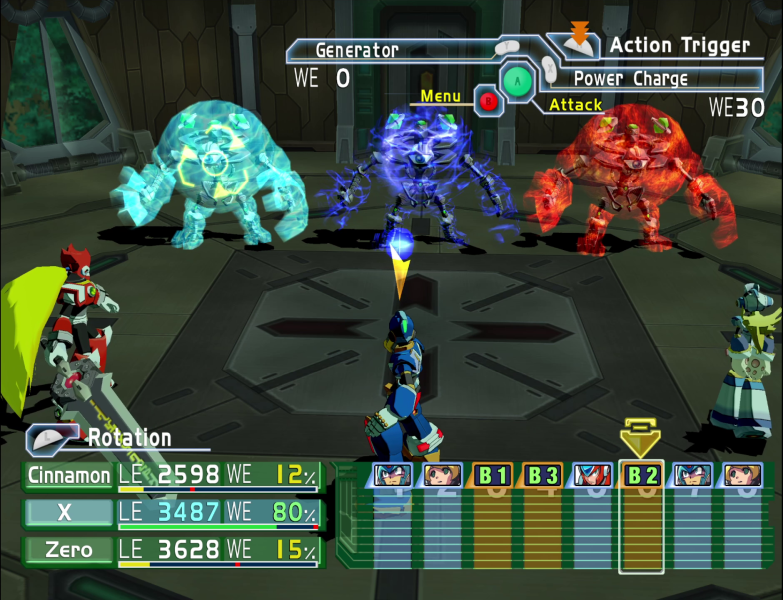
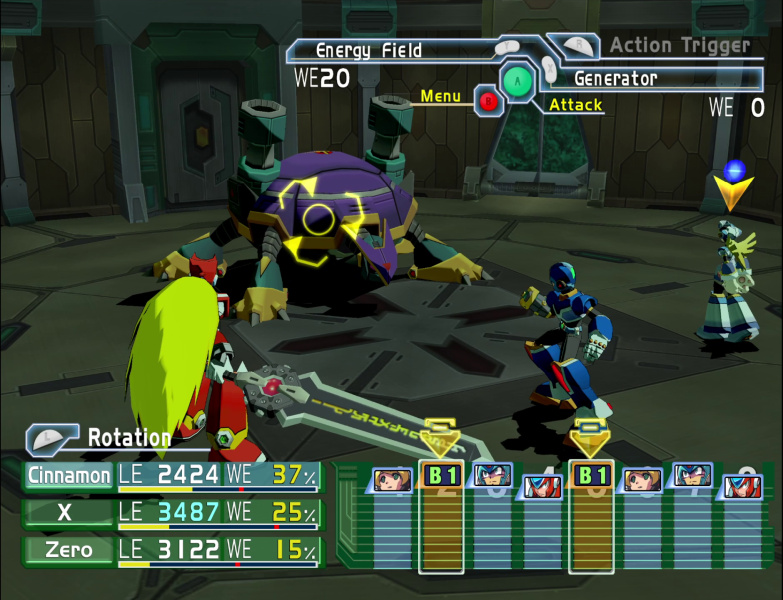
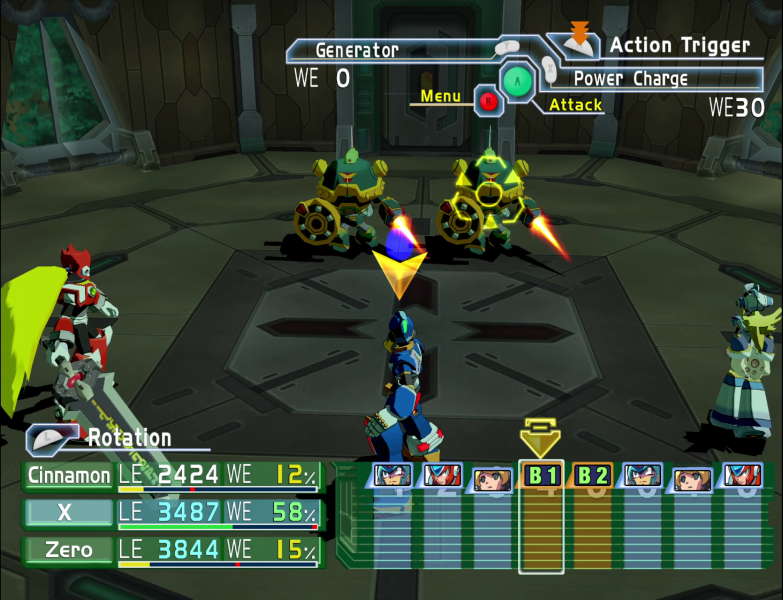
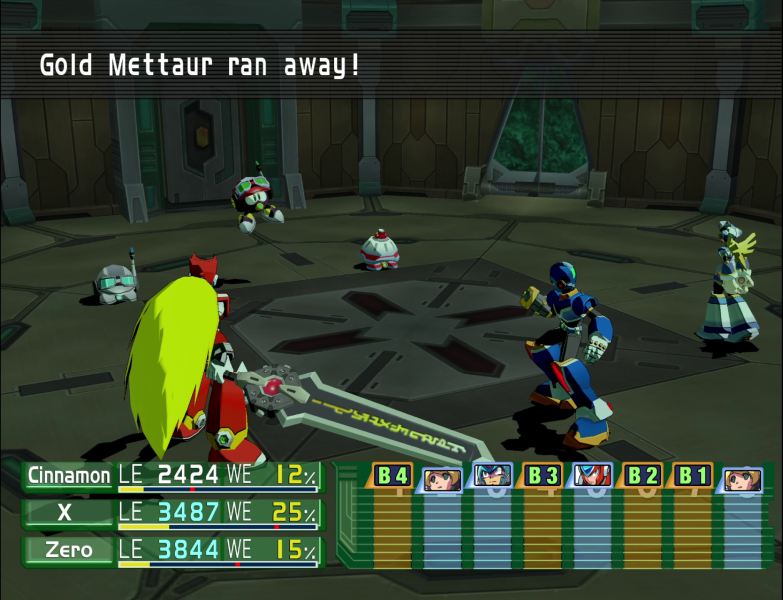
In case you were wondering, I've been using the same image for every repeated fight, both to save you some bandwidth and save me the headache of doing 100+ separate screenshots for this one thing. The Gold Met did not run away from me 7 times in a row.
Battle 5: 4x Wild Dog
Battle 6: 1x Preon Doc, 2x Preon Gunner II
Battle 7: 4x Wolfloid
Reward: Tank Energy 100, 1500z, Build Armor, Treasure Token, Item Capture (immediately used to make a third Good Luck)
Again.
Route 16 - Strong, Strong, Strong, Strong, Weak, Strong, Strong
Battle 1: 1x Preon Bitmaster
Battle 2: 2x Preon Pod, 1x Preon Spark
Battle 3: 2x Pararoid, 2x Preon Gunner
Battle 4: 1x Mettaur Counter, 1x Mettaur Cure, 1x Silver Mettaur, 1x Gold Mettaur
Battle 5: 4x Wild Dog
Battle 6: 1x Preon Doc, 2x Preon Gunner II
Battle 7: 3x Preon Pressure
Reward: Tank Energy 100, 1500z, Build Shield, Treasure Token, Get Zenny +
Again.
Route 17 - Strong, Strong, Strong, Strong, Strong, Weak, Weak
Battle 1: 1x Preon Bitmaster
Battle 2: 2x Preon Pod, 1x Preon Spark
Battle 3: 2x Pararoid, 2x Preon Gunner
Battle 4: 1x Mettaur Counter, 1x Mettaur Cure, 1x Silver Mettaur, 1x Gold Mettaur
Battle 5: 2x Preon S Botos, 2x Preon S Ferham
Battle 6: 1x Meltdown
Battle 7: 1x REDACTED
Howdy hey, an enemy that we haven't seen in a dungeon! I'll just keep these guys tucked away until we run into them in their natural habitat. I'll make sure to point them out as they come up.
Reward: Tank Energy 100, 1500z, Build WE, Treasure Token, Get EXP +
Again.
Route 18 - Strong, Strong, Strong, Strong, Strong, Weak, Strong
Battle 1: 1x Preon Bitmaster
Battle 2: 2x Preon Pod, 1x Preon Spark
Battle 3: 2x Pararoid, 2x Preon Gunner
Battle 4: 1x Mettaur Counter, 1x Mettaur Cure, 1x Silver Mettaur, 1x Gold Mettaur
Battle 5: 2x Preon S Botos, 2x Preon S Ferham
Battle 6: 1x Meltdown
Battle 7: 3x REDACTED
Reward: Tank Energy 100, 1500z, Build Shield, Build Armor, Power Charge
Again.
Route 19 - Strong, Strong, Strong, Strong, Strong, Strong, Weak
Battle 1: 1x Preon Bitmaster
Battle 2: 2x Preon Pod, 1x Preon Spark
Battle 3: 2x Pararoid, 2x Preon Gunner
Battle 4: 1x Mettaur Counter, 1x Mettaur Cure, 1x Silver Mettaur, 1x Gold Mettaur
Battle 5: 2x Preon S Botos, 2x Preon S Ferham
Battle 6: 1x Preon S Botos, 1x Preon S Ferham, 1x REDACTED, 1x REDACTED
Battle 7: 3x REDACTED
Reward: Tank Energy 100, 1500z, Build Power, Build Speed, Turbo Clock
Again.
Route 20 - Strong, Strong, Strong, Strong, Strong, Strong, Strong, Weak
Battle 1: 1x Preon Bitmaster
Battle 2: 2x Preon Pod, 1x Preon Spark
Battle 3: 2x Pararoid, 2x Preon Gunner
Battle 4: 1x Mettaur Counter, 1x Mettaur Cure, 1x Silver Mettaur, 1x Gold Mettaur
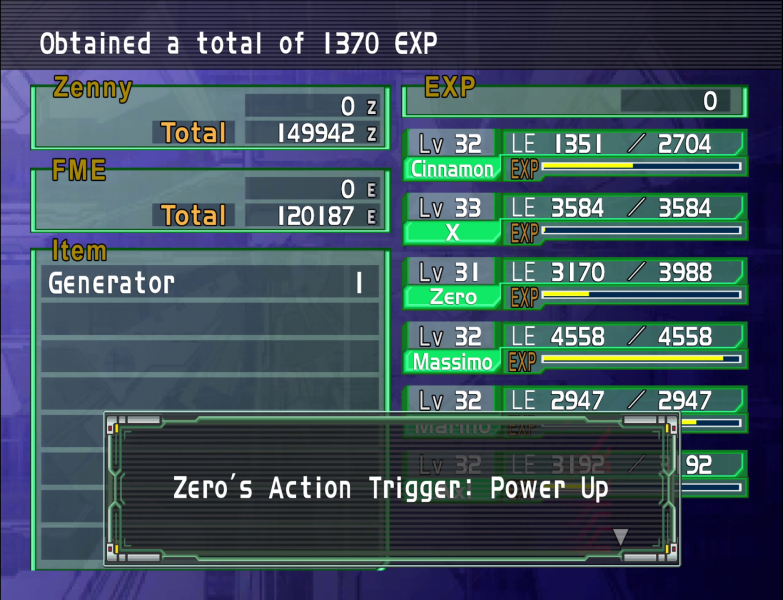
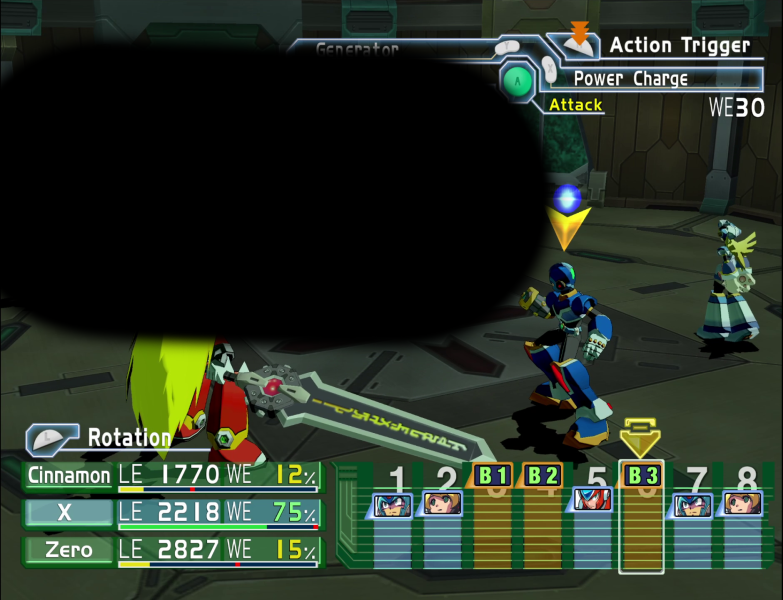
It was at this point that Zero got his final AT upgrade. 999 inputs, done around 12 at a time, for damn near every single fight in this place.
The Eternal Forest took me about two and a half hours to record. Even the longest dungeon so far only took around an hour and a half.
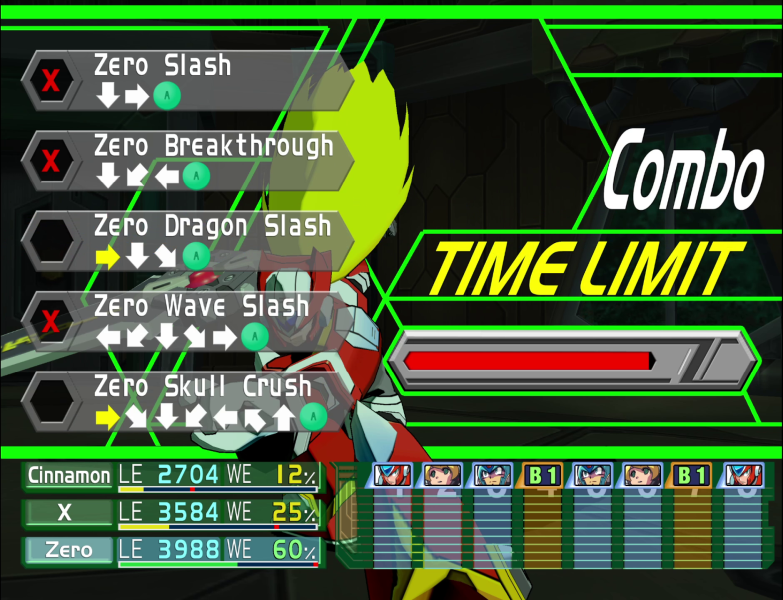
His final move, the Zero Skull Crusher, has the hardest input, but also a 100% crit chance.
Granted, you'll never actually see me use it in an actual fight, because nine times out of ten it'd be better to use Absolute Zero instead.
...

Battle 5: 2x Preon S Botos, 2x Preon S Ferham
Battle 6: 1x Preon S Botos, 1x Preon S Ferham, 1x REDACTED, 1x REDACTED
Battle 7: 3x REDACTED
This fight got me an Insect Killer for Axl, which is a good bit stronger than his current gun.
Battle 8: 3x REDACTED
While this one got me a Z Rapier+ for Zero, which, while not as strong as the Soul Saber by Power, deals three hits vs the Soul Saber's one.
Reward: Tank Energy 100, 2000z, Build WE, Cryogenic, Bone Key (a Mechaniloid item)
Again, for the last time.
Route 21 - Strong, Strong, Strong, Strong, Strong, Strong, Strong, Strong
Battle 1: 1x Preon Bitmaster
Battle 2: 2x Preon Pod, 1x Preon Spark
Battle 3: 2x Pararoid, 2x Preon Gunner
Battle 4: 1x Mettaur Counter, 1x Mettaur Cure, 1x Silver Mettaur, 1x Gold Mettaur
Battle 5: 2x Preon S Botos, 2x Preon S Ferham
Battle 6: 1x Preon S Botos, 1x Preon S Ferham, 1x REDACTED, 1x REDACTED
Battle 7: 3x REDACTED
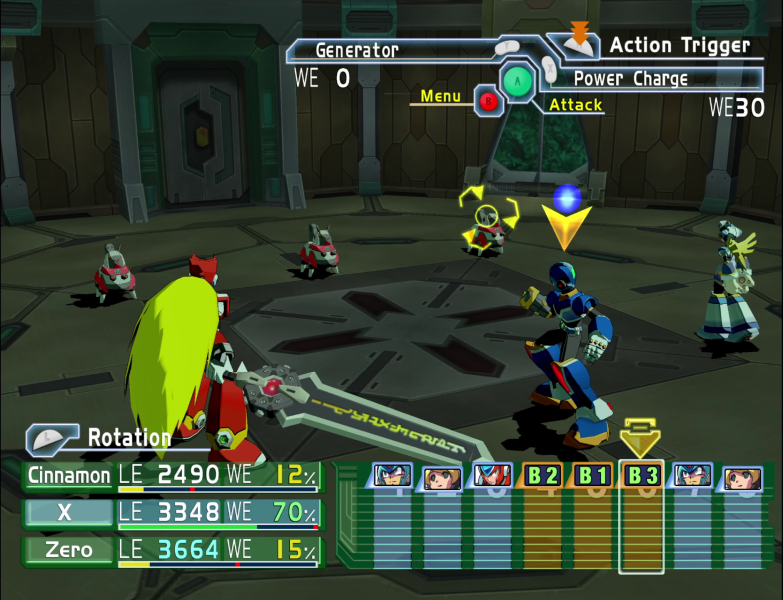
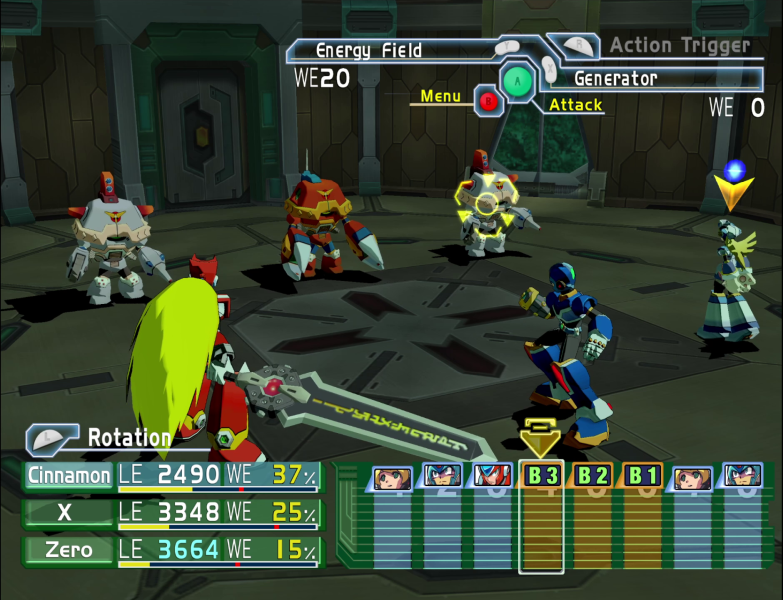
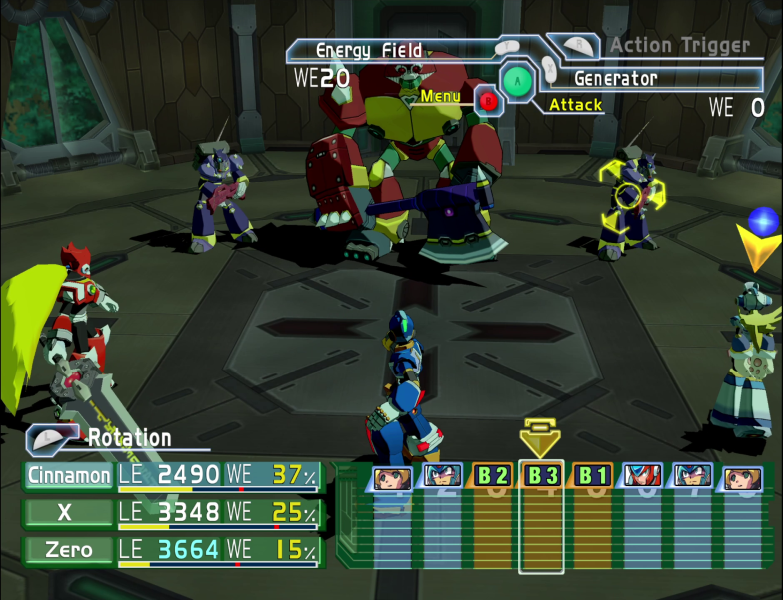
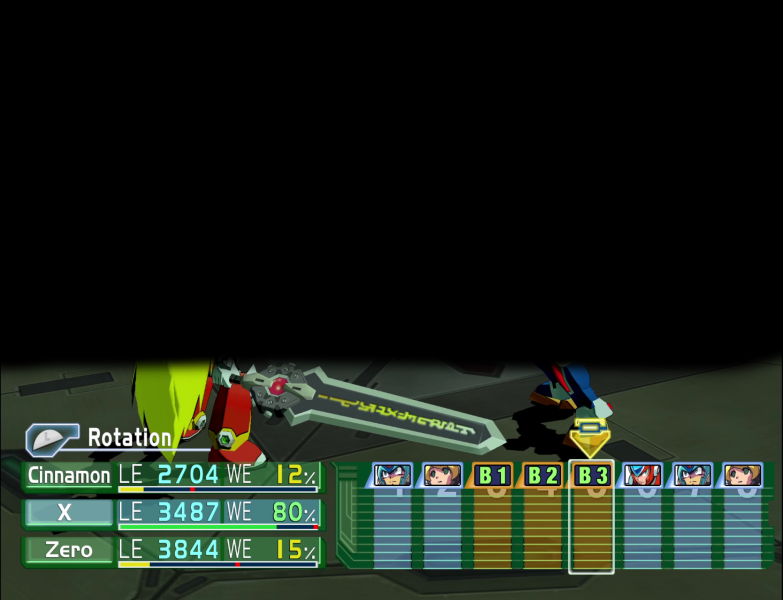
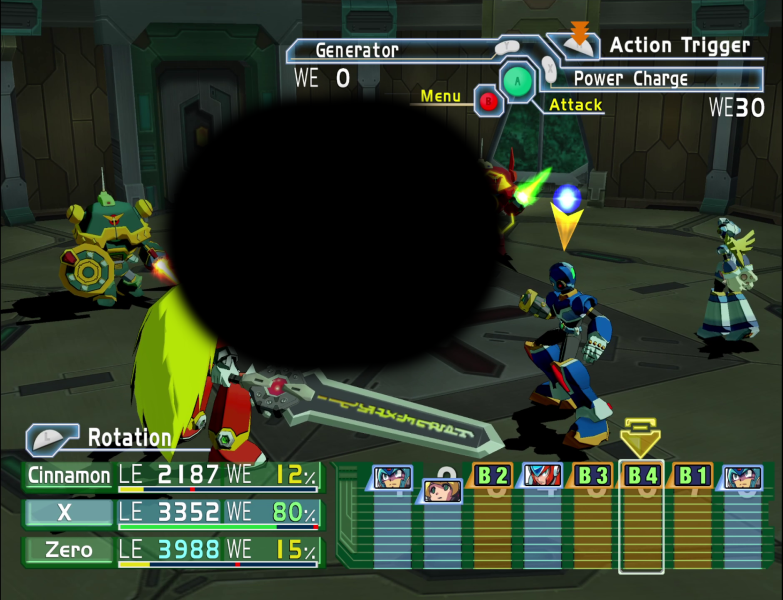
Battle 8: 3x Belladonna, also the only image this update of Zero's new Z Rapier+
Rafflesian's backup dancers weren't a threat the first time we faced them, and now they're an utter joke.
Zero can one shot them outright!
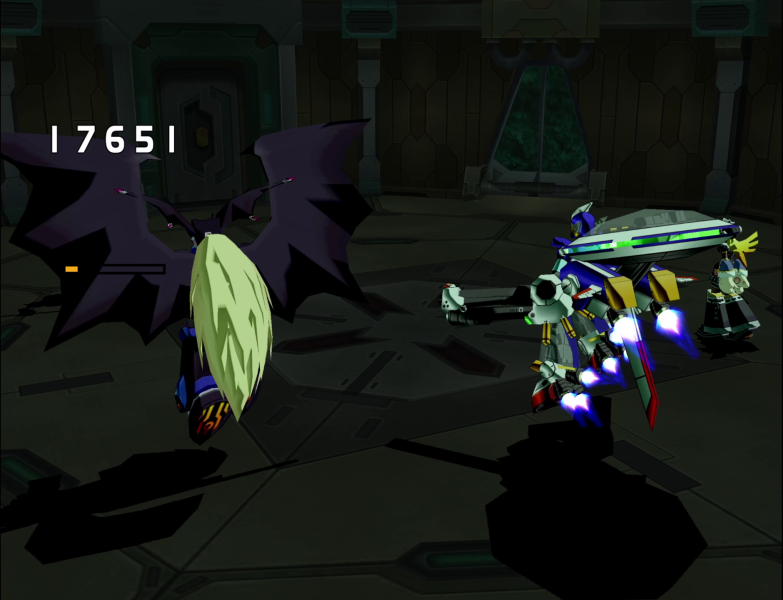
While X is a little bit behind, but a Final Strike cleans it up.

Reward: Tank Energy 100, 2000z, Stamina Missile, Tank Parts, Build Hyper (fed to Zero)
Total fights:
112
Total kills (sorted by first appearance):
Bat Bones x16
Wild Patrol Dogs x3
Preon Chasers x10
Sinedroppers x3
Preon Spark x19
Wild Rescue Dogs x2
Einhammer x1
Preon Bitmaster x17
D-Rex x3
Dober Man x2
Big Monkey x1
Preon Pod x32
Mettaur Commander x3
Preon Elite x1
Preon Gunner x24
Killer Mantis x6
Pararoid x25
Gulpfast x1
Super Tripuffer x2
Preon Hybrid x2
Preon Soldier x2
Preon Nurse x2
Preon Tanks x2
Mega Mantor x1
Preon Shielder x3
Rush Loader x9
Mettaur Counter x10
Liquid Glob x2
Fire Glob x2
Plasma Glob x2
Mega Tortoise x1
Preon S Botos x15
Mettaur Cure x8
Silver Mettaur x8
Gold Mettaur x8
Wild Dogs x12
D-Rex x2
Preon Doc x2
Preon Gunner II x4
Wolfloid x4
Preon Pressure x3
Preon S Ferham x13
Meltdown x2
REDACTED x1
REDACTED x6
REDACTED x3
REDACTED x3
REDACTED x3
REDACTED x3
Belladonna x3
Total rewards:
Tank Energy 25 x4
Tank Energy 50 x7
Tank Energy 100 x10
16500z
Cure One x4
Cure All x2
Backup x2
Treasure Token x8
Build Armor x3
Build Shield x3
Build Power x2
Build Speed x2
Build LE
Build WE x2
Joker
Item Capture
Get Zenny +
Get EXP +
Power Charge
Turbo Clock
Cryogenic
Stamina Missile
Bone Key
Build Hyper
Tank Parts
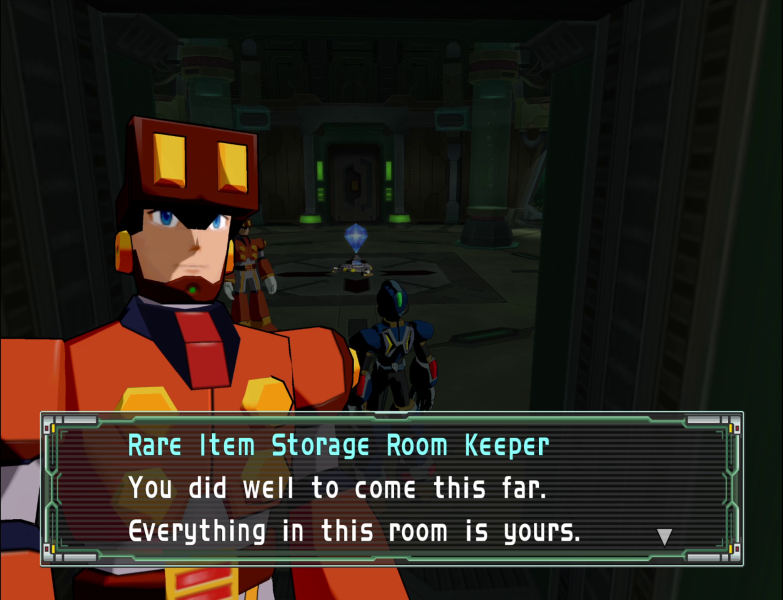
Fucking finally. This is almost entirely mandatory for 100%, by the way. All of them, except for 5 early routes, have item crystals which count towards Gaudile's Laboratory's treasure collection, and there's a Sky Room reward for getting all crystals.
All things considered, I probably could have done all of this just after Rafflesian, but at that point I probably would have been worn down by the later routes and forced to go back to base to refill Sub Tanks and Hyper turns, which would require me to go through the entire dungeon every single time I went back, and would have made me even more overleveled than I already was.
Waiting till now meant that the majority of enemies here just give a drop in the bucket in the face of current level requirements. Plus, it lets me get away with only redacting 6 enemies instead of the 25~ enemies that would have been unknown if I came in before going to Gimialla Mines.
Next time: