Part 3: Tutorial Campaign, Map One, Part Three
 Super long update ahead! Honestly, I just want to get this first map over with.
 First off, I forgot to show it in the past couple of updates, but Slava does have a biography we can look at.
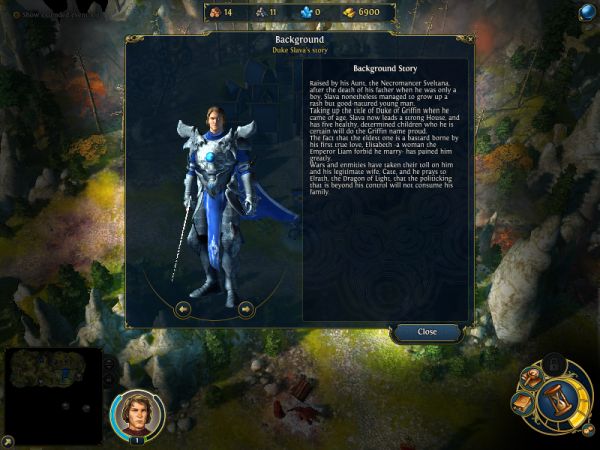
A few interesting tidbits that may or may not become relavant in the future. And in case you missed it during earlier convos, Slava is Duke Pavel's son. Slava has apparently been busy. Five children? Guess something good runs in the family.
At any rate, let's look at our town.
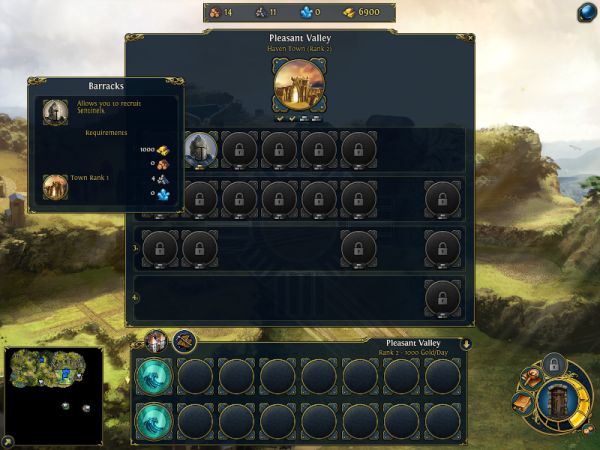
Town building is very simple. You choose the building you want to build, if you have enough resources, you build it. You can build one building per day per town (there's a skill later on we can use to circumvent that). Campaign maps will block us off from certain buildings till the very last few maps, though. In this case, the only thing we can build are the Barracks, which allow us to recruit 9 sentinels/week. You can hire troops every week, but you must send a hero back to the town to recieve them. Alternatively, they can be left in town to defend it in case of an attack, though we won't recieve one this map.
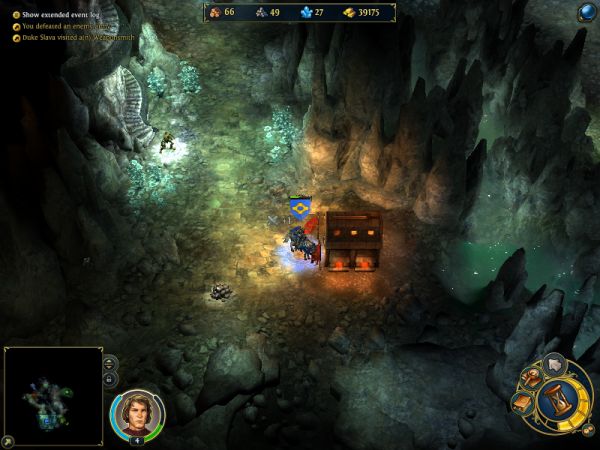
Slava now has a mission to flag all 4 mines on the map, and defeat the demon leader. While we're doing that, there are a couple of places of note.
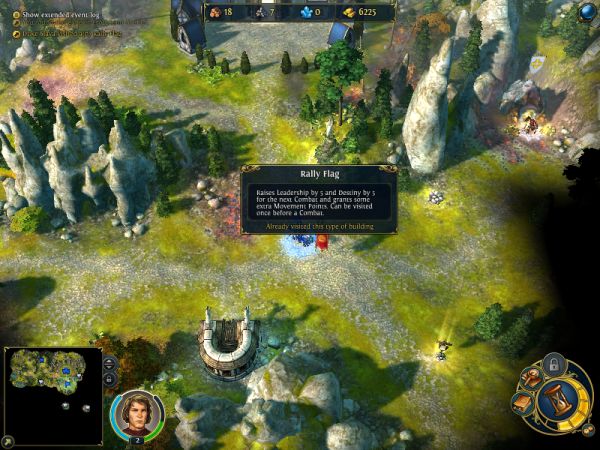
Temporary battle locations, like the Rally Flag, give a one-battle boost to your stats, like Morale. You can revisit them in between every battle, if you can spare the movement to do so.
The horseshoe-shaped building is a Stables, which provide visiting heroes with a movement boost for the whole week. This is a very nice building and should be visited whenever possible if it's not too out of the way.
There are demon packs guarding each mine. Some of them can be surprisingly tough, too.
Guarding the ore mine, along with some Maniacs, are Demented, their upgraded versions (this is also the first time we see an upgraded creature). Aside from some boost in stats, they also have a nasty ability that causes them to weaken our stacks' damage while boosting their own each time they attack.
Its effects show, too.
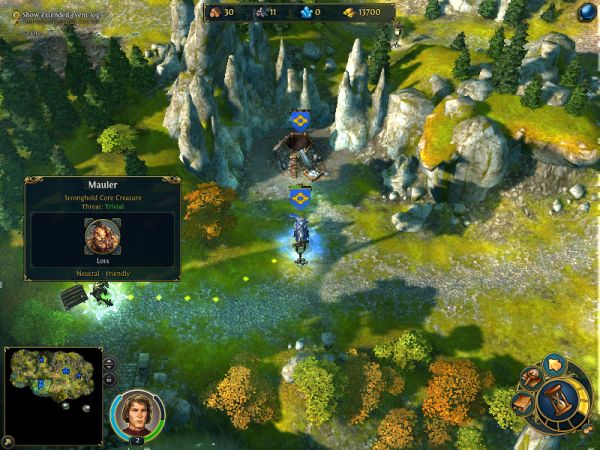
Hello, what's this? We get some free Orc troops, too. These are Maulers, the basic Stronghold Core troop. I'll talk more in-depth about them once we get to the Stronghold campaign, but they're basically just designed to go in and play whack-a-mole with enemy stacks. They have a nice passive that causes them to gain damage as they get hit (perfect for countering Demented).
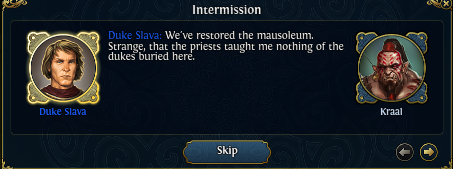
Near the ore mine, which is to the west, there's a broken bridge which can prompt a conversation.
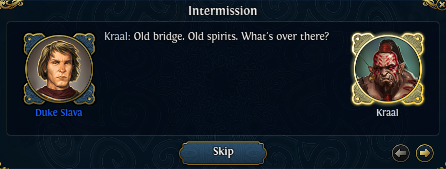
 A mausoleum. We used to bury our ancestors in the mountains where the griffins nest.
 Why 'used to bury'? Why not now? Hah! We've become more farmers than hunters... The lands beyond that bridge are mountainous and harsh. Besides, we converted to Elrath, the Dragon of Light. Since then we bury our dukes in the Hall of Heroes, in the heart of the Holy Empire. Griffin people changed their god? Dragon of Air or dragon of Light... Wind or sun, both dragons are facets of Father Sky. Maybe Griffin people not that different from Orcs. Heh heh heh. Don't let my aunt hear that.
Moving to the south and past the gold mine triggers another conversation.
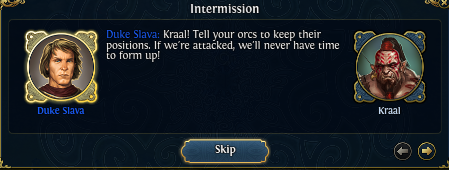 My Orcs!? Kraal doesn't own Orcs - Orcs are not slaves. You know what I mean. In times of war you need discipline! Hah! What does little babyteeth know about war? Only courage is important. Lines, order, formations... not Orc way. Just make sure they're ready we're attacked. Ready? Orcs born ready to fight demons!
We also get another stack of free Maulers up ahead.
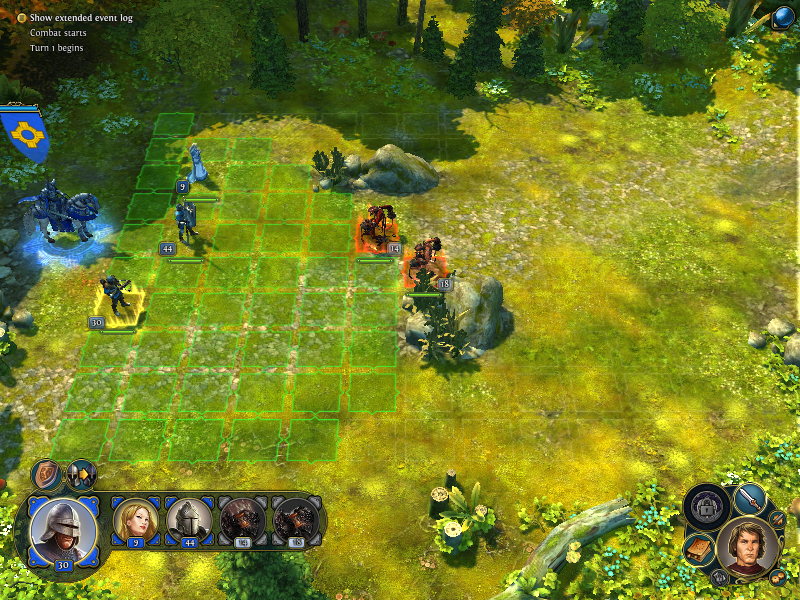
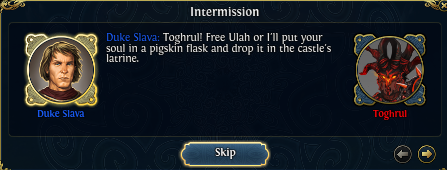
After that, there's a nice open area with 2 Crystal mines. More importantly, the demon hero is also there. Approaching her starts (yet another) conversation.
 Do I look like an Orc? Honestly, young man. Where is Toghrul hiding? Where did he take Ulah? Please. Are you telling me your scouts can't track a demon army? Let Kraal question demon. Kraal knows how to get answers. I will not become a demon in order to defeat them! And the only answer you'll get from a succubus' mouth is a web of convincing lies. Heh heh heh. Slava thinks with heart, then pretends to think with head. Yeah, Griffin not so different from Orc.
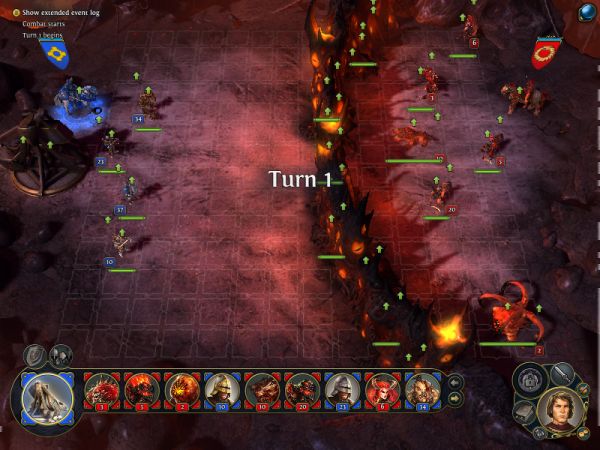
At any rate, we now do battle with Daeva.
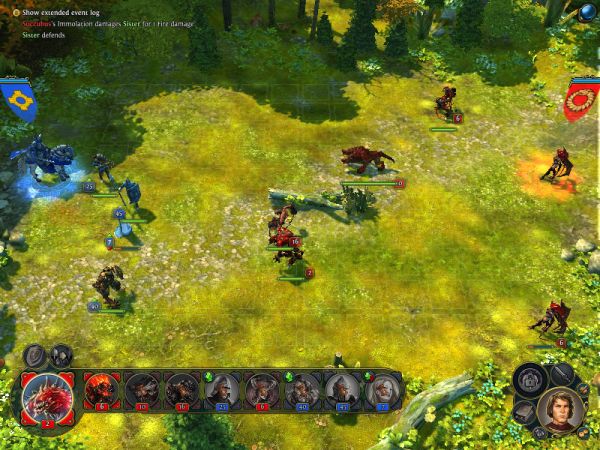
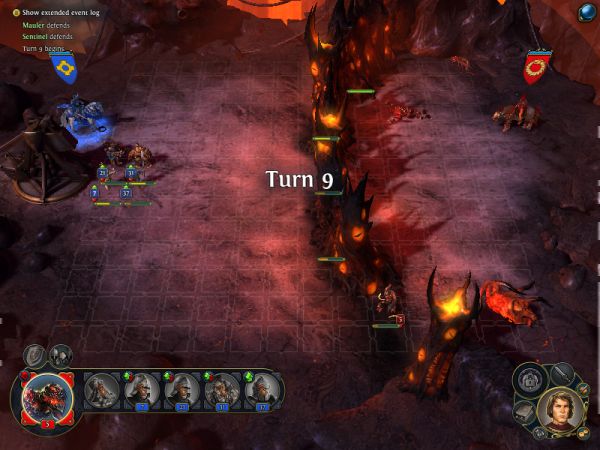
Daeva has a fairly tough army (her strength is listed as Average on the world map compared to ours), and it has some pretty nasty things. Aside from a whopping 30 Hell Hounds, she also has a few of another Inferno Elite, the Tormentor. It's a small, tough melee unit that gets stronger as it gets hit and can throw out a painful retaliation-free attack to enemies directly in front of it every couple of turns. Fortunately, except for the Hell Hounds, her troops don't have very big numbers. Playing smart and using Sentinels wisely can reduce the number of losses you take.
It's still a rough battle, and it's apparent by the losses. I lose my entire stack of Sisters, and quite a few Sentinels. Sentinels are eventually replaceable by our town, but our Sisters are gone for good.
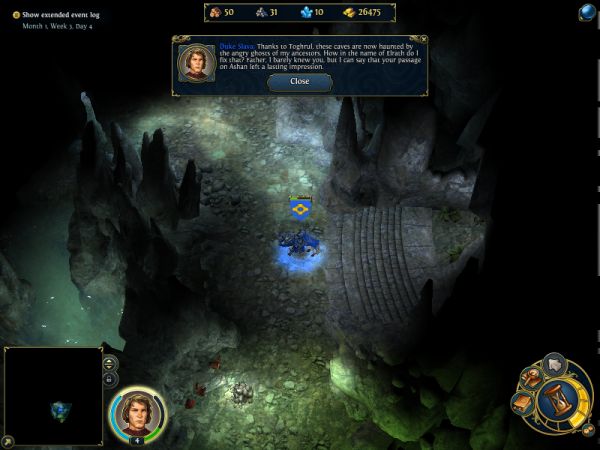
 Makes no sense. Toghrul demon now, not Orc. Cannot call on Ancestors. Ancestors are enraged with Toghrul. Could he force Ulah to torment my ancestors? Nnn! If Toghrul angers spirits of Griffin, Slava and Slava's children will be weakened. This must be it... he's going to our family's mausoleum, but nobody's been buried there for ages.
We immediately trigger another conversation after that one ends.
 Yes, she said 'never trust an Orc.' But I can't lead AND watch my back. I need something to improve the troops' morale.
 <Your father used to sing a song in battle!> Music? A song? Hmm... maybe.
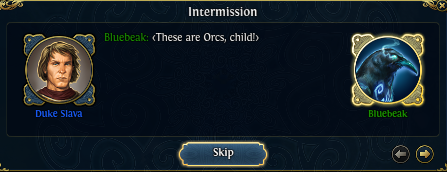
And instead of immediately dismissing Bluebeak, we get an optional quest to find the War Horn.
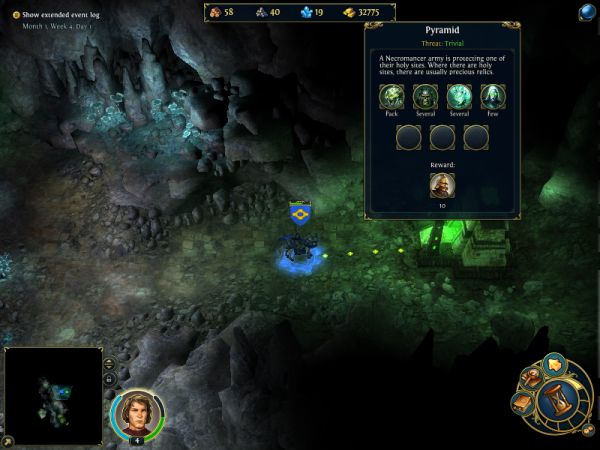
After going back to replenish our supply of Sentinels and visit the Stables, we do finish flagging the rest of the mines, which open the entrance underground.
The underground isn't that much different from the land above, aside from the decor. The key difference though, is that our movement points last much shorter here due to the rough terrain. Expect to travel only about half as far before you're forced to end your turns.
We also see our first glimpse of undead Core troops. From the Ghouls, which are standard melee troops to Ghosts, a more durable Sister-like troop that can't Pacify enemies, but has a nasty resistance to all damage till it makes its first move, and the Skeleton, a weak Archer that suffers from half range.
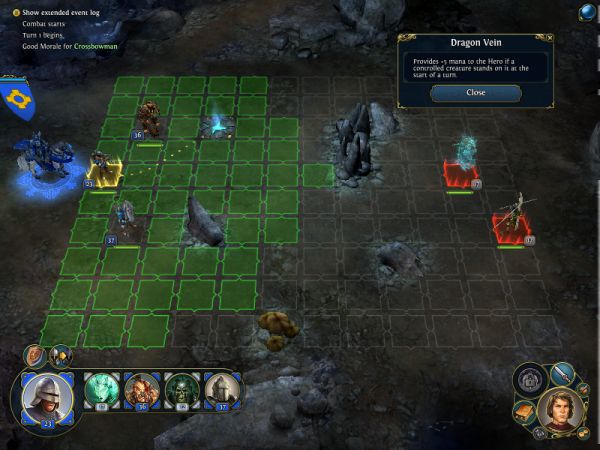
The screenshot also shows off the Dragon Vein, one of several possible battlefield objects that may randomly appear. These objects trigger an effect when a stack ends on a turn on them, and can be done so multiple times.
Killing the first stack of Ghouls also allows us to get the War Horn, finishing the side quest.
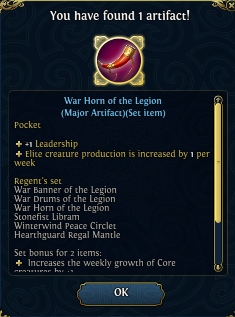
The War Horn is our first Set item, which means that it is part of a set of similiar items, and equipping two or more can trigger additional set bonuses. The Horn itself isn't too special, other than a nice boost in Morale, since we don't have any Elite troops yet.
We have another exchange after we pick up the Horn.
Nice horn. Can Slava blow it? Give troops courage of Father Sky? Maybe... if we're lucky it'll raise the troops' morale. Hmmm... how you know? Would you believe a little bird told me?Just going a little bit up ahead has our next encounter with our orcish demonic friend.
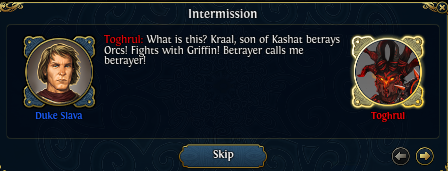 Toghrul is worse! Become demon, greatest enemy of Orcs.
Toghrul vanishes after that. Darn, and I was hoping we could quickly finish this map, too.
There's yet another conversation just a bit ahead.
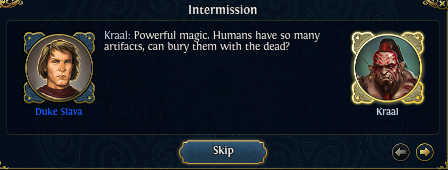 What better way to honor them? It's not the sword that makes the man, it's the man that makes the sword. Ancestors better remembered when sword fights in hands of their children! When Kraal swings blade, srength of father swings with me. Kraal is edge, ancestors are iron. Get artifacts, Slava. Ancestors don't need them.
After the conversation ends, Slava also get a one-liner:
I pity you, Toghrul. Even if I kill you, you'll just be sent back to Sheogh to be reshaped anew, and come back to haunt us till every last Griffin is dead. I have to bring peace to my lands and to your soul once and for all.In the meantime, Slava's hit level 4, so I might as well talk about skills. Every level up, your Hero gains a few stats, which are nice. More importantly, they get skill points, which can be spent on various skills and spells. Being the tutorial campaign though, we only have one tab of skills to choose from, and no spells.
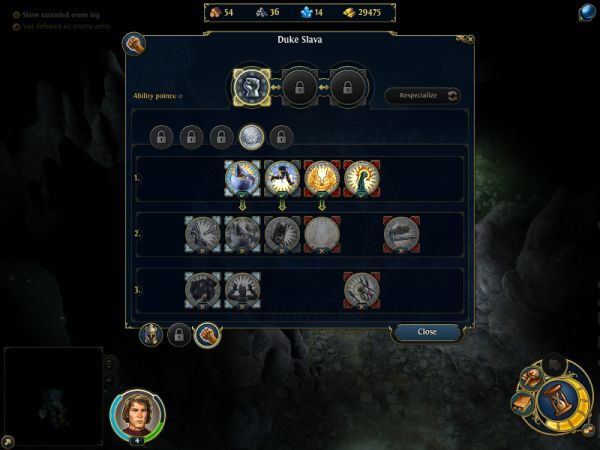
This is what we have to work with. Note that only Might heroes like Slava can access the third tier of skills, and only Magic heroes can access the third tier of spells. Heroes get access to the second tier at level 5, and the third tier at level 15.
Our four current learnable skills are, from left to right:
- Stand Your Ground, which was covered in the last update. It gives a little Might defense and an extra retaliation to the chosen stack for 3 rounds, and it has a cooldown of 3 turns.
- Rush, which is a very handy skill. It not only gives a nice Initiative boost to a chosen stack (giving them the change to outspeed certain stacks or to just go earlier), but also increases their movement by a massive 50%. This means our Sentinels go from moving 5 tiles to 8, and so on. It's a great way to close the gap or to grab the enemy's attention before they can move too close to your shooters. Again, it has a cooldown of 3 turns.
- Heroism, which gives a boost to Morale and Might damage. Solid buff for any Might troop, as it increases both damage and the chance of getting an extra turn. Don't waste it on small stacks though, as the damage buff is percentage based.
- Merciless Assault is an interesting buff that ensures the selected troop deals the maximum damage of its damage range for 2 turns. (It still has a cooldown of 3, though). This is great for Maulers, as it has a wide damage range.
Another thing is that the first two skills are Tears skills, and the latter two are Blood skills. This is the first and most minor way to affect Reputation. Using a Tears ability raises Tears reputation by 1, and likewise for Blood. We can't really do any of that with Slava, though.
A short side path off the main curve through the tunnels leads to this building. There are a few of these types of locations, and they offer a reward for defeating a number of troops. In this case, we get more troops, so why not? The fight isn't really too difficult either way
We get 10 Marksmen, the upgraded version of Crossbowmen, as our reward!
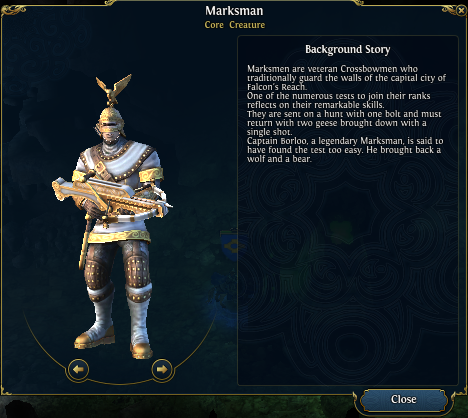
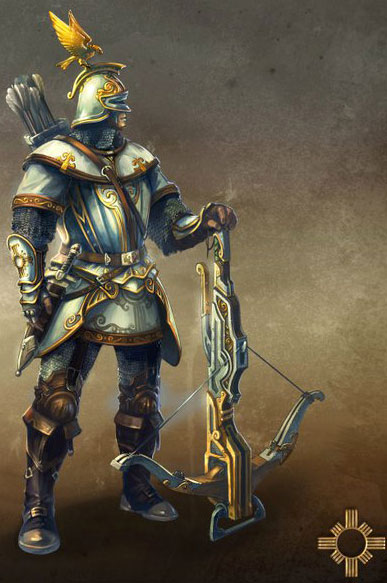
    Marksman
    Damage: 3-5 (Might)
    Defense: 4(9%)
    Magic Defense: 1 (5%)
    Health: 28
    Initiative: 35
    Movement: 5 (Walking)
    Range: Full
    Destiny: 6
    Morale: 7
    Cost : 110
    Growth: 12/week
    Abilities: Armor Piercing, Piercing Bolt, Living
Piercing Bolt posted:
Marksmen have become masters of the crossbow and learned lethal techniques allowing them to make maximum usage of each of their powerful bolts. Not only do the front lines of their enemies fear their piercing strikes, but those standing behind their target must remain extremely wary.
Piercing Bolt is sort of a double-edged sword. What it does is that it allows Marksmen ranged attacks to hit all enemies in direction of its target shot for full damage. Unfortunately, this also includes allied troops, so it does force you to think about troop positioning a fair amount more. Allied troops right next to the Marksmen stack are not affected.
There isn't too much to say about the neutral stacks along the path. They're mostly Undead cores in small stacks, and guarding small amounts of resources.
Near the end of the tunnel is... hello, what's that?
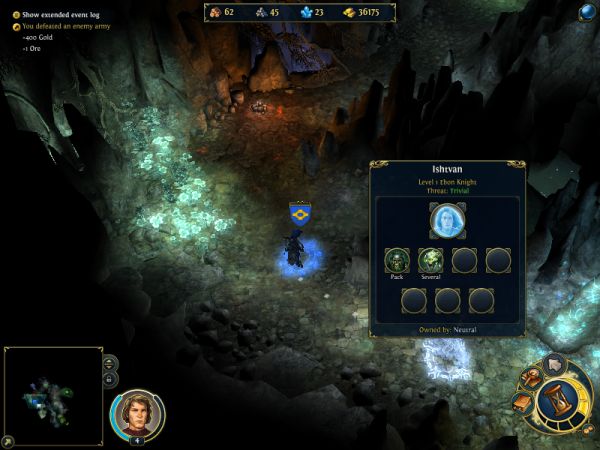
 Told ancestor. Slava is good duke. Follows heart, give honour to Father Sky, even when speaking of Elrath.
Right, uh... who are you talking to?
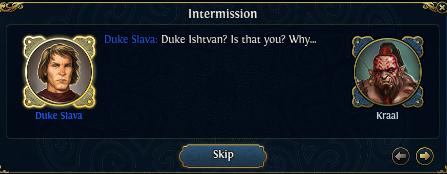
 Beware Elrath and his pompous Angels. I died fighting that feather-loving Brian Falcon, who was trying to impose the worship of his blasted 'Holy' Light upon our clan. Duke Ishtvan, you may rest in peace. It is my duty to protect our lands. Whether our people pray to the Air or Light, they are safe here. It's bad enough having Aunt Sveltana on my back... now there's a great great grandfather spewing ominous warnings.
Too bad for you, Slava.
There's not much at the end of the tunnel, though there is one last stat boost to grab.
Emerging into the sunlight gets us... what else? Another conversation.
 Hollow threats! Empty like Pavel's heart. Tonight Toghrul feast sleeps in old Griffin bones. Tomorrow feasts on new ones. You'll find it hard to gorge yourself without a head. Toghrul! You've desecrated the bones of my ancestors. I swear by Elrath I'll restore them to their glory.
Not much else to do but visit the nearby Rally Flag and attack Toghrul in his town.
This is our first proper siege battle. Our enemies are holed up behind walls, which are impassable by our melee troops and give everyone behind them an automatic 50% defense against ranged attacks and hero attacks. The walls have about 8 structural health each, and any unit that attacks a wall inflicts 1 structural damage, regardless of how strong the stack is. Doing enough damage breaks down a wall, allowing stacks to pass through the empty space.
We also have a catapult on our side, fortunately. At the start of every round it will target a random wall for 3 structural damage. Not really very reliable, but at least we don't have to do anything for it. There's also a Siege gate in the center of the gate which the enemies can use at will (it'll close up without any enemy units standing on top of it, unless there are corpses blocking it from closing). We'll be seeing a fair amount of Siege battles through HoMM VI, and they do require different strategies at times. This first one is fairly easy, though.
We also get to see the final Inferno Elite unit, the Breeder, seen on the bottom right. The Breeder is a bit of a joke of a unit, as it's a ranged unit with half range and not doing much more damage than the Succubus. It can drain mana from Slava to Toghrul, but Slava doesn't have any spells and Toghrul doesn't even cast any, so it's no issue.
We basically just pick off the units one by one using our Crossbowmen, Marksmen and Slava's physical attacks, while the Maulers and Sentinels wipe the floor with anything that comes out of the gate.
Regarding big creatures, like the Hell Hounds, the Marksmen's Piercing Bolt does play a factor on which 'tile' of the 4 they occupy you aim at. For instance, aiming at 3 out of 4 times of the Hell Hound causes them just to hit the Hell Hound...
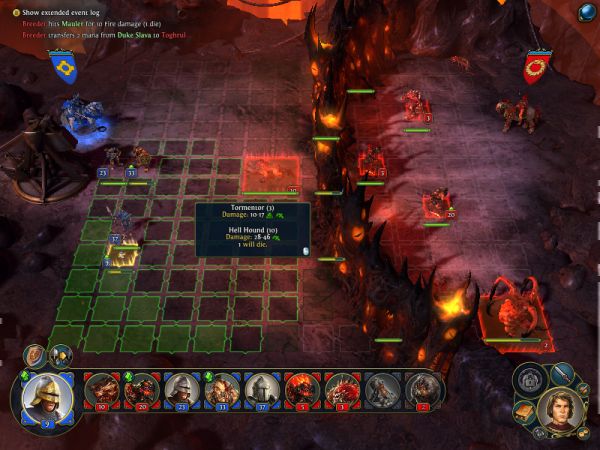
But aim a certain tile and it lines up nicely to get a shot at the Tormentors as well.
The battle really isn't very hard. After the first few rounds where the Hell Hounds and Demented come out to be slaughtered, the rest of the troops just stay behind the walls and Defend, even as you casually pick off their troops. The only incoming damage comes from the Succubi and Breeders (who are easy enough to kill) and Toghrul's own melee attack, which doesn't deal that much damage, and you can mitigate it with your Sentinels.
When the walls finally fall, the AI finally moves its troops out, but by then it's too little too late.
After we finish the fight, with no clue to what happened to Toghrul, we have to convert the Inferno town.
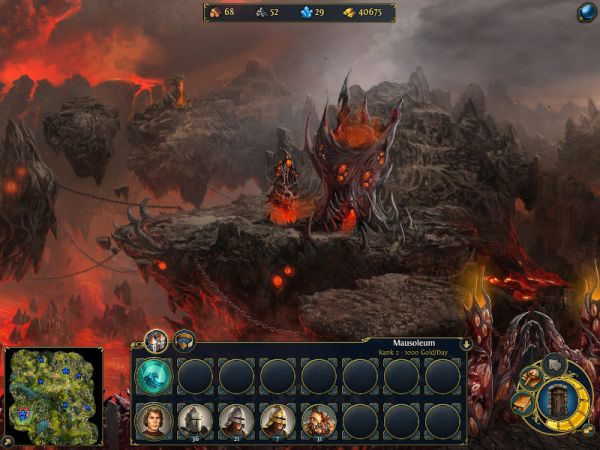
First, a shot of the Inferno town screen.
Converting is a new feature of HoMM VI. In previous games, towns are set to what they were when the game started. A Haven's a Haven, an Inferno's an Inferno, and so on. So if you conquered a town, you might not use it much if the troops inside are useless.
In HoMM VI, using resources you can 'convert' a town to your starting alignment, with all buildings inside converted to their equivalent as well. It costs more resources the more buildings you have to convert. We have plenty of resources for this one though.
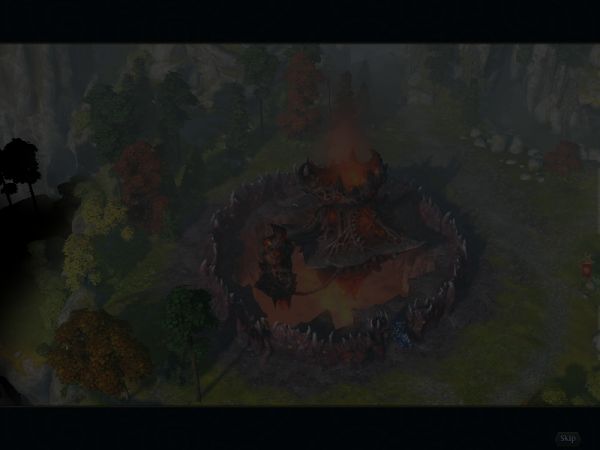
When you convert a town, we get a little shot of the town pre-coversion...
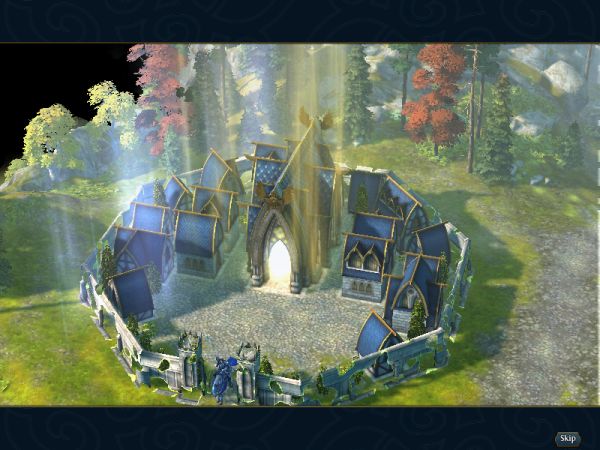
And post-conversion, a Haven town for our use.
 Not good. Griffin should come here, honor Griffin fathers. Good place - spirit of Father Sky is strong here. Kraal! How is Ulah? Strong spirit. Will see many more summers. But Ulah won't go home. Too many Orcs die here. Ulah walks with their sprits to show them way to Mother Earth. Why don't you all stay? The lands are harsh, but there's plenty of game.
Wait what
You just 'restored honor' to your family's ancestral buried grounds and now you're giving them away what
Hmm... Regent Sveltana won't be happy... The Duke has decided. If you accept my offer, you have my word. Done! Orcs stay with Ulah. Kraal and Slava will hunt together! Promise me you won't hunt griffin! Bear, wolves, deer... anything else you want... Heh heh heh. Kraal promises. Orcs never hunt griffin, especially ones on two legs.Well, time for a scolding.

 You just offered a tribe of wandering Orcs a few hundred acres of our ancestral lands? <Your father is screaming in his grave!> Aunt Sveltana... Kraal is not just an orc, he is also my friend. It was the right thing to do. You made a decision, followed your heart, chose your path. Hmmmm... I think it's time I gave you this. My father's sword! Not just your father's sword Slava. The ancestral sword of the Griffin. It carries the story of every Griffin duke that has ever held it. You are the point of the sword... but our dynasty is its metal. Thank you Aunt Sveltana. You should really meet Kraal. You two have a lot in common...
The whole family's nuts, I say.
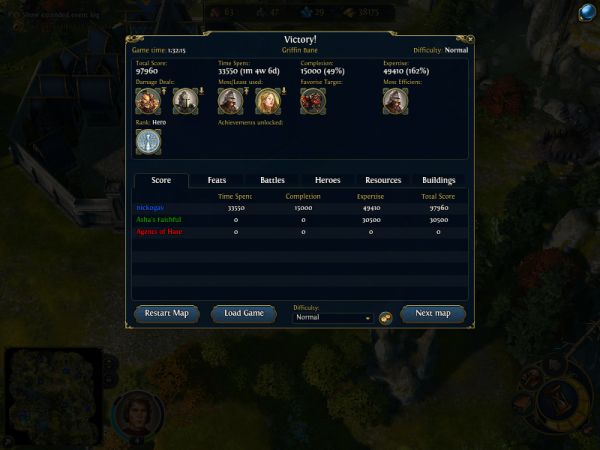
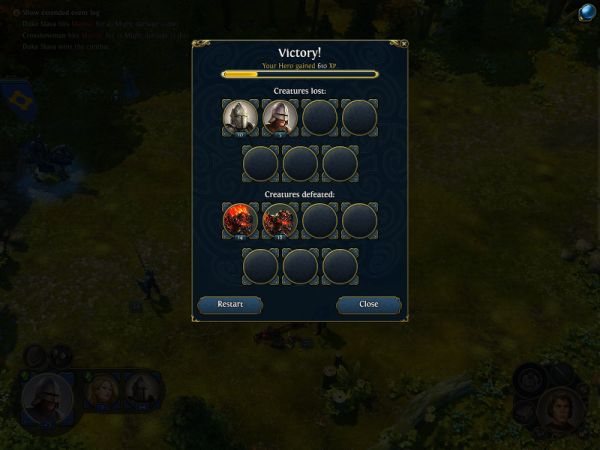
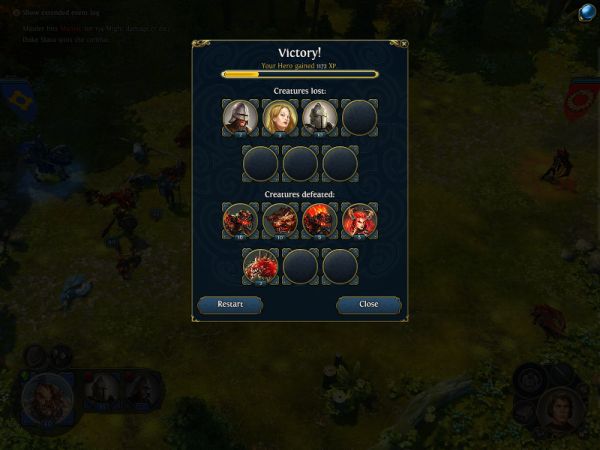
It's over? It's over!
You get a little table showing how well you did during the map. Little statistics too like which troop did the most damage, the most efficient troops (usually your ranged troops, since they get hurt the least), and so on. Your rank is your final standing on how well you did- Hero is the best rank. It's a combination of difficulty, time taken, number of resources picked up, how much you explored the map, the number of neutral stacks beaten, and how few losses you took during the map. Expect me not to get Hero in every map, though it's a lot easier to do so on higher difficulties.
We still have one more map with the Tutorial Adventures of Slava though. Joyous!
