Part 47: Inferno Campaign, Map Three, Part Two
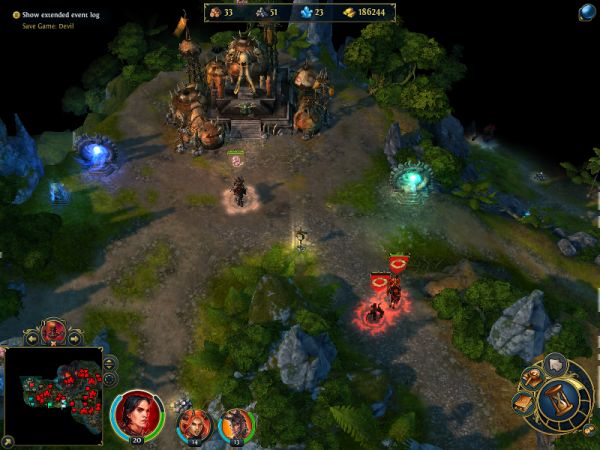
Where were we? Ah right. There's a One-way Portal near the town we just conquered that leads back to the exit we saw earlier, and our next order of business is down the tunnel near the exit.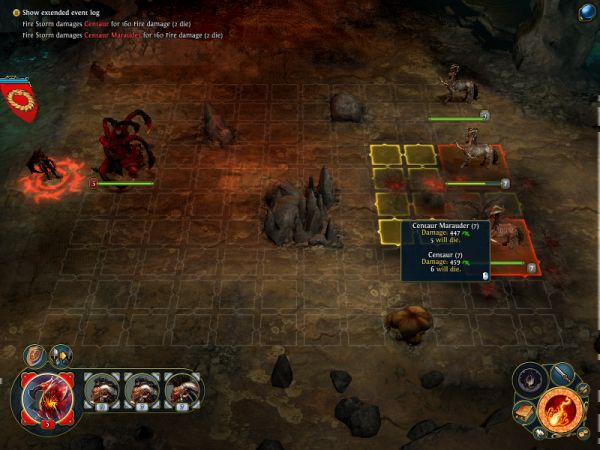
I graduate Xana to using Breeder Mothers instead of Lilim - they have higher Initiative, and their Proliferation comes in handy while Xana doesn't have Reinforcements yet. Their stacks are still a little too small for now, so Xana is still doing most of the work with her Fire spells.
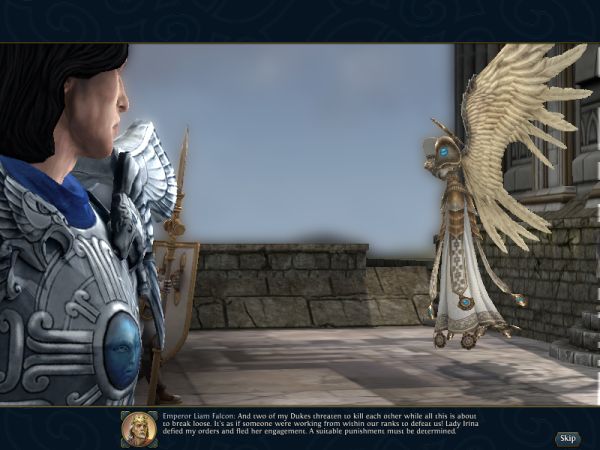
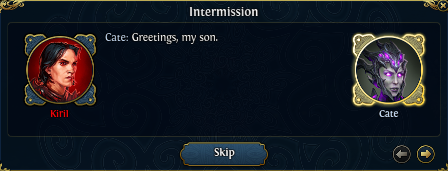
 Kiril... are you having trouble sleeping again?
 It's that thing... stalking us in the night. I can feel it searching my mind while I sleep. It's looking for something... something I am afraid of. Come back to sleep? I'll scratch your back. Now there's a scary thought.
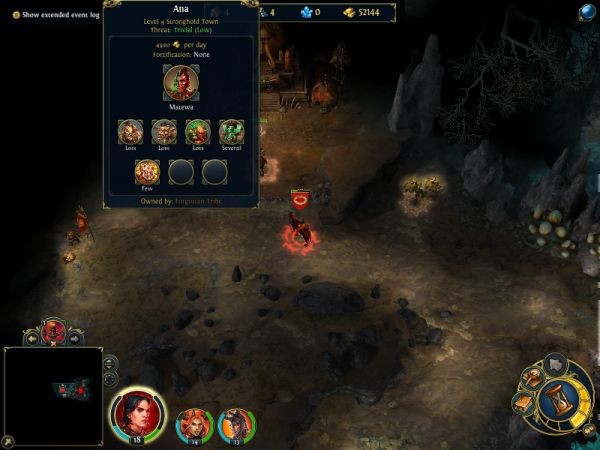
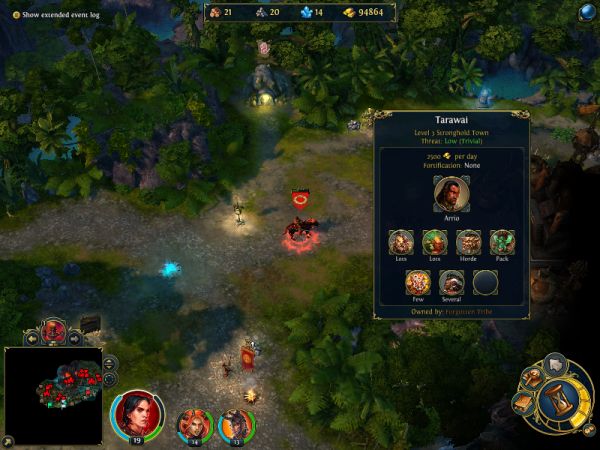
Our next easily conquered town found in the underground.
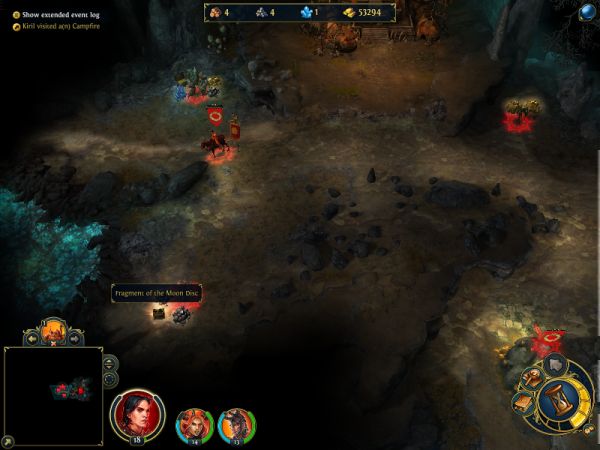
Our second Tear fragment is here as well.
It's searching my dreams... trying to find something I fear more than anything else. You... lost your father... and your sister... I heard you shouting their names. Anastasya. She was that Necromancer girl I saw with your aunt, right? Yes. Death is not what I fear most. Whatever is hunting us... it's getting closer to the truth.Another Point of View (YouTube via Polsy)
Hrmm. Curiouser and curiouser.
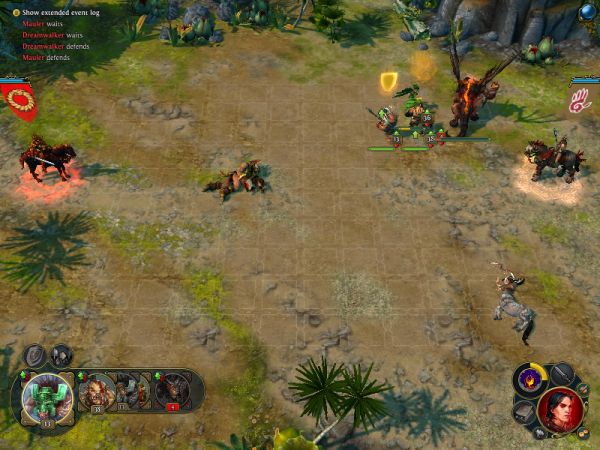
(There isn't really much to say this map actually. It's mostly just Pit Fiends killing lots of Intimidated neutral stacks and enemy armies.)
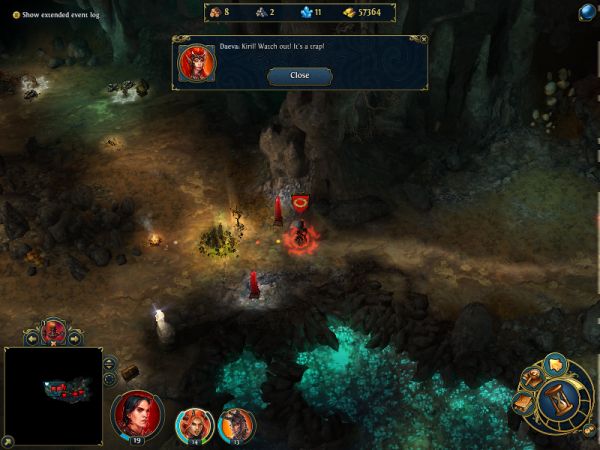
 Kiril! It's a trap!
If we head to the west, we can find another exit from the underground back up near the first Orc town we conquered. There's a trap along the way though - just 40 Dreamwalkers. Potentially dangerous if you're using a Hero with a small army, but Kiril or even Xana should be able to handle it - you don't even need to go this way at all, since our next destination is another exit southeast from the underground town.
Meanwhile, I've bought the Pit Fiend building back in our main town, which means we're just killing that much more swiftly. I also eventually buy the Juggernaut upgrade.
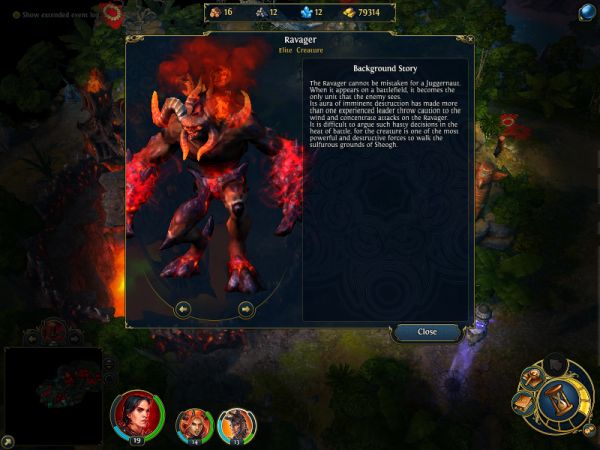
Biography posted:
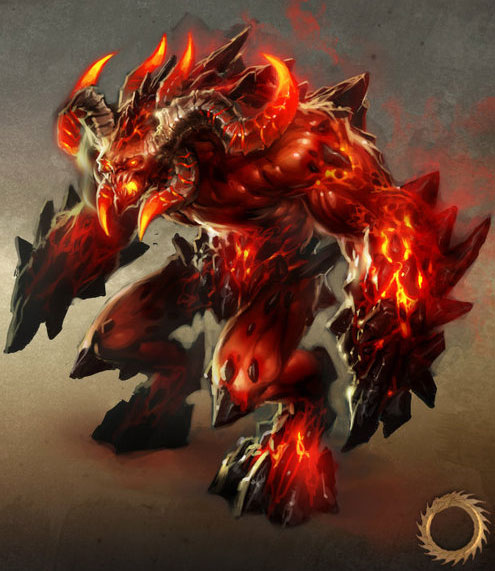
The Ravager cannot be mistaken for a Juggernaut. When it appears on a battlefield, it becomes the only unit that the enemy sees. Its aura of imminent destruction has made more than one experienced leader throw caution to the wind and concentrate attacks on the Ravager. It is difficult to argue such hasty decisions in the heat of battle, for the creature is one of the most powerful and destructive forces to walk the sulfurous grounds of Sheogh.
    Ravager
    Damage: 18-21 (Might)
    Defense: 17 (32%)
    Magic Defense: 13 (26%)
    Health: 100
    Initiative: 55
    Movement: 7 (Walking)
    Range: None
    Destiny: 12
    Morale: 6
    Cost: 630
    Growth: 5/week
    Abilities: Large Creature, Organic Armor, Unstoppable Charge, Taunting Presence, Fireproof Skin, Vulnerability to Light, Living
Taunting Presence posted:
The Ravager’s presence on the battlefield is so impressive that all enemies around it consider it to be the only force capable of determining the outcome of the battle. This magical aura of imminent destruction acts like a beacon and the Ravager draws all attacks towards itself, even when a closer and more dangerous foe is standing right next to the aggressor.
Enemy creatues within two tiles of the Ravager may only attack the Ravagers. Does not work on creatures immune to Mind effects. If there are multiple Ravager stacks affecting one stack, they may attack any potential Ravager stack.
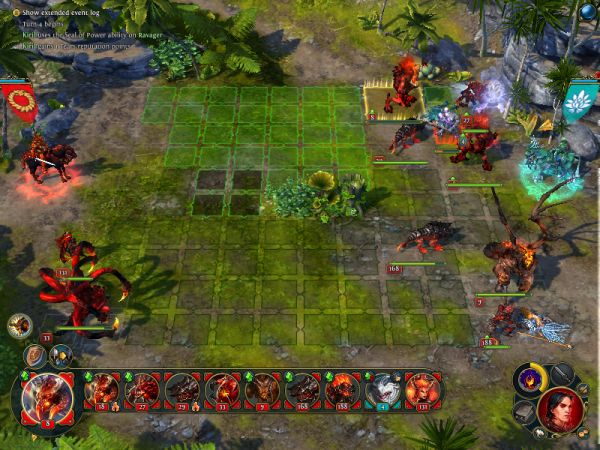
The Ravager's stats continue to impress, with top-of-the line Health (tying with the Dreamweaver and Earth Elemental), Initiative (tying with the Kappa Shoya/Kirin) and Movement, as well as its already impressive damage. All that and in conjunction with its Taunting Presence. Taunting Presence is great for forcing enemies to avoid hitting your more fragile stacks, like Lacerators, and to the much more durable Ravagers. There's no doubt it's a good combination (in fact, I find a way to abuse Taunting Presence this map), but it just lacks that extra oomph, I find. The Ravager either needs Unlimited Retaliation, or Counterstrike II and III. If the Inferno had access to Light or Water Magic, they could combine it with Retribution Aura or Ice Armor, but sadly they don't - they do have Fire Shield, at the least. The Ravager is pretty nice; it won't be doing as much damage as the Cerberus or Lacerator, but I suppose it fills its niche decently enough.
Upon exiting the tunnel, we find the mum that seems to be everywhere lately.
 I have no mother. She abandoned me.
 I didn't abandon you, Kiril. I went looking for my brother, and found myself. What happened here? This is not my work, Kiril, nor that of the Angel you're chasing. You are well informed. I see signs of Malassa. Is she your new family? Kiril. You must stop the Angels from destroying the Invisible Library. They have no idea what Dragons they'll awaken. I just want to catch Sarah. The Library isn't my problem.
We've been chasing Sarah for three maps now. Given what we've learned in Anton's second map, we still have no idea what she was up to, why it worked, and why she's still continuing to evade Kiril while searching for the Library. We should really force out some answers when we finally catch her.
There's another Dreamwalker ambush along the way, of little bother.
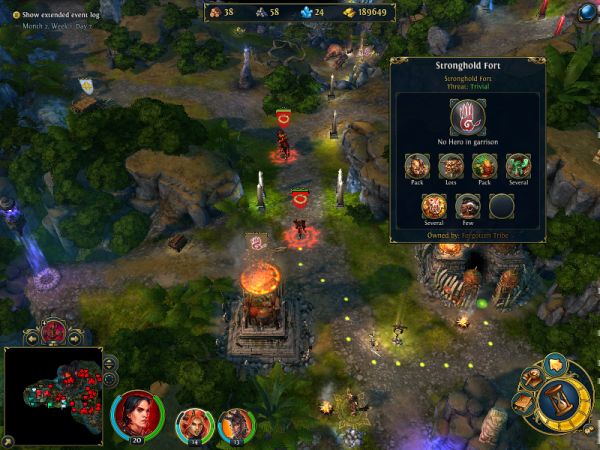
Our next Stronghold capture is just around here.
The Stronghold's Magic Heroes are pretty much their only means of causing us losses while Intimidation is in play. A Regeneration easily solves that while we laugh at their small helpless armies.
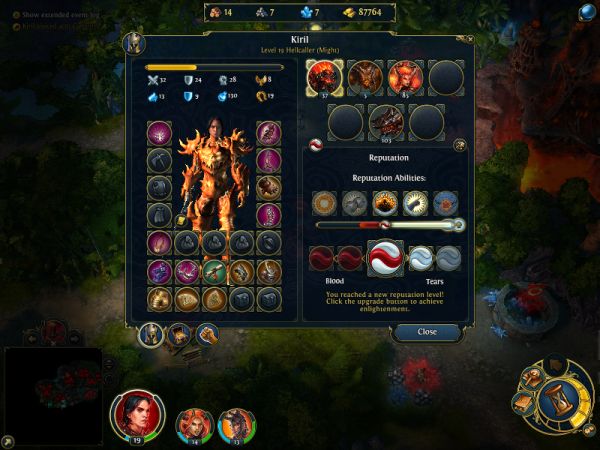
We've also gotten enough Reputation points to graduate Kiril to his level 2 Reputation. So we'll take a small detour to talk about the four possible skills.
Seal of Power posted:
Seal of Power
Tears Might II
Active, once per battle
Links the gated stack to its original stack. At the end of the battle, the gated stack is used to replenish losses in the original stack. Unable to increase the original stack numbers beyond their numbers at the start of the battle, and the effect fades if either the original or gated stack is destroyed (even if the gated stack is destroyed then re-gated).

Seal of Power is a great asset while creeping, as it allows us to save large potential losses that would have taken loads of time and Mana to heal normally. It's also handly when dealing with moves that would otherwise be unhealable, resulting in losses, as Seal of Power will still heal those.
Mark of Chaos posted:
Mark of Chaos
Blood Might II
Active, once per battle
The next 4* attacks on the enemy target stack will automatically be critical hits.

Mark of Chaos is a simple move that results in a large potential power boost - automatical criticals means twice as much damage, which is really nice. It also means a guaranteed 4 fills to the Gating gauge at least. The Chaos Lord already has a passive that boosts the power of critical hits, so that just makes this ability even sweeter.
Abyss Gate posted:
Abyss Gate
Tears Magic II
Active, 70 Mana, once per battle
Target stack creates a portal to Sheogh, then returns the next turn having recovered 2477* health worth of creatures. Unable to heal beyond its original numbers. If the portal is destroyed before the next turn, the stack will only return after the battle ends (if it is won).

Abyss Gate is a very potent healing ability, but it's also situational and has the potential to go awry. Either use the Wait trick or make sure the portal will be well protected before using it.
Armageddon posted:
Armageddon
Blood Magic II
Active, 80 Mana, once per battle
Summons a rain of meteors over the battlefield. Hits all non-Inferno creatures for 736* Fire damage and all structures for 2 structural damage.

The classic Armageddon spells is back, now only in the hands of the Inferno. Hitting all enemies is very nice (unless they're Inferno themselves), and it pairs nicely with the Immolation talent from the Fire tree, though the steep Mana cost is not for the faint of heart.
Alright, now back to the map.
Why did Kha-Beleth give you to me? So I could learn something... so I could understand how you think. So you could seduce me? Control me? You're an attractive and powerful man, Kiril. I don't need an order to remain by your side. Just how close you'll let me, is for you to decide.Oh dear. This isn't going to end well, is it?

South of the last Stronghold town, is another Fort prime for the taking.
And yet another Stronghold town just to its east. (I'm swimming in Gold right now, and trading most of it for resources to keep building these towns).
Oh hey, finally another invasion! And a Sanctuary one, too! Guess they finally stopped being idle.
It's not really a tough fight, but you might actually lose some creatures if you don't watch yourself since they're Magic Heroes and naturally being the Sanctuary, their armies are fast (though your Ravagers speed tie with their fastest creatures, since they don't have Sacred Kirin). I use Seal of Power to recover my Ravagers after the battle, for a perfect win.
We're just about done with the east side, so we can go all the way back to our main town and proceed west from there. There's a Fort quickly in reach, with a Core and Elite creature dwelling within striking distance.
And just to its west, the final Stronghold town. There are a couple Portals here as well that will be of interest to us very soon.
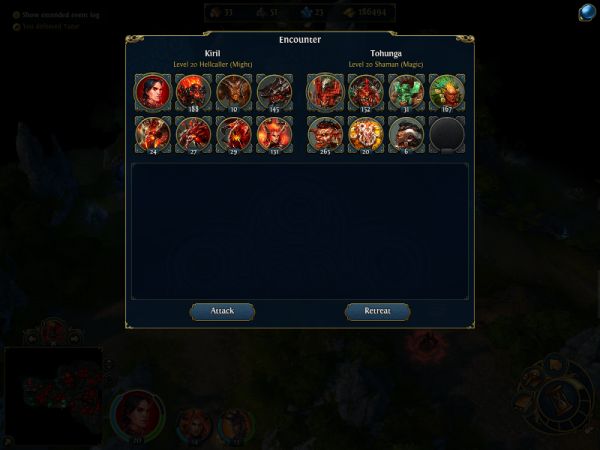
Tohunga is probably the first (and last) Stronghold Hero that could actually pose a challenge, if you pushed west too early. He never leaves his town, though, and it doesn't have a Fort, which is just bad news for him.
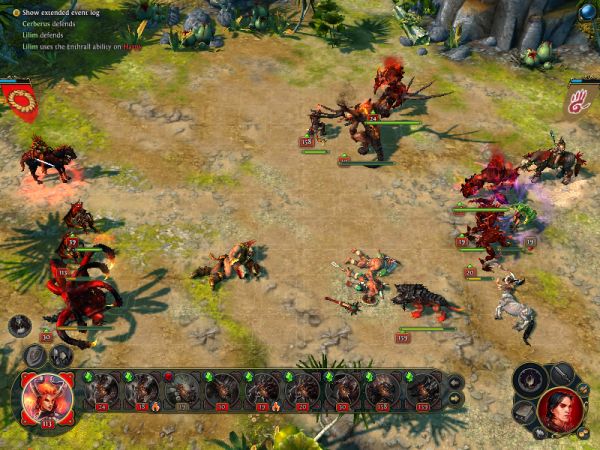
Tohunga has several potentially nasty spells, like Chain Lightning, but it's relatively easy to just use continuous Enthralls while recovering as much as you can using Regeneration/Seal of Power. I lose a small number of Lilims (12) here, which makes it one of only two battles where I lose creatures this map.
We'll mop up the rest of the map next time, where there's plot! Sort of.