Part 9: Eyes On The Prize At ARATUS
Agent Interrobang posted:
This game looks hella fun. The ZOC mechanic adds a lot of strategic complexity to what otherwise looks relatively straightforward, and I like the rather realistic military bent of having to make do with units that aren't entirely suited for the job. Even crummy units like Lenets can be valuable players because of this. Good design all-round, crazy-ass RNG aside.
Yeah, I really wish more strategy games would do this. The only one I can think of off the top of my head is Operation Europe - the only way to get new units is to ask for them, wait a few turns for a response, hope the higher-ups are in a good mood (they usually aren't), and finally wait for multiple turns for them to arrive.
---
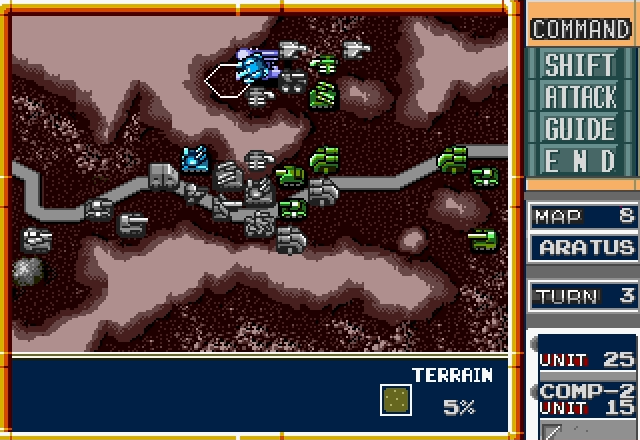
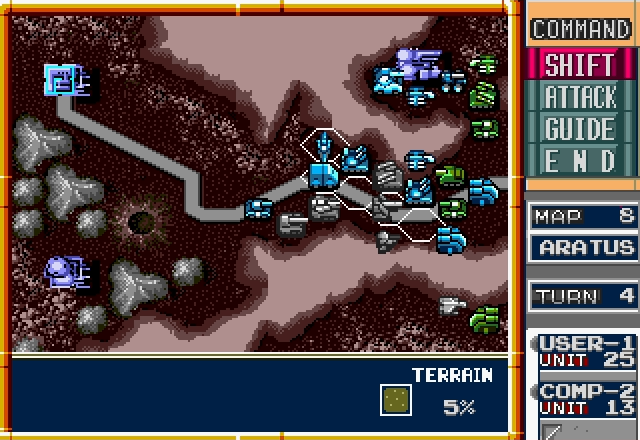
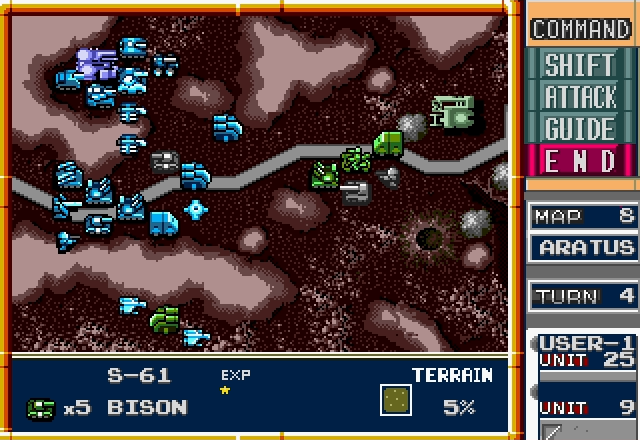
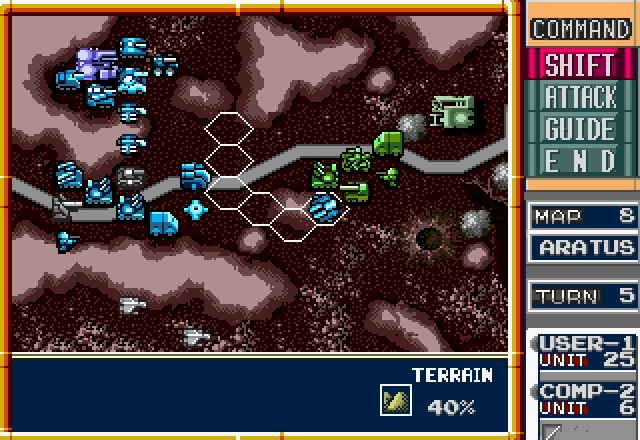
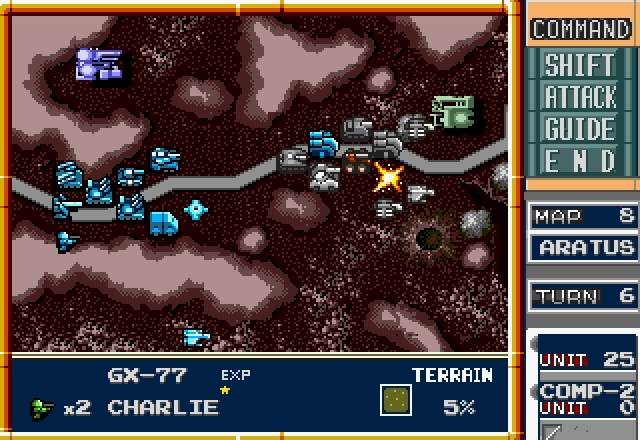
Stage 8 - ARATUS
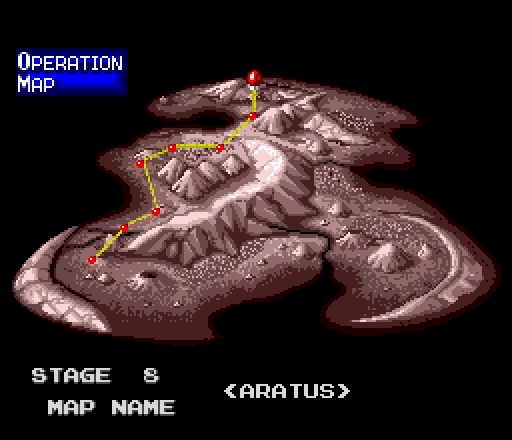
Clearing today's mission will put us halfway through beating the game.
UNITS IN FACTORIES:
1 (Allies). Falcon, Pelican, Atlas, Grizzly, Bison, Mule, Trigger, Eagle, Charlie
2 (Axis). Pelican, Atlas, Bison, Eagle, Mule, Trigger, Seeker, Charlie
3 (Neutral). Grizzly, Polar, Rabbit, Hawkeye, Eagle, Slagger, Titan, Pelican
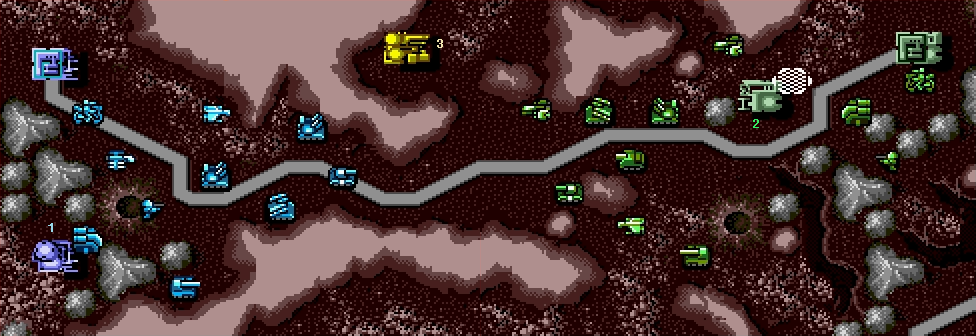
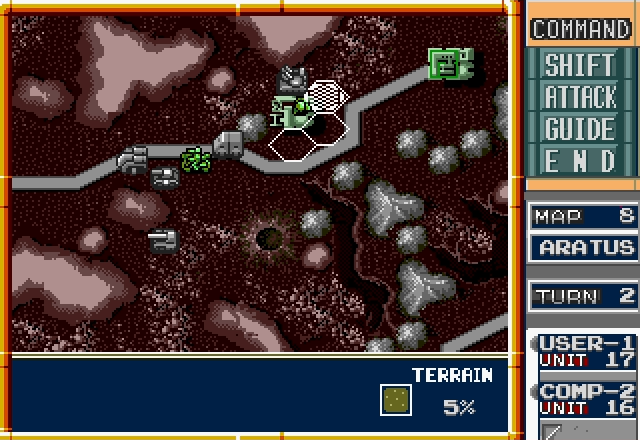
We got a break from Hunters in the last map, but for this one they're back in force. The enemy's got the advantage both in the air and on the ground, so we're in for a tough fight.
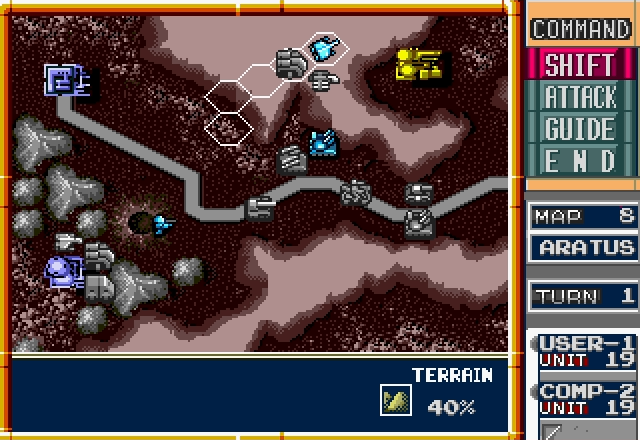
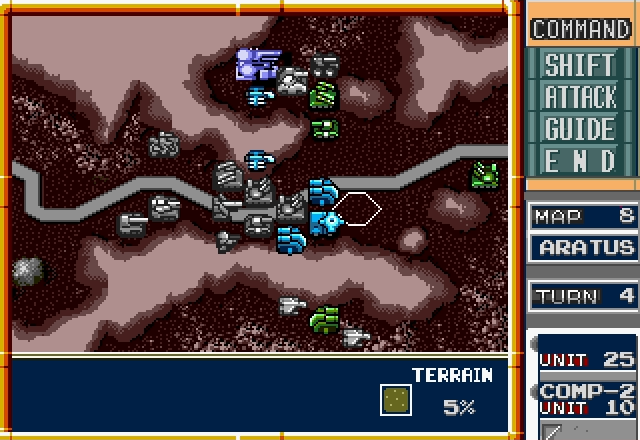
Unless, that is, we can get the center factory. It has a lot of units, and we can deploy them right into the thick of things, so capturing that should guarantee a victory. Since we can barely hold the line with what we've got, let alone mount any sort of offensive, we've got our work cut out for us.
We've got three new units for this one, and they're the last new units we'll see in the game. Let's find out what they can do.
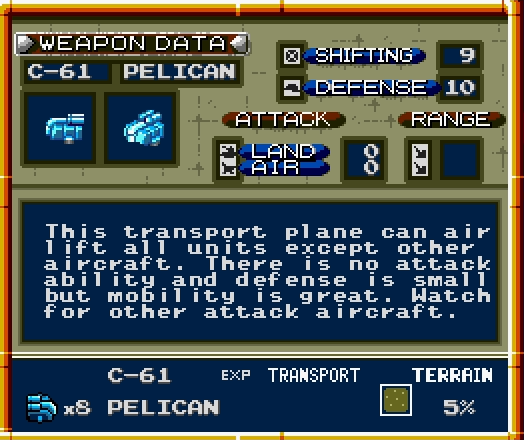
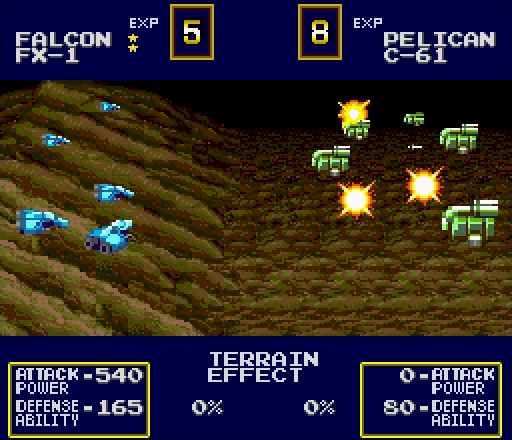
It may not have any guns, and it may have tissue paper armor, but the Pelican is still a nice unit. It's fast, it can ignore terrain when moving, and it can transport any ground unit, even Giant tanks. We'll be using one of these when we make a run for the center factory.
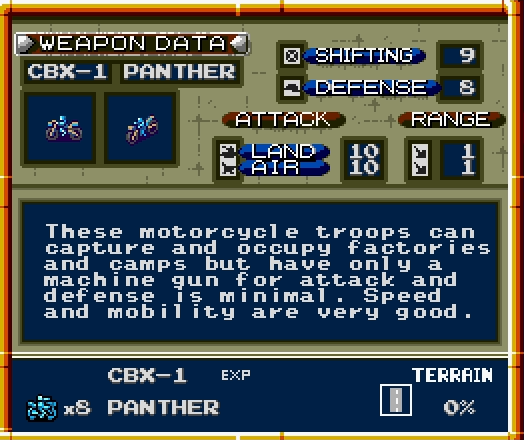
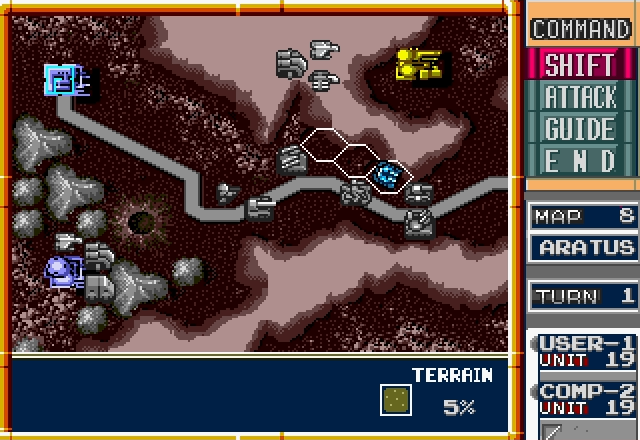
The Panther is pretty much a fast Charlie, and should be treated as such. It moves fast and can capture factories, but has no business being in a firefight.
And finally, my favorite unit in the game...
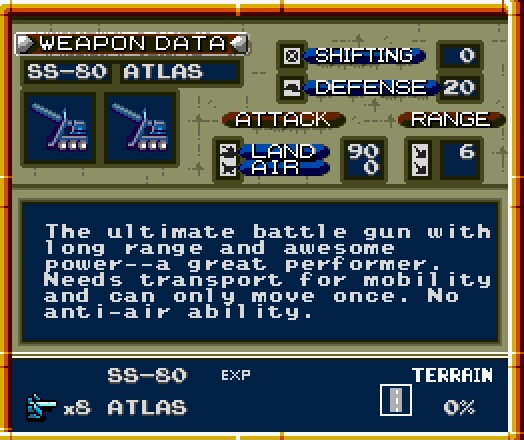

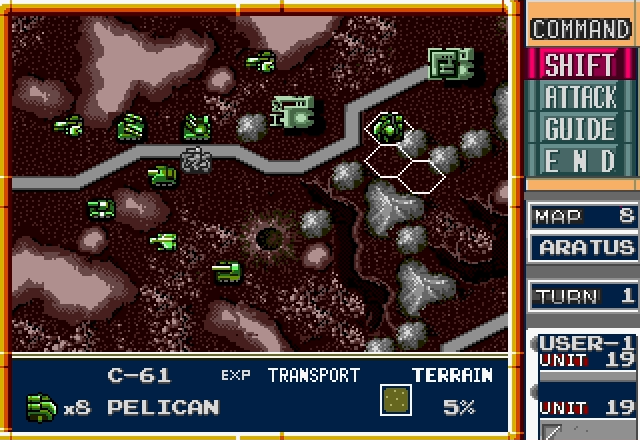
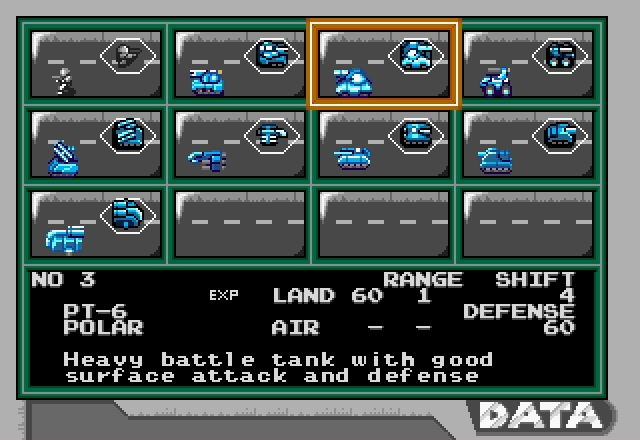
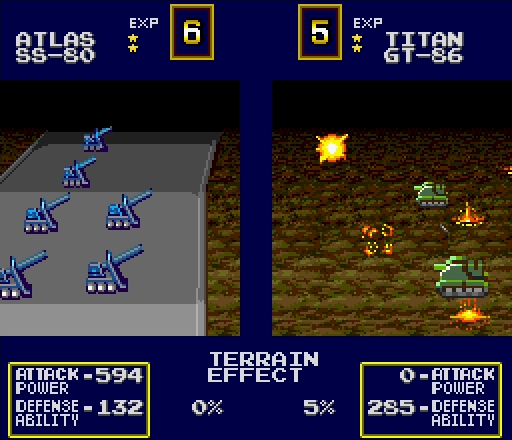
Behold, the artillery designed to meet the standards of Grit himself. The Atlas has the highest ground attack and the highest attack range (2-6) of any unit in the game. Put it in the right spot and watch it wipe out half a heavy tank unit in one volley!
Of course, there are two glaring downsides to the Atlas. The first is, like the Trigger, it can't move at all - wherever your Mule or Pelican dumps it, it's there to stay for the rest of the mission. The other problem is its low defense, and since you can't move it into a factory for repairs, you'd damn well better keep it protected.
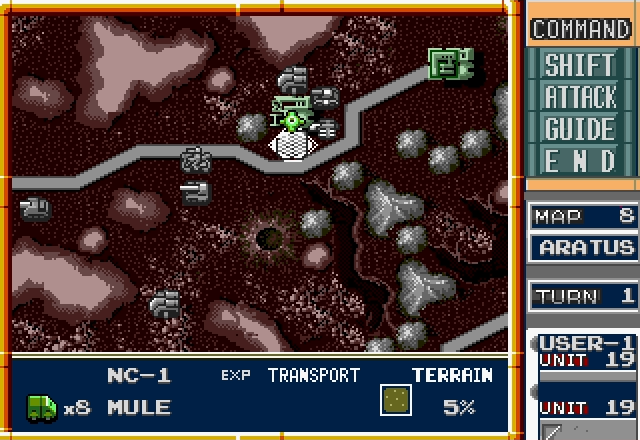
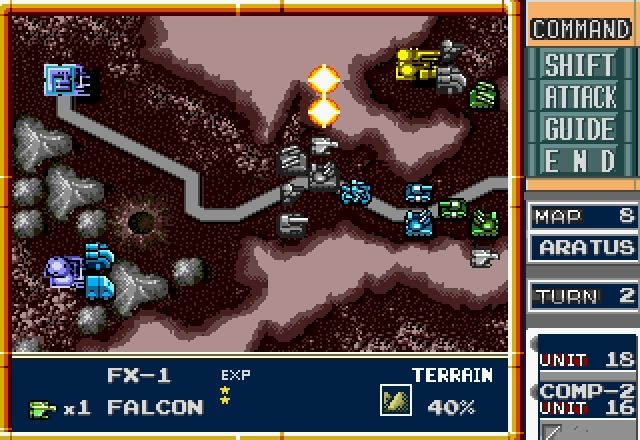
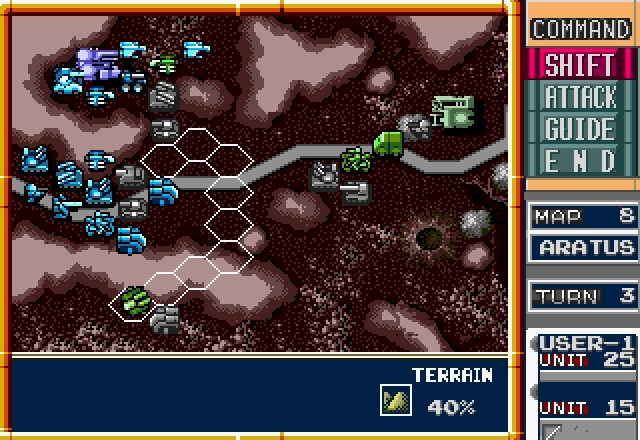
Alright, let's play with one of our new toys. While we could try to use our Panther to get the factory, I prefer to try with the Pelican instead.
That's because that our Panther would have to force its way through the chokepoint, and probably get killed in the process regardless of how much backup it has. Our Pelican has a Falcon to contend with, but that'll be much easier since we have more room to maneuver.
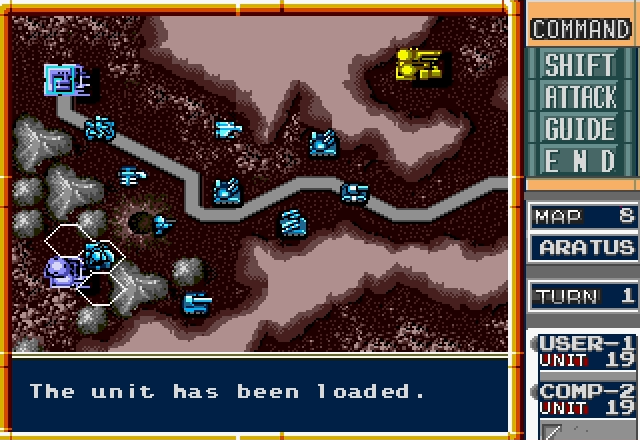
The next turn's going to be crucial, so let's deploy one of our Falcons to ensure the air war goes our way. We load the Atlas into our other Pelican, and our Trigger into our Mule.

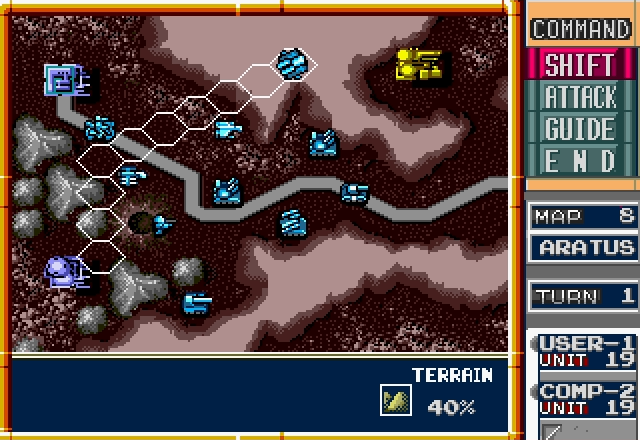
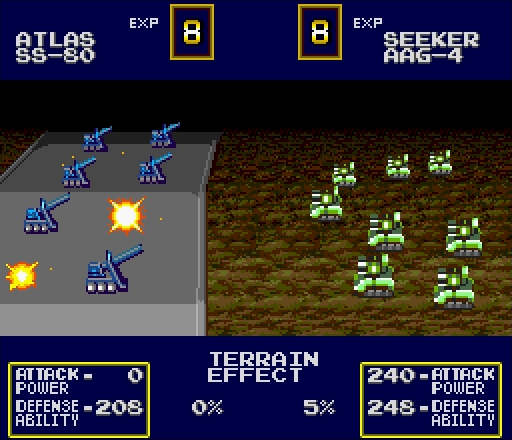
Meanwhile, we'll set up a defensive line so that we can surround them once we've taken the factory. A Bison and a Seeker won't hold very long against what they're throwing at us, but they won't need to.
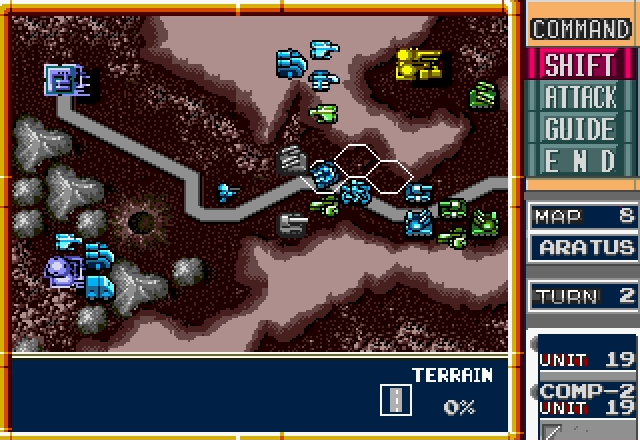
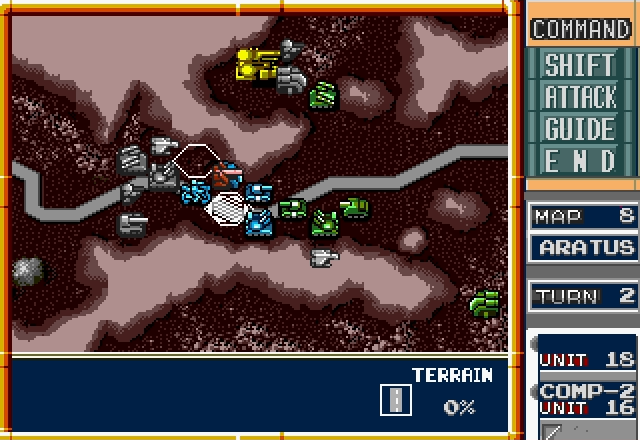
The most important thing here, by far, is to make sure you overlap your ZoCs so that the enemy can't hit your pelican, so we do exactly that. If they hit your Pelican, then even if your Charlie survives the first attack, he won't survive the Eagle bombs falling on his head when he lands.
The AI starts off its first turn by, apparently, trying to do the exact same thing we are. Considering some of the moves it's made before, that's not exactly encouraging


And then the Hunter is gracious enough to attack a unit that wasn't doing anything important.
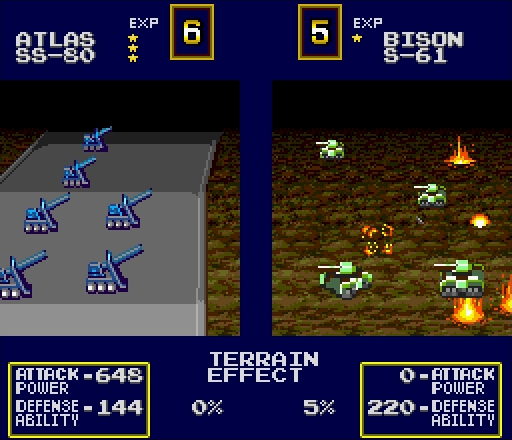
The enemy air force can hit our units a lot earlier than their ground force can, so it'll hound us from the start. Luckily our Eagle survives, and any surviving unit can always be pulled back to a factory.
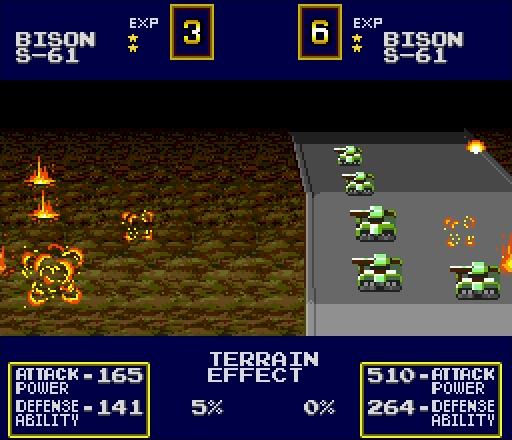
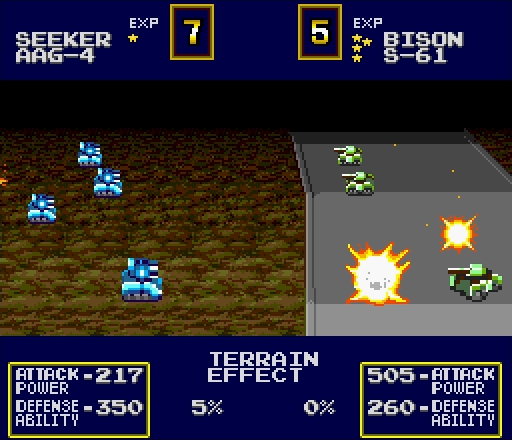
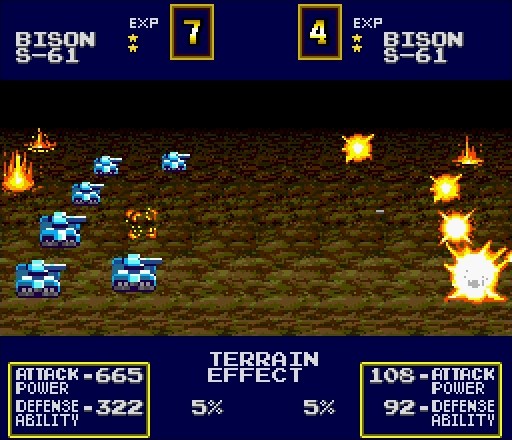
Considering what our Seeker is fighting here, I'm quite happy with its performance. The bad news is that it's the one helping hold the chokepoint...
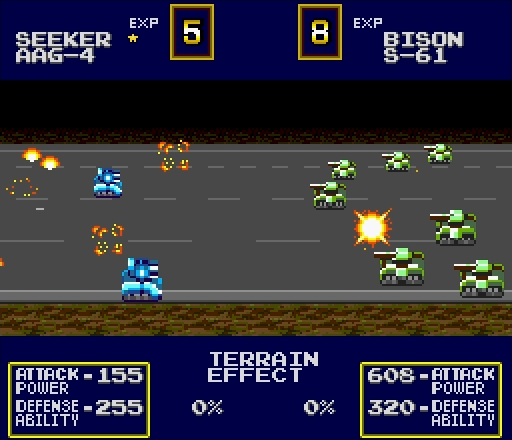
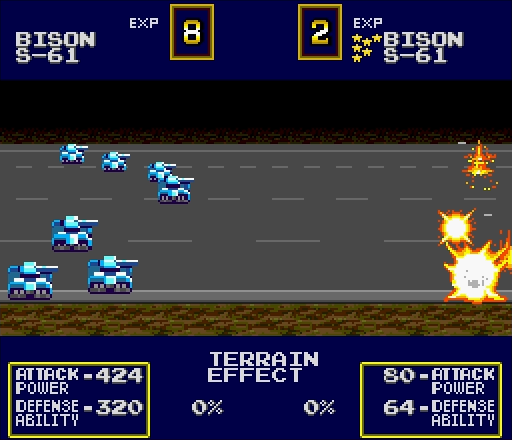
...and the enemy Bisons are all too happy to take potshots at it while it's crippled. At this rate, they'll smash through it next turn.
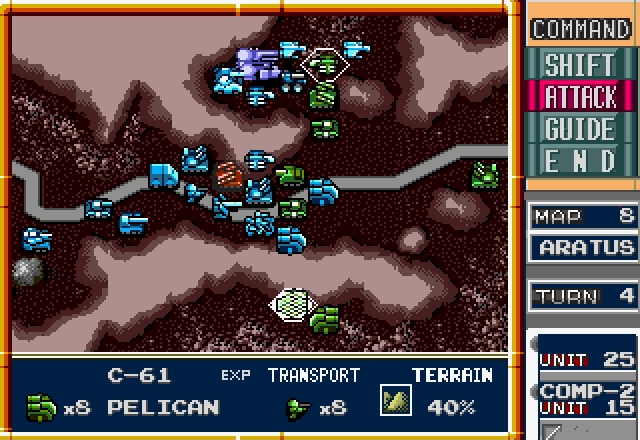
Back behind all the action, the AI unloads units from its factory. They put their Atlas in their Pelican.
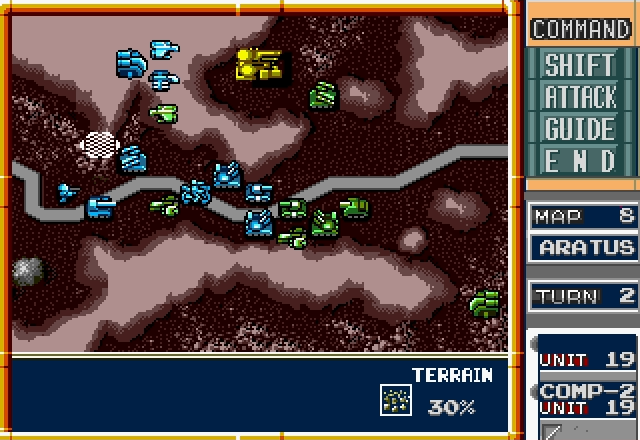
Now, we've got a bit of a situation here, don't we?
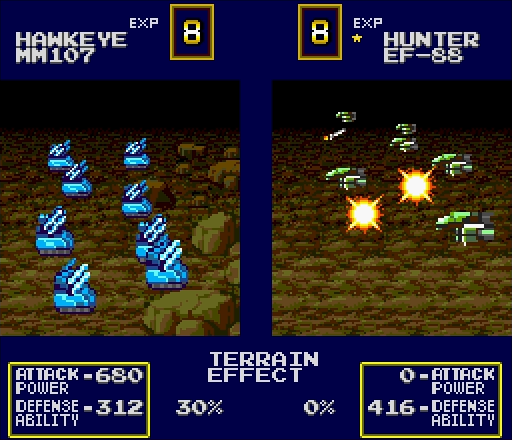
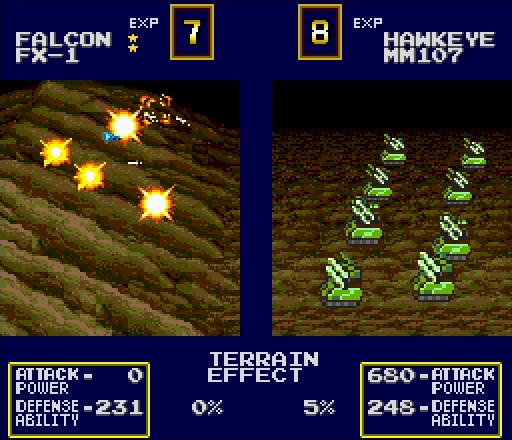
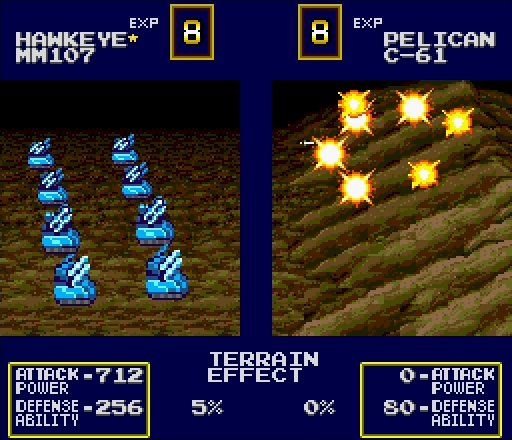
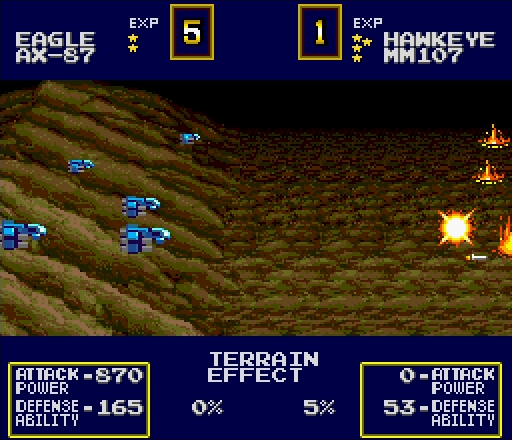
First order of business is to open up on the full-strength Hunter with our Hawkeye. This is a bit disappointing, but anything that makes things easier for our Fighters and Seekers is welcome.

That includes, of course, cheesing the surround effect at every possible opportunity.
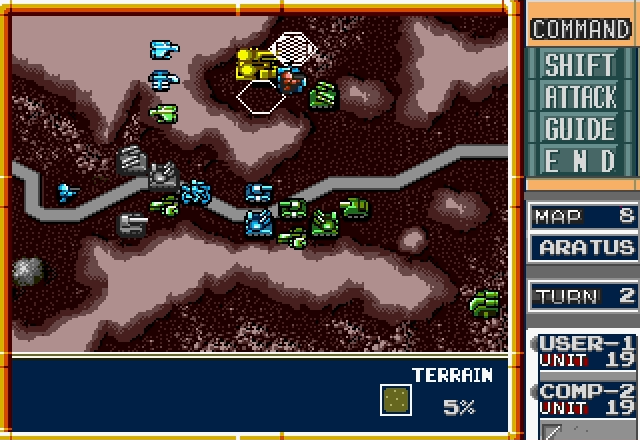
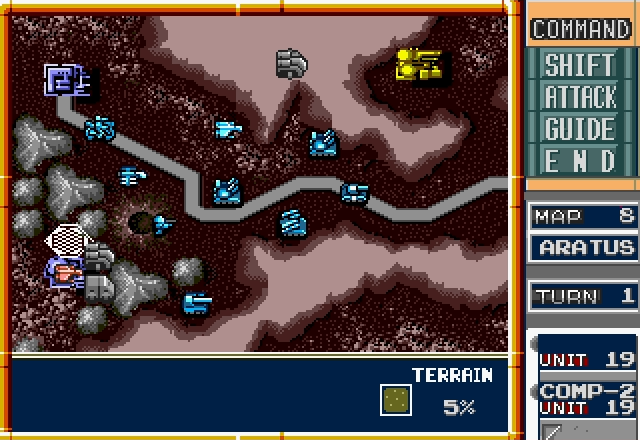
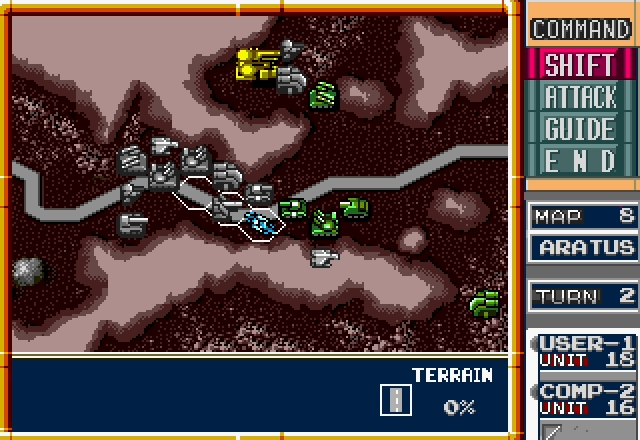
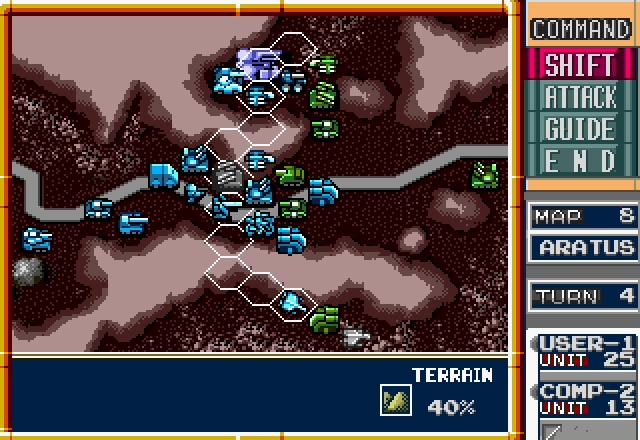
Now's as good a time as any to drop off our Charlie, so let's do that. If he can just survive one turn, the factory's ours.
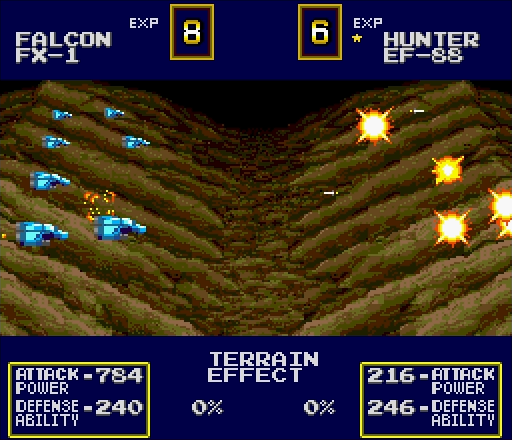
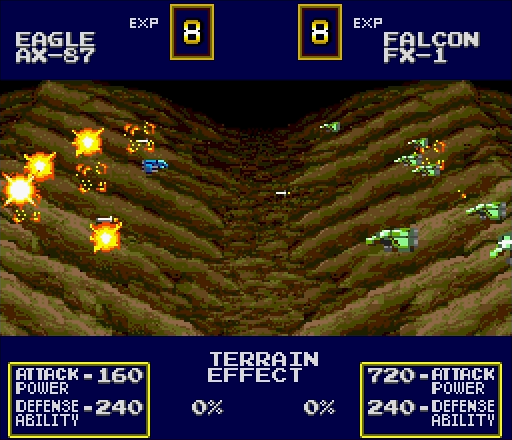
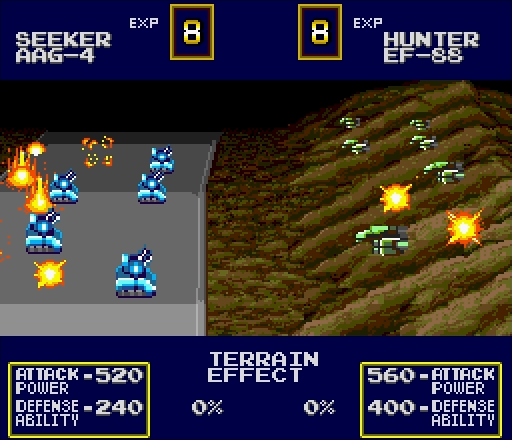
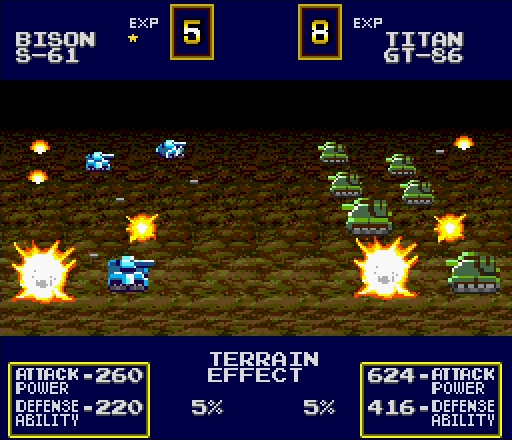
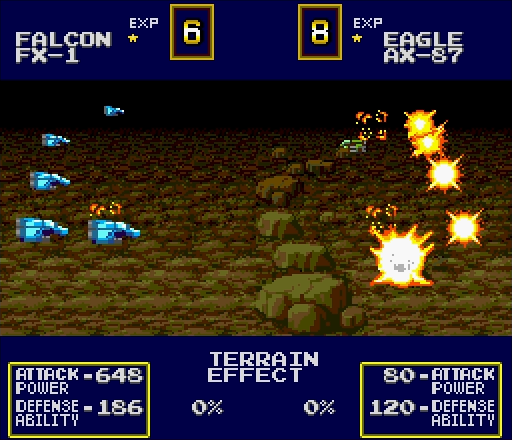
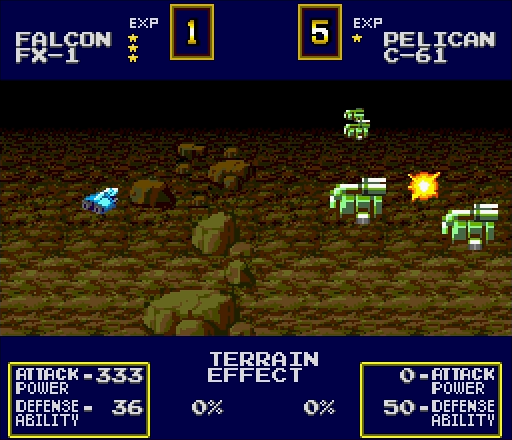
Every time I post a screenshot like this, please remember one thing: the game tells you to keep Falcons away from Hunters.
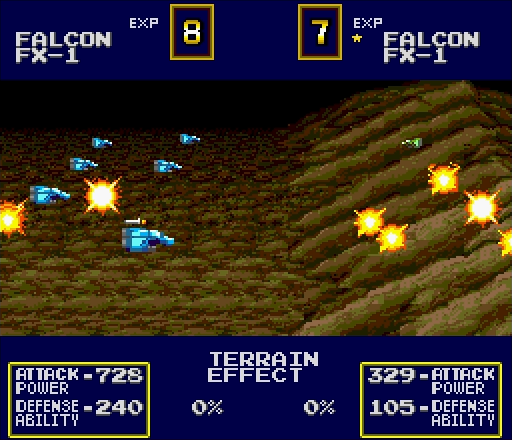
That's both their Hunters and their Falcon destroyed or crippled, on our second turn. You have to wonder how the Axis ever captured the moon in the first place when they can't even use combined arms tactics.
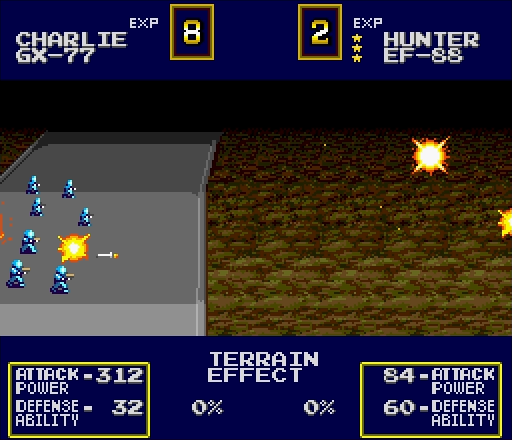
There's a hidden, second use for Charlies aside from capturing factories: finishing off powerful, surrounded units in the most hilarious way possible.
This was probably a waste of that Eagle, but hey, at least you got to see a double kill.
Complete with synchronized explosions!

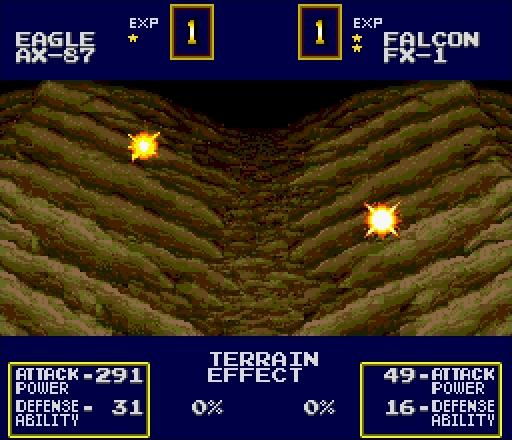
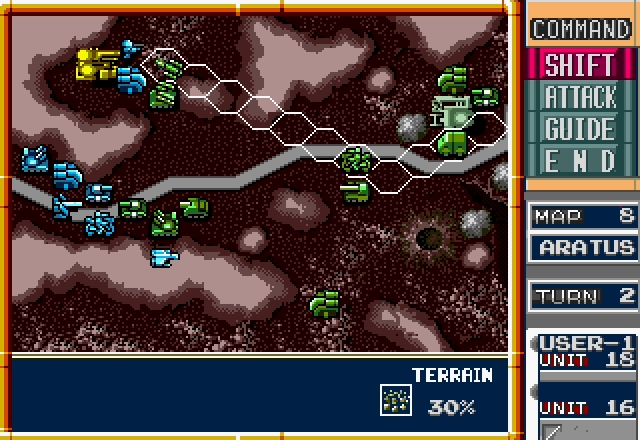
Ready for this mission's
 moment? Not only did I put my Atlas perilously close to the frontline...
...but I immediately weakened my frontline by attacking when I had only a minimal advantage! Isn't it reassuring to know I'm so careful with my favorite unit?
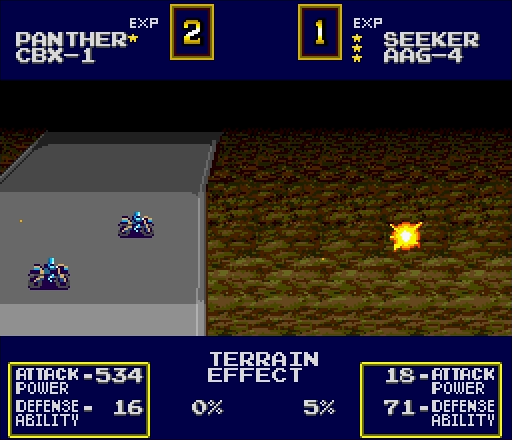
Even better, I compound the problem by pulling out my 2HP seeker in favor of a 2HP Panther!

If you're wondering what the fuck I was thinking, well, so was I immediately after I did it.
I decided to console myself by telling my factory to spit out some units.
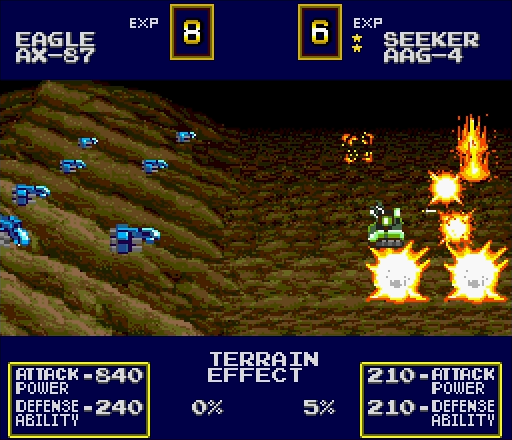
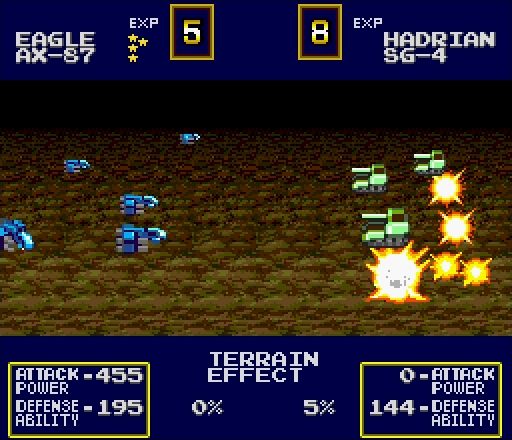
Hey, remember what I said about Eagles?

I don't know what the odds are of an Eagle oneshotting a Charlie, but suffice to say I was nervous here. Thankfully he survived, and the AI shouldn't have anything else in range to attack him.
The line collapses, followed shortly by...

Considering how thin the Atlas's armor is, I actually got pretty lucky here. A 6HP one can still rip apart units pretty handily.
Once again, one of my units gets hit hard and barely survives. It's pretty alarming how quickly I've been bouncing between lucky and unlucky here.
Not much happens after that, the AI shuffles a few units around and drops the last ones out of its factory.
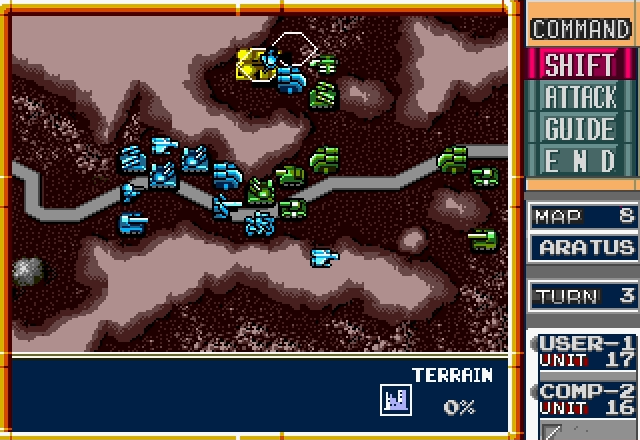
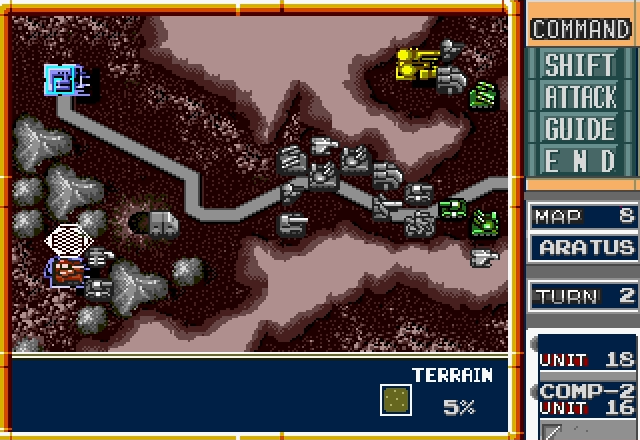
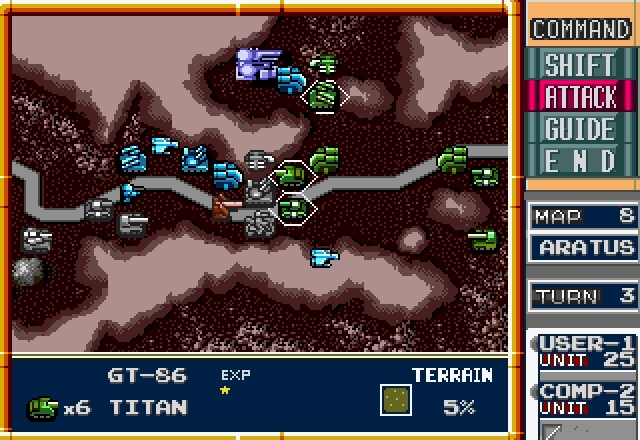
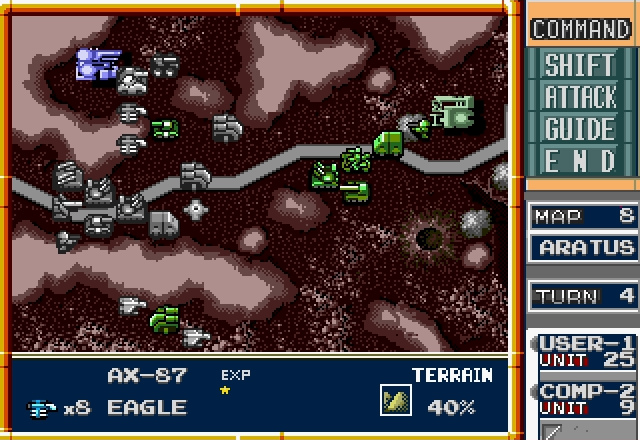
Come our turn, and our Charlie's alive, meaning...
...well, the results speak for themselves. We've effectively won Aratus in three turns.
Of course, there's still plenty of fighting left to be done. Let's start by easing the pressure at the front.
Well, I don't think our Atlas has much to worry about anymore.
The hidden use for Charlies also applies to Panthers!

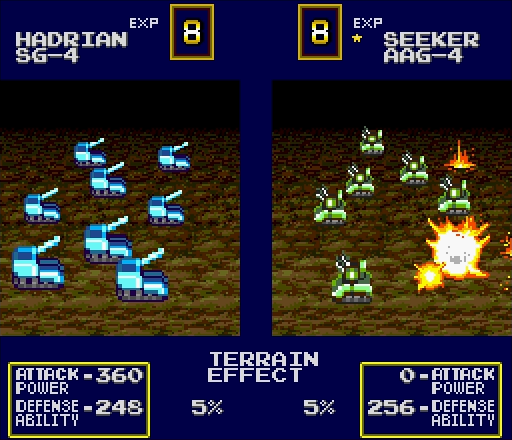
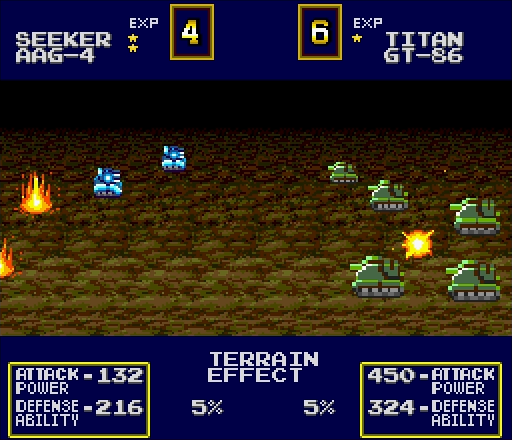
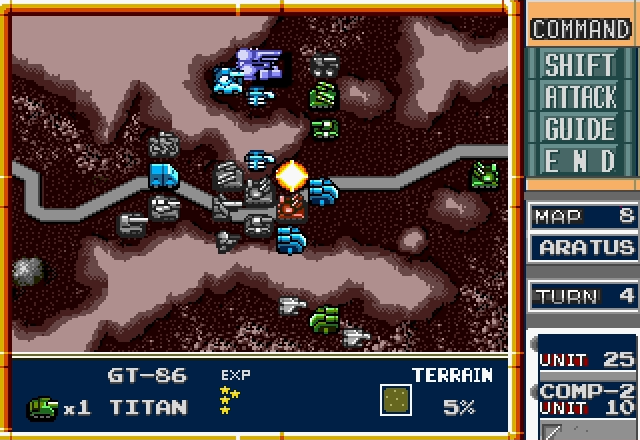
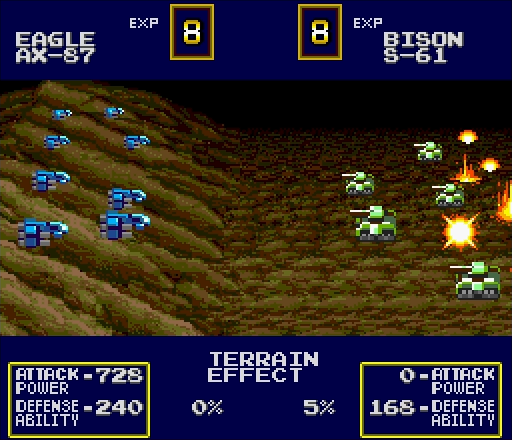
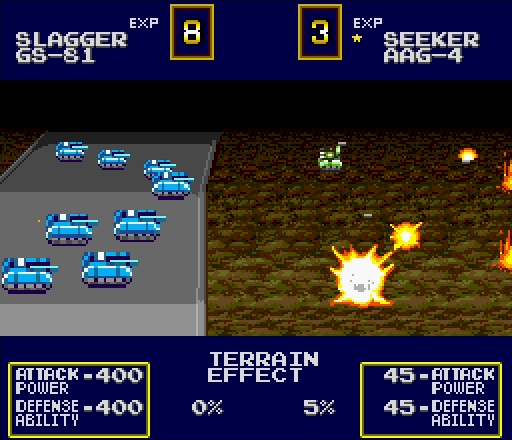
We move up some units from the rear, and I'd say now's a good time to see if this Atlas thing is all it's cracked up to be. We've got a lot of tempting targets here, but with the Hawkeye threatening our Eagle, I'd say we'd better hit it first.
Turns out it's really bad at not killing things!

Our Pelican doesn't have anything else it needs to deliver, but it can still help us trap these enemy tanks.
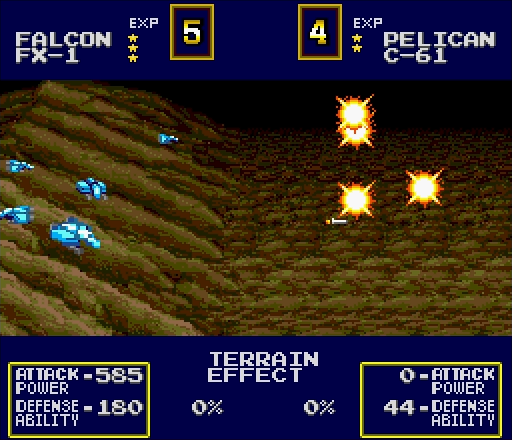
Then one of our Falcons wrecks the last surviving enemy bomber unit.
And just because things weren't going well enough, let's bring in some reinforcements!

The enemy's trying to mount a counterattack, but we've just hit them too hard for it to do much.
Even the Seeker's holding out alright!
Wait, shit, never mind.
Since that didn't work, the Axis tries to sneak someone in to capture our prison camp, sending the Pelican carrying a Charlie south.
No idea why they sent the Atlas-carrying Pelican south, though. The last place you want your Atlas is behind enemy lines.
Tempting as the Atlas is, the Charlie has to take higher priority.
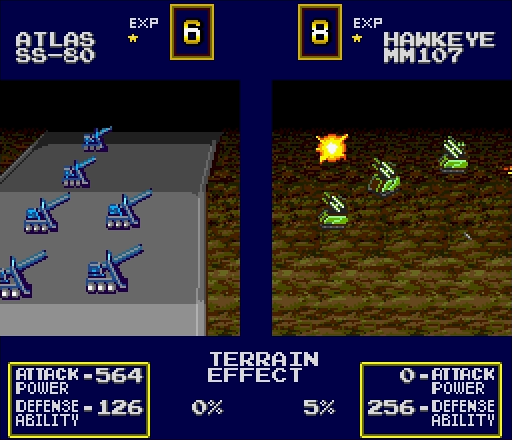
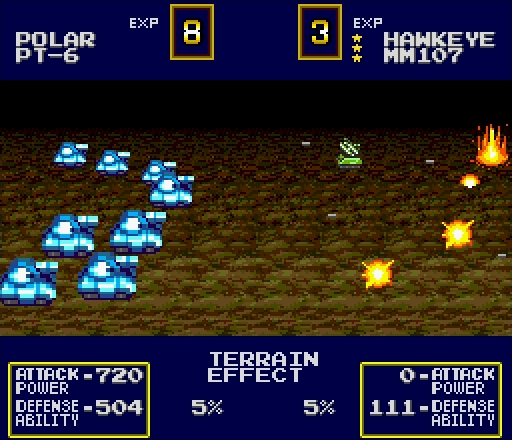
Our Hawkeye makes up for its earlier embarrassment by killing two full-health units with one salvo.
Now our Falcons can move in and take out the one carrying the Atlas. We can't surround it since it's on the map edge, but it's not like they have much else to shoot at.
Just think of what this would be doing if I hadn't been stupid enough to leave it where the enemy could easily hit it!
It's sad that I can say this, but this is far from the worst the RNG has thrown at me.
The Panther moves out of the way so the Bison can finish the job, which it does.

And since nothing else is in range, our Rabbit may as well finish off the Eagle.
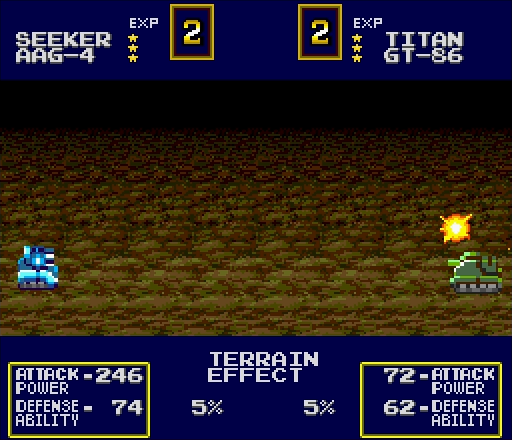
Seeker chips away at the Titan, and I wish I'd waited and sent my Titan down there to attack it because then I could've made a "Clash of the Titans" joke.

Ah, well, can't be helped now. At least the Atlas is safe.
Is it just me, or are Polars unusually unlucky when they're trying to kill something?
I'll go ahead and drop a Trigger here to hopefully slow the terrifyingly large wave of powerful enemy units bearing down on my position.
Oh wait, there is none. I guess I just needed to give the Mule something to do.
The only thing better than having Eagles is having Eagles when the enemy's air defenses have been wiped out.
Well, six kills in one turn. I think that's a record.
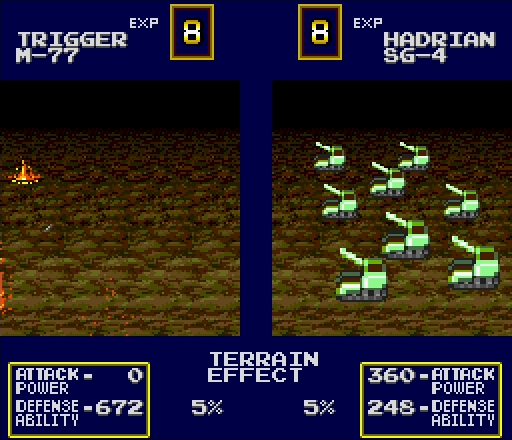
Having given up any hope of victory, the Axis instead demonstrates the worst possible way to deal with an enemy Trigger.
They also shuffle a few units around. SPOILER ALERT: That Bison's not getting away.
I was hoping my 1HP Falcon would be able to kill 2 Pelicans, because it's kind of funny to see 2 units die to 1 shot, but the RNG wasn't on my side.
Wait! Maybe it is on my side?
No, it's not.
Yes, it is!
Then we move the Pelican in to surround the remaining enemy units so that it'll be easier to destroy oh you know how this is going to end, I'll just give you the cliffs notes version:
We finally got a Slagger, so we try it out!
If this Eagle had been at full health, it would've oneshotted the Hadrian.
This is the most the Axis does to fight back.
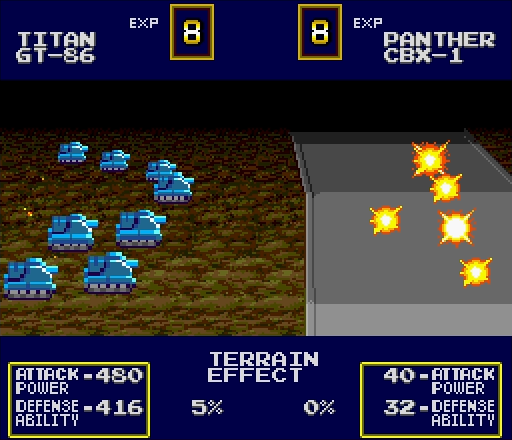
We try out the Titan too! It's a good tank.
And our Rabbit finishes the job.

This one was an easy win once we got the central factory, but the casualties weren't quite as lopsided in our favor as in Sabine. Like the graph shows, we took a beating early on.
NEXT TIME: Clusterfuck at GALIOS.