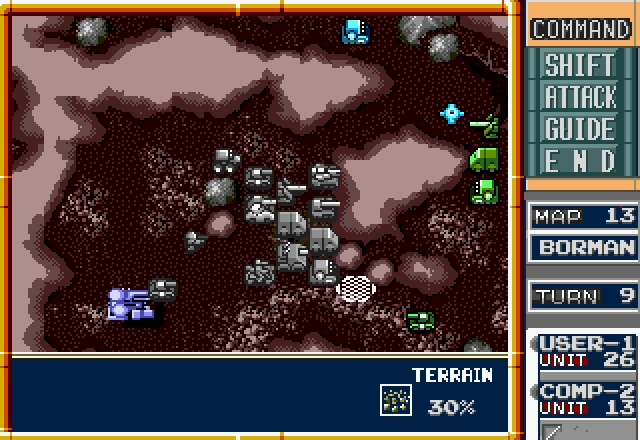
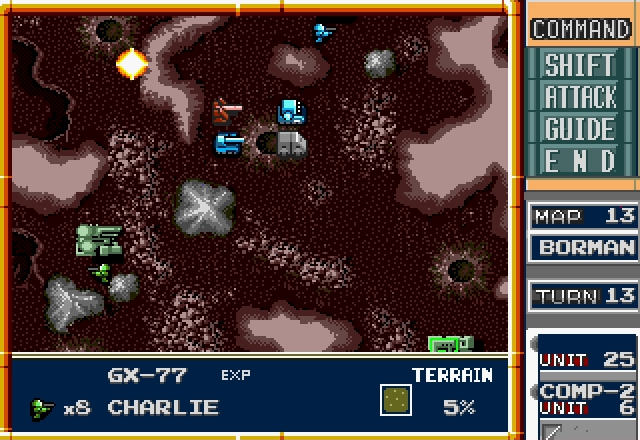
Part 14: The Meatgrinder At BORMAN
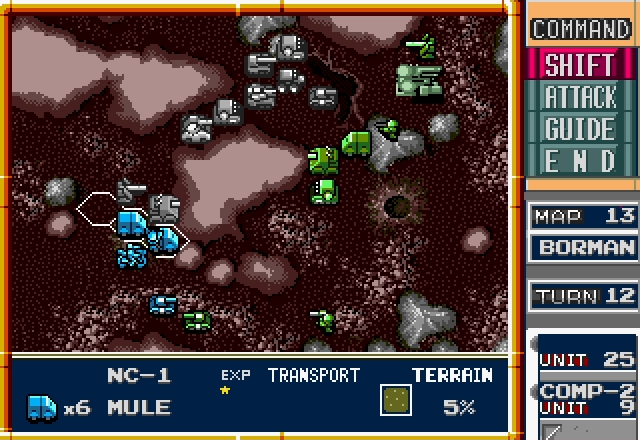
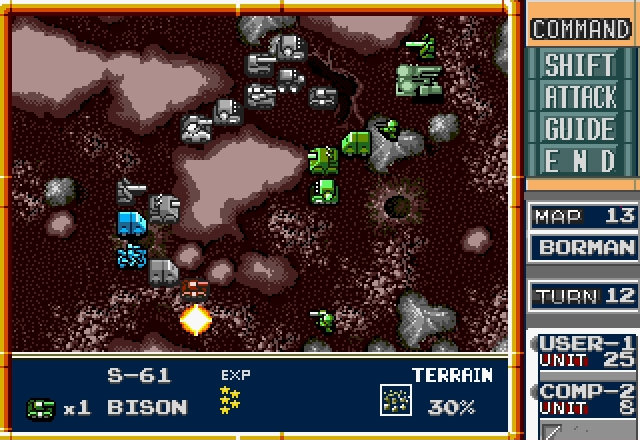
Stage 13 - BORMAN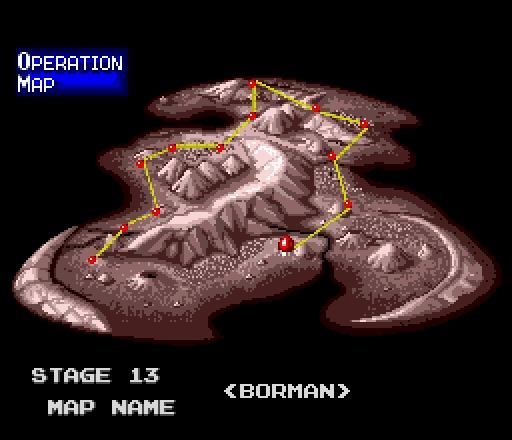
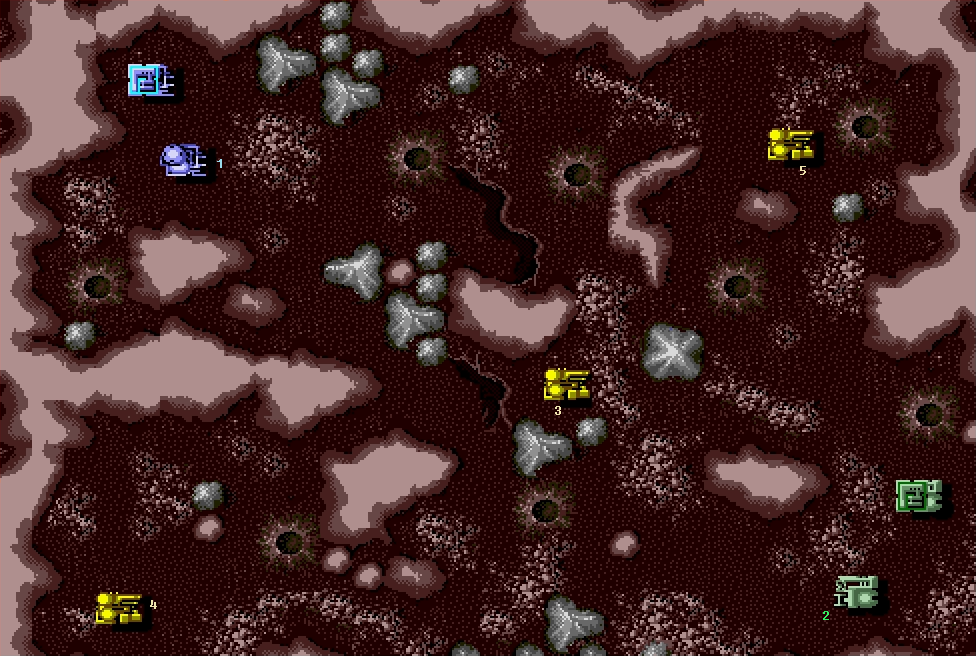
UNITS IN FACTORIES:
1 (Allies). Octopus, Mule, Atlas, Panther, Grizzly, Lynx, Bison, Mule, Trigger, Charlie, Charlie
2 (Axis). Panther, Charlie, Slagger, Rabbit, Giant, Mule, Atlas, Kilroy, Octopus, Mule, Trigger
3 (Neutral). Bison, Octopus, Bison, Charlie, Lenet, Atlas, Charlie
4 (Neutral). Polar, Bison, Giant, Hadrian, Octopus, Lynx, Mule, Atlas, Charlie
5 (Neutral). Slagger, Titan, Hadrian, Octopus, Mule, Atlas, Charlie
Well, it looks like both sides got tired of the whole "setting up positions" thing and decided to just let all their forces sit in factories until the battle started. Also, despite less-than-favorable terrain, it didn't occur to either side to deploy a single aircraft. But hey, at least it means we finally get a break from the Hunters!
None of the factories on this map are easy to get. The Axis will capture #3 no matter what, and we'll have to fight for 4 and 5. Winning here is going to come down to being able to take those 2.
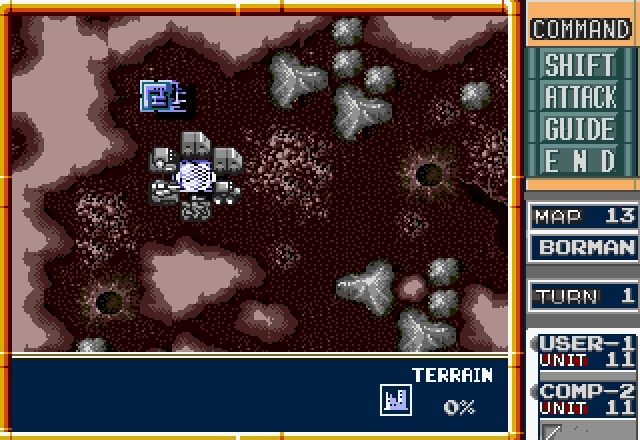
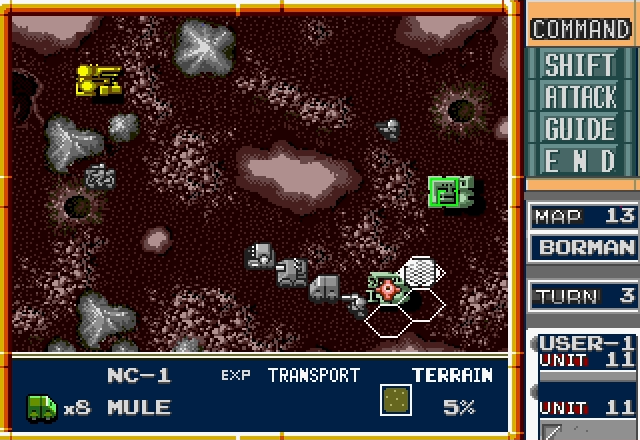
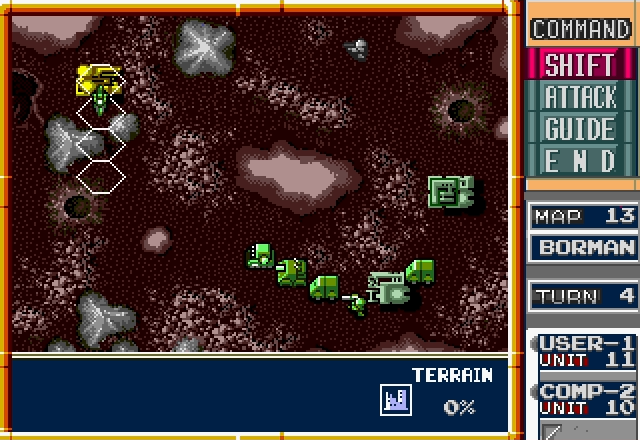
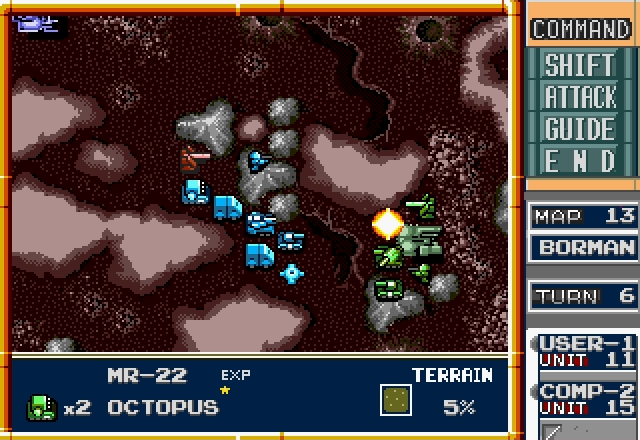
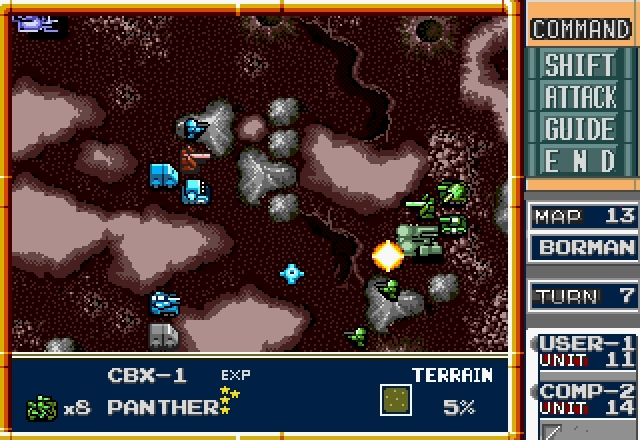
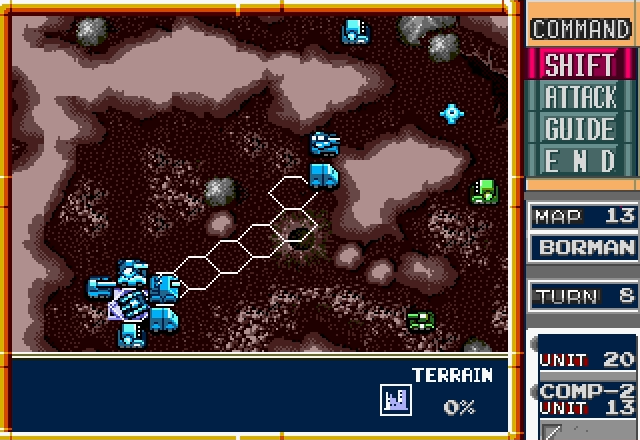
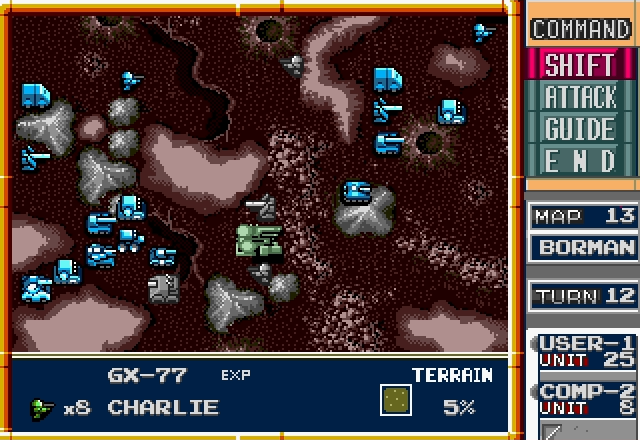
Let's get started. The Mules get loaded up with the Atlas and the Trigger - we're on rough ground here, so they wouldn't really let the Charlies move any faster. The Panther will try to capture Factory 4.
We've got a slight advantage here because our starting factory gets six deployment spots to the Axis's 4.
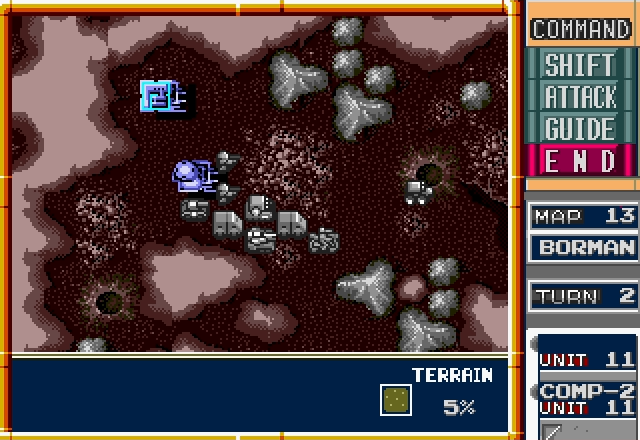
We deploy the rest of our units, and send the whole group (minus the Lynx) south. The Lynx is going to go to Factory 5 and shoot at any enemy Charlies that get too close.
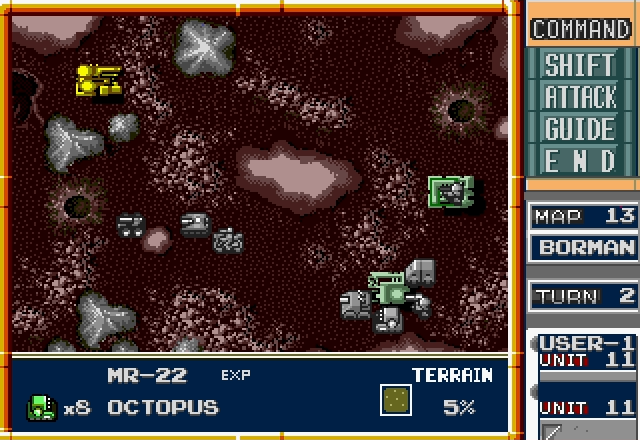
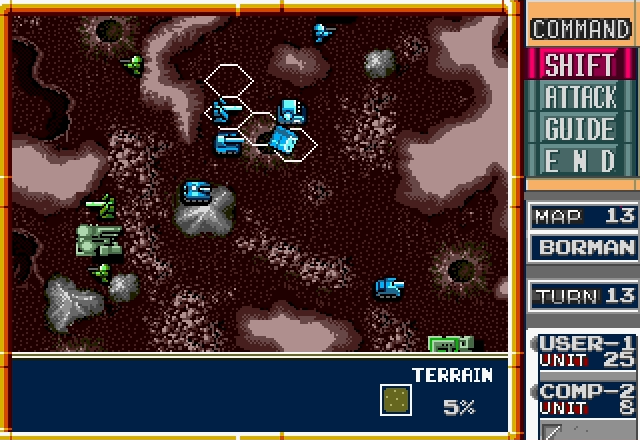
Speaking of, there's one heading that way now. The Mule that just got deployed is carrying an Atlas.
The Allies continue their march south, with a lone Charlie going east to try to capture Factory 5.
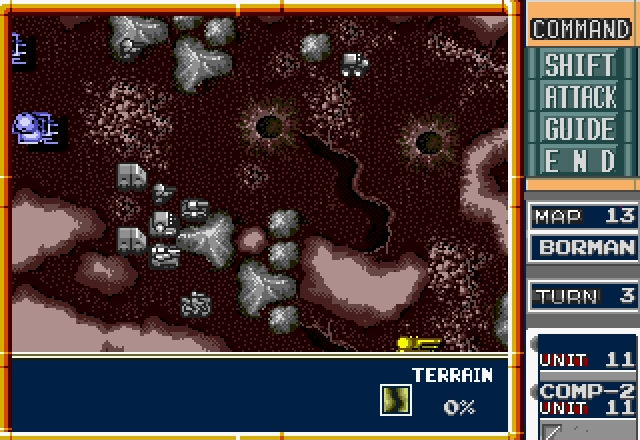
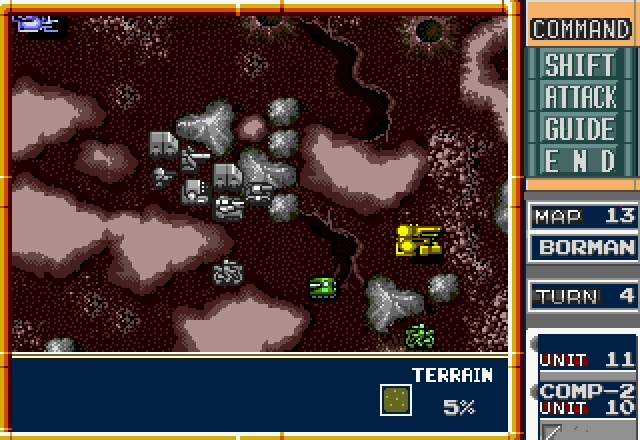
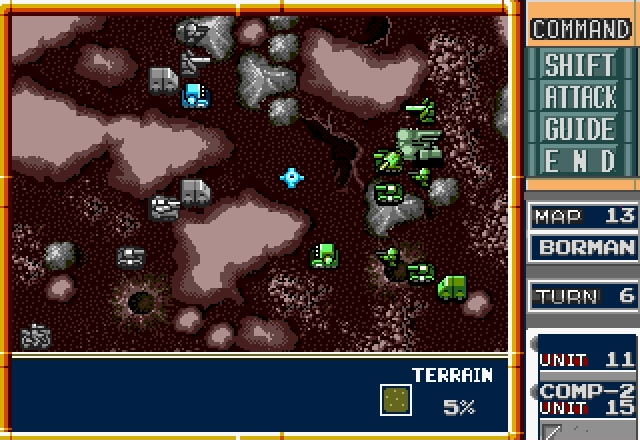
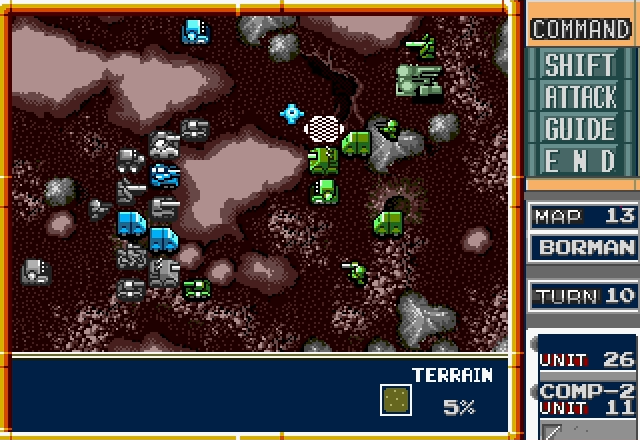
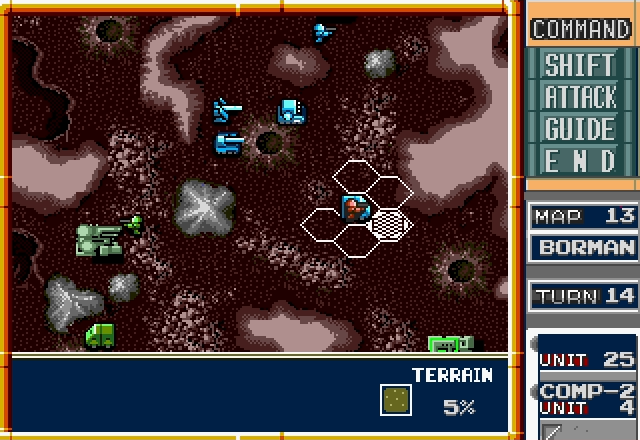
First contact is made when the Axis advances north and cuts us off from Factory 4. The longer we take to clear through these guys, the harder it's going to get, so let's hope luck is on our side.
Back in the southeast, the Axis has deployed the last of its units. That Giant is pretty worrying, especially since we can't easily surround it in this kind of terrain, but at least we won't have to deal with it for awhile.
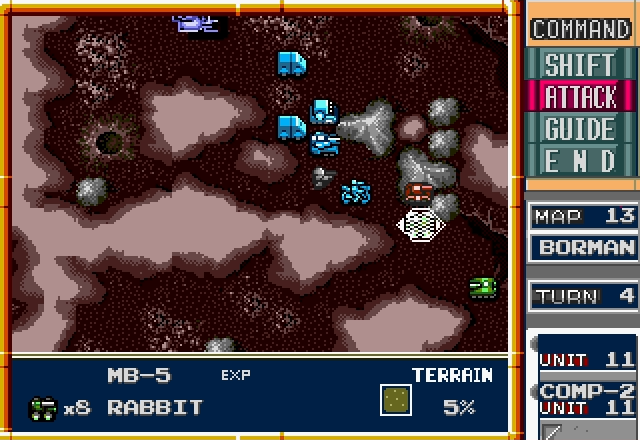
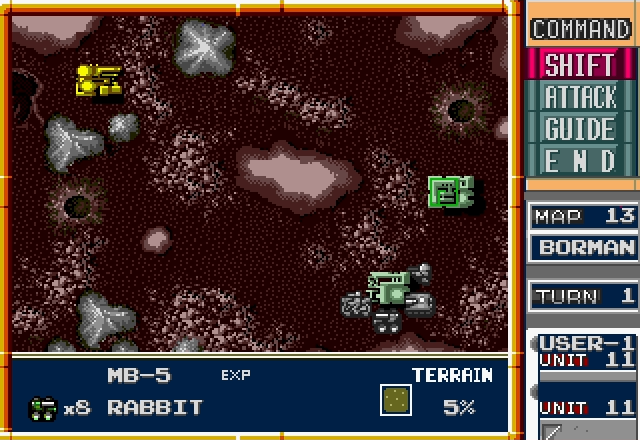
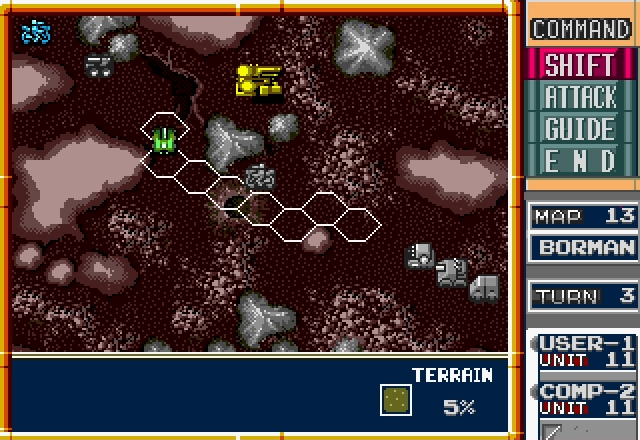
Right, here goes. Let's hope we can take out that Rabbit.
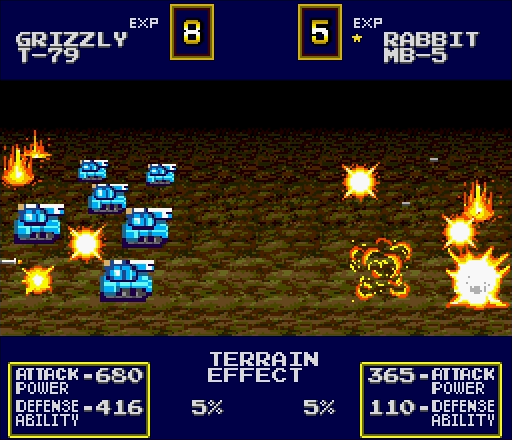
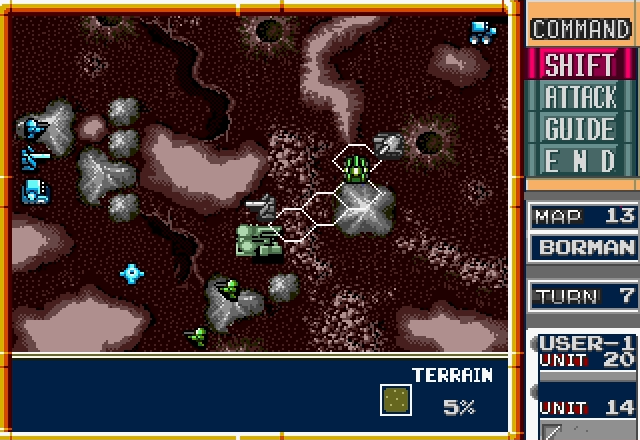
A decent start, and our Grizzly's going to be able to hurt it a lot more!

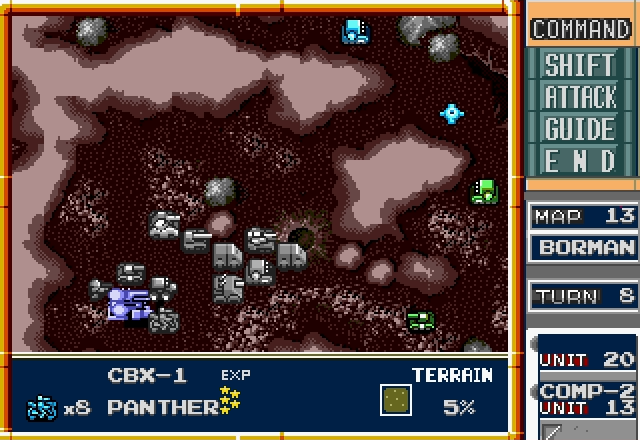
With the path open, our Panther barrels into the canyon at full speed, heedless of the nearby enemy Slagger. Also, our Atlas deploys in a convenient position to hammer anything coming out of that center factory.
You can see here that the enemy Panther is close to Factory 3. Had we not killed the Rabbit this turn, we would've still had the Slagger to contend with along with the enemy units coming out of the factory. This map can get ugly fast if the numbers don't break your way.
And speaking of that factory...
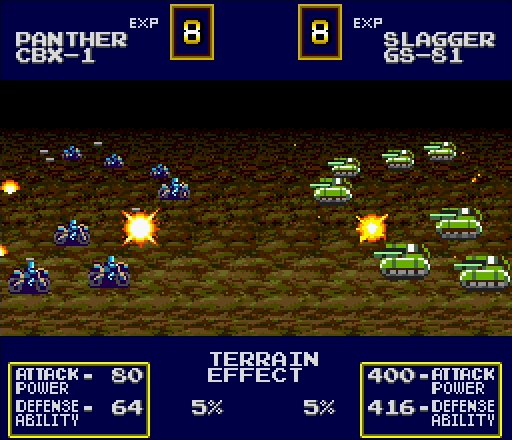
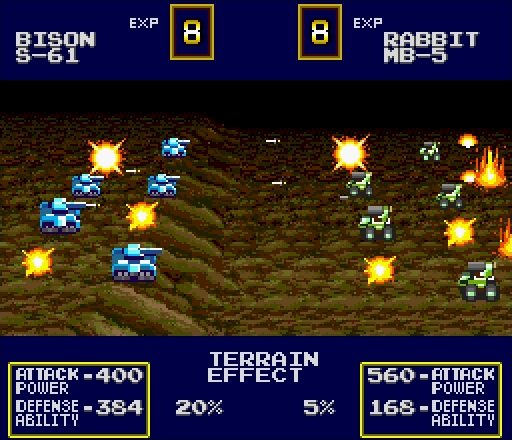
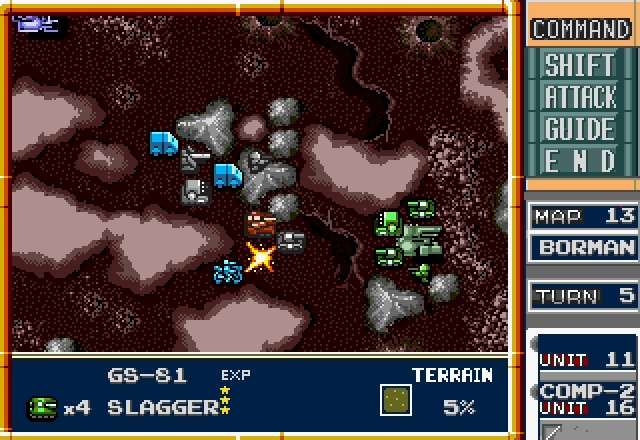
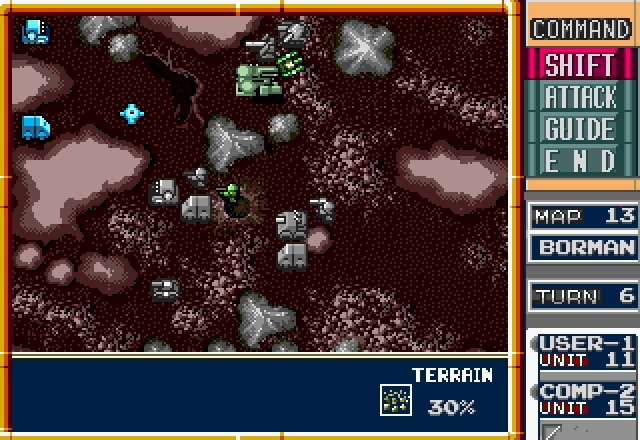
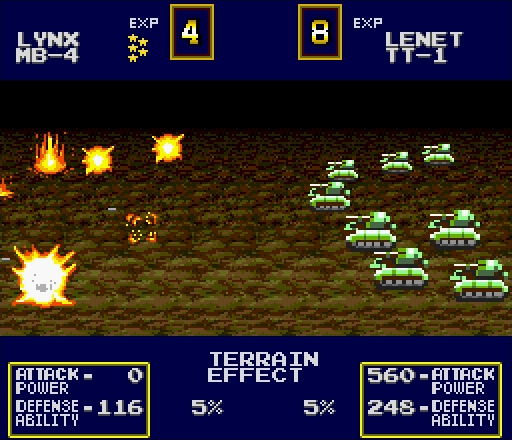
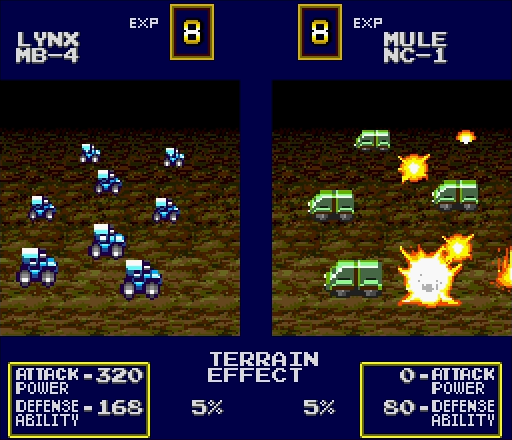
Just west of that, we get...a unit of tanks attacking a unit of guys on motorcycles, and each inflicting equal damage on the other.
It's peak Military Madness, but it's peak Military Madness in our favor!
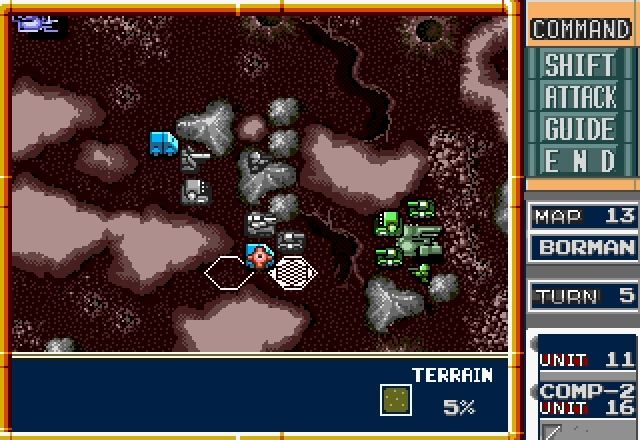
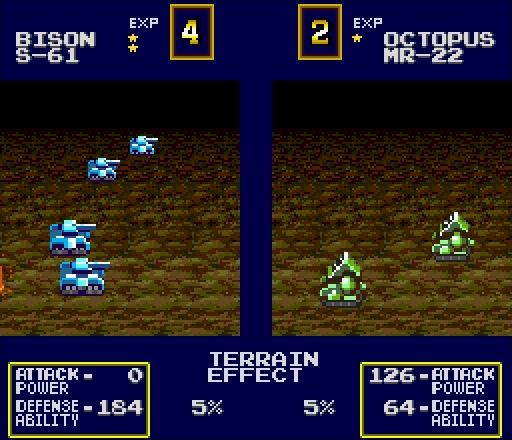
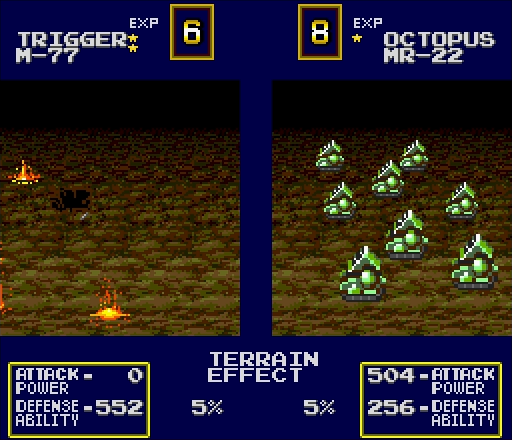
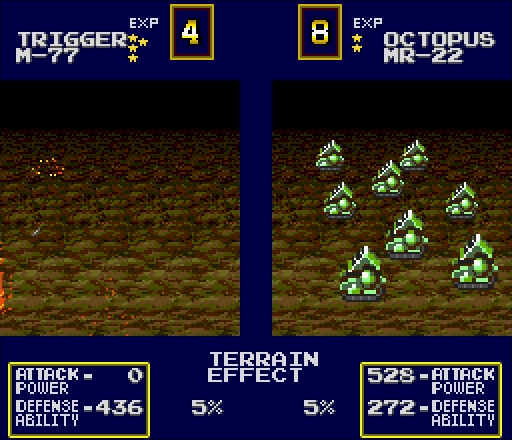
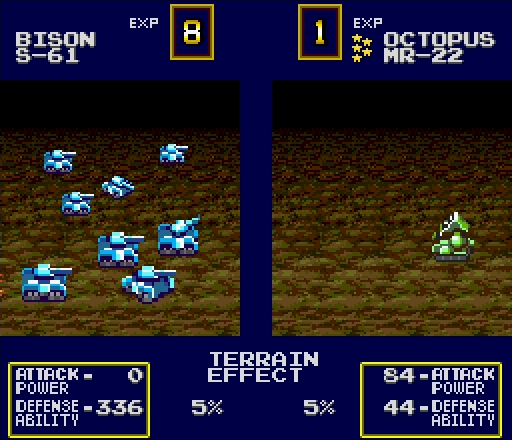
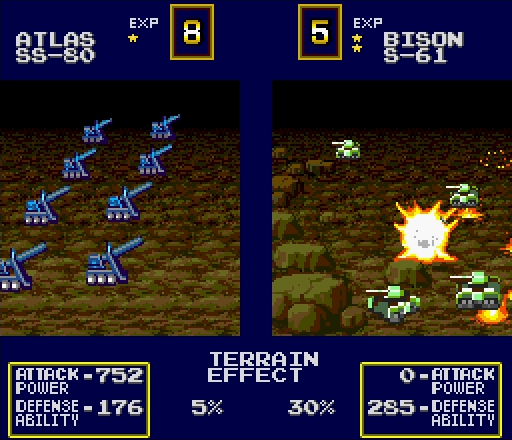
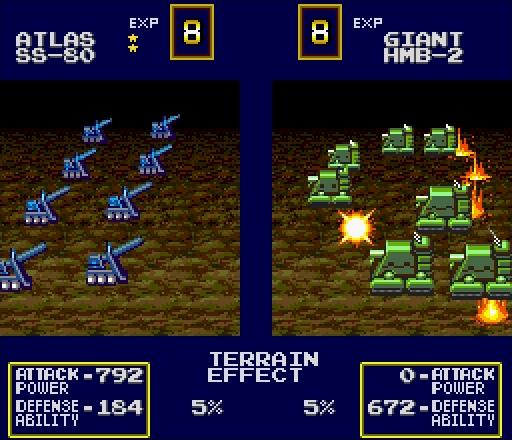
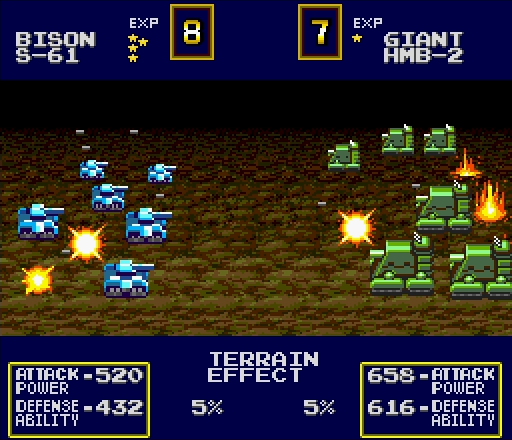
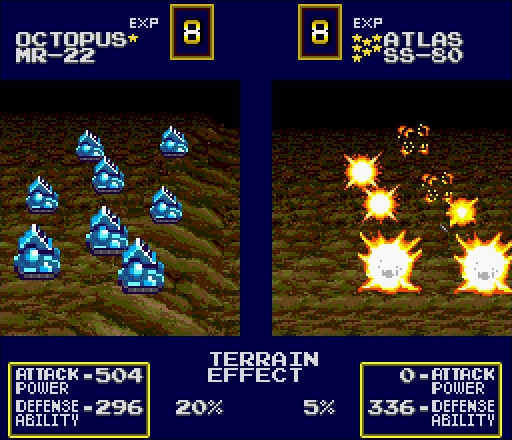
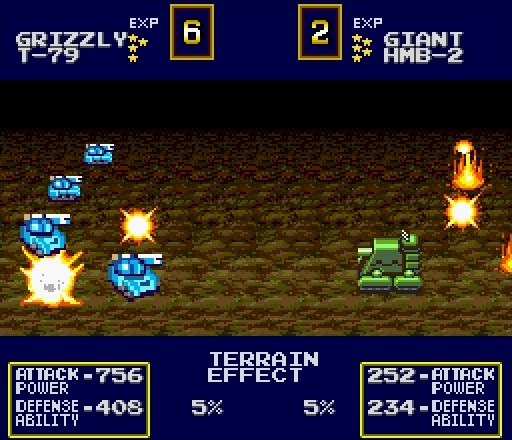
The first enemy units come out of the factory, and we've already got an Octopus aimed at us.

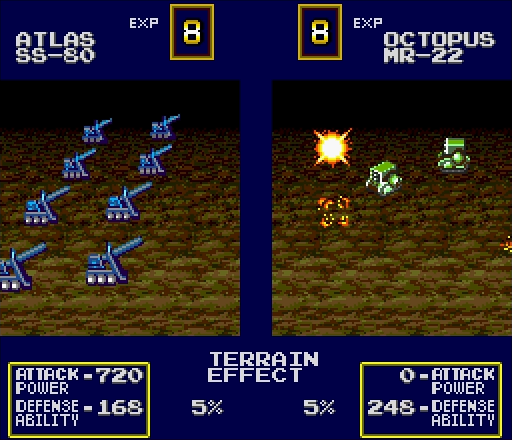
The only proper response to this is "mine's bigger."
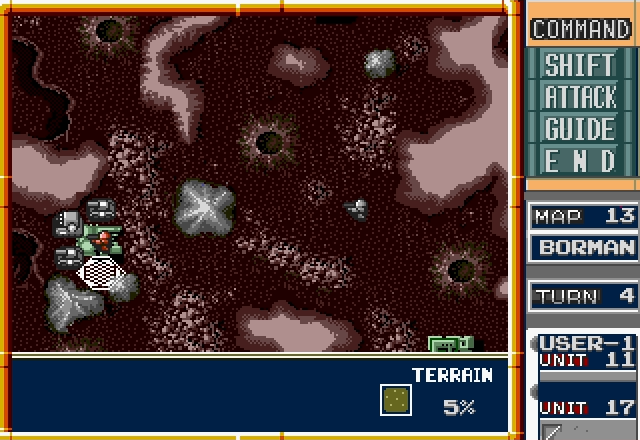
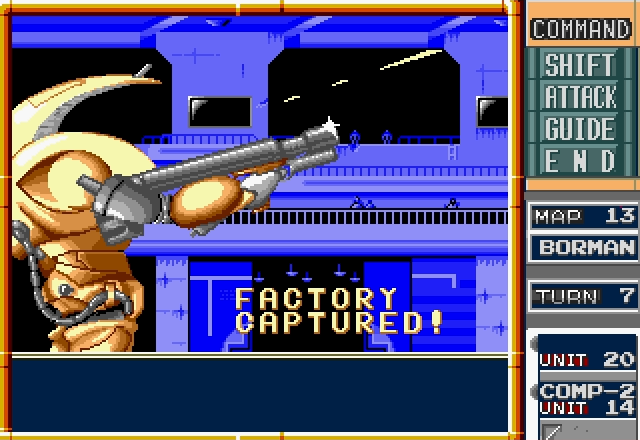
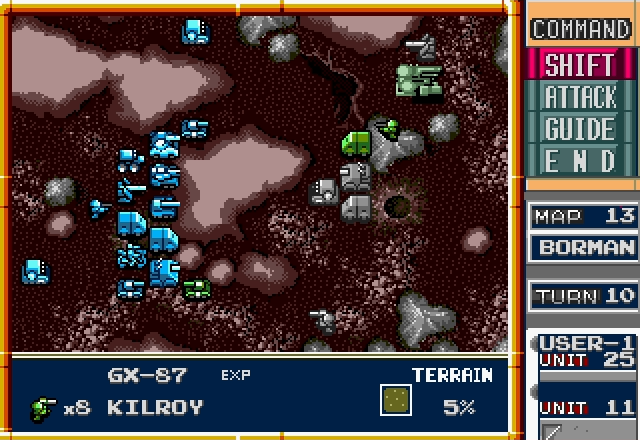
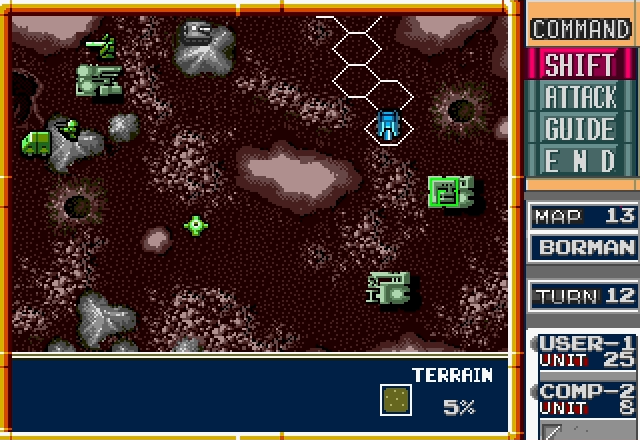
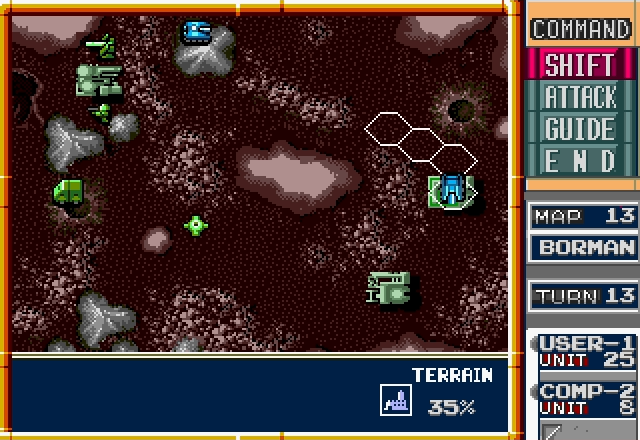
In other good news, despite having to pick its way through rocks, our Lynx beat the enemy Charlie to the northeast factory.
I've said before that we should always take care of our artillery, and that applies doubly in this map. With all the chokepoints and bottlenecks, you can almost never take advantage of the surround or support effects.
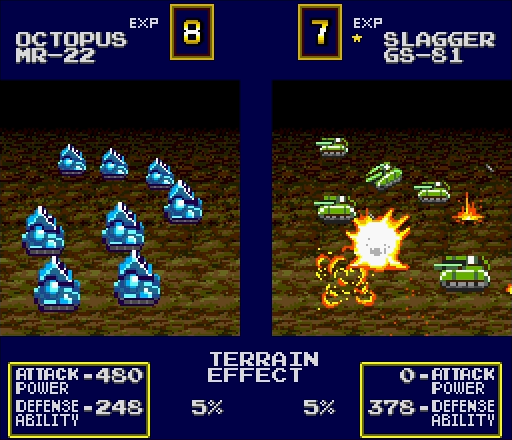
Emphasis on almost. Normally I'd question the logic of the Slaggers having to divide their attention between our tanks and the Panther, but, well, you all saw what that Panther can do.
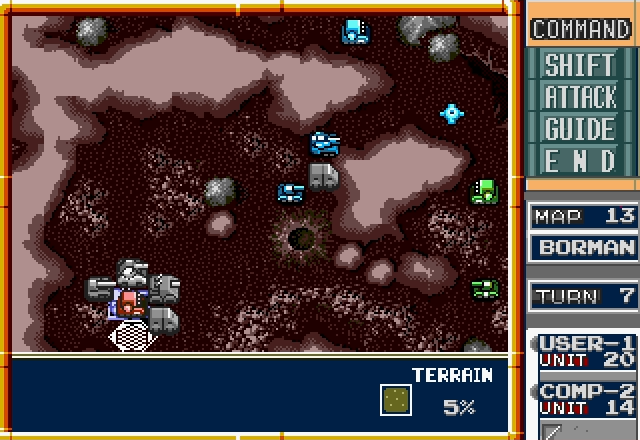
Anyway, there's no real need to advance beyond this point since we can protect the factory and our prison camp from it, so let's drop our Trigger here.
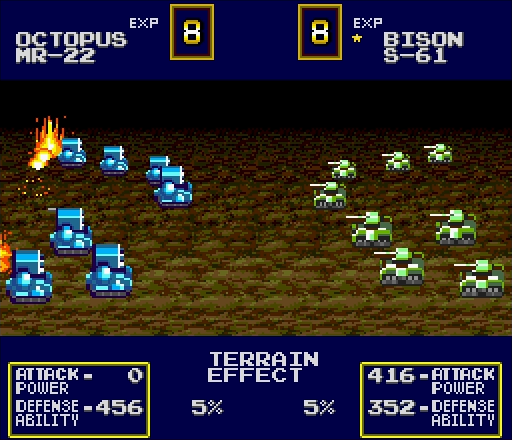
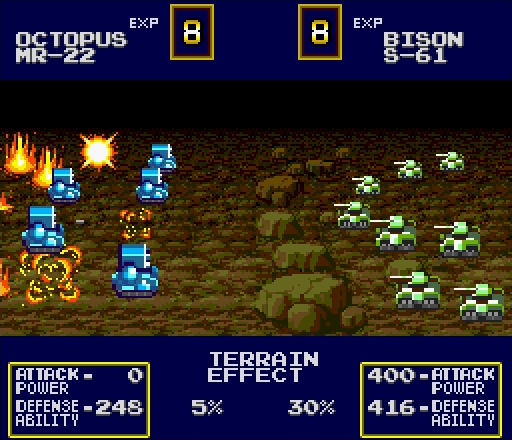
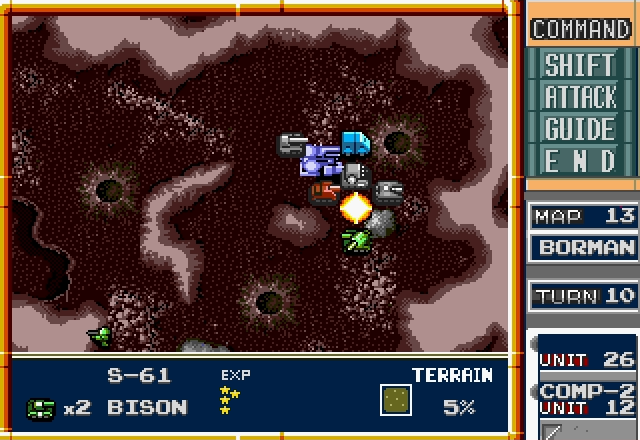
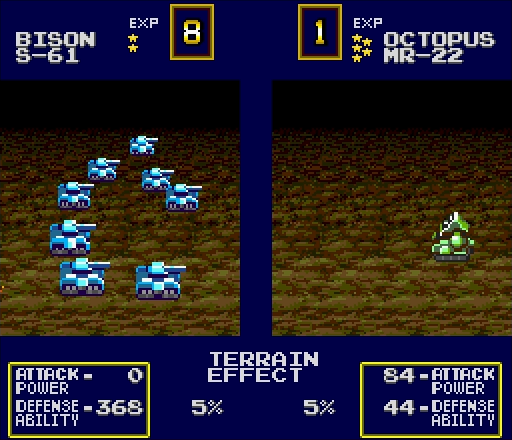
Rather than do the sensible thing and retreat, the enemy Octopus gives our Bison 2 free experience stars.
The enemy's brought out their own Atlas, though, and it's too far away for ours to shoot.
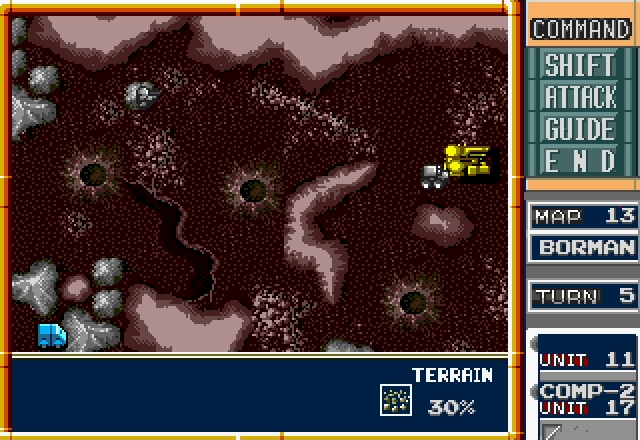
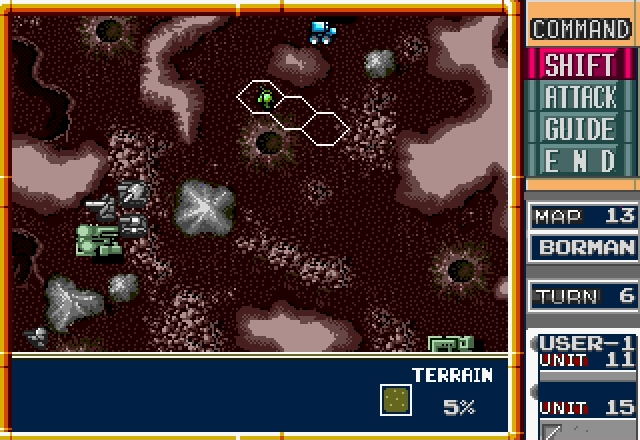
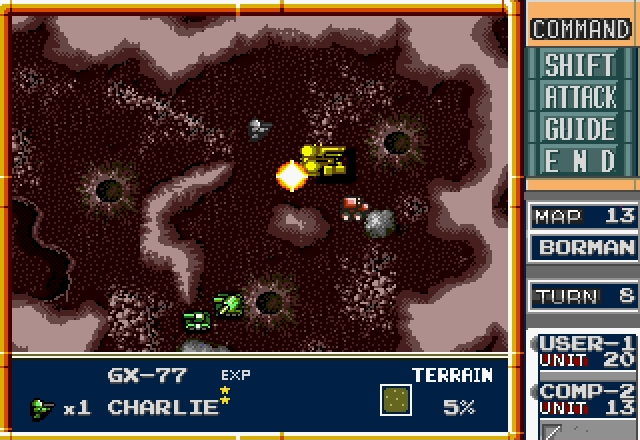
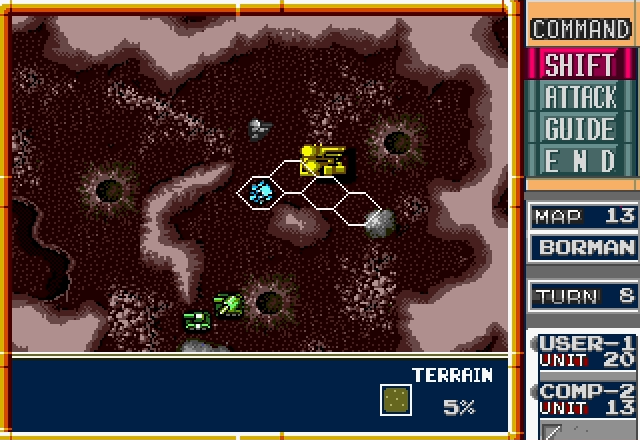
While our forces there are getting drawn into an artillery duel, our Lynx in the northeast starts making sure the enemy will never take the factory.
That Octopus didn't have the sense to head back for repairs. No point giving it a chance to get its head on straight, right?
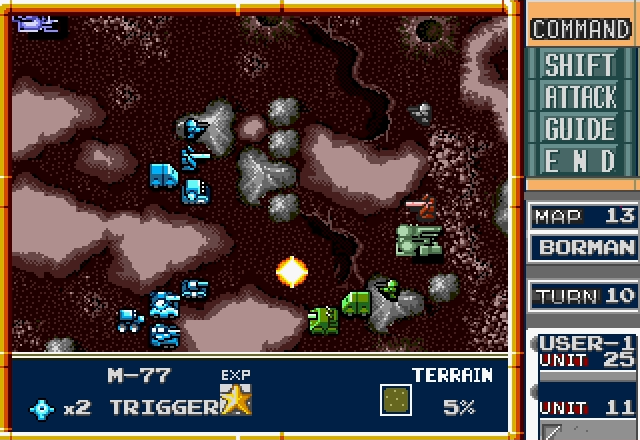
Also, everyone who can move hauls ass to get out of the enemy's artillery range. I feel sorry for that Trigger.

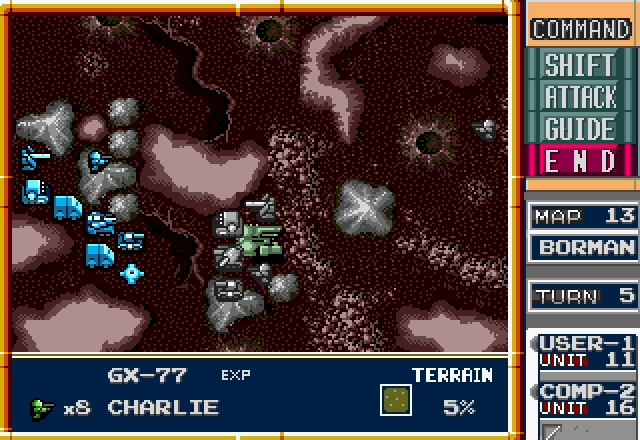
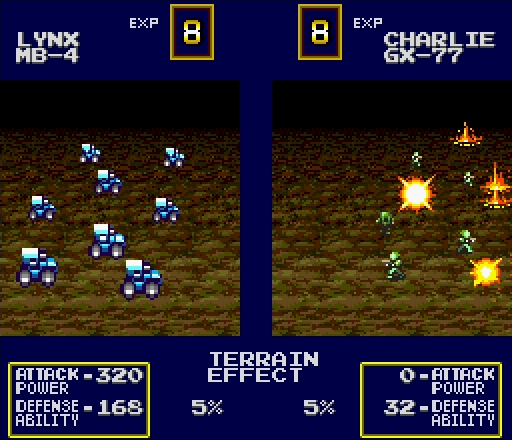
It works, for the most part. All they can really do is take a bite out of these empty Mules.

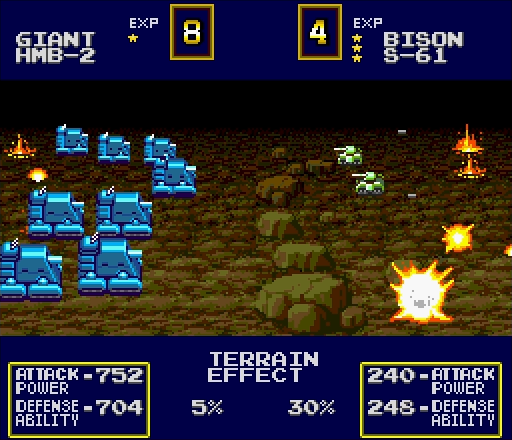
Aside from the obvious, of course. Here we see what happens when an irresistable force meets an immovable object.
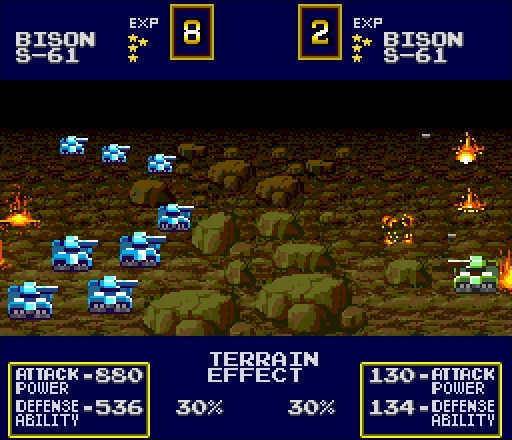
The main enemy force is getting close, and it looks like that Bison's going to try to flank us. Luckily we've got more than enough tanks to deal with it.
Luckily (or unluckily, depending on how quickly we can take the factory), the enemy's pulling a Bison and Lenet north in hopes of saving its Charlie from our Lynx.
Oh yeah, and at the end of their turn their Panther unit that captured the factory decided to come back out. It didn't pick a very good spot.
Our own Panther is having a much better time of things.
That Mule is, of course, loaded up with the Atlas. The only real way to stop the enemy's Atlas is going to be to throw every last artillery piece we can at it, so we're deploying all of those first.
The Axis continue to chip away at our Trigger, and at this point I'm very glad they're short on tanks. Once they take out our mines, there's nothing protecting our Atlas.
Of course, they're only short on tanks because said tanks are heading north to blast the shit out of our Lynx and Charlie up there.
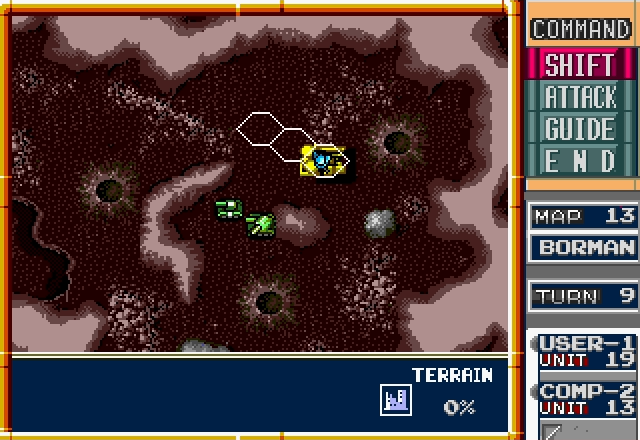
They're too late, though, because our Lynx has done half its job.
The other half is keeping them away from our Charlie. Unless that Bison or that Lenet is very lucky attacking our Lynx, the other one can't possibly rush in to block off our Charlie.
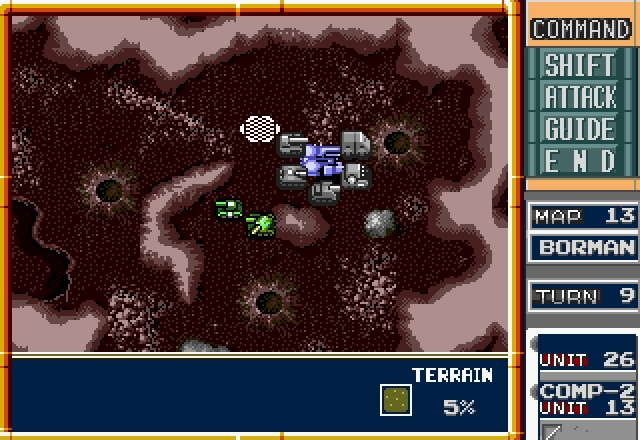
One of our Bisons got shot up quite a bit, so let's have it duck into a factory. We've got more than enough units coming out to cover for it.
The enemy Lenets and Bisons are lucky, but not lucky enough. It takes both of them to kill our Lynx, leaving none free to harass our Charlie.
Our Trigger is weakened further, but at least the enemy buys it a little time by being stupid with their Octopus.
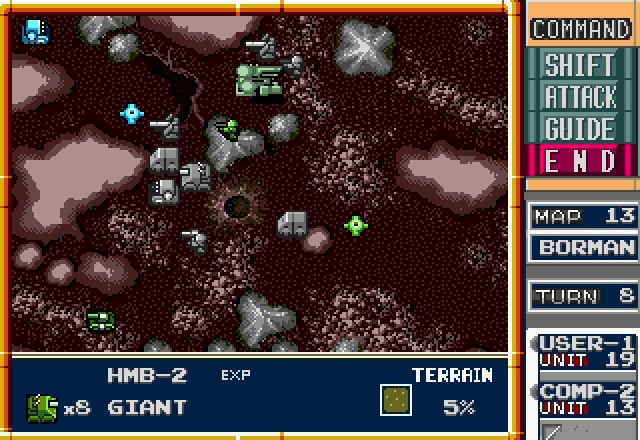
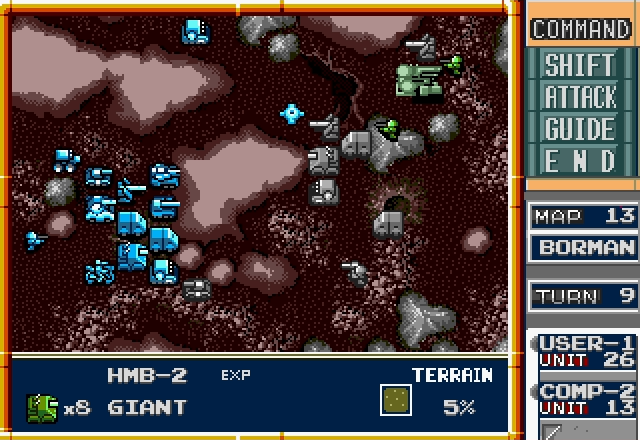
When that Giant was first deployed, I wasn't too worried because I knew we wouldn't have to worry about it until later.
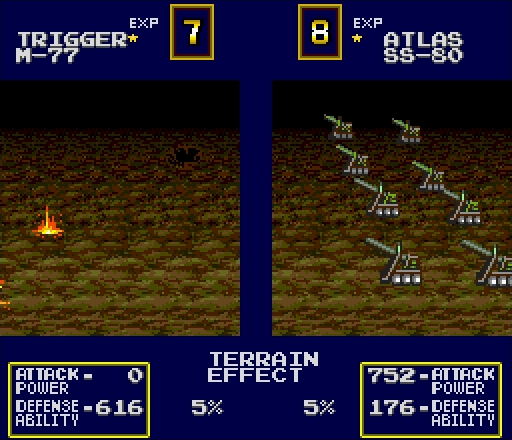
Also, you'll see that they dropped their other Atlas. This would ordinarily be a problem, but in this case it's not. Can you guess why?
Well then, I'd say it's about time to avenge the Lynx!
The Mule, as usual, gets the Atlas.
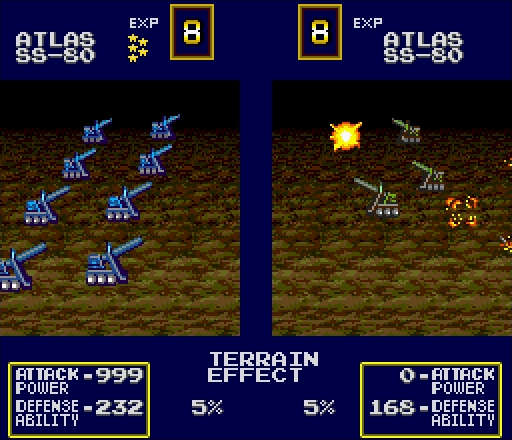
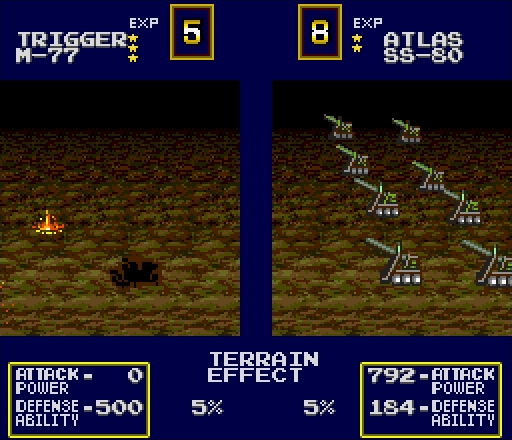
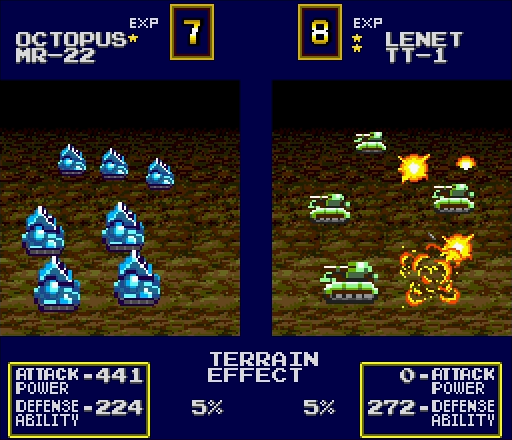
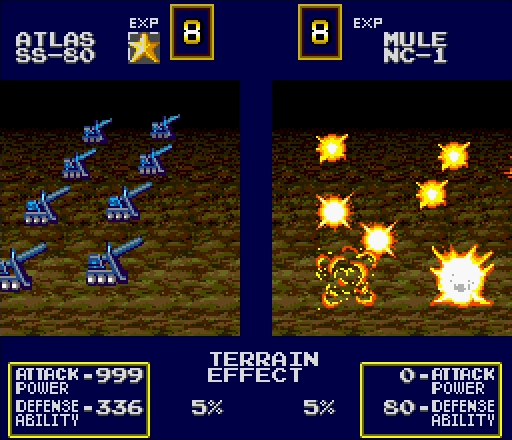
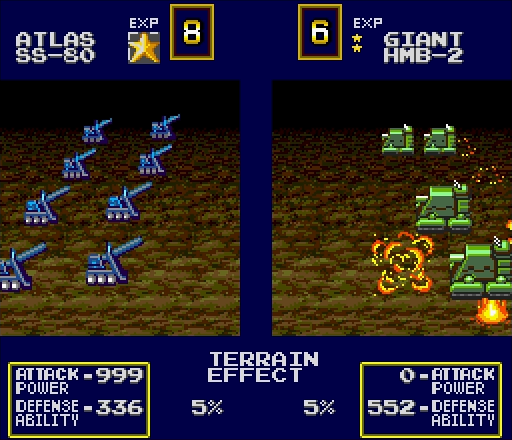
If you were playing along a few screens back and guessed "they deployed their Atlas where ours could hit it," good job! This is what happens when a unit that can dish it out but can't take it shoots at another unit like itself.
That done, let's have eeeeeeverybody else pile up just outside the enemy's Octopus range.
Atlases are usually pretty vicious. Not so much when they're down to 3HP.
The Bison that was flanking us to the south reaches our artillery, with less than impressive results.
This other Bison that attacks our other Octopus in the northeast has a bit more luck.
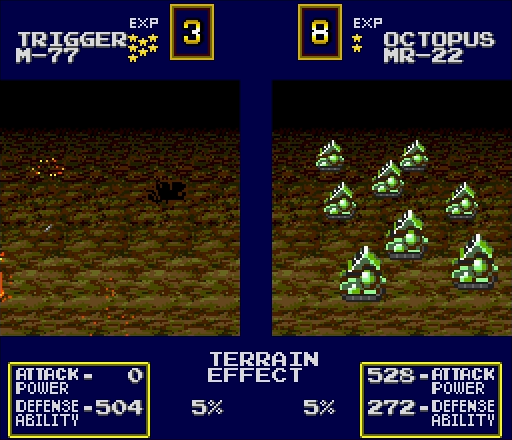
The enemy Octopus, not being able to shoot at our massive cluster of units to the west of it, instead sets off another one of our Triggers. At least the survivors have a full star now.
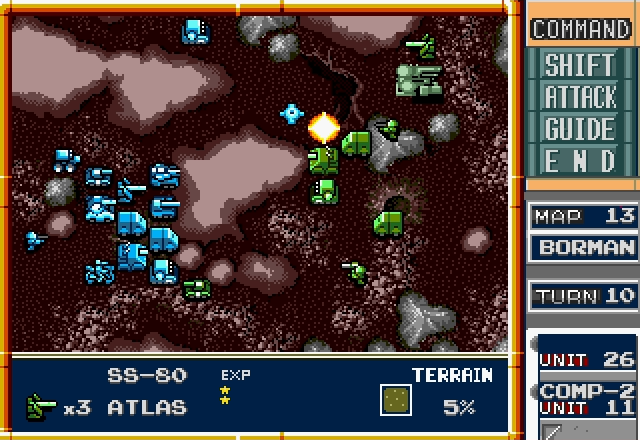
The main enemy force has arrived, but overall things look pretty good. They're outnumbered and if all goes well in the northeast, we can catch them in a pincer.

I'd say all is going well in the northeast.
It's one of Military Madness's few mercies that the AI is always the one that gets stuck with Lenets.
okay yeah that lenet's fucked
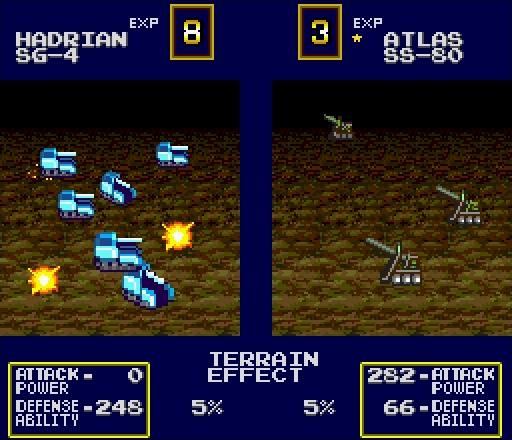
Our Hadrian, unsurprisingly, finishes off the enemy's Atlas. Next thing to deal with is that enemy Bison which, conveniently, is right next to our Giant! Time for another first in the LP!

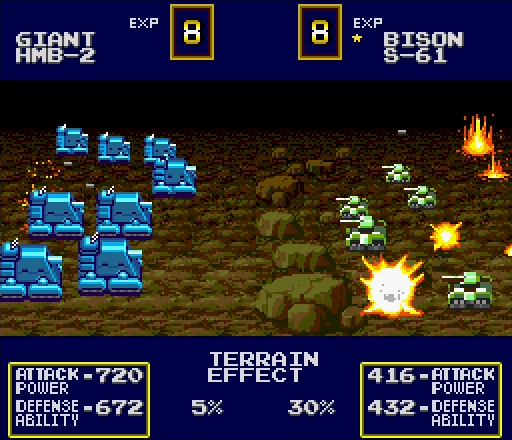
That was...huh. Not really worth the wait.

I guess we can cut the Giant some slack though, since that Bison was on good defensive terrain and we didn't take any damage in return.

And once again, an Atlas demonstrates why it's my favorite unit. Our Hadrian should be able to finish off that Octopus!
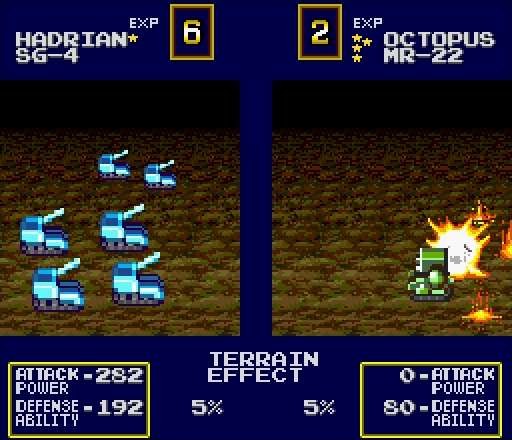
RNG

Still makes more sense than the Panther/Slagger fight from earlier, not that that's saying much.
Even with our setbacks, among them that Octopus needing to head back for repairs, things are still looking pretty good!
And here, in an odd way, the RNG shafting our Hadrian actually helped us. That's free exp for our Bison, after all!
Less happily, the inevitable has finally happened. That Atlas has gotten a lot of exp from shooting our Trigger, and we still have no easy way to get the drop on it.
Luckily they don't really have much else that can threaten us. In fact, some of their units have helpfully wandered into artillery range!
Damnit, Atlases, I spend all that time talking you up and this is how you reward me?
Damnit! Well, at least the Giant's there giving me supporting fire. Next shot should finish it off.
Military Madness, why do you do this to me?

Ah well, can't be helped. Only thing to do is bunch everyone up at this bottleneck so our artillery can charge into range to hit their Atlas next turn.

And while we're at it, we clean up in the northeast.
The enemy's turn comes again, and they aren't really in a position to do anything important. Loving how that Octopus gave my Bison 4 free experience stars by impotently shooting at it, though!

And it's going to need every last one of them, because it's time to charge.
Giants are armored like Triggers, so even an Atlas is going to have a hard time doing any real damage. It's the heaviest gun we've got, though, so we'll have to make do.
Did this Atlas have more important targets than an empty Mule? Yes. Did it have more important targets in range? I think we all know the answer to that.
This Lynx can't say the same, but its only other option was to attack the Giant and ahahaha no
Our Atlases having given all the cover they can, our remaining units charge the center.
If you were hoping for a "Wait, what the fuck was he doing?" shot in this update, here it is. I have no idea why I loaded that Charlie into the Mule.
This probably wasn't needed, but I'll be damned if I'm going to put the effort I did into killing that Bison and not finish the job

With the east cleared, we can push from that side and the pincer attack goes off as planned. Unless that Atlas can somehow shoot five units at once, it doesn't stand a chance.

Since there's no need to hunt down all of the stragglers, let's move some Charlies south to capture their prison camp. The Titan can keep it warm for them until they get there.

This isn't a big deal since we've got multiple other units in range to attack it, but it goes to show that the Atlas in the center can be a huge pain in the ass if you still have Bisons and Slaggers bearing down on you when it's time to deal with it.
The enemy's other surviving dangerous unit starts trying to punch through our frontlines, but our Bison puts up a spirited defense.

And...that's it. To be fair, there's only so much they can do with 8 units.
One of the Charlies gets loaded into a Mule. The Mule still only moves three hexes, but it effectively means the Charlie can move twice in one turn.
The Titan reaches the prison camp without incident. At bare minimum it's safe as long as it would take for the enemy Giant to waddle its fat ass over there.

Well it's not like oneshotting this was particularly crucial, but hey, that leave our other artillery free to shoot at the Giant!
Or stray Charlies. Honestly, by this point we're frying ants with a magnifying glass. In fact, there's only one real thing left standing in our way.
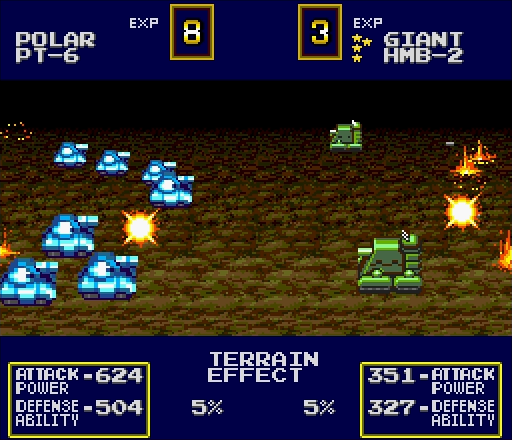

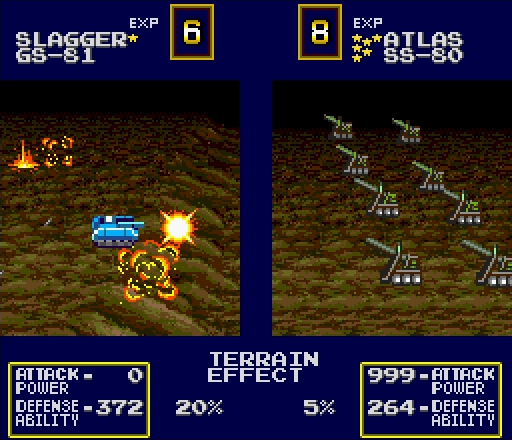
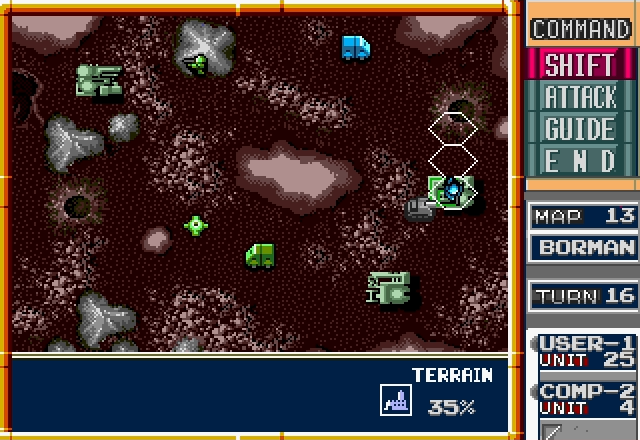
This is what killing a Giant looks like when you can't surround it. The most damage we did against it was 2, and that was with a full-star Atlas!
I don't think there's any need to bother picking off the last stray infantry and transports, is there?
No, I'd say it's a good time to wrap it up.
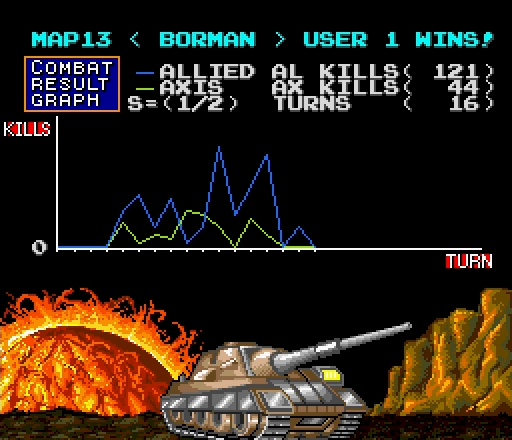
 Map 13 is ours! Thanks mainly to that bit of luck we had taking out the Rabbit early on, this really wasn't bad at all. This map is all about deciding where to dig in and hold the line, and setting up where their Atlas couldn't shoot us paid off. We've only got three missions left now, but the next one will mark another spike in difficulty compared to the last few we've been playing.
NEXT TIME: The Axis finally gets its shit together at APOLLO.