Part 20: Bonus 5
Bonus update!
At first I wasn't really considering this as a bonus update, but the highway is a giant-ass dungeon and there is a whole lot to do, so it may as well be.
We'll start at the beginning, when I began to segregate the story from the game a little. We go back to when we first met the Fierce Pork Trooper down near the warehouse. In that area alone, there's not a whole lot to do except slip n' slide and fight some robots and chimeras.
Apparently, you don't actually have to be on the ground to start sliding uncontrollably from a stray banana peel.
Well, anyway, let's take a look at this dungeon's map.
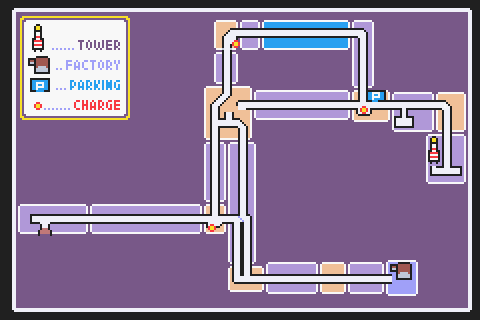
The warehouse is on the very lower-right hand corner of the map, and we wanted to get to the tower as indicated by the map's legend on the right-hand side. That could potentially leave a lot of stuff unexplored, and since we're not shackled by the plot right now, we can take our time and look around.
So naturally, the first thing I'm going to do is the most irritating and boring one of them all: finding the rare encounter.

This thing here is a Bright Smile. It has a stupid low encounter rate and can only be found here on the highway. I ran over this stupid thing twice before I had the luck to miss it and not kill it while I doubled back.
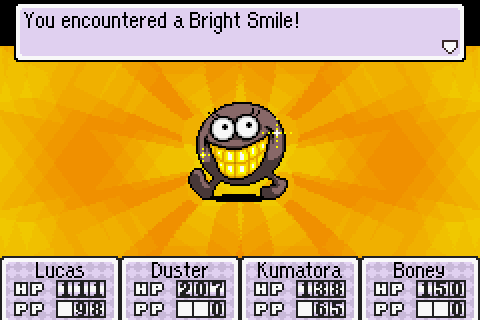
It has a smile so brilliant that it can bring a tear to your eye, which is to say that it has an attack that can cause crying to your entire party at once. Luckily it's not very tough and you can take it out in a turn or two.
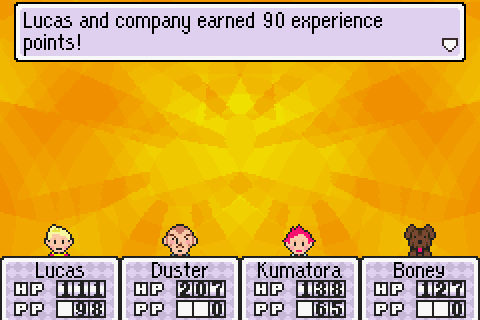
It doesn't offer very much experience, clearly, but it does offer a whopping 2,000 DP upon its defeat, so you won't be hurting for cash for at least a little while after fighting it.
We'll begin working our way up by going to the first charge station closest to the warehouse. It's the little red dot just a little below the centre of our map.
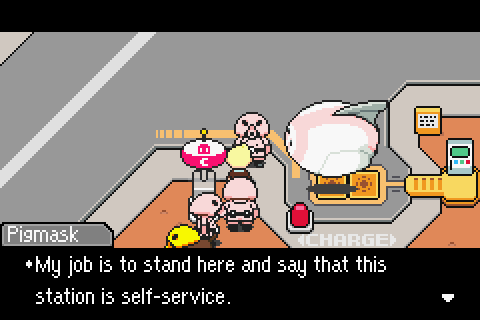
You'll find this next to the Pigmasks charging their Pork Bean at the station. It heals 60 HP to Boney and 10 HP to everyone else. But right now, don't actually use it; we have another use for it in just a little bit.
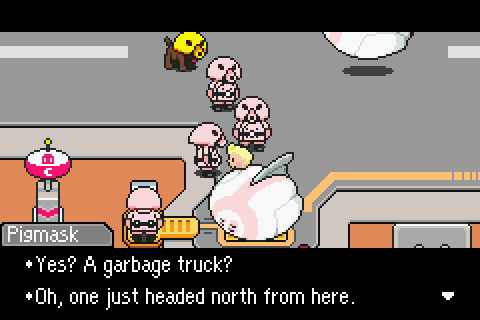
The Pigmasks here just offer some flavour text. If you happen to get a little lost, one of them will point you in the right direction.
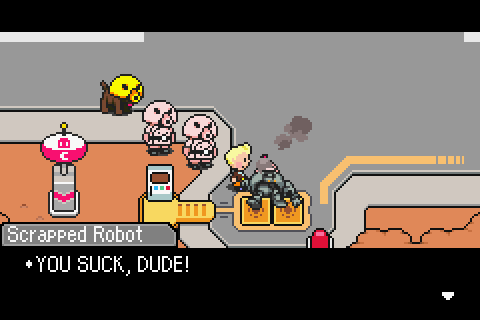
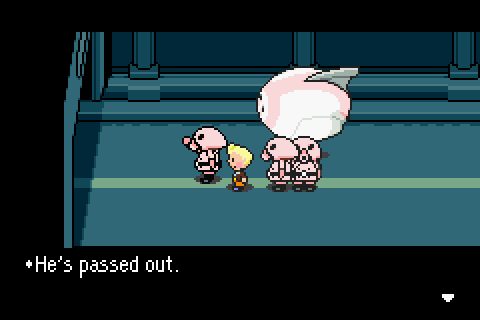
North from the station is a broken robot. These things are awfully rowdy, even when they're missing limbs and most of their head. But still, even this one recognizes when it is defeated.
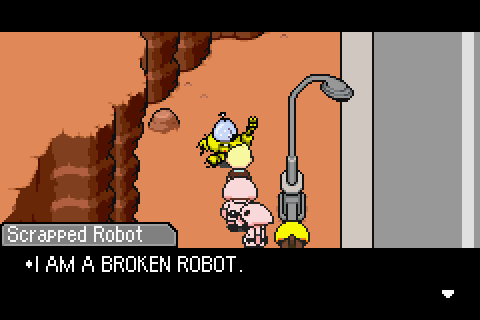
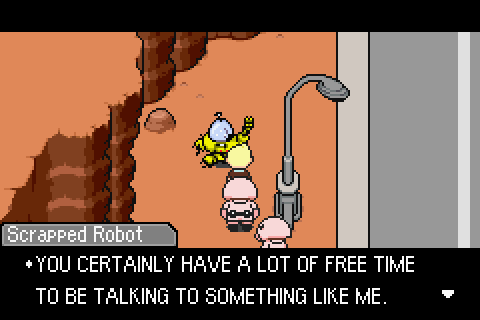
It is one of many robo hobos to be found on the highway. These poor guys couldn't even make it to the dump, and now they're just waiting for their circuits to fry in the desert sun

There usually isn't anything exciting in tunnels between open areas. Just the usual broken robot and chimera and the occasional living roadblock.
I always get a kick out of how those things try to stop you like that.
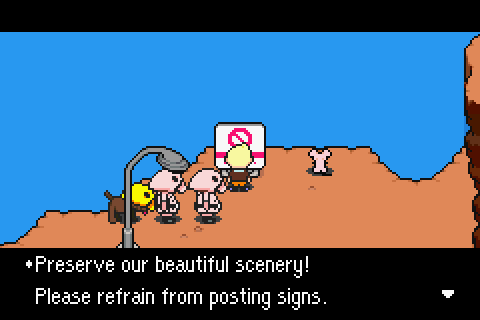
In the next open area going north, we're met with some new enemies to fight and some signs to graffiti.
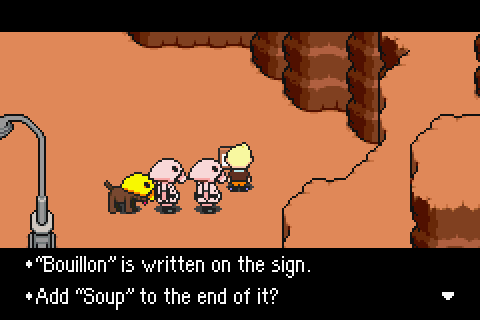
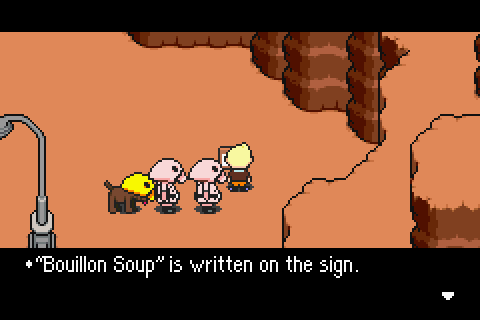
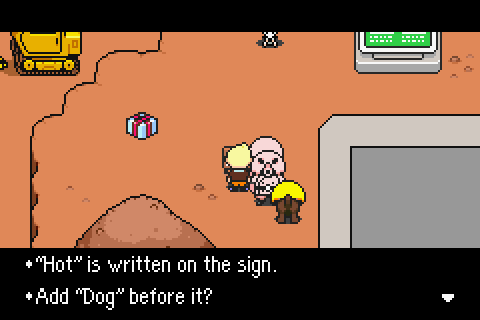
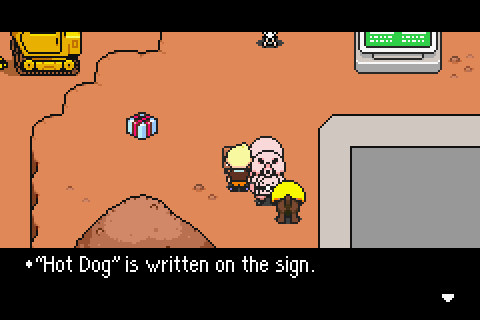
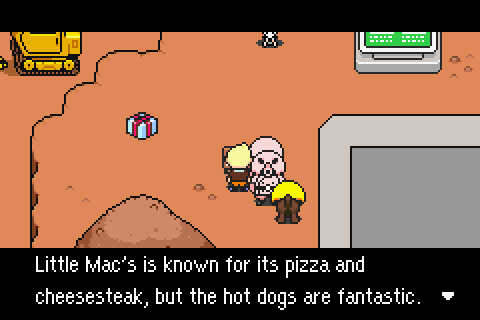
Along with some real-world recommendations for hot dogs and pizza. I don't know if these were put in by the translators or if they were actually in the game beforehand, but it's pretty...sudden, either way.
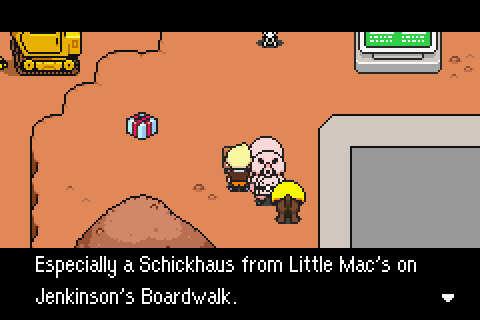
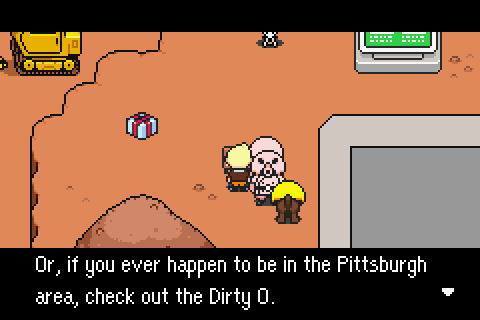
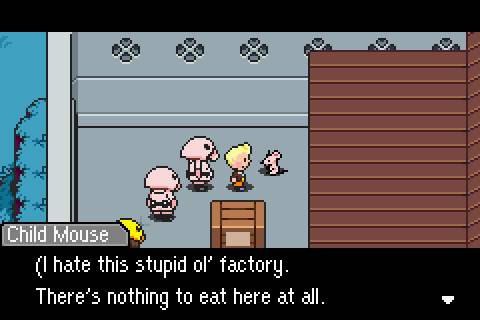
The present you see in the screenshots contain some Chic Gloves, gloves being Kumatora's weapon of choice. The biggest reason why we're here, though, is because of the little mouse just in front of us.
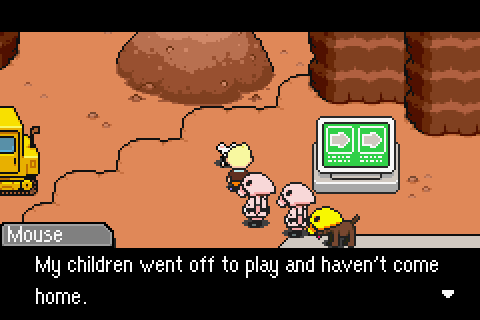
Turns out, Momma Mouse here is worried sick about her seven children that have not returned from their playtime, and politely begs you to ask them to come home. All seven are somewhere in the dungeon, and we'll be picking them up as we explore the rest of the highway.
Going even farther north, we came across the second recharge station for our Pork Bean. This one station is actually mandatory for your machine: you only need to use it once, but if you ignore it and keep driving down the highway, the Pork Bean will eventually run out of gas on the bridge, like I had done in the story.
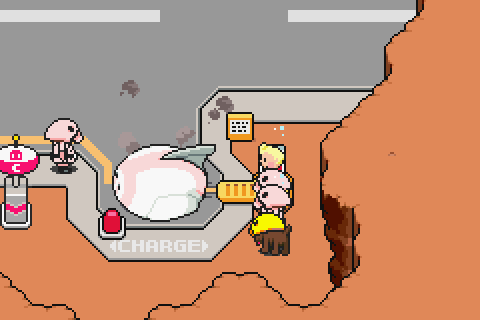
It's really easy to do, though. First, you just park the Pork Bean on the charger, then inspect the terminal to the side. It'll ask you if you want to turn it on; do so, and you'll hear a whirring noise, and eventually a ding with a flashing light next to the bean.
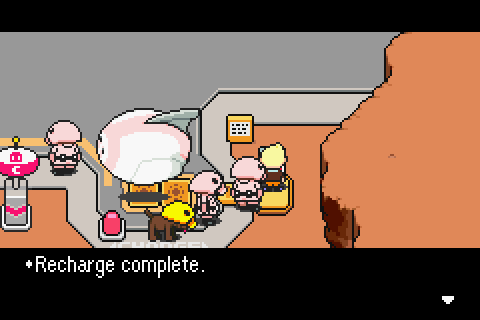
Press the A button again and it'll stop charging. There, now you'll never have to worry about the Pork Bean running out of energy again.
Alternatively, you could never stop charging it.
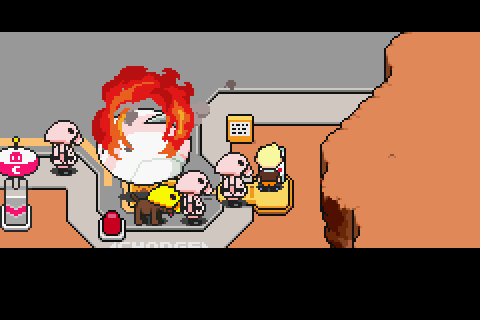
You're wrecking the Pigmask army from the inside out by breaking their stuff. Good job!
More to do in this area: there's a Pigmask off to the left of the highway that sells you dangerous stuff.
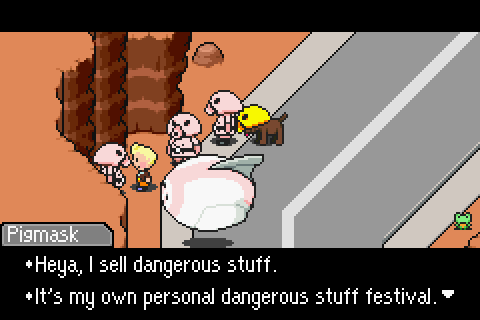
He's got a supply of pencil rockets, bombs (like what Fassad might use with Salsa. They pack a huge punch), super bombs...and a most peculiar device called a New Year's Eve Bomb. It's described as lowering all enemy's HP to 1, but also being unreliable. They're pretty costly at 3000 DP for an item that might not even work, so we're going to skimp of it for now. Buy anything else you might like, and buy at least one Saltwater Gun for later (it's not for the Forlorn Trash Heap).
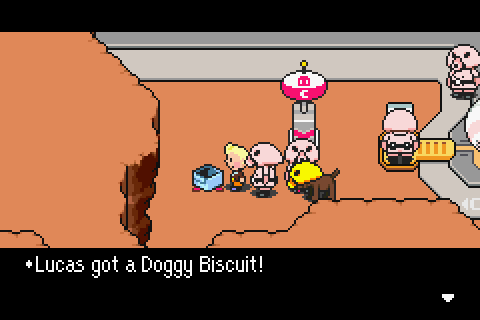
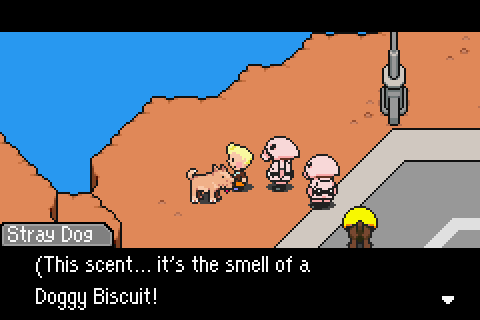
A bit past this guy is a single, lonely, stray dog. He has nobody to love and nothing to live for, so you going out of your way to speak to him means a lot. But at the same time, his wily nose picks up a most memorable scent.
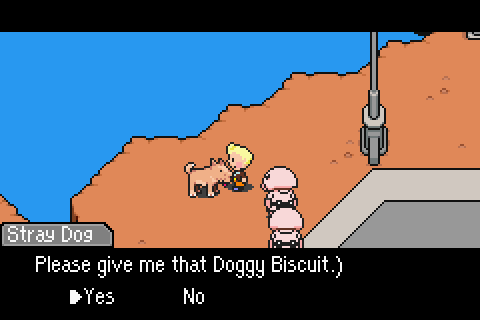
Of course, I'm not about to say no to the poor thing, so I gladly hand it over. Boney's been spoilt with Big City Fries and Beef Jerky's anyway.
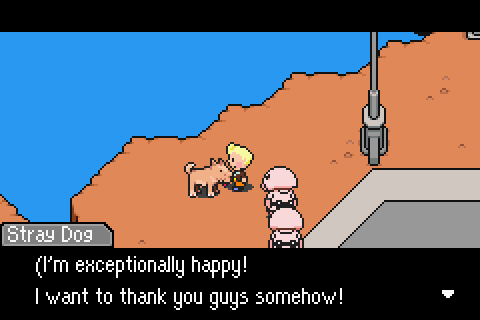
In exchange, he offers you a Pencil Rocket to use at your discretion. Not a bad trade.
Right next to this irony is our first of seven young mice to send back to their mother.
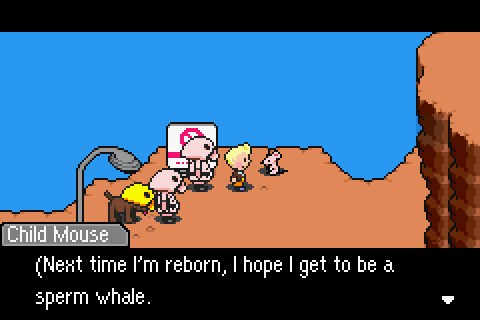
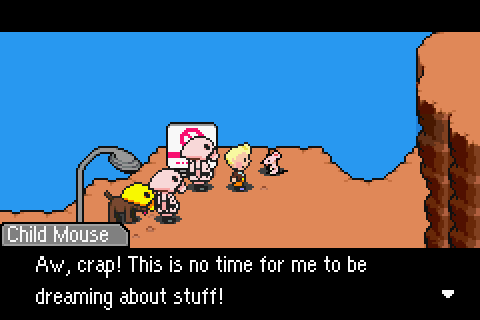
Nothing left to do here, so let's continue onward, back across the bridge. You might miss this little guy if you're using the Pork Bean, but on the bridge is the second of seven little mice, gazing out to the horizon.
D'aaw, what a cute thought

Just more tunnels after the bridge, but immediately afterward we come to a decently new area to look over. As soon as you come out from the tunnel, just to the left is a present containing a brown collar. Boney only has one unique weapon (not unlike Poo from Earthbound) that we won't get until much later, but unlike Poo, his offensive stat is not grossly overpowered to compensate. Instead, collars will raise both offense and defence, so they're kickass things to look out for.
And of course, a city/dungeon wouldn't be complete without everyone's favourite item dude, Item Guy.

This area holds the third and final recharge station for your Pork Bean, but like the first, it is occupied and functionally useless to you. Instead, there is another robo hobo in place. Apparently it's still functionally useful and still up-to-date unlike all the other mistreated robots found along the highway; it's only broken down because...
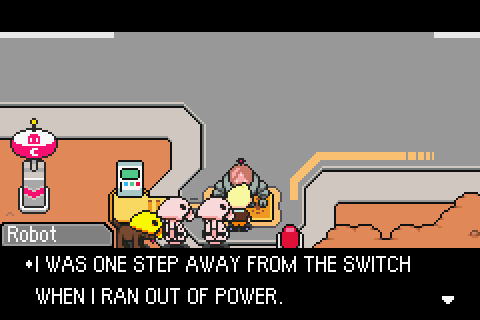
It asks you to press the switch for it and help it recharge its batteries. It doesn't expect you to do this service for nothing, though.
So here's a little timing minigame where you have to do the exact same thing like you did with the Pork Bean, but you are given no beep or flashing light to signify a successful charge. You have to get the invisible timer as close to 15 seconds as you possibly can; any lower and it'll pay you less. Any higher and you get a repeat fireworks show.
I got 13 seconds on my first try, and it gave me 30 DP before simply walking away. Leave and re-enter the area, and it'll be right back on the pad for you to try again. It speaks in broken, stuttered text, making speeding through its speech (and you must talk to it every time you want to try again) for free money an awfully slow process, probably to discourage grinding. I think if you manage to get 15 seconds exactly, it'll give you 100 DP. When we're getting twenty times that amount for beating up one enemy, this minigame is hardly worth it in the end.
To the west of this area is back to mother mouse. The Pork Bean cannot ever go off-road, for whatever reason, forcing you to take the large loop around the whole dungeon if you're keeping it. You could leave it at mother mouse and cut straight through the centre of the map on foot if you'd rather.
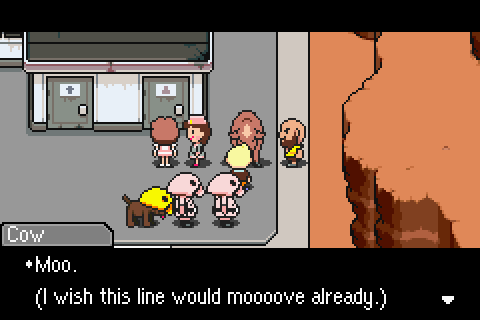
To the east is the continuation of the plot. But we're still not done with the area itself. Here, there's a parking lot and a truck stop, and there's a moderate amount of things to do here.
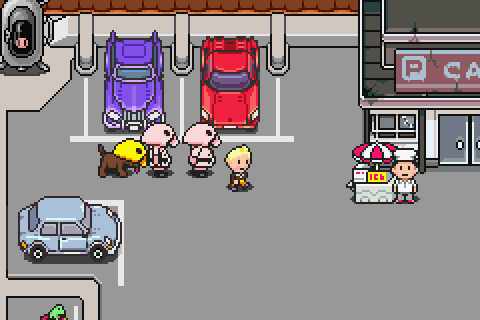
As you can see in the upper left-hand corner, there's an Instant Revitalization Device, if you've been fighting some baddies lately and need to recharge before moving on to the boss. The vendor here will sell you stuff.
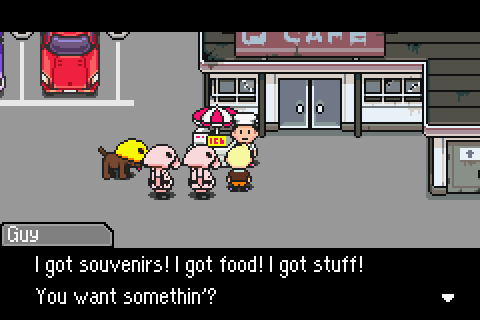
An accessory for each of your human characters; a dress for Kumatora; and the game's first instance of a yo-yo. Yo-yos can be used by any human, so if you find someone underequipped you can toss it to them. Pretty sure slingshots aren't available in this game, though. Right now, this particular yo-yo sucks, so you should probably skip it.
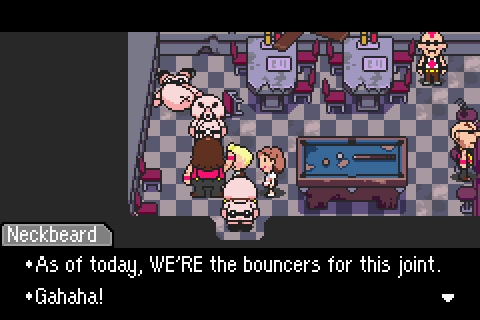
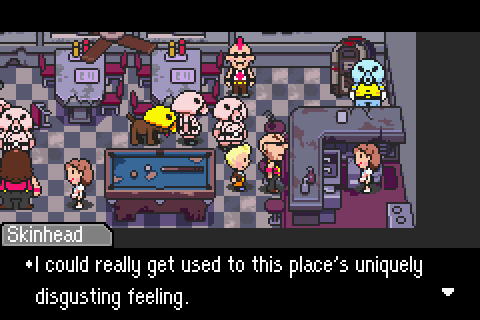
The building isn't the healthiest ever, and it apparently doesn't have the greatest reputation. It's pretty rough on the inside: run-down, dirty, broken, with lots of mean people just being mean people. Also, old friends falling on hard times.

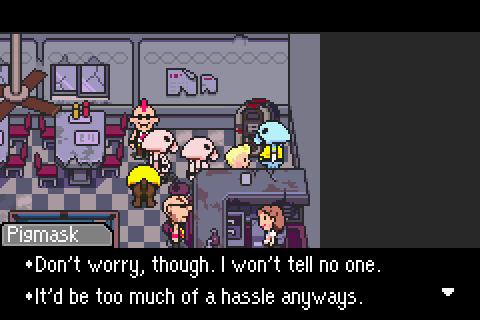
There's one other Pigmask who sees right through your disguise, but he's pretty apathetic about it and knows well enough not to get in your way.
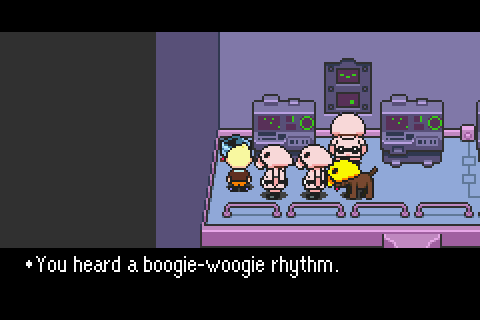
There's nothing of value to take in this place, but there is a jukebox in the corner, promising some good times if you spare the single DP to play it.
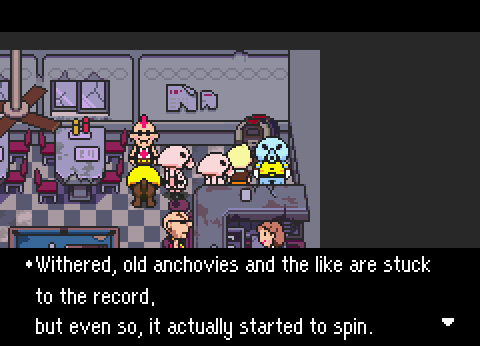
It starts playing a jaunty tune that you might have recognized during simpler times. Whichever song you get will be completely randomized, but they're all remixes of earlier tunes from the game. And they're all awesome.
 - Christmas-y remix of "A Mind of a Thief", chapter 2.
 - A remix of "Monkey Delivery Service", chapter 3.
 - Couldn't tell ya, honestly.
 - I think this is a remix of "Beach Combing", the beach west of Tazmily.
 - Also don't know.
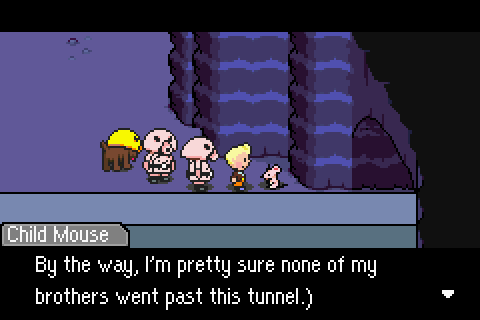
 Onwards! Going east, there's a tunnel just before your final destination. It contains a bunch of chimeras and robots, but also one mouse and a branching path going south.
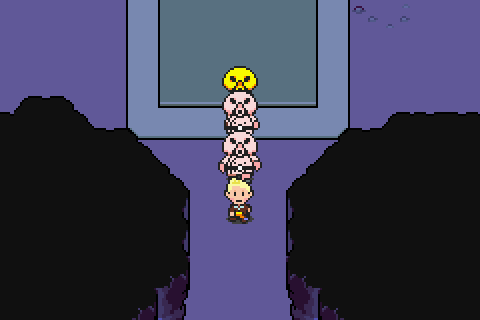
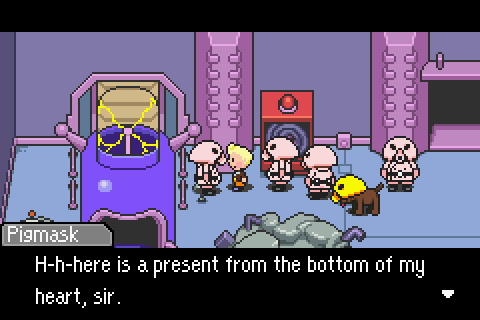
The next room contains a single man surrounded in gifts from, supposedly, his adoring fans. His name is Leo-Leo, and he is one bad dude.
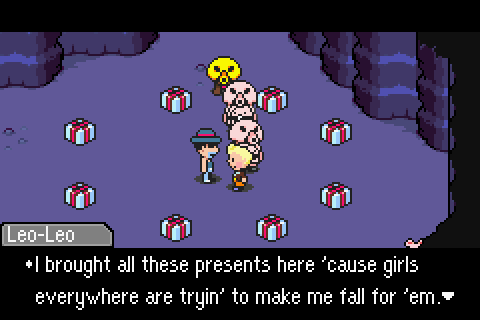
Personally I really love the name Leo-Leo. It sounds pretty...I dunno, snobbish? But it's just so fun to say. Anyway, all these presents are each from different girls that adore him, although why he would take them out to a cave next to the highway in the middle of nowhere by himself is beyond anyone.
No man should keep gifts like that all to himself, am I right? But still, they are his. Ask him politely a bunch of times if you can have one, and he'll eventually cave.
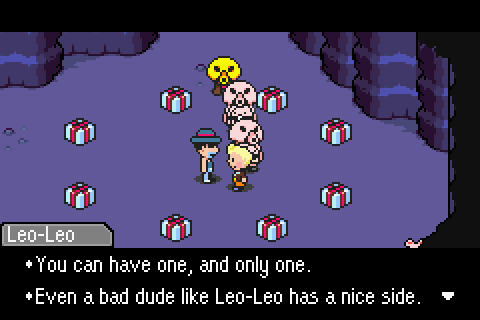
His generosity is why the chicks dig him. Go ahead and pick any present you like out of the circle. It doesn't matter which you take, though, because they all give you a Knit Sweater with the name Leo-Leo sewed onto them. The Knit Sweater only has +8 defence, but it's not such a big loss because the best armour you'll probably have at the time has +10. Also, the Knit Sweater recovers some HP per turn, so you might think the two lost defence points might be worth it.
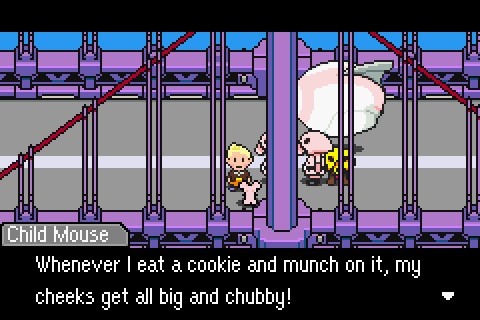
Before leaving the cave, make sure you talk to the baby mouse hiding in the bottom corner.
Hmm...the last place to check on the map is the lower-left hand corner. We're on the exact opposite side, but, may as well make the long trip back.

That wasn't so hard. Nothing particularly new or exciting here: just more enemies for you to fight at your leisure.
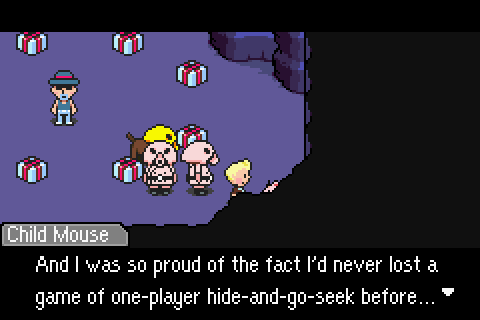
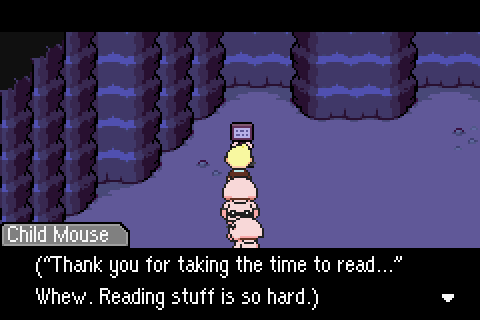
Oh yeah, and I guess a present at the very end containing a Gemini Bracelet (accessory for Lucas, boosts def. and off.), as well as a baby mouse trying to teach itself to read.
The highway continues down south, going into a totally new and uncharted area, expanding into unexplored territories waiting for a bold, adventurous hero to step forth and tame the wilderness in the name of man!
(No, we can't go back to the desert. The elevator is 'not turned on'.)
(Nor can we go back to Tazmily. At least, not yet, of course.)
The last thing to do in this dungeon is simply find the rest of the baby mice. We've explored everywhere the map has to offer, though, so where could they be?
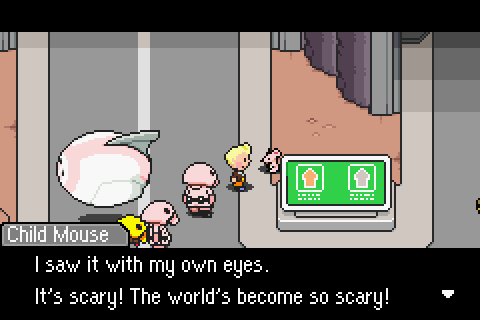
Well...that's not entirely true, although I wouldn't call revisiting old territory 'exploring'. Back at the crash site, where you encounter F.P.T., is another awe-struck mouse that saw the whole thing.
Just for giggles.
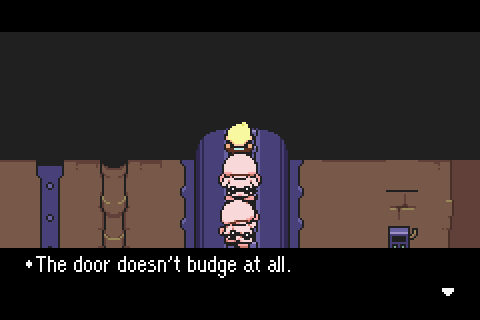
The last of the seven baby mice is on the edge of the map, back to where it all began. Go back to the warehouse and check the corner of the building, before walking into the back door.
That's all of them! If you need, here's an updated map with all the locations of the mice marked for you, in case my directions weren't clear enough or something.

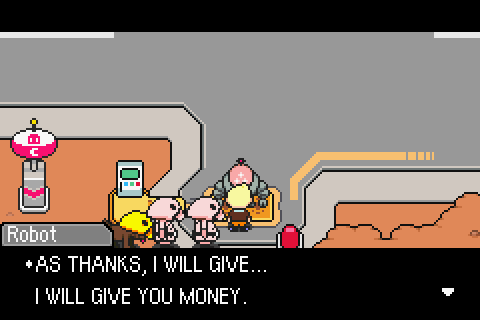
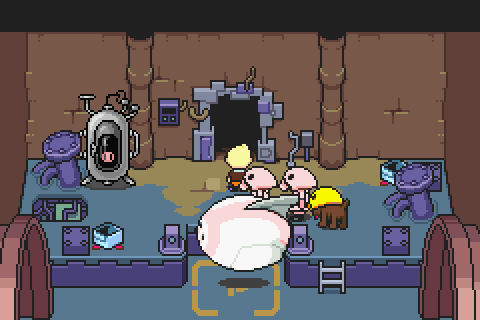
Head back to mother mouse to claim your prize for finding her kids for her.
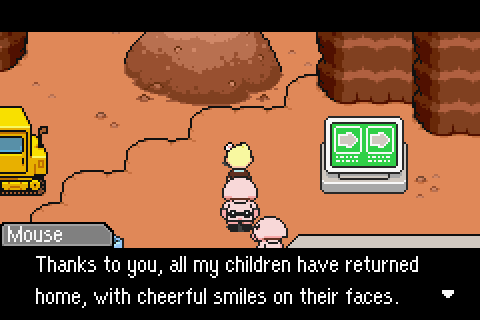
She insists on giving you two things in thanks: first is her adoration in the form of a kiss somehow. The second is a bit more material and infinitely more useful.

You also feel something warm inside your heart for completing this task. I wonder how that Kindness stat would have played out if it was kept.
The Shield Snatcher is an item you can use to take away an opponent's shield, either offensive or PSI. Like we saw on the Forlorn Junk Heap, it was equipped with a shield just as the battle started, and could make a new one whenever it pleased during the course of the fight. With this item, we can simply take the shield away instead of having to beat it at least three times before it'll disappear. This item will come in wicked handy for later.
That's about it for things to do for this dungeon. The last thing I wanted to bring up before concluding the update was some stuff that came up before the highway dungeon but only I remembered to include now:
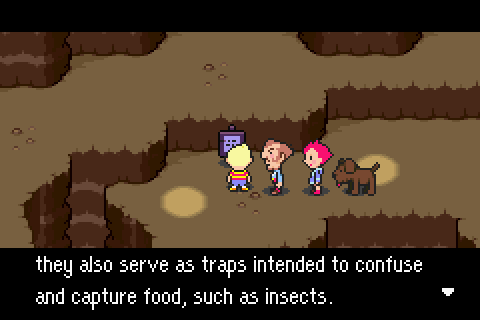
First, some more real-life education in your Mother 3.
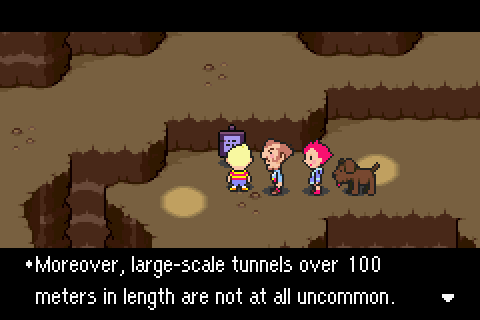
[Giant-ass underground tunnels dug by moles are their homes and]
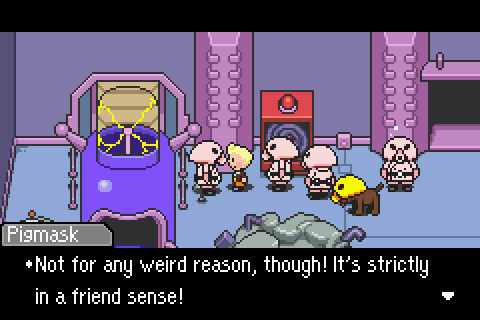
Farther on, when we're promoted to Pigmask Commander, you can talk to this guy for some strictly platonic love.
(It's a Secret Herb. Cures all ailments, including incapacitation, up to ~50% of your HP. The 'incapacitation' part can only be used in battle, for whatever reason, though.)
And finally, more music coming out of presents.