Part 1: Birth of a Hero?
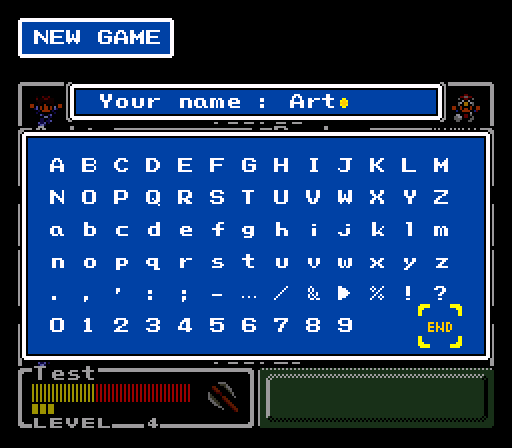
Like all good RPG heroes, ours is born without a name. His canonical name is Benjamin, but that doesn't fit. Art will be our valiant hero of the hour.
Music!

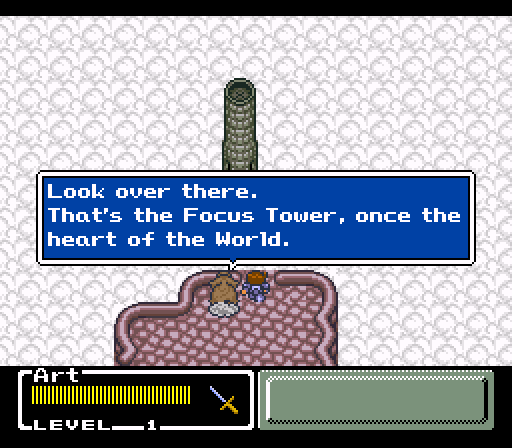
We begin on the Hill of

Jumping lets you clear any obstacle one space wide and makes an awesome sound effect when you do it. If you're not jumping everywhere when you play this game, you're playing it wrong.

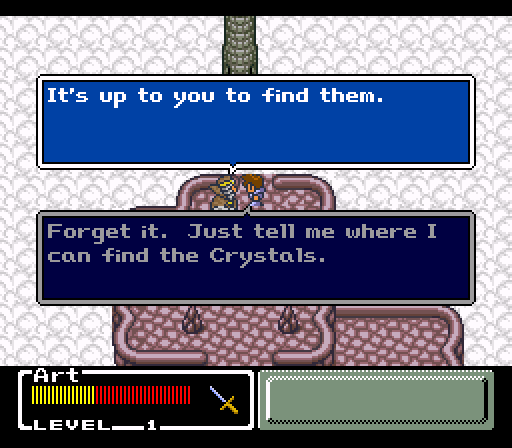
After we jump across (and only after, you can sit there forever for all the game cares), the pillar sinks. The old man (henceforth known as "Captain Exposition") calls us over for some good old-fashioned plot.
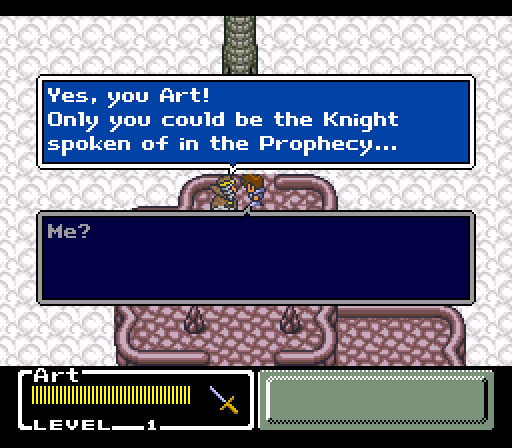
CE: An old prophecy says "The vile 4 will steal the power and divide the world behind 4 doors. At that time, the Knight will appear." The Prophecy has now come true. Four monsters have locked the doors of the Focus Tower and escaped with the keys. They're draining the light from the four crystals of the Earth and the world is in chaos. The people are in desperate need of help. Art, only you can save the crystals and the world.
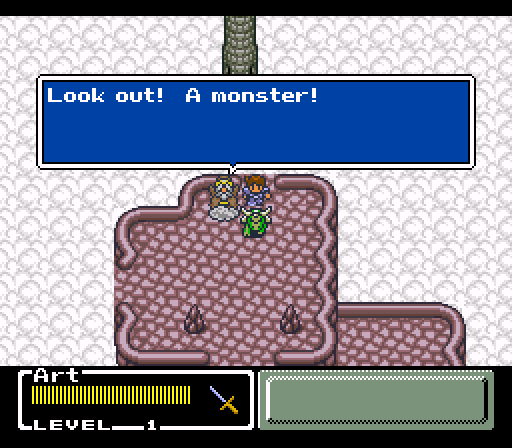
Unfortunately, this grand revelation is cut short by the tutorial fight.
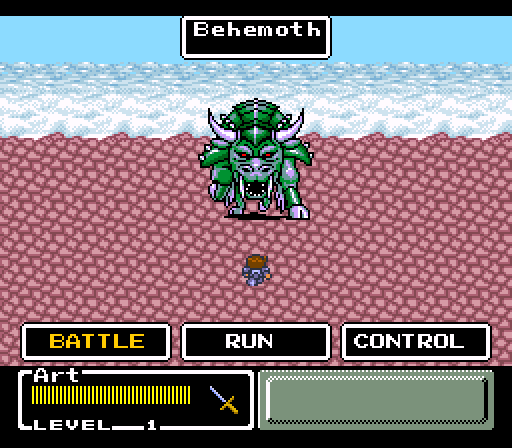
The battle screen is incredibly simplistic. Battle will bring up our fighting options, including Attack, Spell, Item, and Defend (which you should never be doing unless you're trying to kill time or something, and even then I'm not sure why). Control will change our partner's setting once we have one, and Run is run. I think you can figure that one out on your own.
One of the cooler things about Mystic Quest is that you actually get to see your weapon in action when you attack. Every weapon (or weapon family, at least) has a unique animation, and some of them have redrawn sprites as you upgrade your weapon.

The other thing that set Mystic Quest apart at the time was that as you hurt enemies, their sprites would visibly change to reflect this. In this case, the Behemoth loses his horns, and eventually gets really pissed right before death. I'd like to say he's a joke, being the tutorial fight and all but well...

Yeah, it can happen. We start with 40HP, and he'll take 4 hits to kill. He's doing 6HP a turn with his attack, and he always goes before us. If he criticals, he'll nail you for 24 damage, and then it's time to pray because without a critical of your own, he's going to kill you unless he misses.
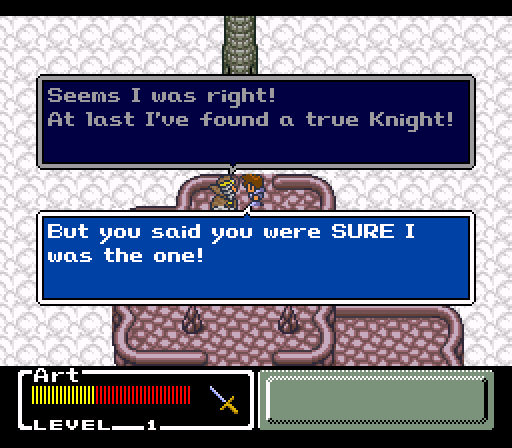
Turns out Captain Exposition was bullshitting us all along. Asshole.
Here Art demonstrates his shrug, which we'll be seeing a lot of. It's a good indicator of how you should deal with the plot as well, because it moves really fast and you should probably just go along with it.
Captain Exposition continues his asshole-ery.
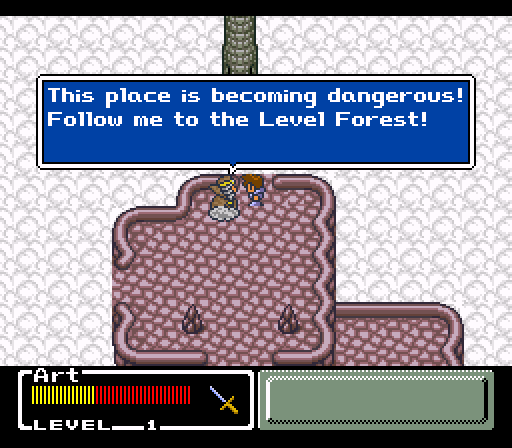
And with that he flies off, leaving poor Art to wonder what the hell just happened. We make our way to the Level Forest, where CE is waiting to give us some more useless hints.
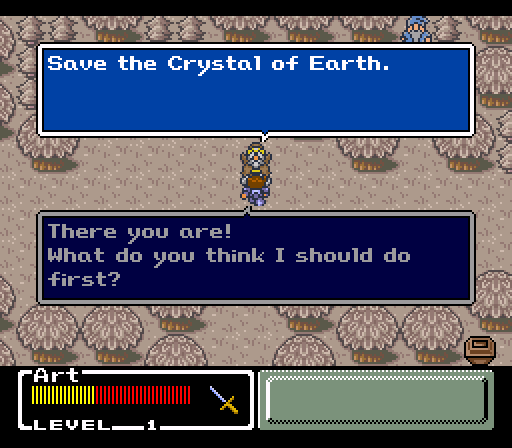
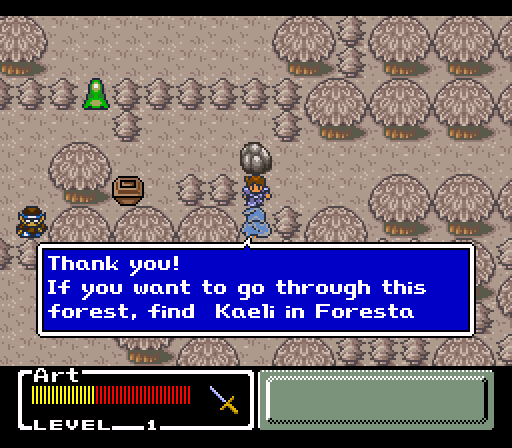
He then flies off, leaving us shrugging again. Well thanks for that, chief. Since we can't reach the monsters, we head up and talk to the old man.

Not pictured: A boulder blocking the way to town. After jumping over him and pushing said boulder out of the way...
and show her this.
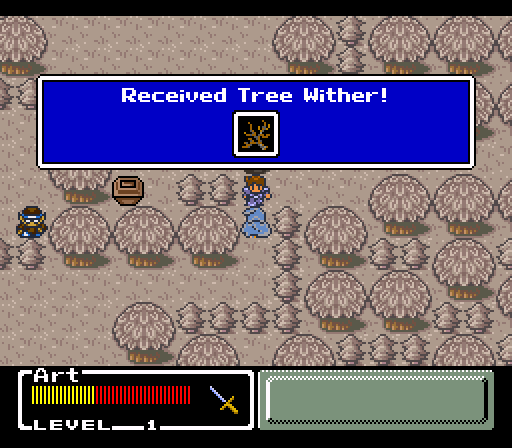
Well that doesn't look very good. Before we head to Foresta, first we pilfer the box off to our left.

Cure Potions heal ten times your level, which makes them more useful as the game goes on. They're also very cheap and easy to get, which is just one more way the game doesn't really bother trying to challenge you.
Next time: We meet our first party member and clear out this forest.
For a bonus point, see if you can find the shots I had to retake.
