Part 18: The Doom Castle
17. The Doom Castle
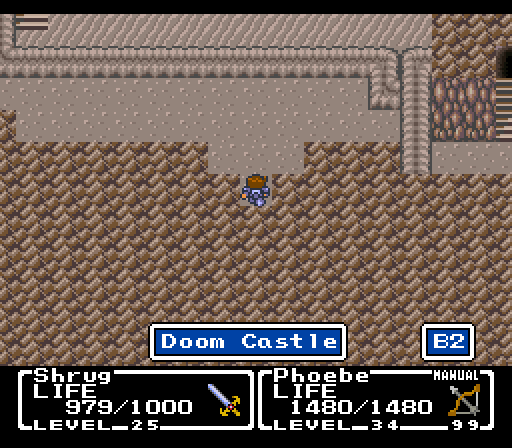
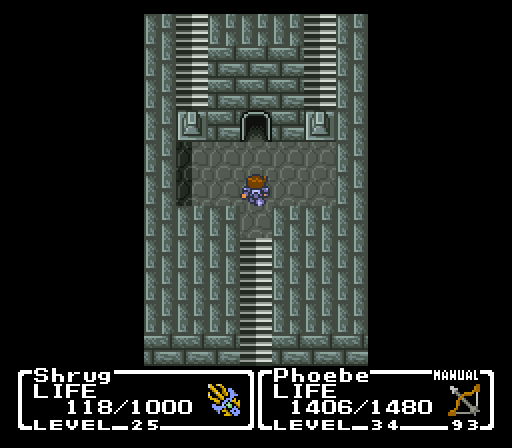
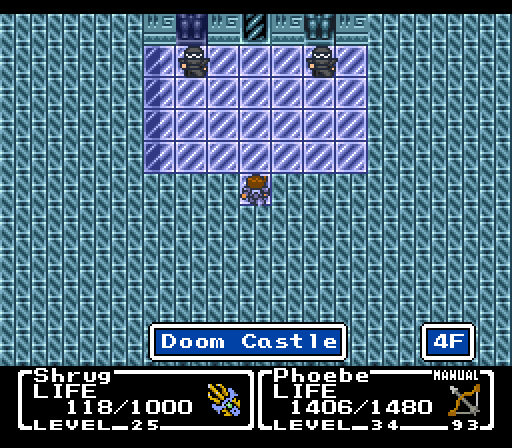
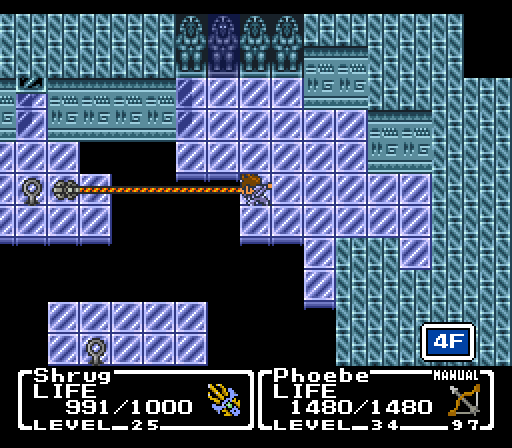
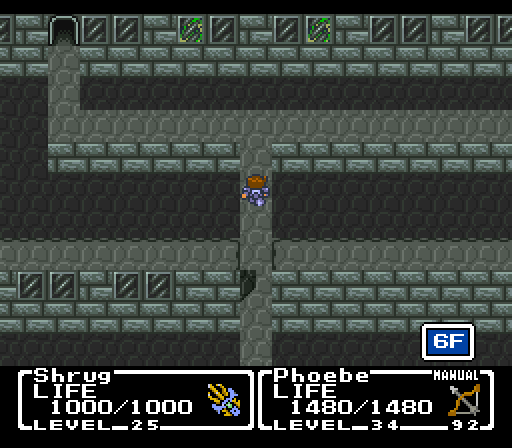
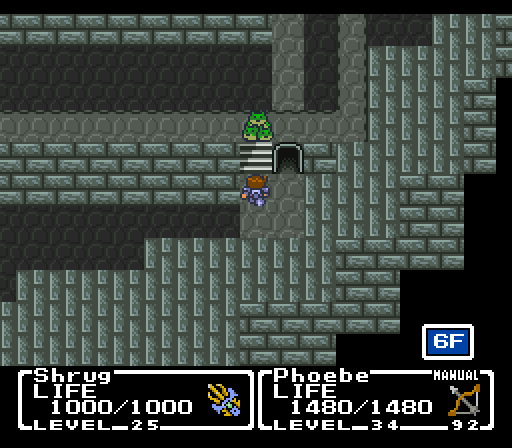
The final dungeon is seriously called Doom Castle and that’s just the best. It’s been a fun ride but it’s got to end sometime and I think that this place encapsulates everything that’s wonderful about Mystic Quest in a neat little package: great music, hookshotting everywhere, jumping, and it’s totally busted in your favor (because of hilarious glitches/oversights).
The floor moves much as it did way back in the Bone Dungeon and slowly pulls you to the bottom.
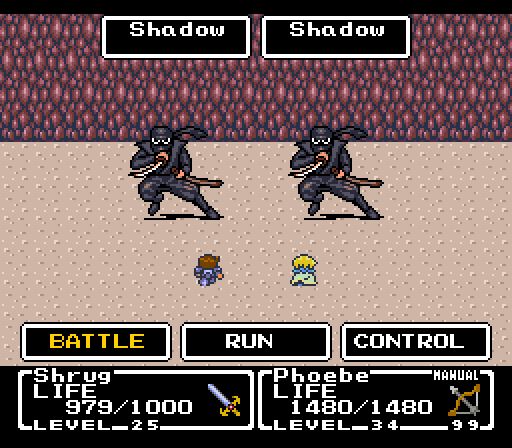
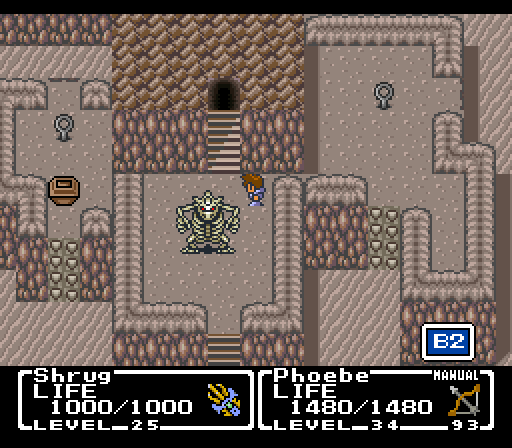
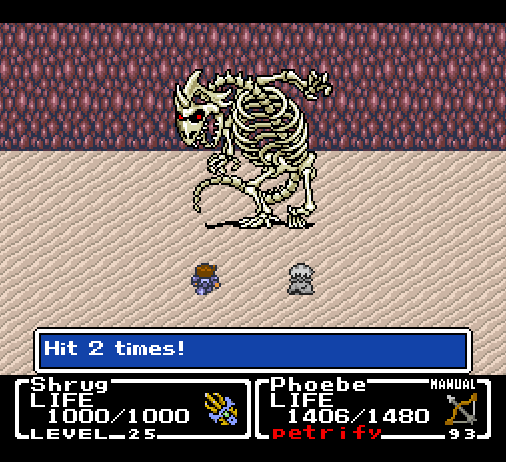
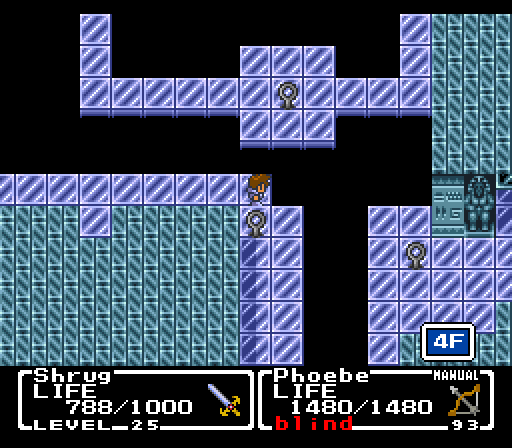
We’ve still got a few new enemies to take care of though. Shadows have picked up Doom Dance and can self-destruct. Sometimes they just won’t do anything

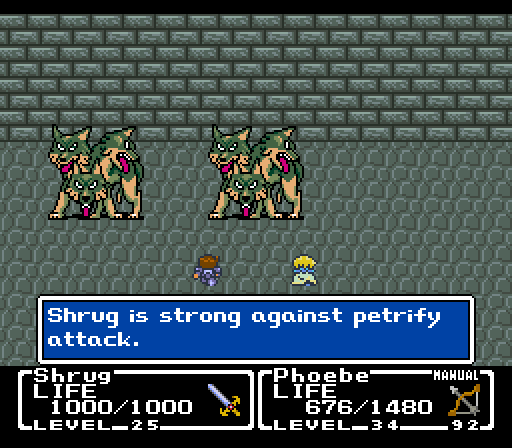
They’re weak to thunder, wind, and blizzard and can be petrified.
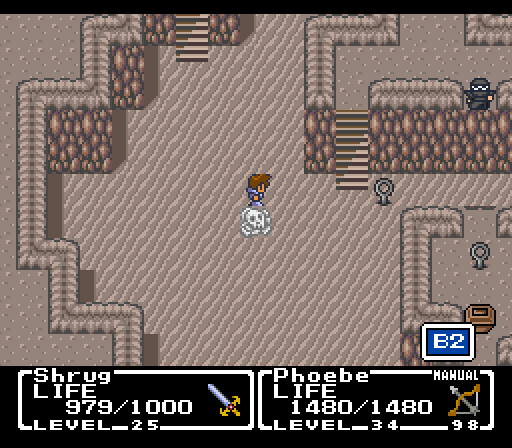
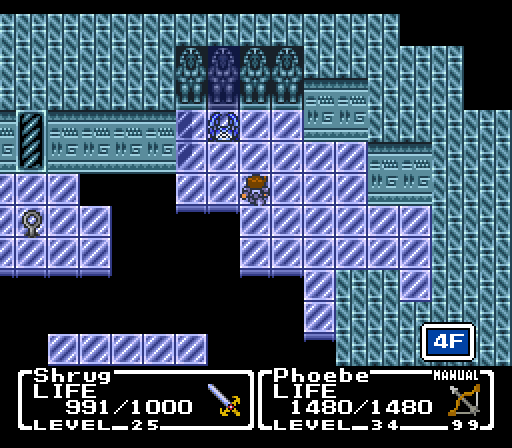
The trick here is to position yourself in a way that you’ll fall onto these bones. By the way, is this place starting to look familiar?
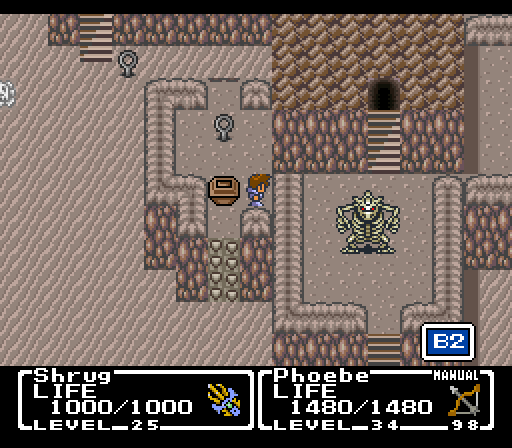
Hmm, I’ve seen you before.
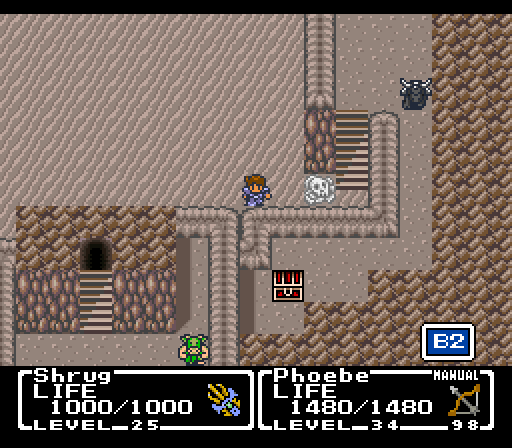
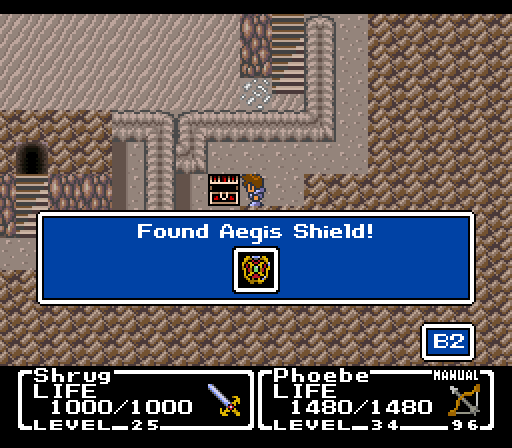
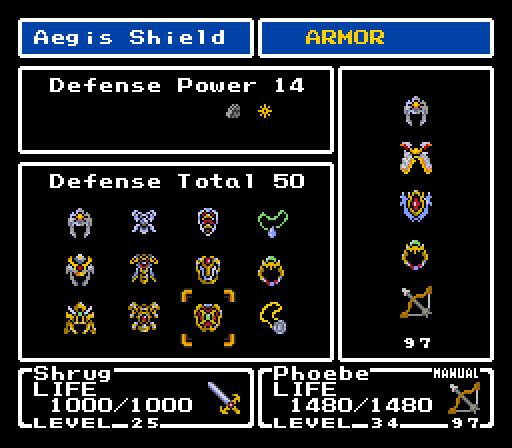
You might remember that this is where we picked up Aero. The chest was originally behind that Minotaur Zombie there but it’s disappeared? In any case, now we can grab that other chest.
And with that, we’re safe from virtually everything short of instant death like Doom Dance. It’s a shame it comes so late but I guess being immune to petrification earlier would have really reduced the challenge in some areas.
You might have noticed us having this when we tied up some loose ends. This is because I’m an idiot. Moving on!
Hey, hi, excuse me, uh... any chance I could ask you to move out of the way?

No? Well, fine. I hope you’re ready for some boss refights because there’s a lot of them!
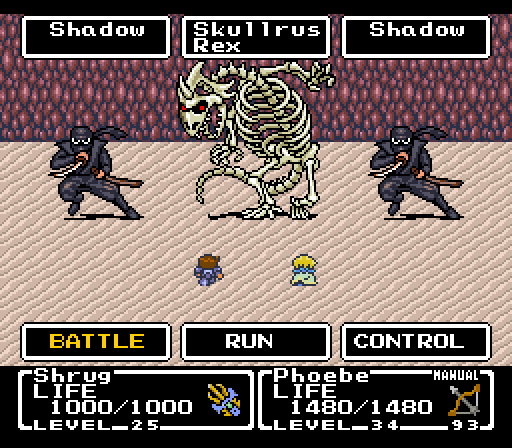
Skullrus Rex is nothing. I mean, if you fought him legitimately, then he might be tough. But...
He can be killed instantly. And this is in a variety of ways because Skullrus Rex has no resistances whatsoever. So yeah, you could use Life, or Heal, or the Dragon Claw and get great results. Heal’s a little too random for my tastes but it’s there.
And that’s the last coin door.
We can’t just circumvent the fights, as you probably assumed. Before each boss is a little slice of their dungeon’s gimmick and aesthetic. The barriers disappear after we kill the boss so let’s move on.
The Ice Pyramid area is a lot of positioning yourself to use the Dragon Claw. That and the statue switches. It’s not very big and the monsters in here are a weird mish-mash of Pazuzu’s Tower and, like, Phanquids and Freezer Crabs.
Whatever you do, you’ll eventually end up here. It’s not a very complex path. The switch will open the door to the boss so be sure to poke it.
You’ve stymied me yet again, Ice Pyramid!!
You’ll also want to get this one, preferably when you first enter this room, otherwise you won’t be able to even reach the boss door.
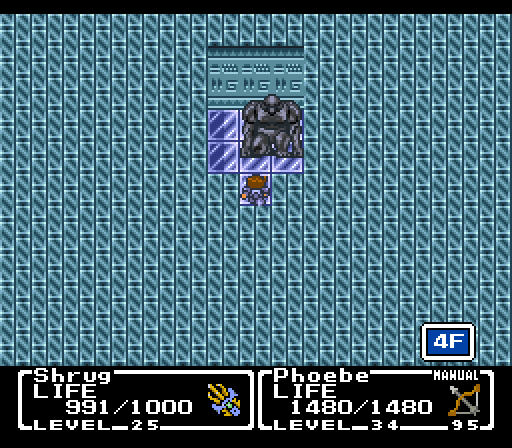
I guess it’s more of a boss closet that he’s been stored away in though.
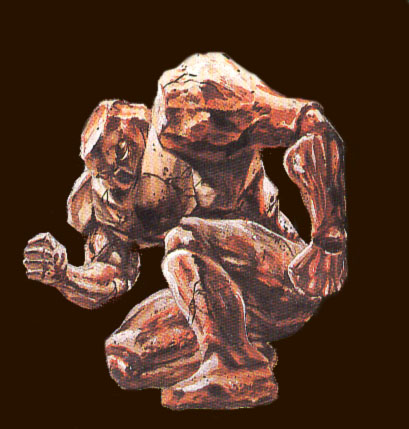
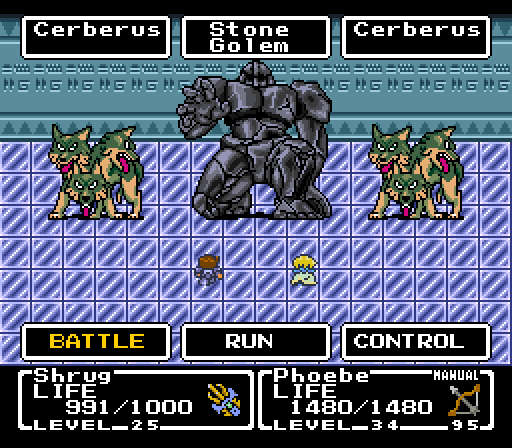
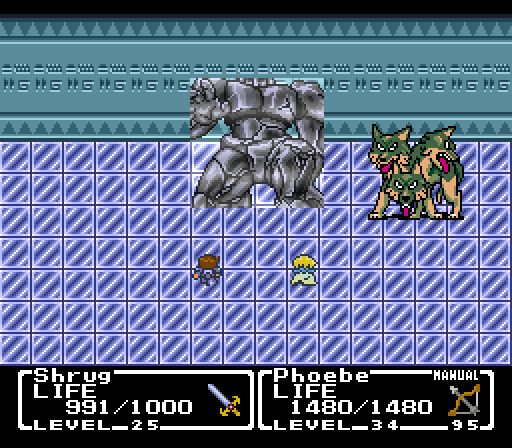
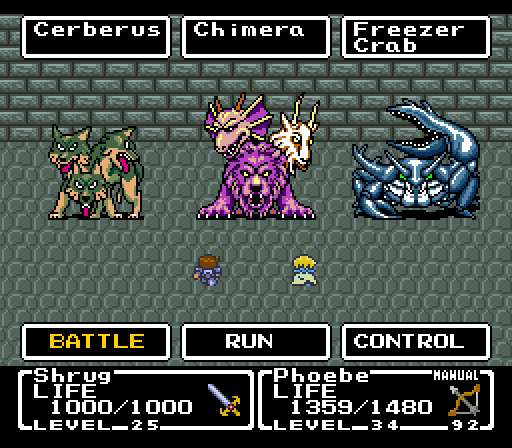
So the Stone Golem is resistant to fire and earth, meaning that’s Flare and Meteor out the window. It also brought the last new enemy of the game into the fight.
Cerberus is resistant to petrification and counters with petri-touch so they can’t be as easily cheesed as other monsters but Phoebe doesn’t attack directly and Shrug can’t be petrified anymore so
 they’re more of a nuisance than anything. They’re weak to Fire so Phoebe can burn them to a crisp quite easily.
Oh, right, back to the Stone Golem.
The Stone Golem can be killed instantly with Exit. If you chose to fight it legitimately, Corrode Gas can instantly kill someone and Stone Block can hurt.
Just use Exit.
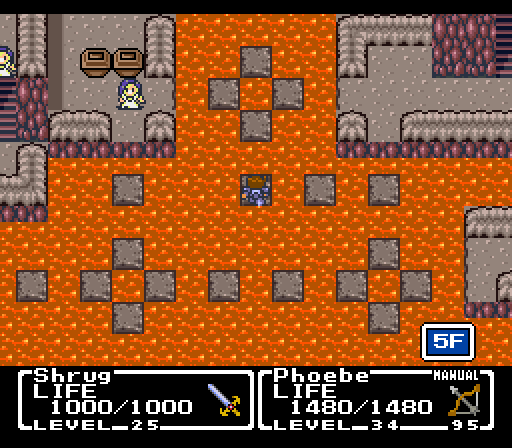
The Lava Dome area is just a jumping maze and it’s not particularly difficult.

I think I remember struggling here as a kid though because I didn’t think to use the Dragon Claw on those stone column post things.
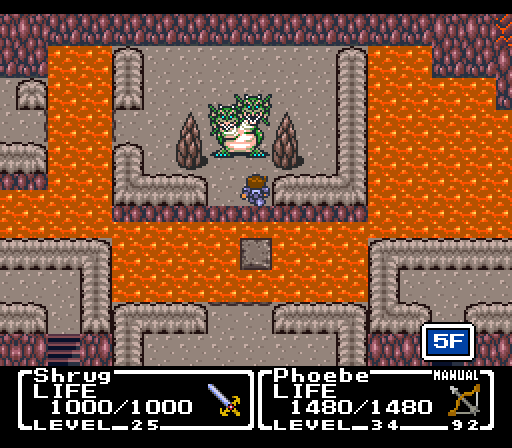
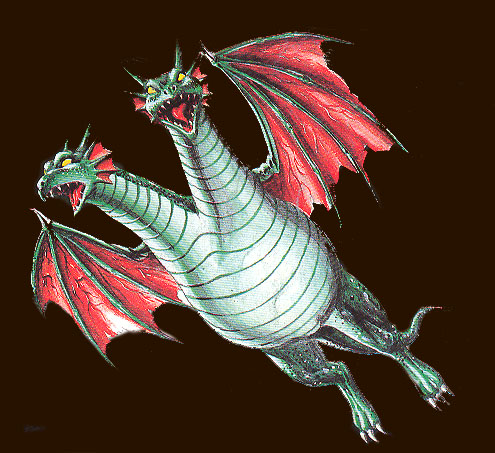
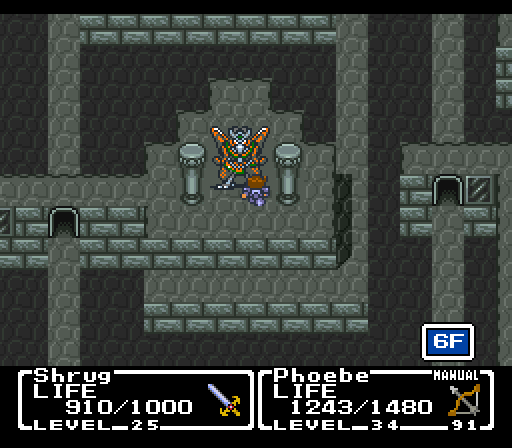
This is a really dumb looking wyvern
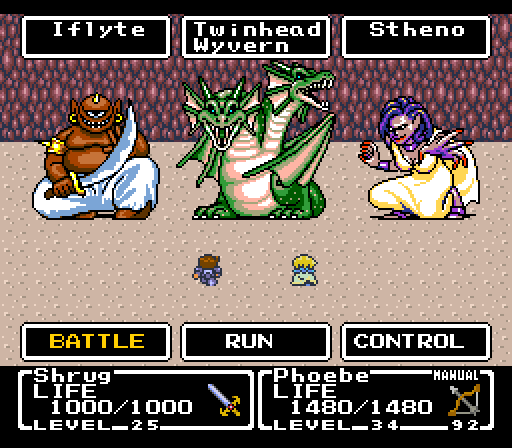
Unfortunately, we have to slug it out with Twinhead Wyvern because there are no oversights here. It’s a much easier fight than Twinhead Hydra though, because the wyvern has a lot of weaknesses to exploit and it actually lost some moves—petrification, namely.
If you have Phoebe on auto, she can do some pretty big damage with the Aero glitch.
The Pazuzu Tower floor is probably the most annoying since you can fall down here and end up back in the Lava Dome area. So, uh, pay attention to where you’re going, I guess?
Heading to the right will bring you here, letting you walk on top of the windowed passages.
Never get tired of this message. Never.
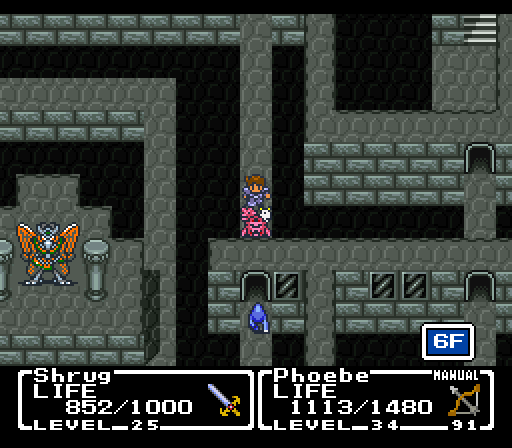
I think this Freezer Crab got lost or something. There are some pretty strange encounters in Doom Castle.
Taking that staircase back there will lead you on the path to the boss. Much like Pazuzu’s Tower you’ll be funneled into plenty of fights and it’s kind of awful in its tedium.
Reincarnation didn’t do you any favors, Pazuzu.
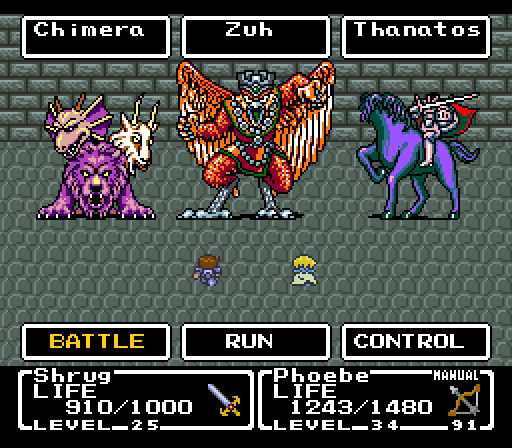
Zuh is like Twinhead Wyvern in that there’s no easy exploit to kill him instantly. He’s a bit frailer than Pazuzu, still has a weakness to wind and Phoebe can shoot him and inflict some decent damage during the bits where he throws up a Psychshield.
He’s got Doom Dance and that can be annoying but otherwise this is a pretty similar fight to Pazuzu. You’ll want to take out Thanatos because two enemies throwing out Doom Dances like crazy is horrible.
He’ll occasionally attack with Psychshield but all it seems to do is 1 damage to both party members so I don’t know what’s up with that.
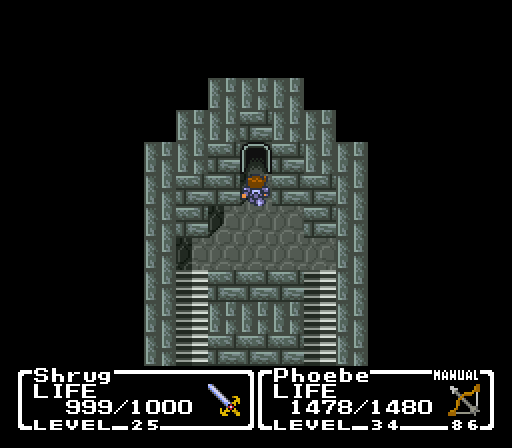
All right, deep breaths! The Doom Castle is pretty short when it gets down to it.
Hmm... this statue looks familiar.
Ah, right.
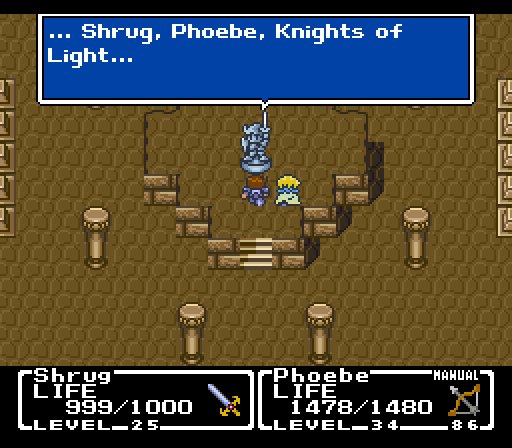
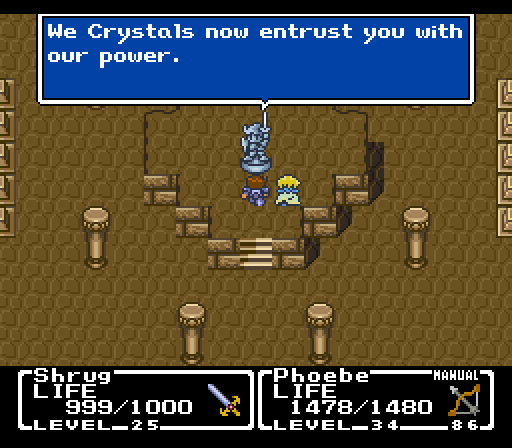
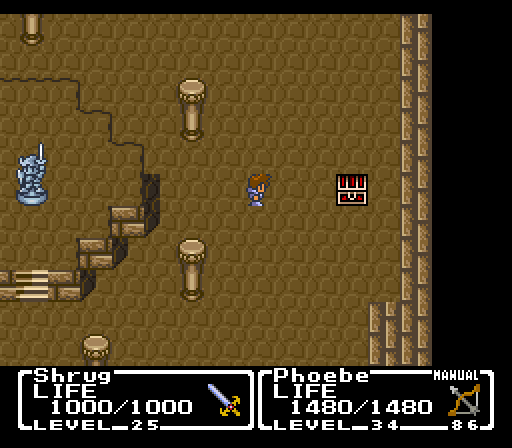
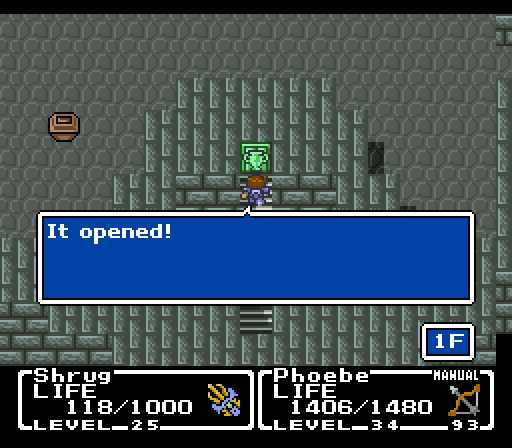
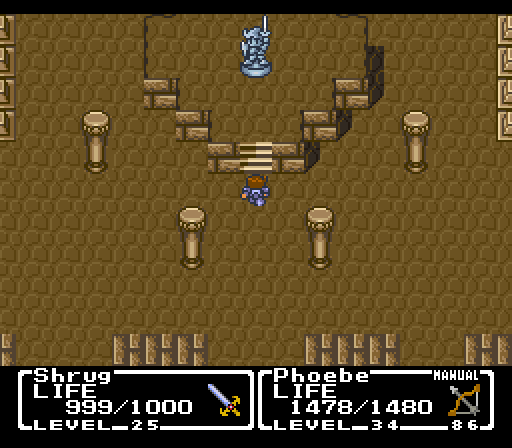
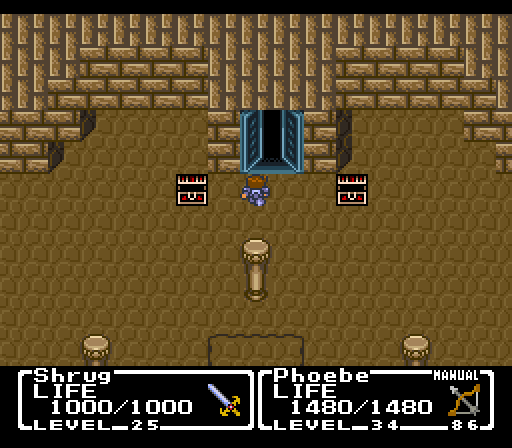
These chests, which were previously inaccessible, are now available to us because of the Crystals’ power.
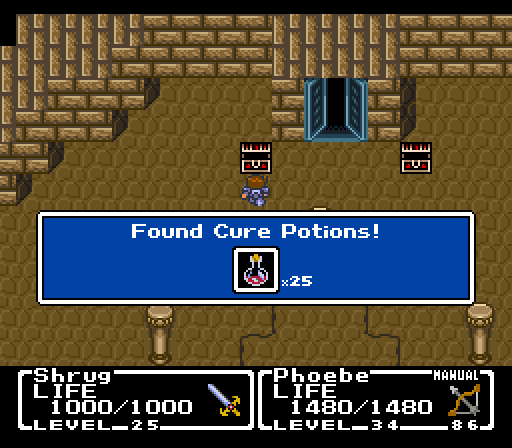
They contain x25 of all the consumables and are replenished if you leave and come back. So... pretty easy to just get 99 of everything.
All right, time to go be knights and fulfill destiny.
Next time: Destiny and the Prophecy are dumb as shit, also the final boss