Part 18: The Siege of Madrigal - recap
Mission Recap
Game film: LP The Siege of Madrigal (TFL 1.5)
The Fallen Lord "Shiver" mentioned in the mission briefing is the babe from the mission-failed screen of the previous mission. Hubba hubba!
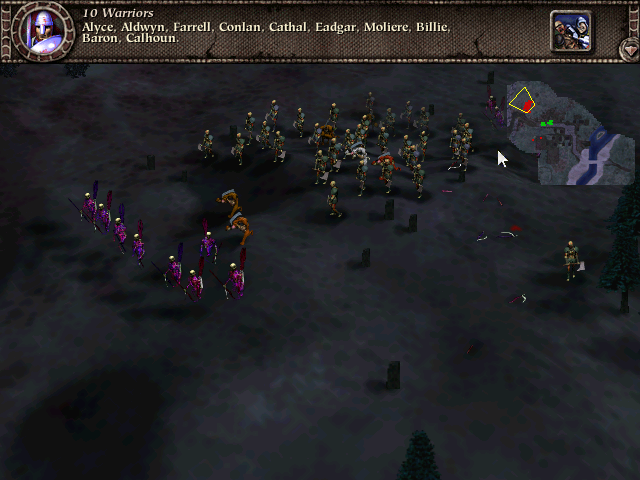
Crossing the bridge is the only real combat in this mission. It's not a bad fight; the strategy guide says you should lure the Dark across the bridge toward you, but I don't believe that will work (at least on the high difficulties) so you have to barge on over the bridge and go toe-to-toe with the enemy. Rarr.
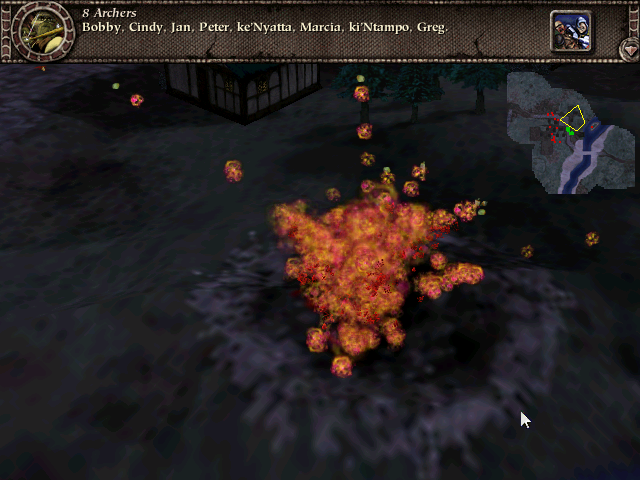
The real point of this mission is the introduction of the Wight, one of my favorite units (especially in multiplayer). Obviously Bungie is pretty taken with this kind of unit as well, because it's quite similar to the Simulacrum in Marathon and the Flood Carrier Form in Halo.
So this is mostly a "suspense" mission and a showcase for Mr. Explodey. I was trying to play the mission at least sort of like someone seeing it for the first time, but I did remember generally how things would go down, which showed in a couple of ways. First, I was a little cavalier about taking damage in the beginning since I knew there weren't any stand-up fights after the bridge. Second...
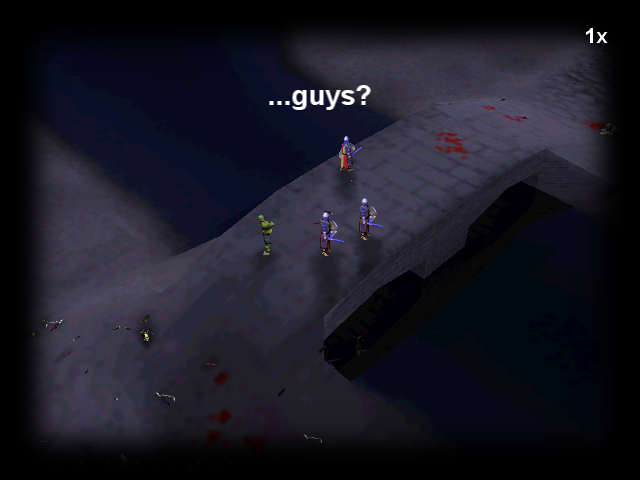
Second, well, I tried to be a little fancy with the initial Bridge Wight. I thought I remembered that a wight would show up there, so when I sent my wounded warriors back to the bridge I had a vague idea that I would see the wight approaching (they're slooowww) and then take care of it. You can deal with a wight even if you don't have ranged units; there's a maneuver we used to call the Jedi Mind Trick where you run a melee unit into the wight's triggering radius and then back out again right before it blows.
What actually happened of course was that the Bridge Wight showed up right when I was dealing with (and trying to talk about) the first wight encounter out in the fields, and I paid the price of my inattention. I decided not to redo the mission because it's a good object lesson about getting fancy with wights
 and also we oughta let the wight get in one good shot in his big introduction. He won't get many more.
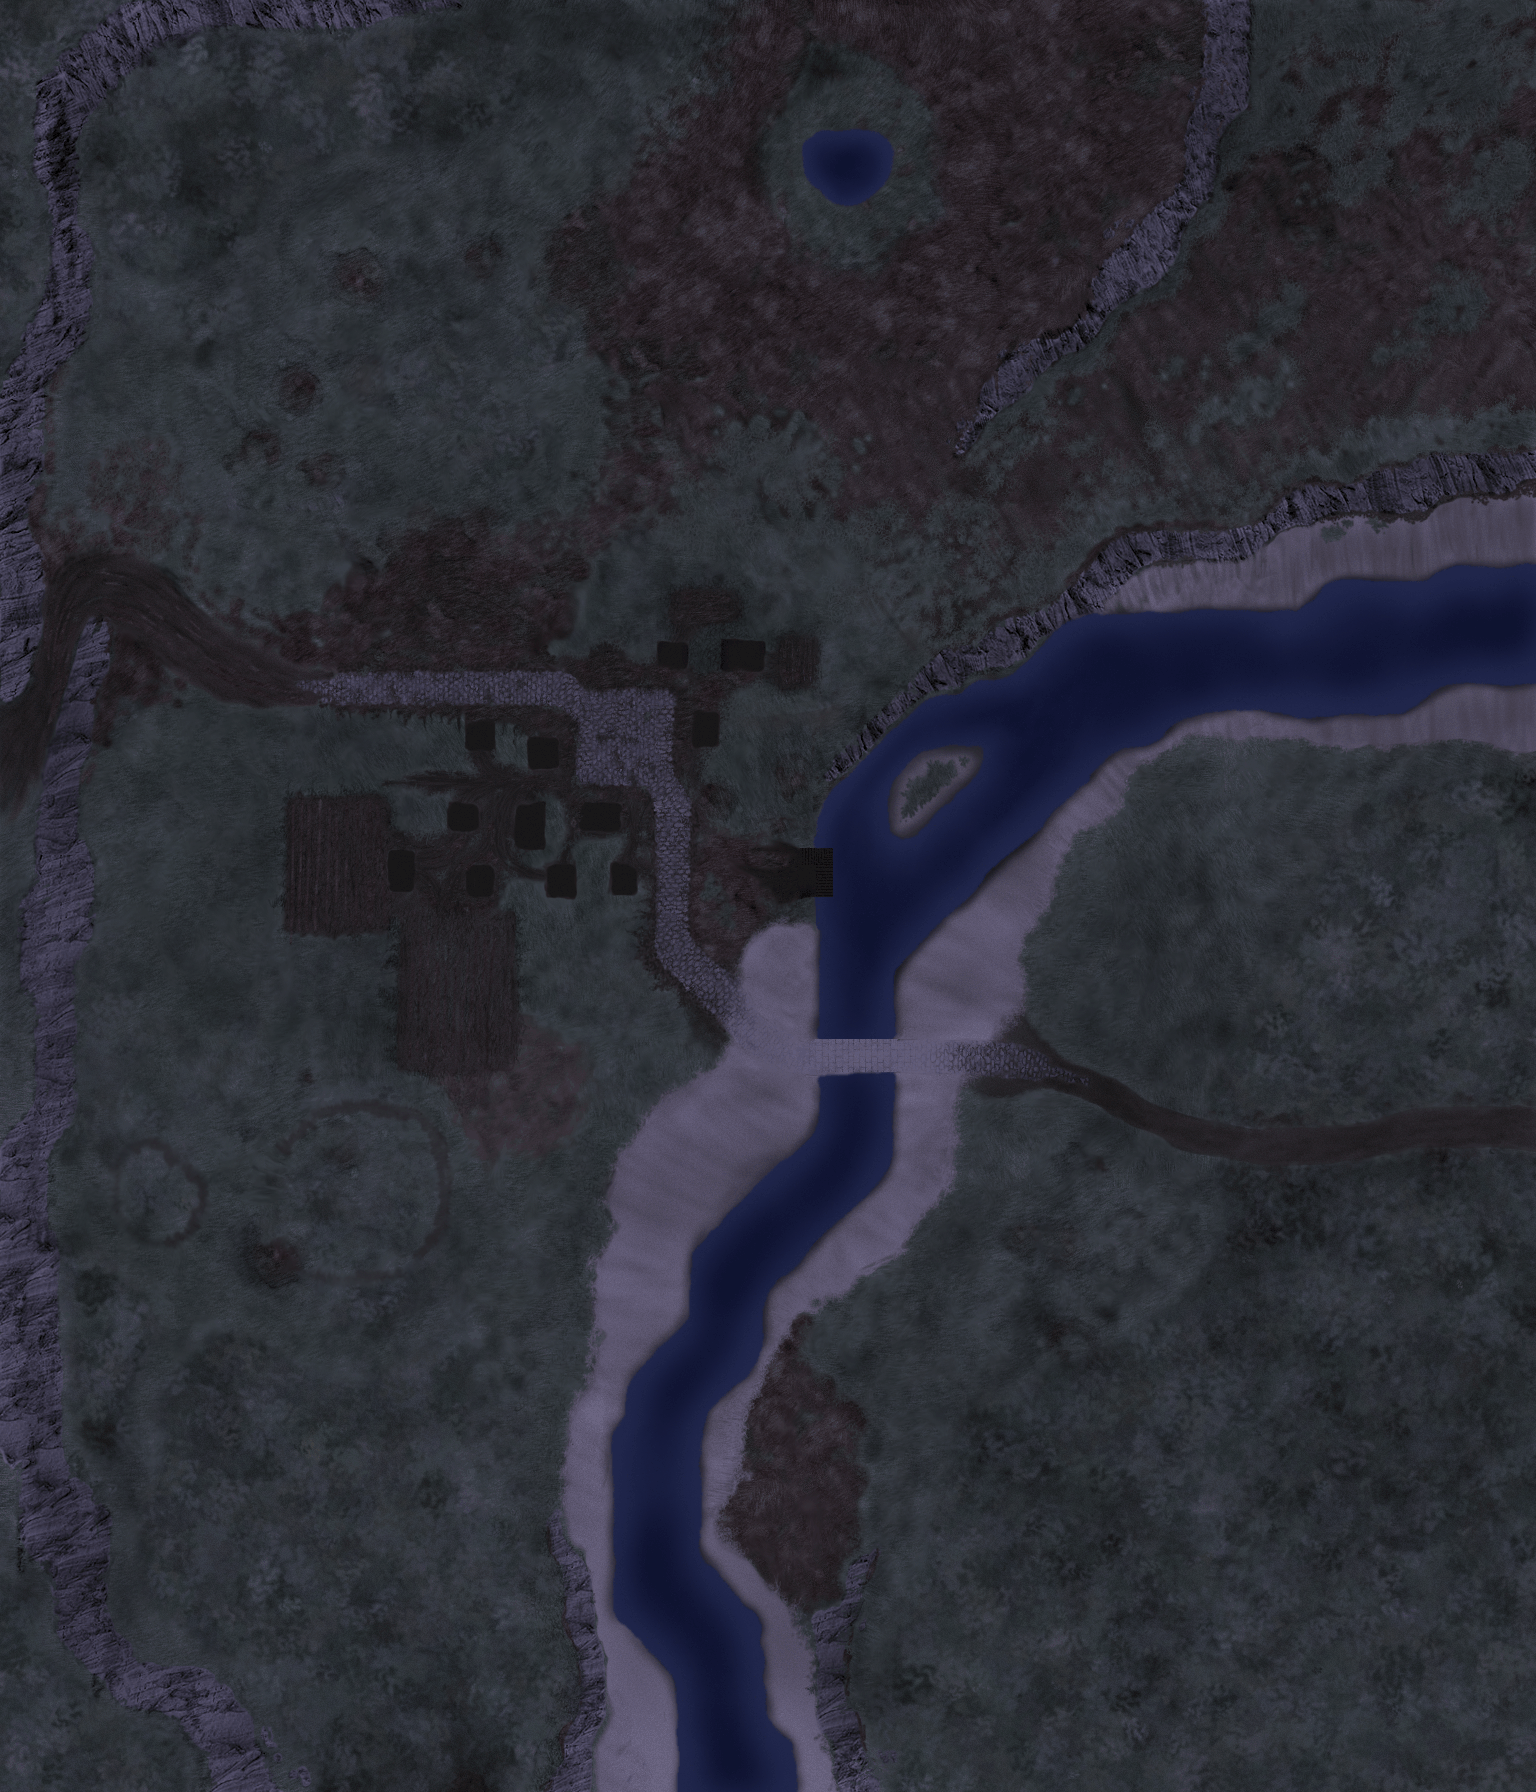
Click on the overhead map below if you'd like to see the full-resolution landscape texture.
Screenshots:
Victory!

And the cumulative bodycount:
