Part 31: Force Ten From Stoneheim - recap
Mission Recap
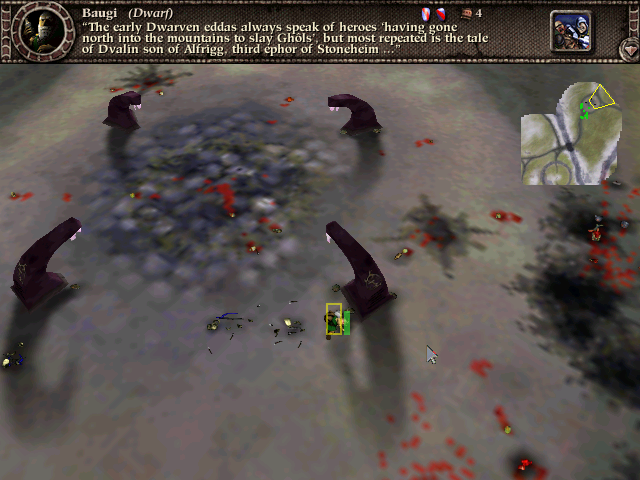
Game film: LP Force Ten From Stoneheim (TFL 1.5)
"But Johnny," you protest, "there's more than ten units here!" You are correct sir; the name of the mission, however, is a reference to Force 10 from Navarone.
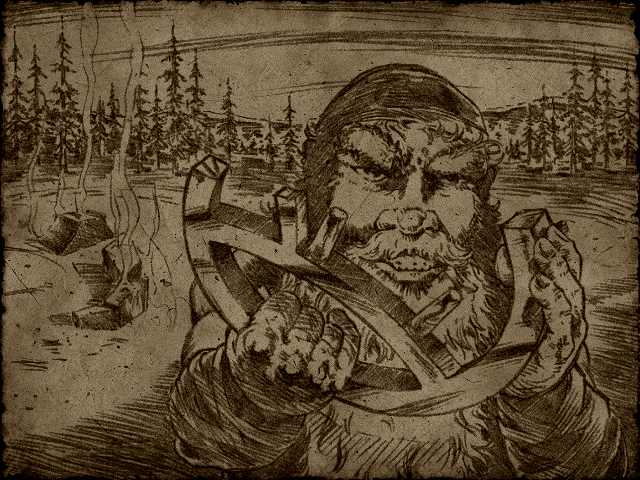
So we finally get to play with the Light-side unit that everyone has been whispering and giggling about : the Berserk! A badass hybrid of a Viking raider and a mad Highland Scot. (And to judge by one of the flavor texts, a Spartan warrior too.) These guys know how to FSU. They're technically less durable than warriors (same health, no shield) but they attack quicker -- which lands more attack-interrupts on opposing units -- and they deal damage more quickly overall. One subtle downside to zerks BTW is that they are farsighted for a melee unit; if you don't keep them on a short leash they'll happily charge into any relatively-nearby battle.
The Light-side unit mix for this mission is fun, and the mission overall is pretty cool, with maybe one too many instances of the soulless-and-thrall-only encounters. One more appearance by ghôls (as I was at least half expecting) would have nicely spiced things up, but anyway it still manages to let you know that you've been in a fight by the time you're done.
Keeping your dwarves alive and under control is the key here, or at least the key to getting through quickly. For me, splitting them into two groups & often using only one of the groups was a good balance between firepower and control, with still a manageable number of group presets.
One more thing about dwarf usage that I didn't get around to mentioning in the video... you may have noticed me using Short Line rather than Loose Line for the little dudes. The reason is that I was keeping them out of any real danger from soulless, which removes the defensive benefit of Loose Line, and Short Line makes them a bit more controllable. Less likely to stand in the wrong spot or bounce/dump cocktails on each other, especially with trees around. It does make it more likely that multiple dwarves will bite it if you do get a bounceback, but I guess it was a good tradeoff this time.
Click on the overhead map below if you'd like to see the full-resolution landscape texture.

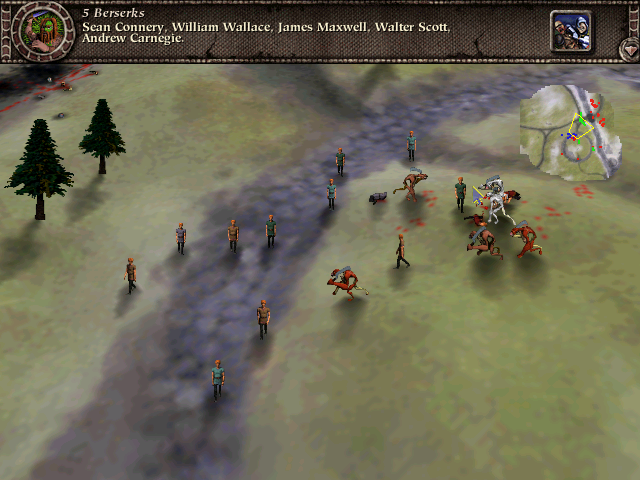
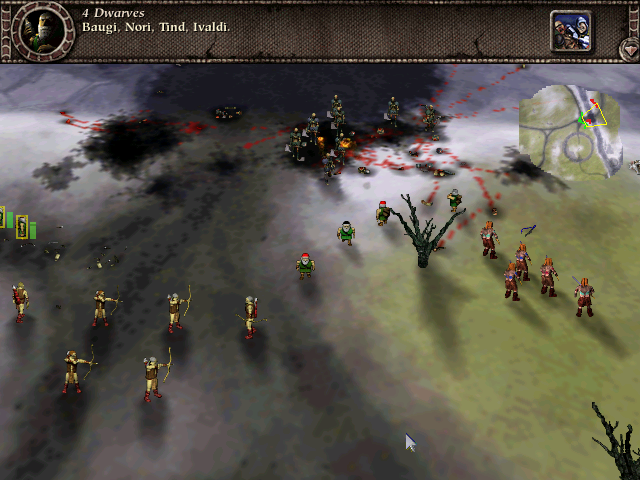
Screenshots:
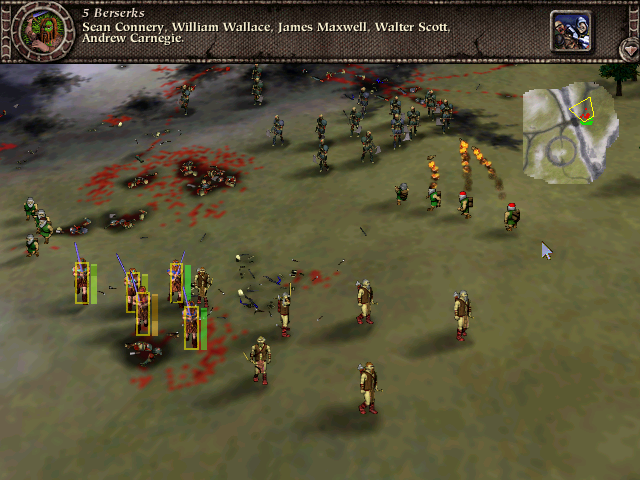
Victory!
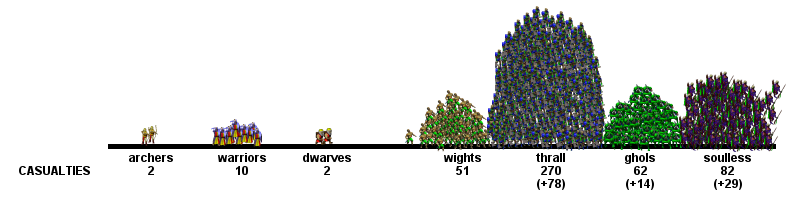
And the cumulative bodycount: