Part 35: Bagrada - recap
Mission Recap
Game film: LP Bagrada (TFL 1.5)
I have a confession to make. Y'all remember this caveat, right?
Johnny Law posted:
Although I reserve the right to take a savegame if faced with some absolutely unbelievable B.S. situation.
Presumably you can guess the reason why if you've watched the bloopers. Holy hell it was frustrating to see that again and again after 15-20 minutes of play & commentary.
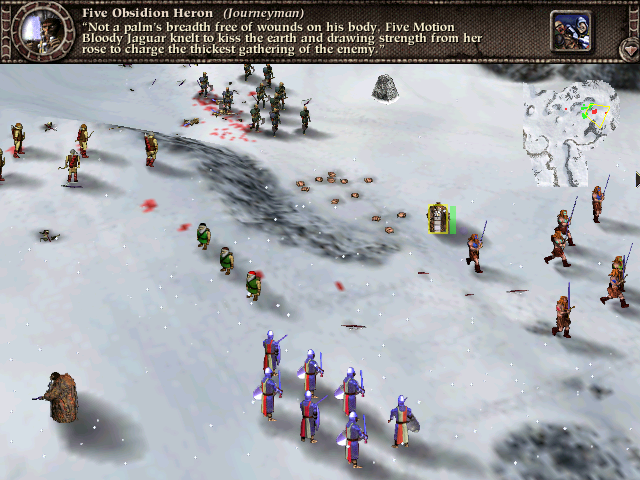
So, about snow: I haven't played much Myth in snow conditions. I can only think of one TFL MP map with falling snow that got much playtime (one of the first third-party maps "If I had a Yeti..."), and I probably only had one or two games on that. Apparently snow is a right bugger. Rain I'm familiar with: there are periods of no-rain when your dwarves are fine, and then periods of rain when your dwarves are screwed; at least you get a nice audiovisual indicator there when the change occurs. From the evidence here it would appear that snow behaves the same way, but without the cue -- it just appears to be snowing all the time -- and I guess something was ensuring that the "you're screwed" period was always falling at the worst possible time for me. Grr.
Well enough about that. The star of this mission is of course the trow, making his stompy stompy debut. As you might have noticed if you've been clicking on the spoilers in the discussion, this is one of the missions that people tend to remember. (And/or that makes people give up on the game.)
This mission isn't entirely fair, in that you're pretty much guaranteed to get smoked on your first attempt regardless of how attentive and clever you are. Trow are a real nightmare; not only do they hit much harder than any of your units in this mission, but they're faster too, so if they want to engage you then they damn well will.
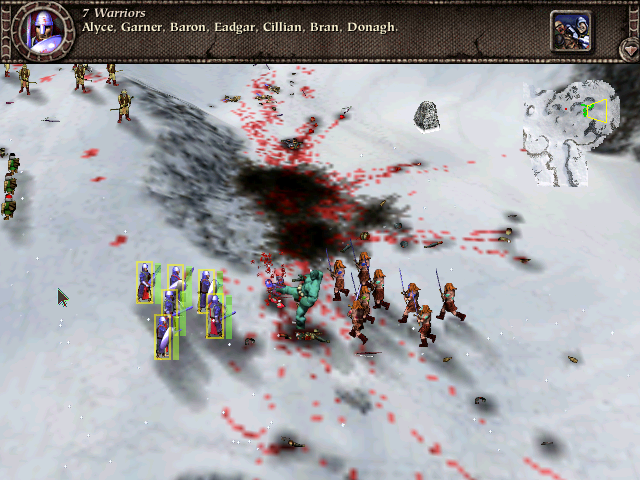
Unless you can get one in a massive satchel trap (and we don't have enough munitions for that), the only practical way to put down a trow is to pile as many attacks as possible onto it simultaneously from multiple sides. If you trail your guys in one at a time they'll just get killed one at a time. If you're busy fighting other enemy units along with the trow, similar badness happens, so it's good that we could at least put our satchels to use to clear the field.
I had a fair engagement here, except that my warriors were a little scattered from having to deal with the final thrall. Probably cost me one more warrior than was absolutely necessary.
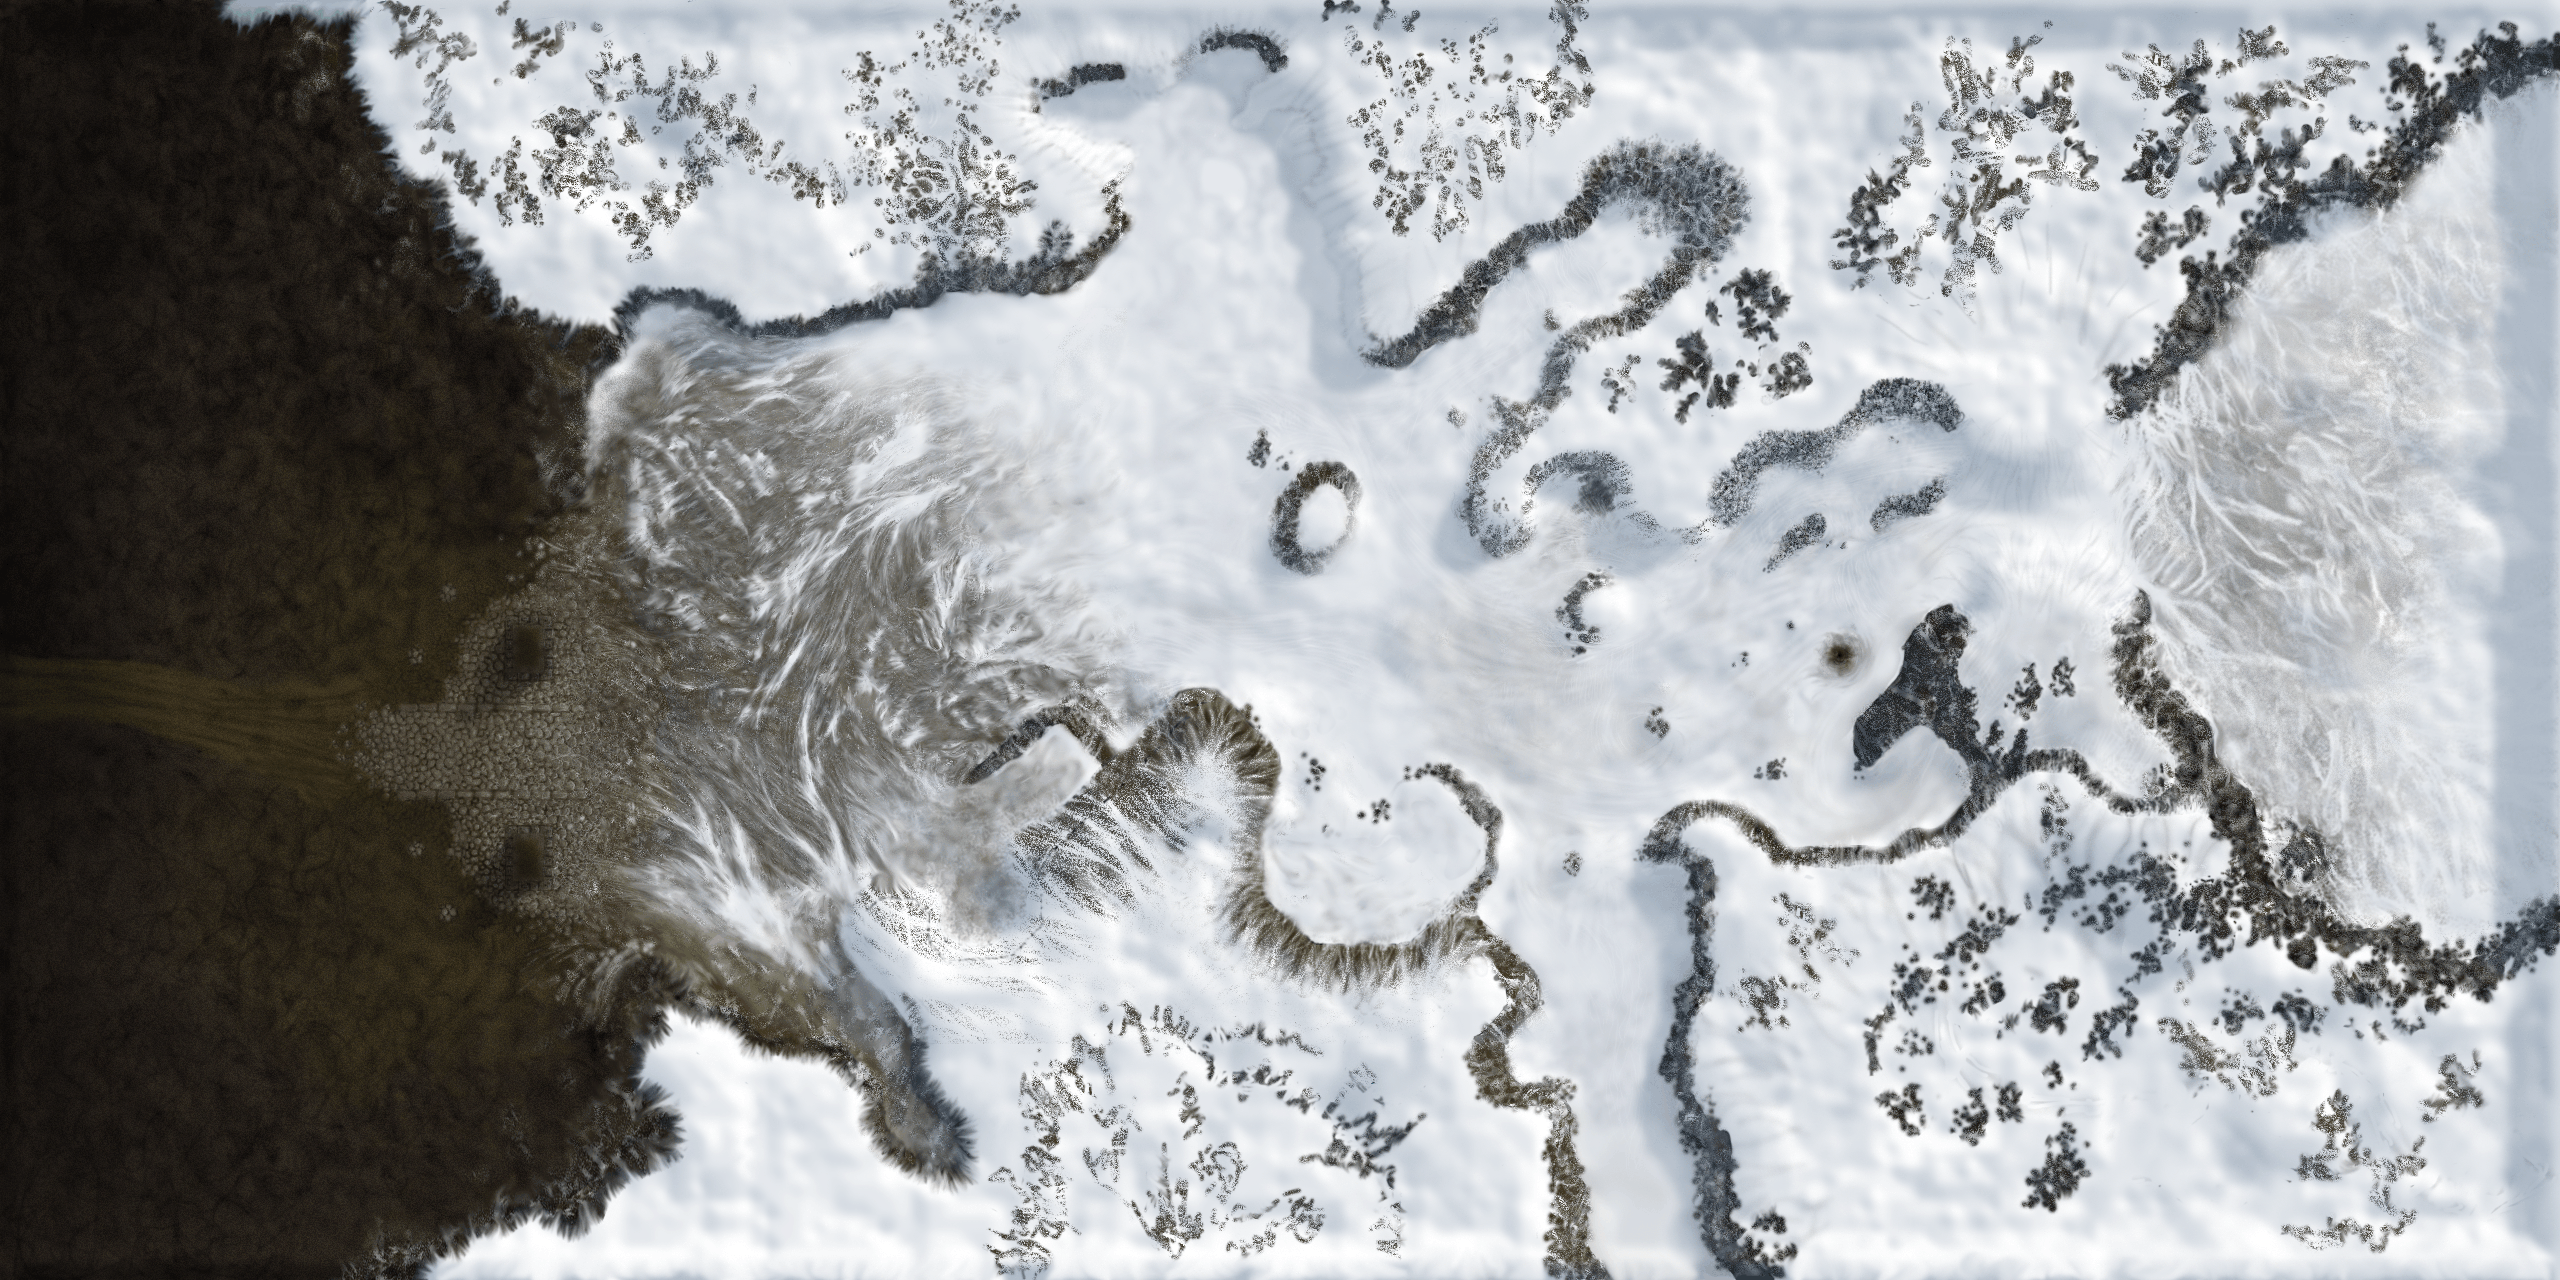
Click on the overhead map below if you'd like to see the full-resolution landscape texture.
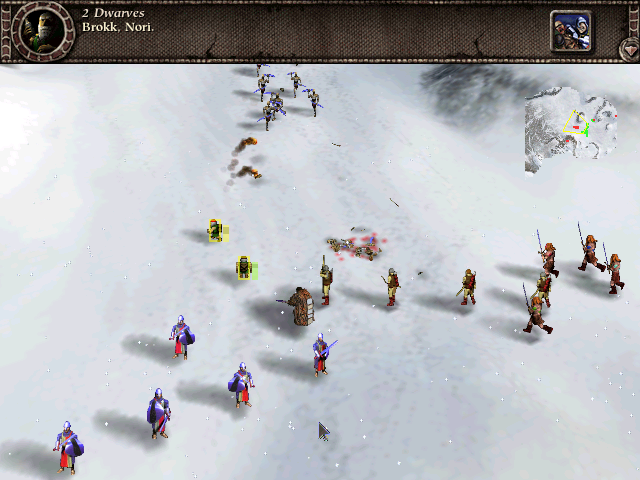
Screenshots:
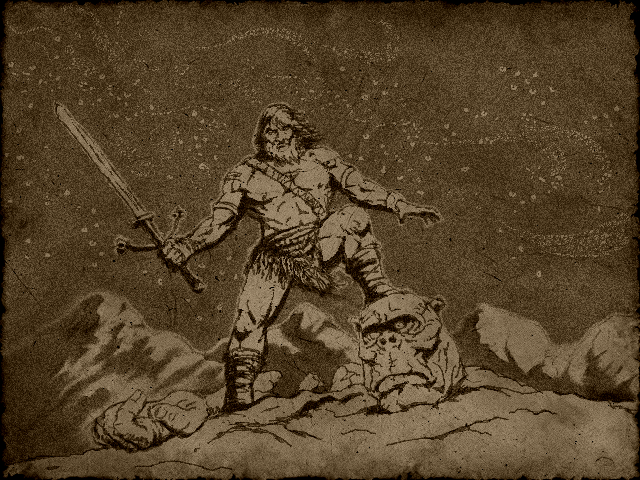
Victory!
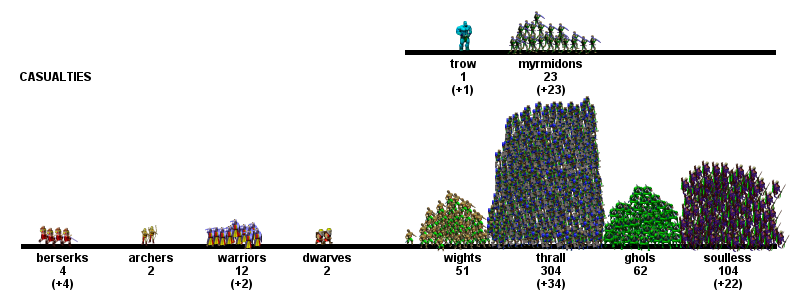
And the cumulative bodycount: