Part 11: Fallout
Last time on Heroes...
Hiro now possesses one of the tools he'll need to perform the invocation ritual to retrieve the Amulet of Yendor. Now, it is time for him to finish his journey through the Dungeon of Doom and descend into Gehennom.
Chapter 11 - Fallout
I decide to do a bit of alchemy first, since my HP could use a bit of work. Alchemy is kind of confusing, so take a look through the Alchemy spoiler first. Most of the recipes aren't very interesting - usually the only thing worth alchemizing is potions of full healing. You can #dip potions of healing into a potion of gain energy to make potions of extra healing, then you can #dip those potions of extra healing into a potion of gain energy to make full healing. Just make sure that your potions of gain energy aren't cursed, since otherwise they'll cause an explosion and you'll lose some potions.
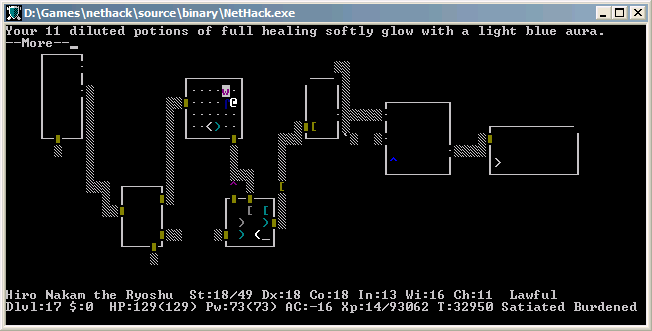
Potions of full healing are a good thing to have in general, since they restore all your HP and also cure sickness (handy when you're fighting Pestilence or Demogorgon). But, if you're at full HP and you quaff a blessed potion of full healing, your max HP will go up by 8. The diluted potions of full healing that you make with alchemy work exactly the same way.
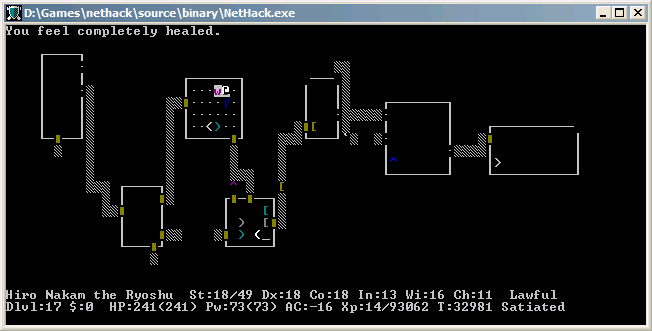
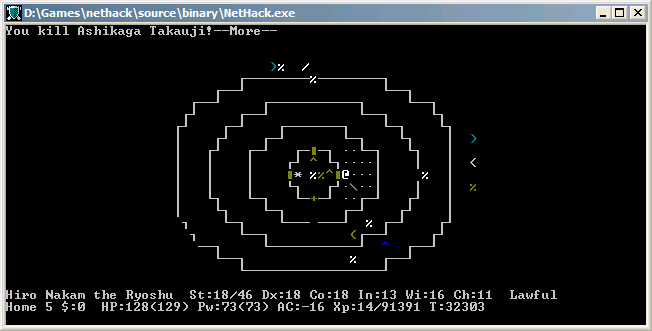
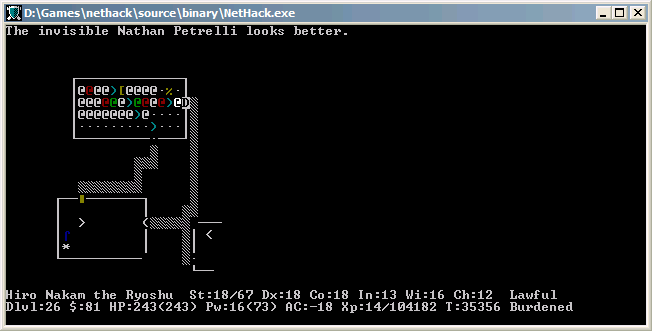
Blessed and quaffed 14 potions in total, which raises my HP to 241. It's going to take something really nasty to kill me by lowering my HP now.
Just training my pets in a leprechaun hall. Every enemy that your pet kills increases its max HP by 4, so feed them easy enemies like leprechauns to build their HP.
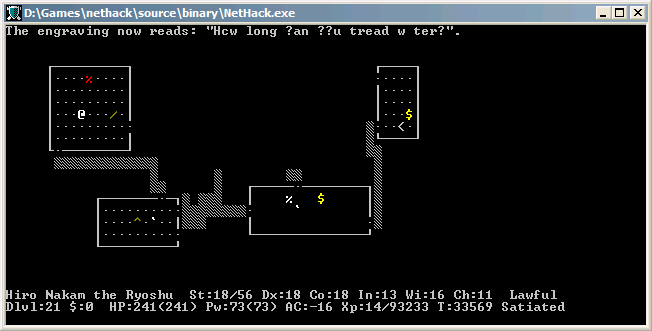
Engrave-testing a wand of polymorph, which changes my Elbereth into a random rumor. This will come in handy.
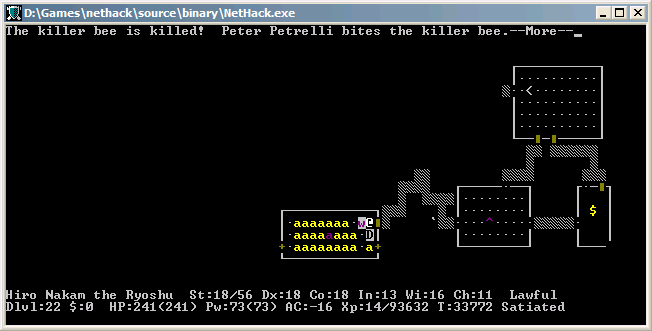
Beehive. Another fine place to train my pets.
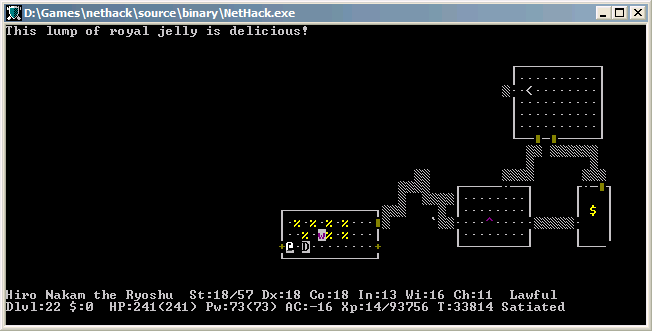
Beehives randomly have lumps of royal jelly on the ground. Not only is royal jelly a good lightweight food, it also raises your strength by /01 every time you eat one. I'll take off my ring of slow digestion to down some more of these. Just make sure you don't choke.
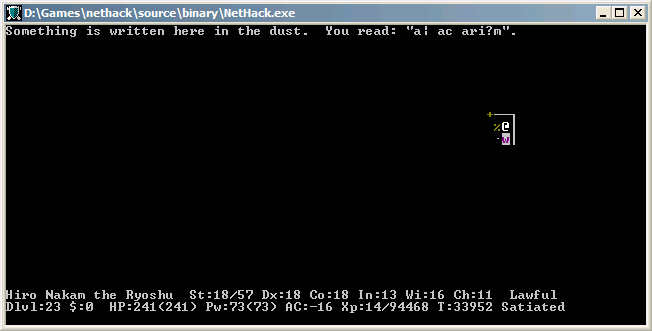
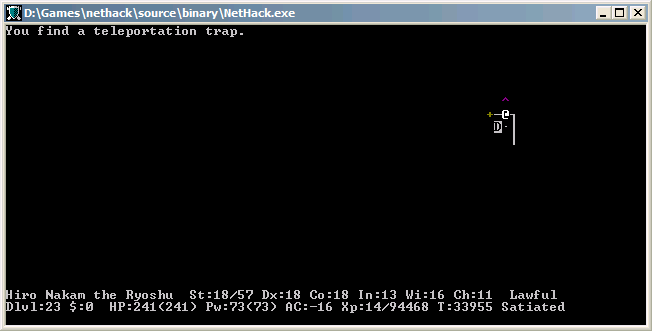
If you see the words "ad aerarium" on the floor anywhere, that wall will contain a secret door with a teleportation trap that will put you in a vault on that level. Hiro certainly doesn't need the money, but it's nice to know.
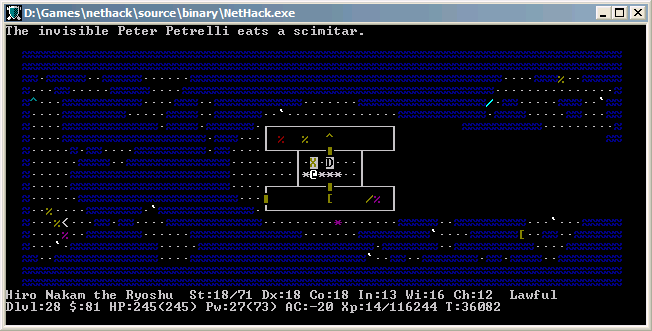
Uh oh, that looks like a cockatrice nest. I've grown kind of attached to the Petrelli brothers and don't really want them to turn to stone, so I'll leave that alone for the time being. Cockatrice nests do contain statues of characters with random items on them though, so it's worth clearing out at some point.
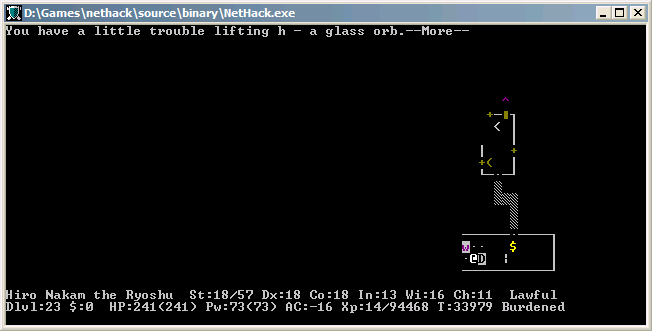
Glass orbs let you detect any terrain feature on the map, although they start with a limited number of charges. This might come in handy on the Elemental Planes - I'll hold onto it for now. It's only drawback is that it's really freaking heavy - weighs 1.5x as much as a pickax.
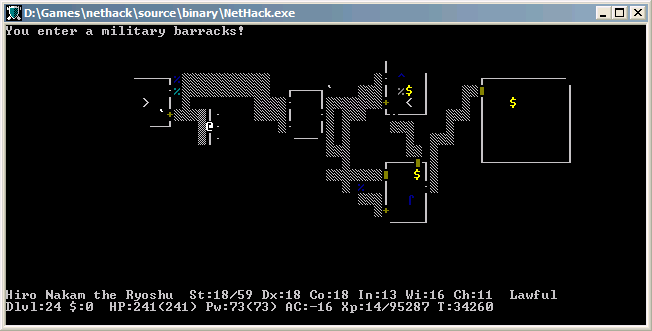
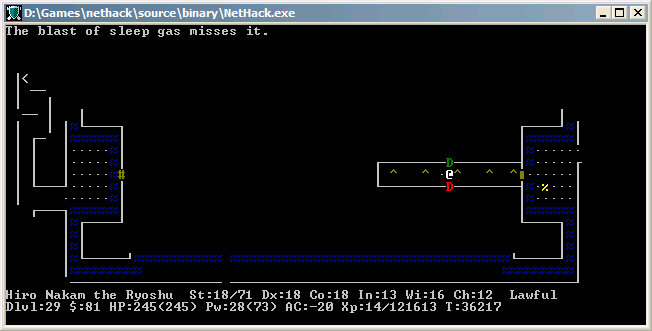
Easy. All the soldiers are generated asleep, so thanks to my stealth I can kill them one at a time.
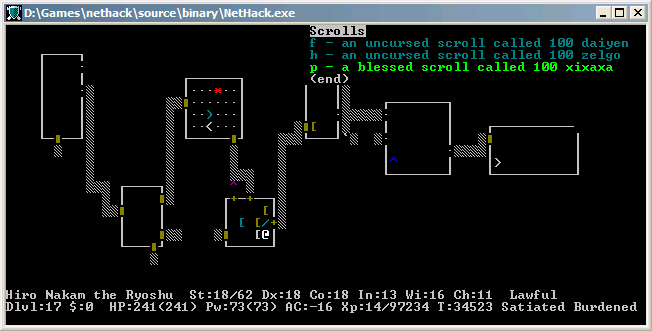
And because I have ADD or something, I decide to go identify some of my price 100 scrolls. Make sure that you take off all armor (or just leave on a junk piece of armor) and put away all other scrolls and potions when read-testing 100 scrolls.
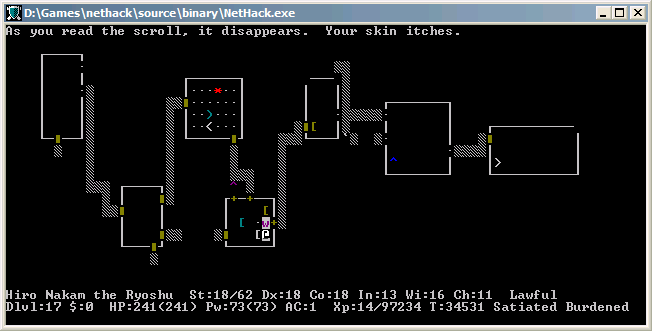
Destroy armor. If you're not wearing armor, the game won't auto-identify it, but the message is pretty distinctive.
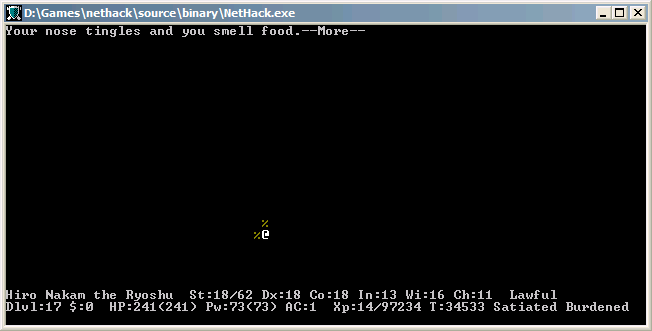
Food detection. Destroy armor could at least be useful if you have a cursed piece of armor on and need to get rid of it - I've never found a use for scrolls of food detection.
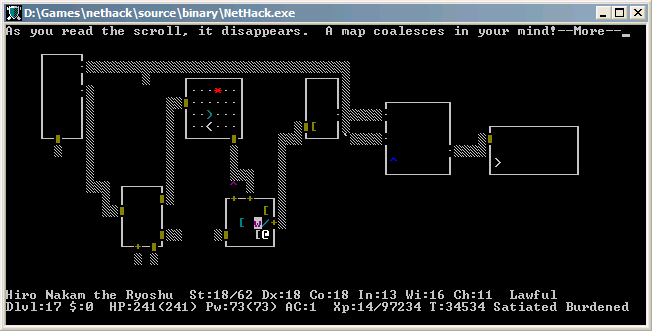
Magic mapping. You'll love this one when Gehennom comes around.
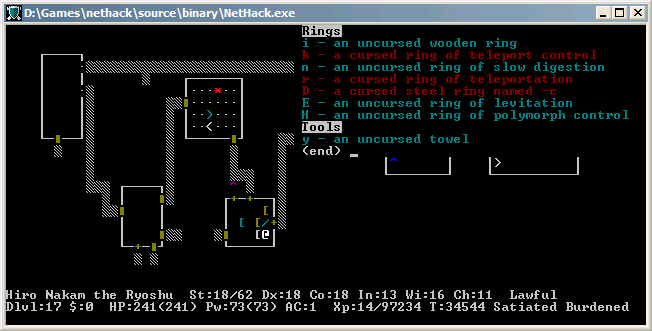
I also use some scrolls of identify to ID some of my rings. Teleportation and teleport control at the same time, how convenient.
The ring of teleportation acts like teleportitis, meaning you'll randomly teleport every now and then. You can also hit Ctrl-T to teleport yourself at will (if you're at least level 12, level 8 for wizards), although that costs power and nutrition. Teleport control lets you choose your destination. I'll keep slow digestion on for now, but these are great during the ascension run.
I decide to do a little polypiling with the barracks I cleared out. Move all the armor from those dead soldiers into one straight line and zap a wand of polymorph at them - I'm really just hoping to get a t-shirt out of this. I also dropped a useless spellbook and the unicorn horns I've been collecting, since those will also polymorph into (hopefully) useful items. I also could've done this in Fort Ludios on the huge pile of dead soldiers, but I didn't. Sue me.
OK.

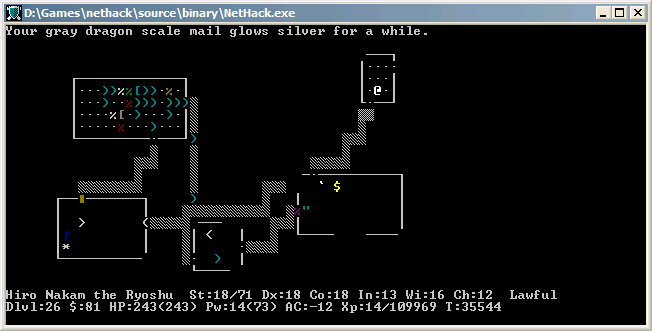
That's pretty cool. Robes fit in the cloak armor slot, provide 2 AC and also boost your spellcasting rates. Also, they provide magic cancellation 3, while my old cloak of displacement only provided magic cancellation 2. You can learn a bit more about magic cancellation here - it's not absolutely vital like magic resistance or reflection, but it's pretty useful. Don't forget to regrease any new cloak to protect against drowning attacks!
The robe lowers my failure rate for spell casting by a ton. Time to relearn magic missile and start boosting my attack spell skill.
 Samurai are pretty bad casters and don't have the power to do a lot of spellcasting, but this will come in handy against things like disenchanters.
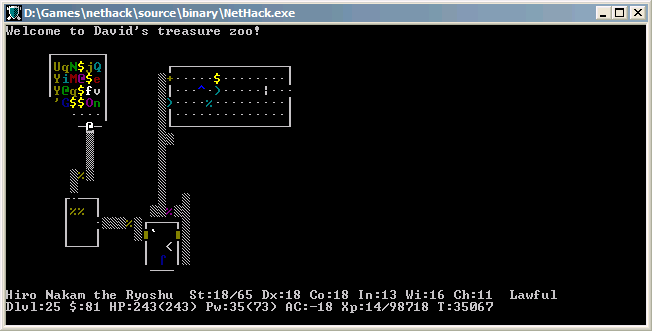
Just cleaning out another zoo.
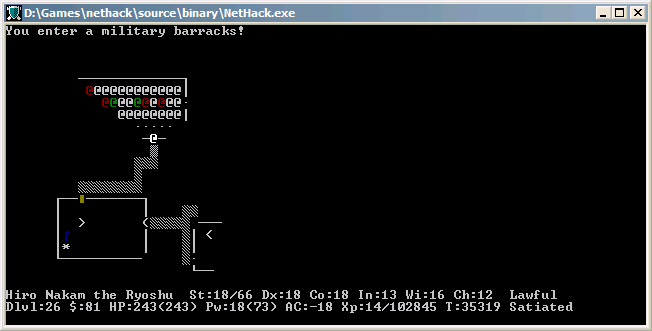
And some more barracks.
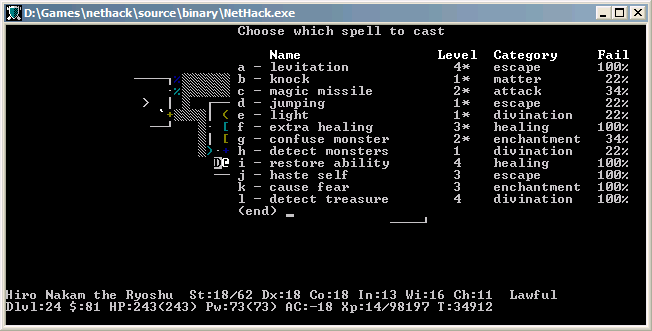
I also learn the spell of healing, which heals for 4d8 HP. Samurai don't get any skill in healing spells, so I'm casting this at unskilled, but thanks to the robe it only has a 22% fail rate.
+4 now. Any armor (except for elven stuff) has an enchant limit of +4, so if it's at +4 or above it has a chance of vaporizing if you enchant it any more. Don't do that!
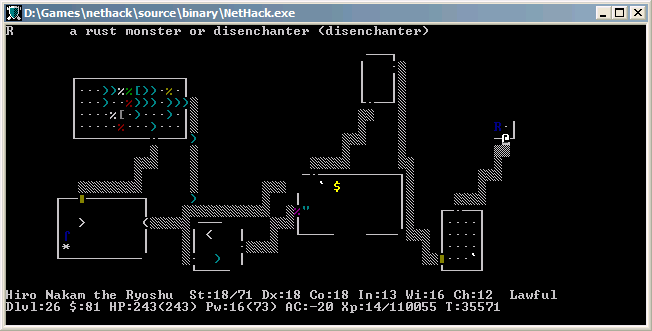
Huh, that's weird. Disenchanters aren't supposed to be generated outside of the Castle or Gehennom.
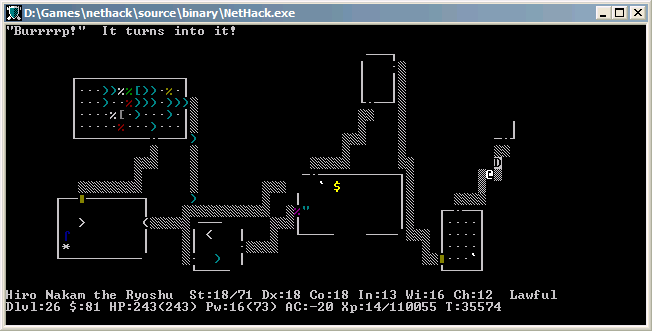
Unfortunately, I didn't think about that at the time. Disenchanters have a chance of lowering the enchantment on a weapon if you hit them with it, so I decide to let my pets take care of this one. A bad move, in retrospect. Looks like it was a chameleon. Peter Petrelli is now a wraith
 .
.
Uh oh.
Well, you're no fun.
Bastard seems to have found a potion of gain level too. I teleport behind it and try and hit it with a few zaps of my magic missile wand to lower its HP, but that doesn't do much good. Fortunately, with my intrinsic speed and my boots of speed, I'm a lot faster than it. Nathan and I tag team this guy down before he even touches me.
+5.
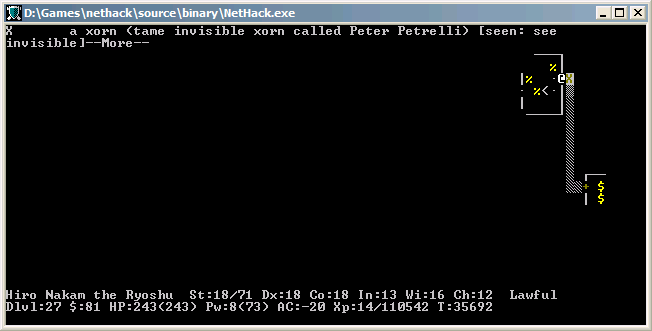
Somewhere along the line Peter decided to polymorph into a xorn. Yeah, I'd put his survivability chances at about 0 right now.
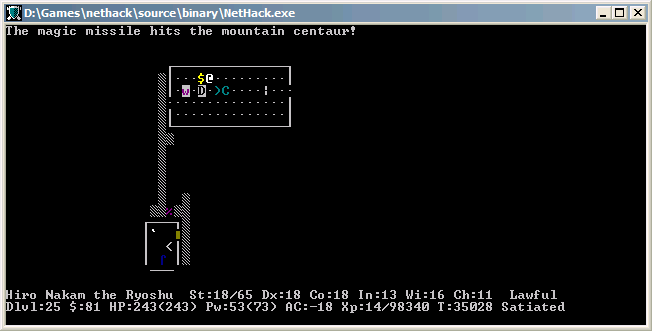
 Now casting magic missile at 22%.
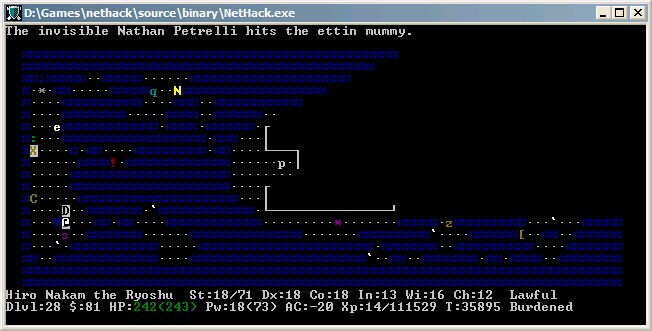
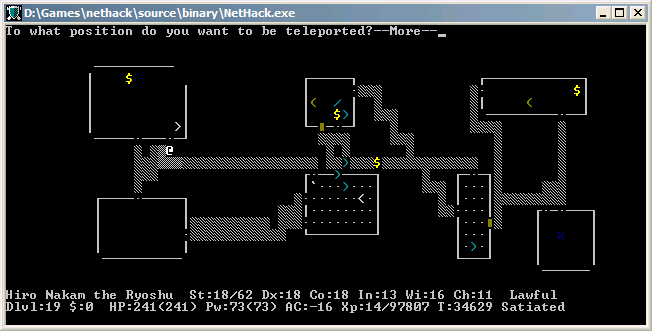
Looks like we've made it to Medusa's Island. There's two versions of Medusa's Island that can be generated - I've got the one without the titan, which is nice because titans can summon monsters and be a huge pain in the ass. Of course, samurai are lawful anyway, so the titan probably would've been friendly, but still. There's also a lot of eels on this level, so be careful.
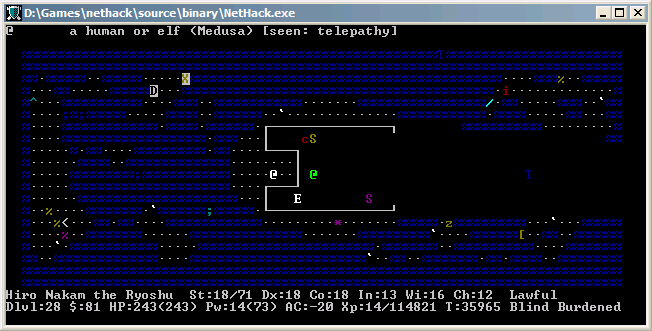
You can cross by freezing the water, making a path with boulders (probably from a scroll of earth), #jumping, or using boots of water walking. Or levitating, which is what I did. If you don't have any of these, one way around it is to dig down to the next level, then just walk up the stairs to finish off Medusa. Of course, you still won't be able to cross the water, so you might need to burn a castle wish on a ring of levitation or something. Let's go pay Medusa a visit.

Medusa has a gaze attack that will turn you into stone, so let's take the obvious precaution there.
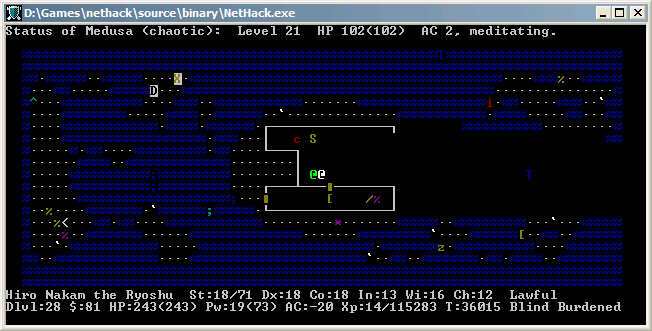
Aw, isn't that cute. If you have reflection of some sort, Medusa's gaze will also be reflected and she'll turn to stone. Of course, Hiro is invisible, so that path won't work.
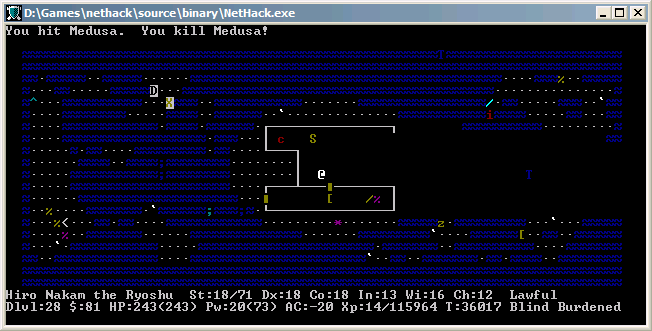
We'll use the tried and true samurai method of hitting her with two swords until she dies.
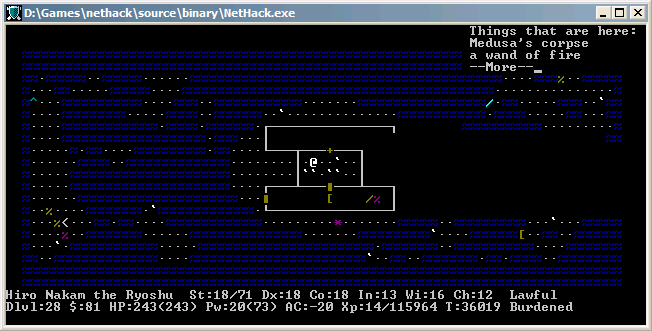
DON'T EAT MEDUSA! That'd be a poor way to die.
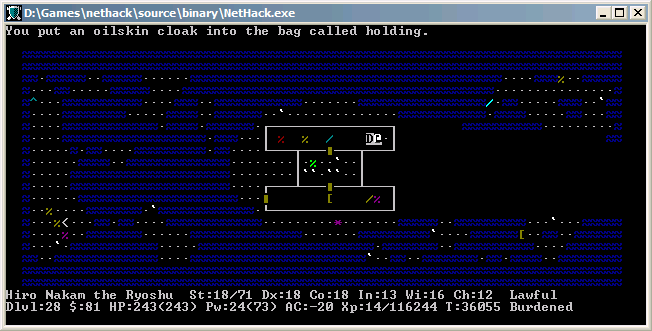
An oilskin cloak is a permanently greased cloak. I don't need it with my greased robe, but it might be nice to hold onto just in case.

The statue on the downstairs is a statue of Perseus, which always has one of a few possible items on it. It could be boots of levitation (handy if you didn't have a way to cross water before), a shield of reflection, a sack, or this scimitar. I certainly don't have any use for this.
Well, that works too. Xorns are metallivores and will eat all kind of metal. You can polymorph yourself into a xorn and eat metal rings to gain their intrinsics (increase damage is a popular one), but that's pretty obscure.
Well, looks like we've found the Castle.
The Castle is sort of the halfway point of the game, and is always generated 1-4 levels under Medusa's Island. It always contains a wand of wishing in one of the corner towers, so that's what we're gunning for now. There's two different ways to get into the castle:
First, you can enter through the drawbridge in the front. In order to get the drawbridge to open, you need to get out your musical instrument (you still have one, right?), stand a knight's move away from the drawbridge, and play a little mastermind game to guess the passtune. Once you solve the game once, you'll remember the passtune forever. After you get the drawbridge open, you can either go in and beat up the monsters or use the drawbridge as a weapon - if you open/close it while there's enemies on it, most of them will die. Unfortunately, you'll lose all the items they were carrying. If your character is weak, it's an easy way to rid yourself of most of the castle monsters.
You can also open the drawbridge by more direct means, such as with a wand of striking. But be careful, since enemies on the inside can do the same from the other side. The flying drawbridge is lethal and will kill you instantly, so it's advised not to stand on the same level as the drawbridge, ever. You'll also still need a way to cross the moat.
The second way into the Castle is around the back, but this way requires levitation. I'll be taking this way in.
These trap doors lead to the next level, which is the Valley of the Dead. Don't fill them all in, since there's no downstairs to get to the Valley of the Dead - if you do fill them in, the only way down is controlled level teleport.
The castle has a few storerooms in the back, guarded by 4 dragons.

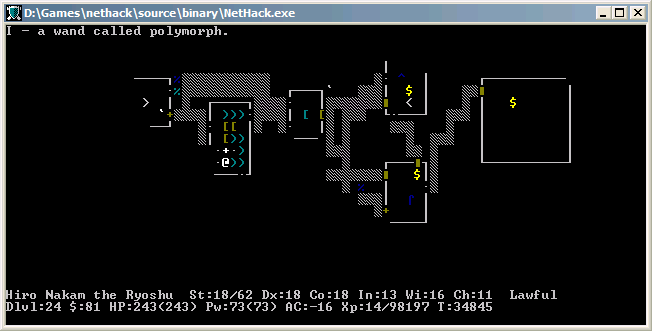
Ha! Finally. I'm not sure what to do with this yet though - maybe I'll hold onto it and curse it for Moloch's Sanctum.
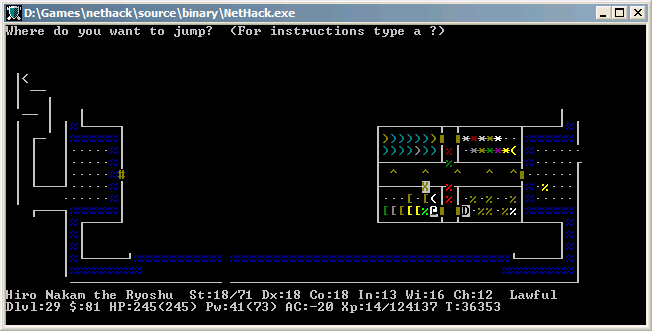
Found a pair of jumping boots in the Castle armory. This are trivially identified by putting them on and trying to #jump. When you're wearing jumping boots, you can jump to any square marked x:
There's a little debate about which is better, speed boots or jumping boots - both are useful in their own way. I think I'll use the jumping boots for now. Or you could be a spellcaster and wear one set of boots and cast haste self/jumping for the other effect.code:
......... ....x.... ..xxxxx.. ..xxxxx.. .xxx@xxx. ..xxxxx.. ..xxxxx.. ....x....
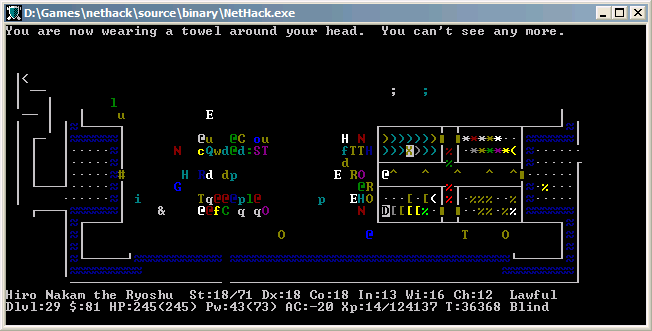
Time to take on the castle monsters. If I just stand in this doorway, I'll only have to fight them one at a time. Somewhere along the line, Peter Petrelli decides to phase through a wall (another cool feature of xorns) and try and take on the castle monsters by himself. He doesn't stand a chance. Godspeed, Peter.
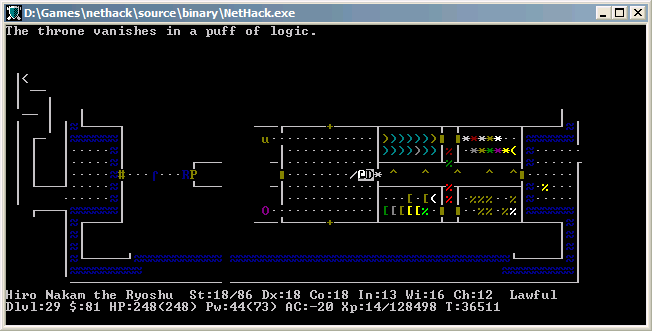
Stupid thrones.


Well, those are the most unconventional barracks I've seen in a while. I think that after Ludios and those other couple barracks I cleaned out, I might've extincted soldiers and they got replaced by random monsters. That cockatrice in the upper barracks is pretty scary looking, since sergeants and lieutenants are usually generated with gloves and could pick it up and give me a whack with it. Fortunately, it's a delayed death, but still unpleasant. Thankfully, all enemies in barracks are generated asleep, so I'll leave them alone for now.
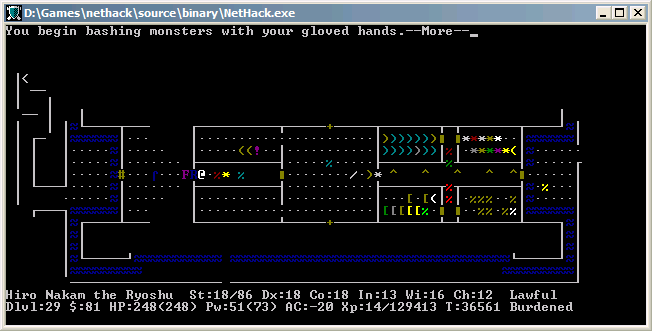
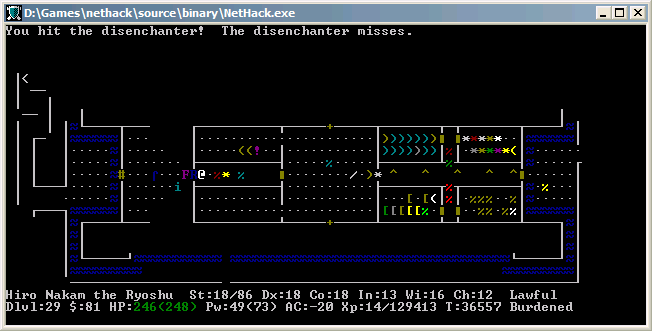
The castle also has a random R, which could be the only disenchanter you'll see outside of Gehennom. To save my weapons, I'm going to punch this guy to death. Of course, this can also disenchant your gloves.
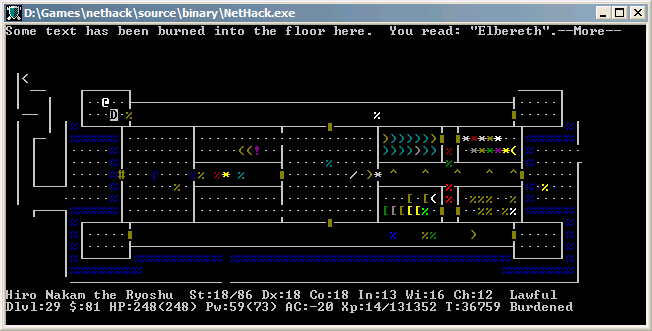
Burned Elbereth in the floor? This can only mean one thing.
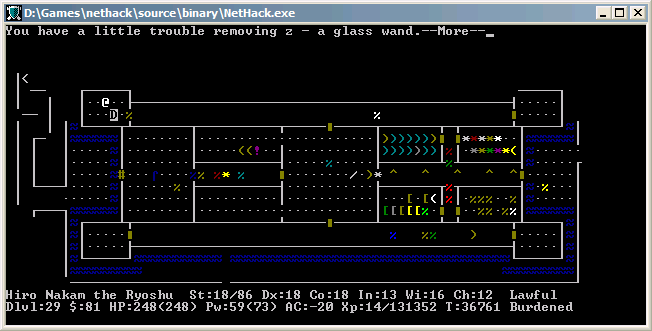
Wand of wishing!
Now, before you do anything stupid...
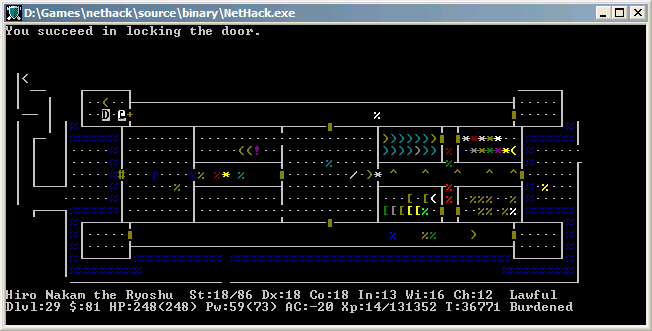
Lock the door.

Use a scroll of identify to find out how many charges are in the wand to avoid wresting accidents.
And wish away!
Hiro Nakamura has now conquered his second castle in as many days. Taking a breather in a corner tower of the castle, he finds himself in possession of a powerful, life-changing item. What will he wish for? Find out in the next episode of Heroes, Chapter 12 - Godsend.
---
Next time on Heroes...
Well, in what is probably the first and last chance for audience participation this LP will have, I'll leave this up to all of you. What do you want me to do with this wand of wishing? Normally, the first wish should go to 2 blessed scrolls of charging if you don't have those identified, but I've already got one of those. My ascension kit looks fine and dandy, I've already got magic resistance and reflection and -20 AC and 2 kickass weapons and a crystal ball, and well...let's just say that I could legitimately go wishless for the rest of the game if I wanted.
But I'm also a bit of a wuss and would probably wish up a couple magic markers and a ring of conflict and a cockatrice corpse for the Astral Plane if you gave me the chance. Maybe GDSM and a cloak of magic resistance so I can wear life saving. Maybe an Archon, since I've never played with one of those before. But it's not up to me! So, LP subforum, the fate of Hiro Nakamura is in your hands! Choose wisely!
PS: Here's a Wishing spoiler in case you don't have any good ideas.