Part 11: Screenshot Missions 2: Continent Hopping
Post-Game Screenshot Missions 2: Continent HoppingWhile the previous screenshot update focused on bounty hunts, today's will be the first of two focused on the post-game sidequests. The second will come next Saturday, right before we tackle the Solosseum.
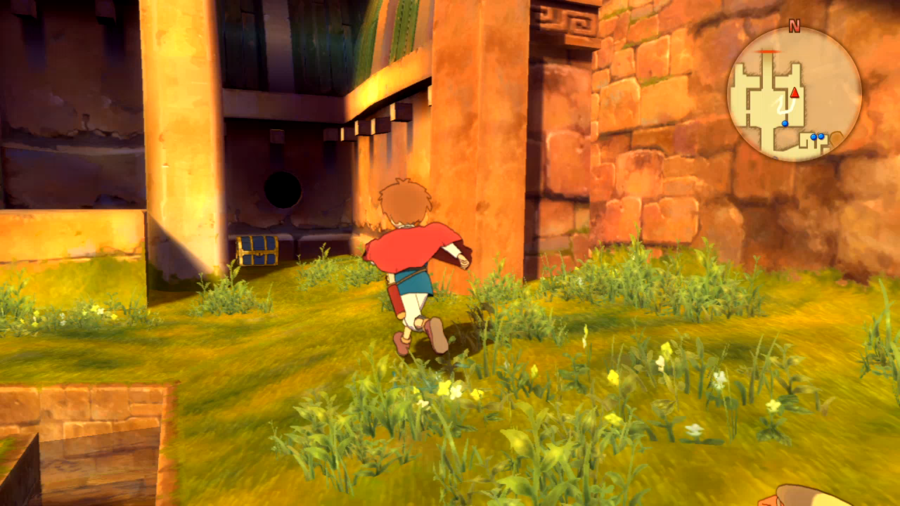
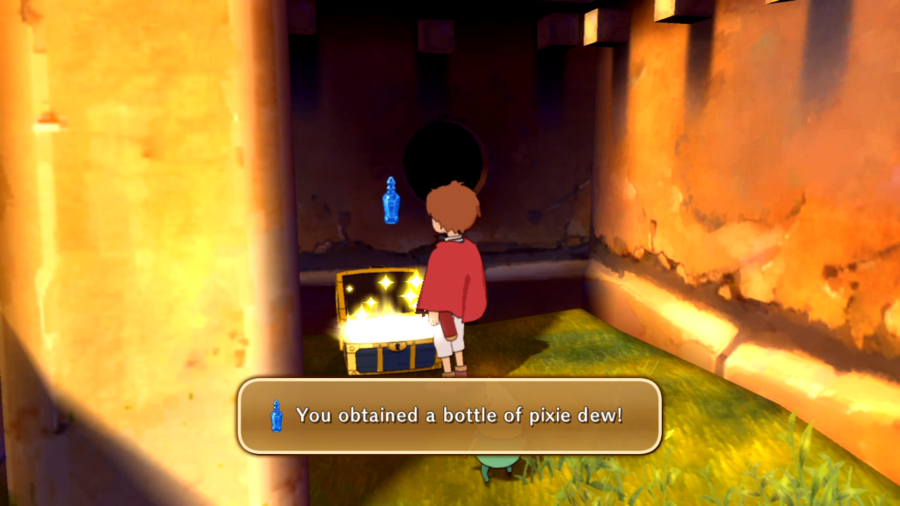
But first, a blue chest I missed in Perdida.
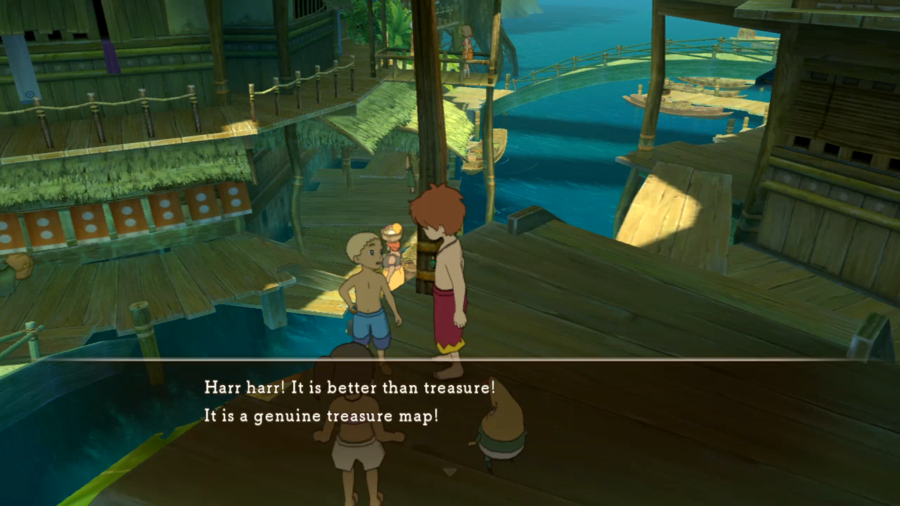
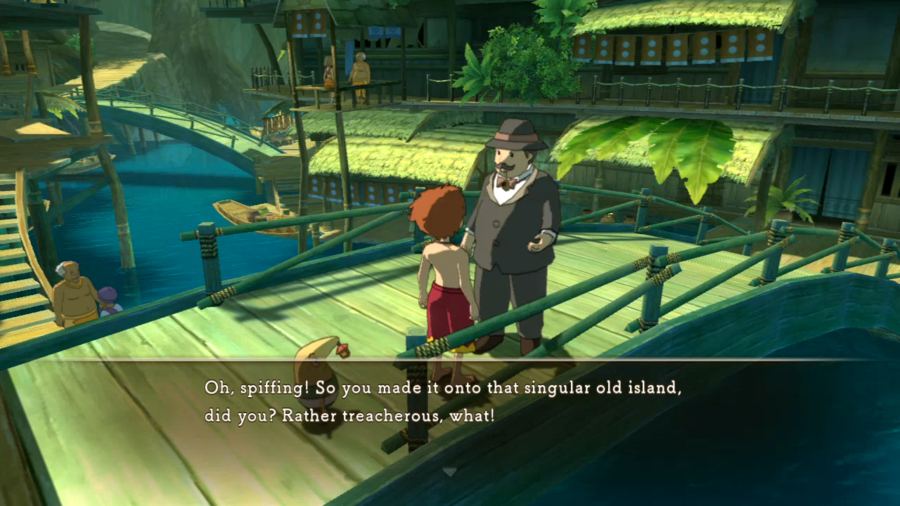
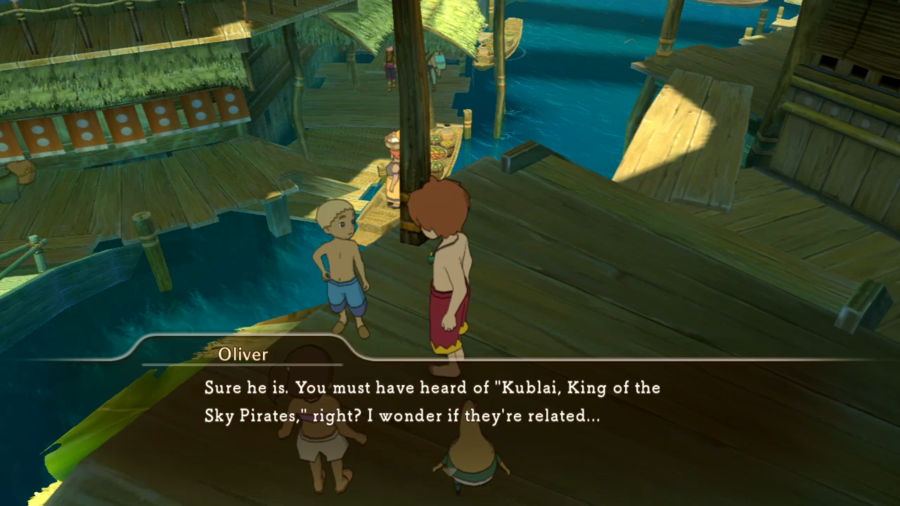
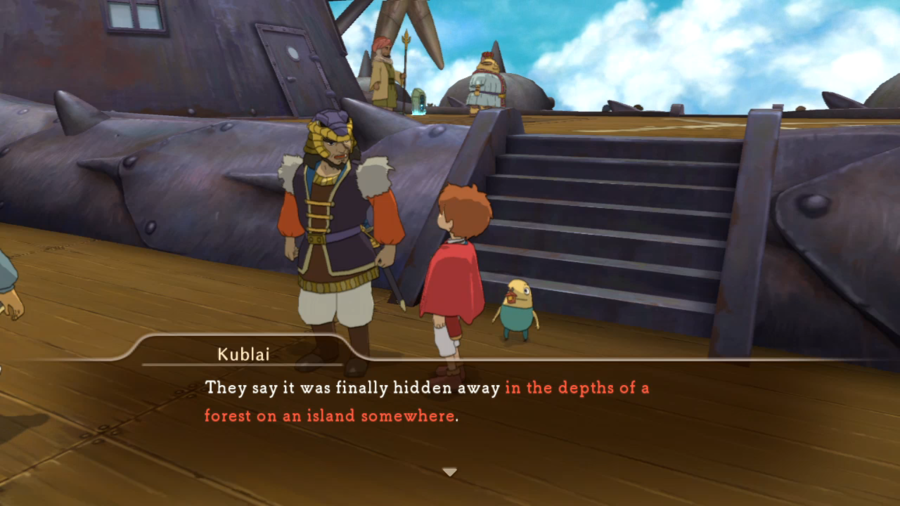
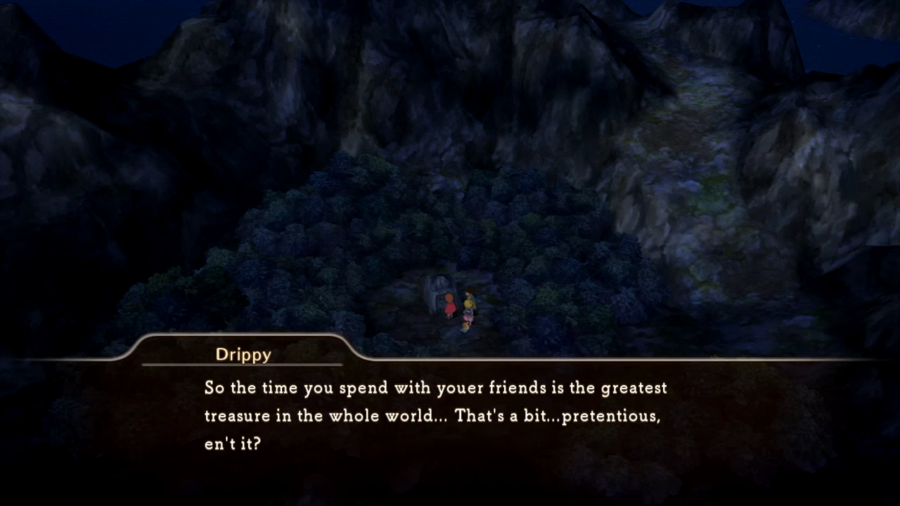
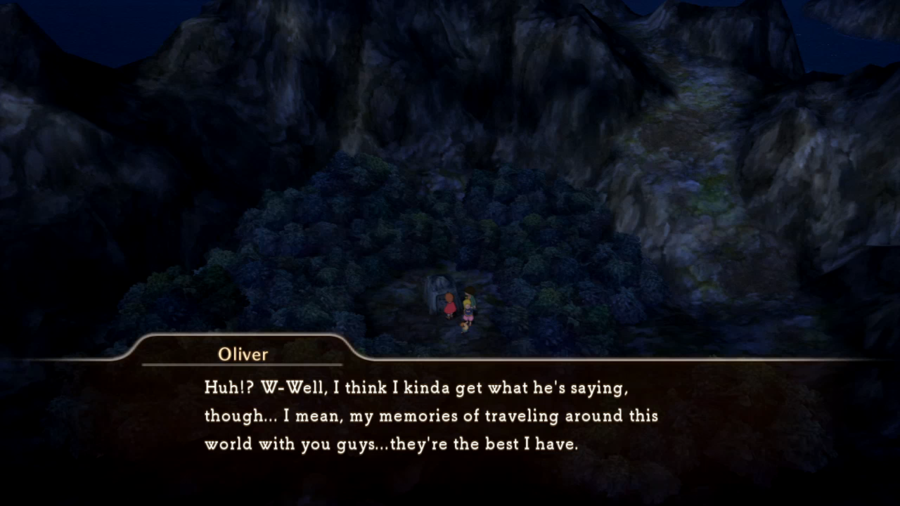
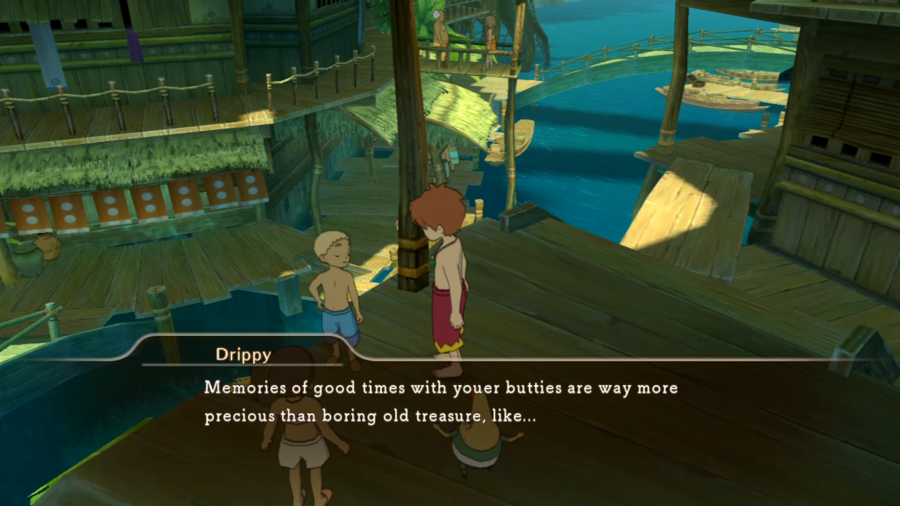
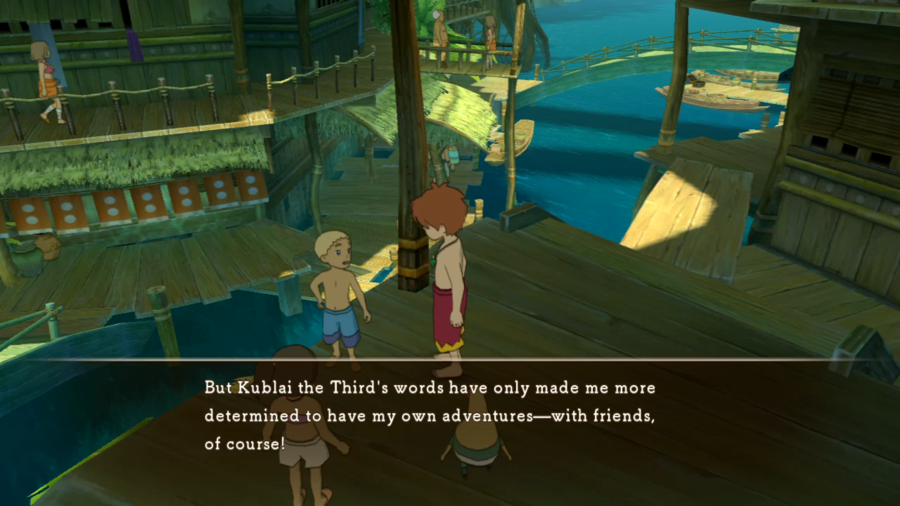
The quest that will take up the biggest chunk of today's update involves this One Piece-referencing kid from earlier. If I didn't show him, it's because he was another broken heart sidequest, but once he's dealt with he talks about sailing the seas to become the King of the Pirates with his crew of friends.
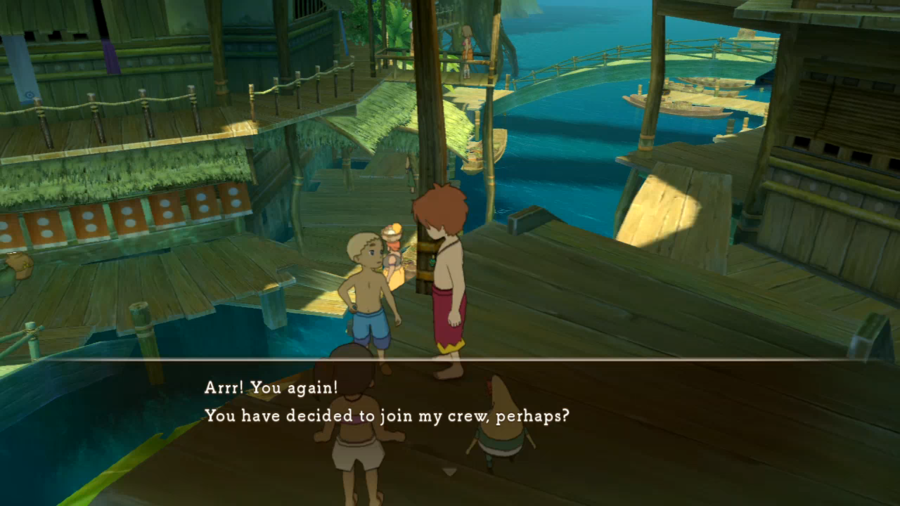
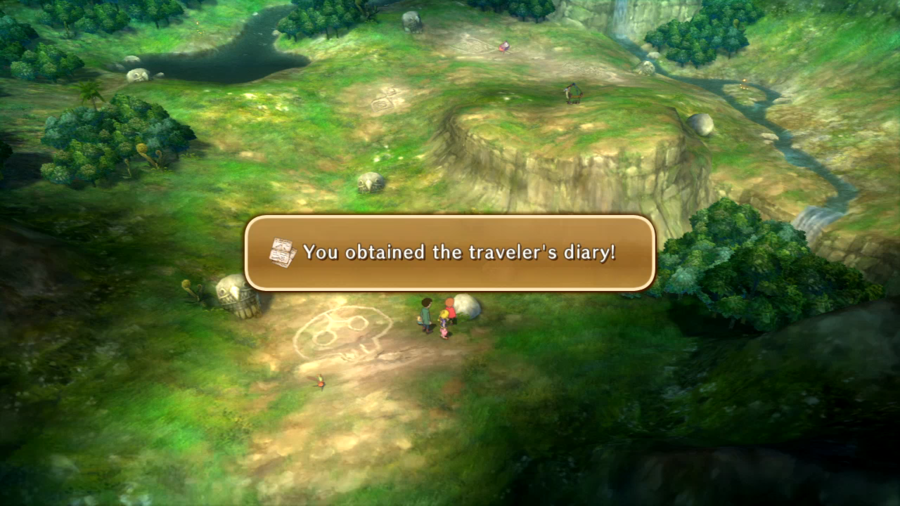
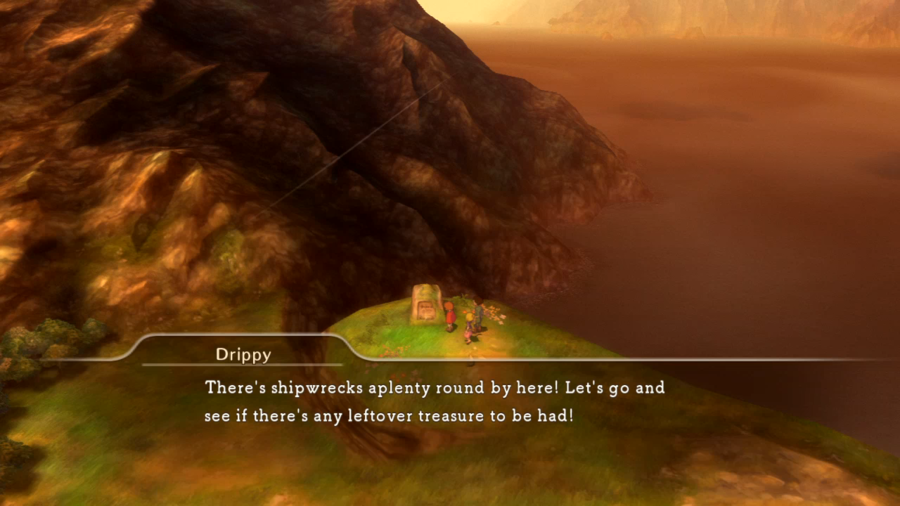
His quest is an actual search for treasure with a real treasure map!
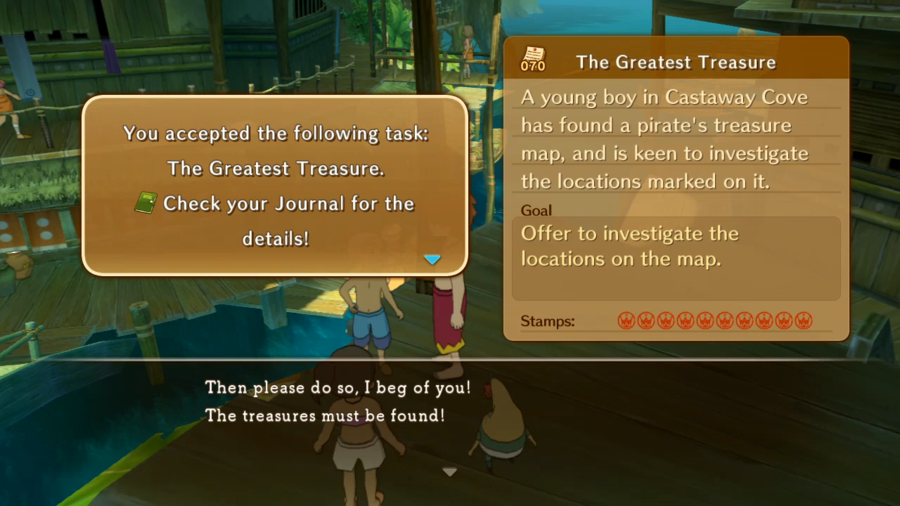
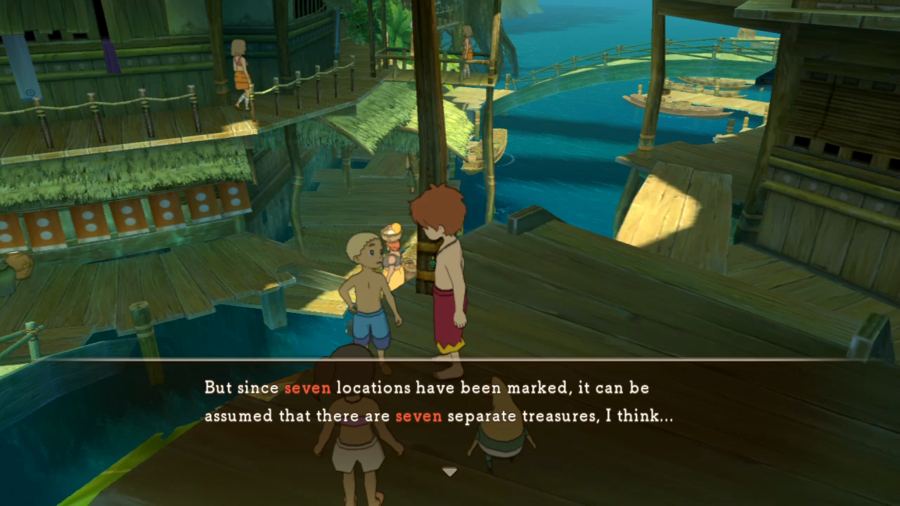
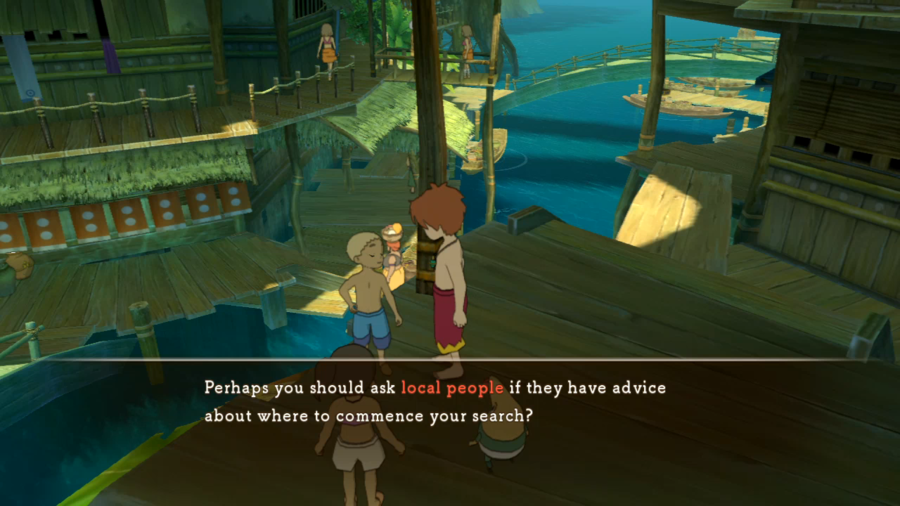
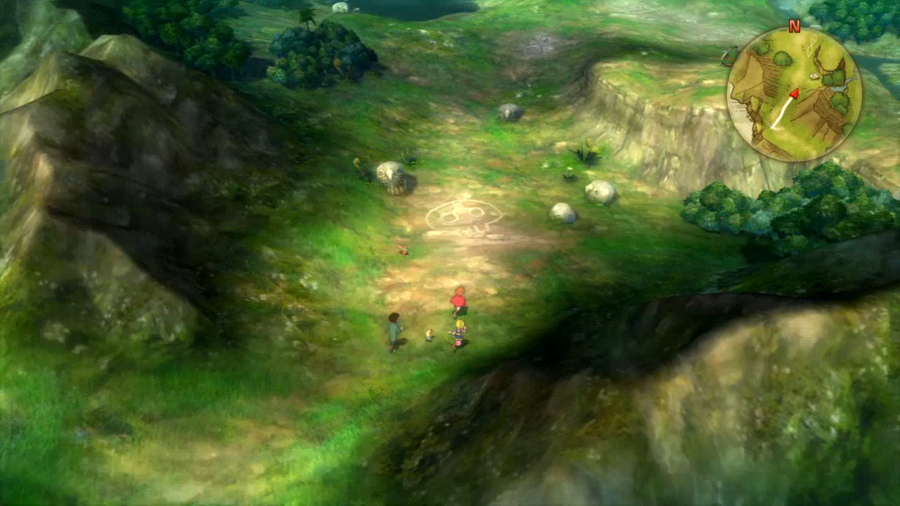
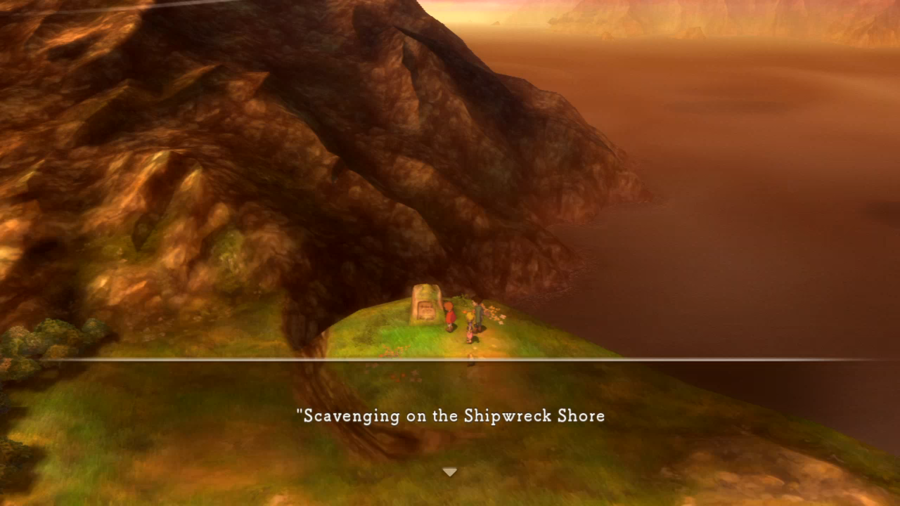
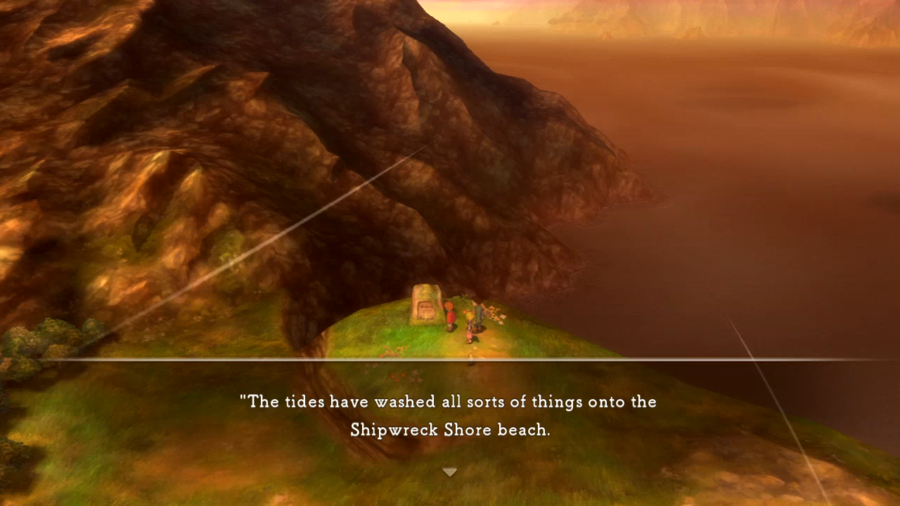
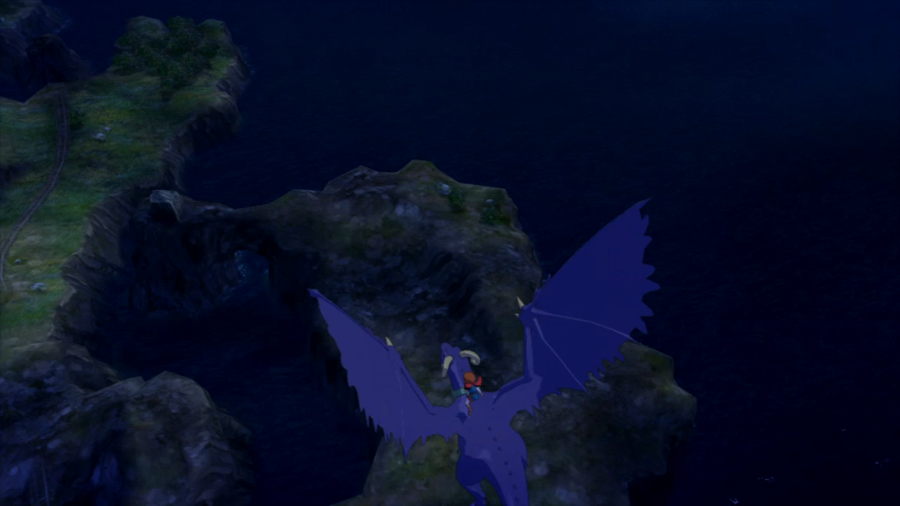
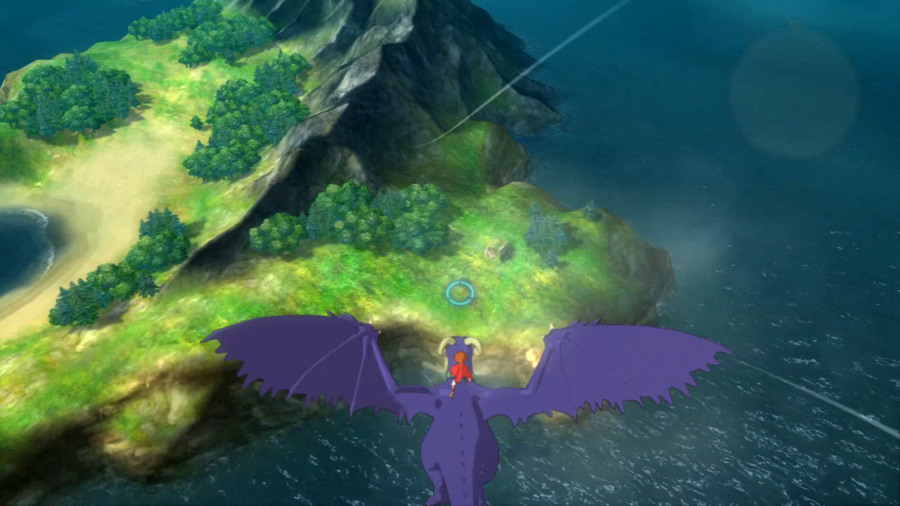
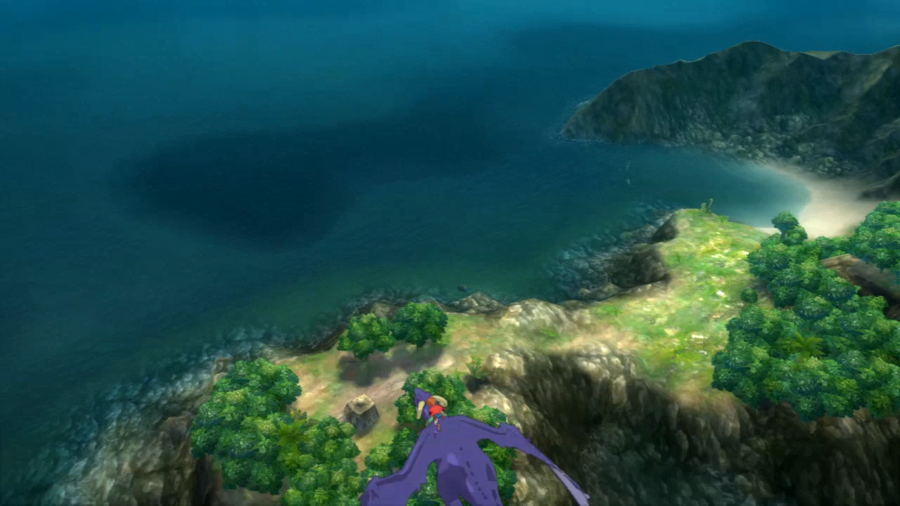
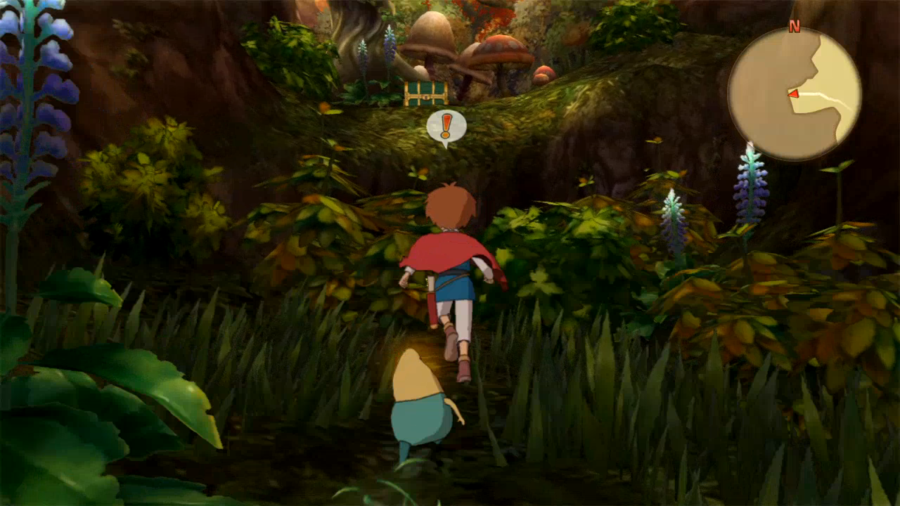
You may recall from the videos these small square monuments dotted around the landscape. Our mission is to find all seven of them and recover the treasure from them. If you don't know where they are, the Castaway Cove locals will either directly tell you what island it is on or give vague directional/climate/landscape hints. Most of these are small islands that you need to check your map while standing on them to know what they're called, but you can also just fly around on Tengri until you find all of them. Which isn't as easy.
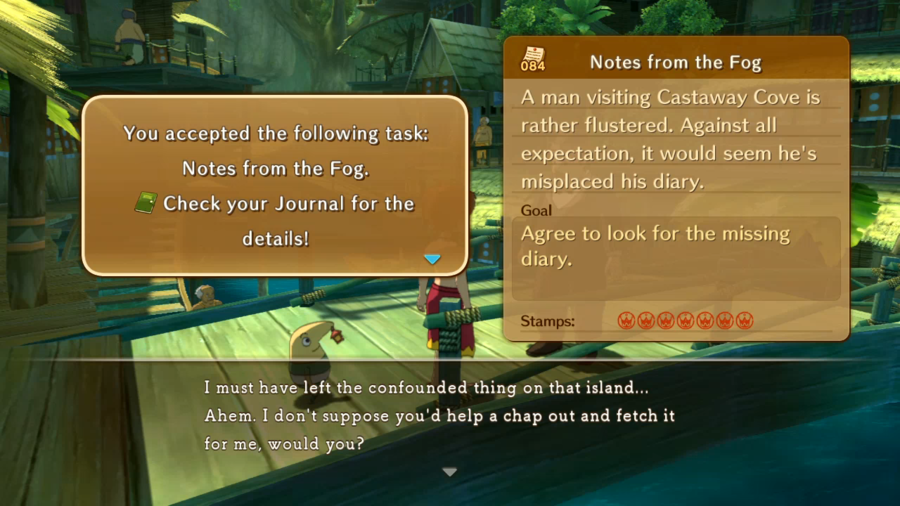
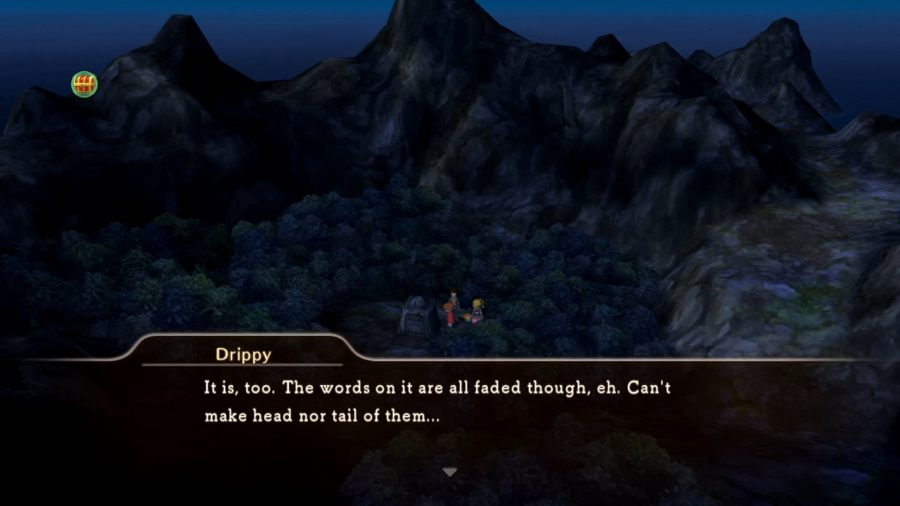
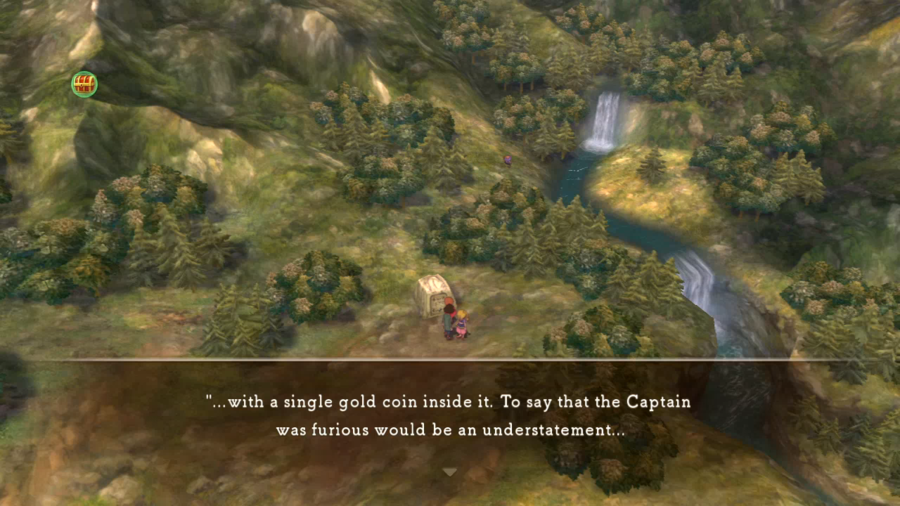
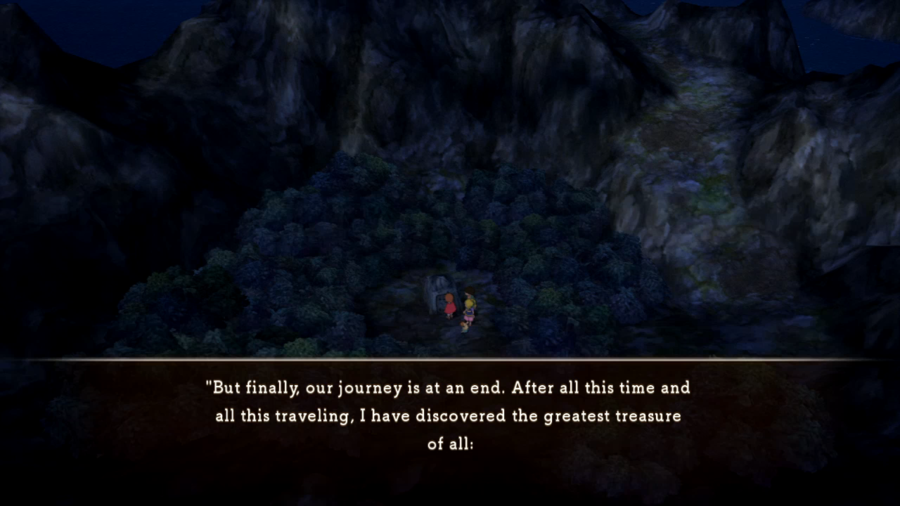
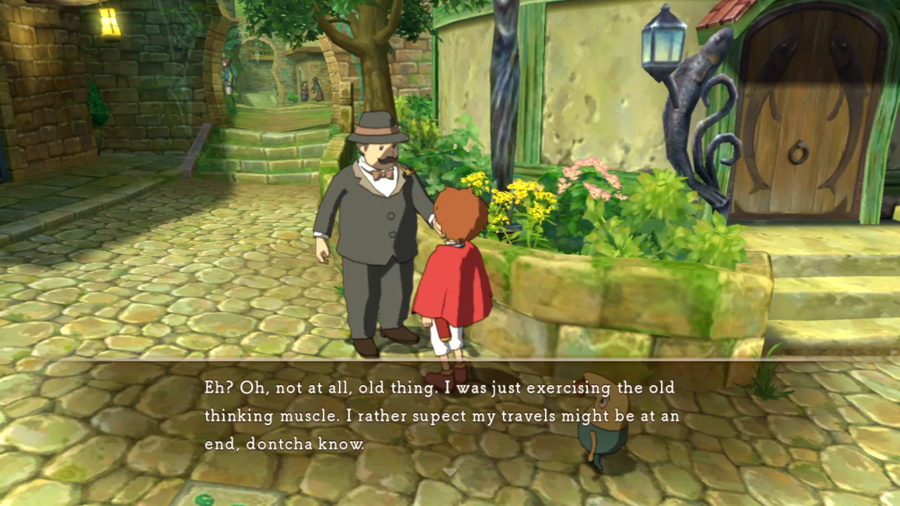
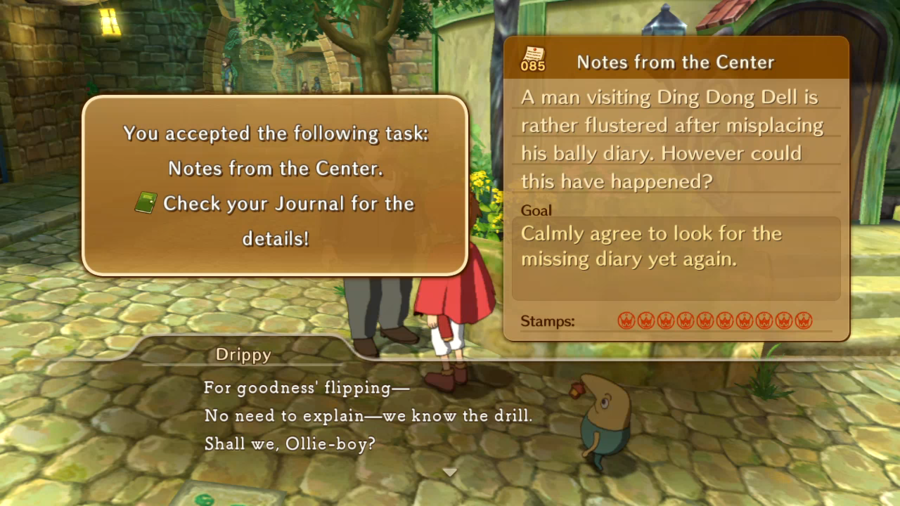
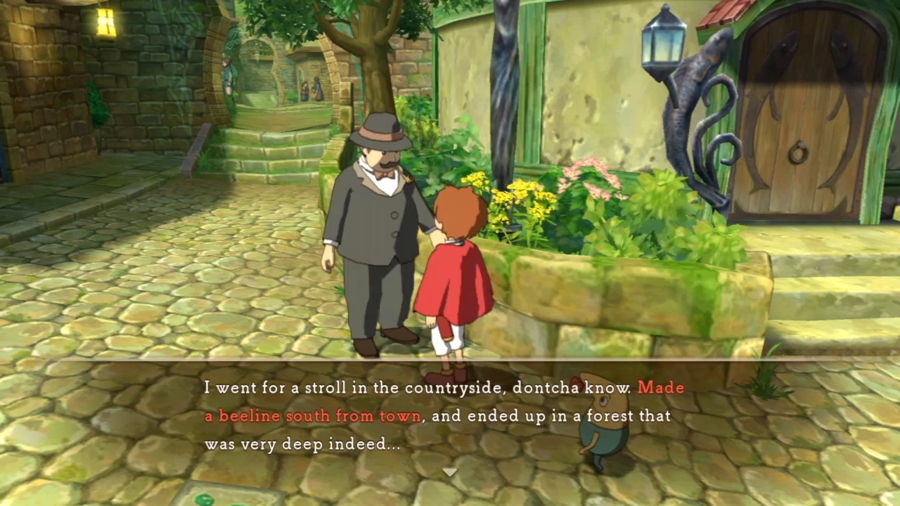
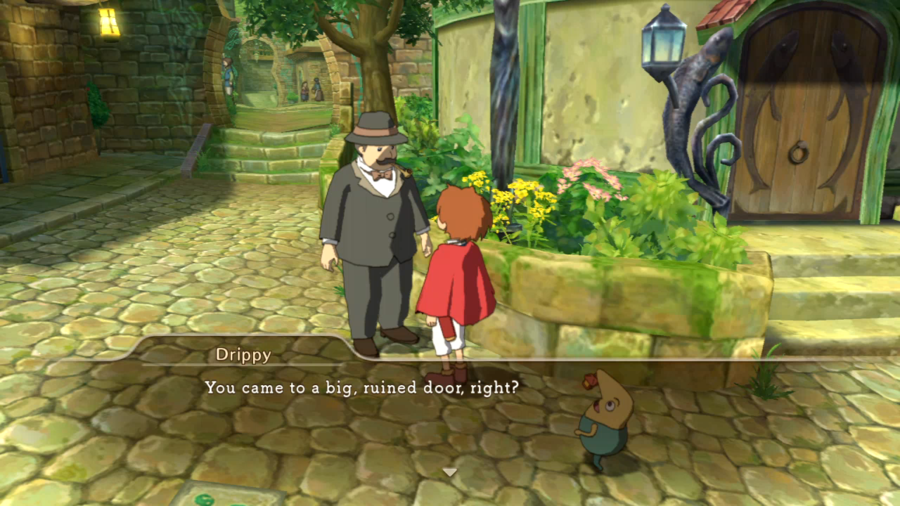
Also this shit again. This isn't the last we'll see of the rich guy, but this is the last update with him. This time he's left his journal on Nazcaä.
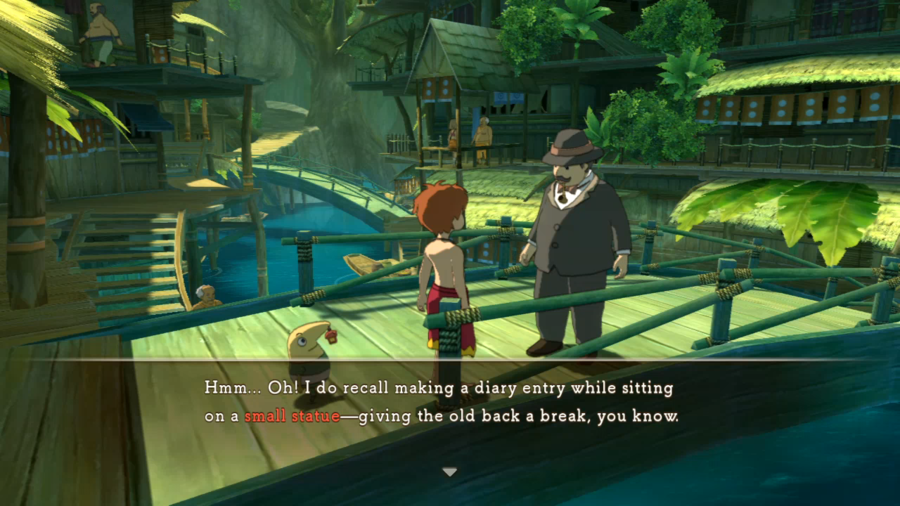

The diary isn't far from Ara Memoriae. It also isn't far from having overstayed its welcome.
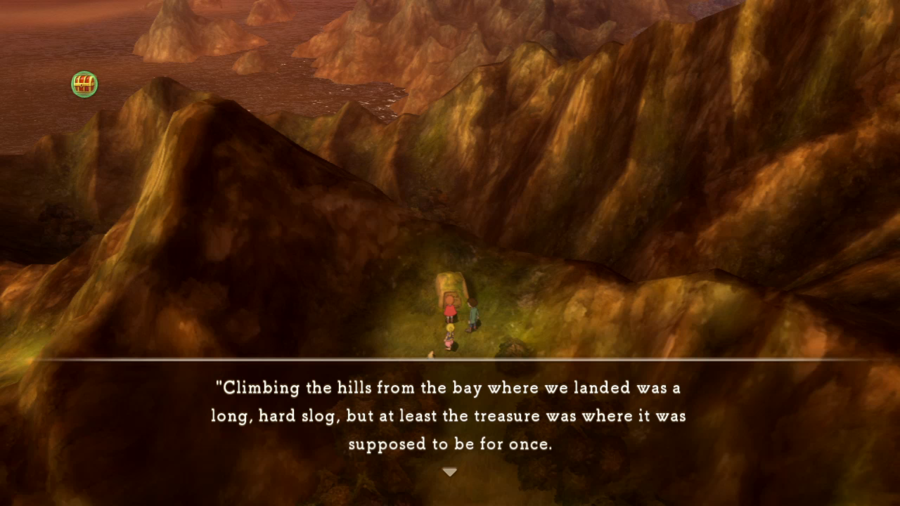
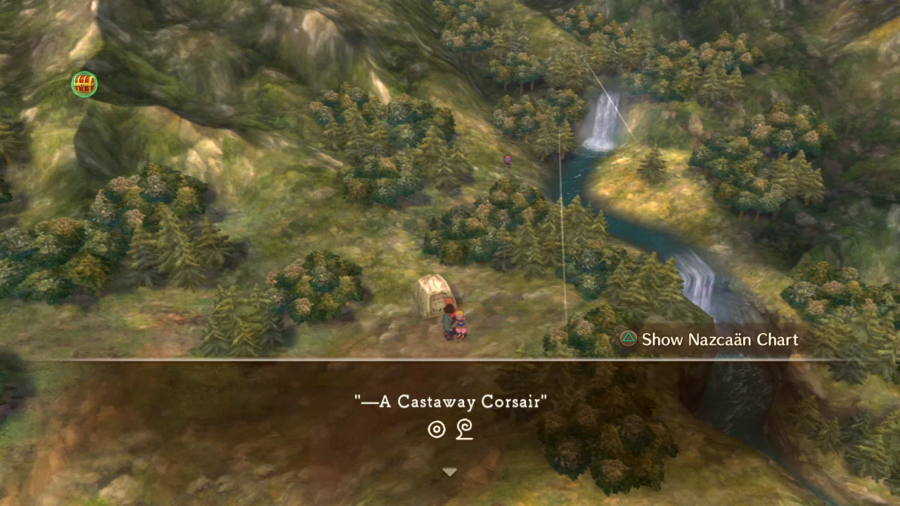
The first monument is the one you'll most likely recognize from the videos, due east from the Vault of Tears. This is also probably the coolest screenshot I've ever taken.
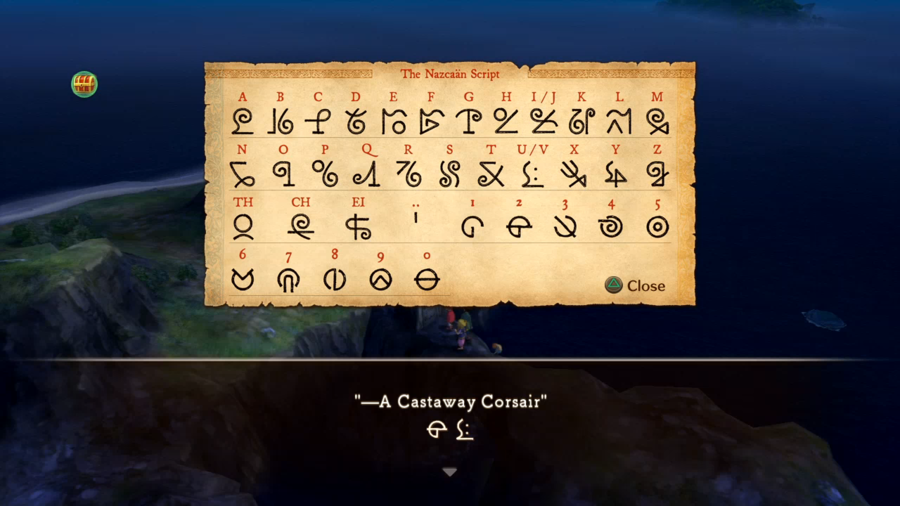
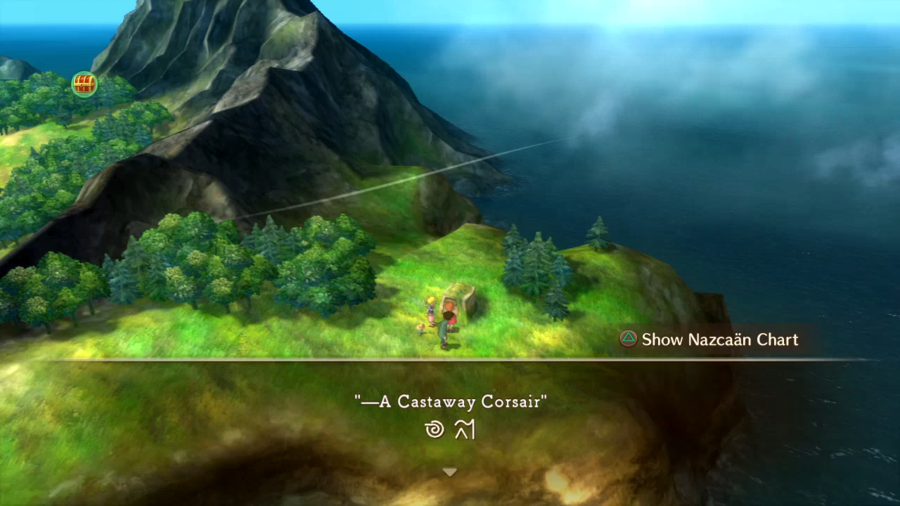
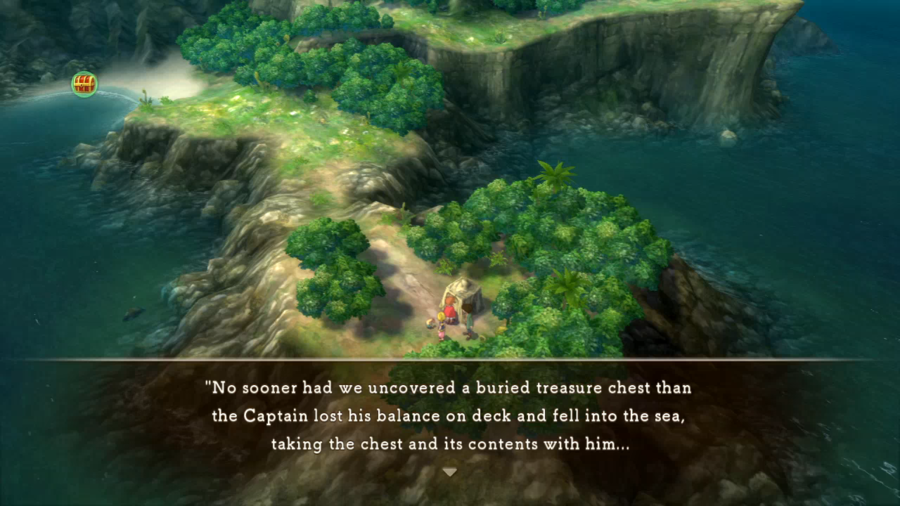
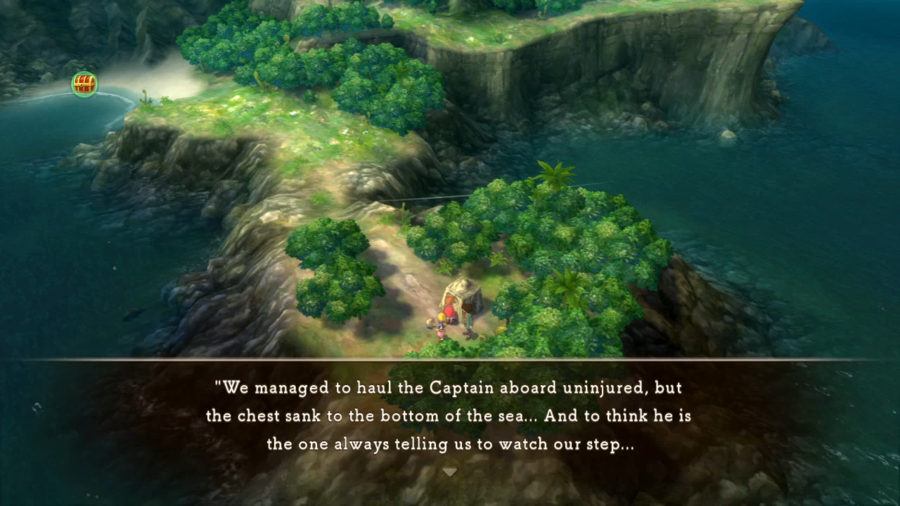
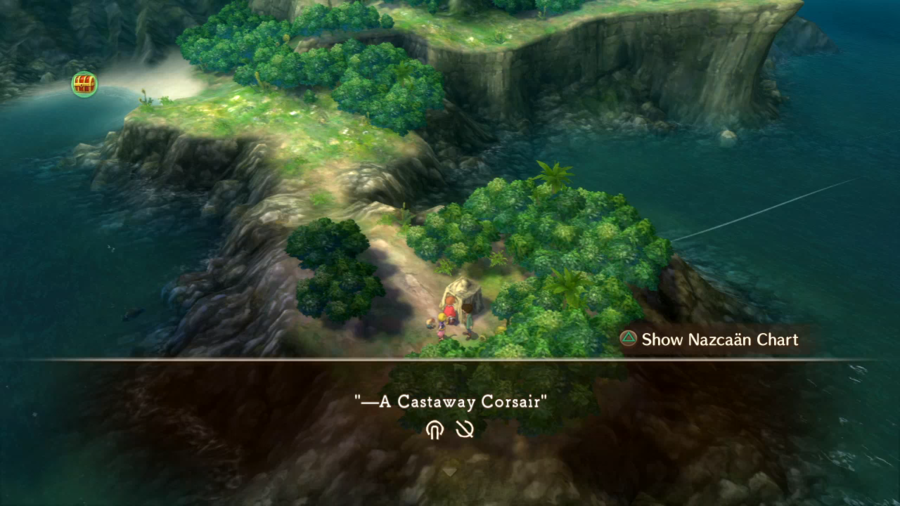
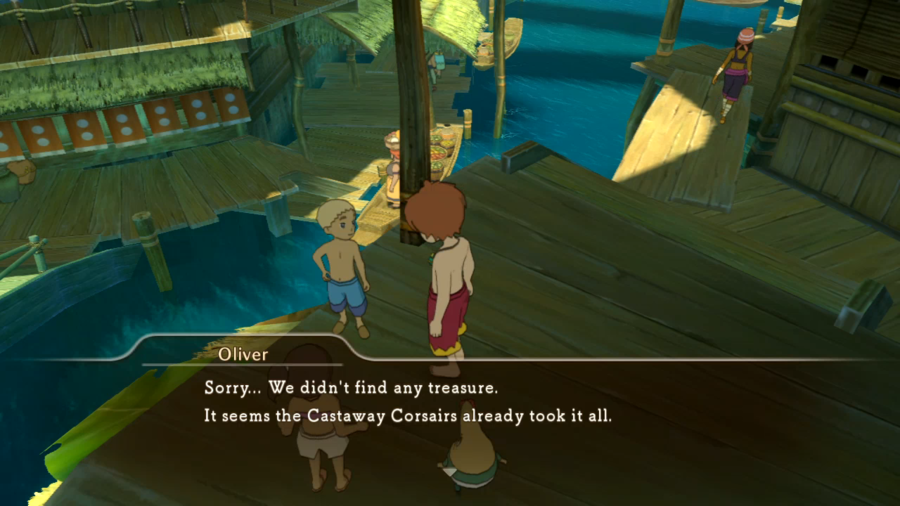
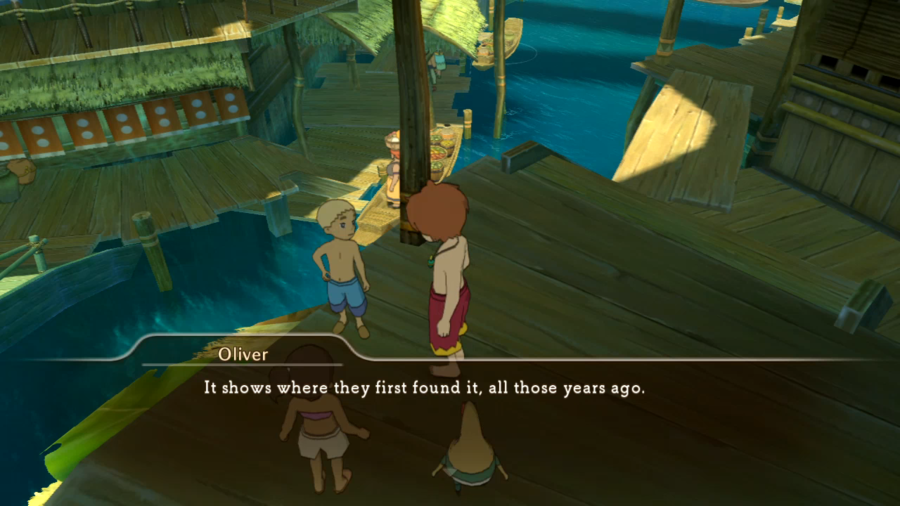
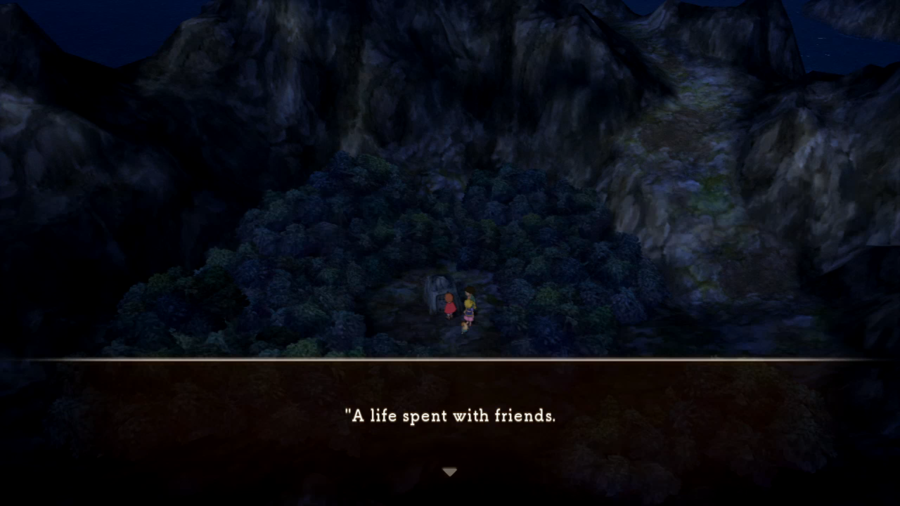
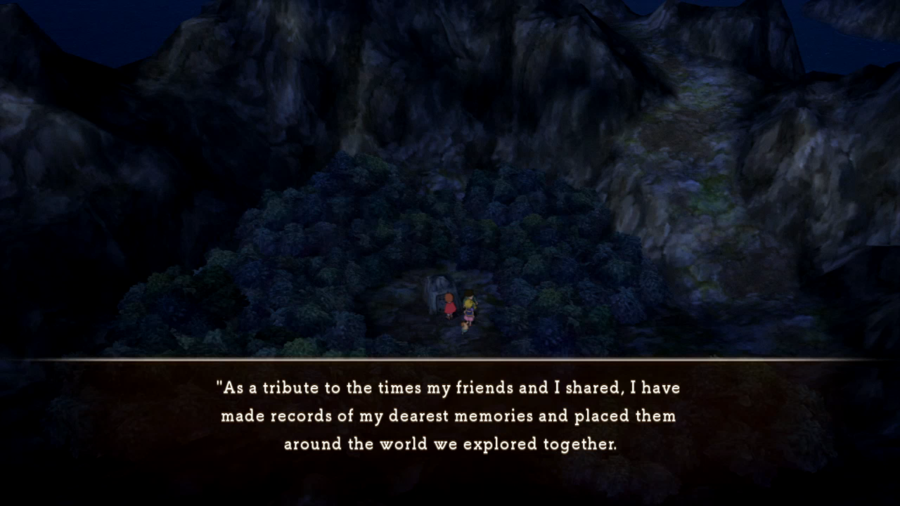
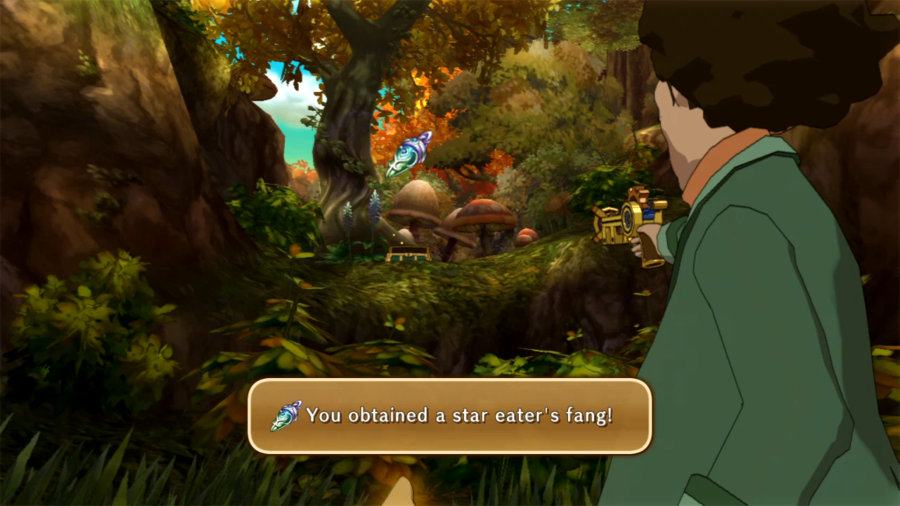
However, instead of treasure we find etched journals of the pirate crew The Castaway Corsairs, who found and took the treasure generations ago. I won't show all of the text, but some of the entries can be quite funny.
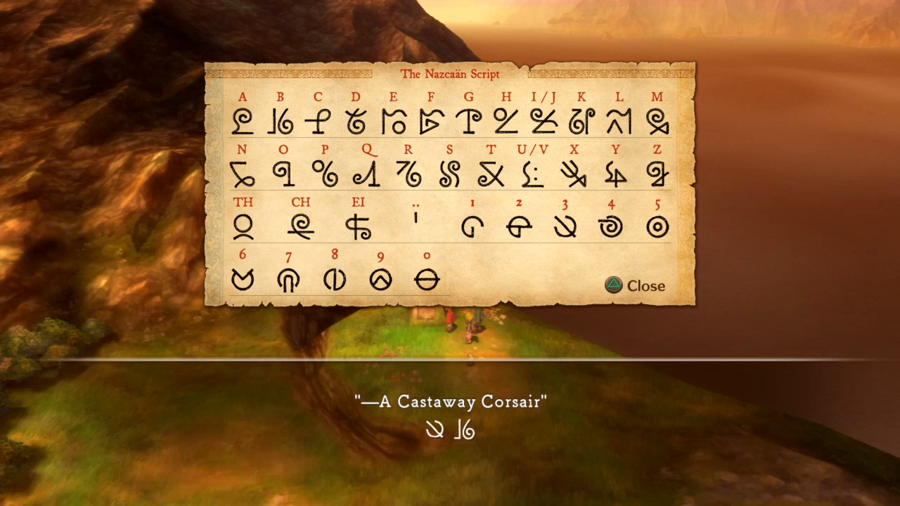
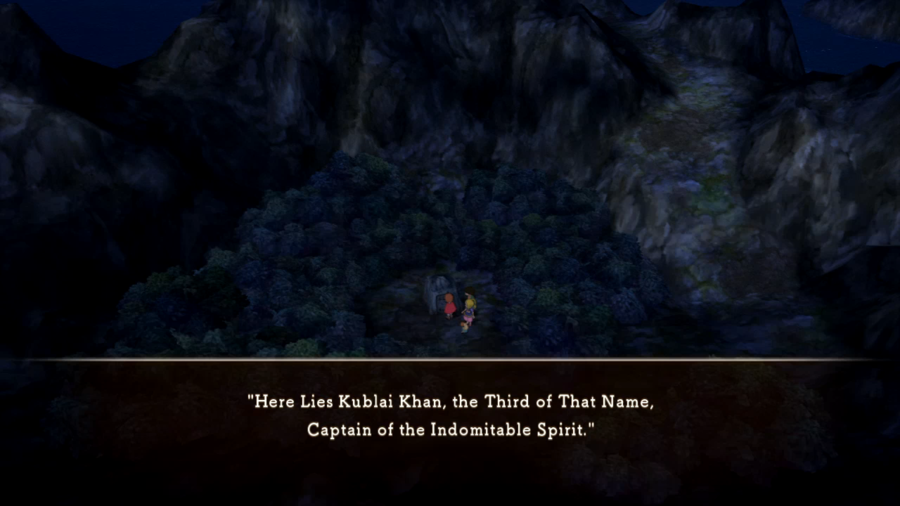
Every monument ends with a pair of Nazcaän symbols. The first corresponds to a number, and the second to a letter (usually).
I've already cleaned out the hidden chests from this area.

Next monument we reach is on Billy Goat Bluff. You can do these in any order - this is simply the one I took.

Next is on No Longer Mine, right where we fought Sadcore Turtle.

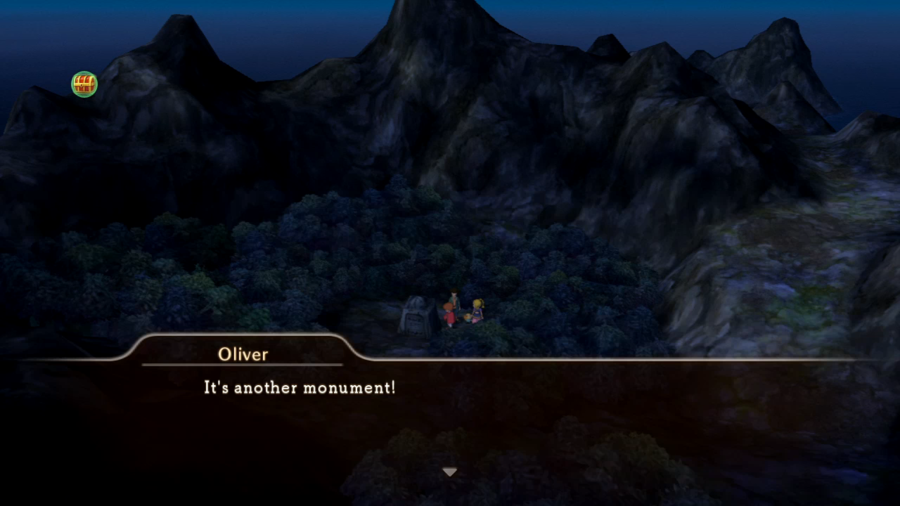
To my surprise I next come across a monument I'm not supposed to go to just yet.
Yes, turns out there's really eight of them, and even though the answer to reading this one is a spell I already have, status quo is a jealous bastard.
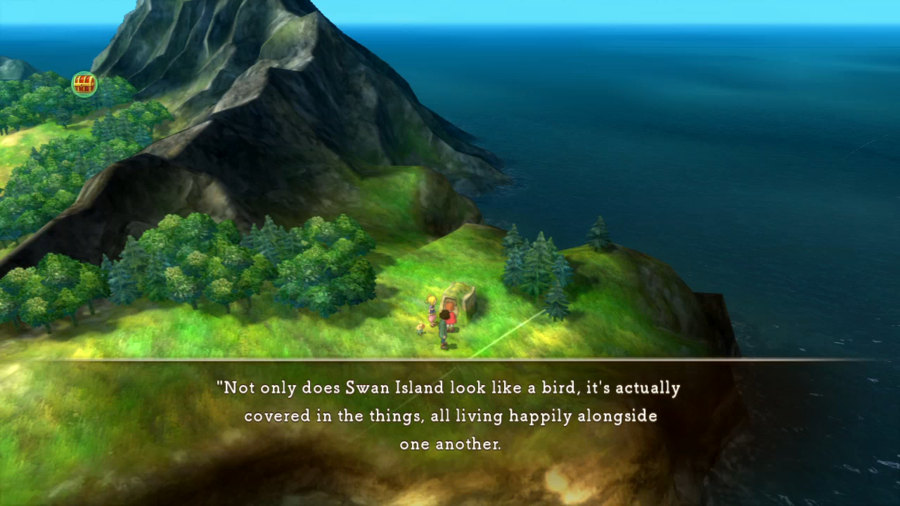
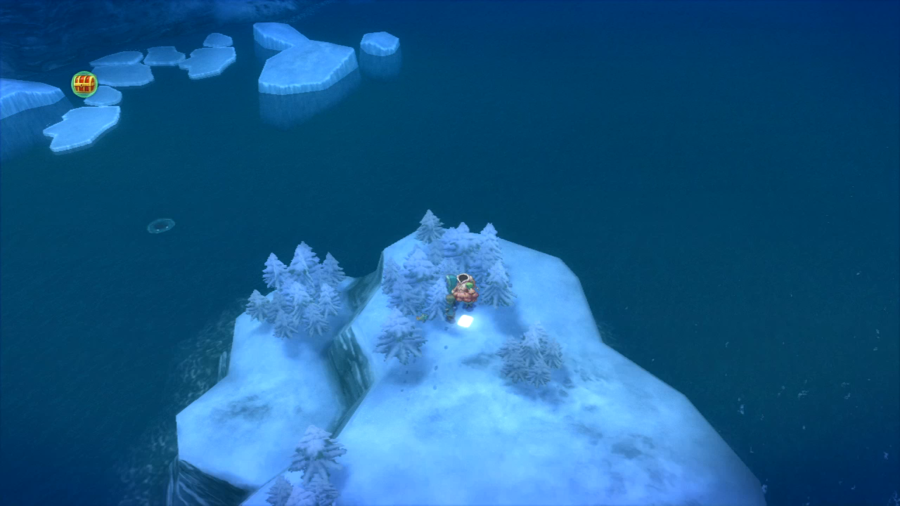
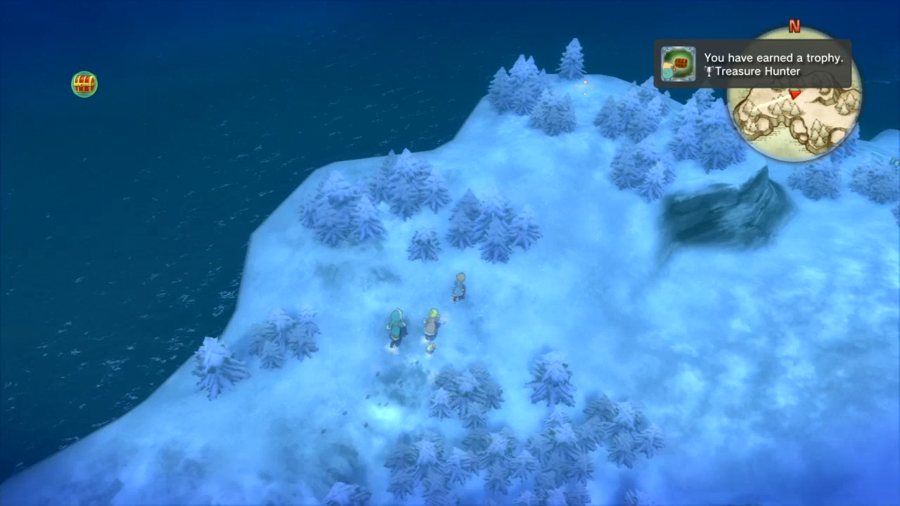
Next (allowed) monument is on Swan Island.
While trying to find one of the snow island monuments, I earn myself the Treasure Hunter trophy for collecting every hidden chest on the overworld.
Next monument is just southeast of Skull Mountain.

*Mocking horn*
Next monument is on the island west of Old Smoky. This one's probably the funniest.
Heading back to Castaway Cove to get a refresher on where the last monument is, I also give the gentleman his diary back for the penultimate time.
Believe it or not, his final quest is actually interesting and opens up the world of Ni no Kuni considerably. Yeah, never thought we'd see the day.
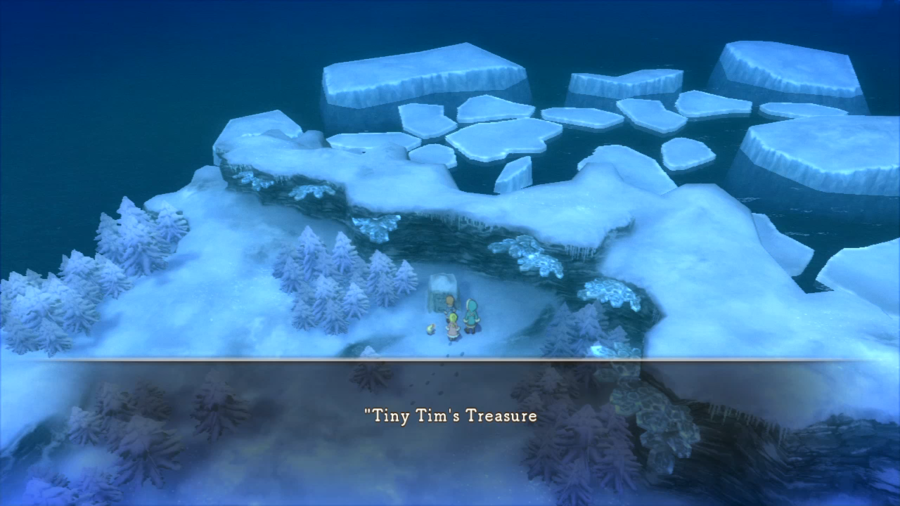
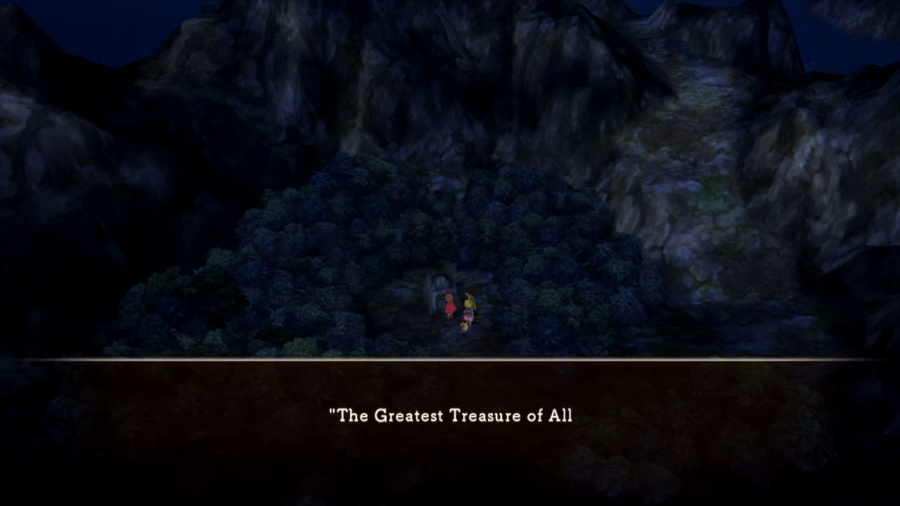
The final monument is hidden stupidly well on the island of Tiny Tim.

I forgot to screenshot the final two letters, but it doesn't matter, as you'll see. You don't need to memorize them.
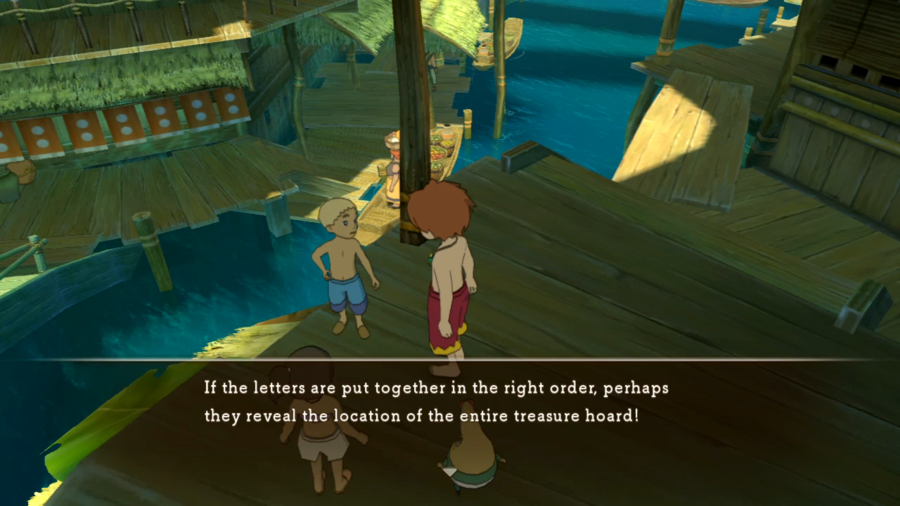

The answer to the riddle is pretty clever. The second symbol correlates to the letter of the answer, while the first symbol refers to that letter's position in the answer.
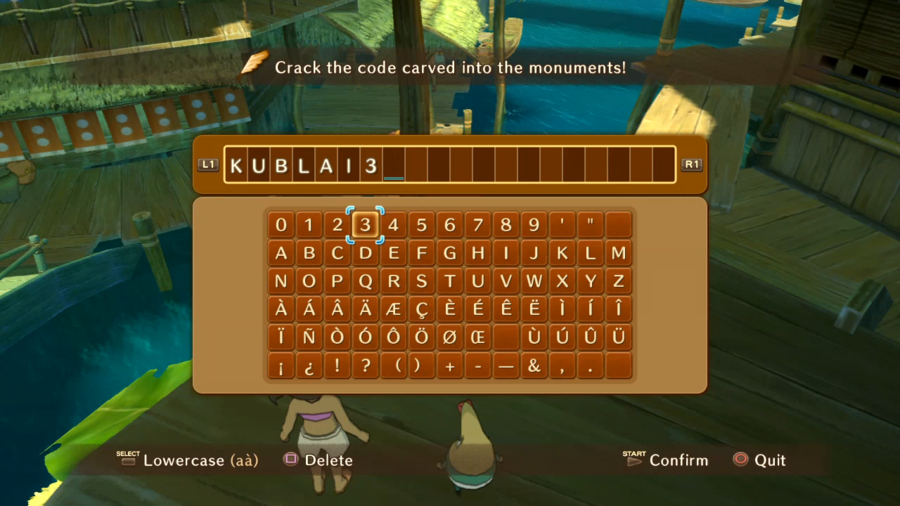
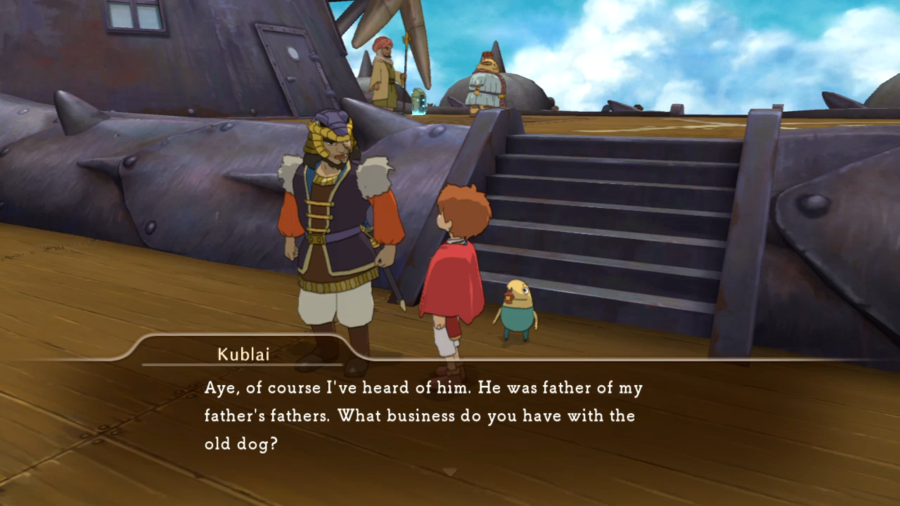
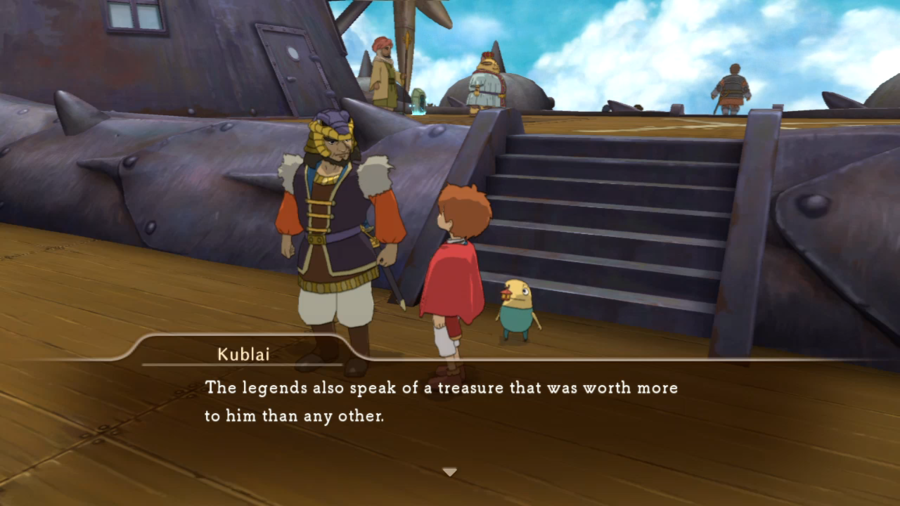
Thus we get 1-K, 2-U, 3-B, 4-L, 5-A, 6-I, 7-3. Or, Kublai the Third.
Let's go beat the family history out of him!

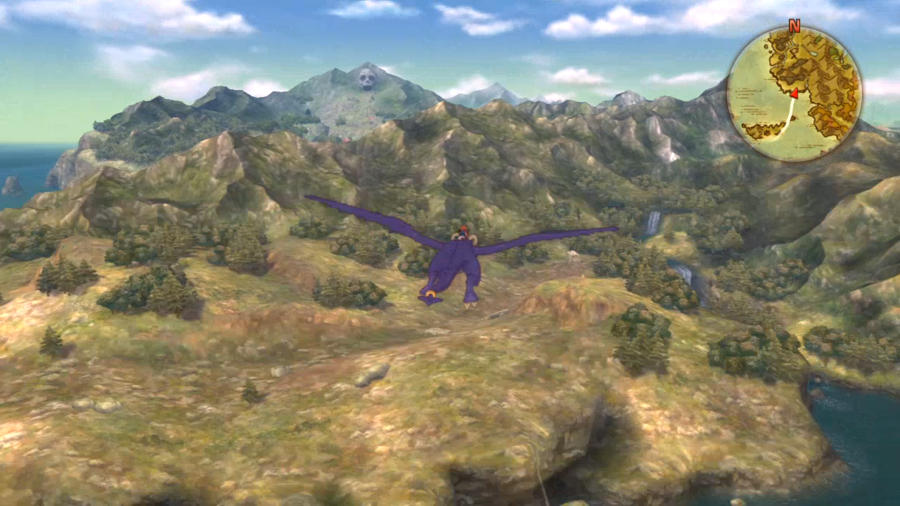
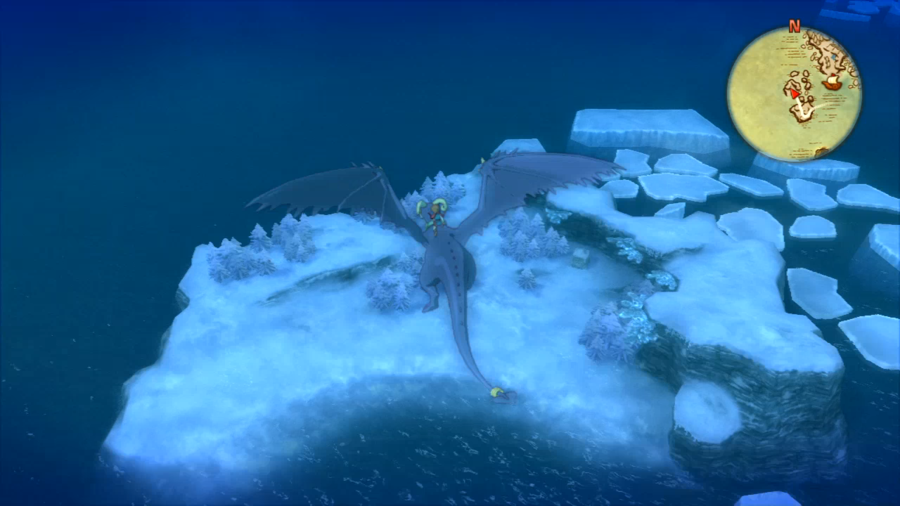
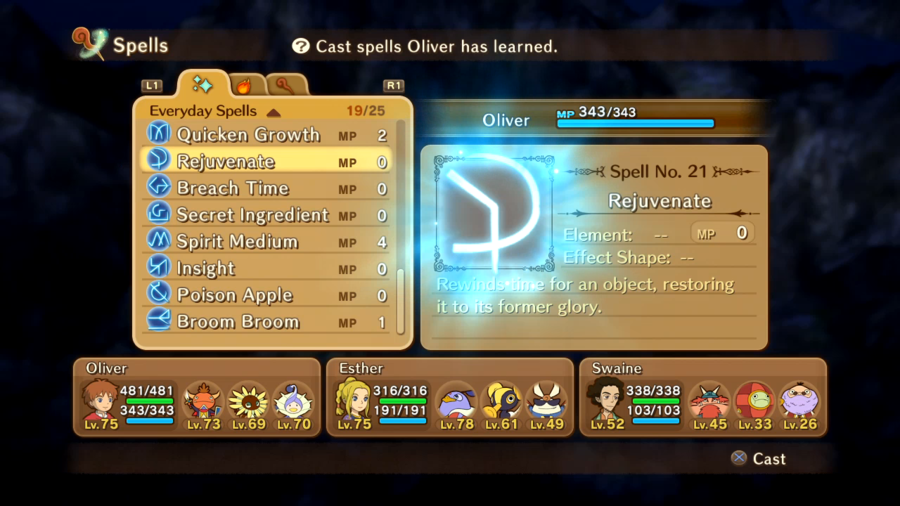
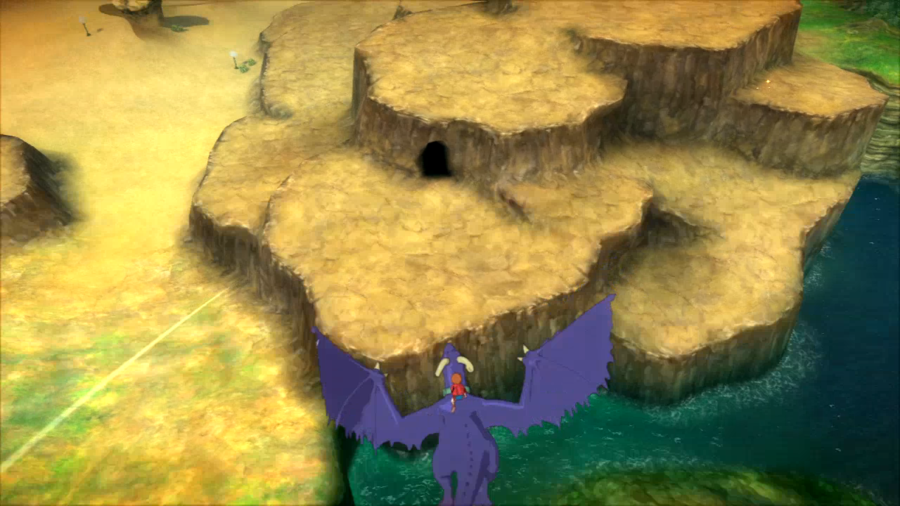
And now the game allows Oliver and Drippy the common sense to use Rejuvenate on the monument we saw earlier. It's on the island the Black Porpoise's crew was circling before we fought them, the interior of which only Tengri can reach, and this isn't the last time we'll be visiting it.
Who's ready for disappointment?!

Ni no Kuni.
Drippy once again shows his rare ability to know what's up.
They sure started off with a bang. And a gurgle. And a heart attack.


Children's morals will never not be rooted in truthful disappointment. Definitely a British localization.
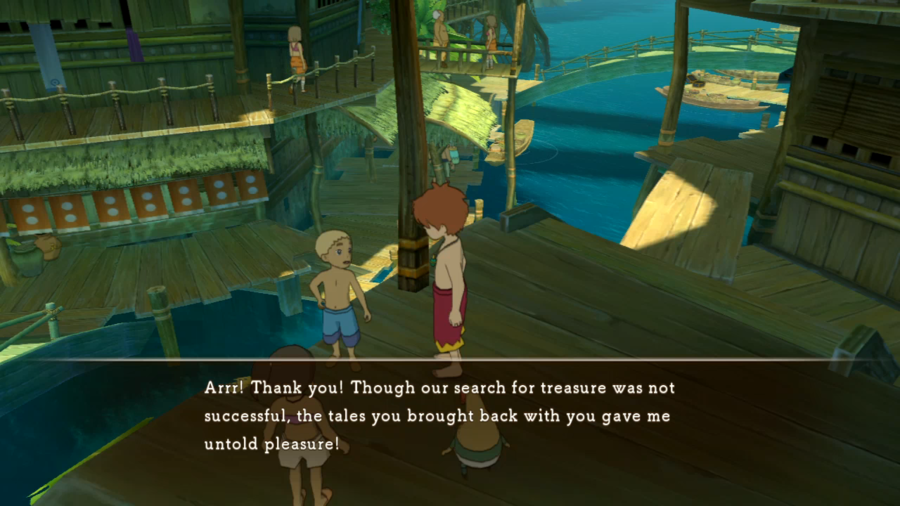
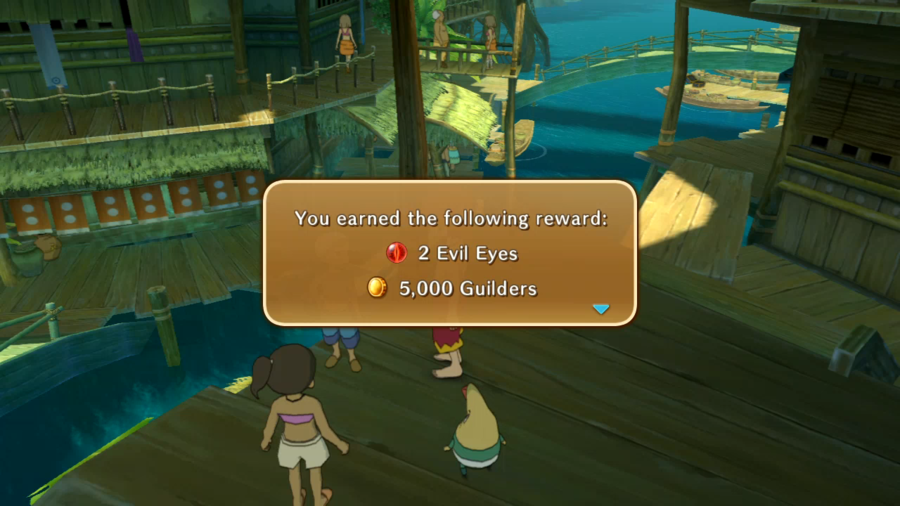
The kid takes it well. He ought to; he did fuck-all work.
I also pick up the last merit reward I will get in this LP.
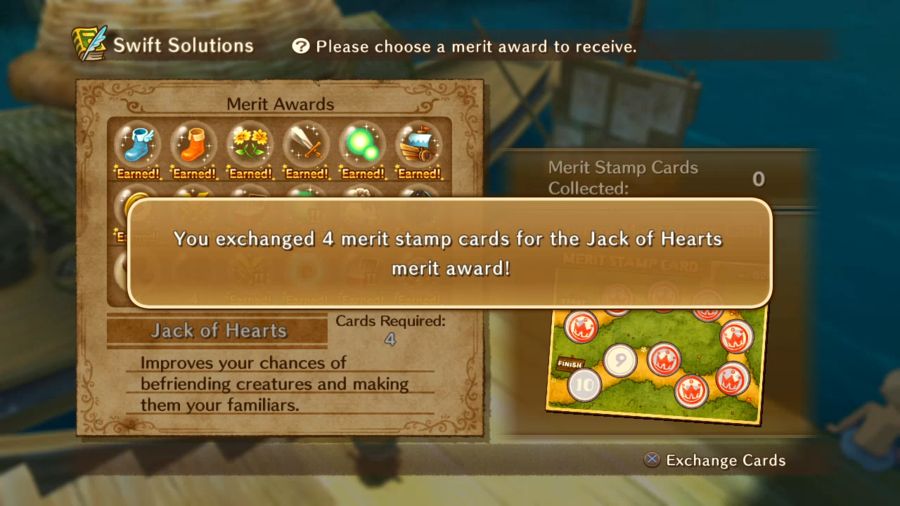
It was either this or healing while I walk, and I'm not hurting for healing items. Why don't I eventually get all of the merit rewards? Well...
...remember the guy hanging out in this cave? It involves him.
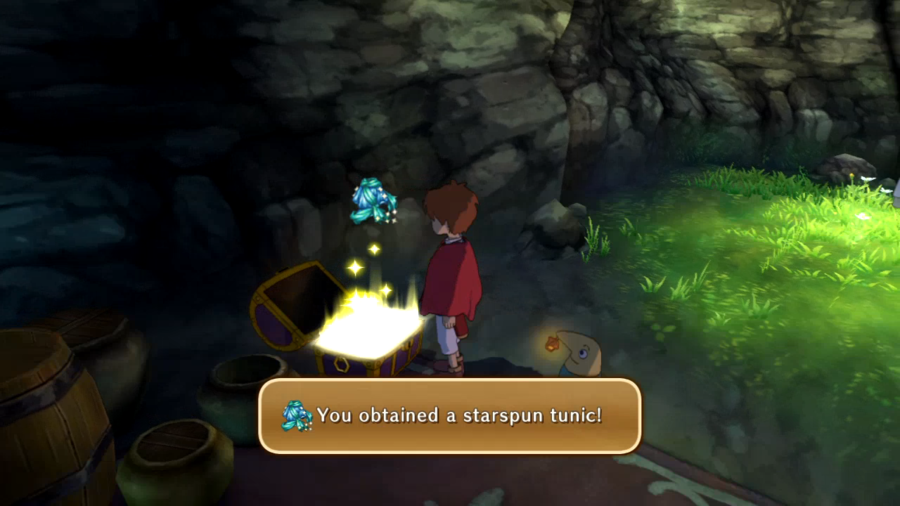
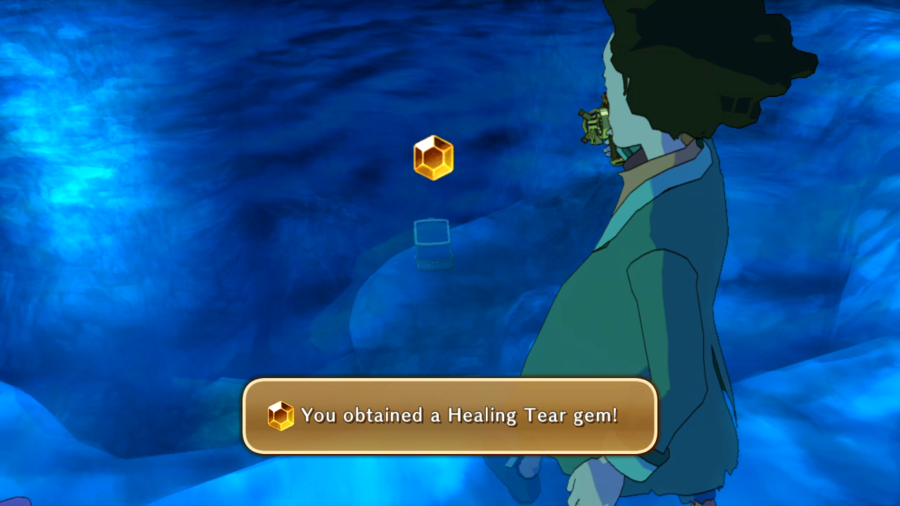
Grabbing the purple chest, which was tempting me particularly strongly earlier in the LP.
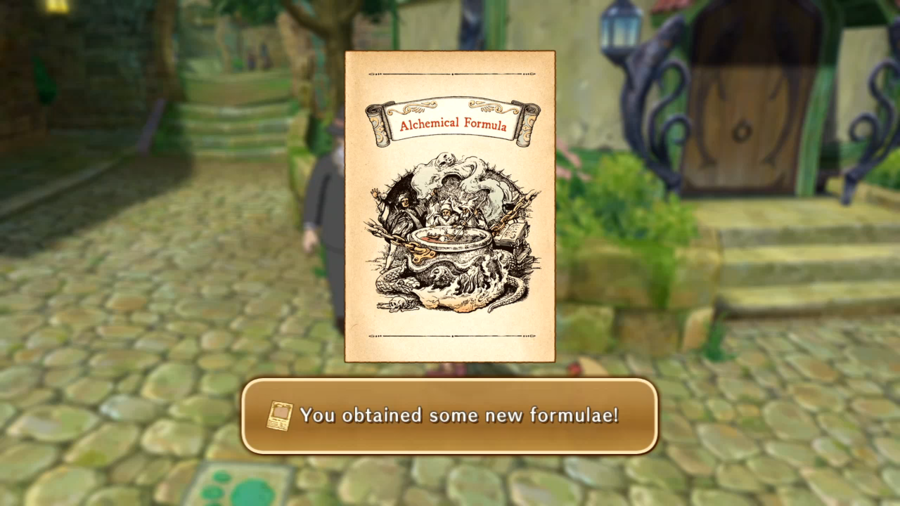
The guy hanging out here is called the Alchemist, and he sends you on a quest to alchemize a new weapon to test your skills.

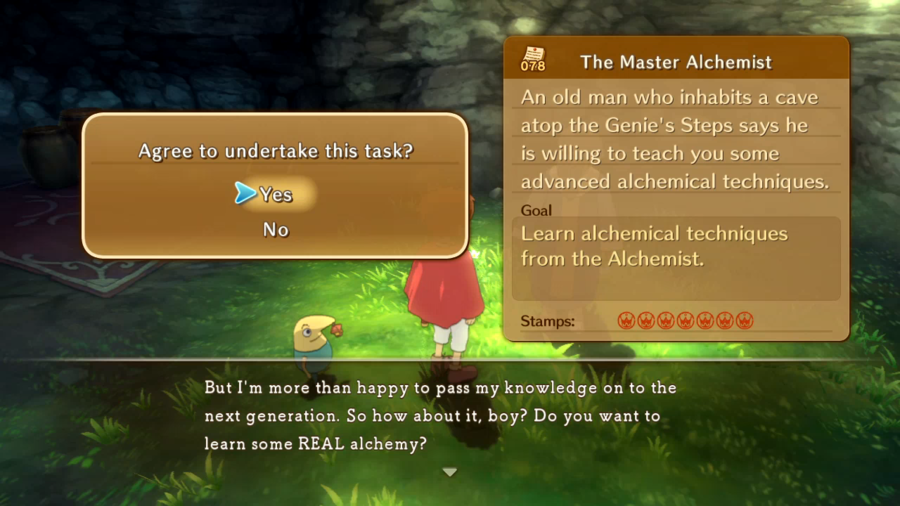
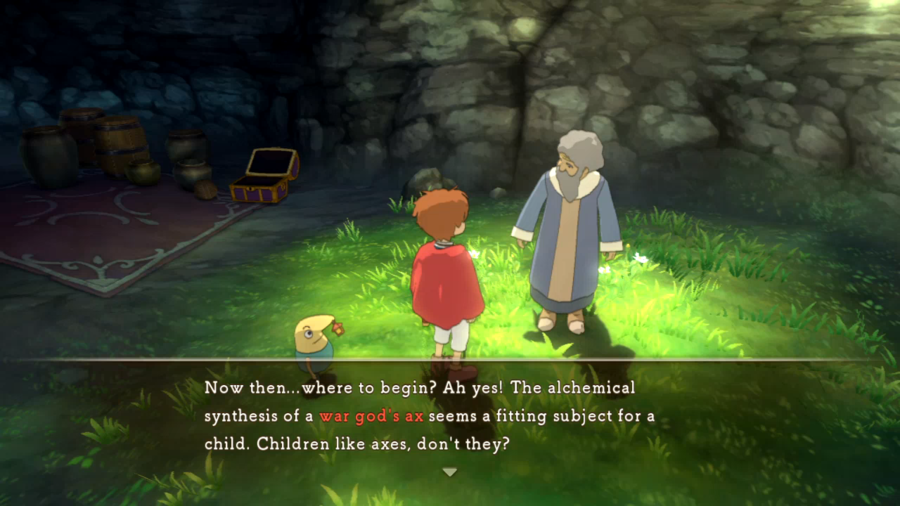

The War God's Ax isn't hard to make. But that's only the first part of the quest.

Heading back to Ding Dong Dell...
I'm quite ready to be done with you.
At least the game's sarcasm at this guy is funny.
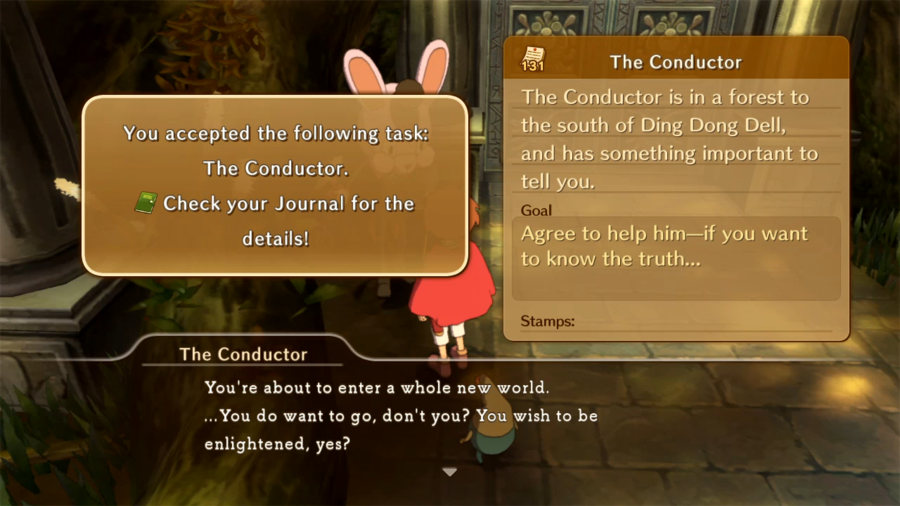
This last quest to find the gentleman's diary is only unlocked in the post-game, and it opens up a hidden path south of Ding Dong Dell and east of the Golden Grove.

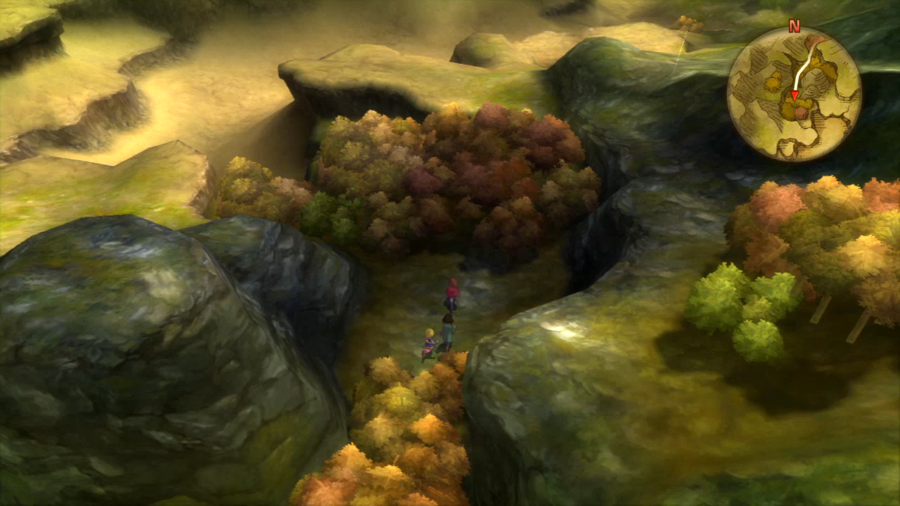
Inside we have a new forest area. This one is actually marked on the map in your Wizard's Companion, but it confused the hell out of me when I went searching for forests because you can only access it with this sidequest.


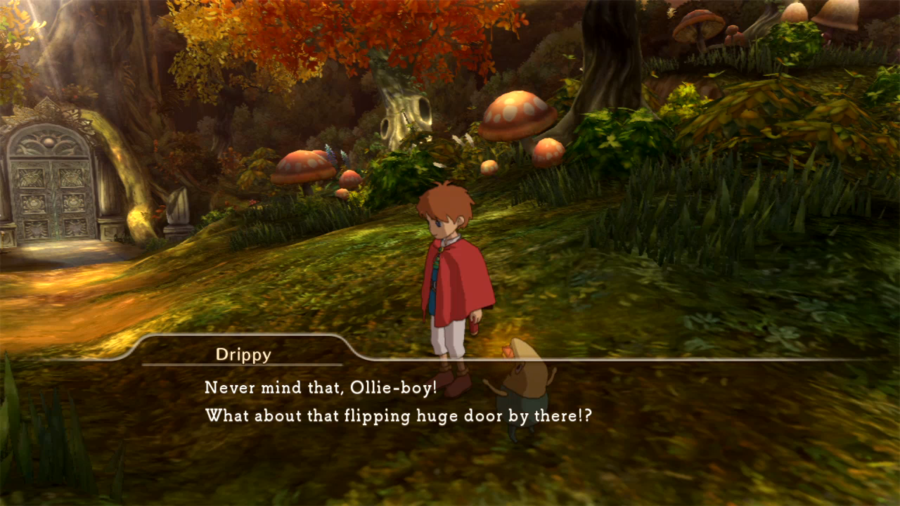
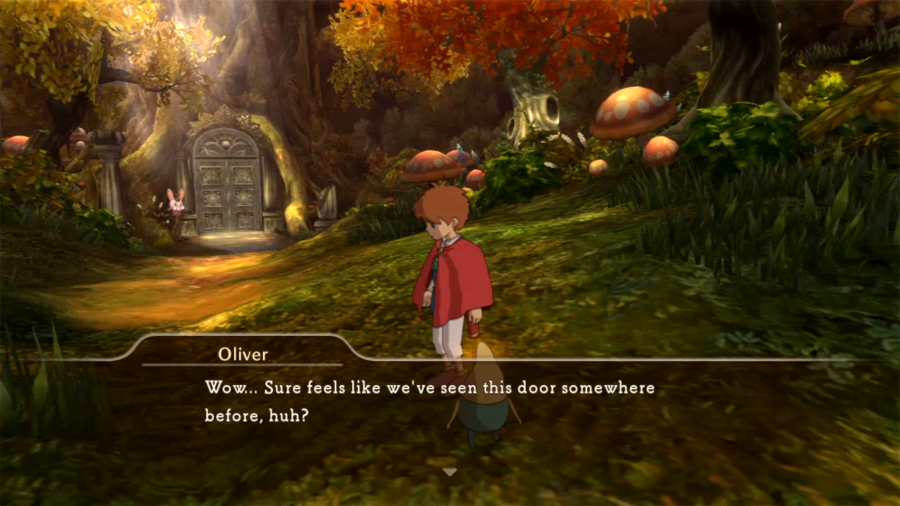
Uhh... you're worried about the door?
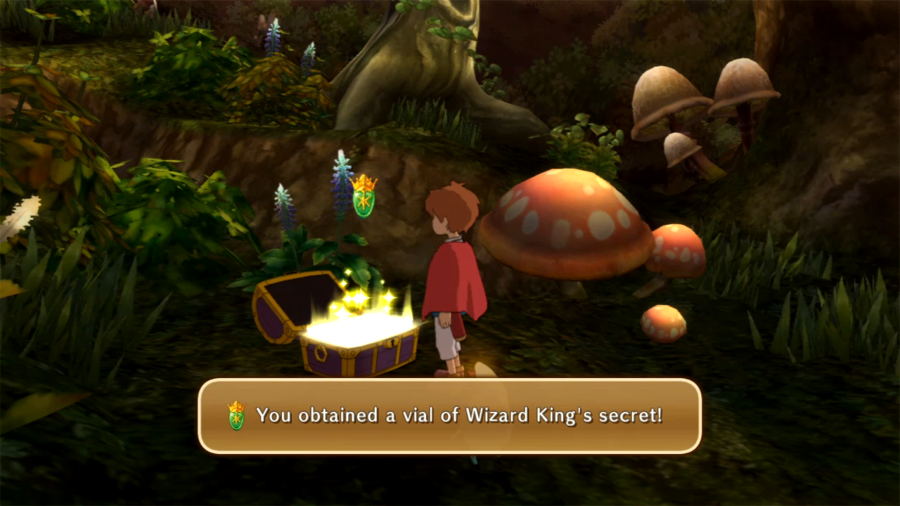
It's a forest, so of course there's a couple chests to grab.
And then this guy.
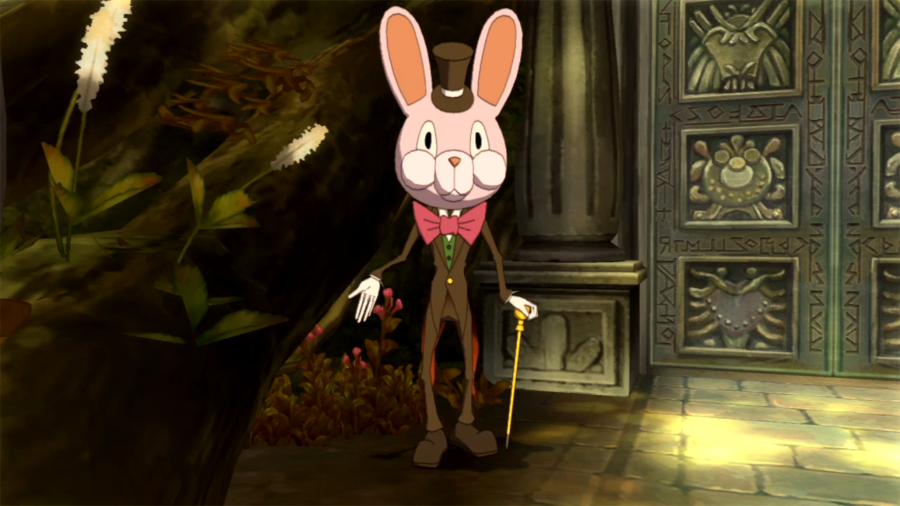
This guy is the most baffling yet oddly fascinating character in the game. He doesn't exactly start out that way, though.
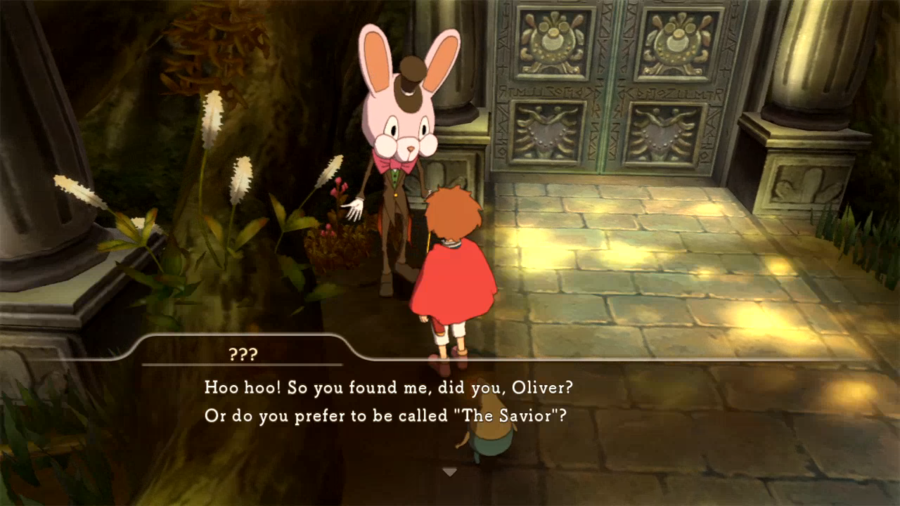

If you're wondering why he has a big rabbit head, Alice reference I guess.
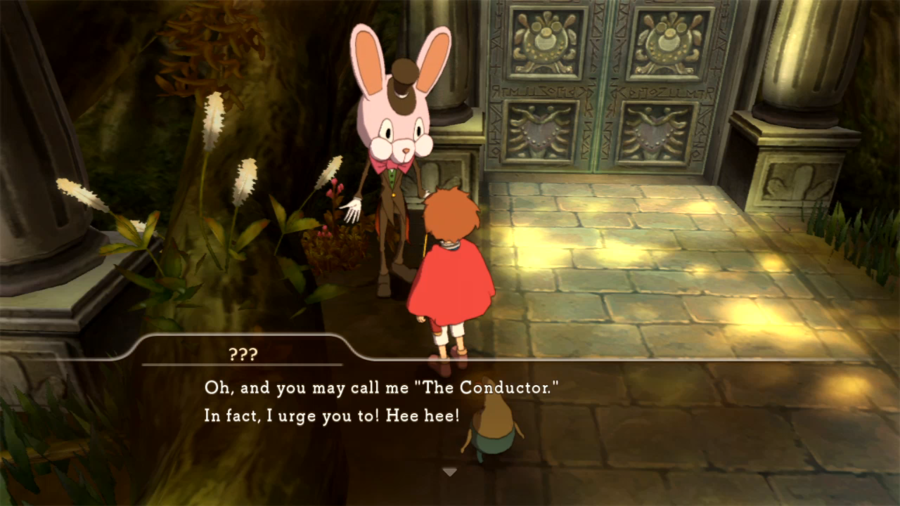
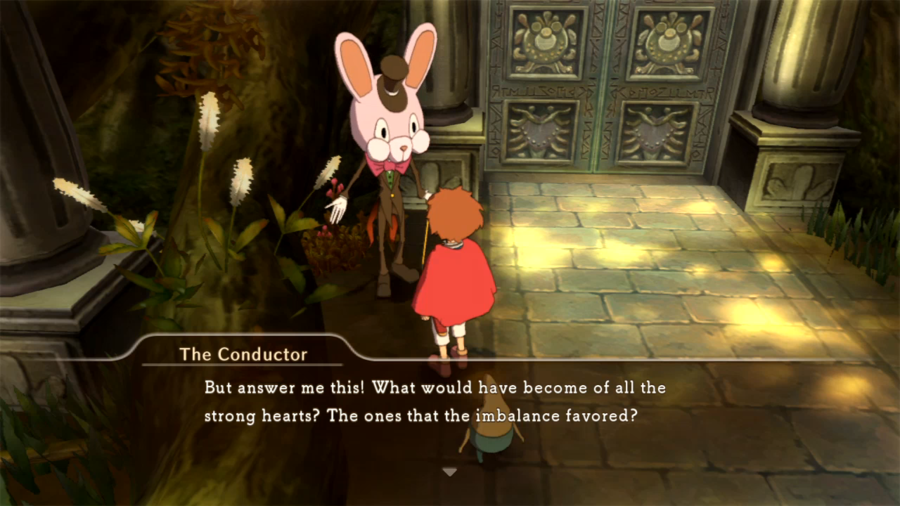
The Conductor is interesting because he is one of the few characters fully aware of Oliver's ability to travel worlds and heal broken hearts. His sidequest is a sideways response to this.
Don't get too excited.

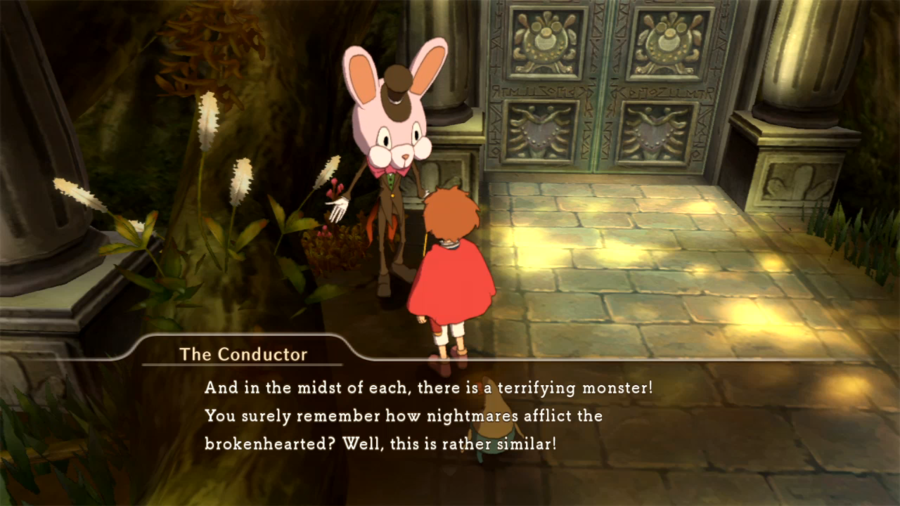
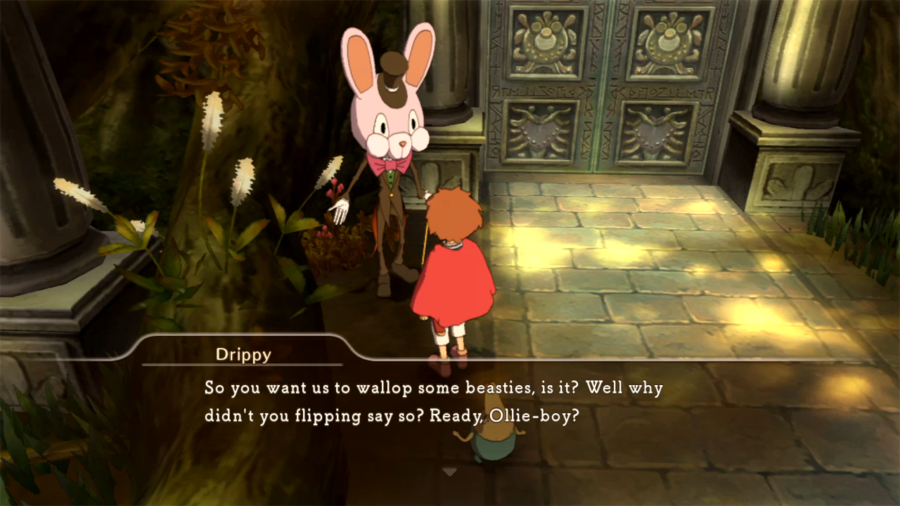
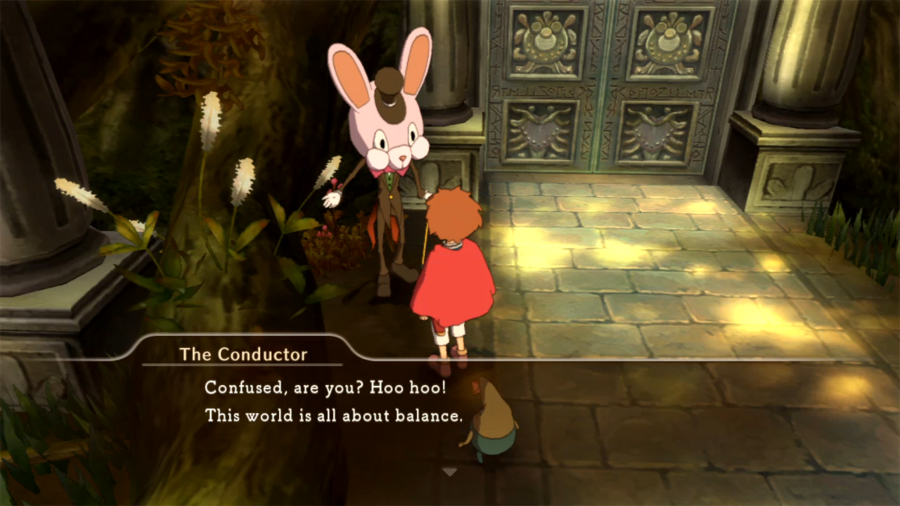
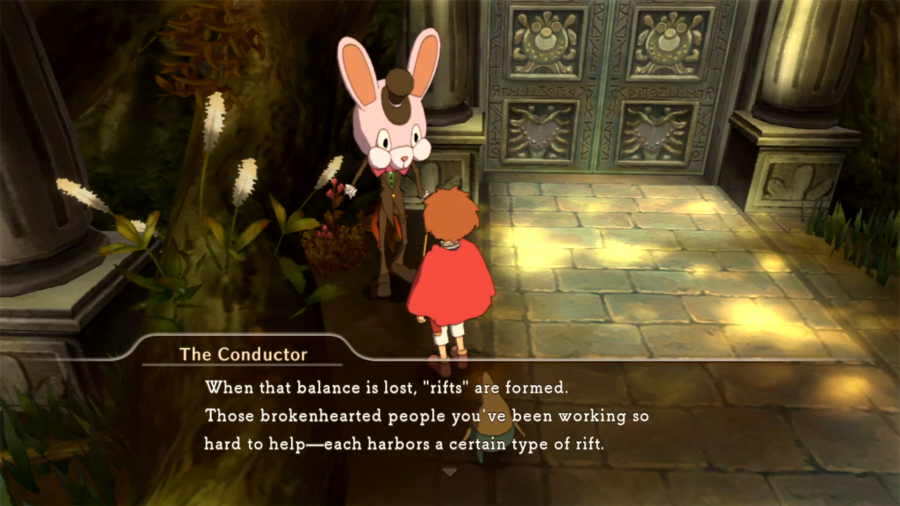
Boss refights! Yes, The Conductor sends us out to fight tougher, uglier versions of most of the bosses we've fought so far. That's why he's not immediately likable though; boss fight fatigue is as strong as ever with these.
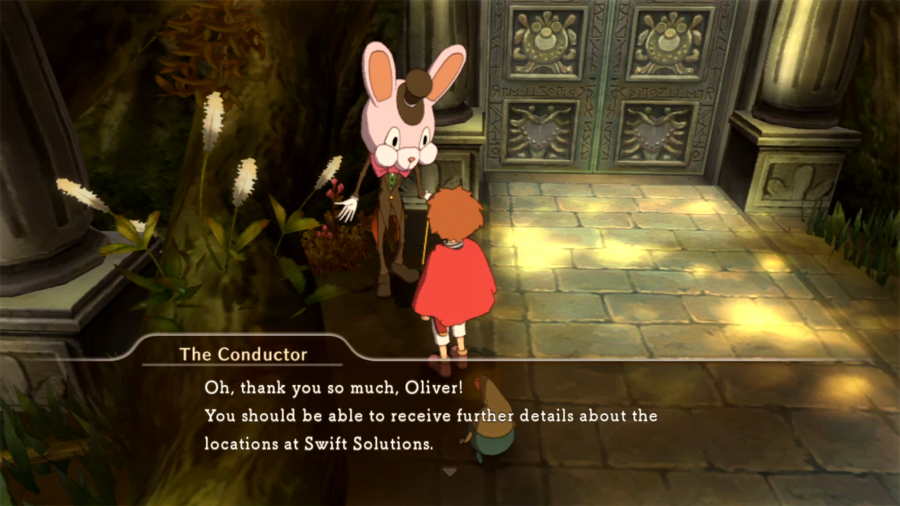
His quest is really just a trigger for the bosses to be acceptable as bounty hunts. We have to go back to Swift Solutions and accept the hunt before the bosses will appear.


He never leaves Ding Dong Dell, FYI.

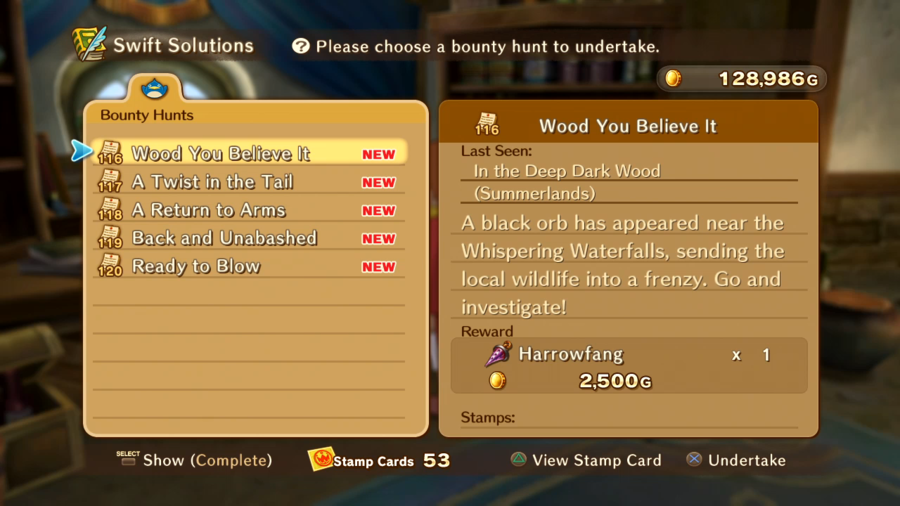
The Conductor's battles don't all open up at once. We fight a handful of the bosses at a time, then we go back to the Conductor, and he tells us that even more rifts have appeared. Since that's ultimately a crapton of boss refights, his sidequest will be split into three updates of their own, the first of which will be next update and the last two of which will close out the LP.
In the meantime, a few loose ends to tie up.


D'aw, I like you Duncecap.
Not so much anymore.

Okay, I like you again.

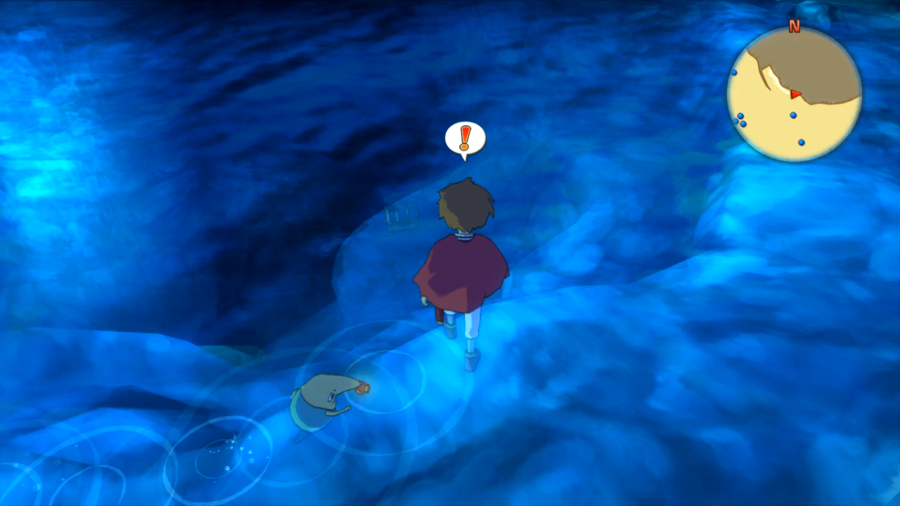
And to close today's update, one of the more hilariously hidden green chests, lying in the water behind our Jackpotty friend.
Next time: The Conductor's Battles, Part 1!