Part 119: Episode CXIV: The Solution to All Problems
Episode CXIV: The Solution to All Problems
Music: Peaceful Sleep (Vocal)
.jpg)
Unfortunately we cannot call the rest of the day off and go get shitfaced with Anemone or anything after A2 completes reading her depressing computer console. Indeed, I don’t think there are any further interactions with A2 and Anemone.
The last err... all of the updates in Route C have been either ominous, a bummer or an ominous bummer... Let’s try to lighten the mood a bit with a sidequest that doesn’t result in depressed robots or any deaths... Probably...
.jpg)
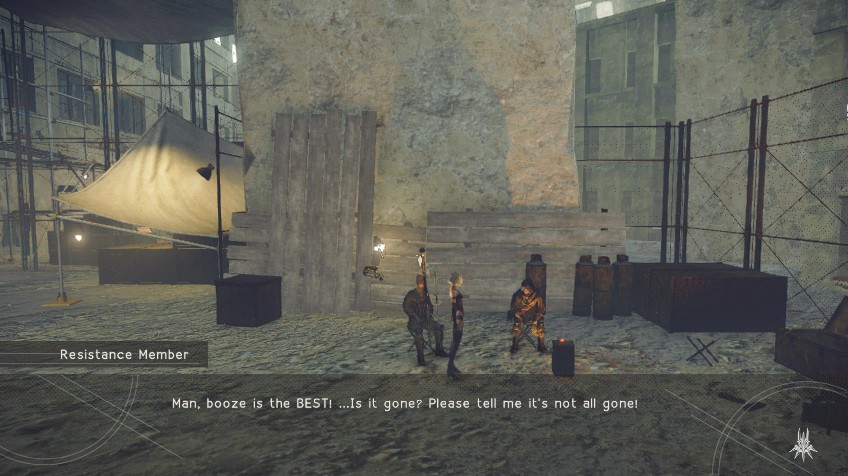
Today’s session takes us over to the back lot of the Resistance Camp. Never mind the huge inferno that was back here during that whole berserk flesh eating machines spat back at the end of Route A. It’s fine now. And an old bad sidequest friend is hanging out here from way back then. This sidequest has actually been floating around since after the Route C title drop. But now seems an appropriate time to actually do it.
.jpg)
 Perfect! See, I have some packages that need delivering, but they’re too heavy for me to move out of storage. You mind lending a hand?
  <Help him out.> What, really? Thanks so much! My supervisor is a real hardass, so if this doesn’t get done, I’m a dead man. Just grab all the stuff I need and get it out of there, okay? Think you can get the goods for me? <Agree to help.> Great. Thanks a million!
.jpg)
Yep. It’s a continuation of the box pushing sidequest from Route A. Well... I guess A2 could use some menial tasks to take her mind off the whole revisiting the horrors of war and all that jazz.
.jpg)
.jpg)
Once again, our android needs to sloooowly shove the lighter toned wooden boxes around the area to access a couple boxes scattered around the disorganized storeroom. One is over in the bottom right corner.
.jpg)
The other is over on the left side of the room. Not much trouble at all. There’s a couple generic items in other corners of the room but they’re not particularly noteworthy and we can kind of cheat getting them thanks to the item vacuum plug-in chip.
.jpg)
In any case, job’s done. Let’s head on out and hope that android didn’t get gored by a forklift or anything while we were busy.
.jpg) That storage area is in pretty sad shape. My supervisor came in earlier and really wrecked the place. Seems like I’m always having to clean up after her... Anyway, here’s your payment. Thanks again. I’m endlessly carrying things, day after day after day. I need a break!
That storage area is in pretty sad shape. My supervisor came in earlier and really wrecked the place. Seems like I’m always having to clean up after her... Anyway, here’s your payment. Thanks again. I’m endlessly carrying things, day after day after day. I need a break!.jpg)
We receive a modest reward. I’ll probably need that Drop Rate Up chip later when farming high end weapon upgrade material that cannot be bought... like Elaborate Gadgets, actually... Those are the real top tier reward from this quest.
.jpg)
That concludes Sorting Trouble 2. However, we’re not done with this questline yet. All the multi-part quests go to at least a third stage and this one is no different.
.jpg)
Activating the next stage of this quest is a bit finicky. We need to refresh the greater City Ruins region. So let’s hop in the teleporter and head to...
Music: City Ruins - Shade
.jpg)
The City Ruins: Center Access Point like a two minute jog away from where we were. The next stage of this quest doesn’t seem to show up on the map. Actually, the map was kind of glitching out on me at this point and pointing out some 9S only quests that would lead to nothing as A2 and also showing Sorting Trouble 2 as being active again.
Either way, the trigger is still working. Remember the building across from Father Servo’s rooftop? The one with the arena-like stack of shipping containers on its roof? If we head there now, we hear...
.jpg) He... ...lp me. HELP MEEEEEEEEE...!
He... ...lp me. HELP MEEEEEEEEE...! Alert: Voice patterns detected from inside storage facility.
 .jpg)
So begins the final stage of the Sorting Trouble questline series. Sounds like the burly Riddick cosplayer android has gotten himself into a fix.
.jpg)
.jpg)
Entering the rooftop stack of shipping containers reveals it’s a total clusterfuck now. Except for all the boxes in the middle, which can conveniently be shoved aside by A2 in order to reach the trapped android. Just a minute, guy. These YoRHa androids can’t push crates worth a shit. They really need to get some lessons from a muscle dad to show ‘em how it’s done.
Some box shifting later and...
.jpg) Sorry, but could you do me a favor and clear a path so I can get out of here? I hurt my leg trying to force my way out... Also, as you can see, I’m pretty big, so I’m gonna need plenty of space.
Sorry, but could you do me a favor and clear a path so I can get out of here? I hurt my leg trying to force my way out... Also, as you can see, I’m pretty big, so I’m gonna need plenty of space. .jpg)
We can’t cheat with the box pushing and just have A2 slide between thin gaps in the boxes. We need to shove them out of the way so this bulky idiot can lumber through to the exit too. Weird they don’t make tall stocky moron model androids anymore. Cannot fathom why those were phased out.
.jpg) My supervisor tore through the place like a tornado and ended up boxing me in. I tell you what, I just can’t keep up with her anym—
My supervisor tore through the place like a tornado and ended up boxing me in. I tell you what, I just can’t keep up with her anym— Goddammit! THERE you are!
.jpg) And didn’t I tell you to keep this place ORGANIZED!?
And didn’t I tell you to keep this place ORGANIZED!?.jpg) If something’s in the way, just blow it up! This is NOT freakin’ difficult! But I... don’t have any explosives. The build some! I mean, just LOOK at the crap around here. I could build ten bombs with this. But there’s no way to— Wah wah wah! Zip it already! Time to teach you some goddamn bomb-making skills. But I just work in storage! I don’t need to know how to make a bo— Cram it! Even a lowly warehouse man needs to know how to blow things up!
If something’s in the way, just blow it up! This is NOT freakin’ difficult! But I... don’t have any explosives. The build some! I mean, just LOOK at the crap around here. I could build ten bombs with this. But there’s no way to— Wah wah wah! Zip it already! Time to teach you some goddamn bomb-making skills. But I just work in storage! I don’t need to know how to make a bo— Cram it! Even a lowly warehouse man needs to know how to blow things up!.jpg) You can have this. Not much, I know, but whatever. Anyway, I’ll see you later. Right now I have to spend all night teaching this idiot how to craft a simple bomb. All night!? What!?
You can have this. Not much, I know, but whatever. Anyway, I’ll see you later. Right now I have to spend all night teaching this idiot how to craft a simple bomb. All night!? What!?.jpg)
We receive another modest amount of cash and loot for our efforts in helping out Jackass’s dipshit, non-bomber subordinate. Like the Elaborate Gadget, the Complex Gadget is also one of the very few materials that cannot simply be bought and must be farmed or obtained from any means. So it’s nice to get a few from a quest. But that’s not our only reward.
b.jpg)
.jpg)
We also receive the Pod Program - A120: Repair. It’s nice of 2B to continue to lend her likeness to Pod Programs obtainable only after she’s long dead.
.jpg)
The Repair Pod Program causes our Pod to emit a brief healing beam that lasts for around six seconds. I’m not sure of the exact number formula given all the variable stats from plug-in chip boosts and current levels and whatnot. In my instance, this healed six times over the course of 6 seconds for a total of 2016 HP or about 30% of A2’s current 6712 total HP. For reference, a Small Recovery item heals 25% and is instantaneous with zero cooldown and can be spammed repeatedly if necessary. There’s a ten second cooldown on Repair.
.jpg)
Charging up the Repair Program to Level 3 causes all three Pods to produce a healing beam. This time it healed 738 HP a second for six seconds for a total of 4428 HP or roughly 66% of A2’s total 6712 HP. Again... Medium Recovery does 50% restoration instantly. Large Recovery offers 75% health restoration instantly. Zero cooldown timer on either of these. Twenty second cooldown for a Level 3 Repair with a five second charge up and casting time.
We’ve found it! It’s the single most useless Pod Program in the game! Nice troll, Jackass... However, her final reward makes up for it. Yes, there’s more...
.jpg)
Jackass’s patented bomb recipe. Top tier value on this one. You be you with your explosives. It’d be more appropriate for Jackass to have given the Bomb Pod Program. But I suppose Repair is more appropriate for anyone beefing this crafting recipe and blowing off a limb.
.jpg)
In any case, that concludes the final round of Sorting Trouble and most of the available sidequests still outstanding for A2.
.jpg)
So that means it’s time to say goodbye to the City Ruins and head to the Machine Village to get A2’s sandy android joints sorted out. Tune in next time when our murder hobo encounters an entire town of cutesy friendly machines. It’s sure to go swimmingly as NieR: Automata continues!


A2 Concept Art – Please stop staring at the robutt.