Part 51: The World Beyond

 Music: The Flatlands
In fifty updates, we've explored eight distinct regions, relaxed in eight different towns, and recruited eight total characters.

But this was only the start of our adventure. We really haven't gotten started yet!
...and we're fifty updates in. Oh boy.
It's time to explore the world beyond!
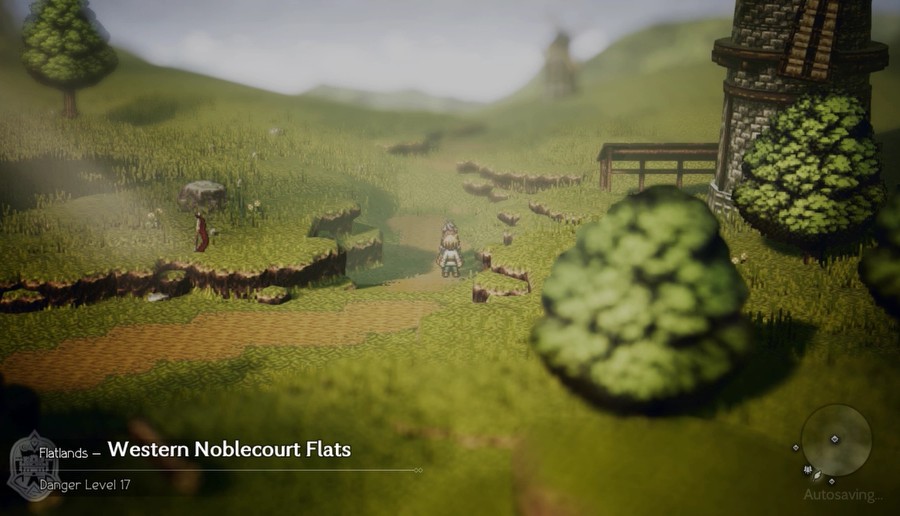
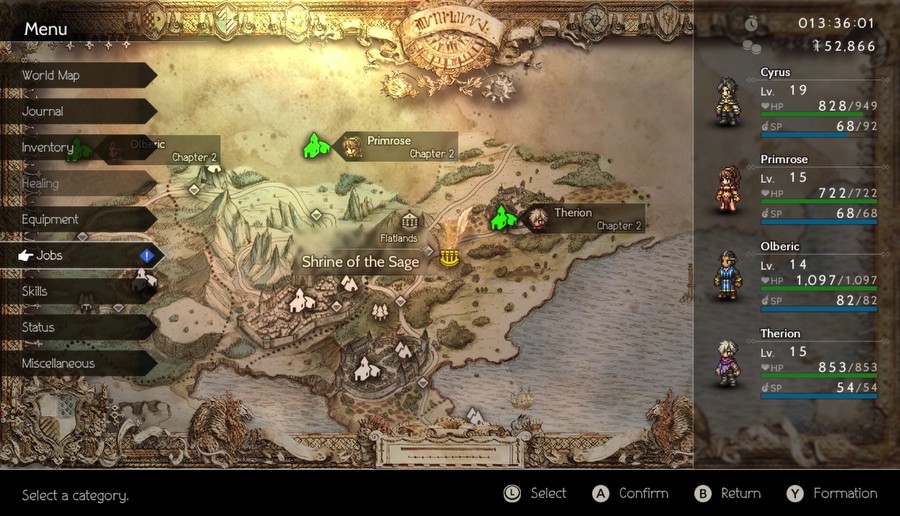
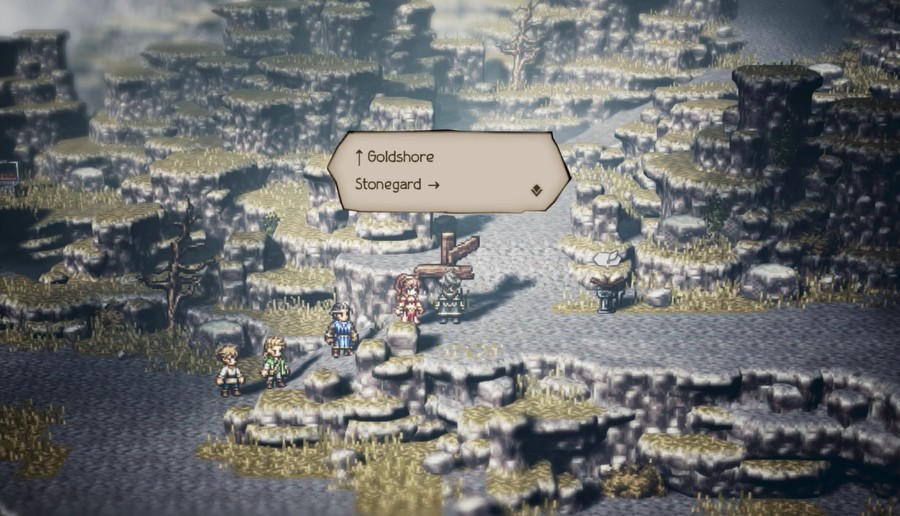
There's generally only one large screen between the Chapter 1 area and the Chapter 2 town, though there's quite a few exceptions too.
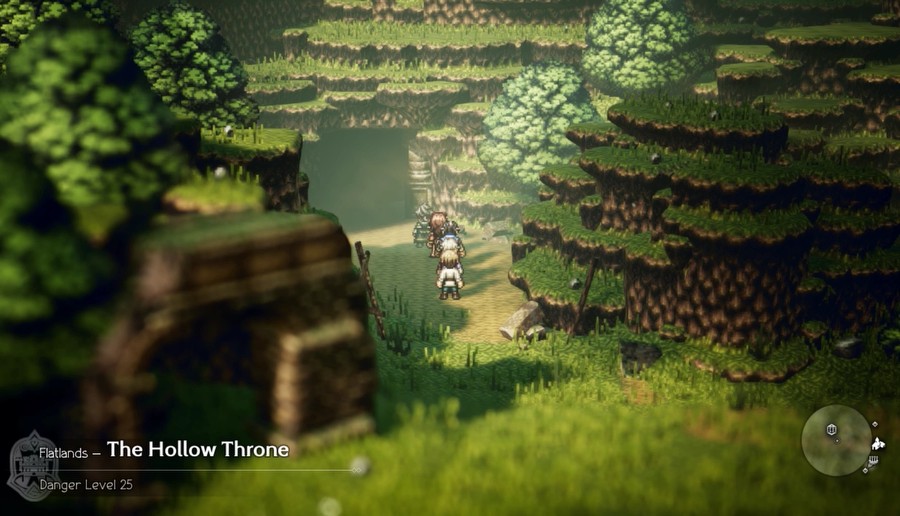
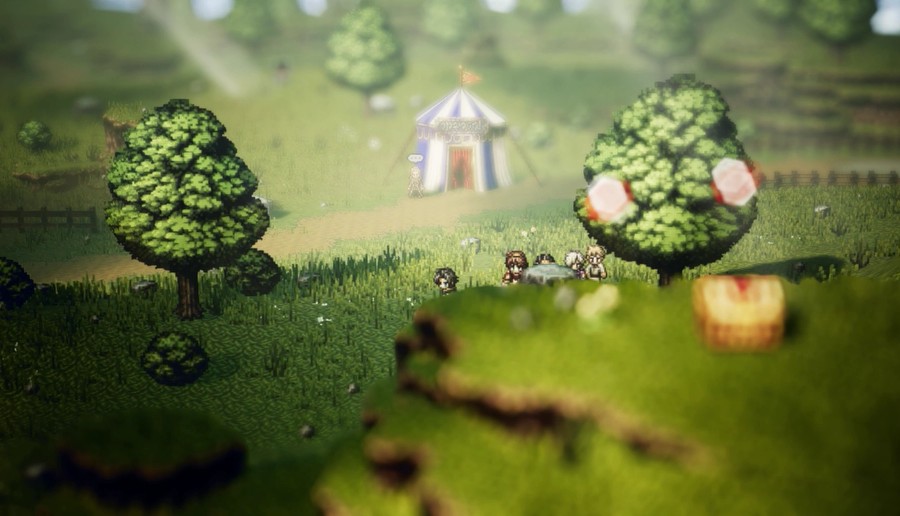
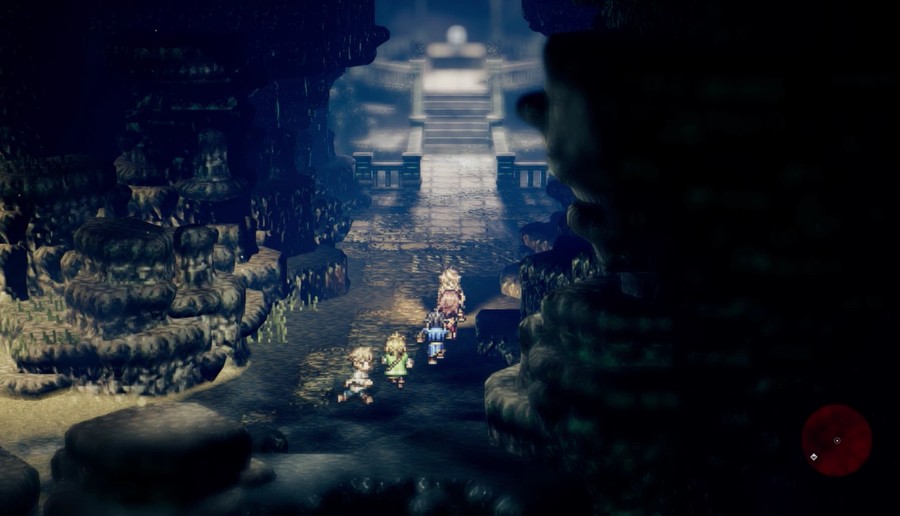
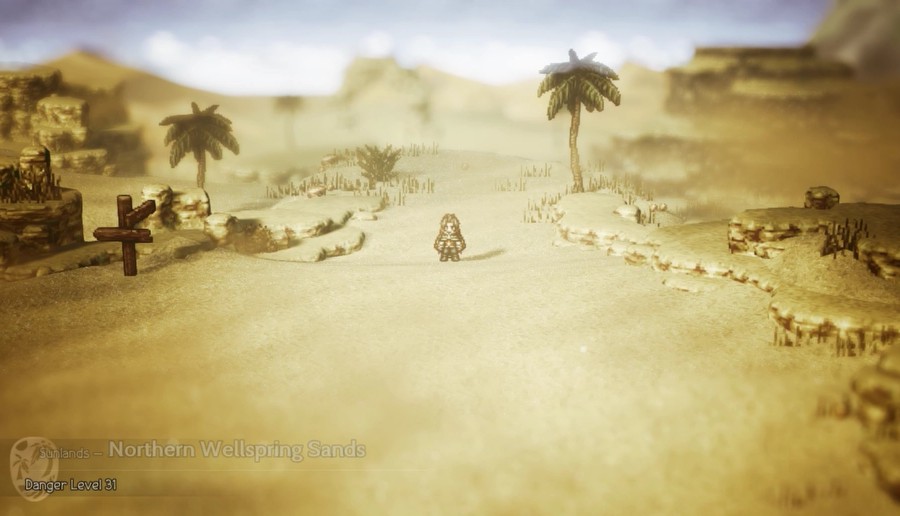
The Flatlands go for an open, sprawling field you pretty much have free reign to roam. It's a nice switch-up from the linear paths of the first area of the Flatlands, though as usual each region does its own thing.
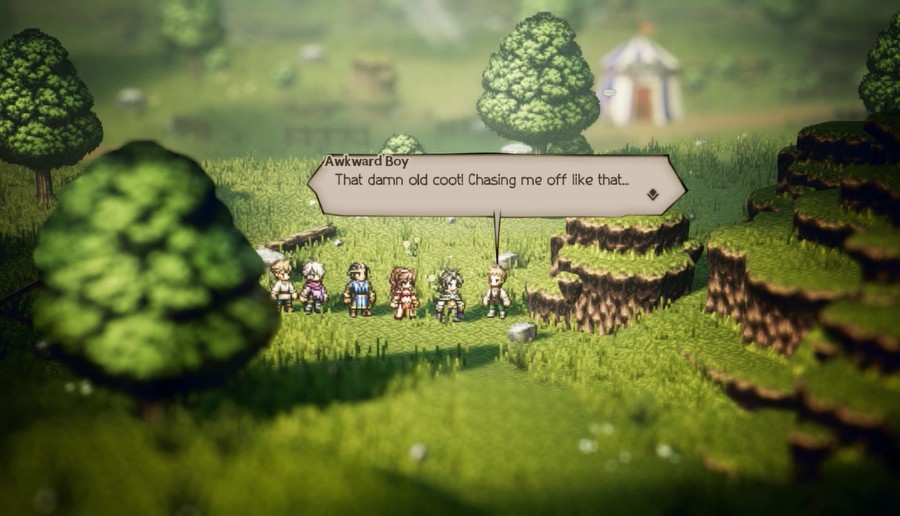
 And what d'you want, huh!? Get away from me!
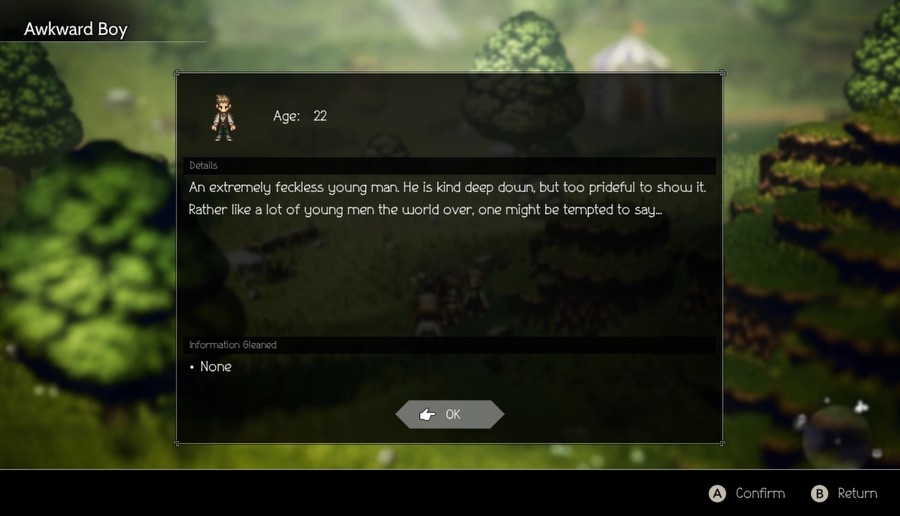
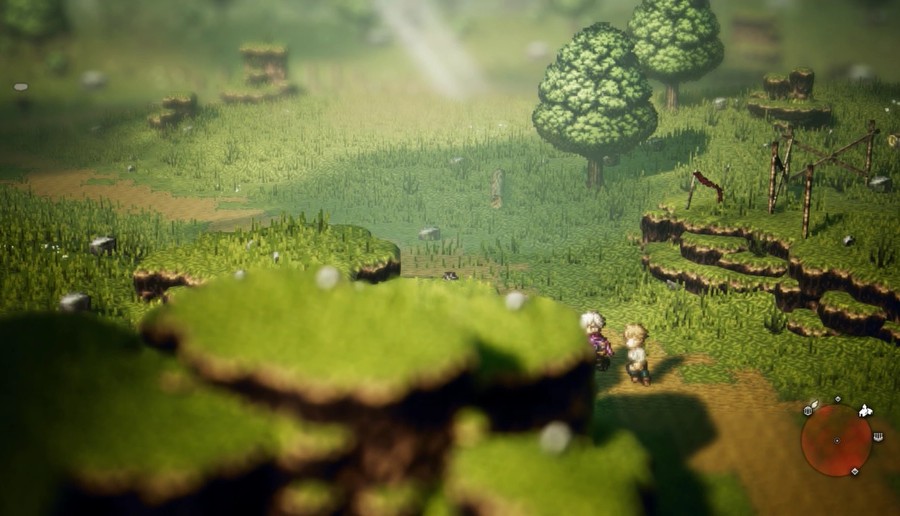
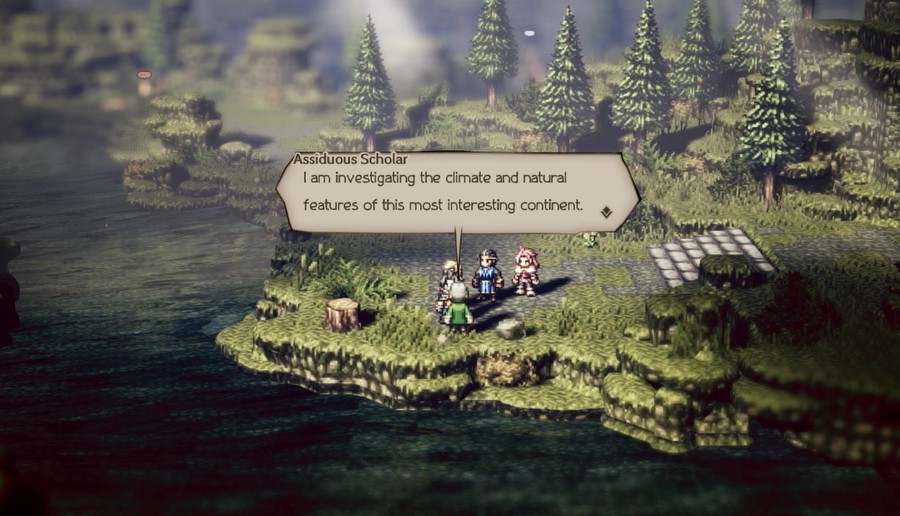
And some of the more hospitable regions, like the Flatlands and Riverlands, will have a few NPCs along the path as well.
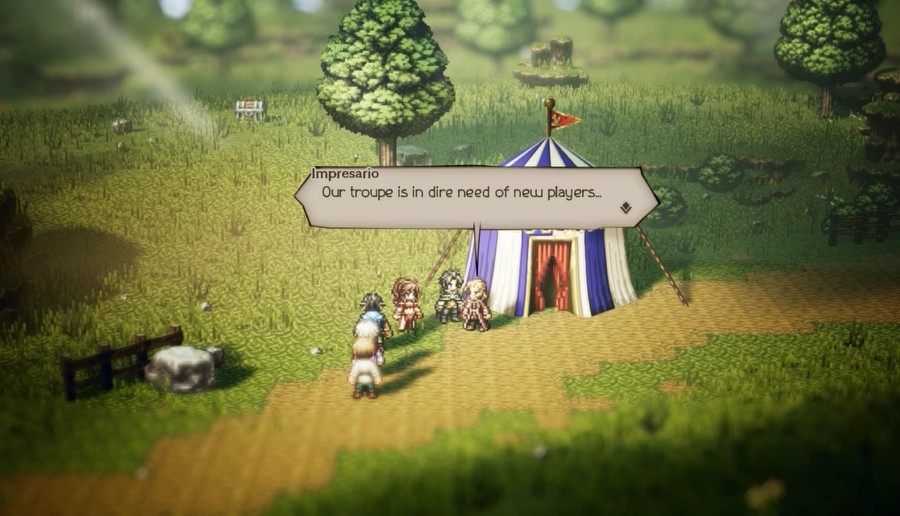
 But I need a pair of actors who have good chemistry and can play off of one another. I've been waiting here for two aspiring actors to just show up. Sadly, this approach hasn't proven very successful.
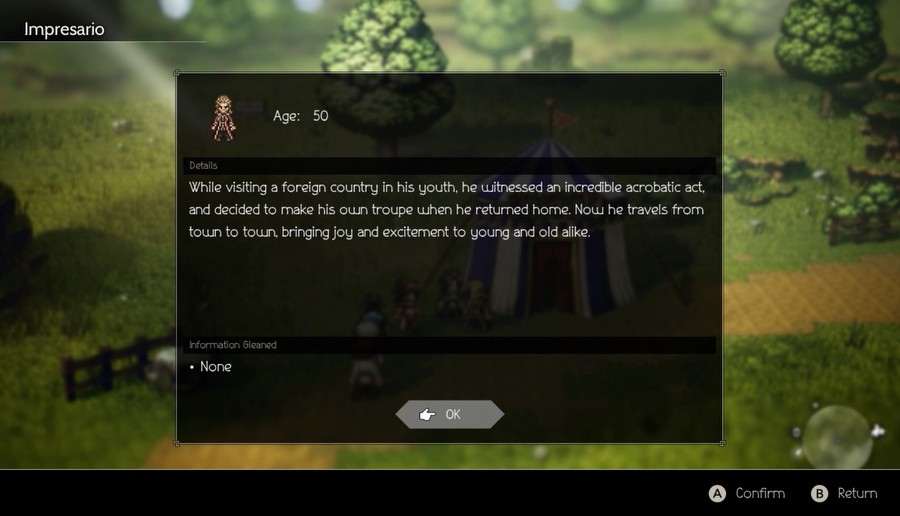
Hm, maybe we can help him with that later.
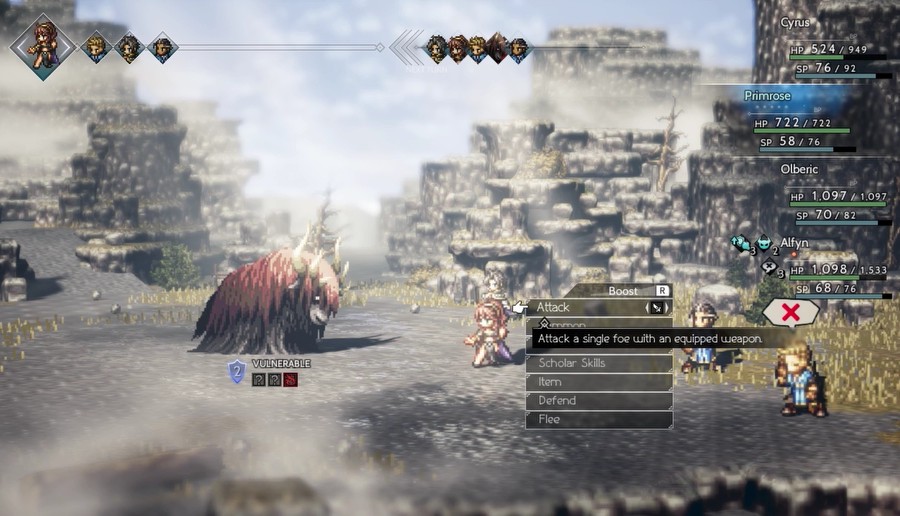
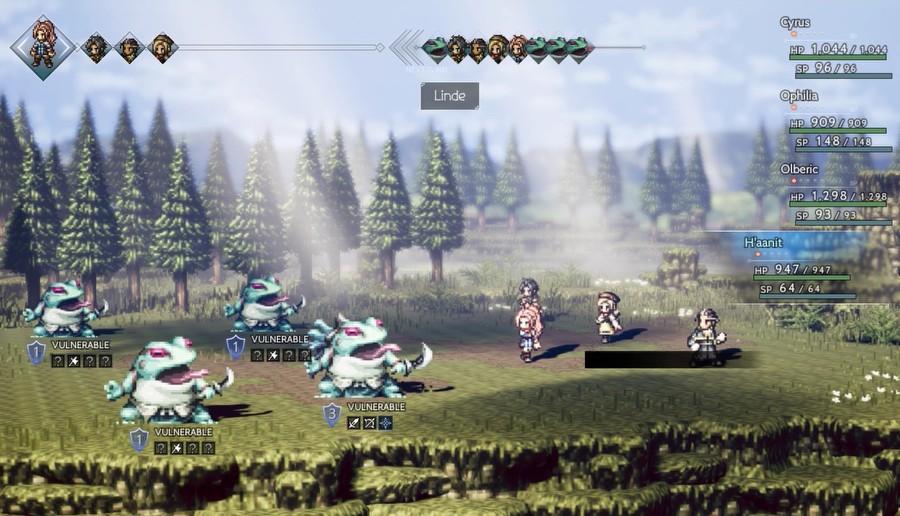
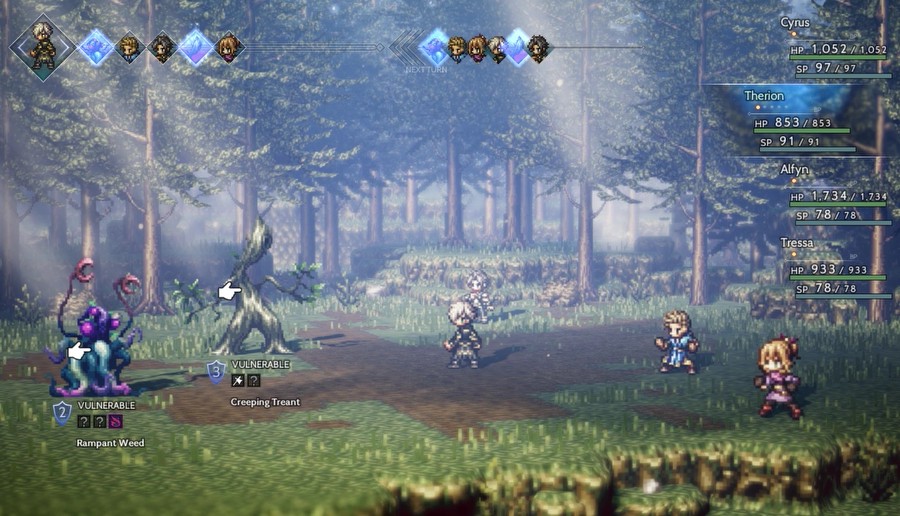
And of course, we've got battles in this area.
Music: Battle II 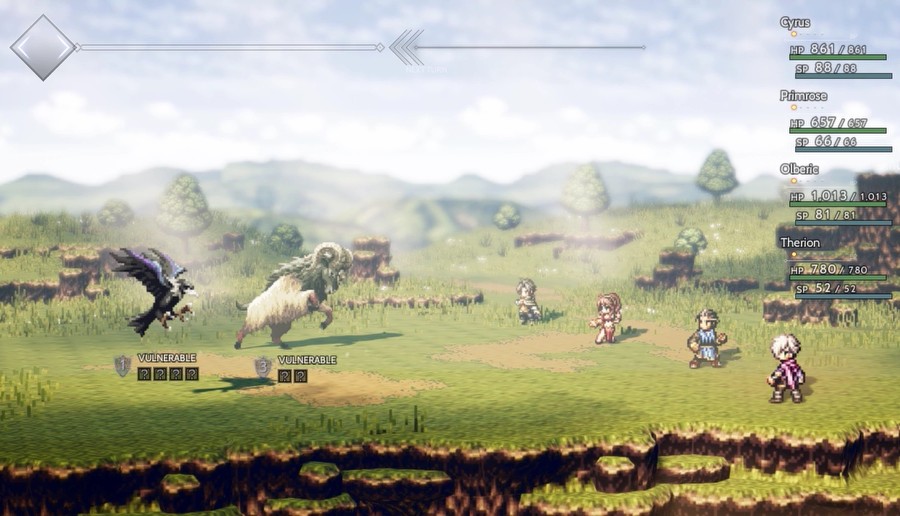
On my first playthrough, I had pretty much spent the entire day recruiting my party, and having done as much Chapter 1 stuff as I wanted, I decided to trek down to do Alfyn's Chapter 2.
Then I start a battle and instead of the Battle I theme I was used to, I get hit with this wonderful track, and I immediately knew this game was something special. If you haven't, definitely definitely click the link. It's my second-favorite track in a game full of fantastic music, and a very fitting battle theme for those who are really starting their adventures.
And I'm glad to share this experience with my best buddy, the Courageous Cowherd.
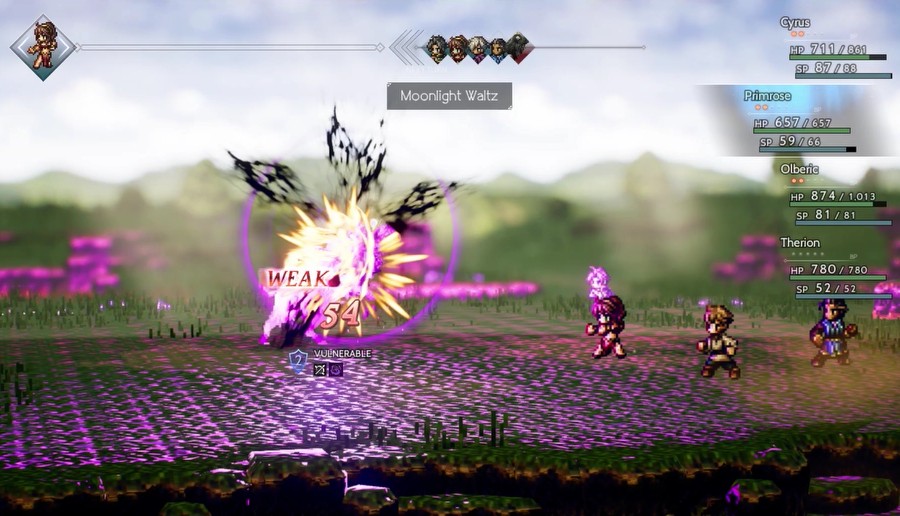
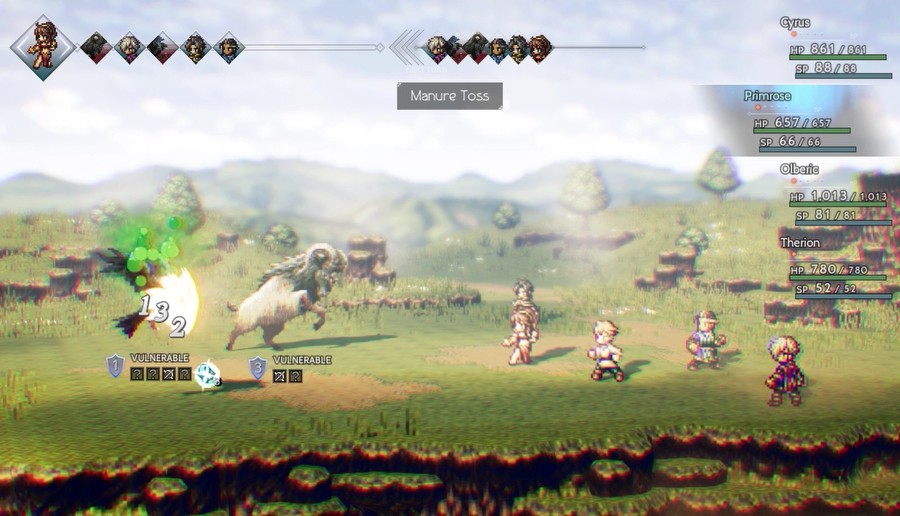
The foes hit harder, and you also start getting foes with limited weaknesses. I have no bows available, and only Primrose gets Shadow magic.
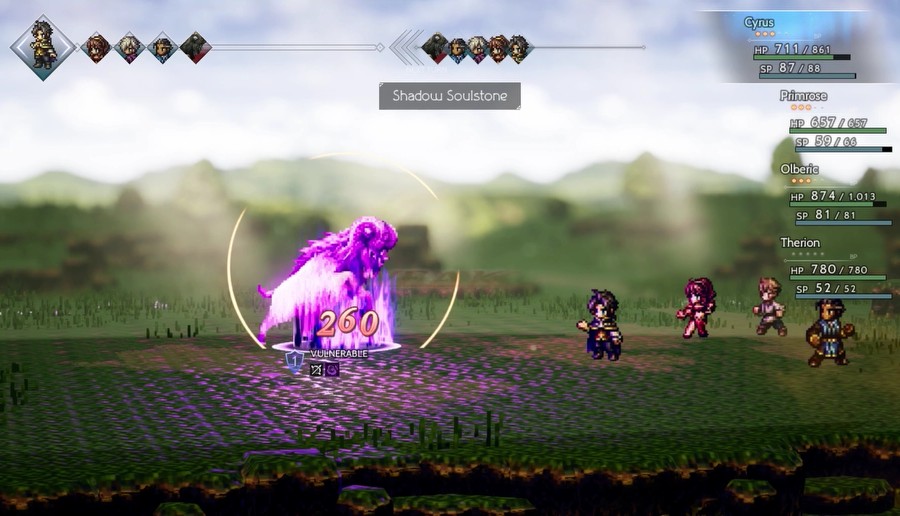
I even use a Soulstone to speed things up! Our current load out may not cut it if this is what we're going to be up against...
Music: The Flatlands 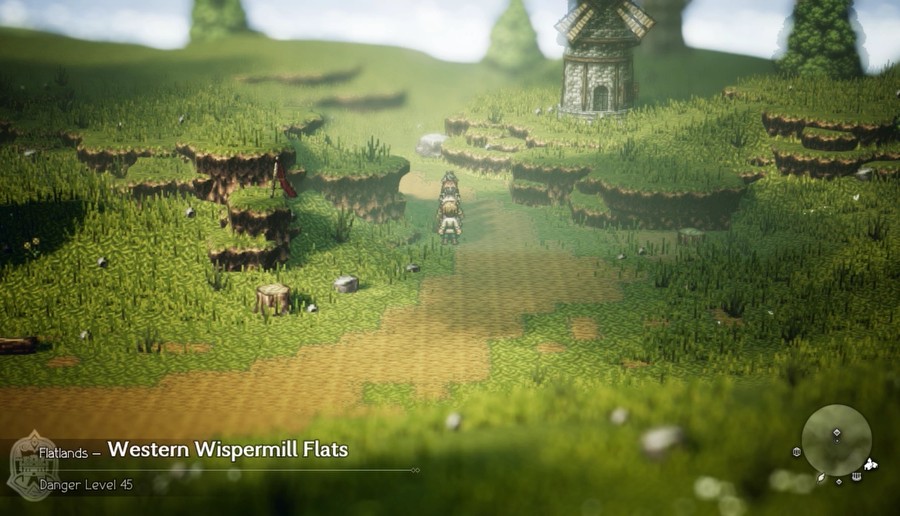
There are Chapter 4 regions, all with a recommended level of 45. There actually are good reasons to try to beeline into these regions early, whether to access the towns (Grandport in particular can be really nice to visit early if you know what you're doing) or other particular places. We really aren't ready for all that yet. We'll see once we finish Chapter 2, though I'll probably wait until we start Chapter 4 to do the really important stuff.
These regions also each have a side dungeon, though we're not quite ready for any of them yet.
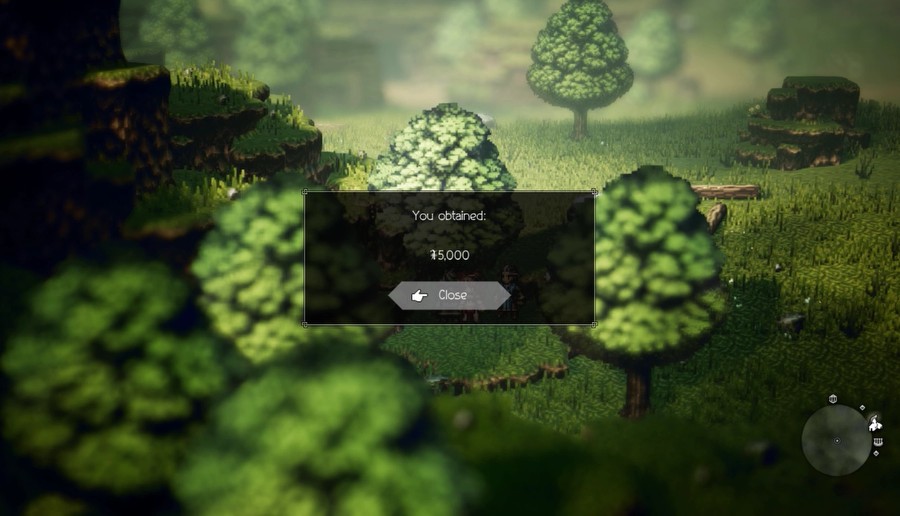
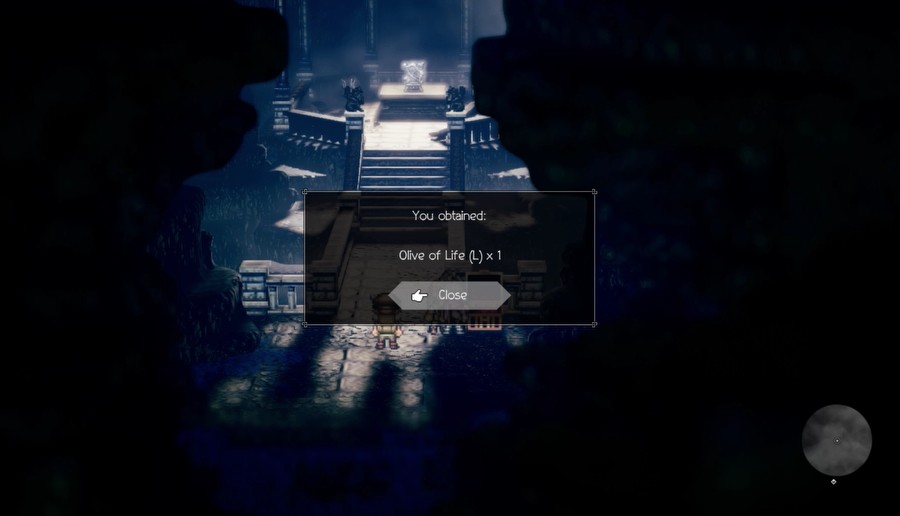
And there are still treasures abound.
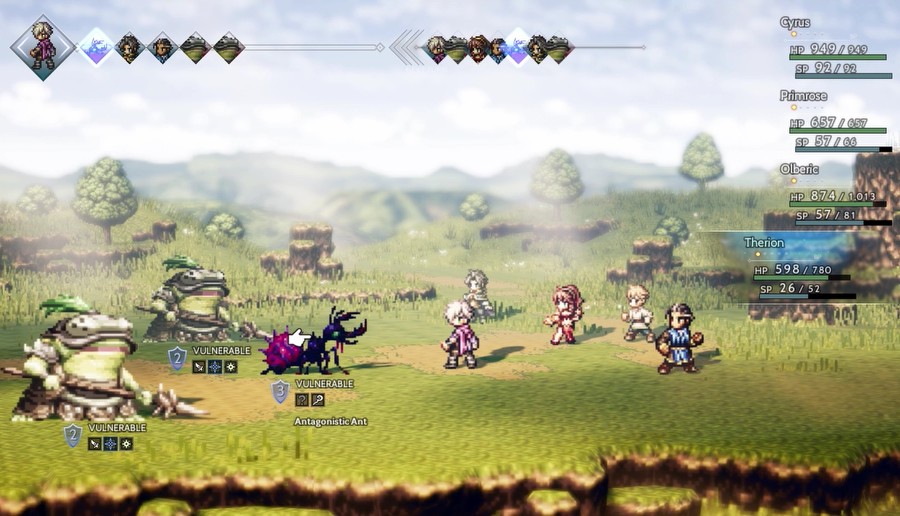
Now I'm getting SimAnt flashbacks.
And I mainly took this screenshot because it looks cool, seeing the dragonflies in the foreground and all.
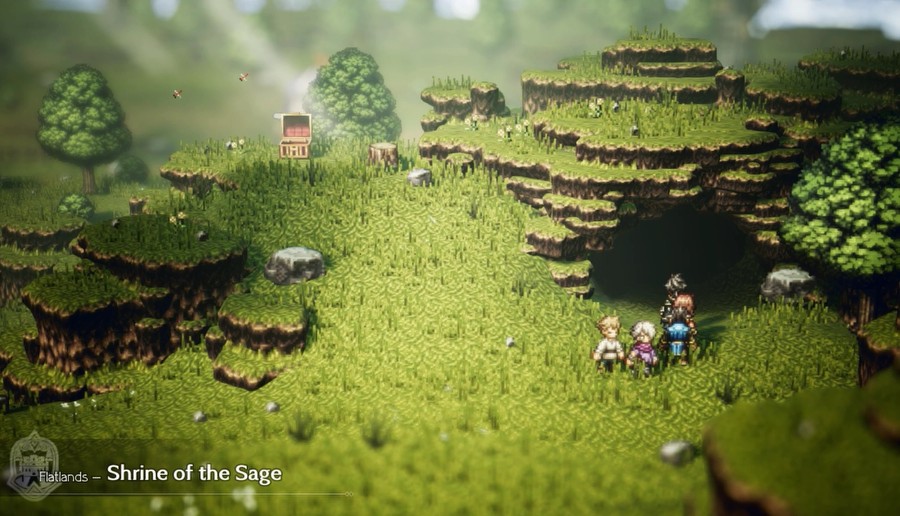
And there's one last area to explore...
Music: The Trees Have Eyes 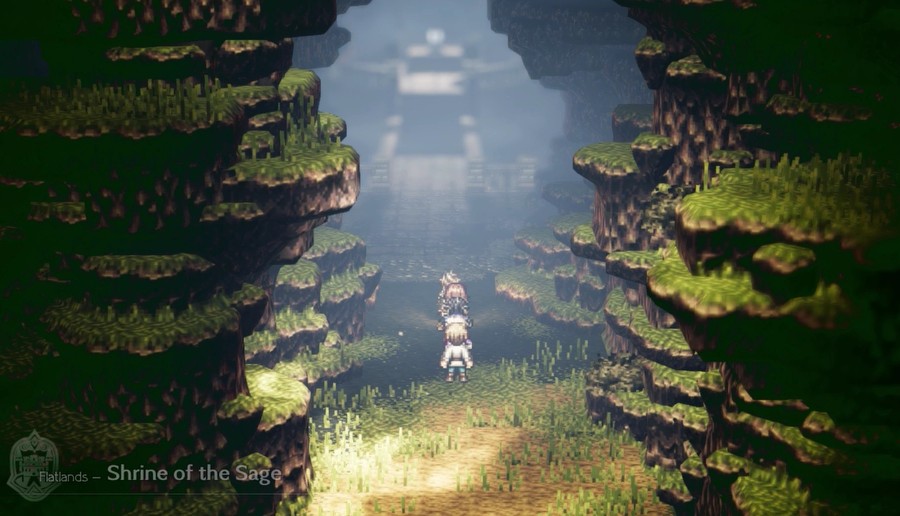
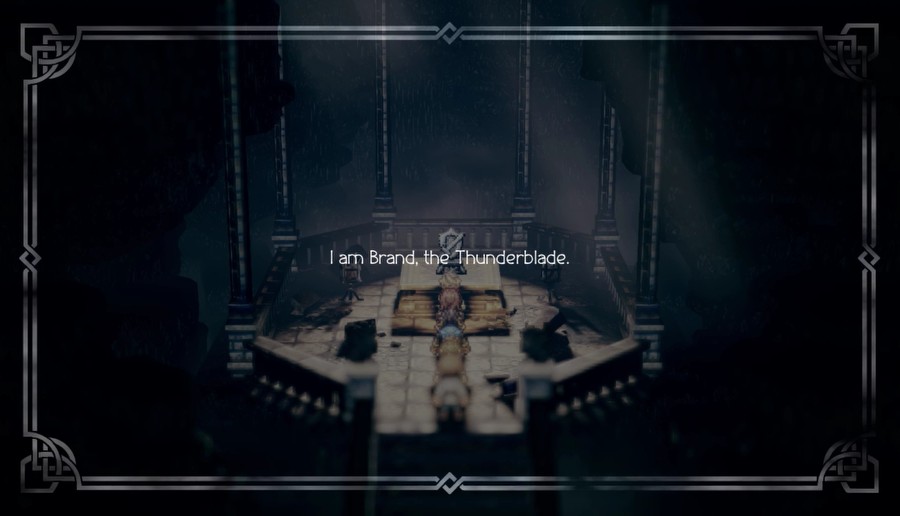
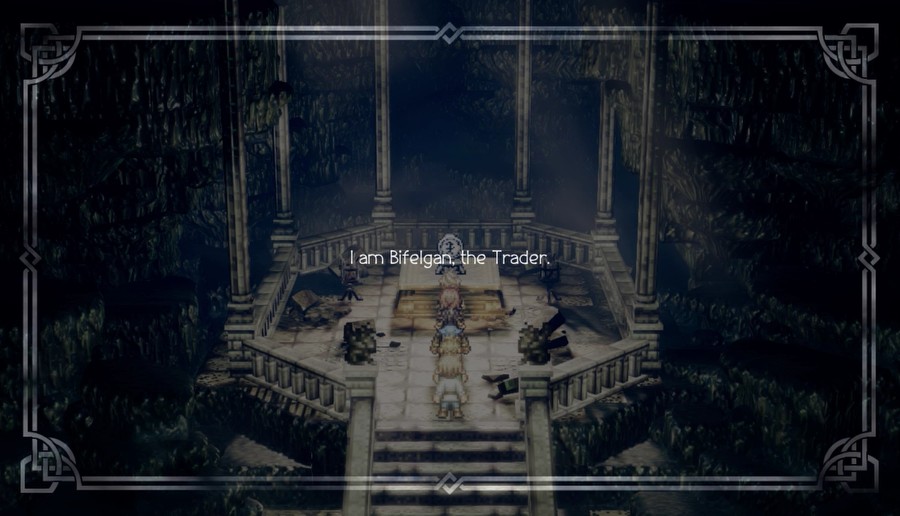
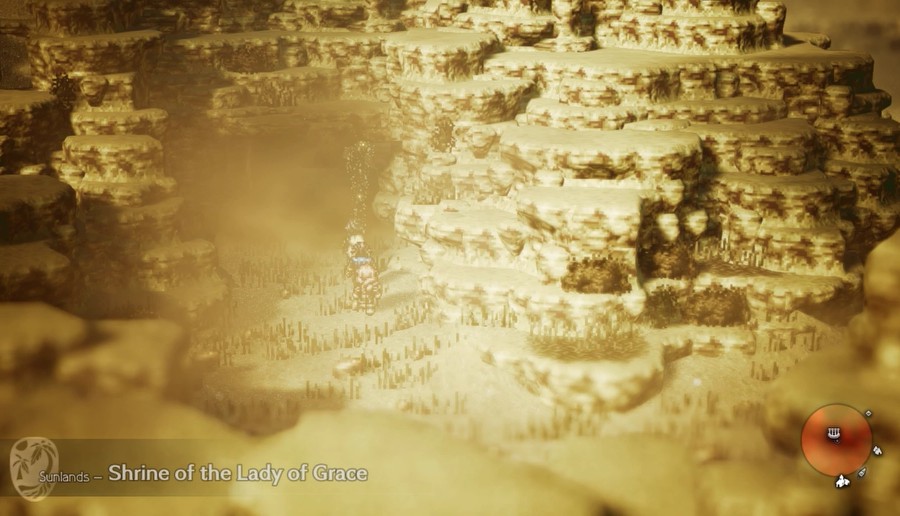
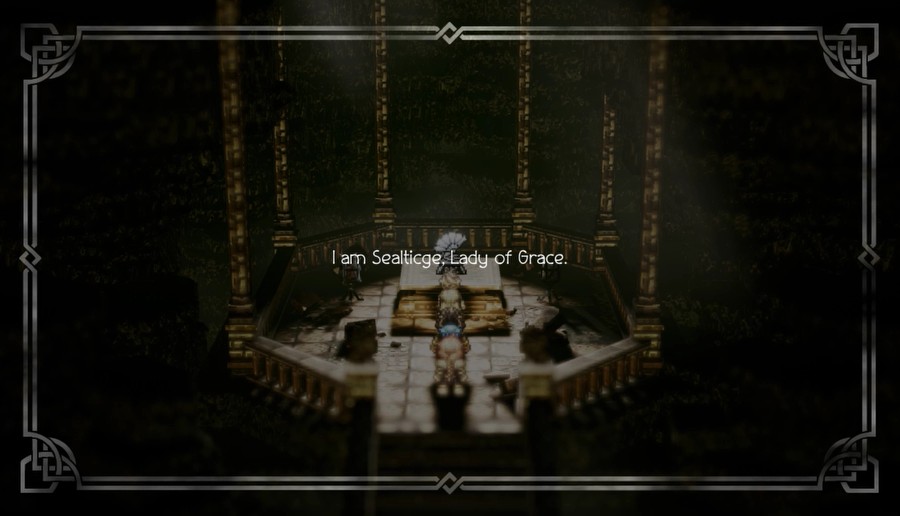
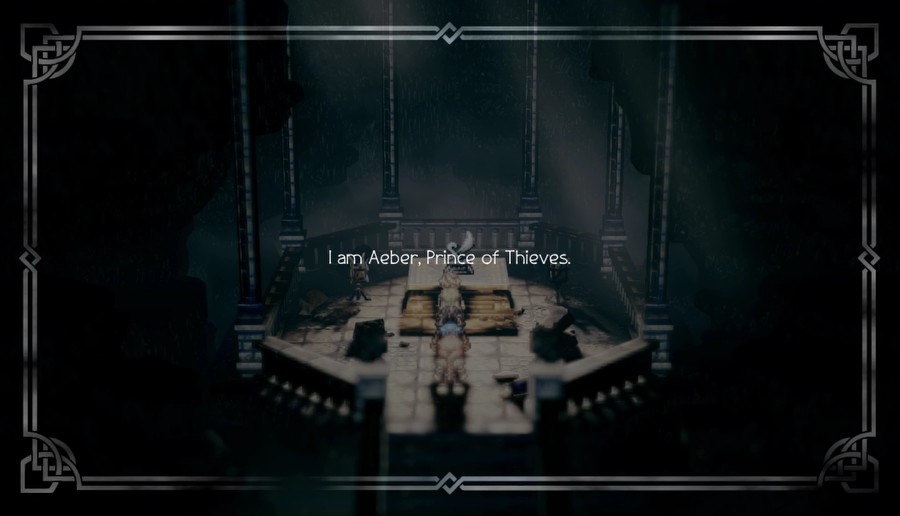
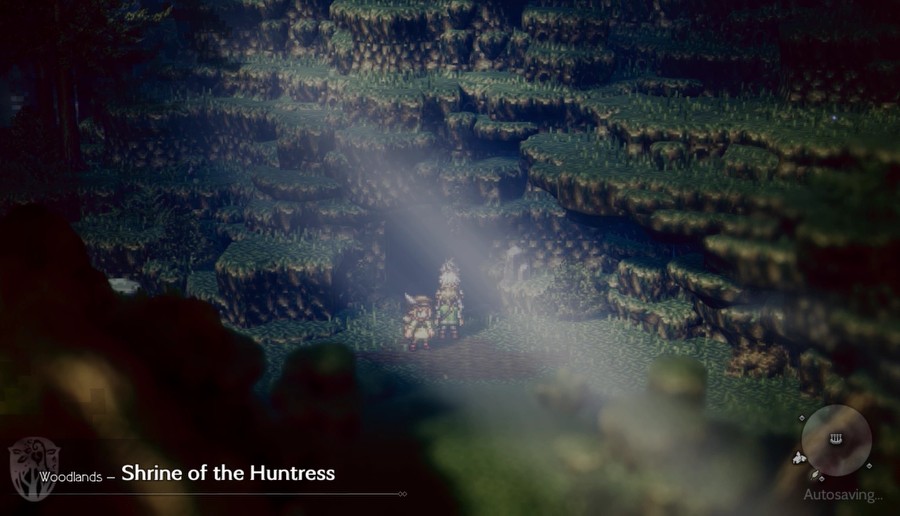
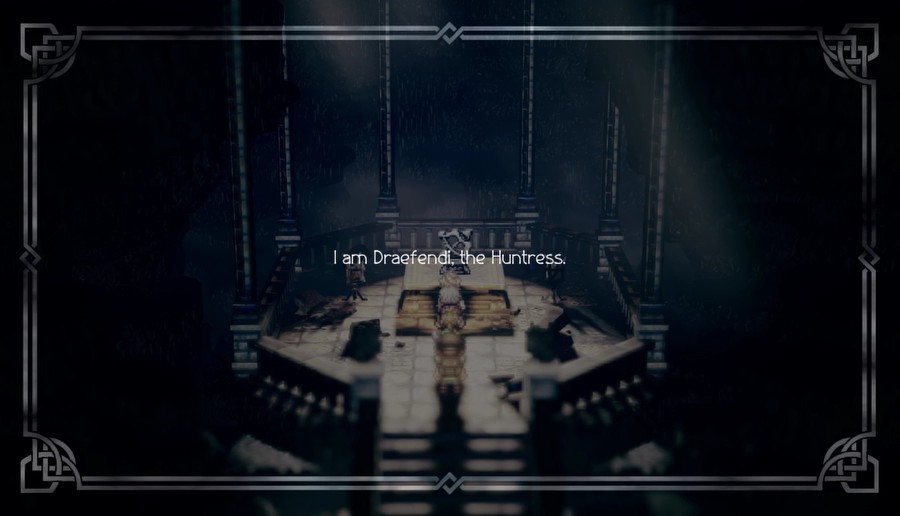
Hidden away, under the hills of the Flatlands...
...is this odd altar.
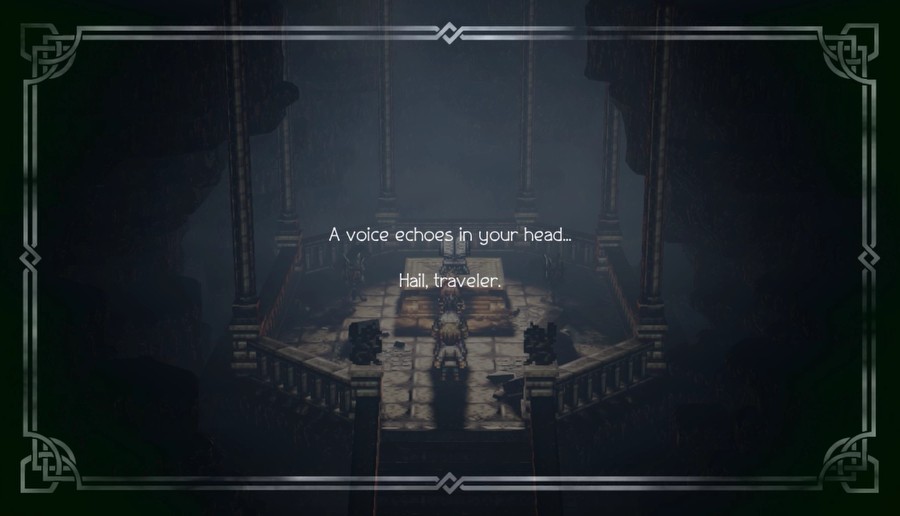
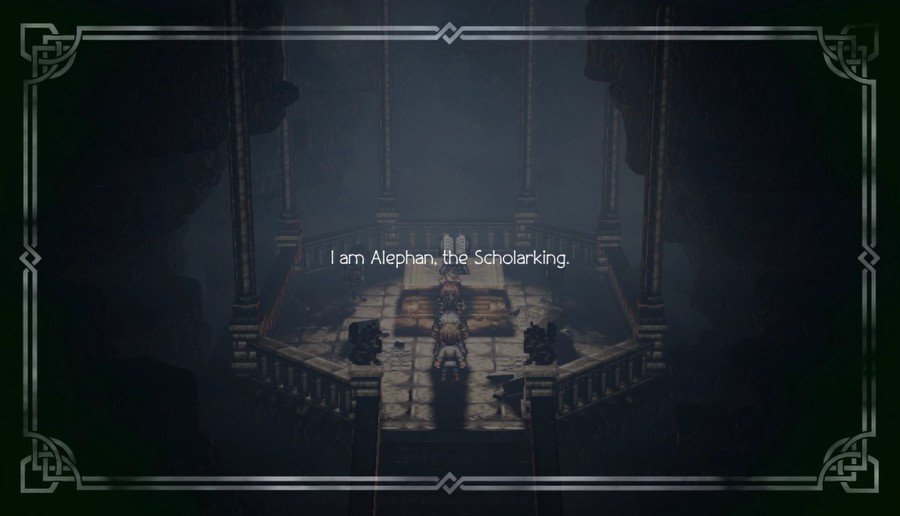
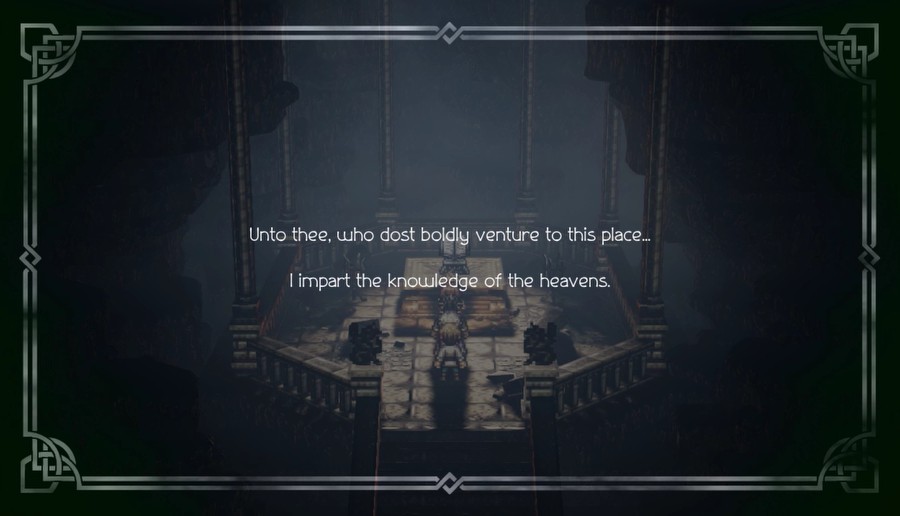
This isn't the only one, and each has the same text, besides of course the name of the god we're speaking to.

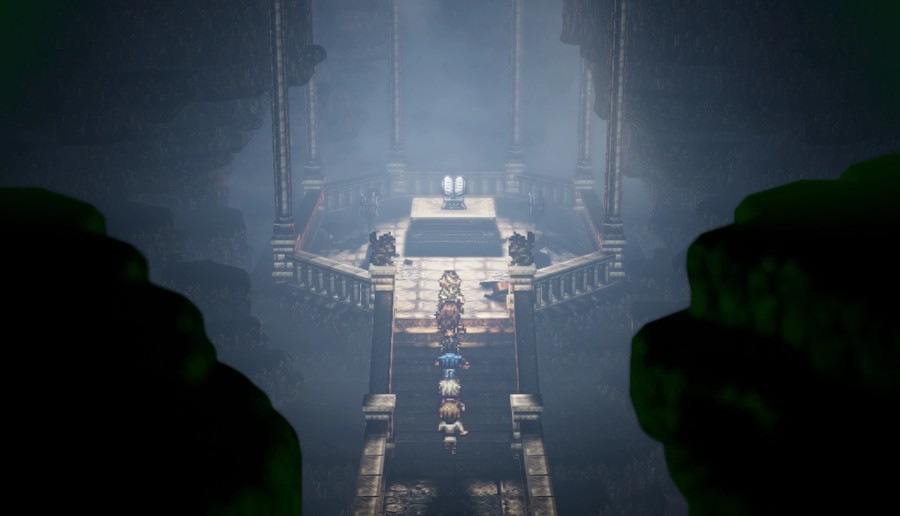
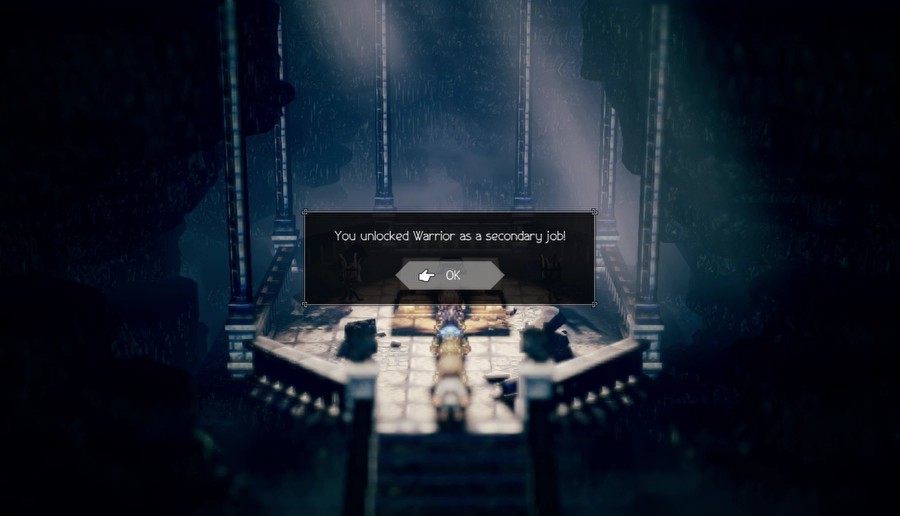
And after a small cutscene...
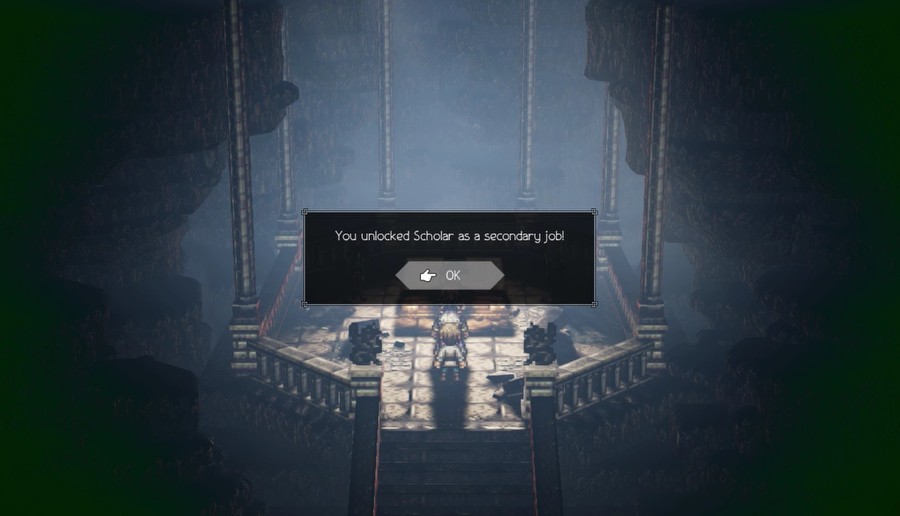
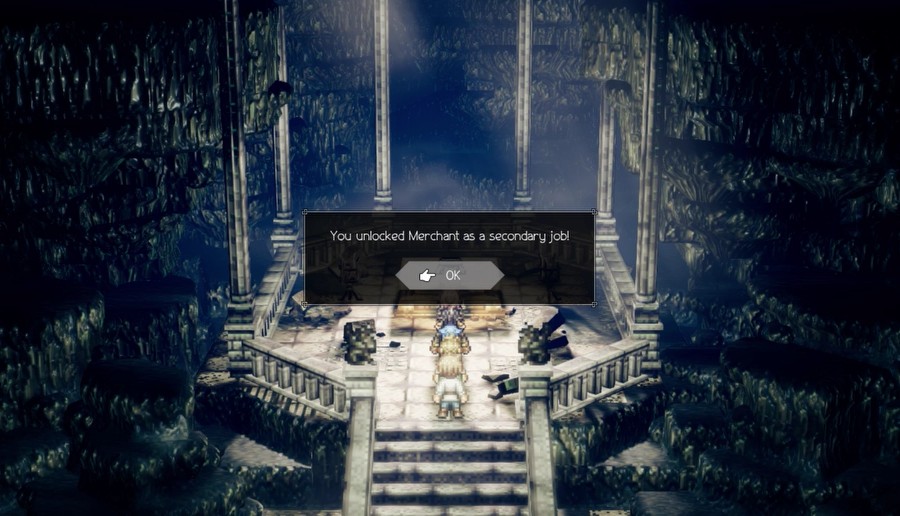
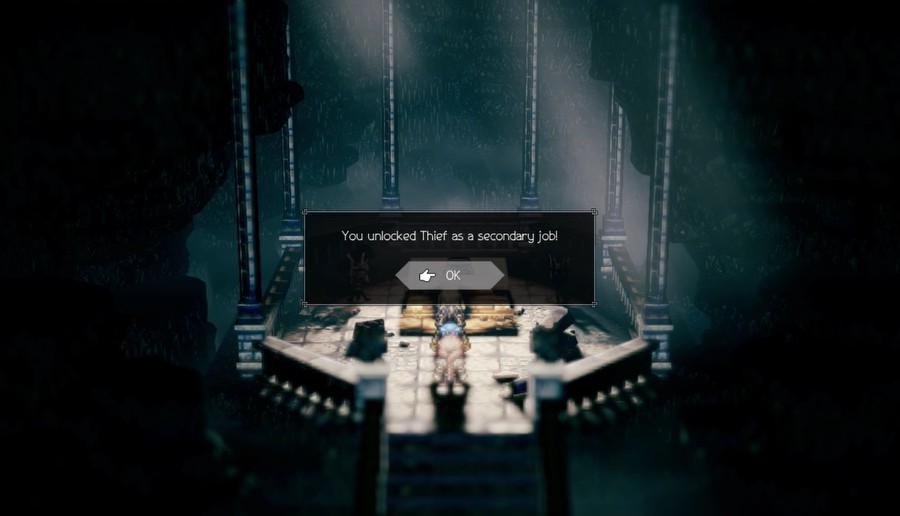
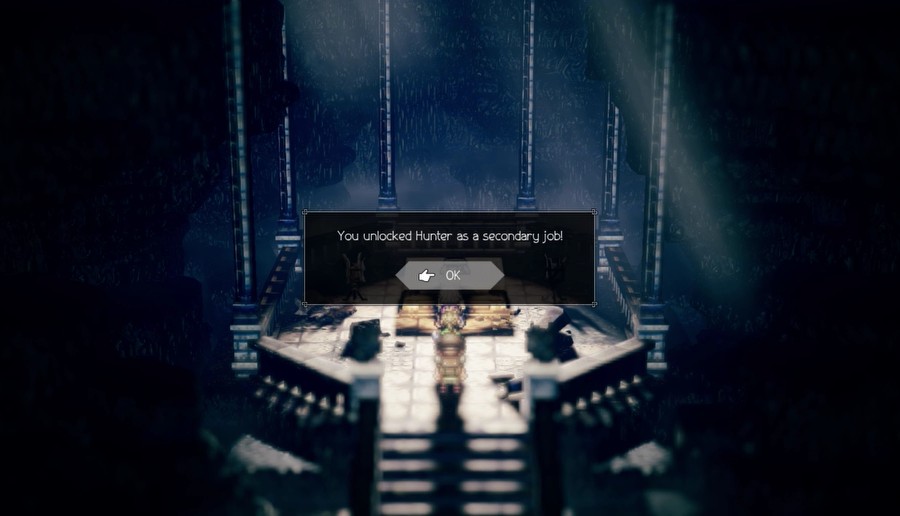
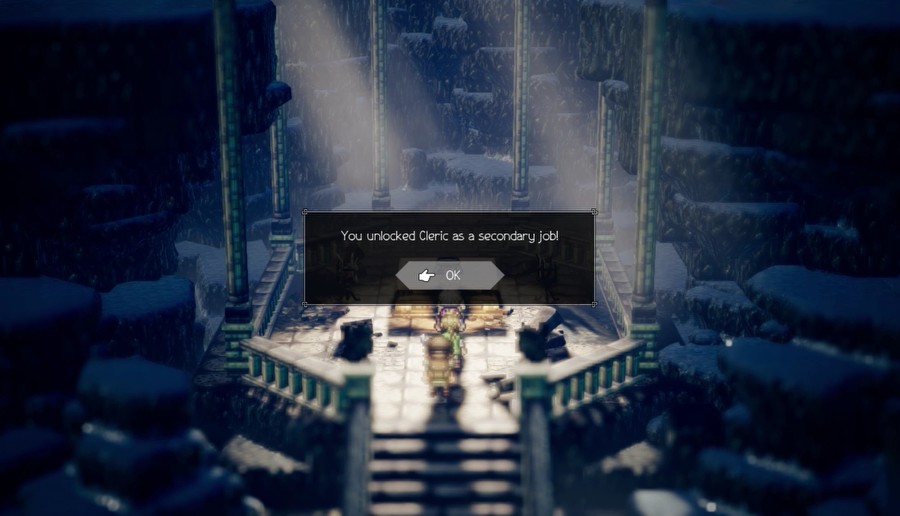
...we unlock our first job.
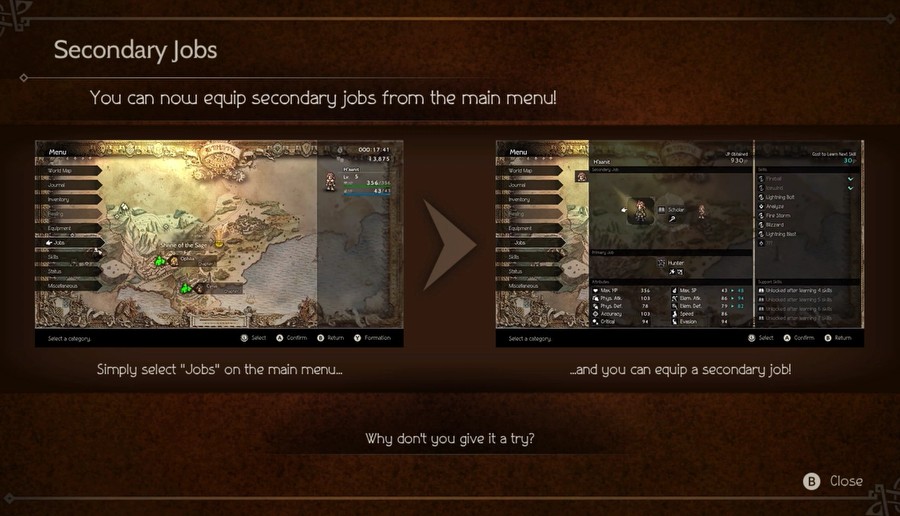
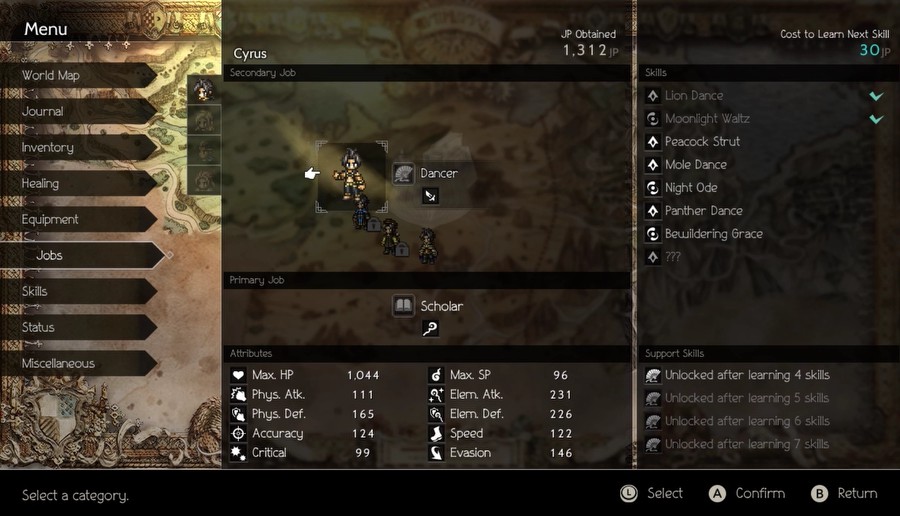
Yes, this game has a job system!
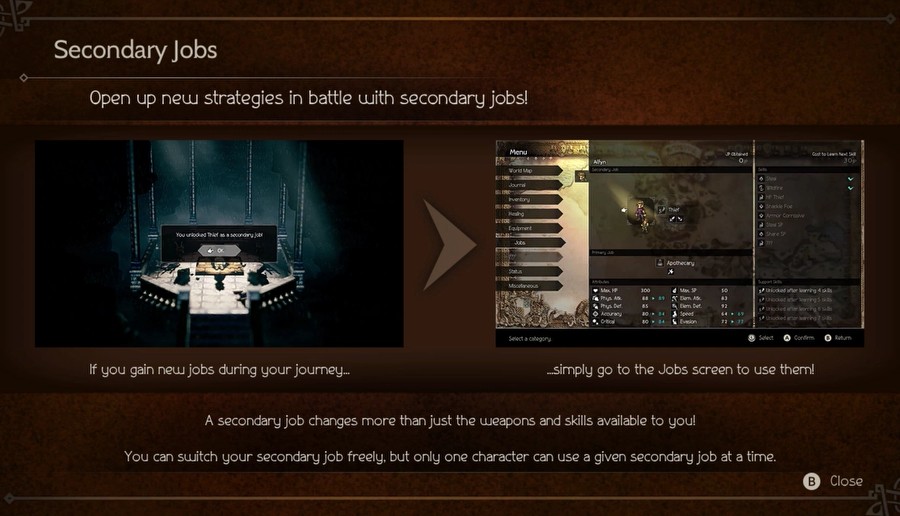
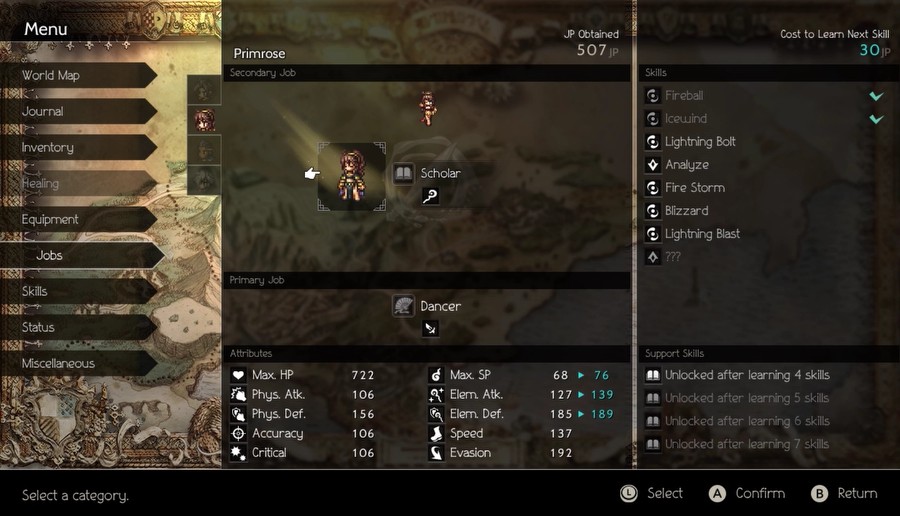
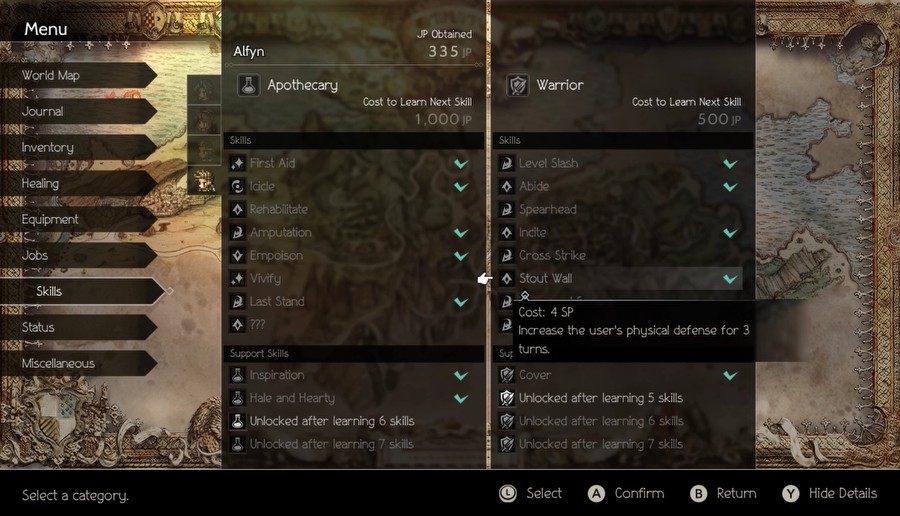
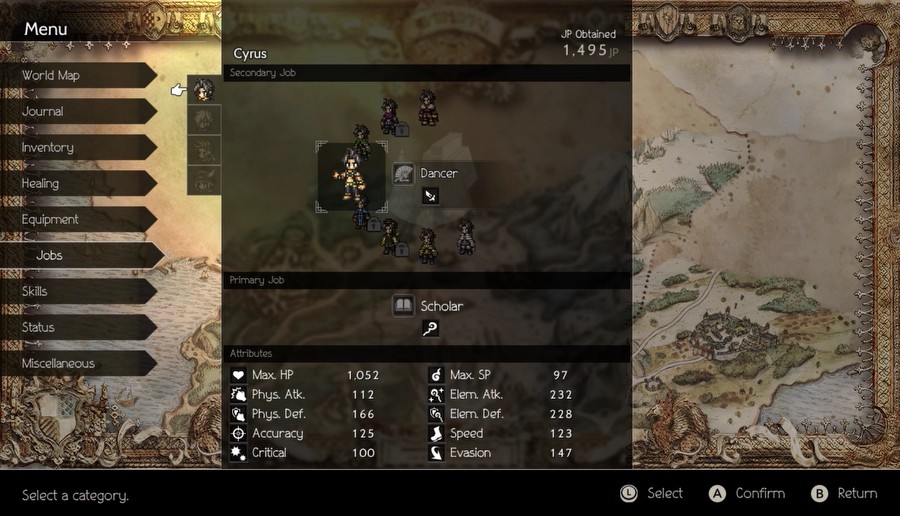
I'll go into more detail in the next update, but the job system is pretty clever for this one. First off, you retain all the abilities from your original job, so you're simply adding a second job to each character. This means in battle, you have access to all the learned abilities of your primary job (which can never be changed) and your secondary job. You also learn that job's Support Skills that way, and unlike the primary skills, Support Skills will always be available even if you unequip that job. And because JP is an accumulated general pool instead of associated with each job, you can swap to a job and get key Support Skills without having to actually battle in that job!
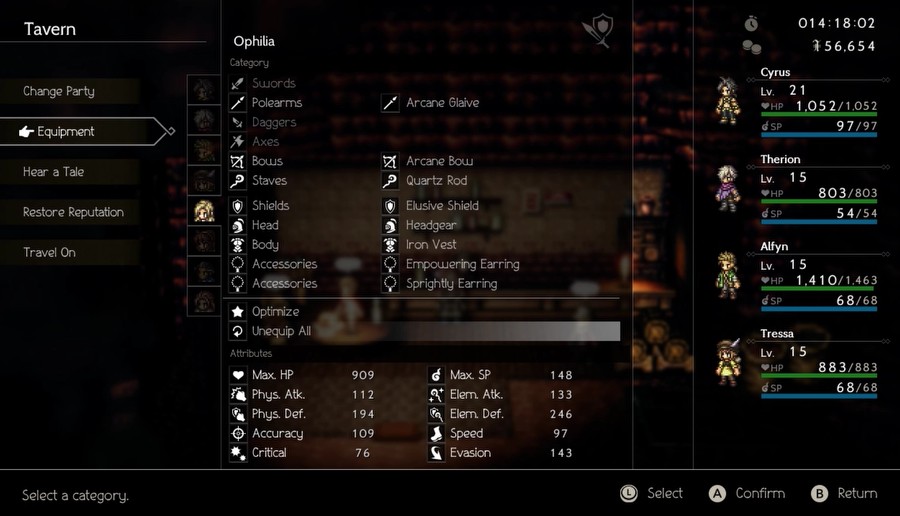
In addition, each job will boost particular stats that the job is geared towards (so of course Scholar focuses on ElemAtk and Max SP), though it's a percentage boost, meaning someone like Primrose who has high ElemAtk will benefit more from Scholar than someone like Olberic.
You also get all the weapon types that job's associated with in addition to your base job's weapons, so now Scholar Primrose has access to Daggers and Staves.
And finally, and perhaps most importantly, are the cosmetics. Each character has a unique sprite for each job, though these don't show up in the overworld, only in the menu and in battle. What's also really cool though is that each character has distinct voice lines for using every single ability in the game, so Primrose using Icewind will say something different than Cyrus using Icewind. That is insane, and I regret that I don't really have a good way to show off everything because, holy hell that would take forever.
The only limitations with jobs is you can't give a character their own secondary (so Cyrus can't access the Scholar secondary job, since he already has it!), and you can only have one character use a secondary job (so Cyrus and Scholar Primrose is fine, but there's no way to also make Therion a Scholar since it's limited to one character). You can freely swap secondary jobs, though.
Whew! So much for being brief! The next update will be a recap of the jobs, rewritten from my earlier write-ups so I'm not being coy about the job system existing, and most importantly I'll show off all the sprites for each character in each job.
For now, let's explore more areas and get the other seven jobs! I swap in Olberic and Alfyn to keep levels steady.
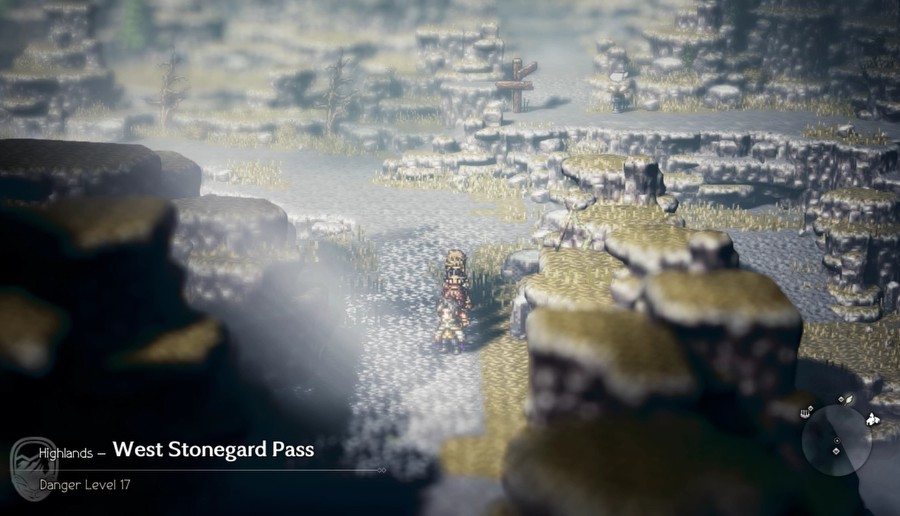
Music: The Highlands 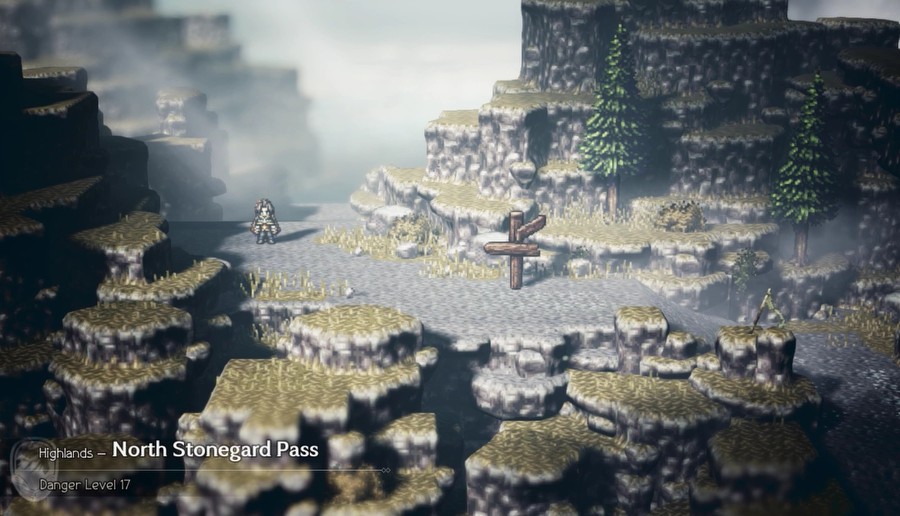
North Stonegard Pass is more of the same for the Highlands, though thankfully the paths aren't as winding as confusing out here.
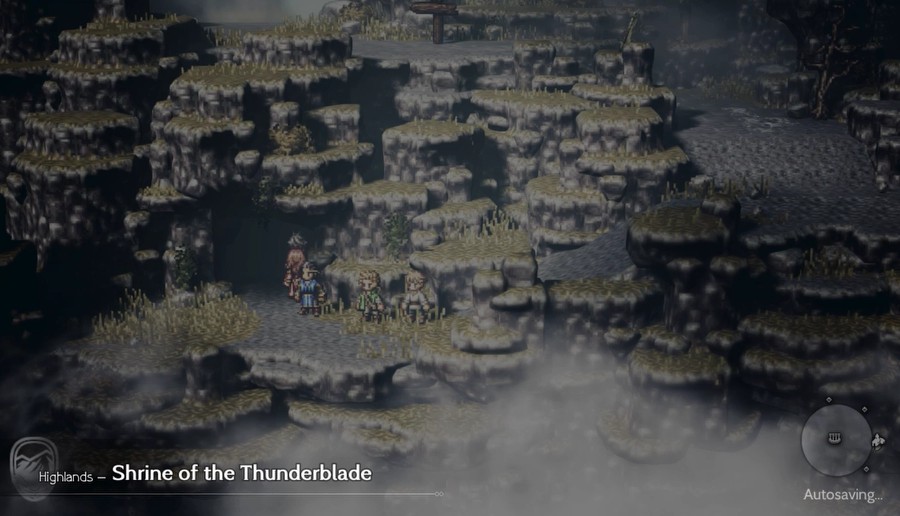
Our next job is conveniently close by.
Each job shrine corresponds to the job of that region's starting character, and the god of course is the same as that job's Divine Skill.
I go for Alfyn for now, and decide to try out a defensive build where he uses Incite to draw attacks and Stout Wall to buff his PhysDef, which also means he unlocks the Cover passive. His Max HP is utterly insane so it's not a bad pick!
This area's a bit odd since there's an optional bridge area between here and the Chapter 2/3 region of the Sunlands, which is also how you get access to the Chapter 4 area of the Highlands. We'll explore that later.
Music: Battle II 
Dread Falcon and Shaggy Auroch. As you may expect, many enemies in these Chapter 2 regions hit a lot harder than we're used to.
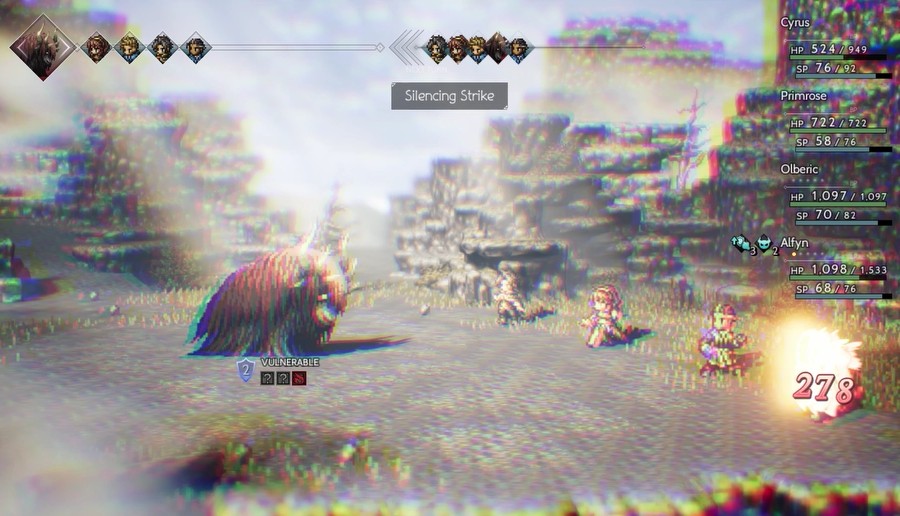
Many of them also throw in some status effects to keep you on your toes.
In battle, you have access to both the primary and secondary job abilities. So Primrose could spend one turn using Peacock Strut to boost her ElemAtk before releasing a Fireball on the enemies in the next.
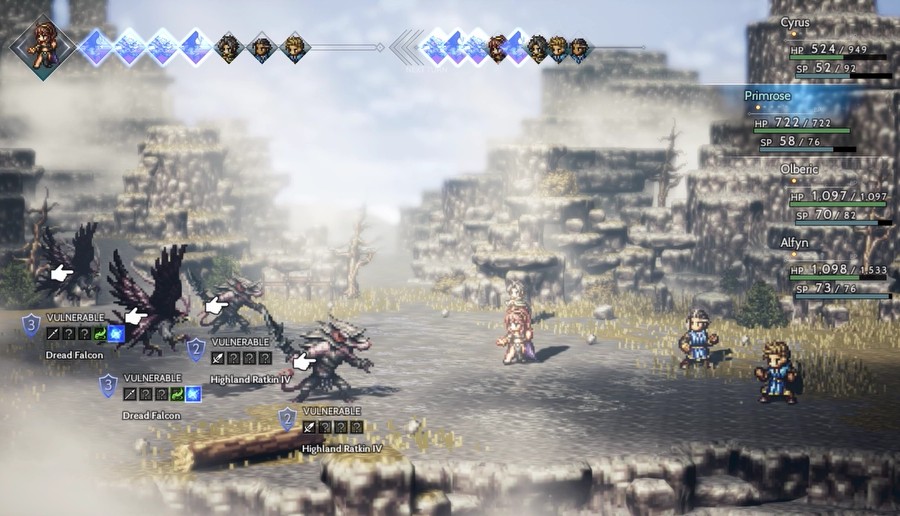
Here's some Ratkin as well, why not.
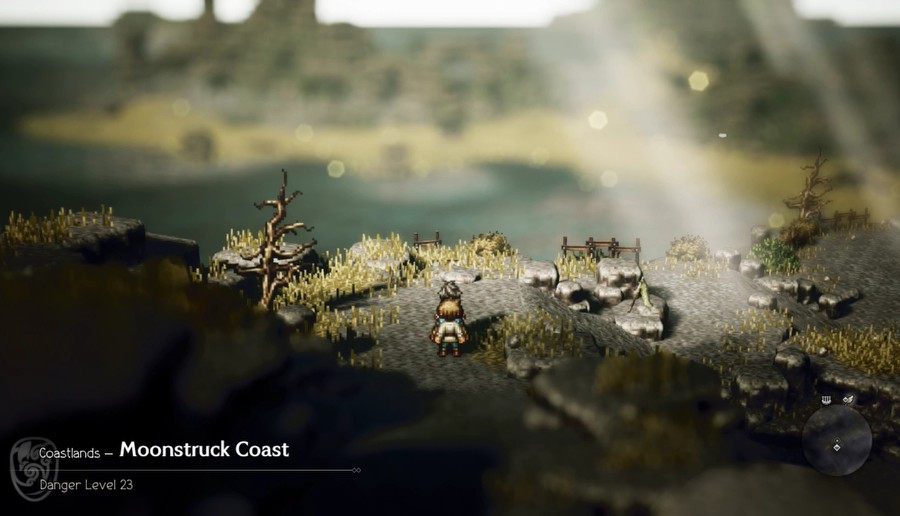
The Chapter 2 area of the Coastlands requires going through the Highlands to access. An odd choice, but alright!
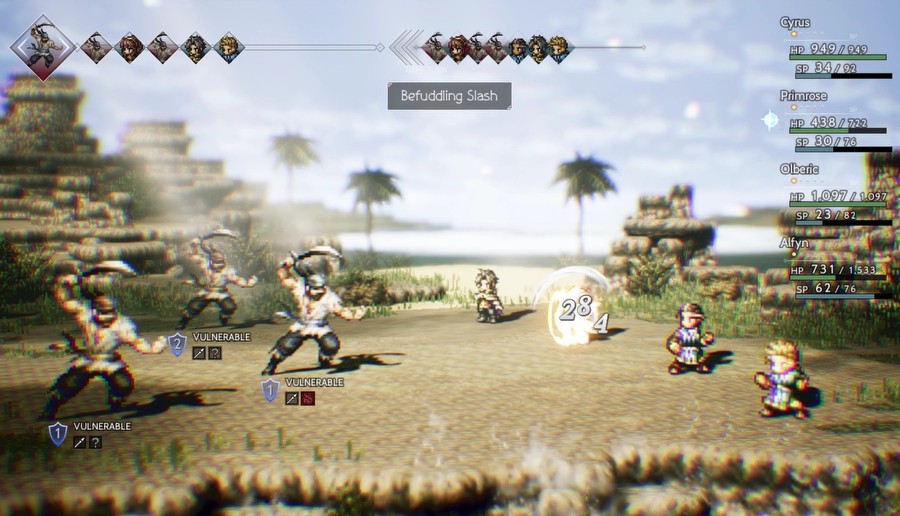
These Buccaneers have Befuddling and Poison-inflicting attacks.

They only have two weaknesses, but thanks to our jobs we can take better advantage of these now!
Otherwise, this area is very scenic, as usual for this game.

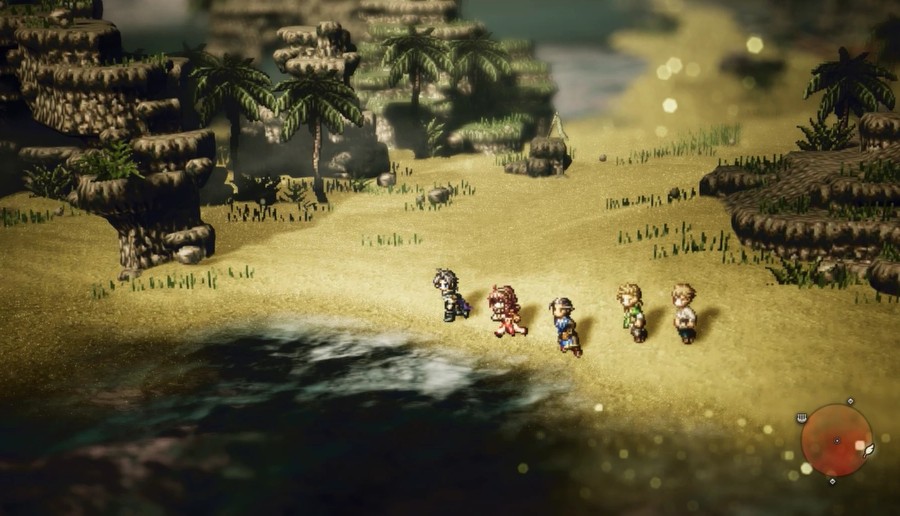
More Birdians and Crabs.
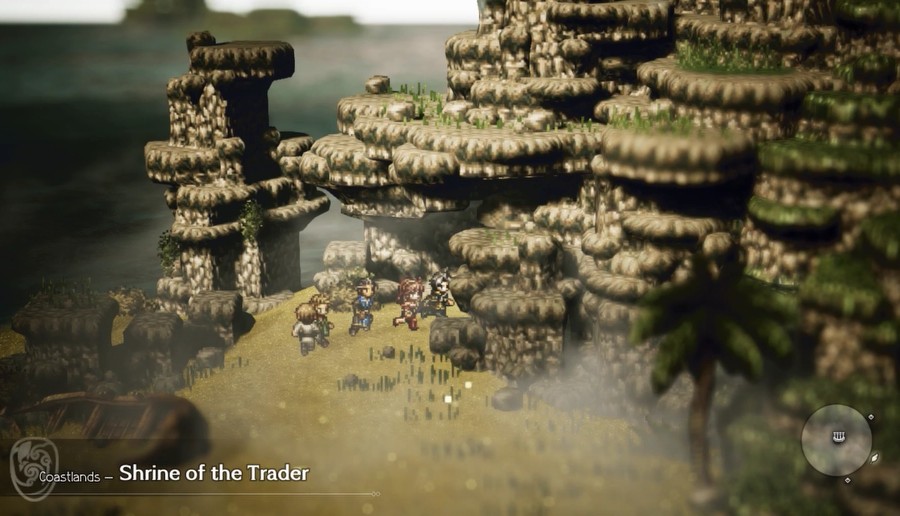
This shrine is hidden on the western side of this area. There's a second area to cross to get to Goldshore, but I'll show that off later.
And that's job number three!
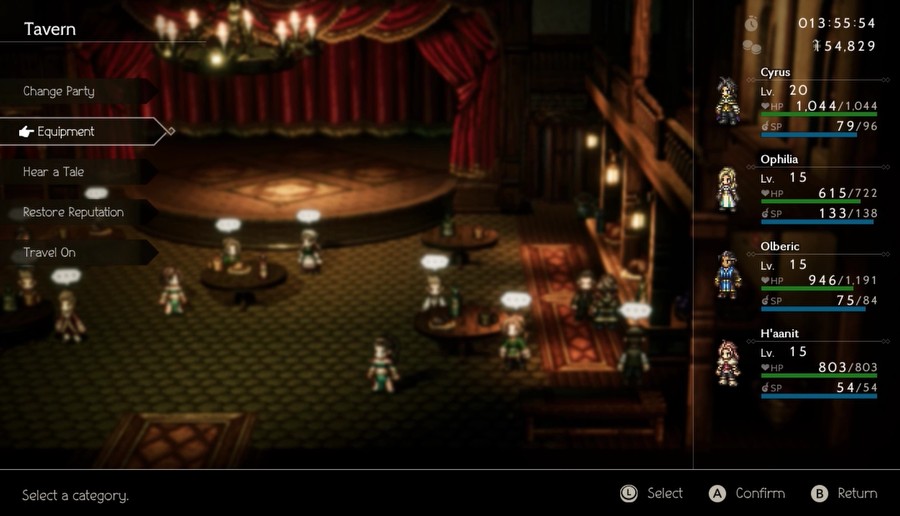
I take this time to rotate my party. Ophilia gets Merchant, H'aanit gets Warrior, and Olberic gets Scholar since he has no better options at the moment.
Unlike the other regions, we're not really supposed to come out this way until Chapter 3 since no character's Chapter 2 takes place in this region's town, so the recommended level is much higher.
Surely we can just rush to the shrine on the western side of the map and leave quickly, right...?
Music: Battle II 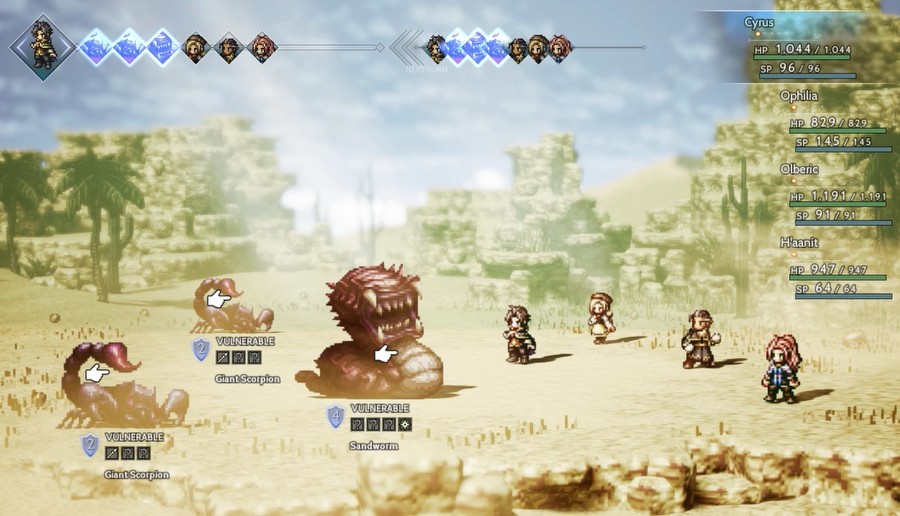
Nah. The Sandworm isn't actually that bad, other than being a big wall of HP.
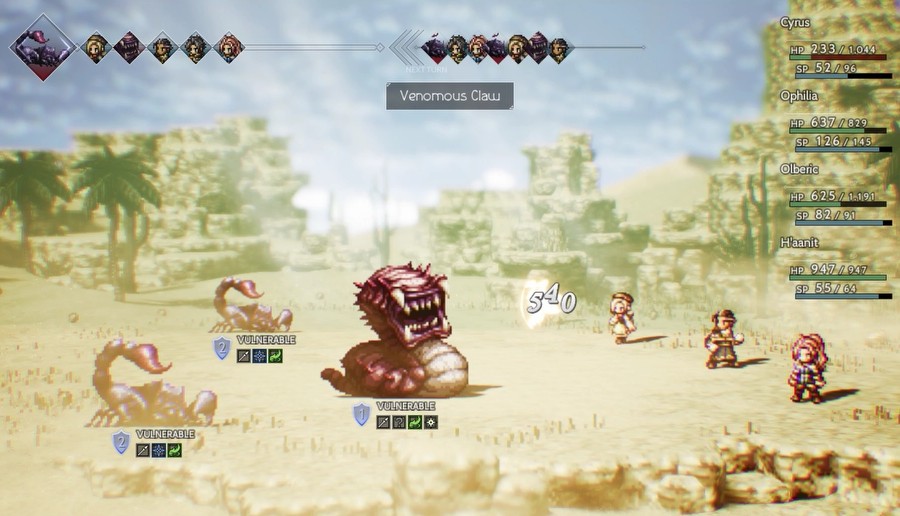
Those Scorpions really hurt, though. I never get seriously threatened though and take care of things.

Now we can dress Cyrus up as a Dancer.
Apparently I haven't run into Tier-I River Froggen yet so, uh, here. I annihilate them on the path to the next area of the Riverlands.
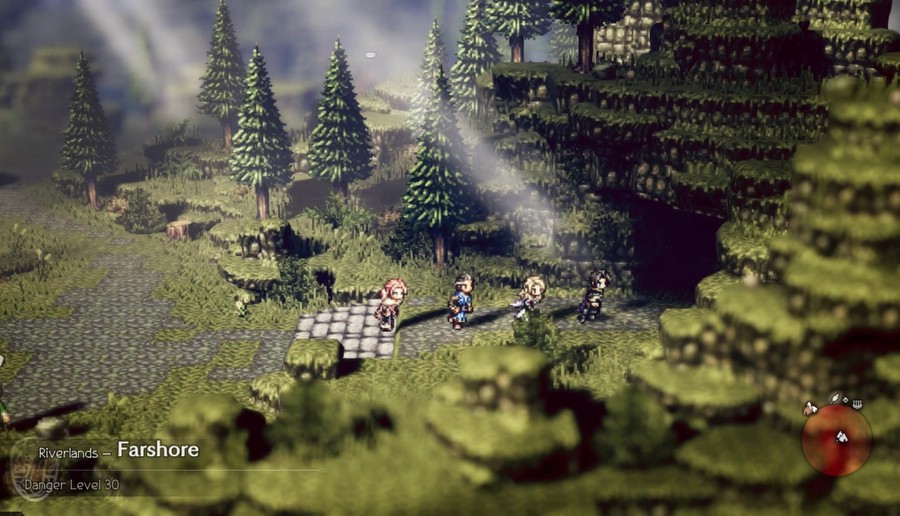
Music: The Riverlands 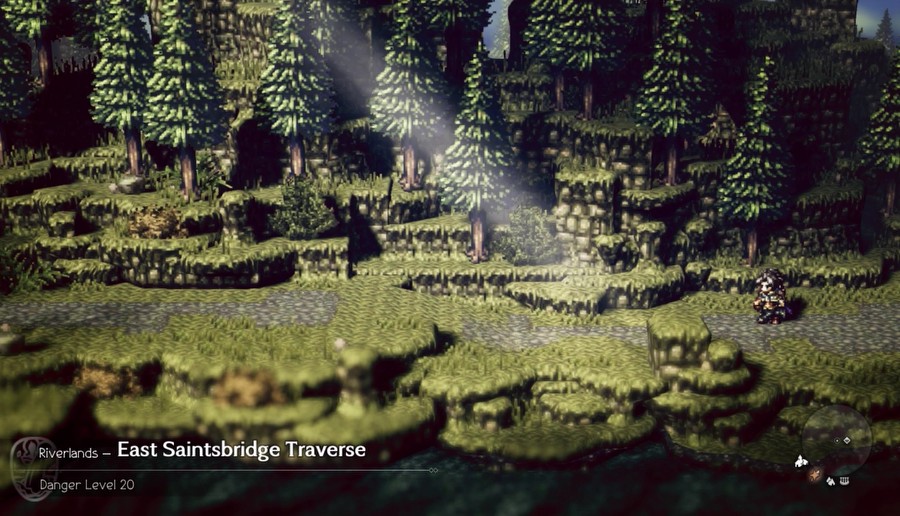
More of the same winding paths and occasional NPCs in this area.

Nothing too special here, but might as well show them off!
 As part of my studies, I record the water level of the river.
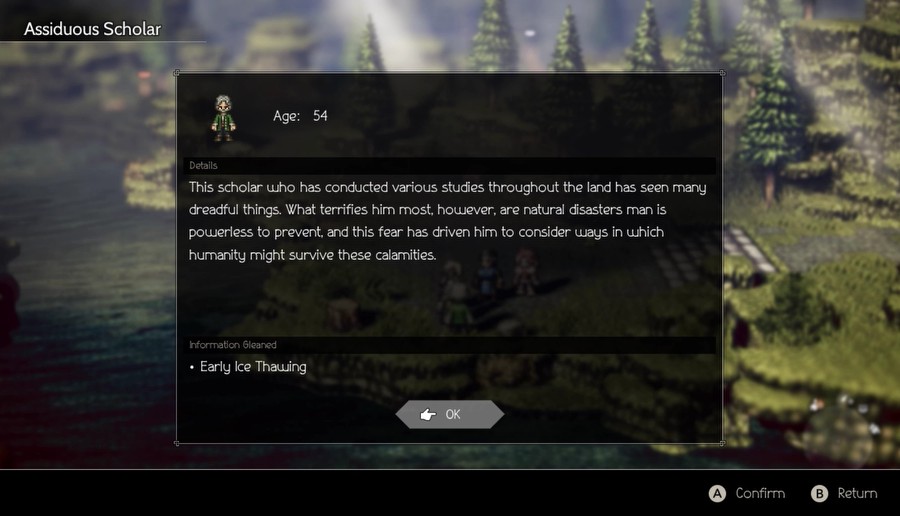
There's a few other NPCs I skip for now, but might as well get his info so I don't have to backtrack later!
The mini-map is kind enough to show the icon for each shrine (the three columns atop a structure that you can kinda-see in the northeastern part of the radar), but it can be a bit confusing to find your way to them. I accidentally find this region's side dungeon instead.

Here we go.

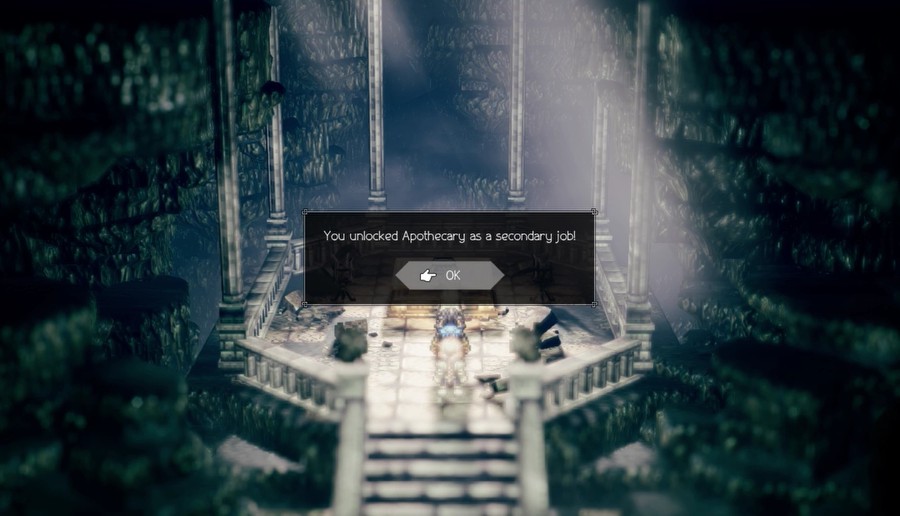
It's important to note you don't get the Talents that job bestows. So Apothecary only gives the skills for that job like First Aid and Amputate, it does not give Concoct. That's exclusive to Alfyn. Likewise, Monster Taming is exclusive to H'aanit and not part of the Hunter job.
Apothecary is a much better fit for Olberic so I let him use it for now. Empoison is really nice for duels.
Music: The Cliftlands 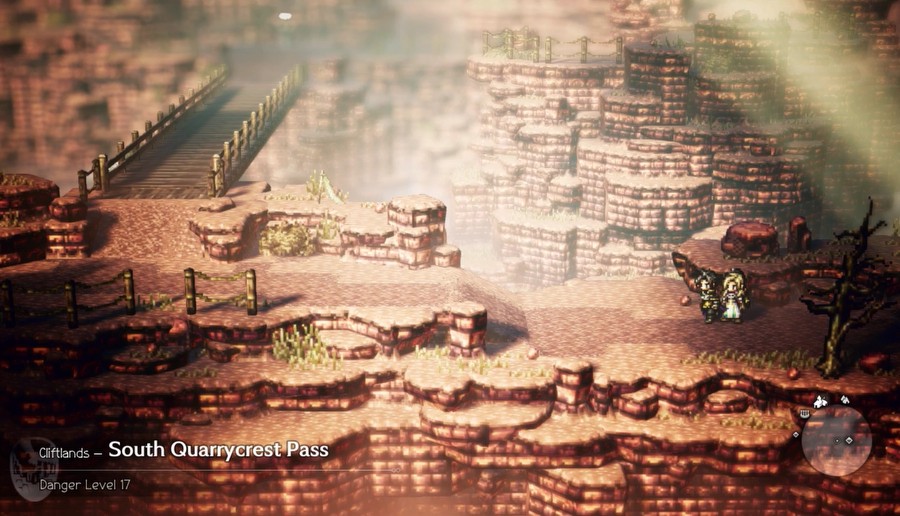
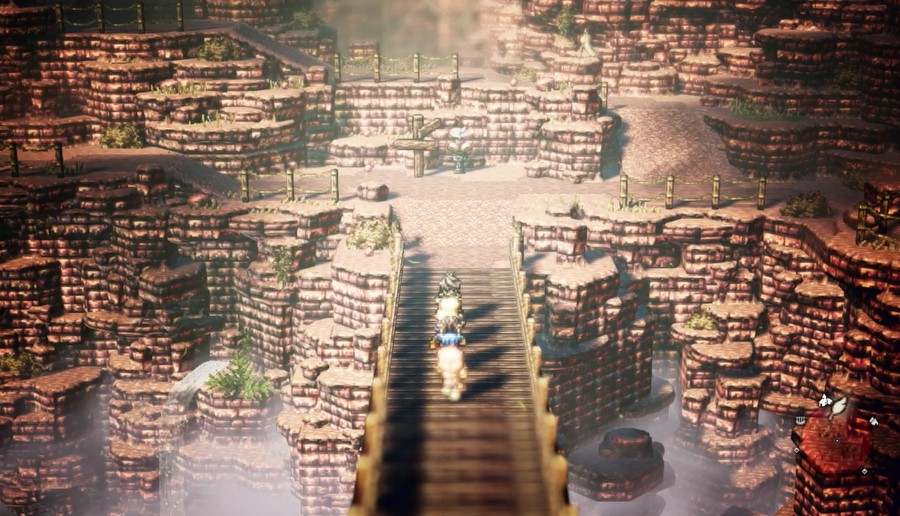
Next up, the Cliftlands. Pretty scenic area.
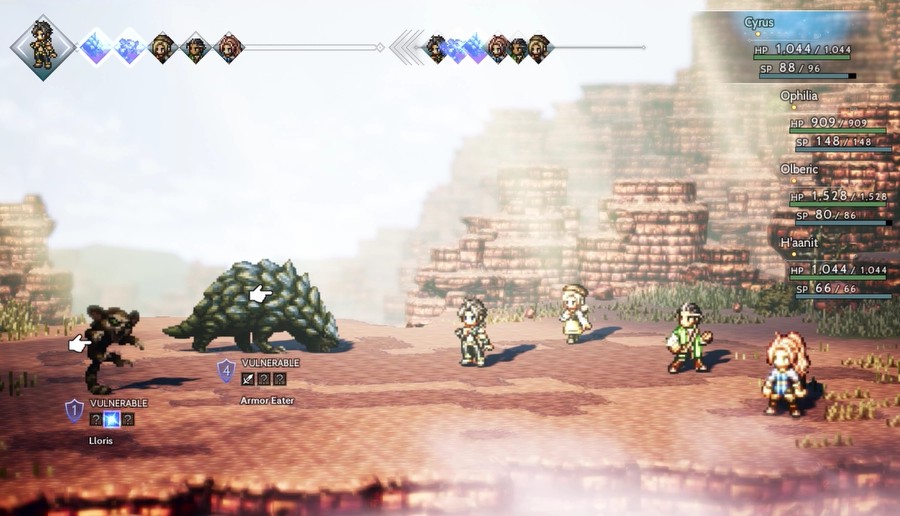
The Armor Eater is sturdy but none too threatening.
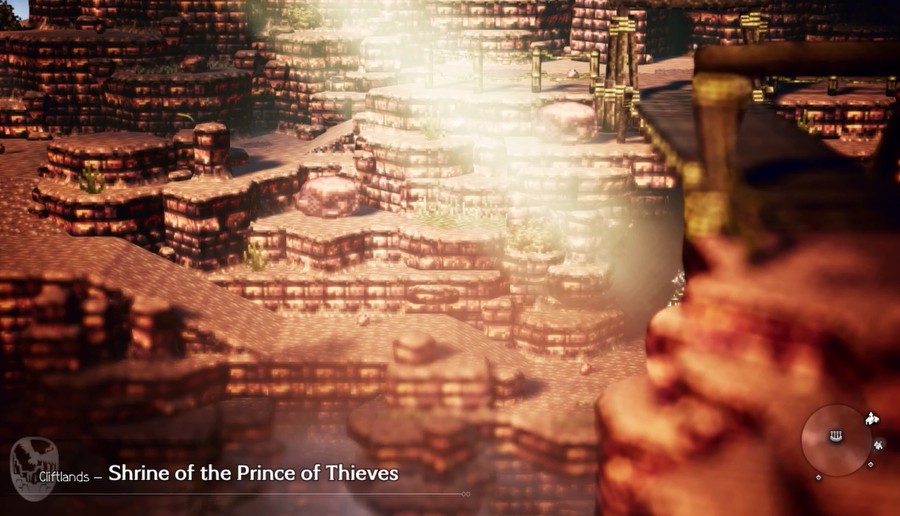
And we've now got Thief!
New party for the last two.

The next job is pretty close to the entrance. Just have to run up a bit and head east to reach it.
I should note that you don't have to do anything beforehand to get the job. If you wanted, you can pick your character, do their Chapter 1, then beeline to get all eight jobs immediately. Of course, that means you have to survive reaching that area, since it's very difficult to run away from higher-level encounters, but you don't need to have the associated character recruited or anything.
For some reason, this shrine is the only one that has a treasure chest. Maybe even the developers realize how underwhelming Hunter can be...?
At any rate, we've got it now.
I have to go out of my way to trigger an encounter here.
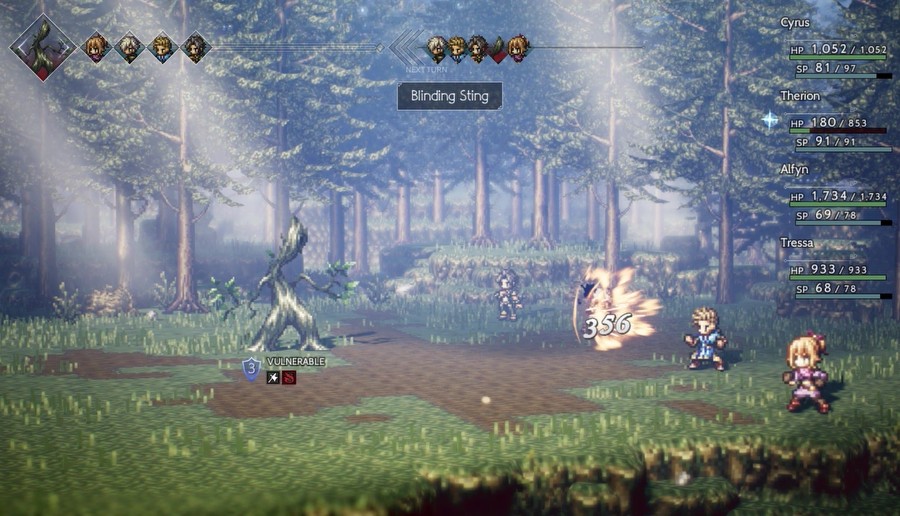
The Treant can blind you. Fun stuff.
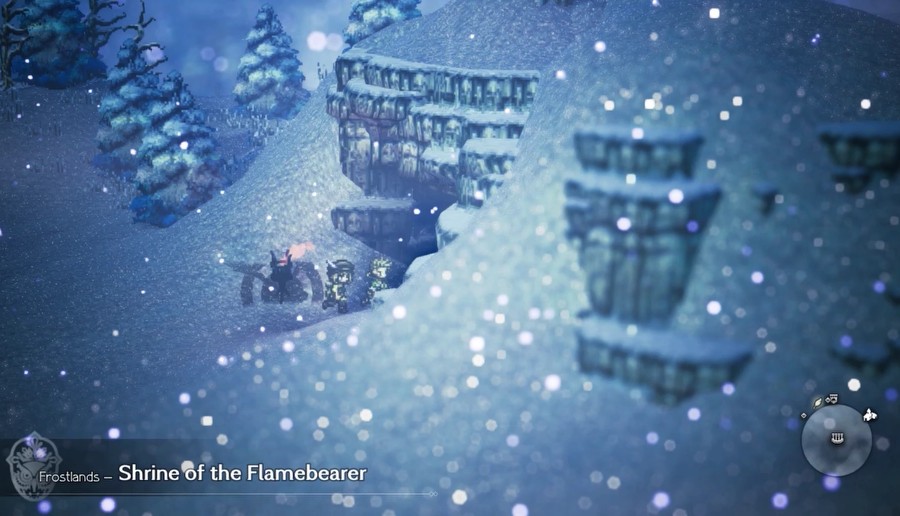
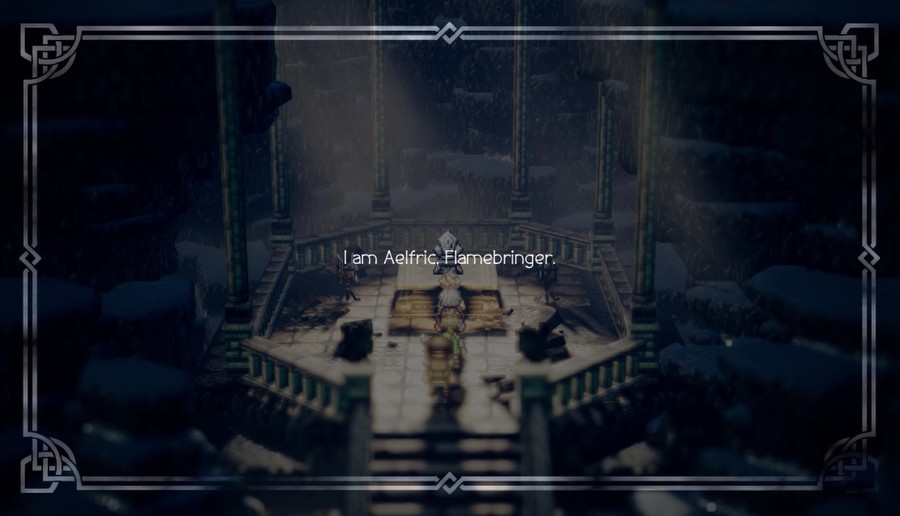
Music: The Frostlands 
Like the Coastlands, we have to detour through the Woodlands to reach the second area of the Frostlands.
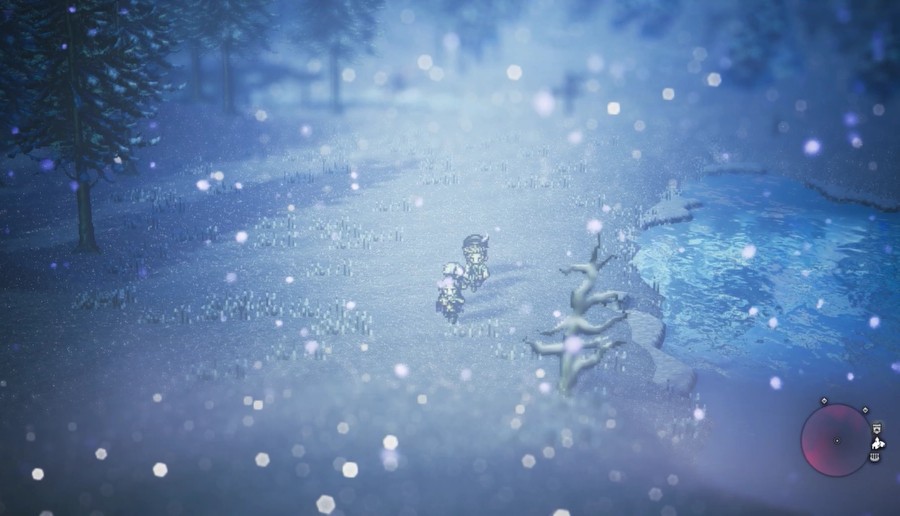
And it's a large, open area like the Flatlands.
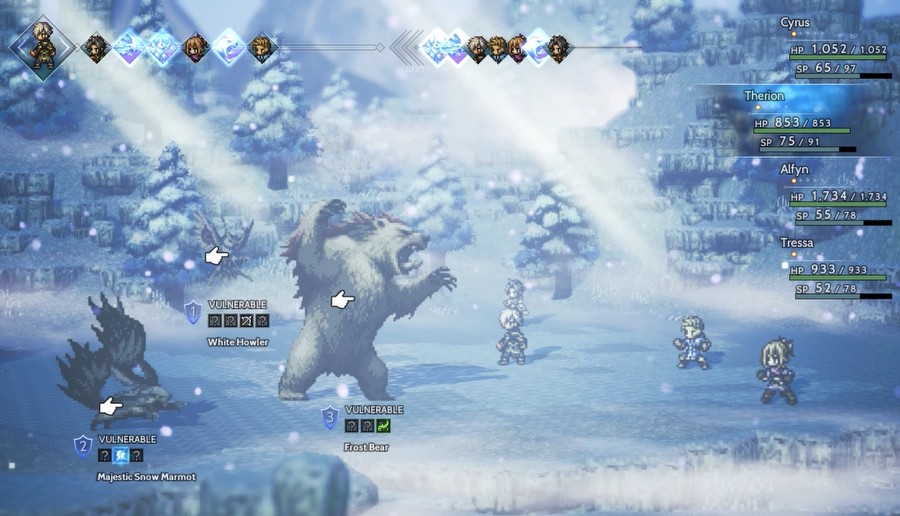
More frosty foes...
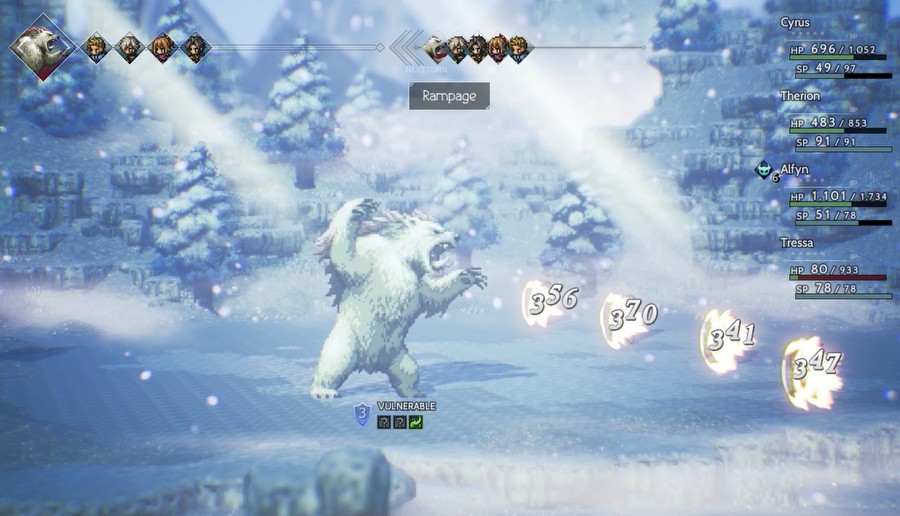
...including a very angry polar bear.
This one is buried in the southeast corner of the area.
And that's all eight!
Next time, I'll go into more detail about each job again and show off all the sprites.
As for voting on jobs, I'm not doing any polls or anything, mainly because I'll be rotating the party like crazy for these chapters and also likely rotating the jobs since many characters have several jobs that suit them. That said, if you have any requests, feel free to make them and I'll try to accomdate them as best I can. Don't be afraid to recommend "inefficient" load-outs like Warrior Cyrus or whatever, I can roll with anything!