Part 6: Southeast China: July 31, 1939
Our plans for the summer are quite behind at this point. We are finally at the outskirts of Canton, and need to capture it quickly, or else the main offensive will never proceed with any speed. The main force is still trying to make progress, but it has been slow. We must break through and take Hengyang soon, and then keep going onward.
Axis Turn 14: July 31, 1939
Day, Fair (Dry)
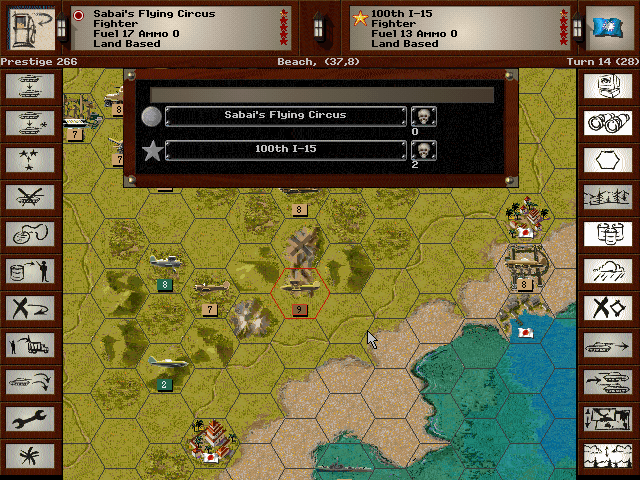
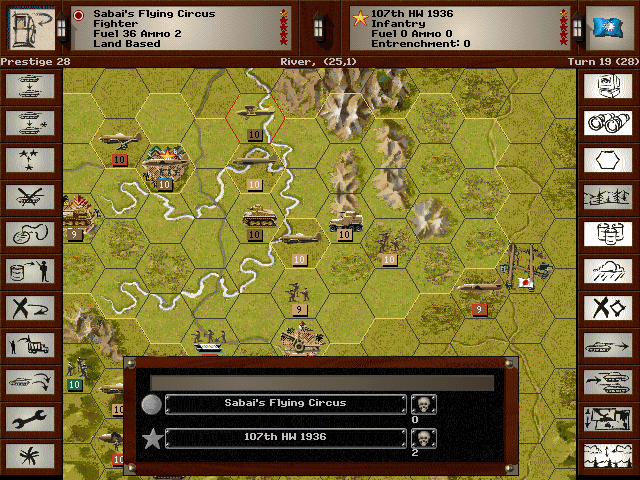
Sabai's Flying Circus finally puts an end to its nemesis.

With the enemy fighter squadrons mostly scattered or reduced, bombing raids start afresh on the main line.
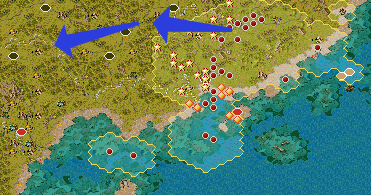
The advance of our army gets underway once more.
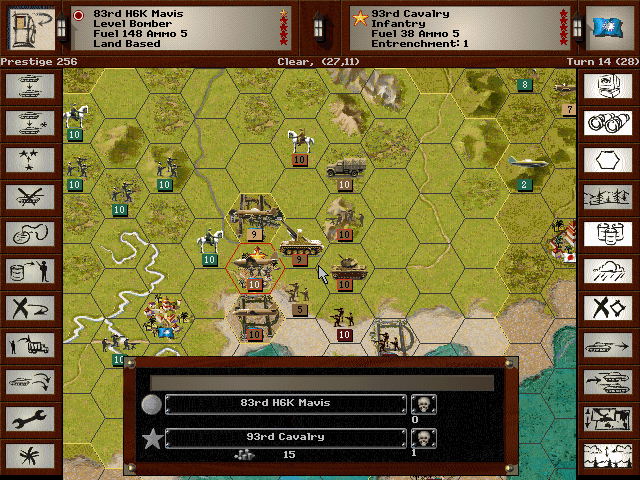
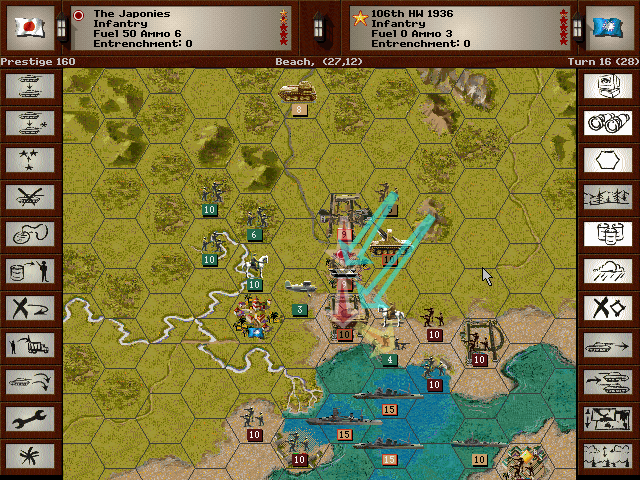
We're still taking a break at Canton. British forces have been maintaining strict borders around Hong Kong, and it's kept us from bringing in sufficient supply to that side of the city.
Allied Turn 14: July 31, 1939
Day, Fair (Dry)

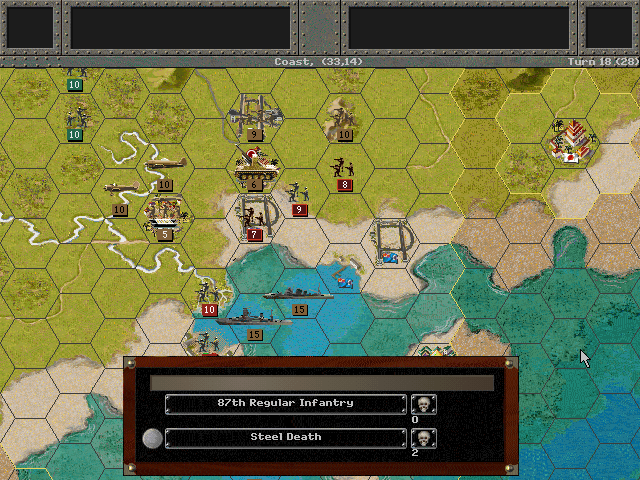
The city continues to harass Steel Death. They are withstanding it for now, but just sitting around taking fire is going to hurt morale.
Axis Turn 15: August 7, 1939
Night, Fair (Dry)
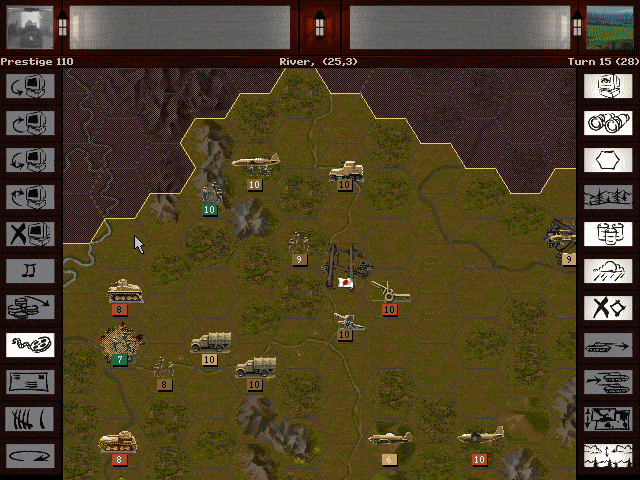
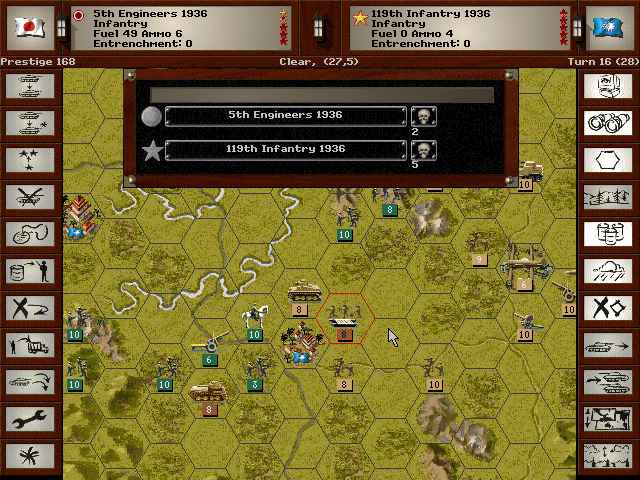
The break for night lets us move up our troops in preparation for an attack on the provincial capital of Ku Kong.
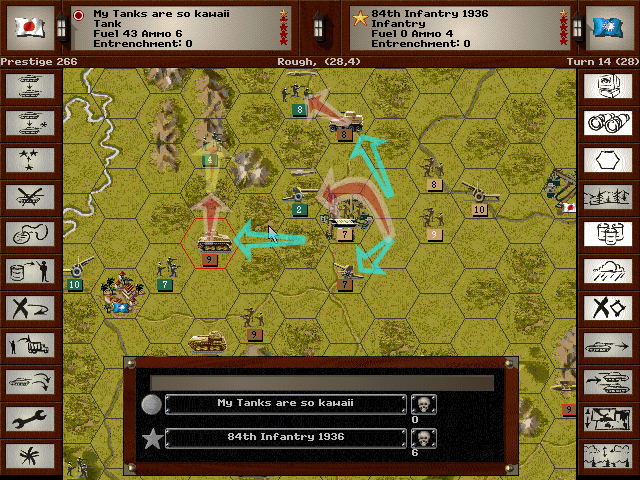
At Canton, conversely, we are already prepared. We surprise the enemy and seize control of the northern airfield, while also hitting hard on their flank to prevent them from retaking it easily.
Allied Turn 15: August 7, 1939
Night, Fair (Dry)
The attempt to retake the airfield fails, as expected. Steel Death keeps the enemy infantry from getting close enough to push us back.
Axis Turn 16: August 14, 1939
Day, Fair (Dry)
We continue to press the attack at Canton, and take control of the city!
Ku Kong, too, yields to our assault.
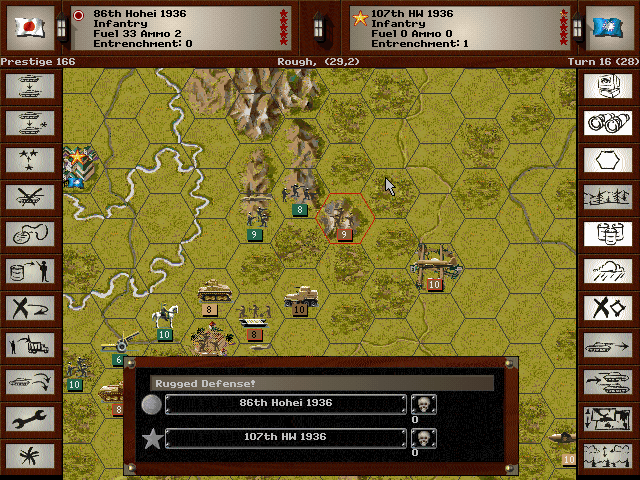
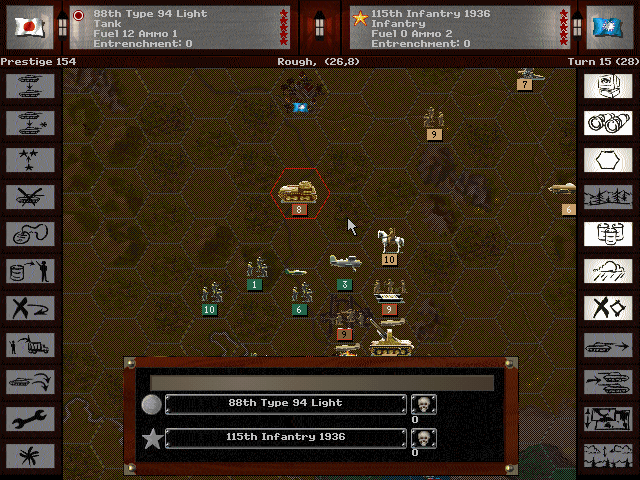
Fierce resistance is encountered in the hills to the north, though.
Allied Turn 16: August 14, 1939
Day, Fair (Dry)
Our light tanks are pushed aside in order to provide a retreat path for the Chinese troops that routed at Ku Kong.
Axis Turn 17: August 21, 1939
Day, Fair (Dry)
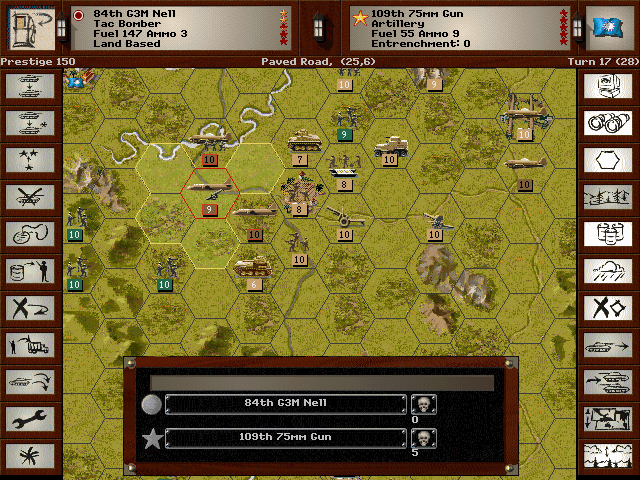
The push forward over the last week to take Ku Kong left the troops a bit overextended. We take time to rest up so that the crossing of the Leishui and Xiangjiang Rivers can be accomplished rapidly with a strike toward Hengyang.
Canton is secured, and while there are a few enemy units that need to be taken care of, most of this force can assist with the inevitable advance of our army.

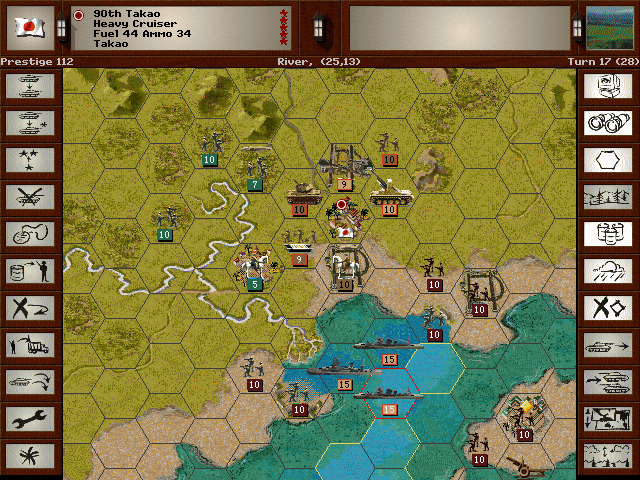
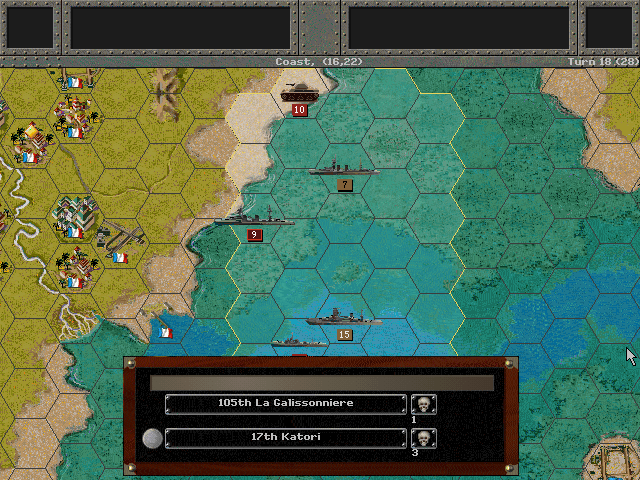
Things seem to be back on track with our offensive, when suddenly the whole plan is up-ended. The Nagato had been scouting for any remaining Chinese vessels. She had a surprise encounter at close range with an unidentified destroyer. Unsure of how to respond, the battleship fired on the ship to warn it off. But the shells found their mark all too quickly, and after an explosion below decks, the ship rapidly sank. It turns out to have been not a Chinese ship at all, but the French destroyer La Railleuse (of the L'Adroit class).
The European powers decry this as a deliberate act of aggression. We blame the French for patrolling their ships into a war zone. Ultimately, it sparks them to mobilize their forces locally. There's a chance this could end up as a worldwide war!
Allied (China) Turn 17: August 21, 1939
Day, Fair (Dry)
Luckily for us, the Chinese forces are too weak to do anything. They simply await our inevitable advance for now.
Allied (Hong Kong) Turn 17 : August 21, 1939
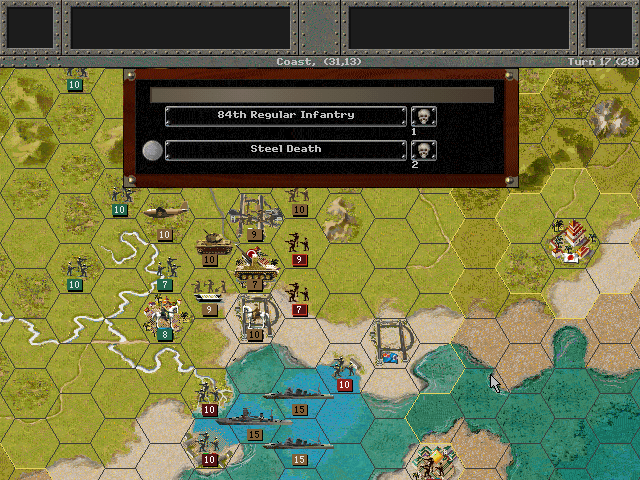
The British are quick to stab us in the back at Canton, and march their troops against us. Luckily, they don't have anything really able to deal with armor. Still, the shock of the attack takes its toll.
Axis Turn 18: August 28, 1939
Day, Fair (Dry)
Even though our orders are to liberate these colonies from the Europeans if the opportunity presents itself, we
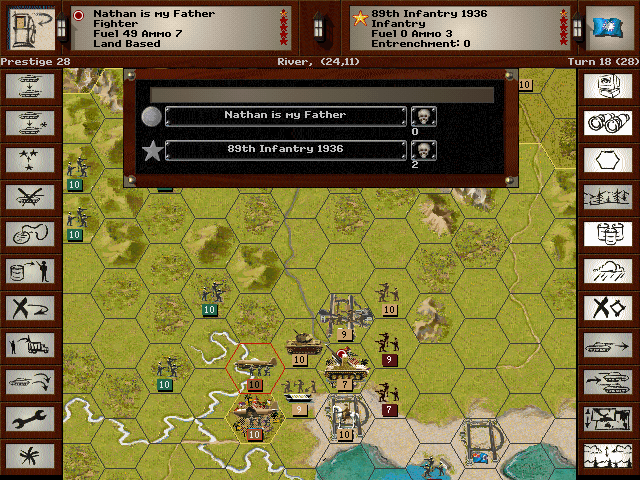
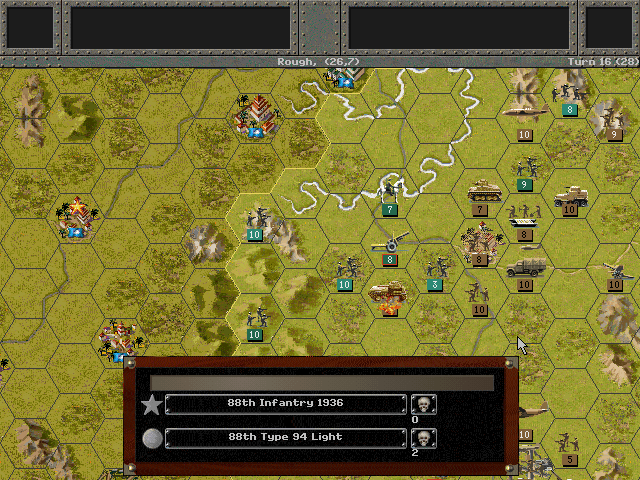
To build up a secure defensive line at Canton against all comers, we must first deal with the remaining Chinese units. The planes here get to work softening them up.
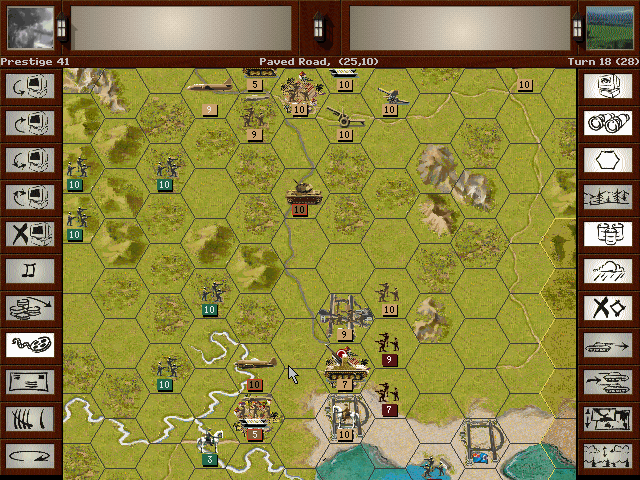
Some reorganization will be required, but we do manage to clear space.
Along the main route, we finally clear out anything that was left on this side of the Leishui River.
Allied (China) Turn 18: August 28, 1939
Day, Fair (Dry)
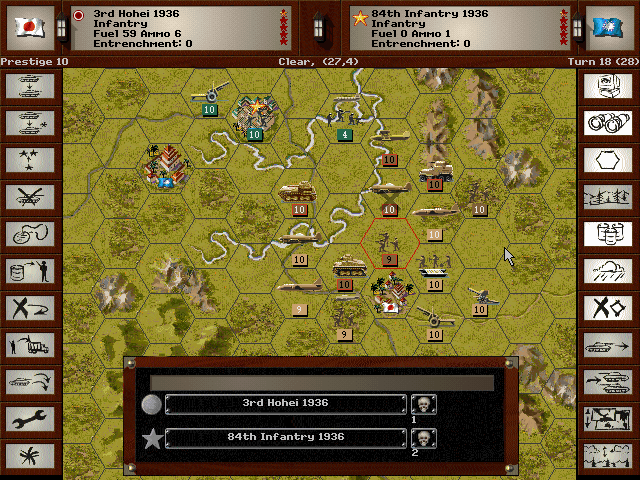
The Chinese have a fair amount of artillery, but we've managed to already hit with enough bombs to render it far less deadly.
Meanwhile, the Chinese continue to take up positions in the hill country. We cannot afford to leave them be -- if we do, they may march to Canton, or head around into our rear area. Between this and the forces at Hong Kong, it's plain that the main assault group isn't going to be getting any reinforcement.
Allied (Hong Kong) Turn 18 : August 28, 1939
Day, Fair (Dry)
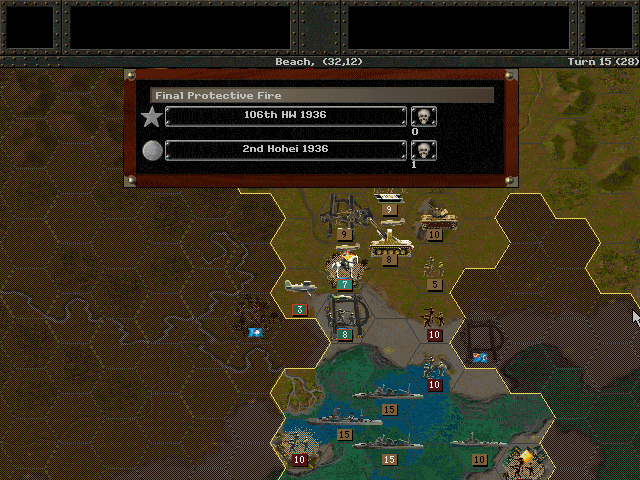
For all we know, the Chinese navy has been eliminated, but the French navy is very much present and very enraged. It appears they are also sending up troops from Indochina. It's only a matter of time before we expect they'll be sending many more troops around the world to fight us. It's not like they have anyone else to be concerned about at the moment.
British forces push around the coastline of Canton and team up with the Portuguese from Macao. They knock back the exhausted Engineers at Chiu-Chiang.
Axis Turn 19: September 4, 1939
Day, Fair (Dry)
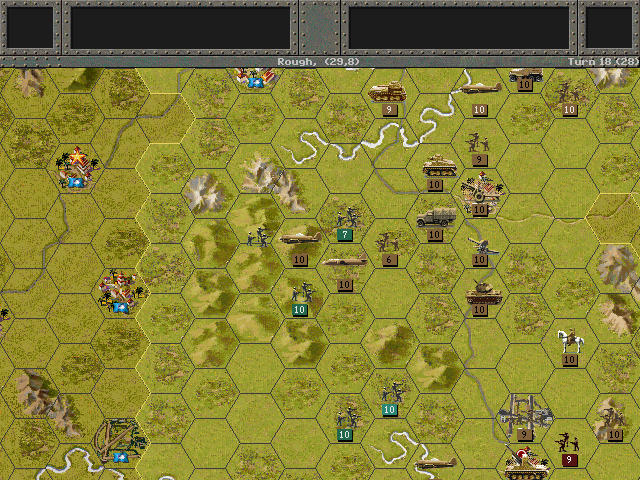
Fighting in the hillsides is bloody, but it does favor our side. The big problem now, however, is that our prestige has plummeted, owing to our snail's-pace offensive and the incident with the Railleuse.
With the enemy air force apparently eliminated, we can use the full power of our planes to really pave the way for the ground forces.
Allied (China) Turn 19: September 4, 1939
Day, Fair (Dry)
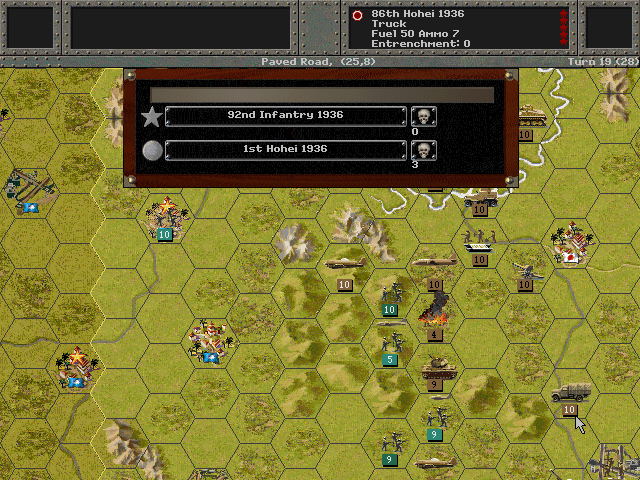
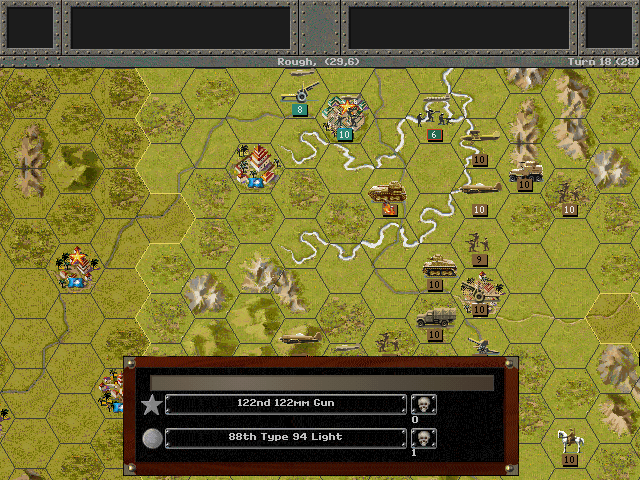
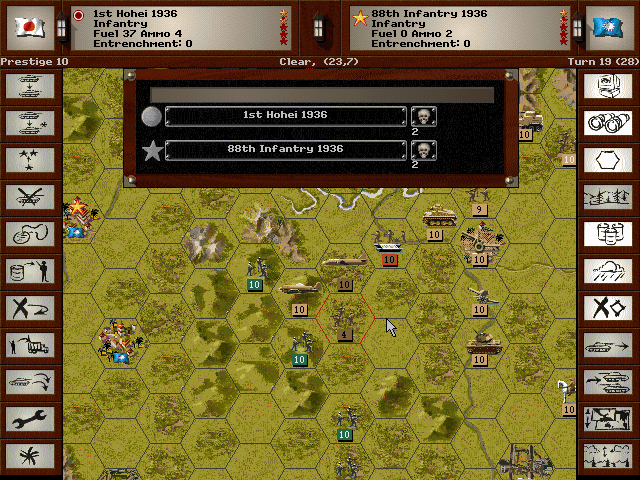
One attack comes in the hills against our weakest infantry unit.
Allied (Hong Kong) Turn 19 : September 4, 1939
Day, Fair (Dry)
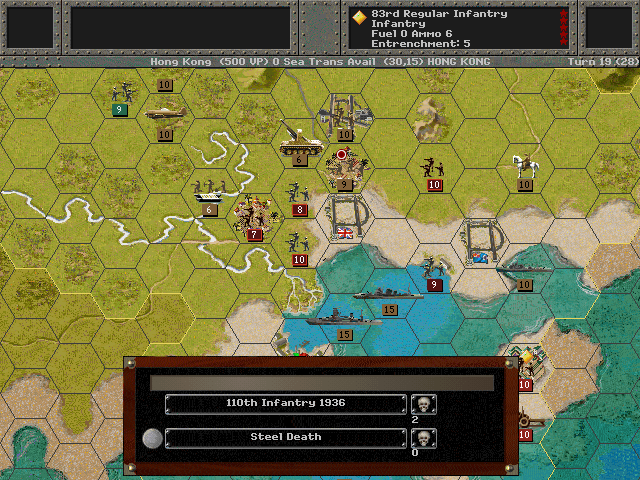
The Portuguese troops don't make any more headway against the armored guns than the British do.
News arrives concerning the European powers. Apparently Hitler has decided to start his own little war in Poland, and they've all joined in. Our position in China may well be saved.
313 - 837 (Defeat)
UNIT SPOTLIGHT
Today it's two units that we won't get to see much of: One, because it's unlikely we'll ever need it, and the other because we're choosing a path that might not include it (though it will stay in the core, so we may see it in action after this scenario).
Type 98 20mm AA Machine Cannon
PG Name: 20mm Type: Air Defense
Effective Date: 7/36
Value:3 Cost:36 Spot:1 Move:1 MM:Gun Trans:Air Fuel: -
Init:2 Range:1 SA:[1] HA:[3] AA:8 NA:0 GD:2 AD:3 CD:0 TT:Soft Ammo:12
The 20mm AA gun was the most commonly deployed Japanese light flak unit of the war. It was easy to transport and set up for fire. It wasn't that effective against serious air threats, but was probably enough to ward off strafing fighters.
In-game analysis: It's not that powerful, has a limited range, but it is cheap. I don't like that it has effectively no ground-fire capability. Could be useful to throw up next to an objective in a last-ditch effort to stop air raids.
Kaga-class Aircraft Carrier (1 built)
PG Name: Kaga Type:Carrier
Effective Date: 7/36
Value:30 Cost:540 Spot:4 Move:5 MM:Deep Naval Fuel: 89 Capacity: 5
Init:3 Range:0 SA:3 HA:6 AA:[9] NA:8 DA:0 GD:15 AD:8 TD:12 Ammo:40
The Kaga would have been a battleship if the Washington Naval Treaty had not been in force -- and actually would have been canceled entirely if a massive earthquake hadn't irreparably damaged the Amagi (a sister ship to the Akagi). The Kaga ended up being quite sizable, and despite its relative age it served admirably during the war. It sank when fires set on the deck during the Battle of Midway led to a fuel tank explosion.
In-game analysis: A bit expensive for what you get. While it has the highest capacity of any Japanese carrier, it's very rare that you really need that much space. Given the option, the carriers that show up on the roster just a bit later are a better deal.