Part 9: Singapore: January 2, 1942

The new year has just started, and we're making our way through the British-held Malay Peninsula. The prize is Singapore, but we're doing it the hard way -- over land.
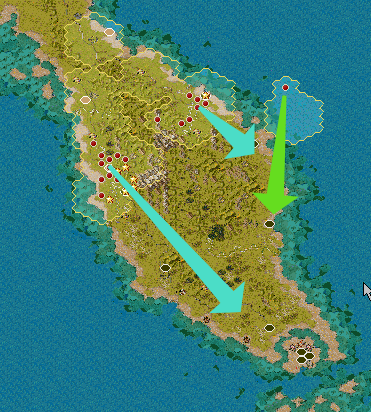
Our plan remains largely unchanged. The combined attack on Kuantan should allow us to support the troops moving down the west side until we capture more airfields nearby. We'll need to keep the core moving southward at a pretty good pace in order to capture Singapore before the units there build up northward-facing defenses.
Axis Turn 9: January 1, 1942
Day, Fair (Dry)
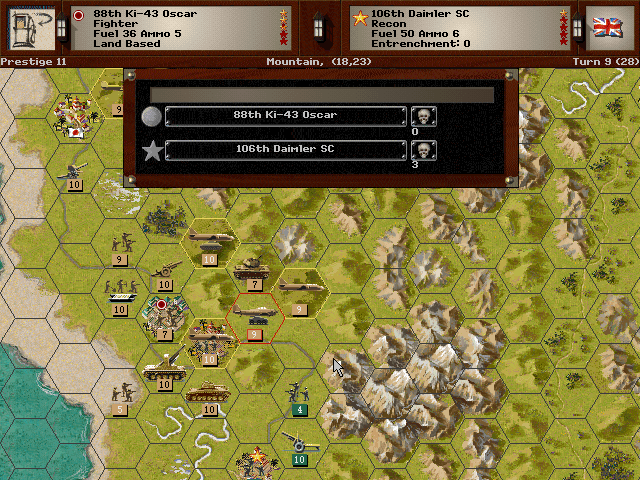
The Oscar proves to be fairly efficient at ground attack in addition to its strength in air-to-air battles.
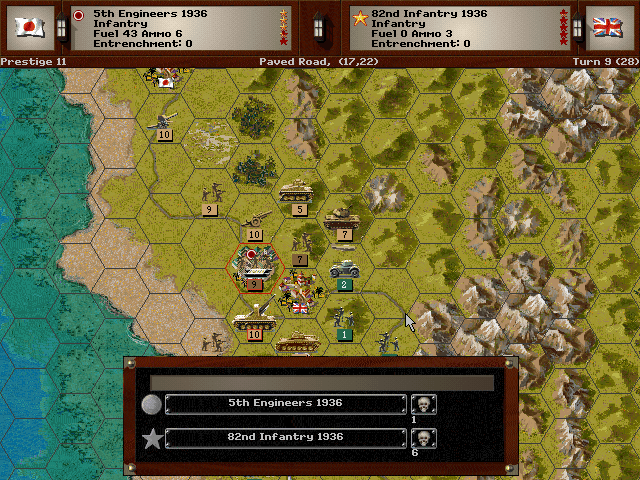
The 5th Engineers have resupplied and again deliver the hammer blow to knock the enemy out of Taiping.
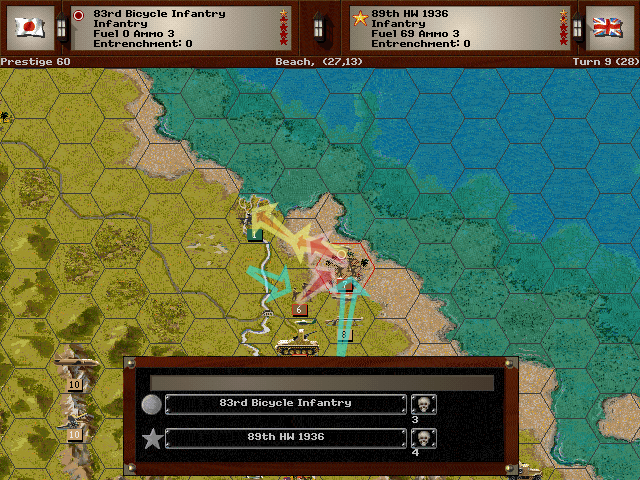
Kota Bahru is captured after multiple attacks from the Bicycle Infantry.
Allied Turn 9: January 1, 1942
Day, Fair (Dry)
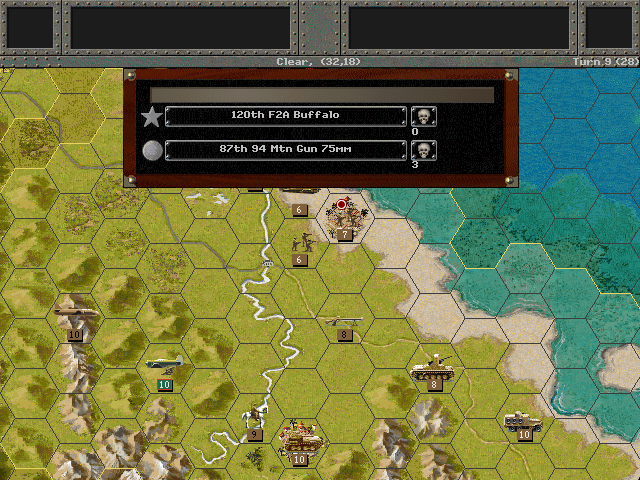
The front lines are quiet, but some enemy air fighters spot the mountain guns currently making their way eastward through the rugged hills.
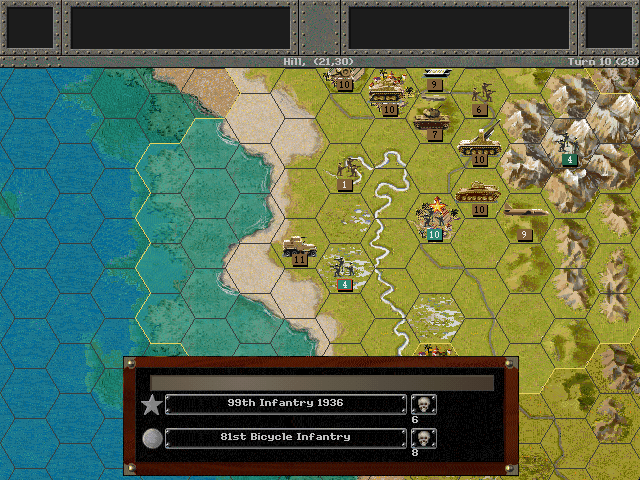
Axis Turn 10: January 4, 1942
Day, Fair (Dry)
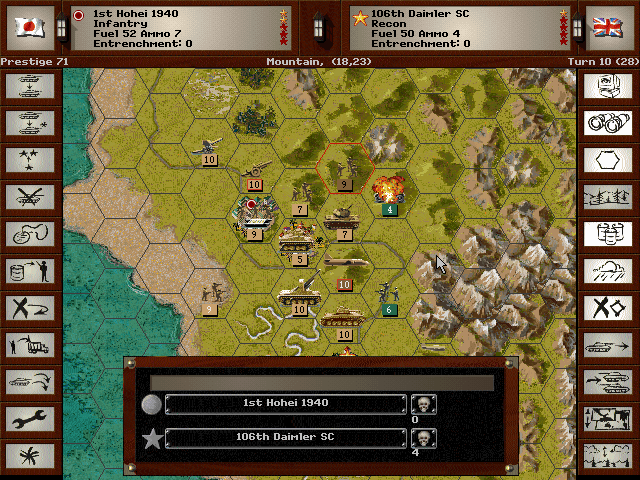
The armored cars had retreated to the hills, and they are easy pickings for the upgraded anti-tank weaponry of the 1st.
That lets us get into a slightly better position to attack Ipoh.
Allied Turn 10: January 4, 1942
Day, Fair (Dry)
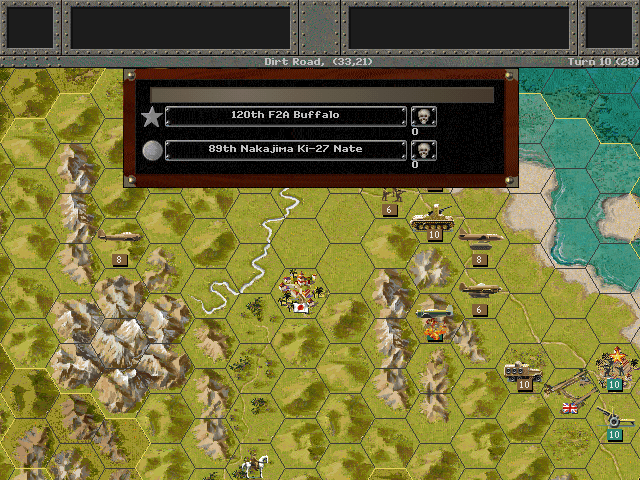
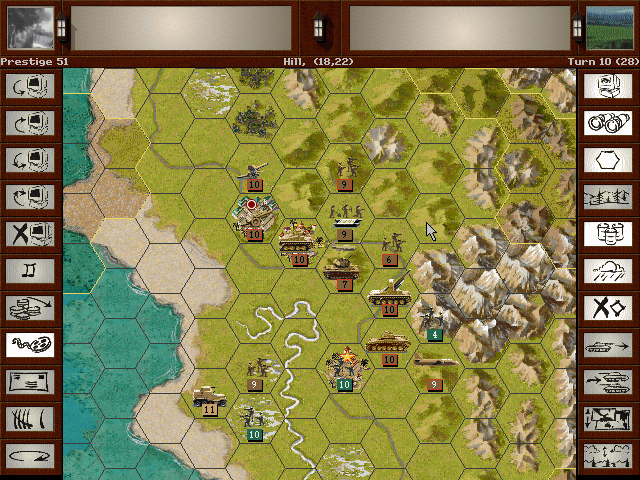
An intense duel between some of our fighters and the enemy Buffaloes ends up with no losses on either side.
In the swampy land along the Perak River, the Indian soldiers nearly eliminate one of the Bicycle units; we are forced to pull them out.
Axis Turn 11: January 7, 1942
Day, Fair (Dry)

Somehow the enemy must have gotten advance word of our planned attack on Kuantan. The Zeros encounter heavy flak as they guide the defenseless gliders toward the landing site.
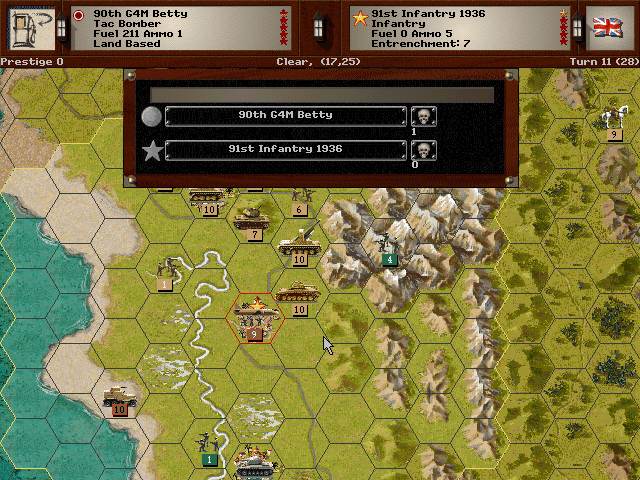
Resistance at Ipoh proves to be strong, with the infantry withstanding even our bombing raids.
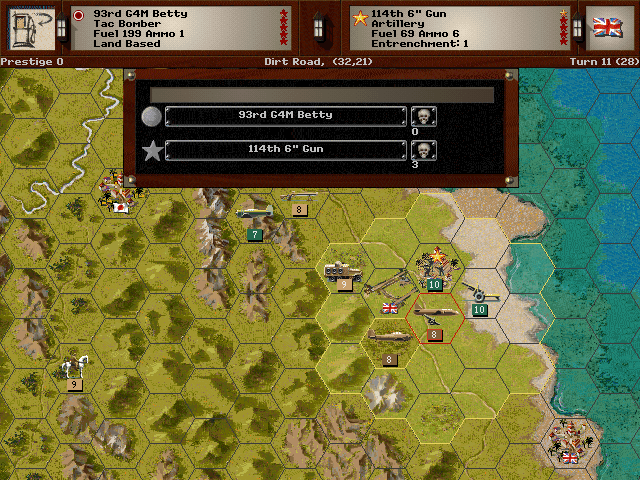
The bombers have better luck at Trangguan; there are a lot of guns there and not much to defend them. Apparently all their air defense guns were moved south to Kuantan.
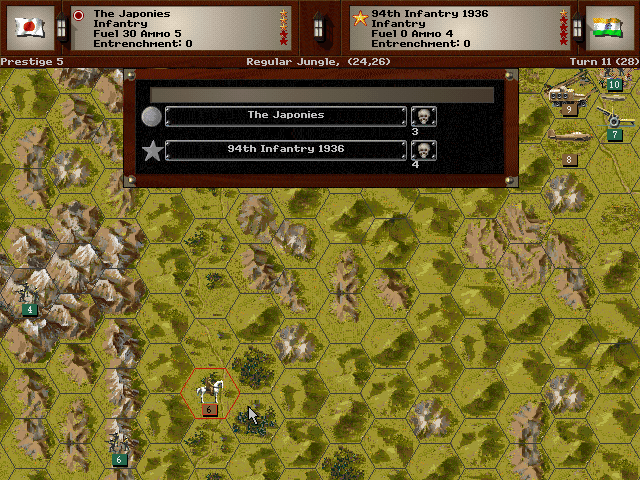
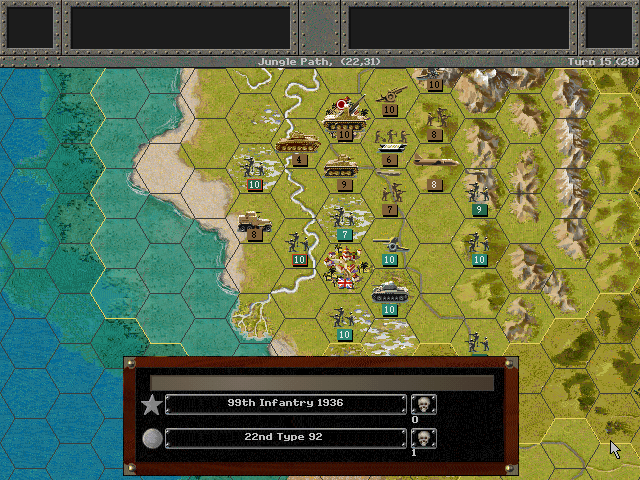
The Japonies ensure that the remnants of the enemy units will not sneak by us through the jungle.
Look closely and you can spot the faint 'road' they are on -- this is a 'jungle path' and accessible only to units on foot.
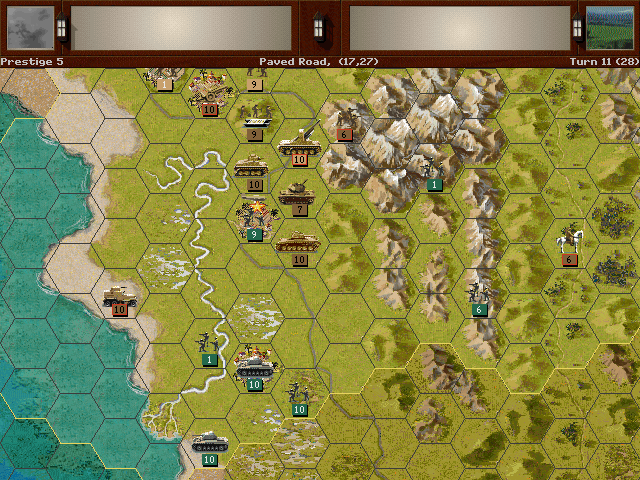
South of Ipoh, scouts spot more tank units that have mobilized and may be heading to stop our progress.
Allied Turn 11: January 7, 1942
Day, Fair (Dry)
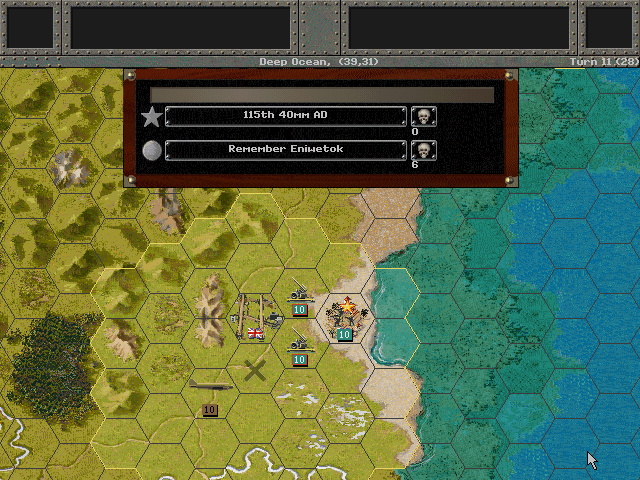
The Zeros guide the paratroops safely to their goal, but in so doing, the entire squadron is lost. This is a severe blow, as we can barely keep our troops reinforced, let alone get any new units in this region. We will never forget Remember Eniwetok.

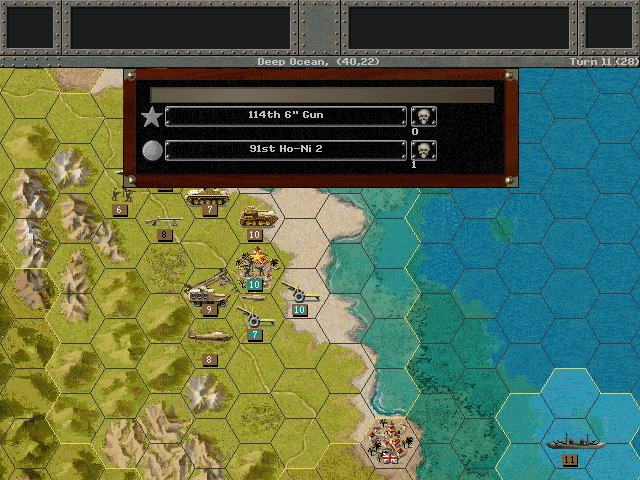
Despite the bombing raids that have been hitting them, the big guns at Trangguan open up on our own guns, and manage to take out several of them.

The arrival of the British Mk I tanks leads to the first test of our Chi-Ha in armored combat. We come out on the losing end.
Axis Turn 12: January 10, 1942
Day, Fair (Dry)
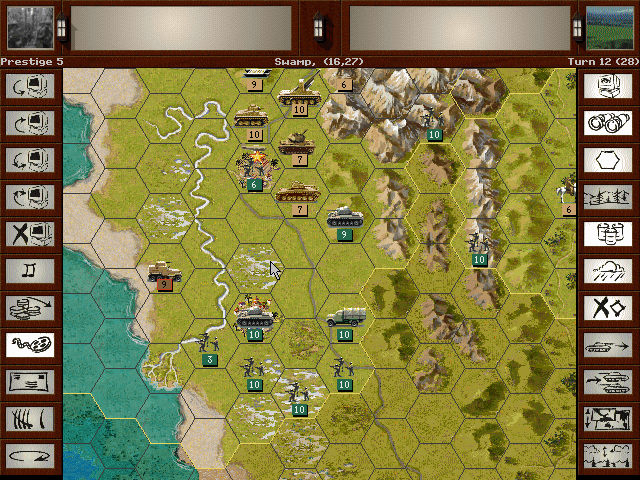
We can likely take Ipoh, but the defensive line beyond is going to be tough to get through. The British can use the marshy Perak as a secure line on their left, and the mountainous terrain to the east to funnel us into a narrow position.
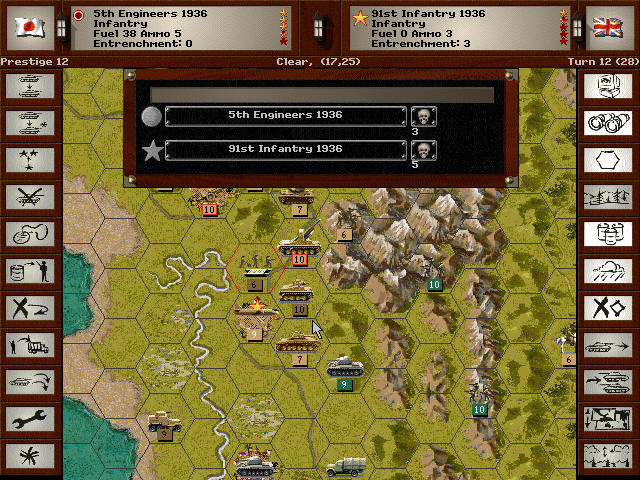
The Engineers once again crack the defenses and Ipoh surrenders, but the troops are exhausted and so are our supplies.
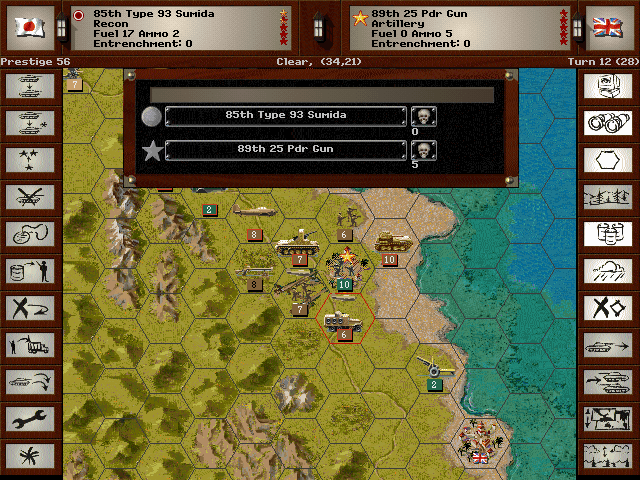
On the eastern side of the peninsula, we have a better day. The guns have been all but eliminated, and the town should be captured soon enough. We already control the airfield.
Allied Turn 12: January 10, 1942
Day, Fair (Dry)
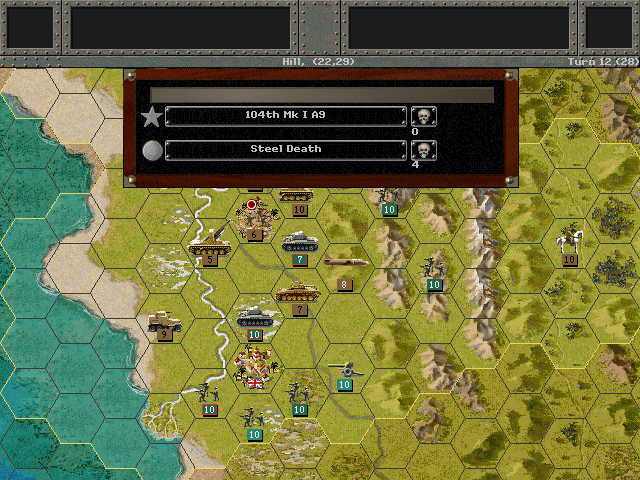
The British tanks roll in and deliver a punishing blow to Steel Death.
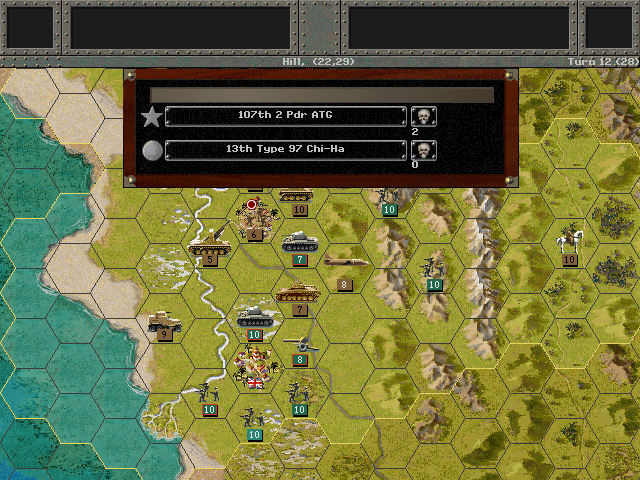
Our own armor survives an attack from their guns, but the slow-moving tanks are in danger of being surrounded and cut off.
Axis Turn 13: January 13, 1942
Day, Fair (Dry)
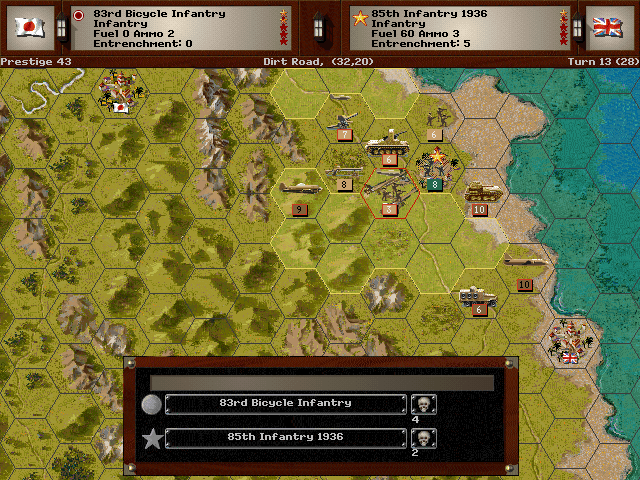
The troops at Trangguan are heavily dug in, and eliminating them will take some time.
Fortunately it appears that the Kuantan airport can be taken over. We should be able to safely land on shore to the north.
Determined attacks drive back one unit of enemy tanks, but we are unable to advance into the gap.
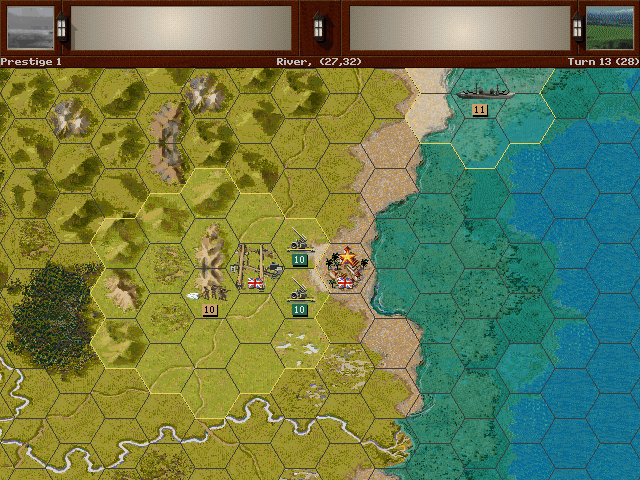
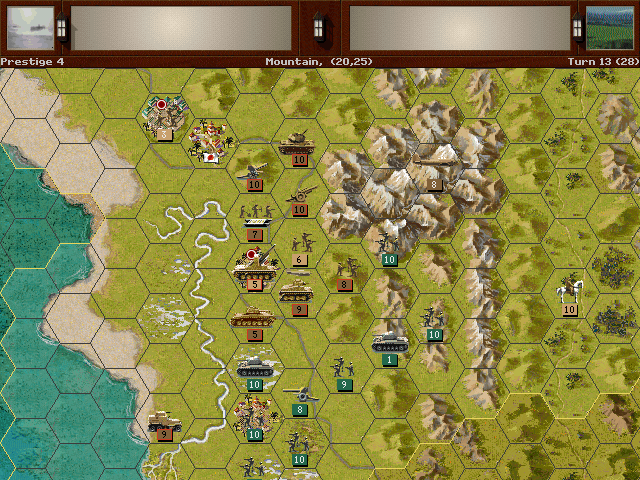
Allied Turn 13: January 13, 1942
Day, Fair (Dry)

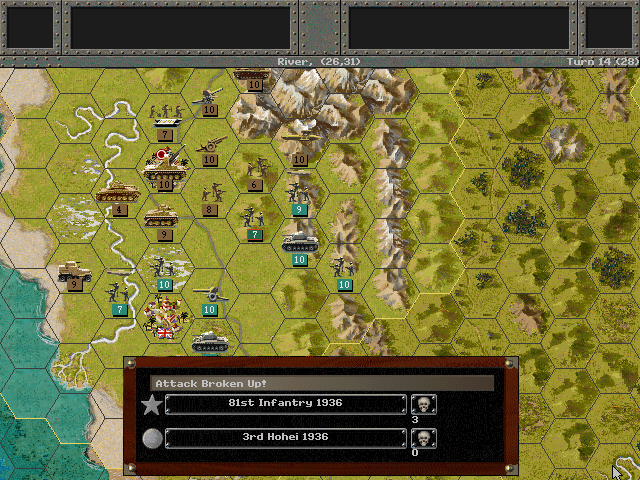
The enemy makes a push to gain control over our side of the Perak, but the recon units hold fast.
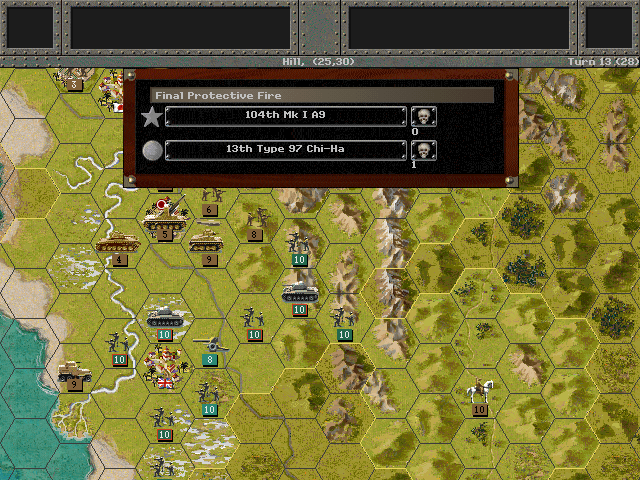
One of their tank units was forced out of action, but the other forces the Chi-Ha's to retreat.
Axis Turn 14: January 16, 1942
Day, Fair (Dry)
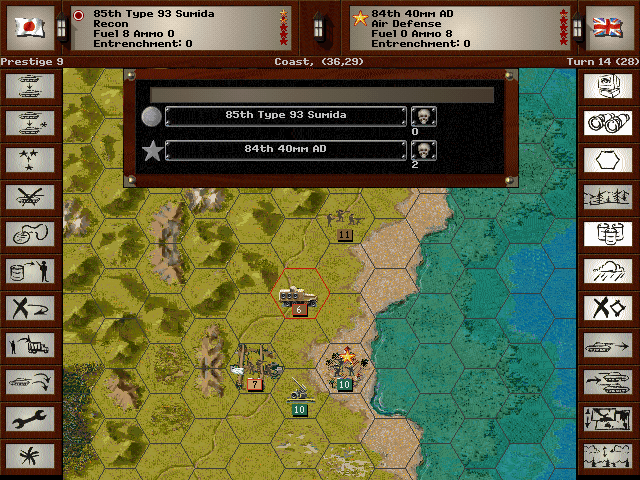
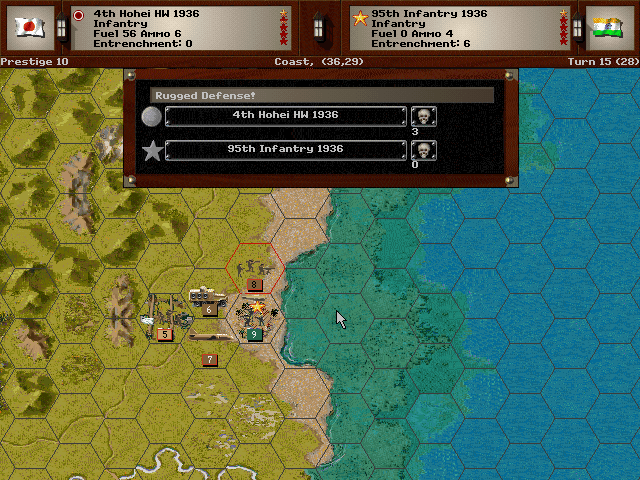
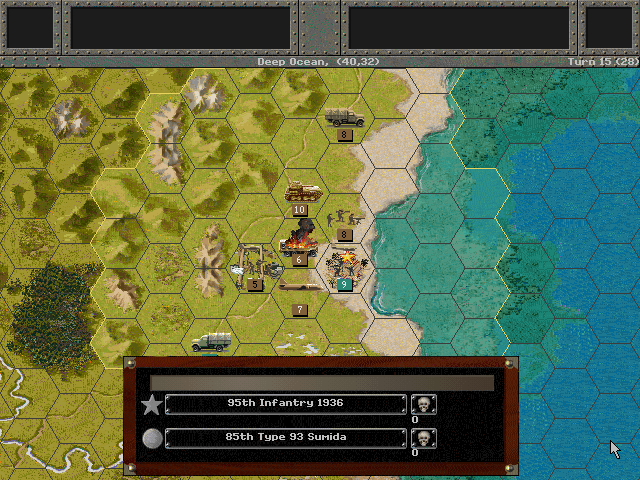
In order to land planes at Kuantan, we need to eliminate those AA guns. One is taken care of thanks to the Teishin Dan and the rapid advance of the Sumida armored cars.
Trangguan finally yields to our attacks.
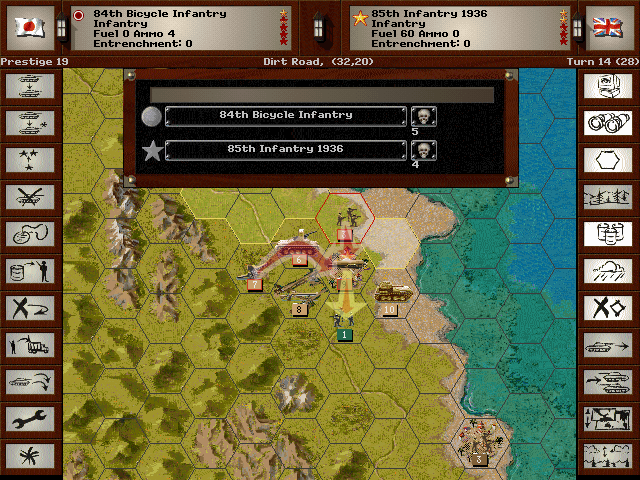
The Japonies followed the jungle route all the way to the road to Kuala Lumpur. Perhaps by threatening the enemy's rear, we can disrupt their defensive line to the north.
Getting more supplies in has been difficult, but Hirohito's Hieneys are ready to get back into action.
Allied Turn 14: January 16, 1942
Day, Fair (Dry)
The front line is mostly made up of infantry now. Fighting is moderate, but with our tanks in such bad shape, we are at risk of a counterattack here.
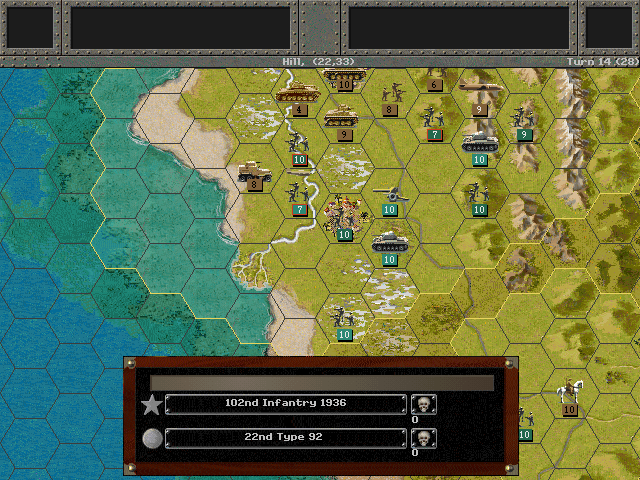
The Indian soldiers maintain control of the Perak, as the Type 92 is now fully out of supplies.
Axis Turn 15: January 19, 1942
Day, Fair (Dry)
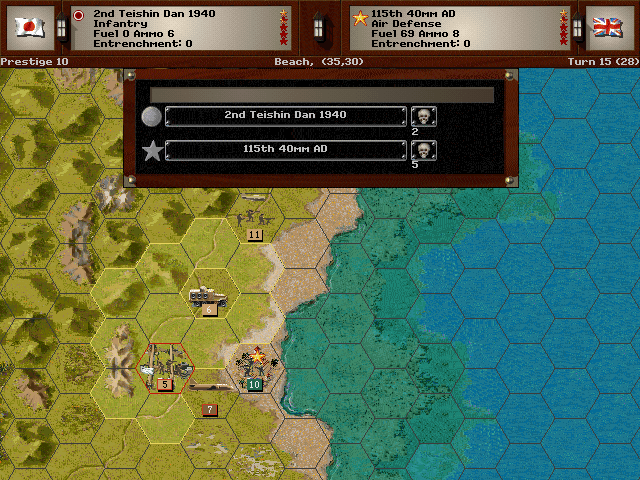
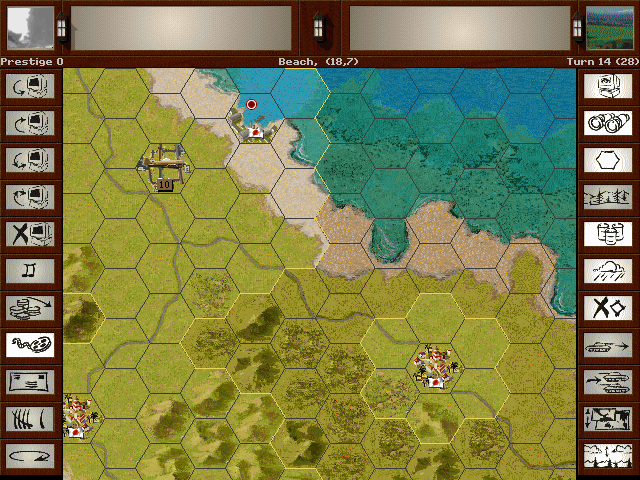
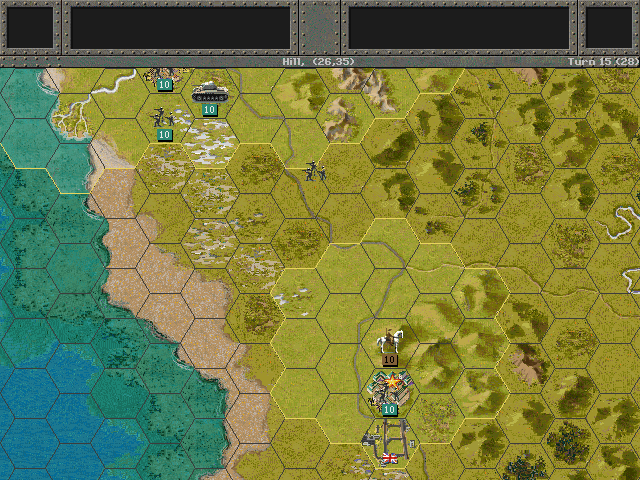
The Teishin Dan complete the goal of securing the Kuantan airfield as the remainder of the AA guns are destroyed.
An attack directly on the city proves fruitless, but by engaging them here we've prevented the enemy from retaking the airfield, our primary goal.
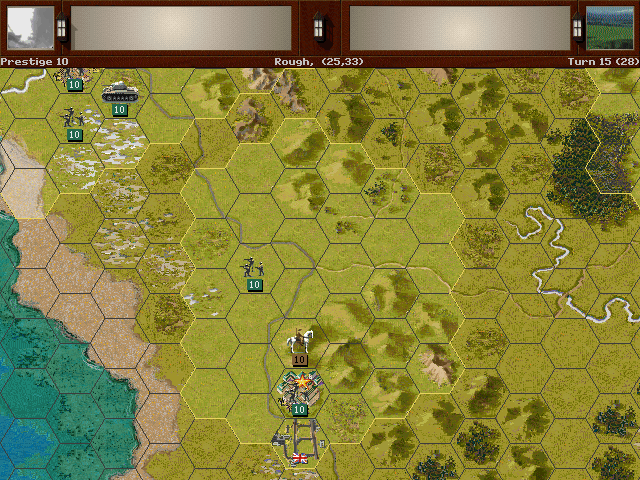
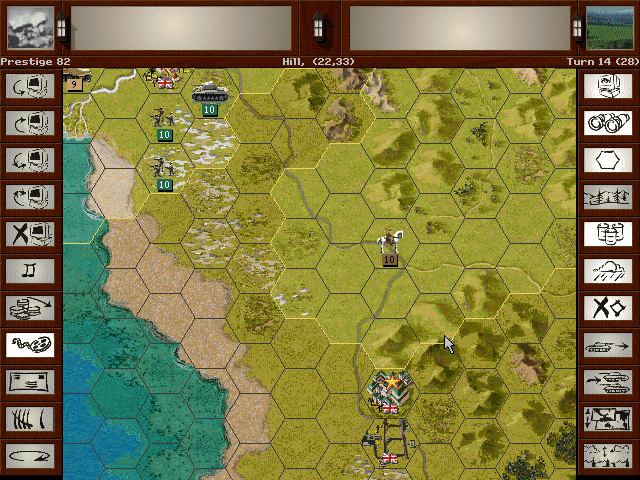
The Japonies head right up to Kuala Lumpur. Their aim is not to attack, but trick the British into thinking they have more forces to support them, and cause a withdrawal from Ipoh.
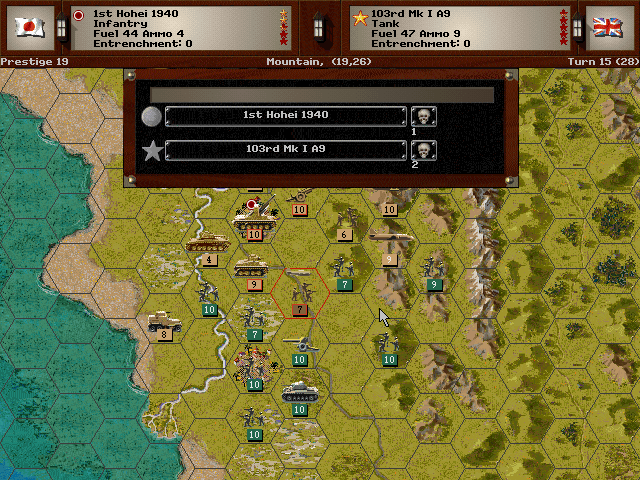
For their part, our infantry up there seems capable of dealing with the enemy tanks by themselves.
With a new airfield taken, we should be able to start up more air raids and continue the advance southward. Once we can get the troops supplied, at least.
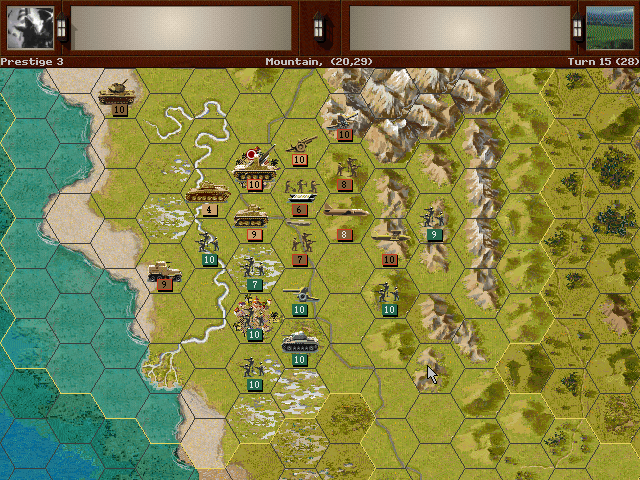
Allied Turn 15: January 19, 1942
Day, Fair (Dry)
The British do not seem to make any response at Kuala Lumpur.
Instead of falling for our feint with the Japonies, they push their infantry forward, over the Perak, and cut off the Tyoe 92.
Kuantan's defenders make an ineffectual attack against the Sumida cars.
Current VP: 719-1145 (Defeat)
The balance of control stays with the enemy for now. We need to push harder, or we'll have to spend the rest of the year besieging the city.
Unit Spotlight
For today, it's two key pieces of equipment that the Japanese had on their side; probably the most numerous of their type in the war.
Type 95 Ha-Go ['Vehicle' Model C]
PG Name: Type 95 Ha-Go Type: Tank
Effective Date: 7/36
Value:7 Cost:84 Spot:3 Move:5 MM:Track Trans:Naval Fuel: 50
Init:3 SA:7 HA:4 AA:0 NA:1 GD:8 AD:2 CD:2 TT:Hard Ammo:9
This light tank was the most-produced Japanese AFV of the war. Its relative cheapness and good mechanical reliability made it a mainstay from the 1930s well into the 1940s. Although it could handle the Chinese units that it faced, and served decently as an infantry-fighting tank, it was shown to be weaker than the Soviet armor in Mongolia during the Nomonhan Incident. By the time it was up against the Allied mid-war models, it was clearly outclassed. About the only advantage it possessed was that its light weight made it slightly easier to travel through unforgiving jungle terrain.
In-Game Analysis: The Type 95 is superior to the Type 94 and improves on it in several good ways. It boosts combat power, fuel, and ammo. Given the low initiative, it's not that great for fighting armor, but it does make for a good rapid-response infantry support tank.
Mitsubishi A6M [Type 0] (Zero/Zeke)
PG Name: A6M Zero / A6M2 Zero Type:Fighter
Effective Date: 7/40 / 7/42
Value:29 Cost:348 Spot:3 Move:10 MM:Air Trans:Naval/No Fuel: 153/102
Init:6 SA:2 HA:1 AA:15 NA:1/0 GD:7 AD:10 Ammo:6
A legendary airplane, a marvel of design and often considered the most maneuverable fighter craft of the war, the Zero was by far Japan's most successful fighter plane. It was an immediate hit with pilots when introduced, and its fantastic range allowed it to be an escort on any carrier operation. Its biggest shortcoming may have been that it did not last for long if it did manage to take a hit; its performance also dropped off at higher speeds. By the end of the war it was outclassed by faster aircraft, although due to its light weight and good maneuverability, it could be deployed as a kamikaze attack craft.
I'm not certain what the 'A6M2' variant is supposed to represent here as the A6M2 was the primary model of the Zero for some time and there was no 'plain' A6M. It seems like it could be the A6M3, a variant that traded range to get a bit more performance at higher altitudes, though that was also one that never ended up being popular. As far as I'm aware there was no variant that was purely land-based, aside from early prototypes.
In-game analysis: Quite a good fighter. When it first becomes available, and for about a year after, it's unrivaled for attack power and can knock anything else out of the sky. Unfortunately the relatively low defense means it's going to be fairly quickly outclassed once newer designs come onto the battlefield, and flak can seriously hurt it. Also, as a practical matter, there aren't any scenarios set during 1940, so the distinction is a bit less meaningful. The amazing fuel capacity does make it a terrific escort en route to targets without air defense -- it can stay in the air for a long time, and it's tough enough to deter all but the most determined enemy planes. The A6M2 is strictly worse for the same price and should not be purchased (unless it's the only option).