Part 13: Burma: December 29, 1941
For the second time, 1942 is about to dawn for us. This time, we're pushing our way northward.
While we haven't made much progress so far into Burma, we haven't really run into resistance anywhere. If this keeps up we should gain ground rapidly.
Axis Turn 5: December 29, 1941
Day, Rain (Dry)
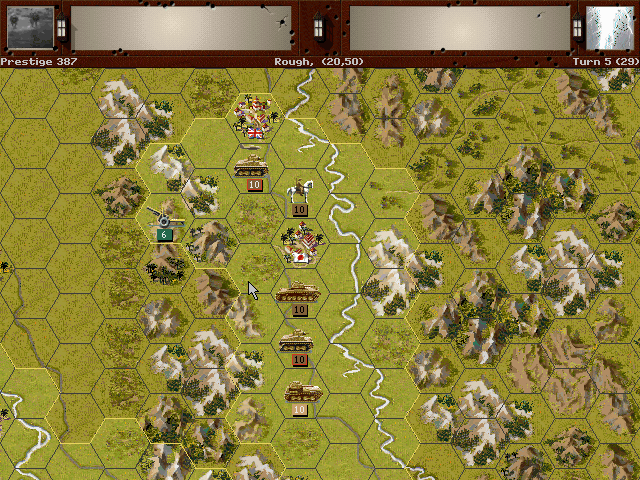
Despite the stormy weather, we clear the road all the way to Toungoo.
It comes at a fairly high cost, but we finally clear out the enemy forces on the other side.
Allied Turn 5: December 29, 1941
Day, Rain (Dry)
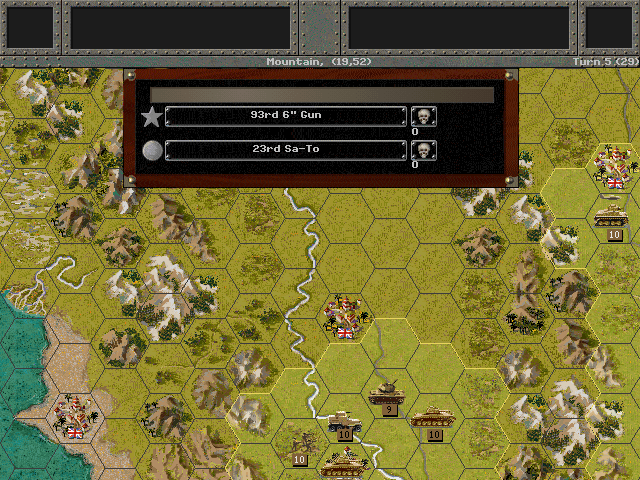
Nothing is heard from except some unknown guns on the western side.
Axis Turn 6: December 30, 1941
Day, Cloudy (Dry)
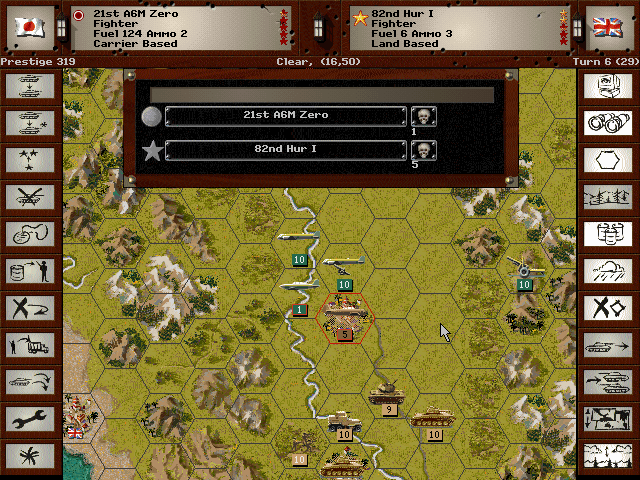
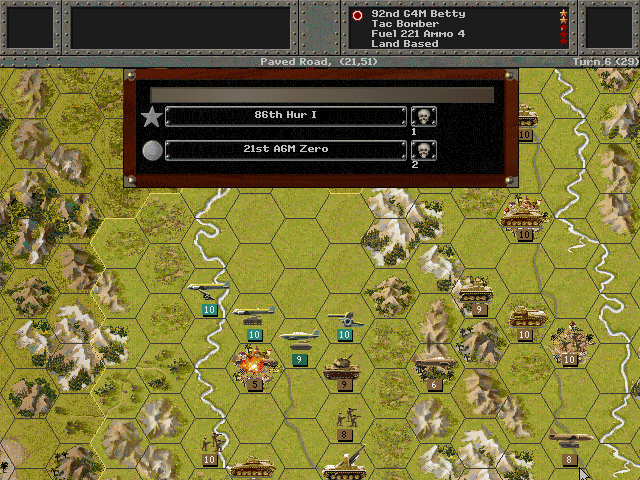
The enemy planes have regrouped, but our Zeros make short work of some fresh Hurricanes.
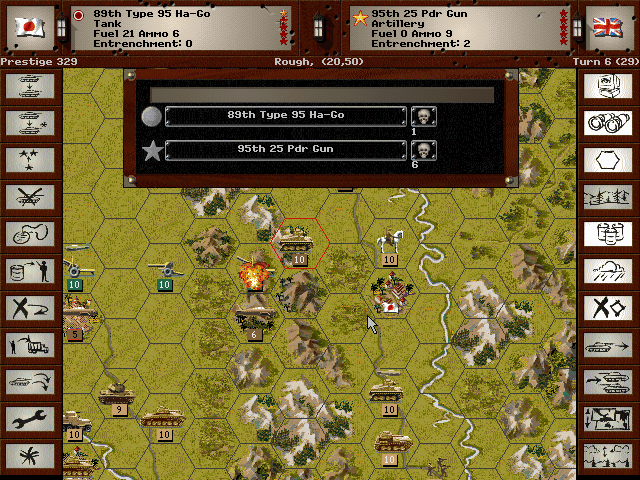
We've chased the enemy guns up into the hills, but once they get up there, the tanks find it difficult to press any farther.
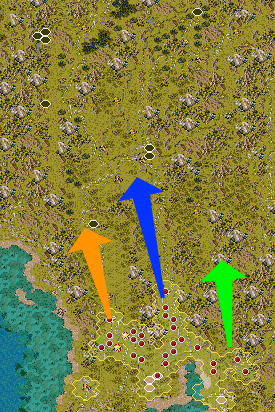
The western group reaches the end of the highway at Kama, and then begins to push onward.
Allied Turn 6: December 30, 1941
Day, Cloudy (Dry)
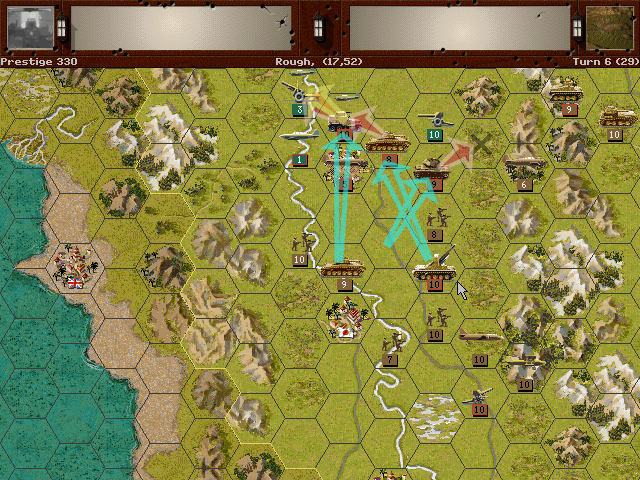
The enemy fighter presence remains strong. They hit back against the Zeros.
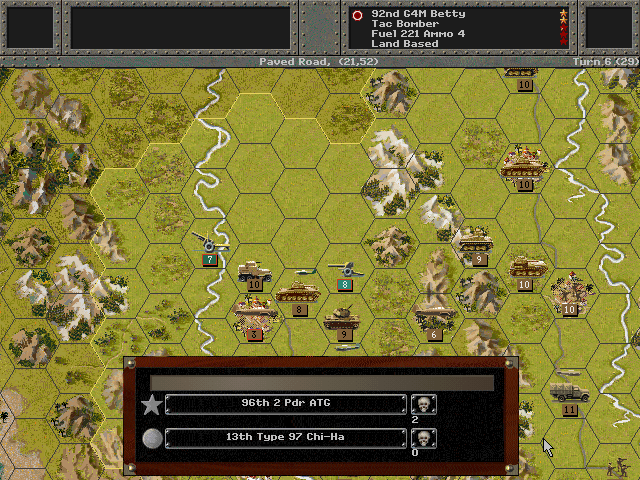
On the ground, the AT guns try to stop our tanks, but achieve no success.
Axis Turn 7: December 31, 1941
Day, Fair (Dry)
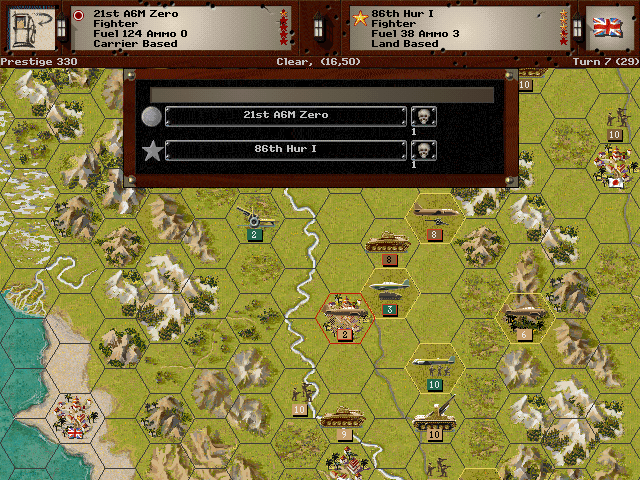
The Zeros have taken heavy losses now, and will be forced to retreat. They've managed to do some very fine work so far.
The enemy forces are rather weak on the west, and we'll be able to move northward relatively easy despite the lack of good roads.
Allied Turn 7: December 31, 1941
Day, Fair (Dry)
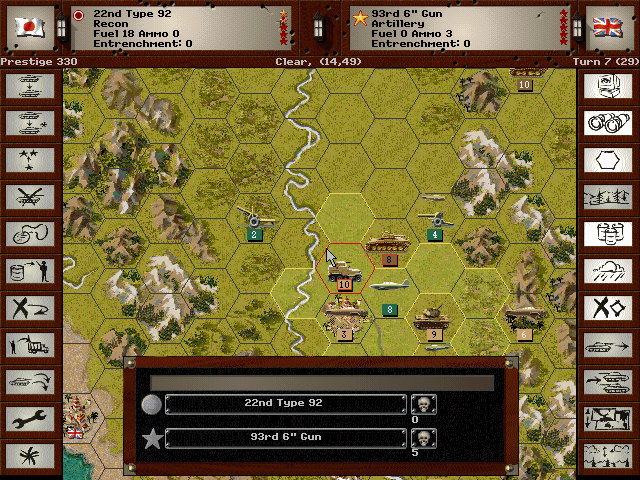
The enemy bombers continue to bother us.
Yenang-Yuang's defenders come forward to engage our scout forces.
Axis Turn 8: January 1, 1942
Day, Fair (Dry)
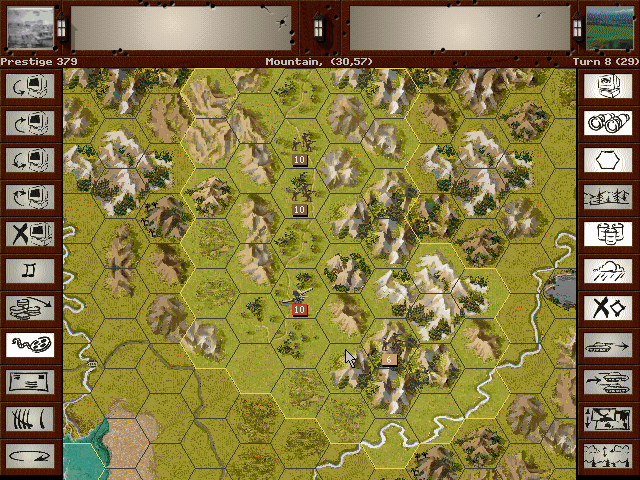
The mountain group is slowly making its way. No resistance has been encountered.
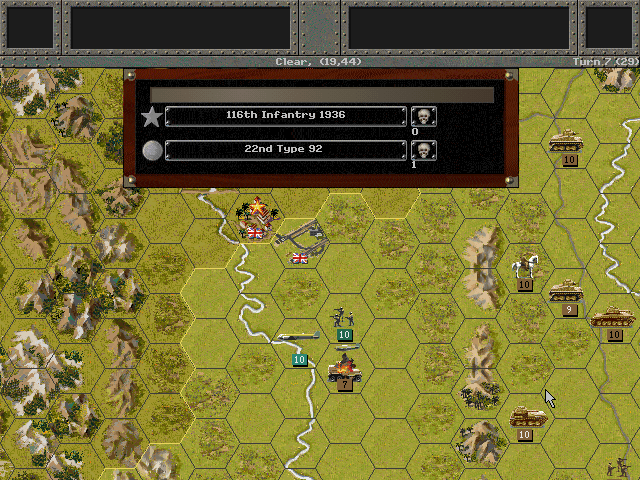
We've finally moved within sight of the Irrawaddy River. There are actually some troops to fight here.
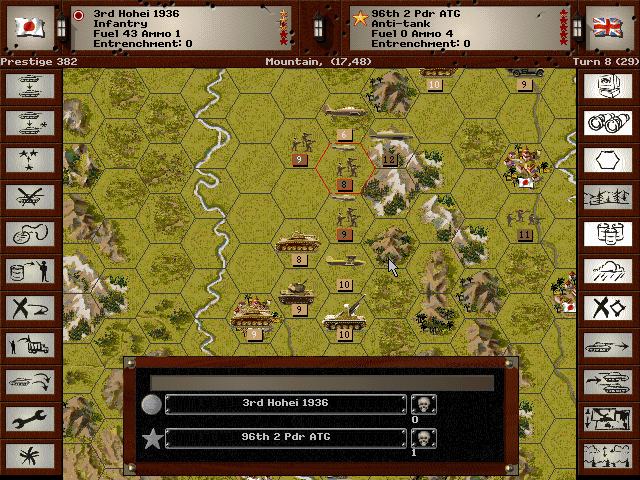
The western group finally mops up the few forces that remained south of Yenang-Yuang.
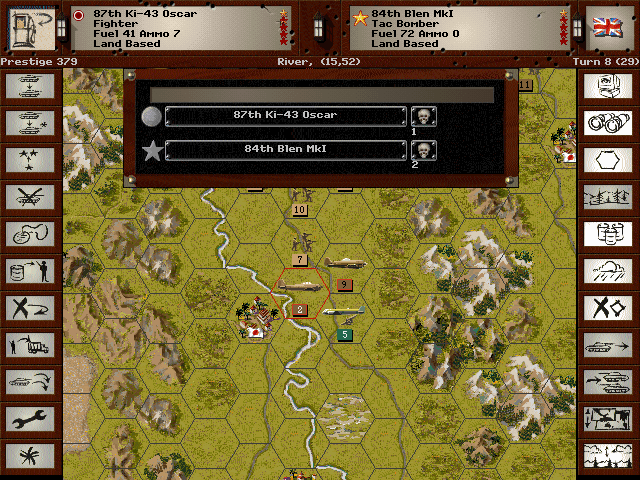
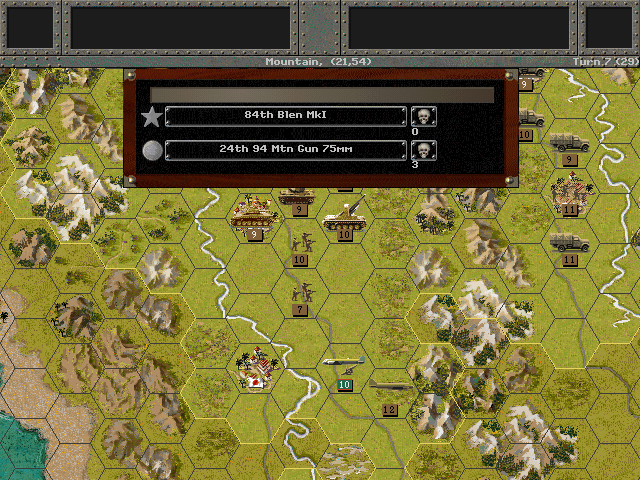
Few, if any, fighters remain on the opposing side. Our fighters are free to engage the bombers, but the Blenheims are not an easy target.
Allied Turn 8: January 1, 1942
Day, Fair (Dry)
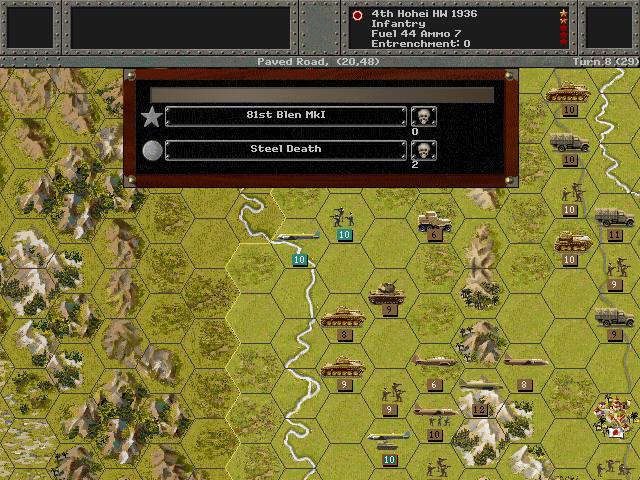
Enemy air raids continue to hurt us.
Luckily the opposing ground troops remain ineffective.
Axis Turn 9: January 2, 1942
Day, Fair (Dry)
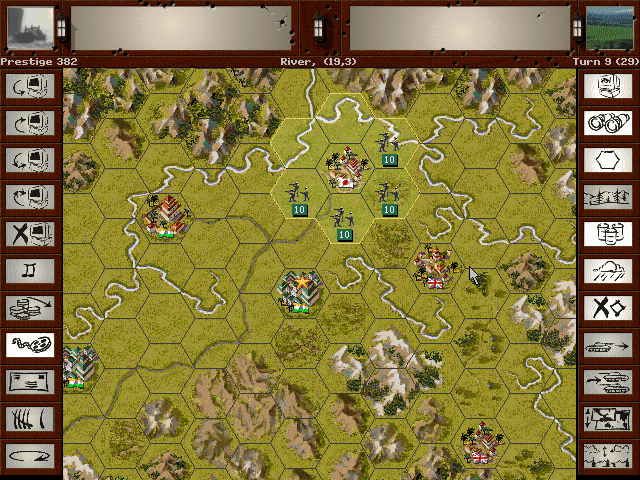
Our spies in Sadiya are in danger of being discovered.
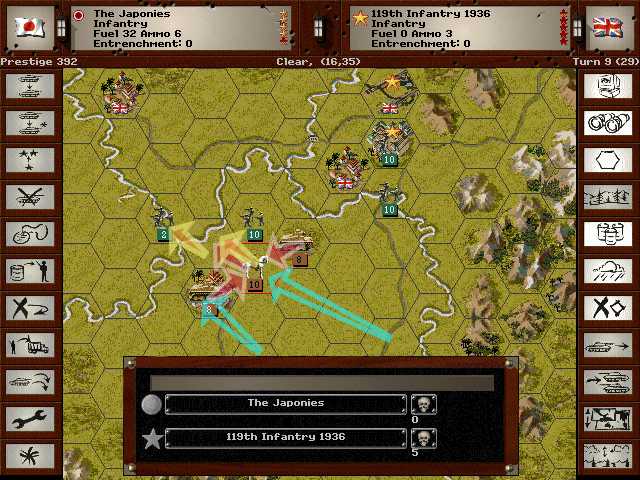
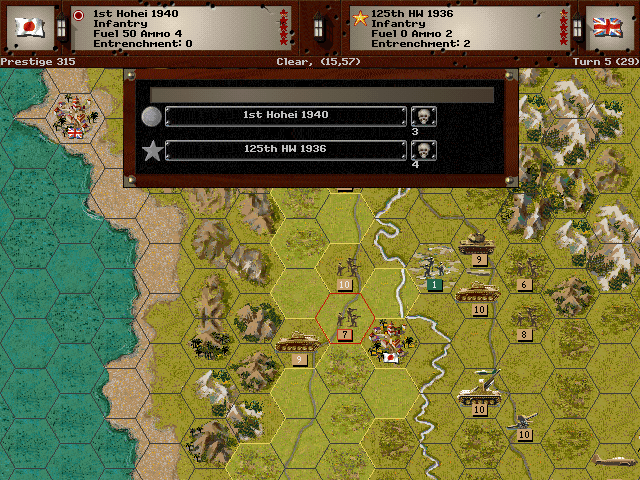
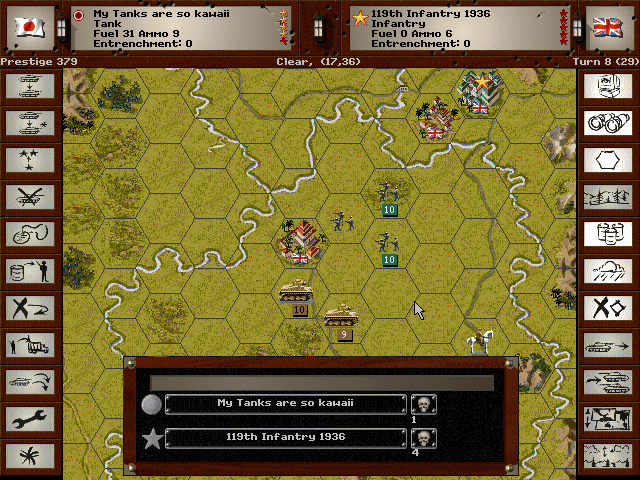
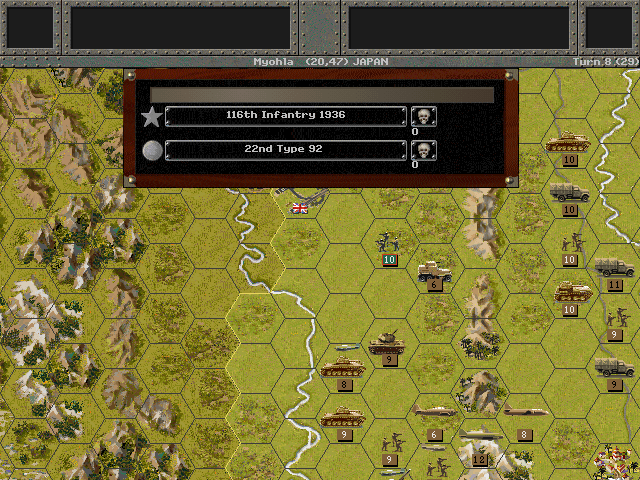
We push the enemy forces across the river.
Resistance near Yenang-Yuang is surprisingly stiff.
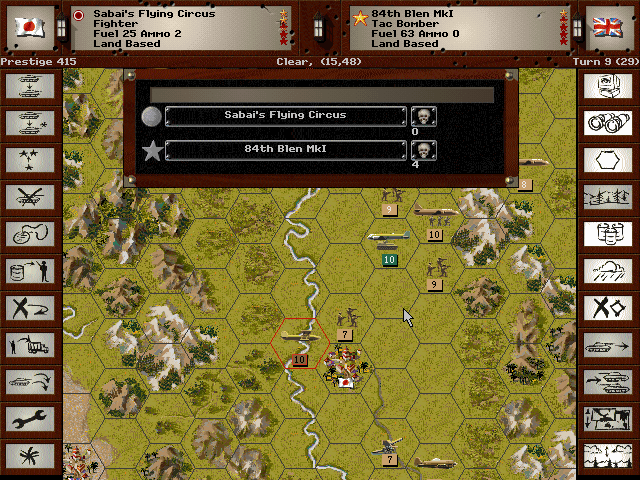
Despite their aging aircraft, Sabai's pilots prove to be quite adept at downing the bombers.
Allied Turn 9: January 2, 1942
Day, Fair (Dry)
-No response-
The enemy has quieted down and we're making big gains. Either we've succeeded in moving fast enough to paralyze the defenders, or they are planning to confront us much further up the road.
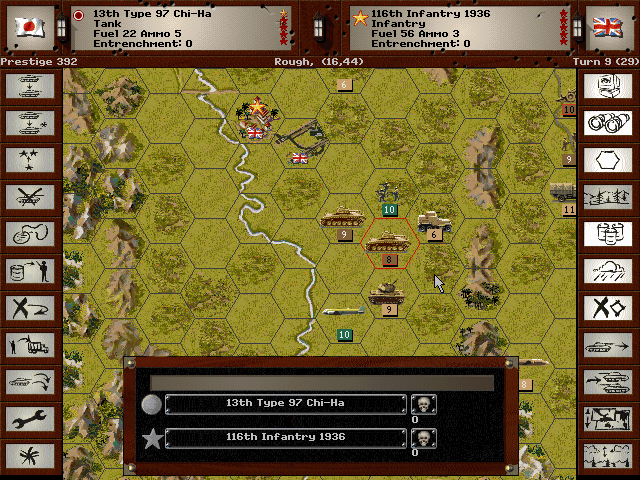
Unit Spotlight
Type 97 Chi-Ha [Medium Tank Model C]
PG Name: Type 97 Chi-Ha Type: Tank
Effective Date: 3/40
Value:12 Cost:144 Spot:2 Move:4 MM:Track Trans:Naval Fuel: 42
Init:5 SA:7 HA:5 AA:0 NA:1 GD:10 AD:2 CD:2 TT:Hard Ammo:13
The Chi-Ha was arguably the most successful of the Japanese tank designs of the war, but that's kind of a back-handed compliment, given how early this design came out. In truth, the Japanese lagged well behind in both design and production of armored vehicles as the war dragged on into the mid-1940s. This design was based on the Ha-Go, but had a new chassis that proved to be quite versatile. It had a decent amount of armor and while its bigger gun made it probably the best tank in the battle for China, it was undergunned when it dealing with the likes of an M4 Sherman.
In-Game Analysis: For its time, this is a solid unit. I do wish it could move faster, but that's a problem for most of the Japanese tanks. This one is the near equivalent to several of the French tanks of 1940, so it's not as though the Japanese are behind the times yet. With some experience it can remain in service for quite a while in an infantry-fighting role, but hopefully not for as long as the Japanese were forced to rely on them.
Momi-Class destroyer (21 built)
PG Name: Momi Type: Destroyer
Effective Date: 7/36
Value:3 Cost:36 Spot:1 Move:7 MM:Coastal Fuel: 66
Init:3 Range:1 SA:3 HA:6 AA:[3] NA:6 DA:8 GD:14 AD:3 TD:16 Ammo:40
Special: Sonar
The Momi-class destroyers (not to be confused with a late-war Matsu-class ship named the Momi) all date to the early 1920s. They were armed with torpedoes and a 120mm gun. The IJN considered these obsolete by the 1930s, and relegated the ships to patrol and escort duty. A few of them did see action during the war.
In-game analysis: This is not a good ship, but it is cheap. It's okay for sub-hunting, so if there are no alternatives and a slot is available, it's not a terrible option.