Part 22: Guadalcanal: August 9, 1942
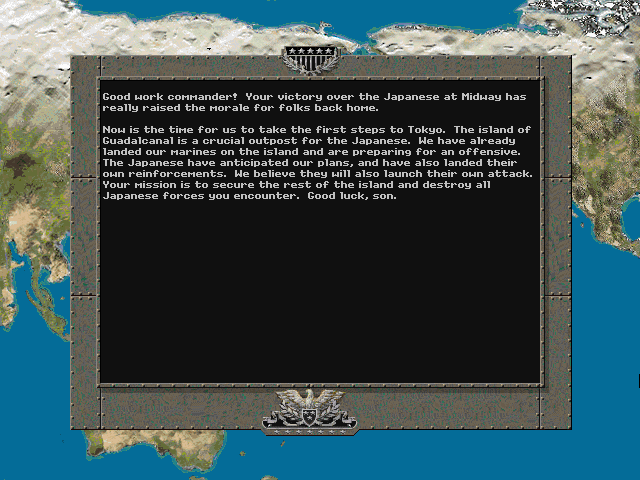
With the Japanese carriers almost entirely out of the way, we have a free hand to begin taking bases in the Pacific.
Guadalcanal : August 9, 1942
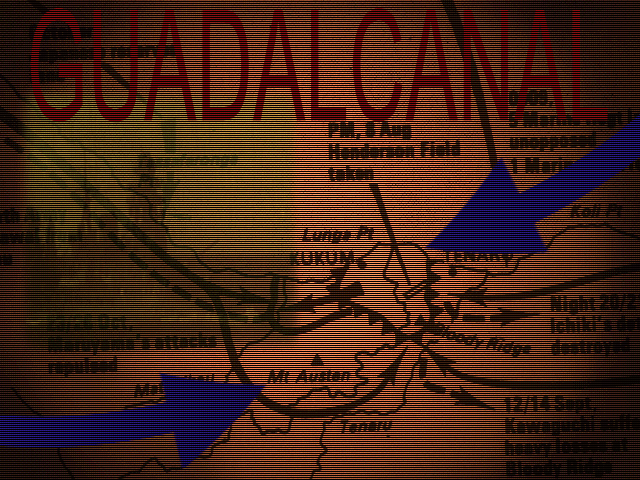
Objectives: (Henderson Field [100]),(Pier [100]), Bloody Ridge [20], Mount Austen [50], River {62,18} [20], Clear {62,22} [30], Jungle {23.15} [30], Galloping Horse [30], Sea Horse [30]
Some of the objectives here are weirdly non-specific, but at least we have something to aim at, instead of just trying to sink enemy ships. (The curly-bracketed values are the hex locations, which increase to the left and downward.)
VP Start: 200 - 512
OOB
pre:
Unit Name                   Unit Type [Transport]         Exp

Land Units

1.12th USMC Marines 1941       USMC Marines 1941               -
2.Stay Frosty                  USMC Marines 1941               -
3.14th USMC Marines 1941       USMC Marines 1941               -
4.15th USMC Marines 1941       USMC Marines 1941               -
5.16th USMC Marines 1941       USMC Marines 1941               -
6.17th USMC Paramarines 1941   USMC Paramarines 1941           -
7.18th USMC Engineers 1941     USMC Engineers 1941             -
8.21st M3 Stuart               M3 Stuart                       -
9.Boondoggle                   M3A1 Lee                        -
10.19th 75mm Pack Howitzer     75mm Pack Howitzer              -
11.20th 75mm Pack Howitzer     75mm Pack Howitzer              -

Aux (by qty)
2                              Infantry 1936                   -
1                              Infantry 1936                 ***
1                              USMC Engineers                ***
1                              USMC Raiders                    -
1                              Seabees                         -
2                              Fiji Guerillas                  -
1                              Phi Scout                       -
1                              USMC Raiders & Dogs             -
1                              M3A1 Lee                        -
1                              M3 GMC                          -
2                              37mm ATG                        -
1                              40mm AD                         -


Air Units

12.7th F4F Wildcat             F4F Wildcat                     -
13.8th F4F Wildcat             F4F Wildcat                     -
14.9th F4F Wildcat             F4F Wildcat                     -
15.10th SBD Dauntless          SBD Dauntless                   *
16.11th TBD Devastator         TBD Devastator                  -


Aux (by qty)
1                              USMC F4F Wildcat                -
2                              P-40 Warhawk                    -
1                              SBD Dauntless                   -


Naval units

17.New Orleans                 New Orleans                     *
18.Northampton                 Northampton                     *
19.Yorktown                    Yorktown                        -
20.Atlanta                     Atlanta                         -
21.Gato                        Gato                            -

Aux

DESRON 2                       Sims                            -
DESRON 3                       Porter                          -
DESRON 4                       Somers                          -
Staring Prestige: 2008
Although we lost one destroyer at Midway, it doesn't need replacing just yet. None of our units have really had a chance to gain much in the way of experience, and our ground troops are as yet untested. Luckily we have a pretty decent auxiliary force, including units with some familiarity with the tropical Pacific island terrain.
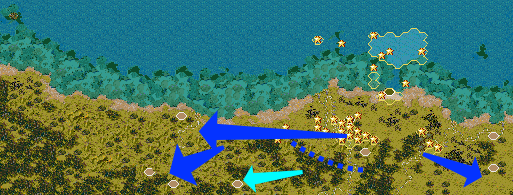
Our aim is to largely avoid the jungle by pushing our way along the roads and trails wherever we can. It is likely that we will need to station units to keep the road clear as the troops march forward, since we never know who might be hiding out in the deep forest. On the eastern side, we're also going to avoid the dense vegetation by heading through the more open terrain and then hooking toward the coast. The Japanese can't easily move through the jungle any faster than we can, and it'll be up to our aircraft to spot any units trying to sneak behind us.
Since these objectives aren't themselves worth a whole lot of points, we'll need to also work on reducing the enemy forces. It's less important to get speed on the target than it is to ensure that our route to it is entirely cleared and that we don't risk losing any objectives we now hold. If time and the enemy permits, we can make our way through some jungle routes to take Mt. Austen, but it's not a strict priority.
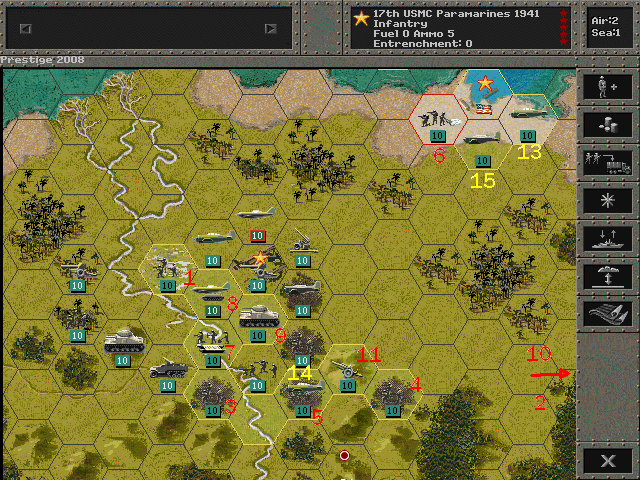
The forces are arrayed to carry out our plan. We'll begin by pushing out with the Marines, and using the tanks to spearhead a route along the road. A few other units are deployed on the east side, and in all sectors we'll have to rely on air support to really make progress.
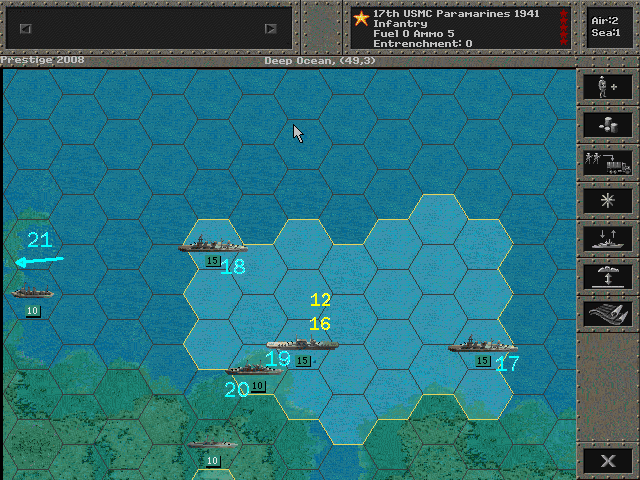
Our support fleet is here primarily to keep the planes over the island. Although we also have control of Henderson Field, the Yorktown can handle more aircraft, even if it is a longer distance to go to refuel. Any opposing ships will be taken care of by the cruisers and our sub.
Allied Turn 1 (USA): August 9, 1942
Fair, Dry
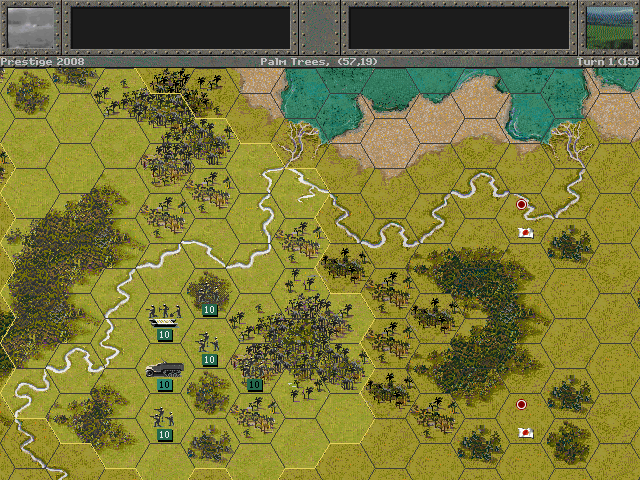
No resistance is encountered as our forces head eastward.
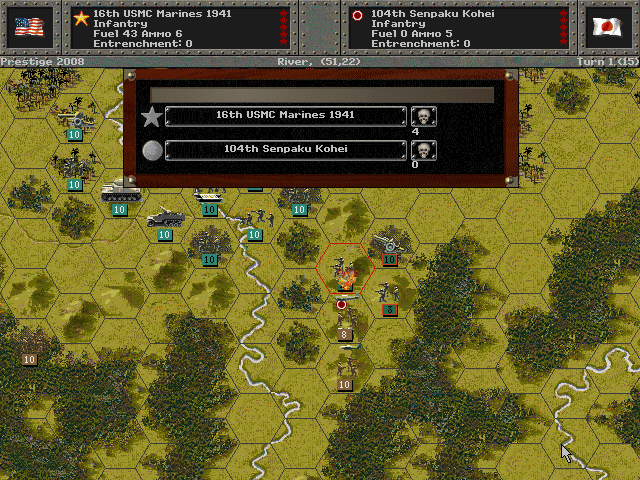
We assault Edson's Ridge and take predictably heavy losses.
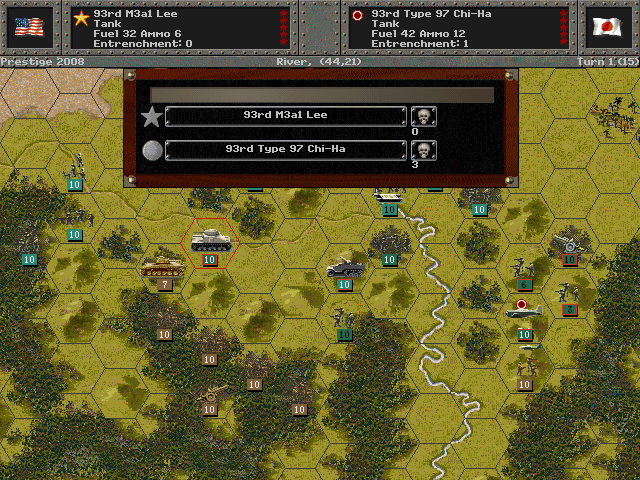
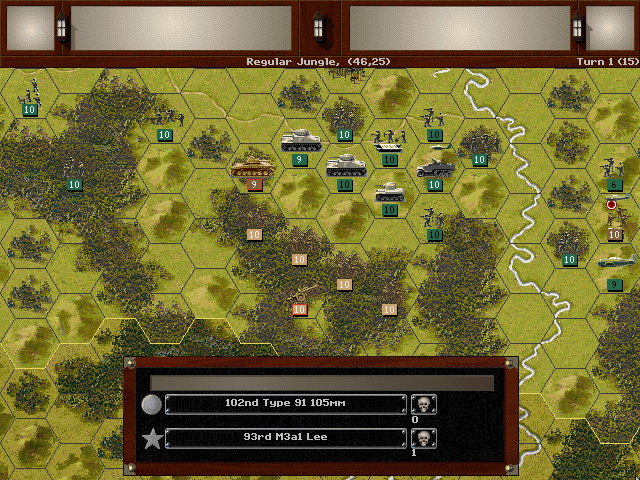
While the main road to the rest of the island is only guarded by some tanks, there are a lot of forces that will need to be rooted out of the jungle.
Axis Turn 1 (Japan): August 9, 1942
Fair, Dry
Enemy planes are spotted en route to the island.
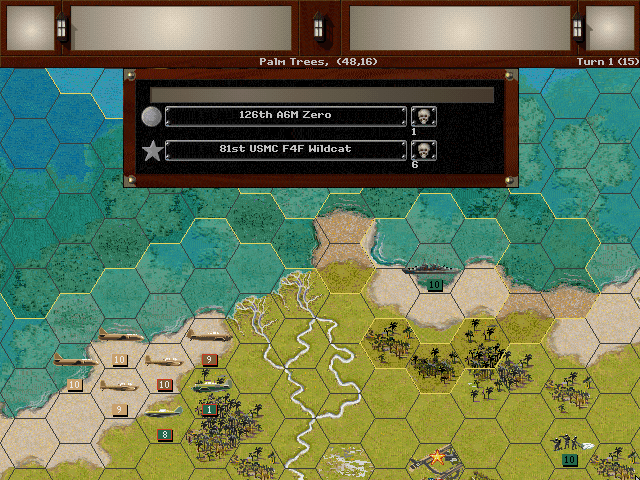
When they encounter our fighters, the Zeros slice up one squadron.
Artillery shells arrive from somewhere in the jungle.
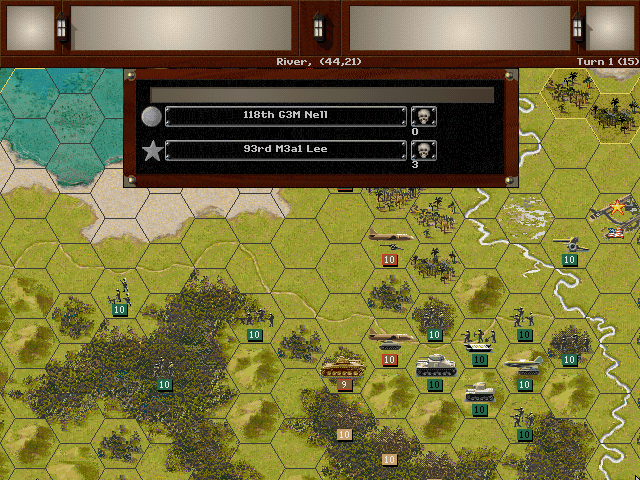
The enemy bombers also reach their targets.
Allied Turn 2 (USA): August 23, 1942
Fair, Dry
No ground contact has been made yet, but we have good reconnaissance on enemy positions, and are sending bomber strikes against them.
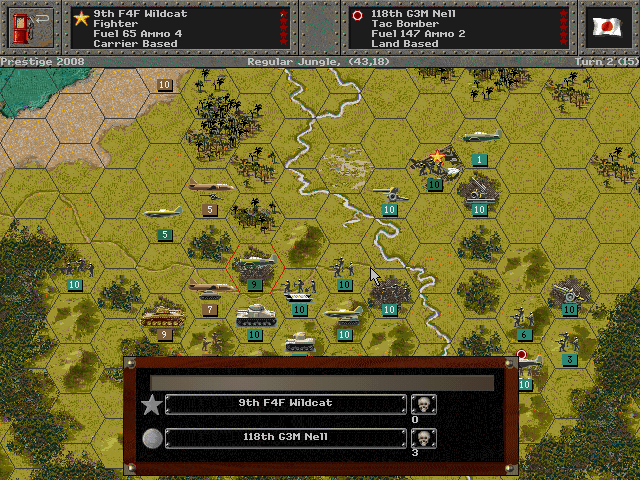
While the enemy fighters did a fair job hitting our squadrons, it has left the bombers vulnerable to our carrier-based planes.
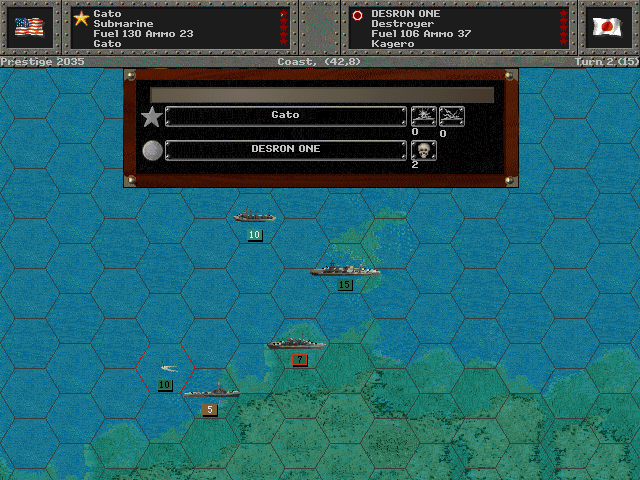
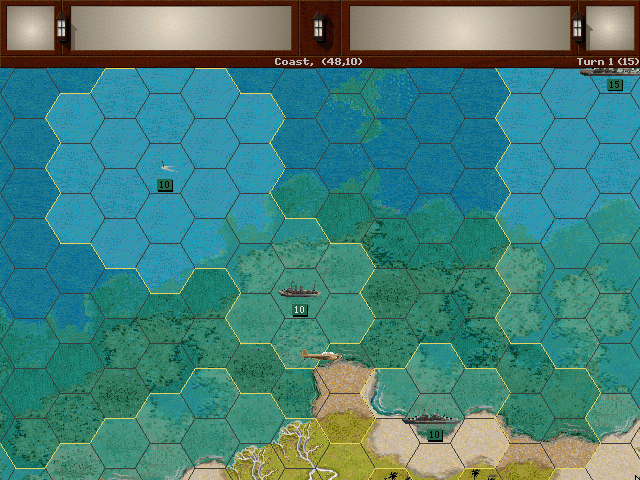
One enemy destroyer has been spotted. We expect to make short work of it.

Bloody Ridge is captured after a sanguinary battle.
We push the encroaching soldiers back into the jungle.
Axis Turn 2 (Japan): August 23, 1942
Fair, Dry
The enemy naval forces consist of some light cruisers in addition to the destroyers. Our sub takes damage.
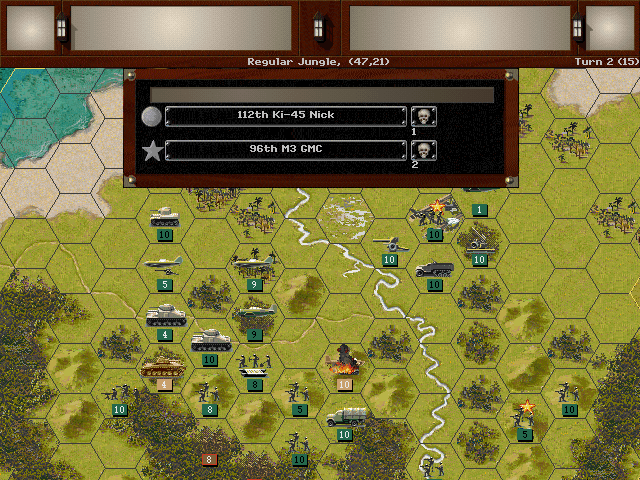
The Ki-45 'Nick' is an annoying plane to deal with - it can both go after ground forces and capably handle our fighters.
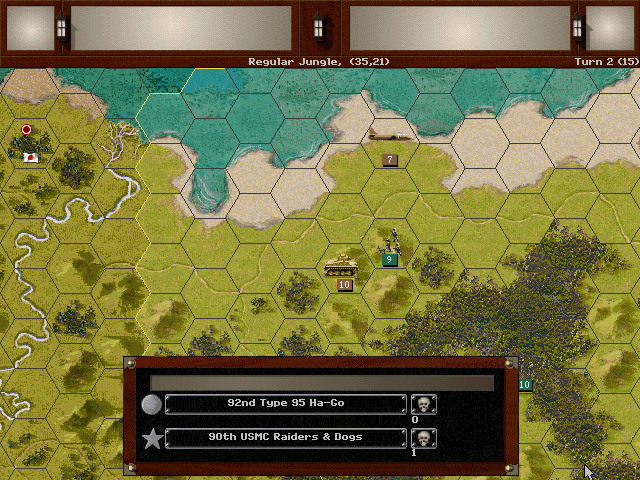
Armored units heading to stop our main advance encounter the scouting Marine Raiders.
Allied Turn 3 (USA): September 6, 1942
Night, Fair (Dry)
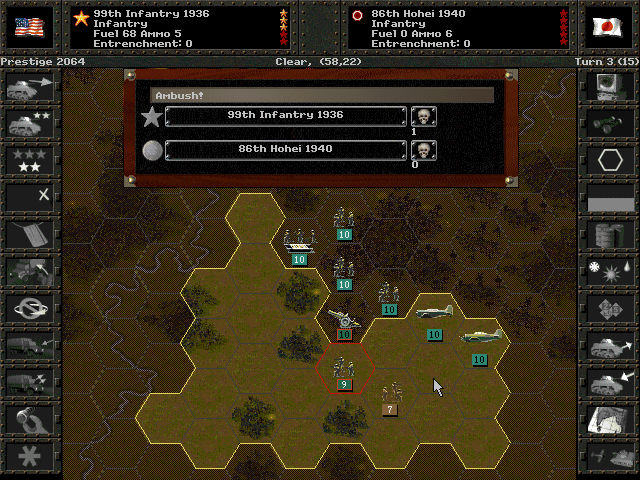
As we push onward into the jungle, the darkness conceals an enemy ambush.
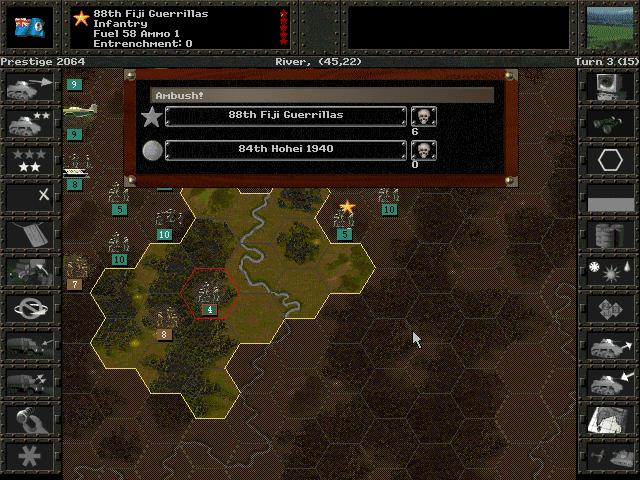
Our Guerillas try to scout out routes in the darkness, but they too run into concealed enemy forces.
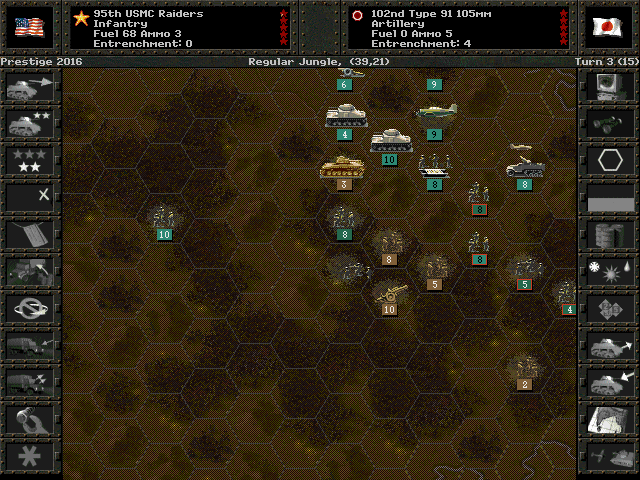
But other forces sneak into the rear area of the enemy, and the shock of the attack causes their artillery guns to flee.
Axis Turn 3 (Japan): September 6, 1942
Night, Fair (Dry)
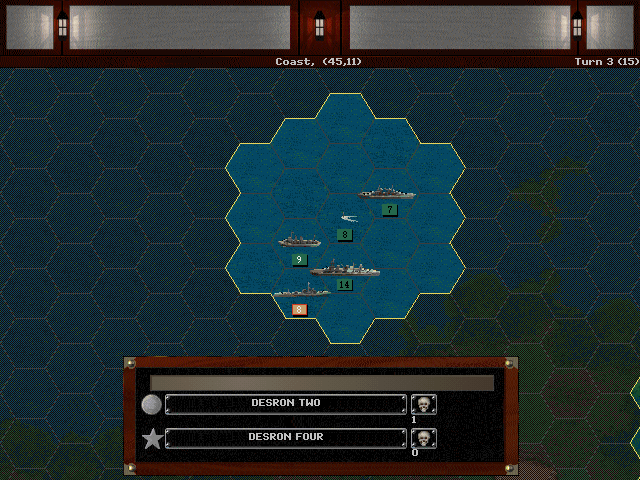
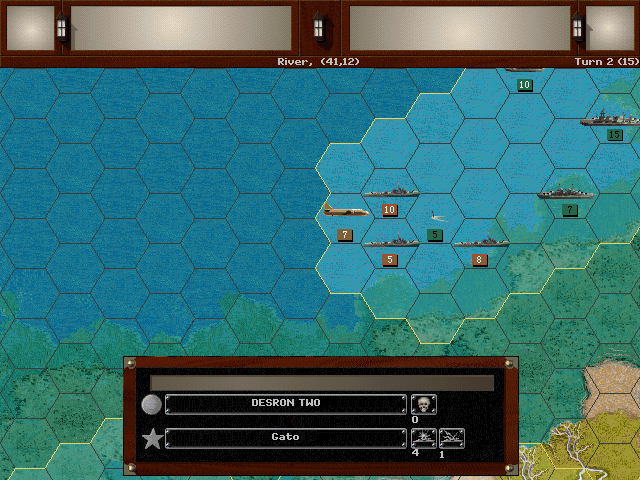
Night action between the surface ships leads to just a few minor hits; the Japanese are first to break off.
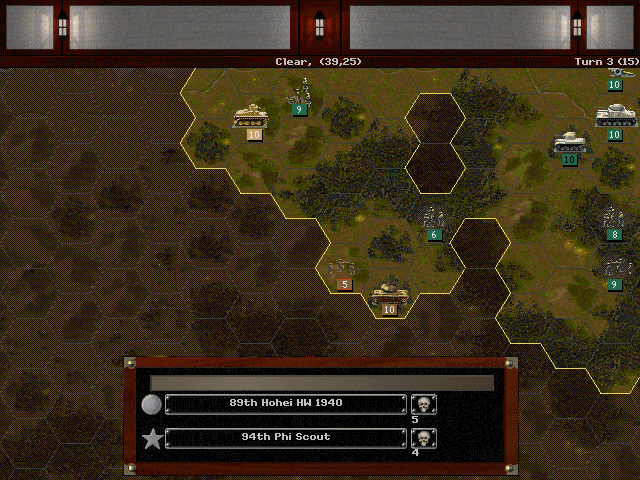
It seems the Japanese are still pushing through the jungle; our scouts are forced to retreat.
Allied Turn 4 (USA): September 20, 1942
Fair, Dry
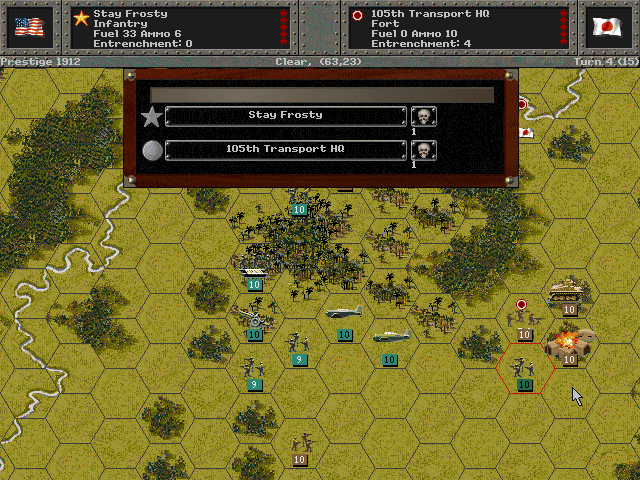
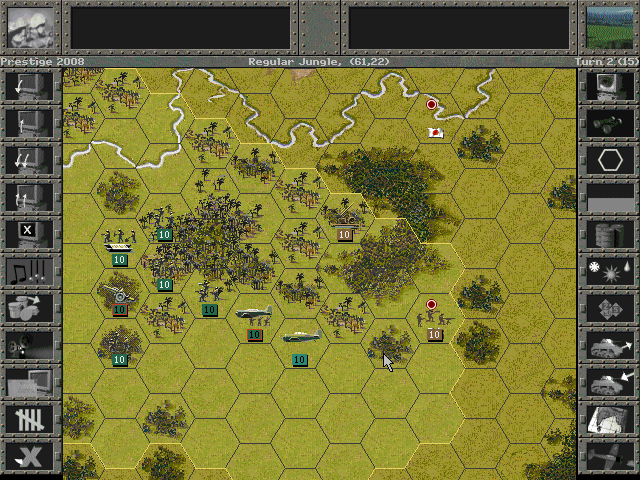
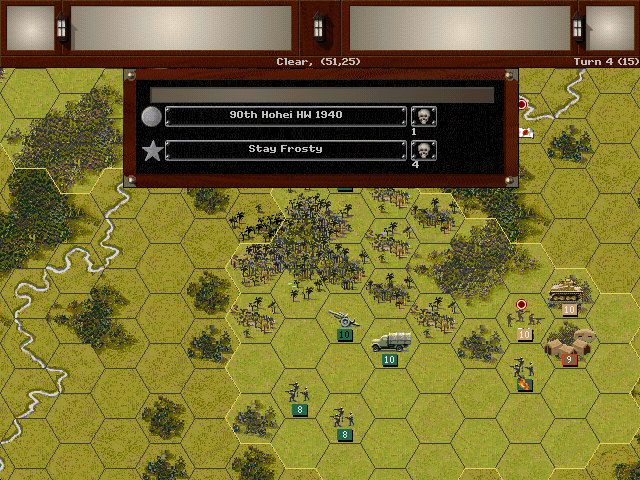
We keep pushing forward and reach the Japanese HQ center on the eastern side.
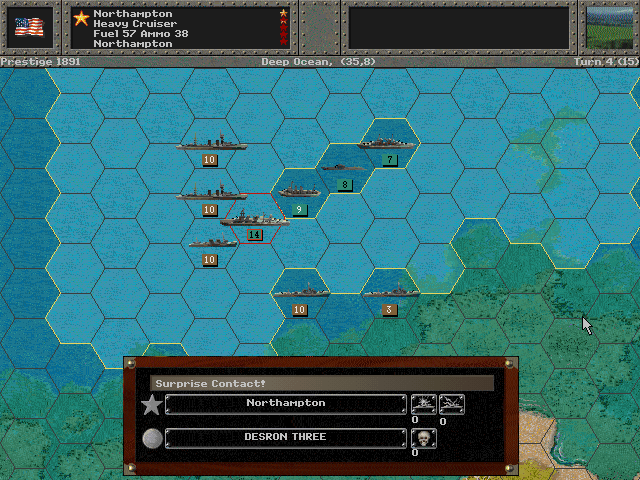
After bombarding one of the destroyers, the Northampton suddenly discovers several more contacts.
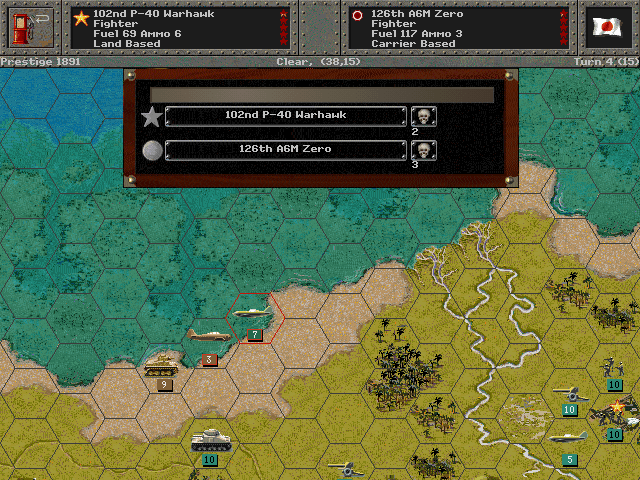
With some effort, we're able to reduce the enemy fighter craft to less dangerous levels.
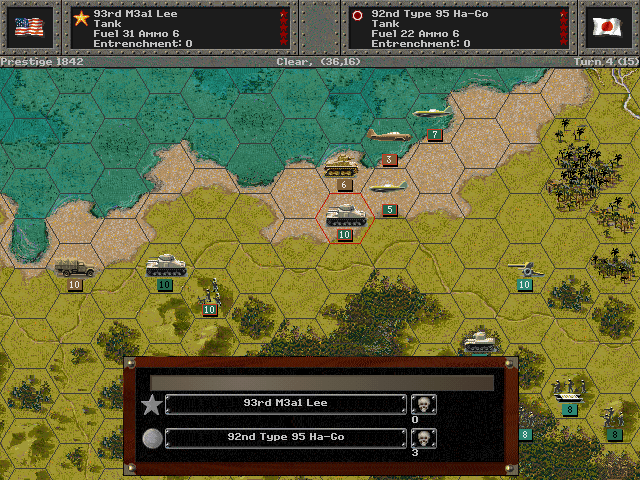
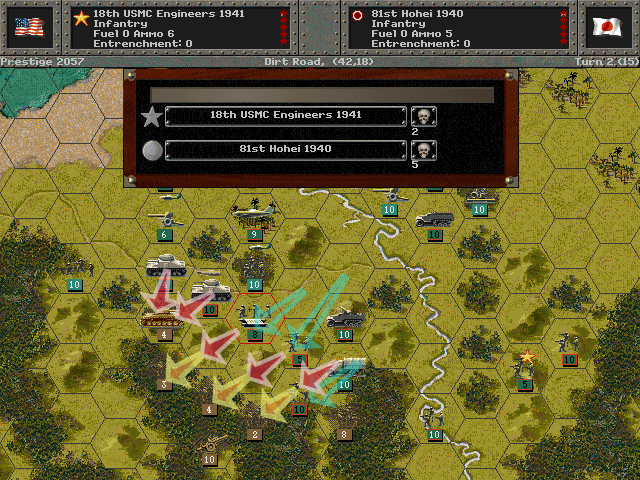
The tanks are clearing a path along the road for our troops .
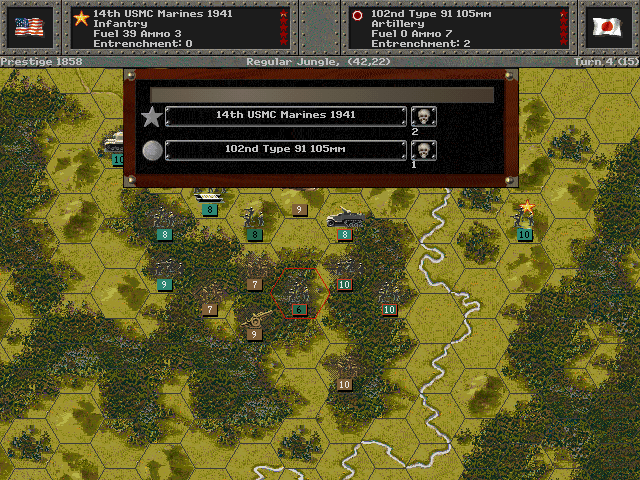
Meanwhile, most of the foot soldiers are stuck clearing out the jungle.
Axis Turn 4 (Japan): September 20, 1942
Fair, Dry
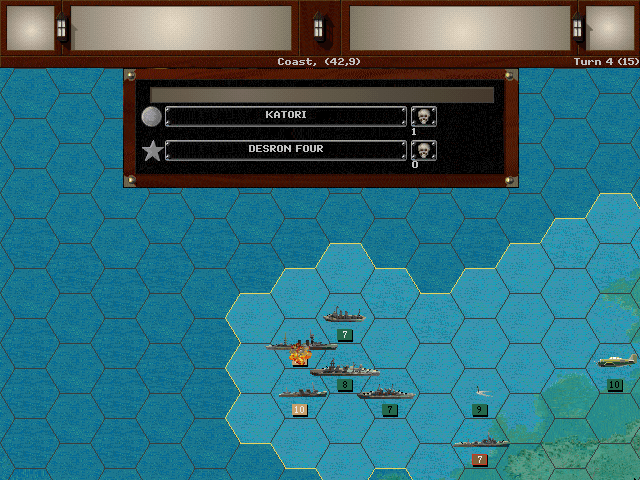
Although we were unprepared for encountering the Japanese ships, our ships escape with hardly any damage.
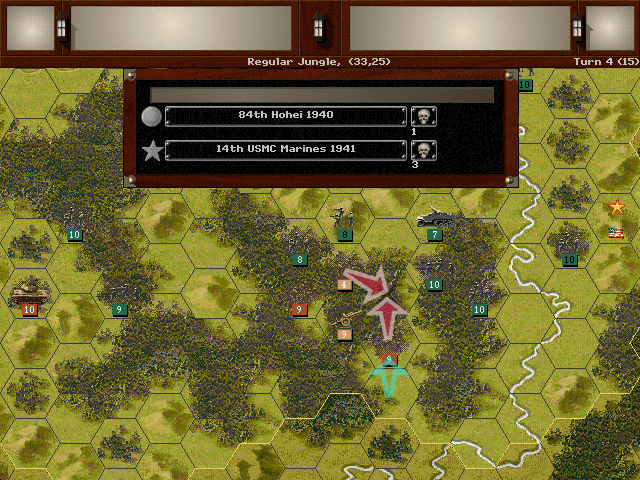
The jungle combat remains intense. One of our Marine units is lost.
Losses are heavy at the other end of the island too.
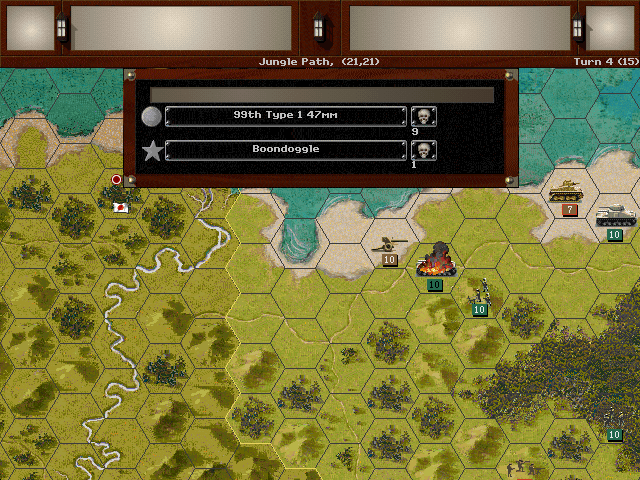
Our tanks perform excellently when enemy AT guns try to stop our advance.
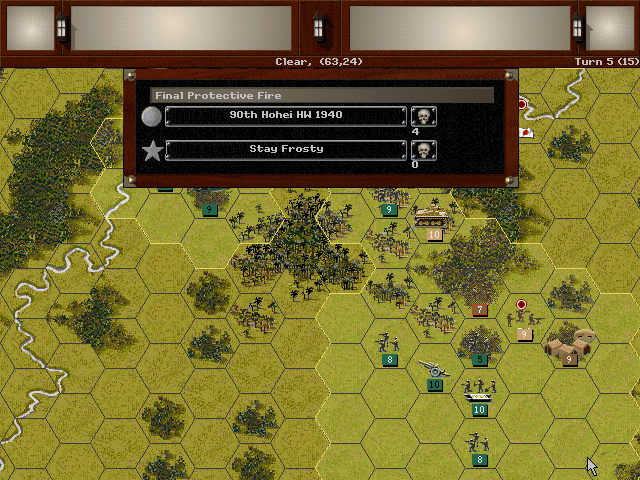
Allied Turn 5 (USA): October 4, 1942
Fair, Dry
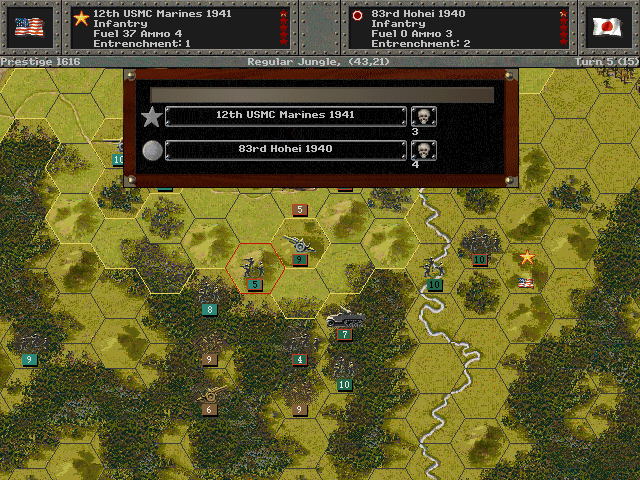
The Marines are having quite the struggle in their first major attack.
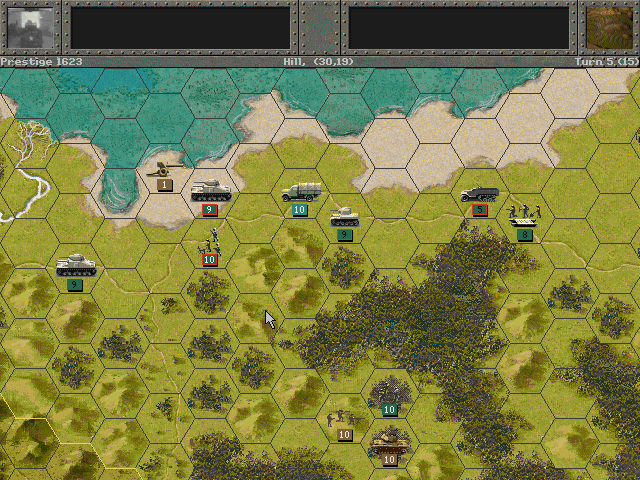
We've nearly cleared the coastal part of the road; more troops can now be brought safely westward.
Axis Turn 5 (Japan): October 4, 1942
Fair, Dry
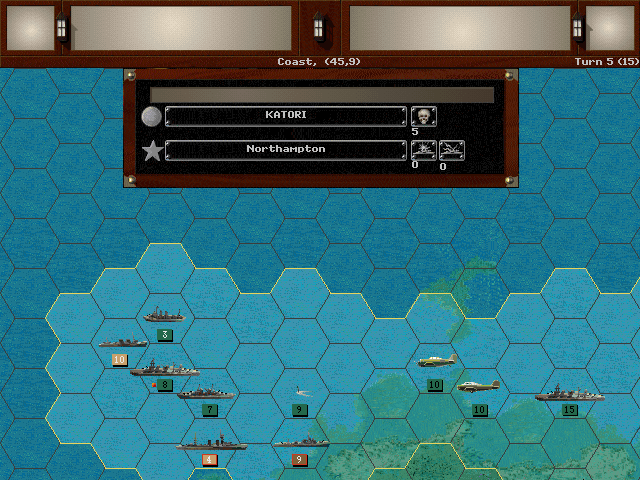
The naval fighting is leading to more hits now. The total damage is about even on either side.
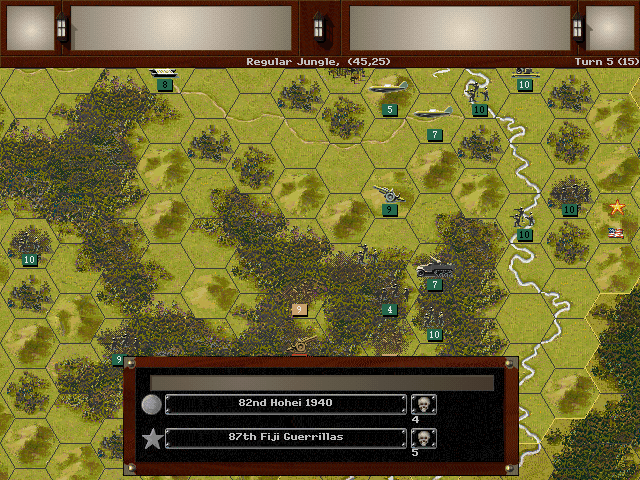
The Fijian troops are forced to pull back in the face of a counterattack.
The pack howitzer provides a staunch defense against the Japanese on the other side of the battle.
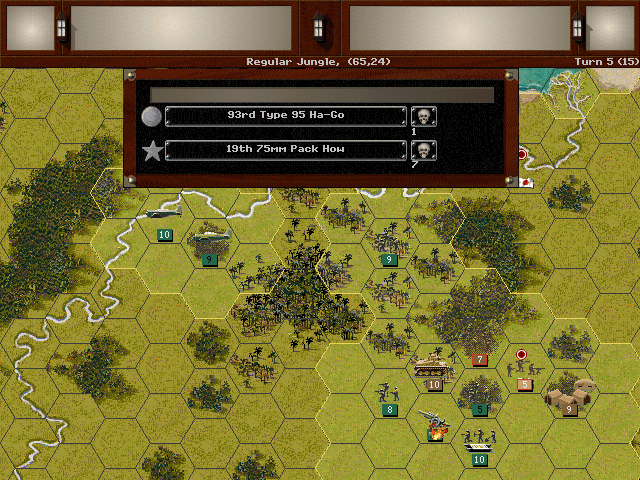
Unfortunately it turns out that the enemy does have some tanks over here and they are put into the action. When they rush out of the forest they nearly destroy our guns.
Marine War Dogs/Raiders
PG Name: USMC Raiders & Dogs Type: Recon
Effective Date: 8/42
Value:15 Cost:180 Spot:5 Move:3 MM:Leg Trans:Airborne Fuel: 0
Init:4 SA:6 HA:4 AA:[1] NA:0 GD:9 AD:10 CD:3 TT:Soft Ammo:5
Special: Ranger, Fearless
The Marines trained dogs for use in detecting both enemy soldiers and mines. The war dog platoons could be used as sentries, but also were sent as scout units into hostile territory, where the dogs could detect hidden enemy soldiers much more readily than human spotters. War dogs were used throughout the war, but the largest battle to involve them was the retaking of Guam in 1944.
The Raiders are also included on their own as distinct infantry unit, and I'll talk about them separately. They likely appear mixed into a recon unit because they were used as scouts, too.
In-game analysis: Despite the unusual classification as a recon unit, this is effectively an infantry unit. They're rather competitive with paratroops, and it's hard to decide between the two. These have less combat power but the higher initiative means they may actually fare better if they aren't in prolonged combat. The biggest downside is that they're much weaker against tanks. In a situation where back-up is available, they can be very reliable spotters, if a bit pricey.
Lexington-class Carrier (2 built)
PG Name: Lexington Type:Carrier
Effective Date: 1/36
Value:40 Cost:720 Spot:4 Move:6 MM:Deep Naval Fuel: 59 Capacity:3
Init:3 SA:3 HA:6 AA:[7] NA:9 DA:0 GD:18 AD:11 TD:10 TT:N/A Ammo:40
Special: Radar
These carriers were converted battlecruisers in keeping with the restrictions of the London Naval Treaty. They were quite fast but as the longest ships in the world at the time, not very maneuverable. Sporting heavy belt armor due to a battlecruiser hull, these could hold up rather well to torpedo damage. Radar was added in 1942. The Lexington was sunk at Coral Sea in 1942, while the Saratoga lasted until 1946, when it was used in nuclear tests.
In-game Analysis: This is the strongest aircraft carrier available for the majority of the war. With a high spotting range and thick armor, it can keep its complement of aircraft very secure. Still, it's rather expensive, and only stores three squadrons (which I'd consider adequate but not extravagant). It's really only worth it if that protection is deemed truly necessary.