Part 24: Guadalcanal: December 13, 1942

This war's not going to be over by this Christmas, and probably not the next one either. But we are establishing our presence definitively in the South Pacific, and every island we take will not be yielded back to the Japanese.
Allied Turn 10 (USA): December 13, 1942
Cloudy, Dry
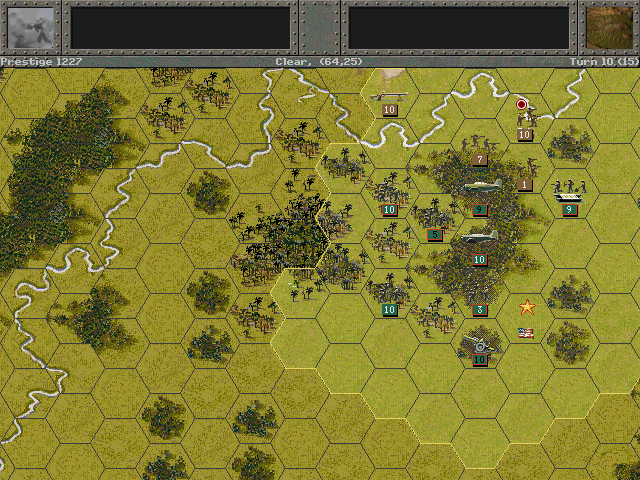
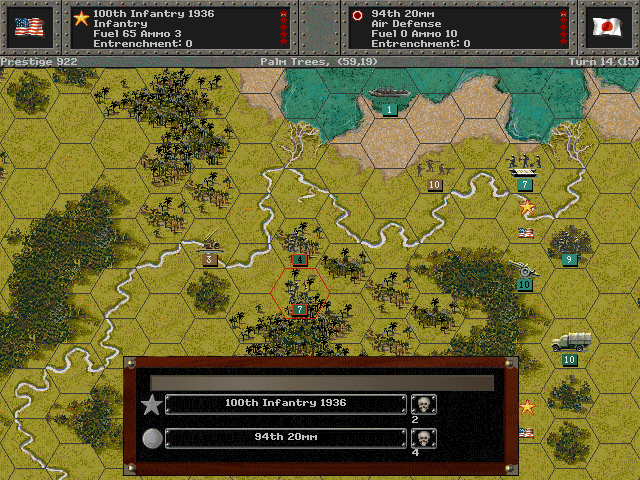
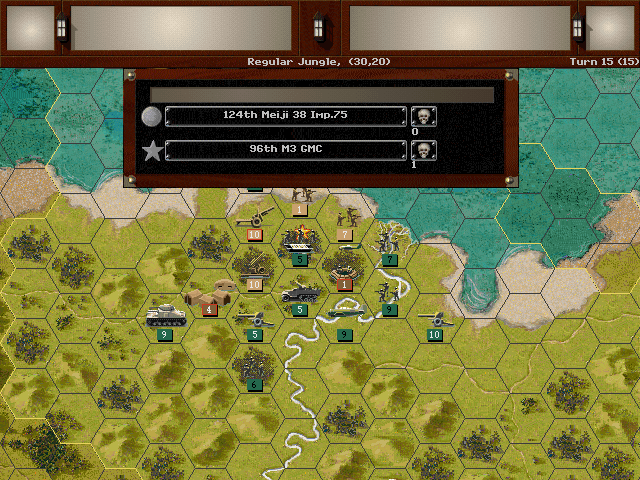
The tanks have been busted thanks to our air strikes, and we're pushing the remainder of the troops on this side into a corner. This sector, at least should be clear within a month.
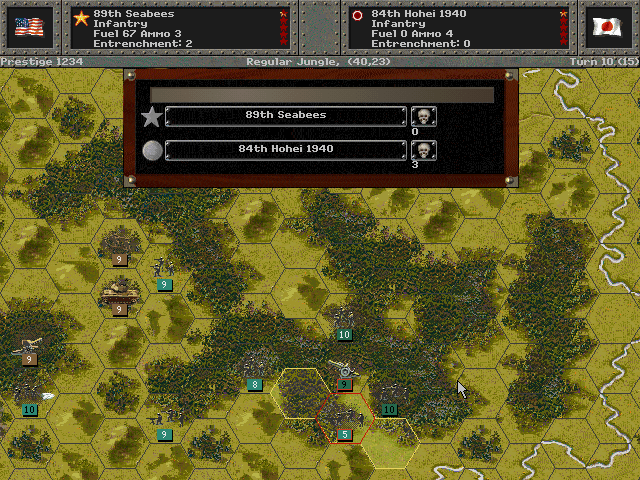
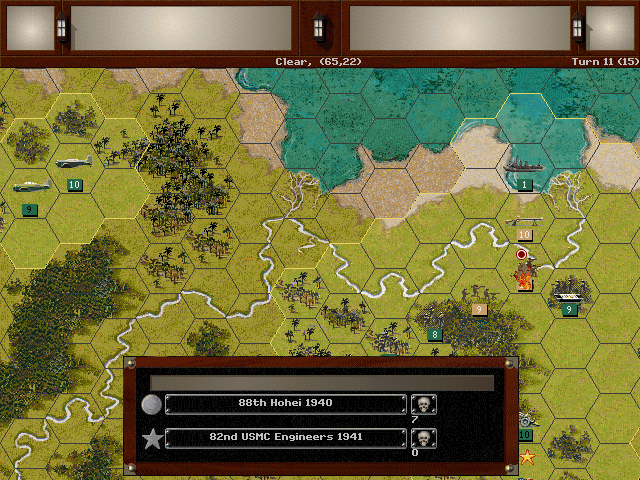
The Seabees finally clear out the jungle. All these troops can now make their way westward toward Mount Austen and beyond.
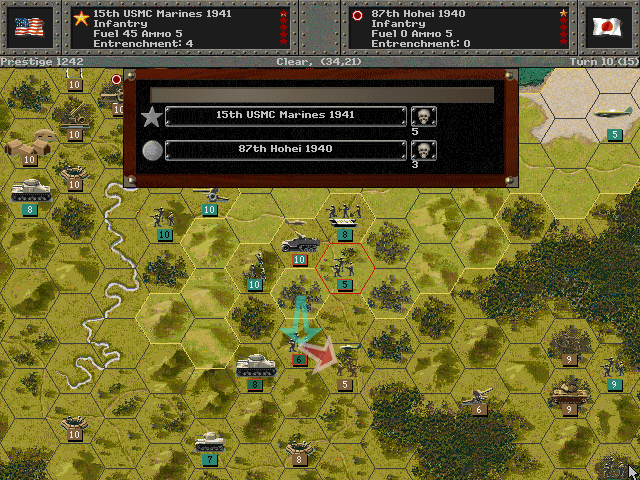
Our Marines hew their own path around the main jungle route, and surprise the Japanese soldiers.
While the jungle is less dense here, the enemy positions are more fortified. They will be tough to dislodge.
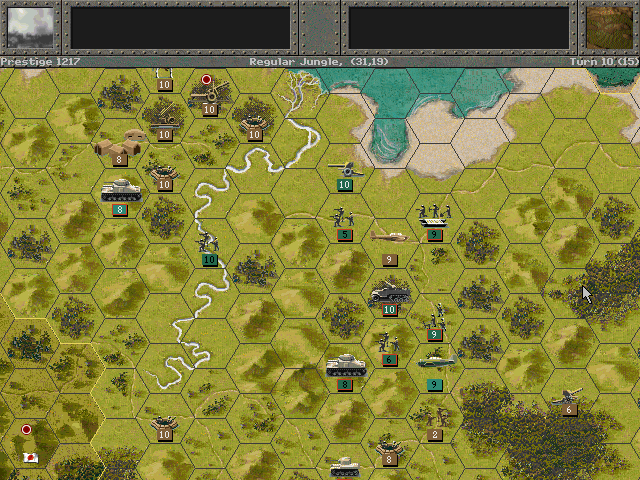
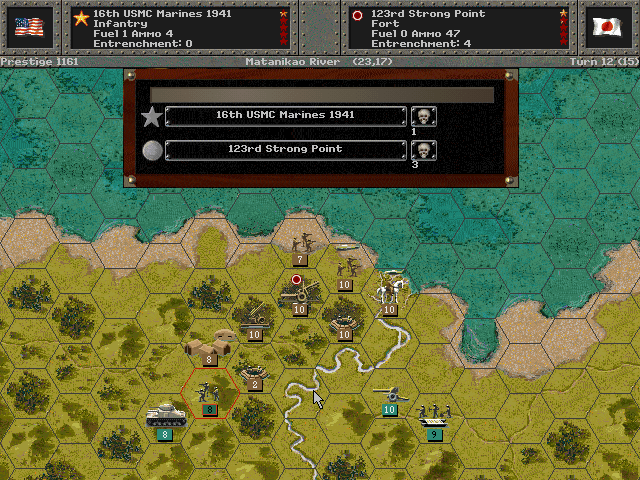
Confusion on the roads near the shore has caused a delay in getting the Bridging Engineers to the river. More troops are forced to attempt the crossing on their own.

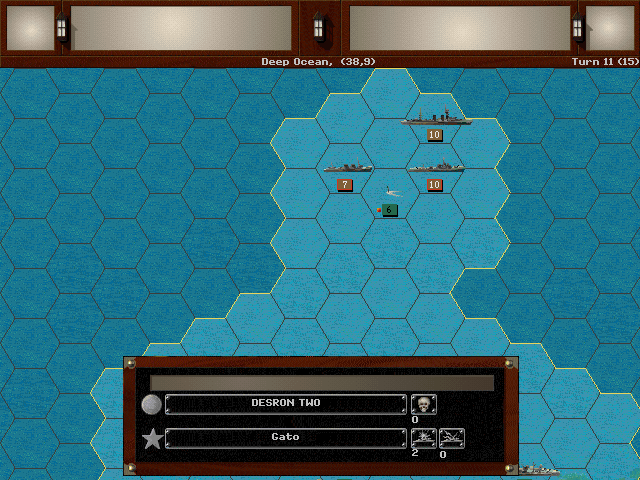
The surface ships struggle to finish off just one wily destroyer.
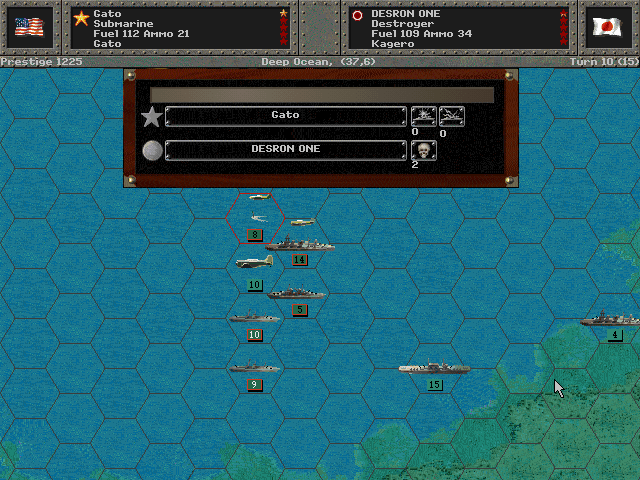
The Gato is sneakier, and their target sinks beneath the waves.
Axis Turn 10 (Japan): December 13, 1942
Cloudy, Dry
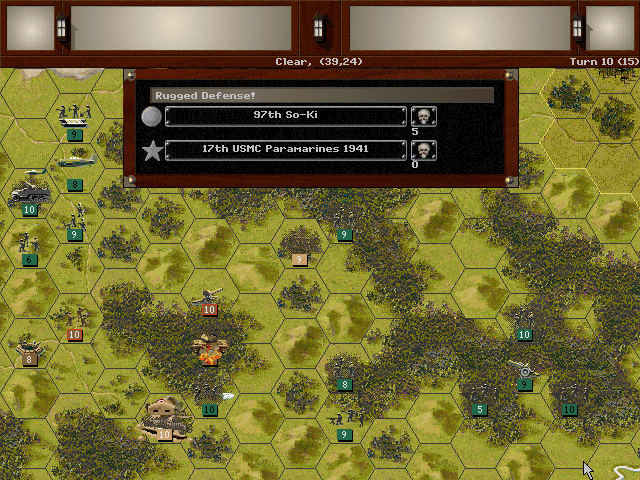
An attempt at driving off the airborne troops results in heavy casualties for the Japanese.
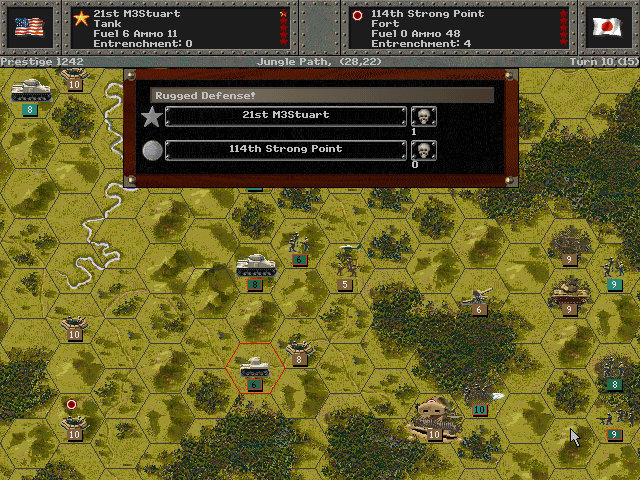
The forts rebuff our light tanks.
Allied Turn 11 (USA): December 27, 1942
Cloudy, Dry
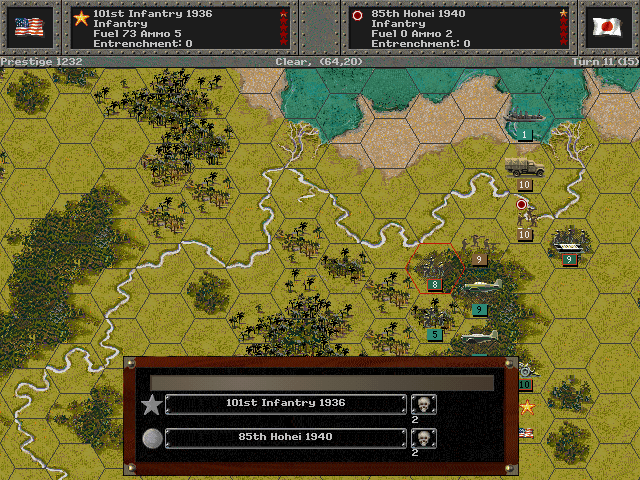
The eastern end continues to be reduced, but we haven't secured the objective yet.

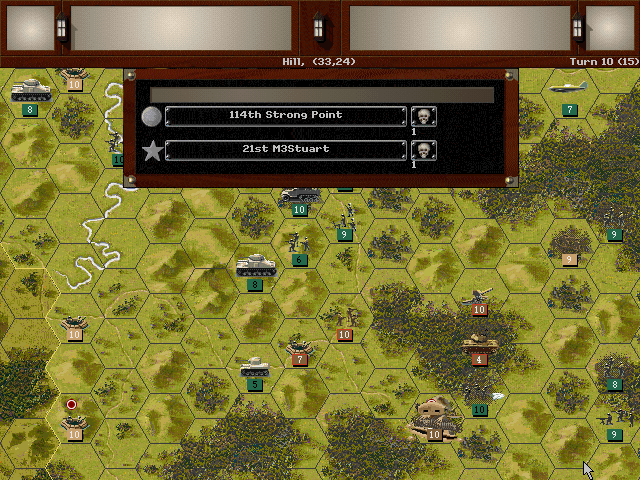
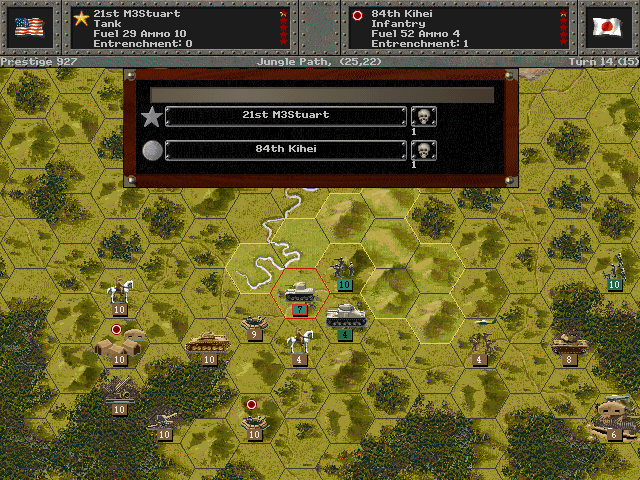
The medium-sized M3 proves more effective at knocking out those strongpoints.

The tank has a tougher time against an entrenched HQ, however.
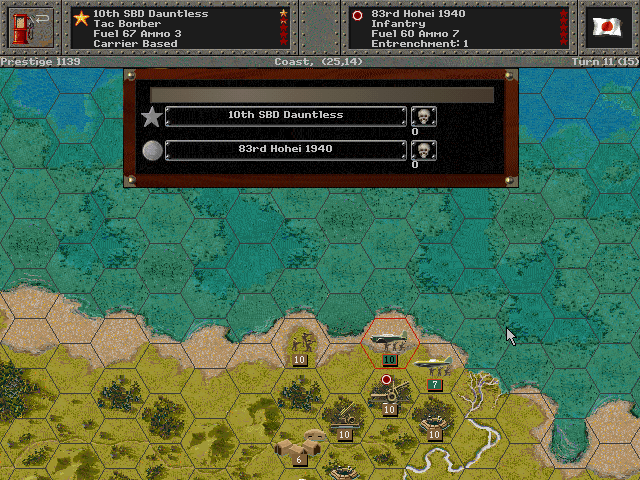
With the sea battle all but over, the carrier planes head inland to strike the hardened Japanese positions.
Axis Turn 11 (Japan): December 27, 1942
Cloudy, Dry
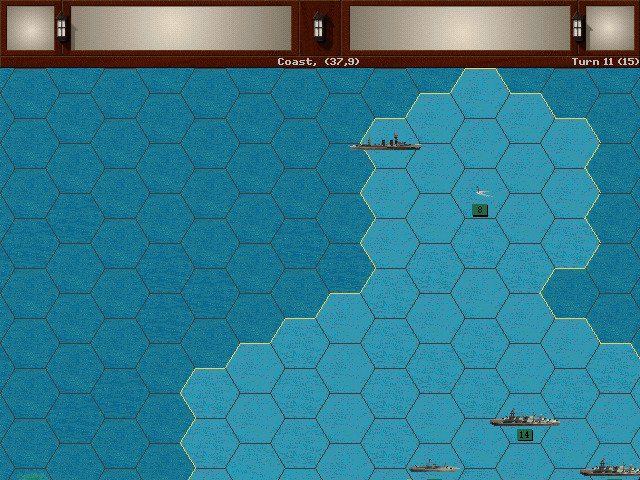
The Gato spots a lone enemy ship heading out of the area.
A suicide charge rushes from the forts. Apparently the enemy troops were nearly out of supplies, and chose to die rather than surrender.
A similar thing occurs on the opposite side of the island.
The escaping enemy fleet spots the Gato and the destroyers. They chase it down with depth charges, inflicting heavy damage.
Allied Turn 12 (USA): January 10, 1942
Cloudy, Dry
That's not a typo, the date screen in fact says 1942.
The New Year finally arrives, and the men seem mightily confused. We all know the Japanese attacked Pearl Harbor just a month ago, and then hit places all around the Pacific, but what are they doing entrenched here, on a British island in the middle of the ocean? This enemy army. Where'd it come from? How'd it steal onto the island? Who is killing us?
For that matter, we're not even sure how we got here. Something feels wrong about this, but every time we try to get a hold of it, it slips away. Rumors abound regarding some new reality-altering technology, and there are whispers of a secret Japanese laboratory on some nearby island. Some of the men suspect that everything they're being told is a lie.
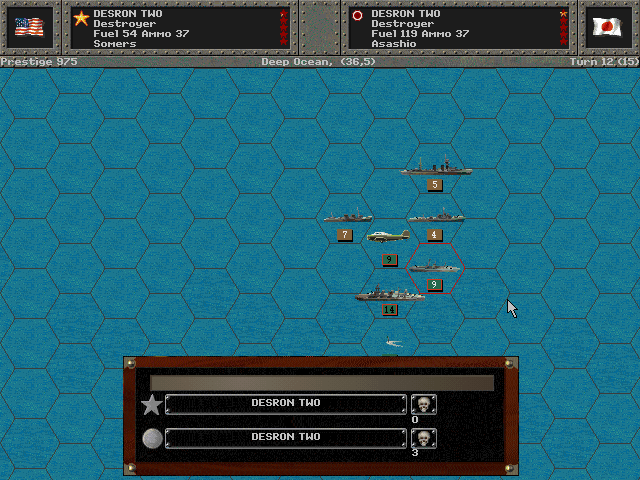
As the Gato flees, we send our cruisers and destroyers to punish the ships that stuck around.
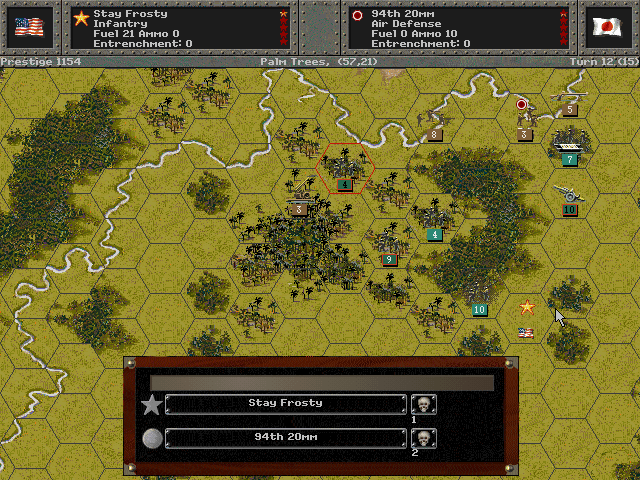
Somehow there's an AA gun that we missed within the jungle. Tracking it down to destroy it distracts us a bit from securing the shoreline.
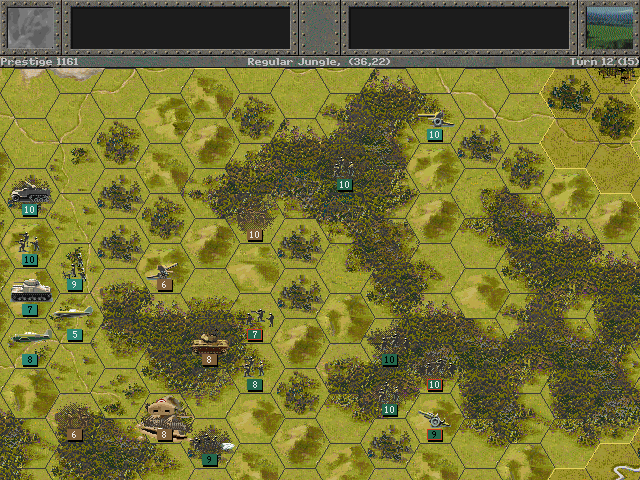
Pushing through the jungle is taking far too long for our tired soldiers.
We are weakening one end of the line, but we're still a long way from eliminating the sizable enemy force here.
Axis Turn 12 (Japan): January 10, 1942
Cloudy, Dry
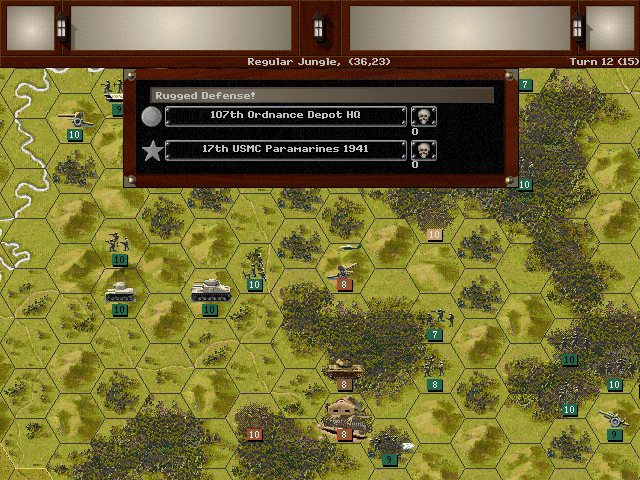
At Mount Austen, the Paramarines are too low on supplies to make an attack. But they are able to withstand a counterattack from the fort.
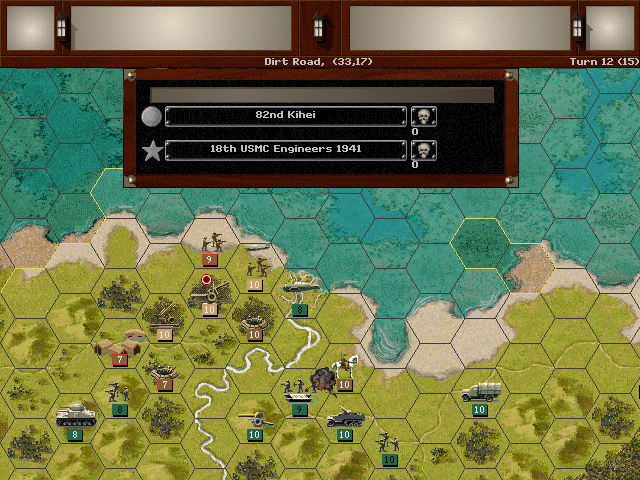
Japanese cavalry forces disrupt the actions of our Engineers, preventing them from preparing for the river crossing.
Allied Turn 13 (USA): January 24, 1942
Fair, Dry
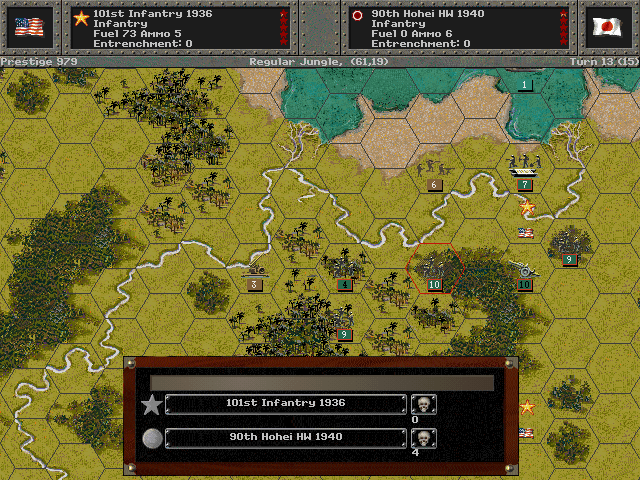
At the southeast end of the battle, we push the enemy back and just about clear them out.
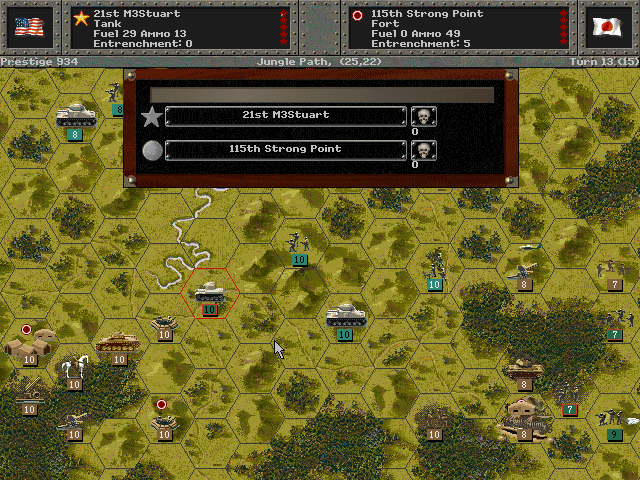
The tanks still aren't that effective at clearing the bunkers out.
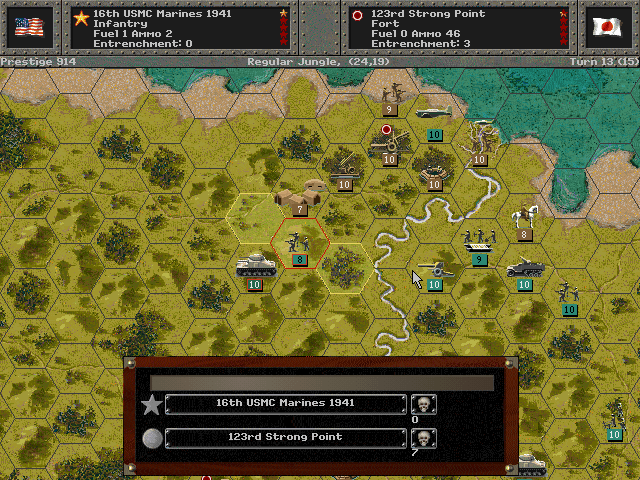
Marines do a much better job at that.

Our bombers hit the lingering cruisers. It should convince them to withdraw or be sunk.
Axis Turn 13 (Japan): January 24, 1942
Fair, Dry
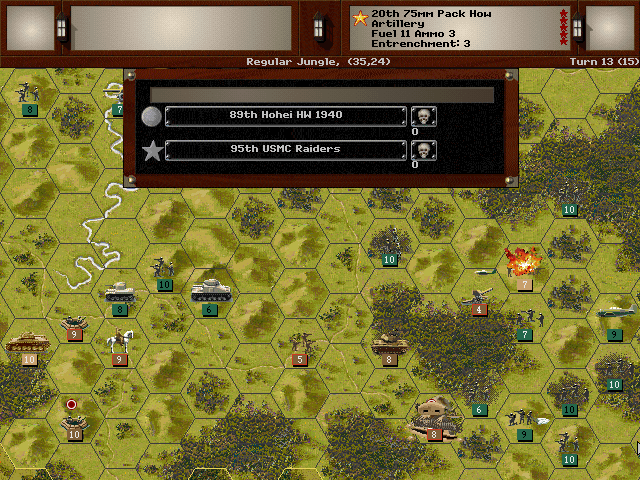
The Japanese troops in the jungle attempt to get back to their lines, but after a skirmish against the Raiders, they make no progress.
Allied Turn 14 (USA): February 7, 1942
Fair, Dry
The AA guns keep running away from us.
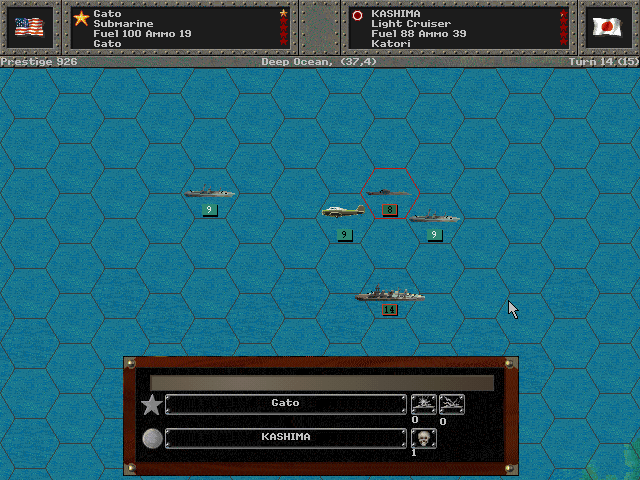
The Gato delivers the final blow to the Kashima.
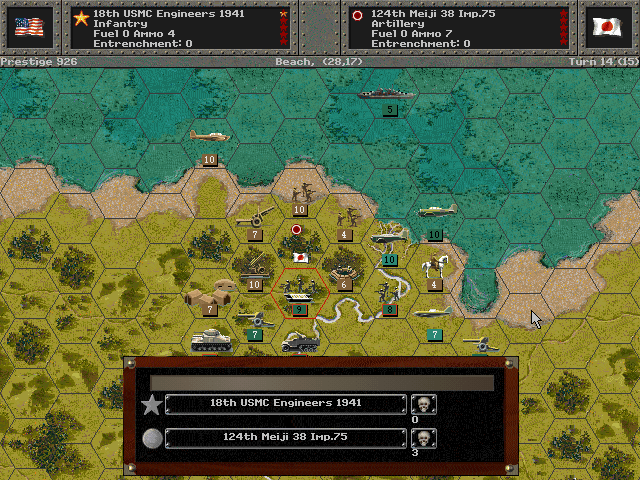
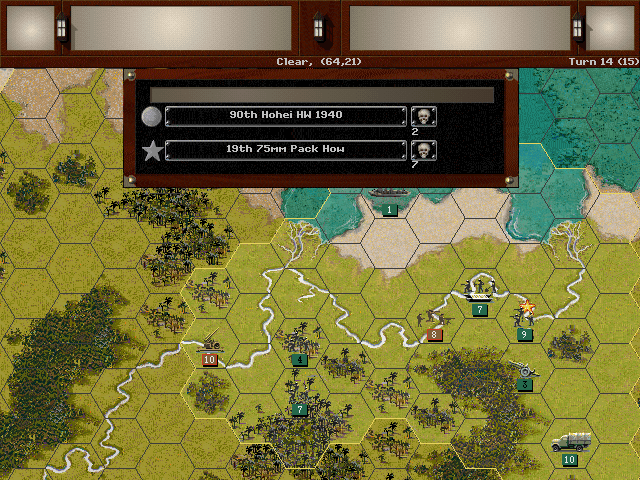
The Engineers sense an opportunity to strike at the guns holding the other side of the Mataniko River. They leave off bridge-building and march through the jungle to knock the defenders out of position.
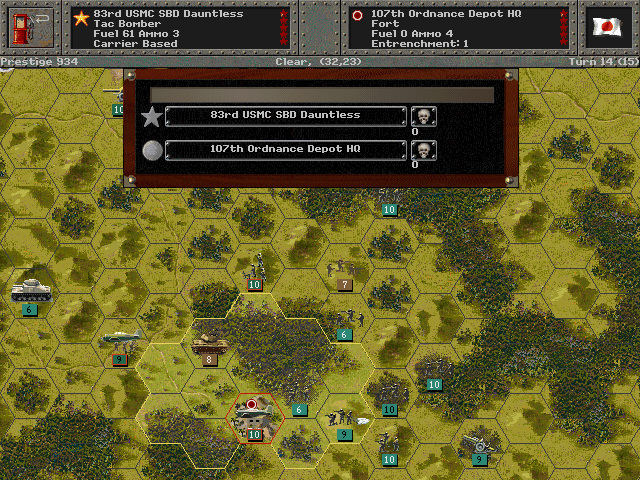
We bomb the Ordnance Depot at Mt. Austen, but unfortunately no damage is done.
The tanks are making a bit of headway, but their losses are pretty significant now.
Axis Turn 14 (Japan): February 7, 1942
Fair, Dry
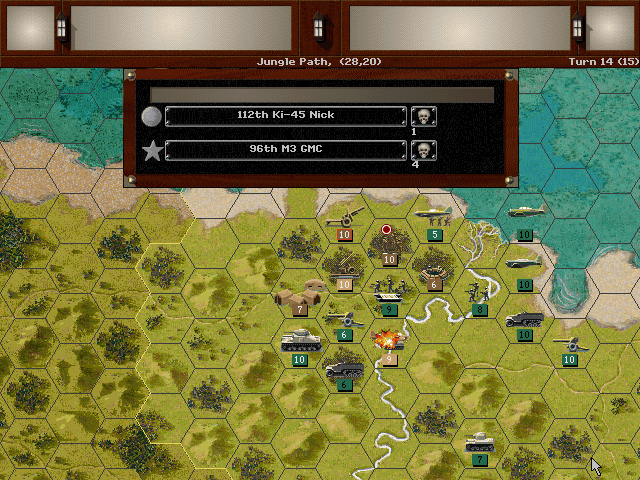
Air strikes hit our troops as they cross the river.
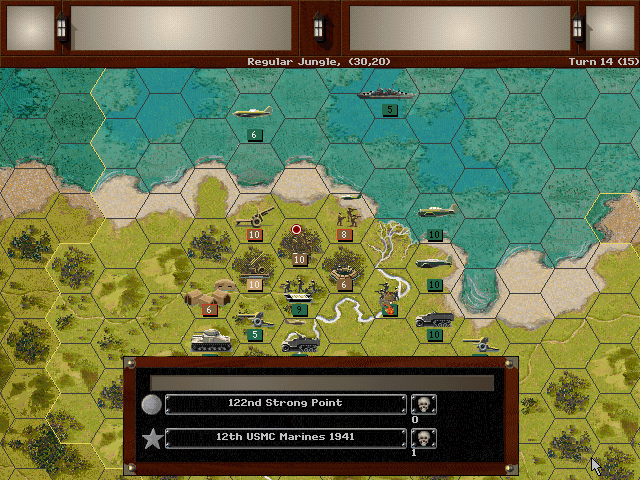
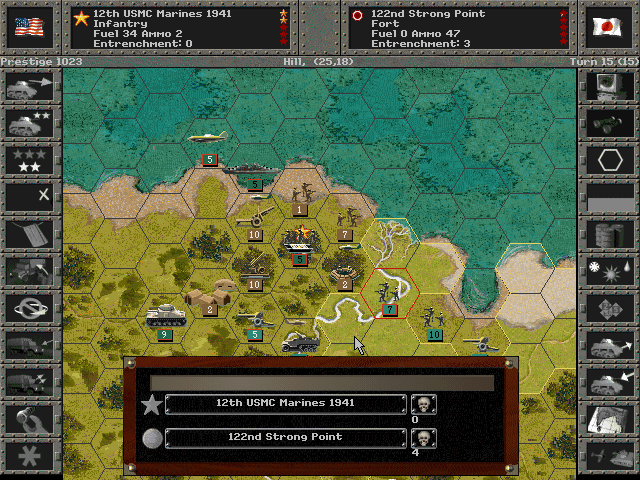
The Marines remain undaunted by the strong point.
The Japanese on the other side manage to slip across the river and hit our light artillery guns.
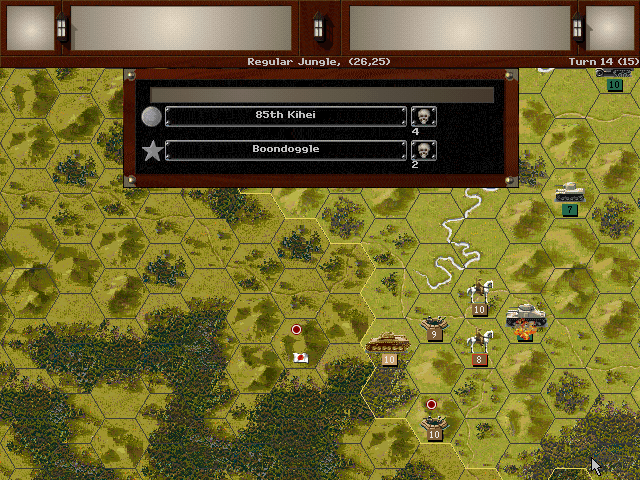
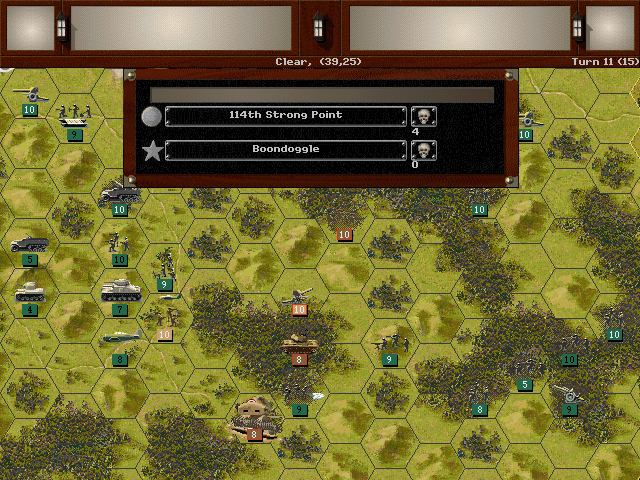
Boondoggle is hit hard by the Japanese cavalry and forced to withdraw.
Allied Turn 15 (USA): February 21, 1942
Fair, Dry
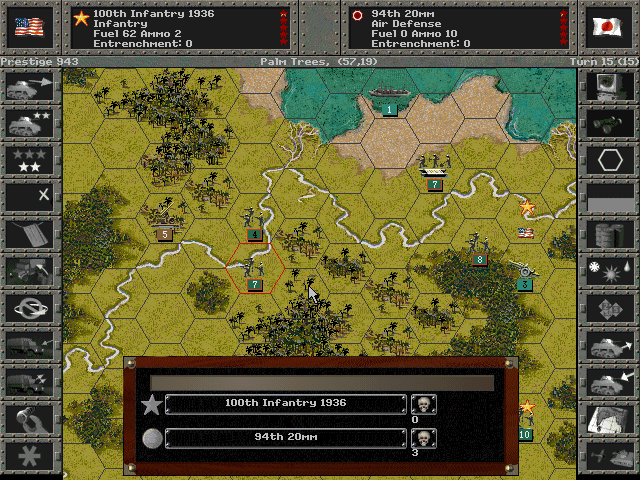
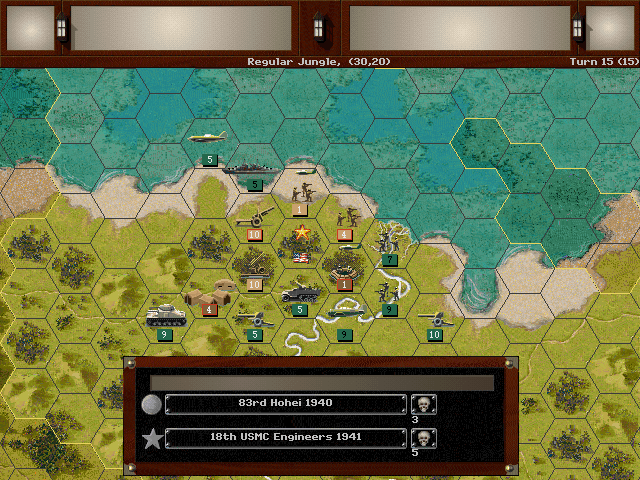
The infantry that tried to knock out our guns is eliminated. The AA guns manage to get away.
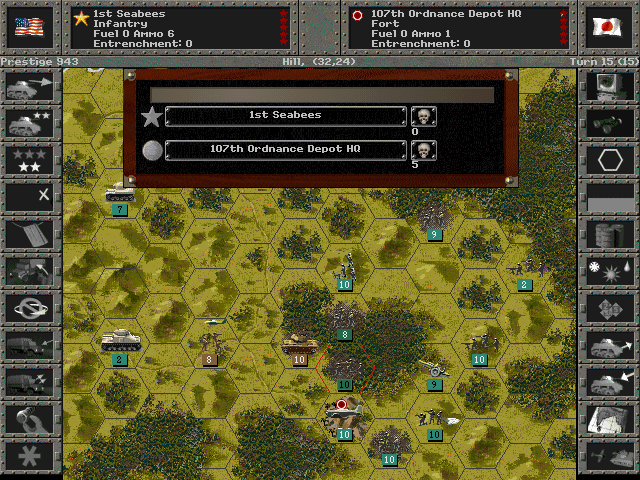
After some artillery bombardment and more bombing raids, Mt Austen is taken by the Seabees.
The objective is captured, and we weaken some of the defenders, but there are still a lot of enemy forces close by.
Axis Turn 15 (Japan): February 21, 1942
Fair, Dry
The Japanese artillery first suppresses our own guns.
Shortly thereafter, a series of attacks eliminates the engineers. But the enemy is unable to advance and retake any of our gains.
In the end, we can claim a victory on this island. Let us hope it is the first of many, and this will be the only one that was won so narrowly.
Ending prestige: 1773
VP: 598-467 (Minor Victory)
(There is a Japanese unit on that objective, but it's an AA gun, so it failed to switch the hex's owner.)
Unit Spotlights
75mm M1A1 Pack Howitzer (M8 Carriage)
PG Name: 75mm Pack How Type: Artillery
Effective Date: 6/42
Value:8 Cost:96 Spot:1 Move:2 MM:Leg Trans:Air Fuel: 0
Init:1 Range:2 SA:12 HA:5 AA:0 NA:0 GD:2 AD:6 CD:0 TT:Soft Ammo:6
The US had a lightweight howitzer suitable for field disassembly (and transport by pack animal) as early as 1927. It was modified to be mounted on a carriage for towing in 1940, and the gun was given the designation M1A1. The M8 was an alternate carriage, and it could be dropped by parachute with airborne units, adding even more versatility to its many applications.
The Pack Howitzer saw use in every part of the war, particularly in regions where vehicles could not easily travel. While it did not have the power or range of most of the more common guns, when nothing else could get there, it proved to be vital.
In-game analysis: The extra movement rate makes this definitely better than the base 75mm gun; the trade-off is the same as it was for the Japanese mountain guns. However, this model arrives just a short while before better guns become available, and it's harder to see a real need for it.
Tennessee-class Battleship (2 built)
PG Name: California Type:Battleship
Effective Date: 1/36
Value:16 Cost:288 Spot:3 Move:4 MM:Deep Naval Fuel: 150
Init:5 Range:5 SA:7 HA:10 AA:[3] NA:18 DA:0 GD:18 AD:9 TD:8 TT:N/A Ammo:40
Special: Radar, Night Optics
The Tennessee class was developed right after the end of World War I, and it was one of the most advanced in the world at that time. It was a pretty good performer on the water, and boasted an advanced underwater protection system that ended up becoming the standard for similar ships. Radar was actually not added until 1942, and these continued to receive upgrades through 1946, before being decommissioned along with most of the other surviving battleships in 1947.
In-game Analysis: The most expensive American battleship at the start of the war is paradoxically the worst in combat. Its only edge is its ability to operate at night, but unless you really need that, I'd pass on this one.