Part 27: Persia: August 14, 1942
The 4-sided battle for the Middle East rages on.
Axis Turn 13: August 14, 1942
Fair (Dry)
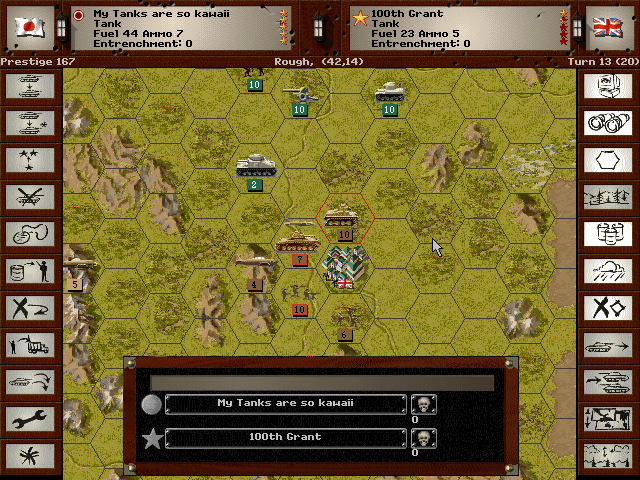
The units in east are actually making a decent push towards Tehran.
At last Rommel seems to be getting a handle on things in the desert.

Hamadan surrenders, although there are still a fair number of troops to clear out before we can move onward.
Allied Turn 13: August 14, 1942
Fair (Dry)
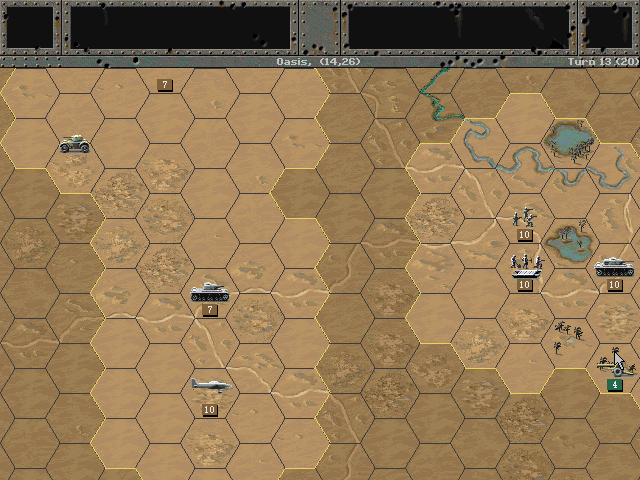
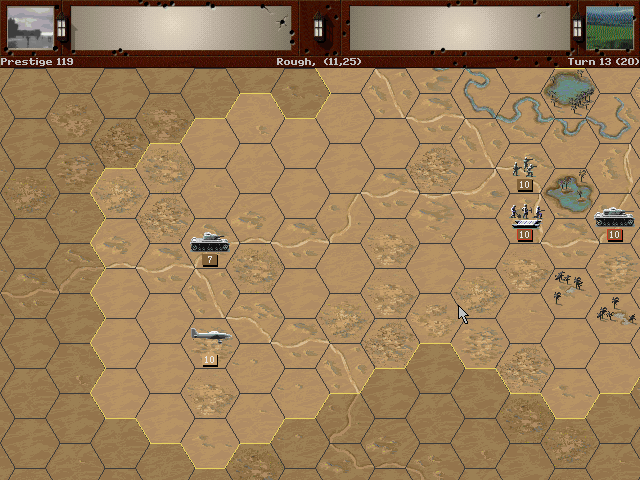
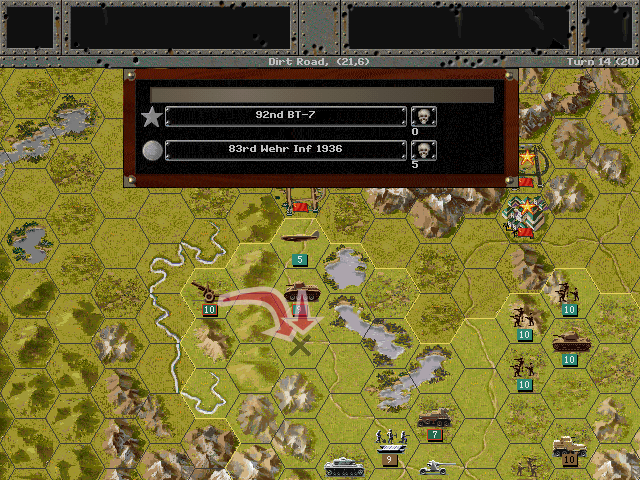
It turns out that not all of the desert is clear; a scout car is spotted attempting to flee northward to the Soviet lines.
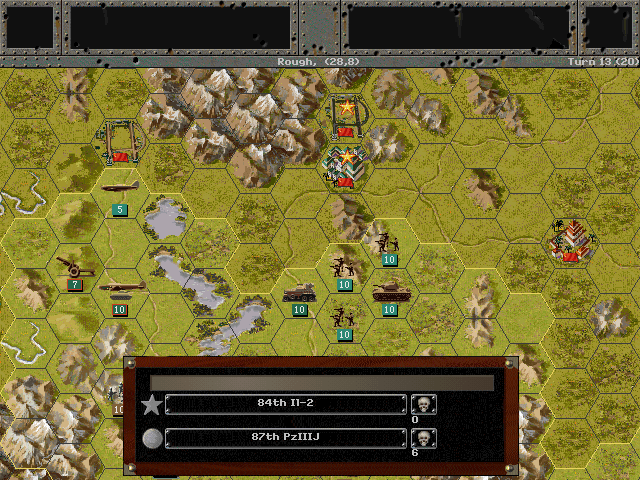
Now the Soviet bombers in the north are hitting the German forces in earnest.
Axis Turn 14: August 14, 1942
Fair (Dry)
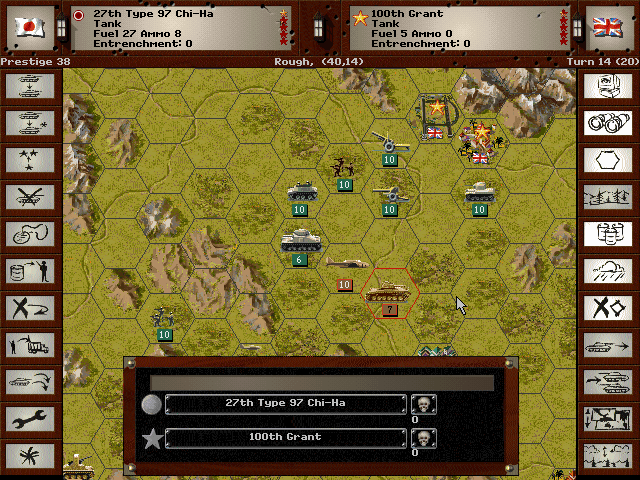
Tehran's forces aren't doing much to hold us back. We continue to creep closer.
We knock out the forces holding the airfield at Baghdad.
Allied Turn 14: August 14, 1942
Fair (Dry)
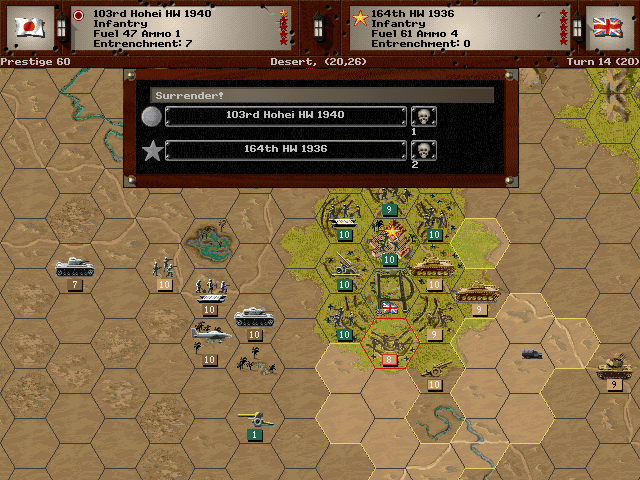
One of the Wehrmacht infantry units is lost.
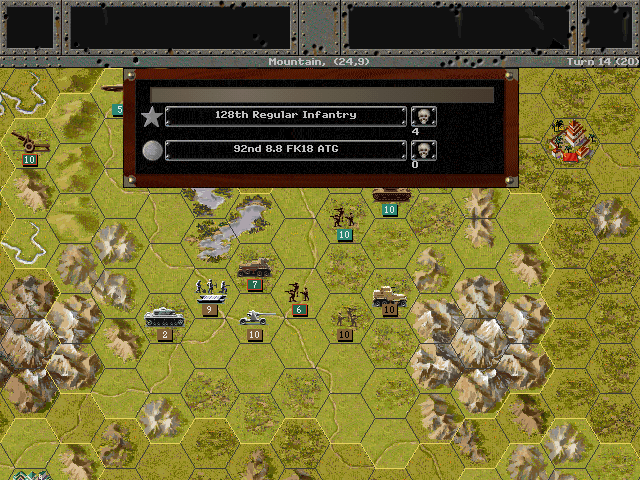
The 88mm guns blast the attacking Russian infantry.
Tehran only seems to have Soviet conscripts to throw at us.
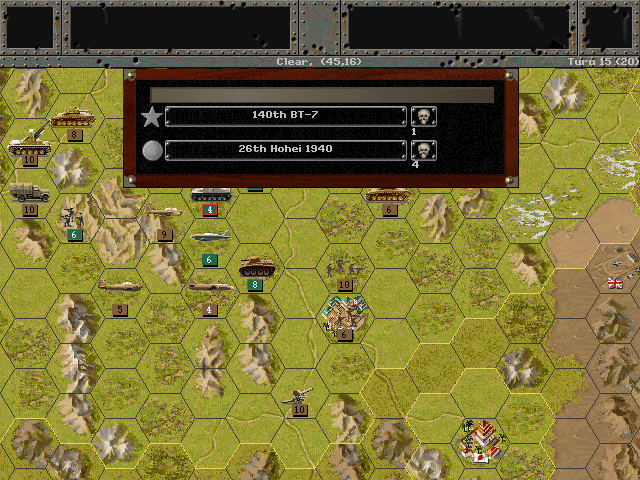
Axis Turn 15: August 14, 1942
Fair (Dry)
The Japanese forces at Baghdad have exhausted their supplies. Luckily it's right at the same time the Germans are mounting their assault.
Tehran may not have much in the way of offensive units, but their defenses clearly run deep.
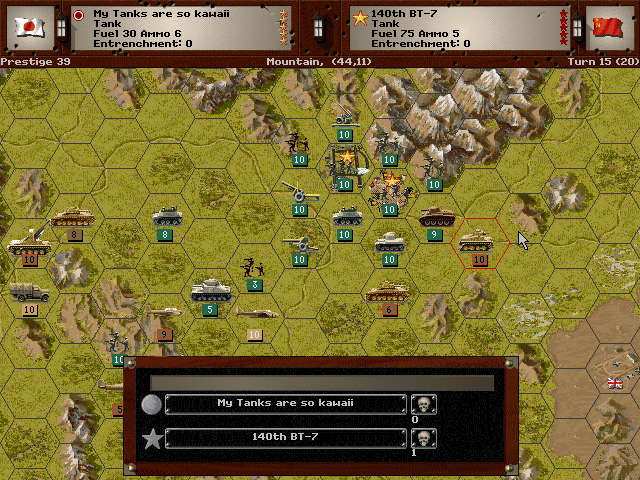
We continue to probe Tabriz, but those advancing Soviet tanks look ominous.
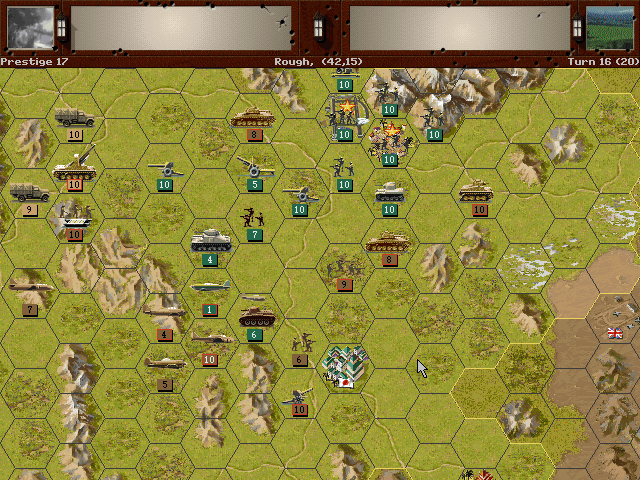
Allied Turn 15: August 14, 1942
Fair (Dry)
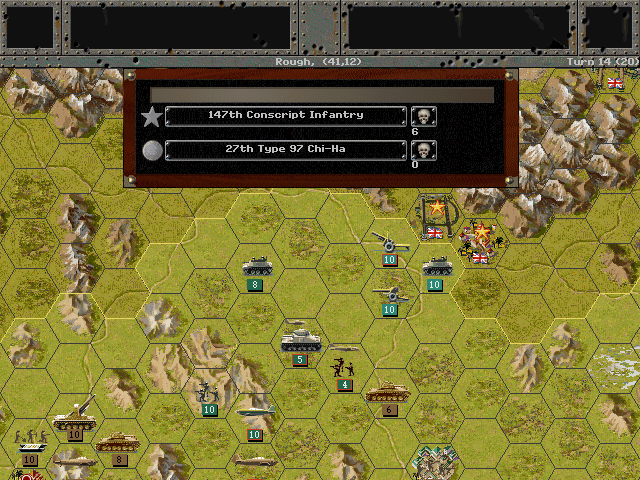
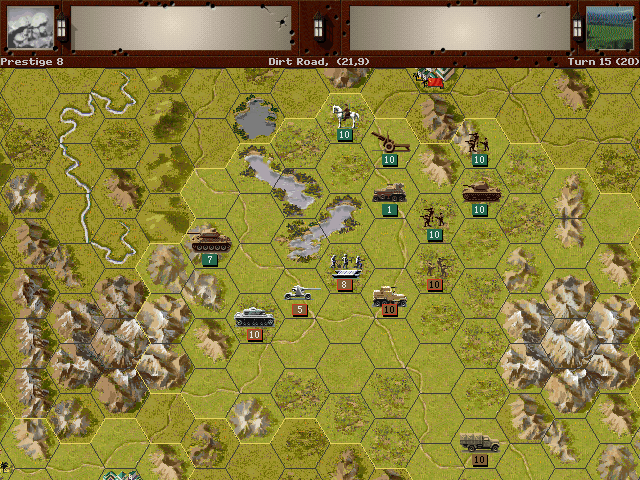
Baghdad's units are once again pushing out to counterattack the Germans, but this time looks like a mistake.
The one-two punch of Il-2 air strikes and a T-34 attack knocks out some more German tanks.
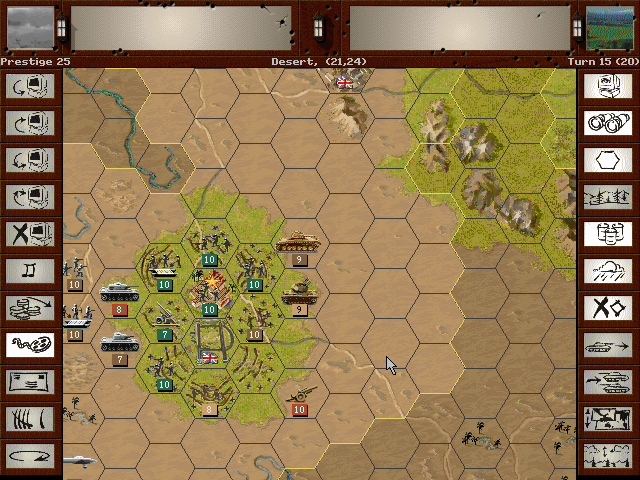
Our own units aren't faring so great against the Russian onslaught either.
At least one enemy unit starts to fight back near Tehran, but the main assault is now coming from the east, not up from Esfahan.
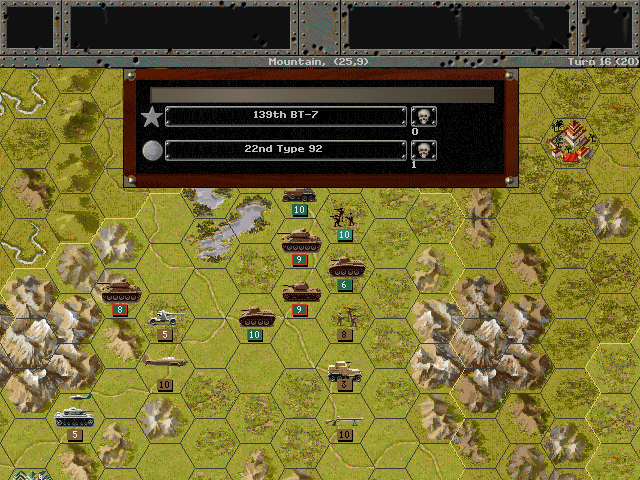
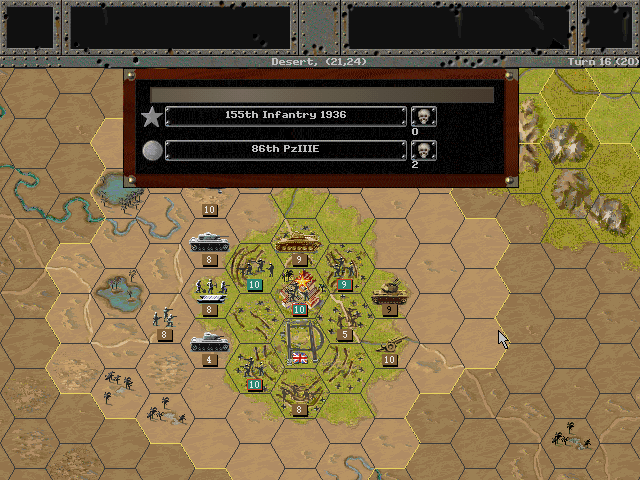
Axis Turn 16: August 15, 1942
Fair (Dry)

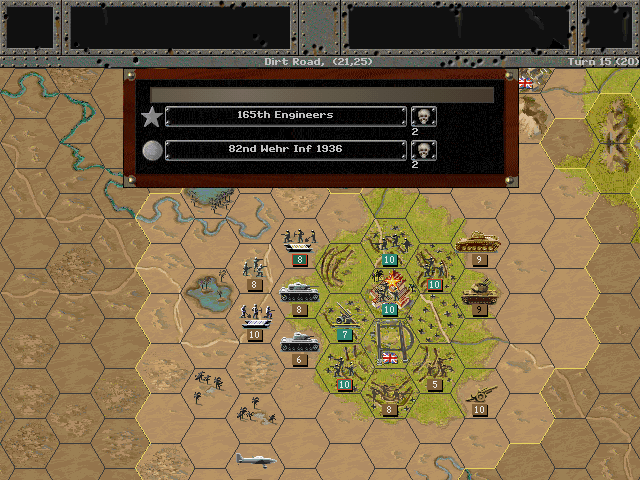
The Germans cut the British engineers off from the city, and get to work making a hole in the enemy lines.
The only thing holding us back from getting to Tehran is that there are so few roads, and moving our units quickly is a problem.
Allied Turn 16: August 15, 1942
Fair (Dry)
Tabriz is looking a bit out of reach now, as the Soviets are sending down a serious armored counterattack. Somehow we hold on for now.
Baghdad does manage to repel the first armored assault from the Germans on the western side.
Axis Turn 17: August 15, 1942
Fair (Dry)
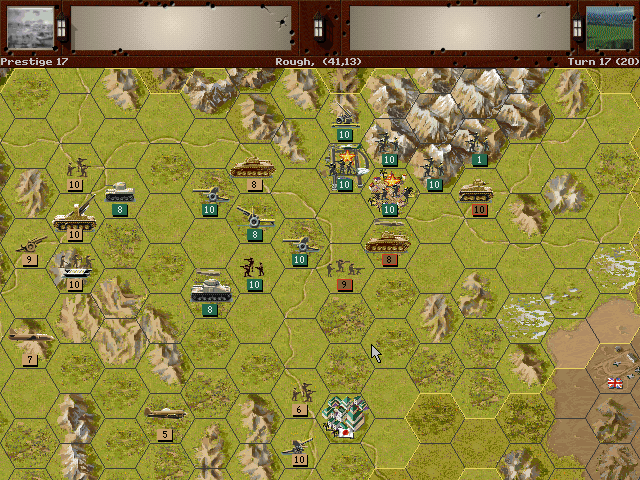
Our Esfahan forces put pressure on Tehran's eastern flank.
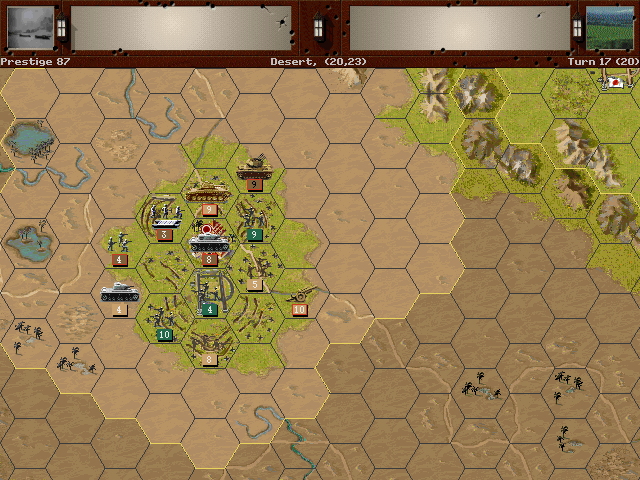
Baghdad falls as the city center is captured by the Germans. There will still be plenty of fighting in the city, but the battle there is all but over.
We may have to do our best to merely contain the Soviets.
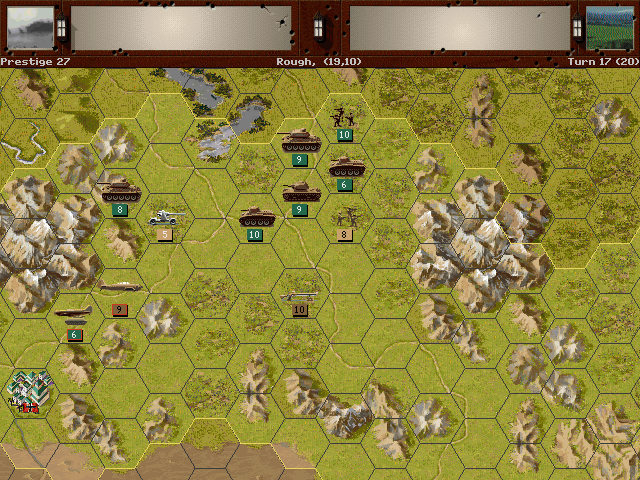
Allied Turn 17: August 15, 1942
Fair (Dry)
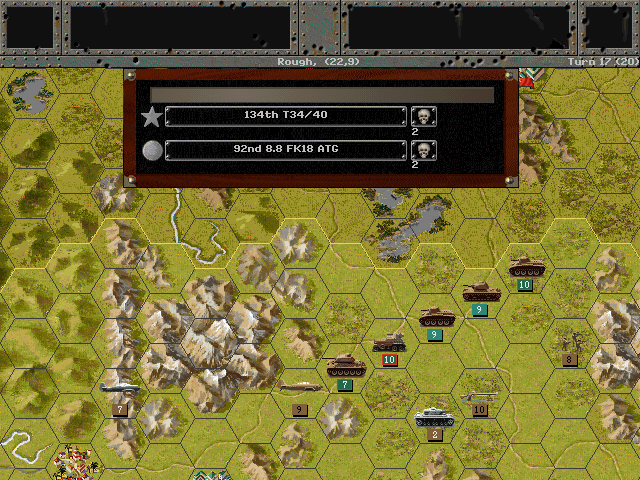
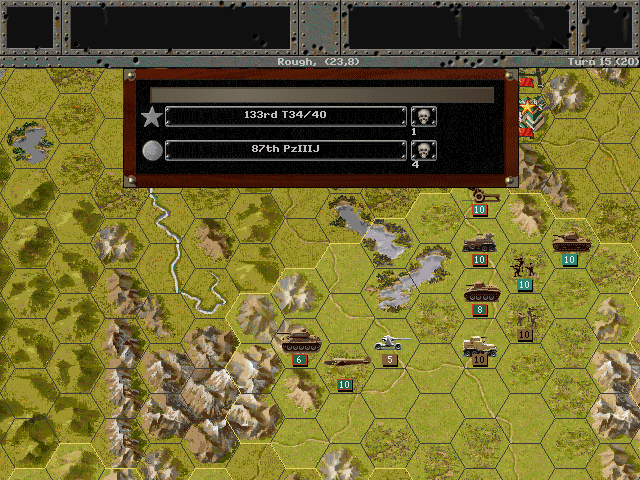
The T-34's seem to not even care about the German anti-tank guns.
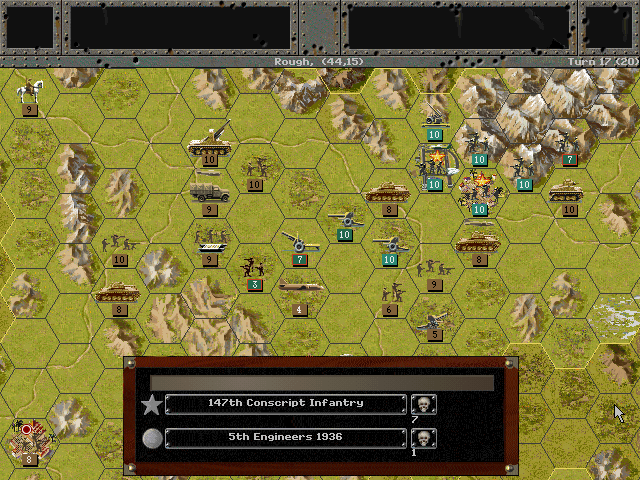
Those conscripts are simply ineffectual, and the Russians basically are just throwing them in our path to block us now.
Axis Turn 18: August 15, 1942
Fair (Dry)
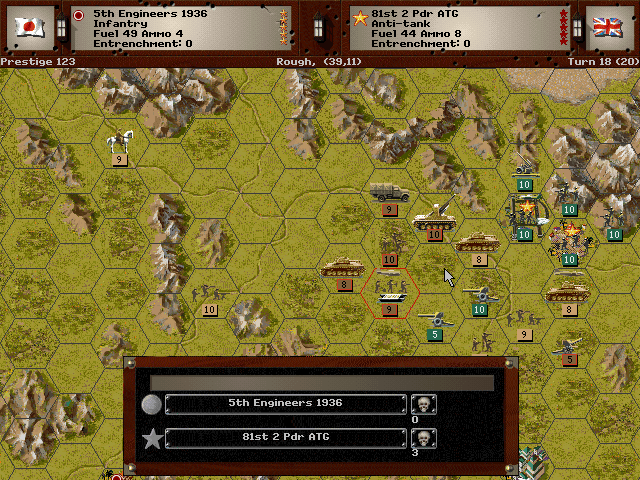
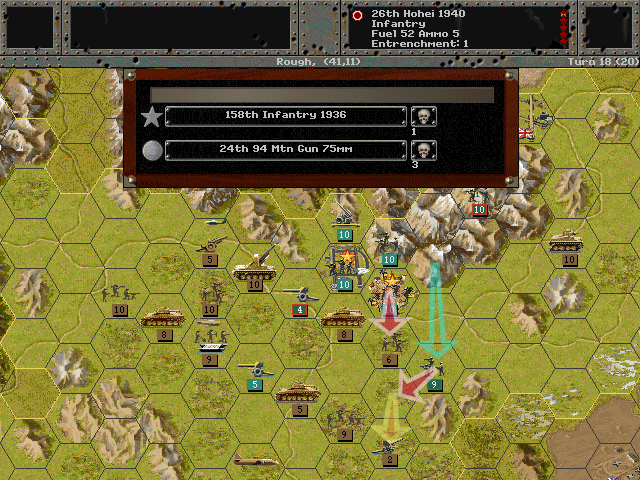
We're putting the squeeze on the units close to Tehran.
Reinforcements are rushing to stem the tide of Soviet armor.
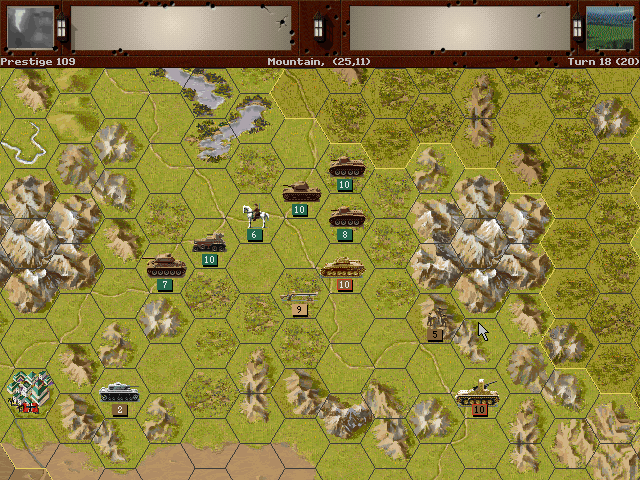
Allied Turn 18: August 15, 1942
Fair (Dry)
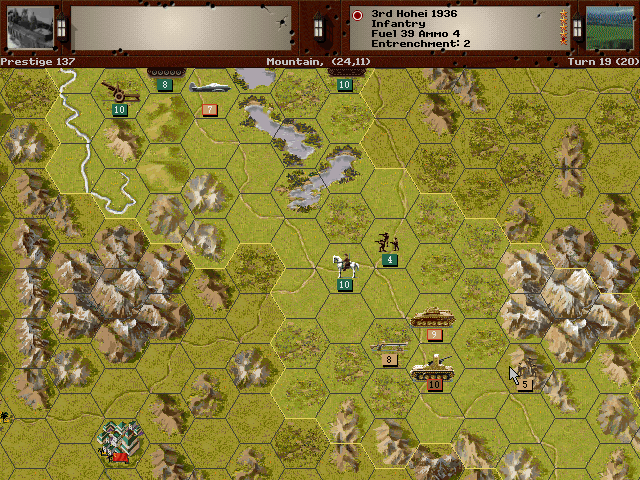
Thankfully the Soviets hold off their armored assault for a moment.

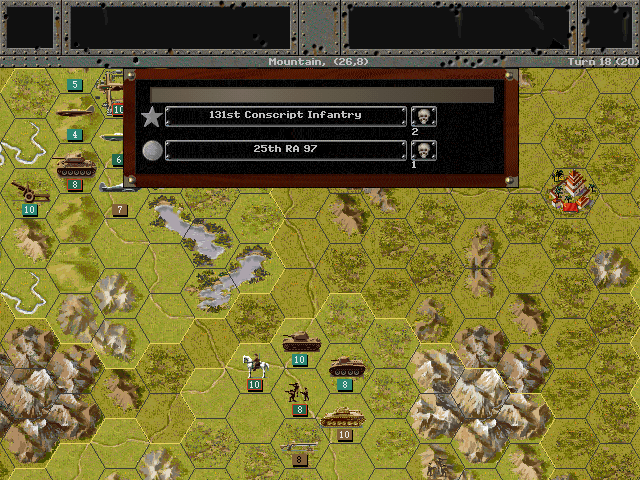
Meanwhile the Germans have all but disappeared in the north. Al-Musil falls once more.
One of the weak points in our lines at Tehran is discovered by British forces.
Axis Turn 19: August 15, 1942
Fair (Dry)

A concentrated assault forces the British to retreat from the Tehran airfield.
Our defenses against the Soviets are prepared as best we can make them.
Allied Turn 19: August 15, 1942
Fair (Dry)
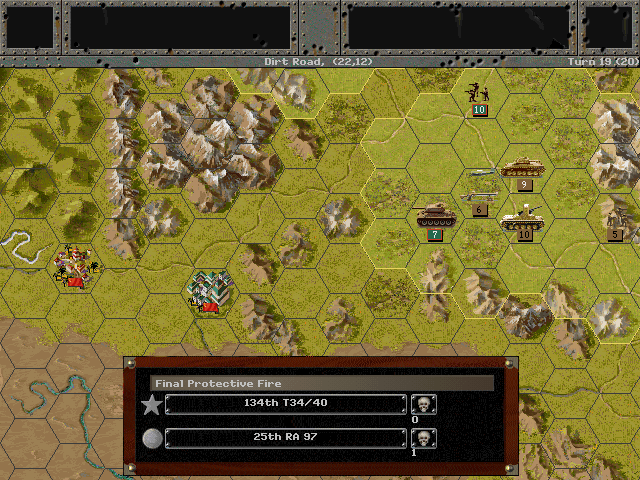
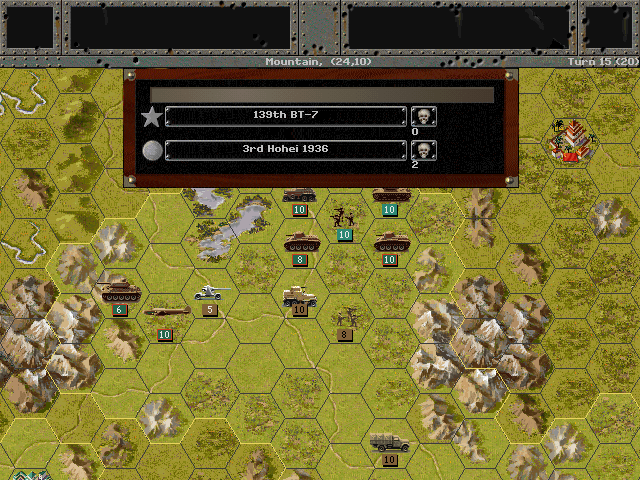
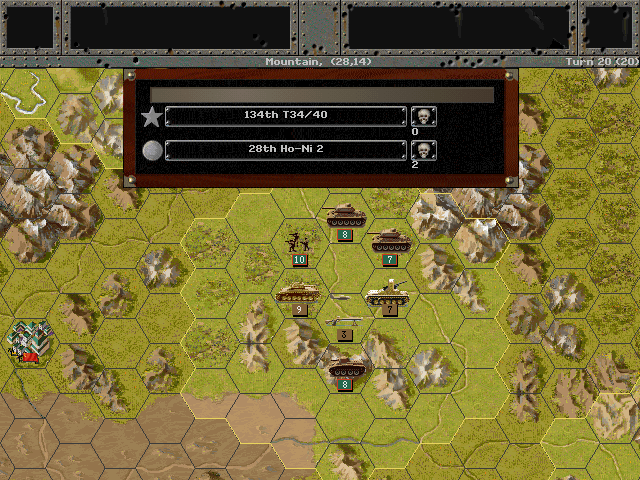
The Ho-Ni gives covering fire and the RA 97 holds off the T-34 tanks.
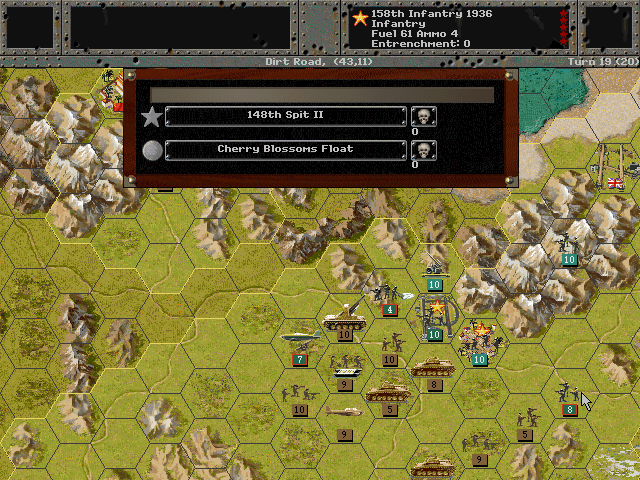
Spitfires come down at our guns, but they score no hits.
Axis Turn 20: August 15, 1942
Fair (Dry)
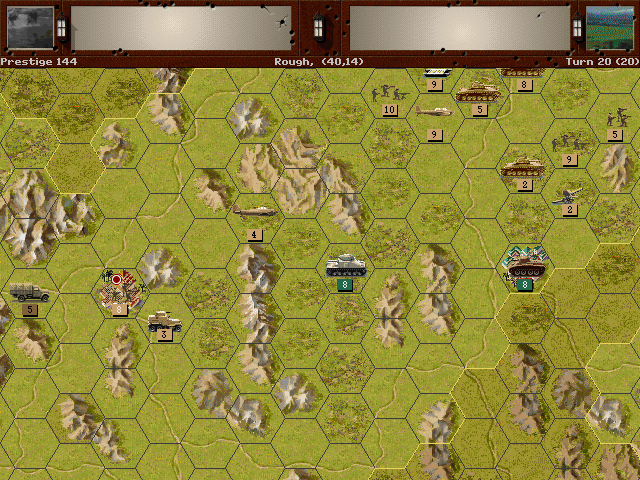
In our push to Tehran, we've allowed a few enemy tanks to slip through our lines.
It's no matter, as we capture the city with little difficulty, and even seize the airfield to the north.
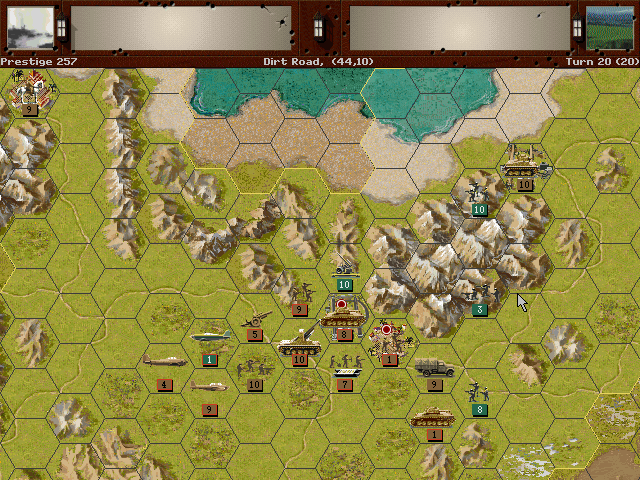
Allied Turn 20: August 15, 1942
Fair (Dry)

The Soviets flank us and push back the artillery.
More tanks toss our forces around, but our units do survive.
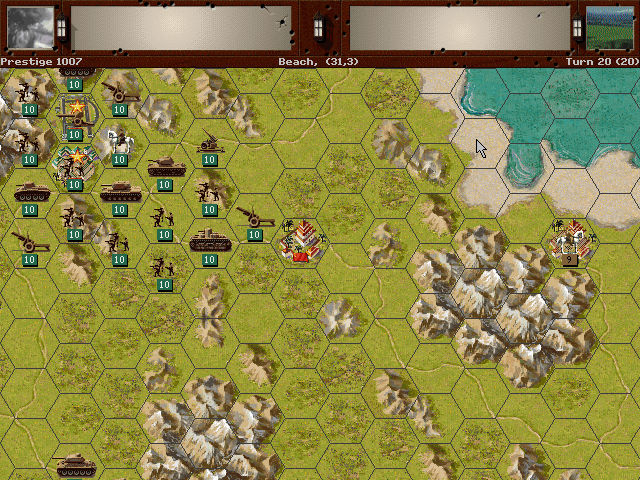
It may not be the best outcome since we could not get Tabriz, but we have secured the majority of Persia. The Soviets will likely have to pull back before winter cuts their supply lines through the Caucasus ... assuming we can get time to flow at a normal rate again.
Final Prestige: 1007
Final VP: 1490 - 1098 (Marginal Victory)
Unit Spotlight
So-Ki [Experimental? Anti-Aircraft Tank Model C]/ Ta-Se
PG Name: So-Ki Type: Anti-Aircraft
Effective Date: 7/42
Value:16 Cost:192 Spot:2 Move:5 MM:Track Trans:Naval Fuel: 42
Init:5 SA:6 HA:4 AA:14 NA:0 GD:6 AD:7 CD:2 TT:Hard Ammo:6
This appears to be another prototype weapon that never reached production, and there are not many references to this actual name being used. This was a redesigned Ke-Ni tank, apparently, which eventually had twin 20mm AA guns mounted on it. That doesn't really explain the curiously high anti-air capability. It seems the reason this never went into production is that the 20mm cannon just wasn't very effective when shooting at aircraft; the small chassis may have been too unstable. It might well have proven reasonably powerful against ground units, however.
In-game analysis: Thanks to those odd numbers, this may be one of the best anti-aircraft units available. It does have the highest Air Attack of any ground unit (only equalled by the 120mm Type 10), and has the ability to deal real damage to weaker ground units. It's roughly on par with the Wirbelwind (only losing out in ammo supply). My favorite use for AA units is to clean up the battlefield remnants, and this one can do that while also being a very serious threat to aircraft.
Kawanishi H6K Flying Boat (Mavis)
PG Name: H6K Mavis Type:Level Bomber
Effective Date: 7/36
Value:25 Cost:360 Spot:6 Move:8 MM:Air Trans:No Fuel: 150
Init:3 SA:1 HA:4 Size: 20 AA:[9] NA:3 GD:10 AD:10 Ammo:6
The H6K was a seaplane developed for the Japanese Navy in the 1930s. It had decent range and had no trouble in water. Despite not really having any armor, it could withstand damage moderately well. Nevertheless, by the 1940s it was too outdated to be anything other than a sitting duck when facing most Allied fighters.
In-game analysis: This is best used as a reconnaissance plane (since it has that huge spotting range), but early on it can also serve as a reasonably effective bomber.
Kongo-class Battleship (4 built)
PG Name: Kongo / Kongo 1944 Type:Battleship
Effective Date: 7/36 / 1/44
Value:18/22 Cost:324/396 Spot:2 Move:5 MM:Deep Naval Fuel: 83
Init:5 Range:5 SA:7 HA:10 AA:[5] NA:18 DA:0 GD:18 AD:7 TD:10 Ammo:40
Special: Night Optics/ +Radar
The Kongo-class was a British design (the Kongo itself was even built in Britain), and they were originally classed as battlecruisers. Later upgrades in armor caused them to be rated as battleships. They remained on the light side in combat power, but they were faster than most battleships from the same era. None of them survived the war.
In-game analysis: Relative to the Nagato, this model is slightly better since it can fend off air attacks a bit better. But once again, it loses out to the Fuso-class for power and value.