Part 28: Australia: February 16, 1943

With as much of Asia under our control as we require, it's time to expand our holdings in the Pacific.
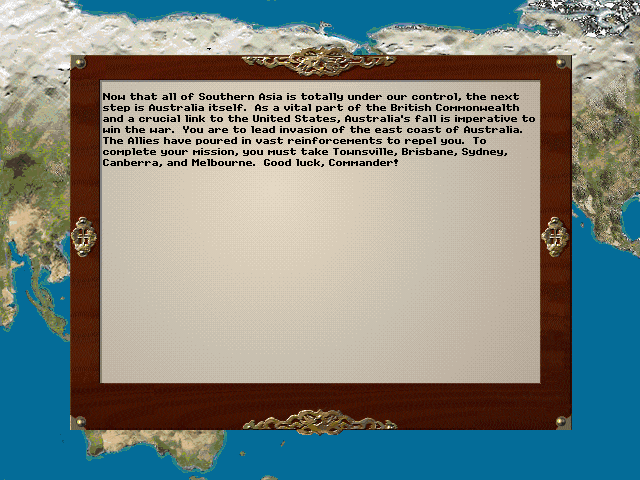
What better place to take now than Australia? It'll ensure that the Allies can no longer threaten Southeast Asia.
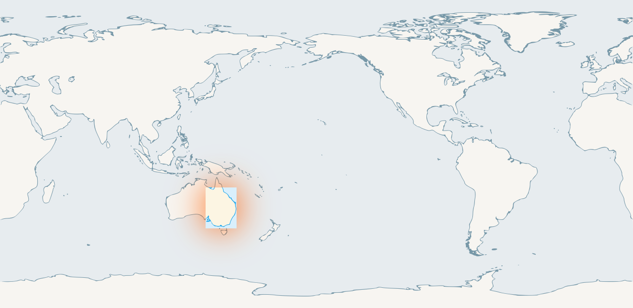
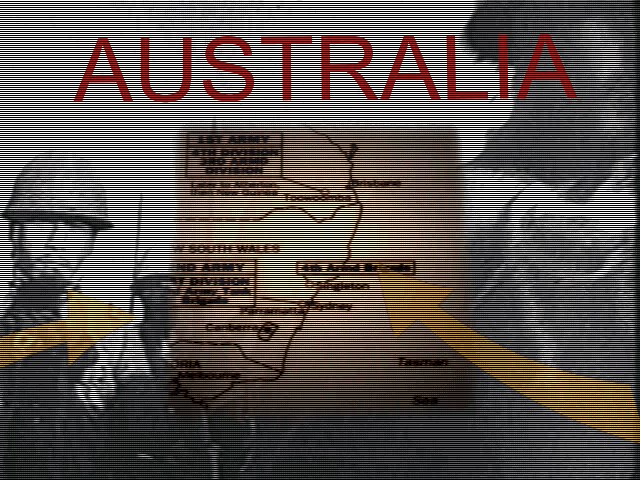
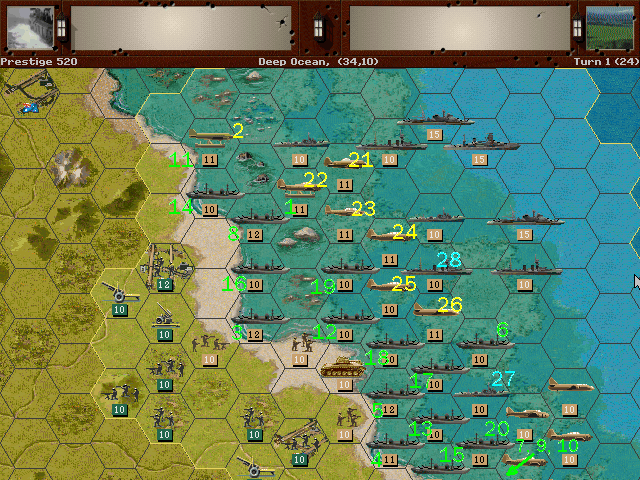
Australia: February 16, 1943
Objectives: Adelaide [150], Melbourne [100], Canberra [100], Sydney [200], Brisbane [100]
Starting VP: 0 - 1328
OOB
pre:
Unit Name                   Unit Type [Transport]         Exp

Land Units
1.1st Hohei 1940            Hohei 1940[Isuzu]              ***
2.2nd Teishin Dan           Teishin Dan                   ****
3.3rd Hohei 1943            Hohei 1943[Isuzu]             ****
4.4th Hohei HW 1936         Hohei HW 1936[Isuzu]          ****
5.5th Engineers 1936        Engineers 1936[Isuzu]        *****
6.26th Hohei 1940           Hohei 1940[Isuzu]                -
7.29th Hohei 1940           Hohei HW 1940                    -
8.The Japonies              Kihei                         ****
9.My Tanks are so kawaii    Type 95 Ha-Go                *****
10.13th Type 1 Chi-He       Type 1 Chi-He                 ****
11.27th Type 97 Chi-Ha      Type 97 Chi-Ha                  **
12.31st Type 1 Chi-He       Type 1 Chi-He                    *
13.32nd Type 98 Ke-Ni       Type 98 Ke-Ni                    -
14.22nd Type 92             Type 92                       ****
15.25th RA 97               RA 97 [Isuzu]                    *
16.Steel Death              Ho-Ni 3                         **
17.28th Ho-Ni 2             Ho-Ni 2                          -
18.Cherry Blossoms Float    Type 91 105 [Isuzu]             **
19.24th 94 Mtn Gun 75mm     94 Mtn Gun 75mm                  -
20.23rd So-Ki               So-Ki                        *****

Aux (by qty)
1                           Senpaku Kohei                   **
1                           Senpaku Kohei                  ***
2                           Hohei 1943 [Isuzu]              **
3                           Hohei 1943 [Isuzu]             ***
1                           Hohei HW 1943 [Isuzu]           **
2                           Hohei HW 1943 [Isuzu]           **
1                           Imperial Guard                 ***
1                           Engineers 1943                 ***
1                           Type 1 Chi-He                    -
1                           Type 1 Chi-He                  ***
1                           Type 98 Ke-Ni                  ***
1                           Ho-Ni 2                        ***


Air Units

21.Hirohito's Hieneys       Nakajima Ki-27 Nate            ***
22.Sabai's Flying Circus    Ki-43 Oscar                    ***
23.Nicholas is my Father    Ki-45 Nick                   *****
24.21st A6M Zero            A6M Zero                      ****
25.Remember Remember Eni    A6M Zero                         -
26.11th G3M Nell            G3M Nell                     *****

Aux (by qty)

2                           A6M Zero                        **
2                           A6M Zero                       ***
1                           A6M Zero                      ****
1                           Ki-45 Nick                     ***
2                           G4M Betty                      ***
1                           Ki-49 Helen                    ***


Naval Units

27.Katori                   Katori  (CL)                     *
28.Asashio                  Asashio (DD)                     -

Aux

Asashio                      Asashio (DD)                   ***
Asashio                      Asashio (DD)                  ****
Katori x 2                   Katori (CL)                    ***
Mogami x 2                   Mogami (CL)                    ***
Faux-so                      Fuso (BB)                      ***
Starting Prestige: 520 after purchases/upgrades
At this point, we don't really need to upgrade many of our units, aside from the infantry. Hirohito's squadron is still patiently waiting for their Hiens, but the quality of the enemy planes in Australia is not expected to be much of a concern. Also, while this is indeed a naval operation, we're not allowed to bring our fleet with us (including the carriers; capturing an airfield early on is therefore a necessity).
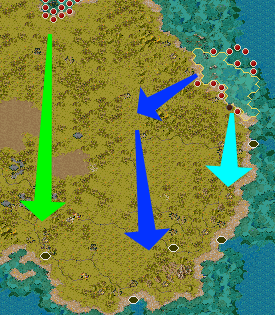
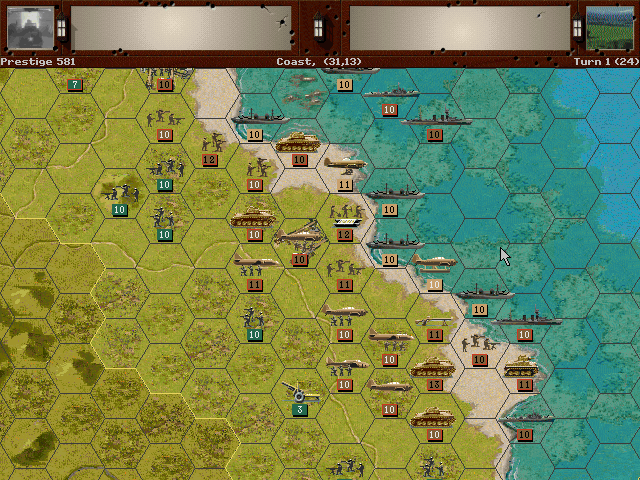
The landing zone will be in the northeast part of the country. Our aim is to establish a safe beachhead as quickly as possible, and then push out from there to cross toward the main objectives in the south. Not all parts of the interior are well-connected by roads, which makes rapid advancement a bit tricky. We can make a good push close to the shore where the transportation network is stronger, but this will likely be the most heavily defended region. Therefore some of the core units will swing a bit more to the west and make their way toward Melbourne. A secondary landing is taking place via the Gulf of Carpentaria. With luck, this group will clear a path all the way down to Adelaide. That should keep our flank safe for the Melbourne advance, or at least tie up any enemy units trying to make their way eastward.
We actually have a fair amount of time for this invasion. While we do want to get the troops ashore quickly, we don't want to crowd the beaches too much. A central spot for the forces should allow us to get a second wave in more safely. We can also count on naval support for at least the early part of the attack.
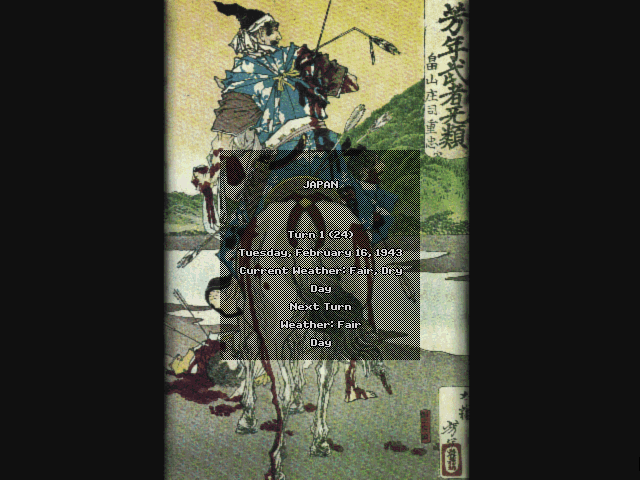
Axis Turn 1: February 16, 1943
Fair (Dry)
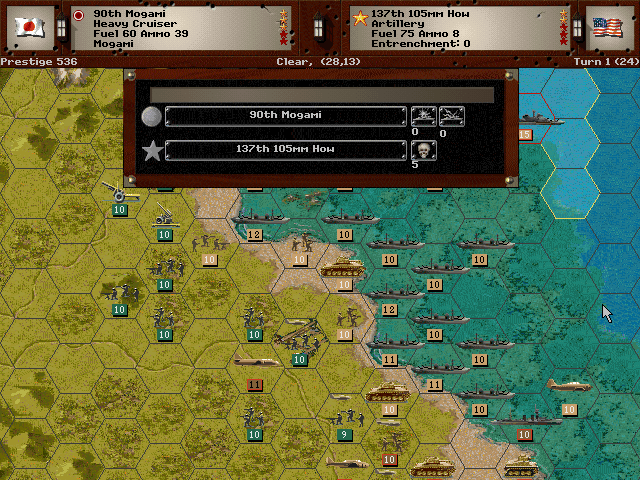
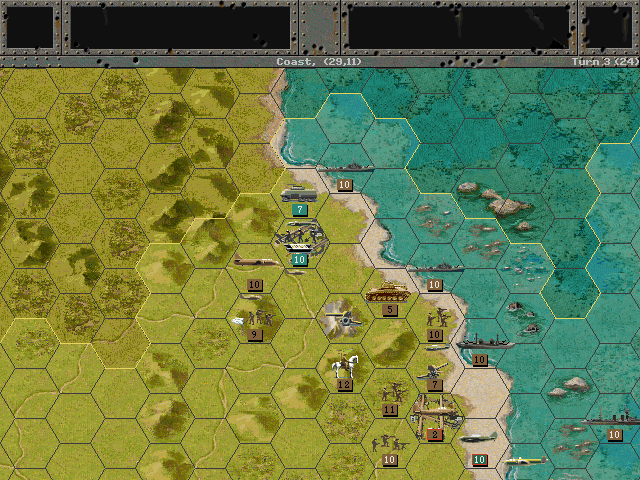
Offshore bombardment creates an opening for the troops to get on the beach.
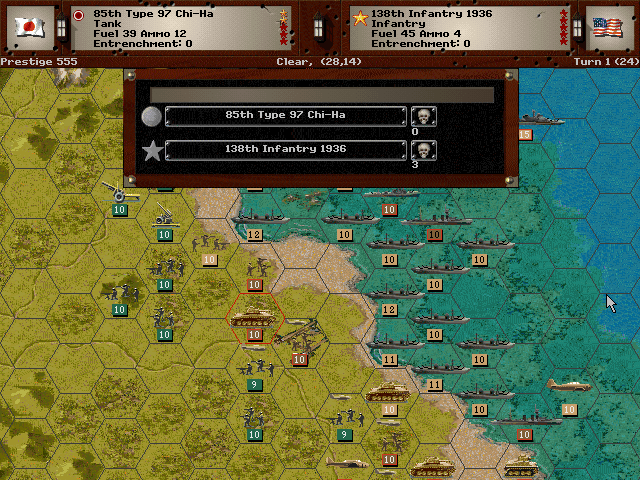
We're able to grab an airfield almost immediately.
Bombing raids allow the tanks in the south to gain a good position as well.
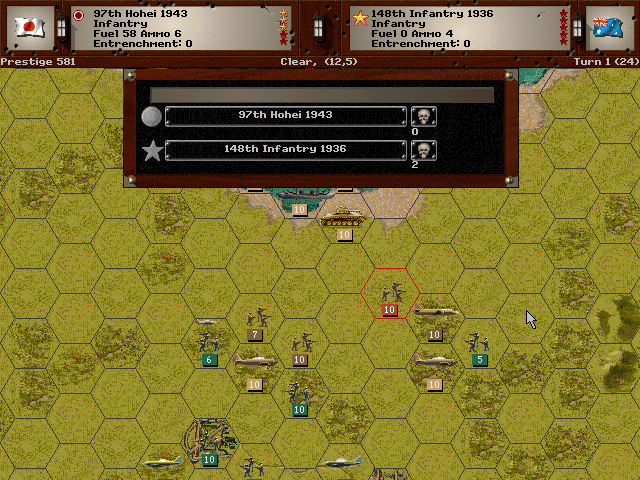
The Carpentaria force gets off the beach easily, and encounters only light resistance as they head inland.
Allied (Australia/USA) Turn 1: February 16, 1943
Fair (Dry)
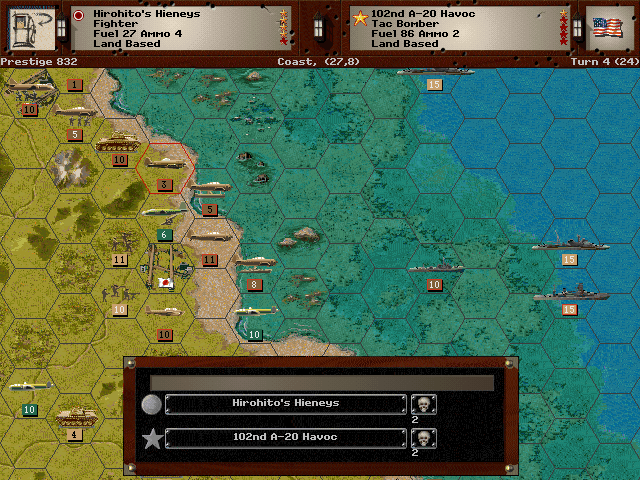
The air battle is fierce - the enemy pilots inflict heavy losses on our own planes.
The American forces here knock our troops around quite a bit as well.
Axis Turn 2: February 16, 1943
Fair (Dry)
The troops in the north are already nearing the airfields up here.
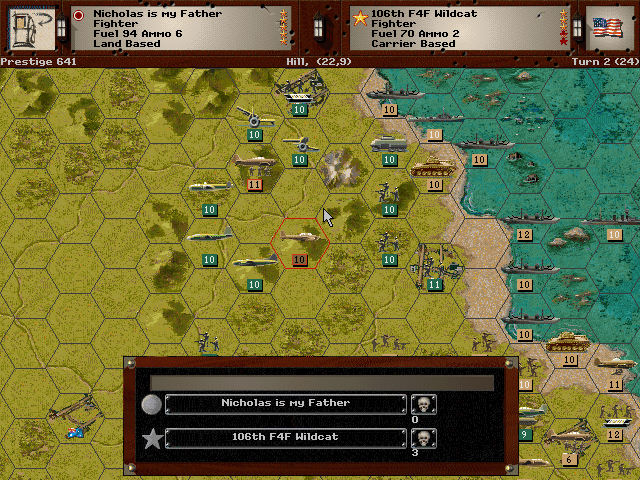
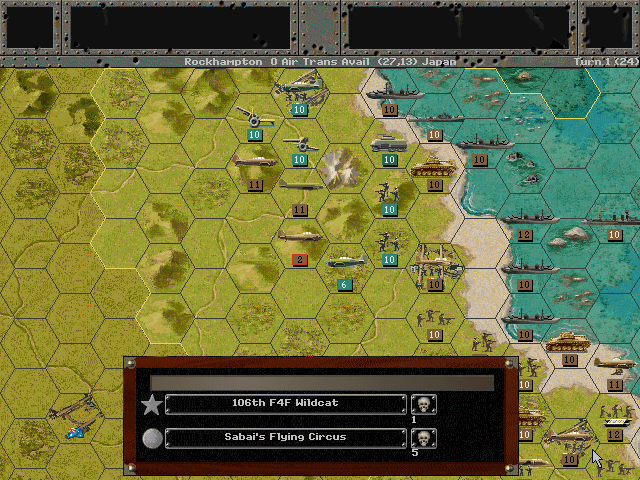
Dogfights show that we have the advantage as we knock out a squadron of F4F Wildcats.
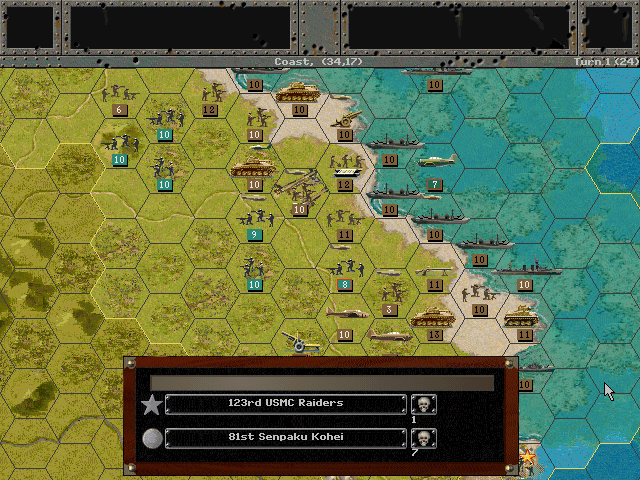
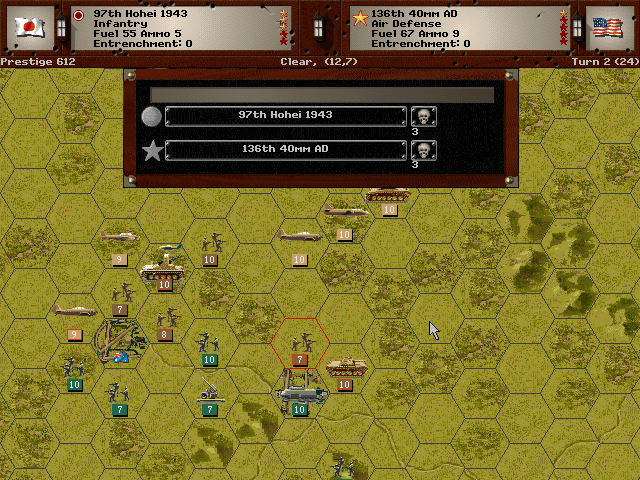
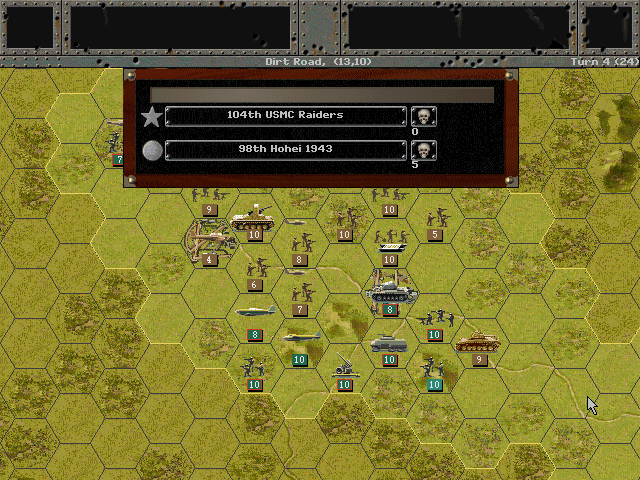
We're working on eliminating as much of this (largely American) force as we can. We don't want to give them a chance to retreat and regroup.
The north end of the landing zone has proven too well-defended for us to get more than a few troops unloaded.
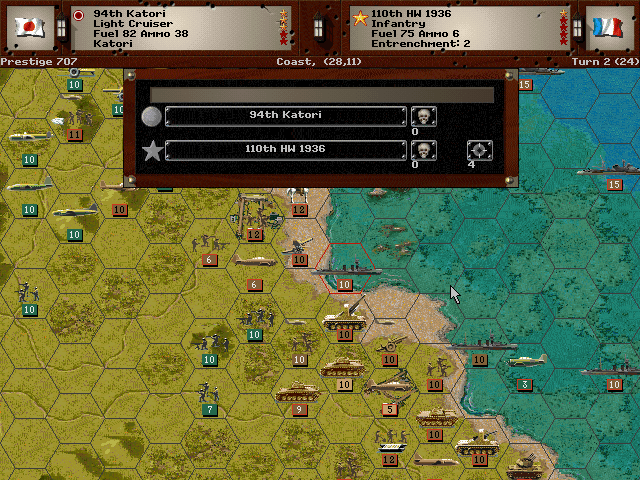
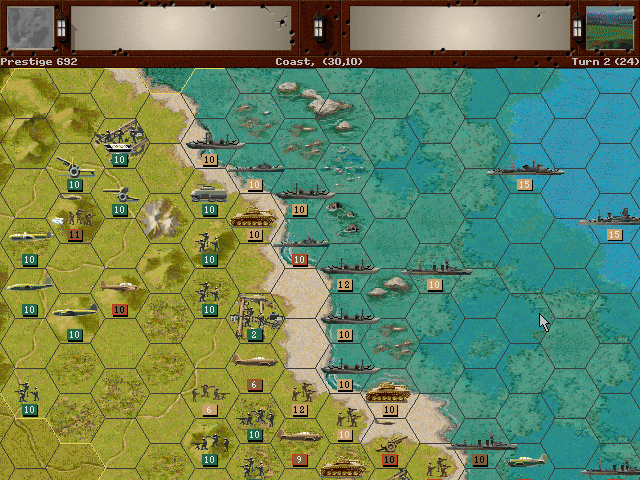
But we do have a safe zone in the center of the zone to get nearly all of our units out of the ships there.
Allied Turn 2: February 16, 1943[/b]
Fair (Dry)
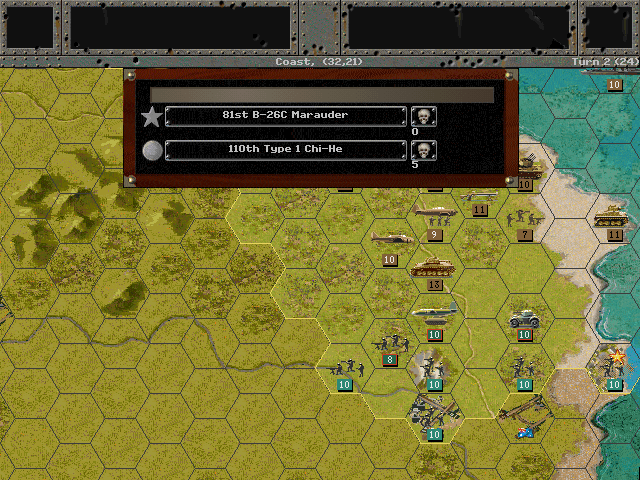
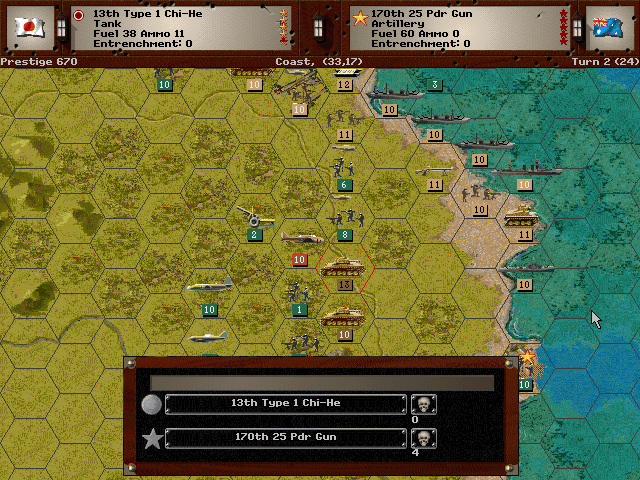
Although we engaged the interceptors, we aren't able to stop the enemy bombers from hitting us.
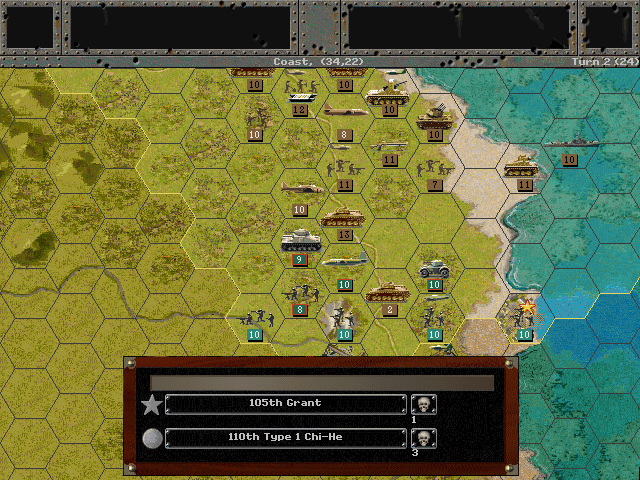
A dangerous Grant tank hits one of our own, and it is lost to the American infantry shortly afterward.

The tanks on the north side are not much to be concerned about.
Axis Turn 3: February 16, 1943
Cloudy (Dry)
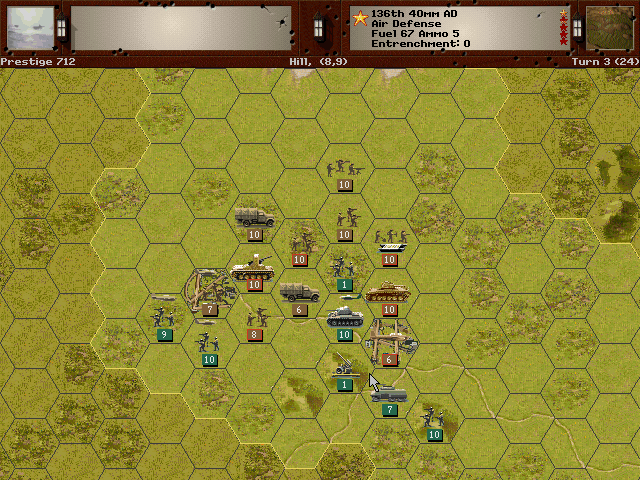
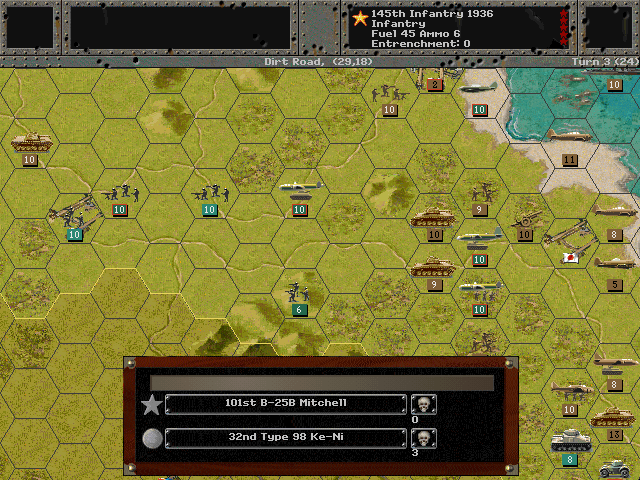
We're taking ground as quickly as we can. With these airbases gone, the enemy won't be able to strike back very easily.
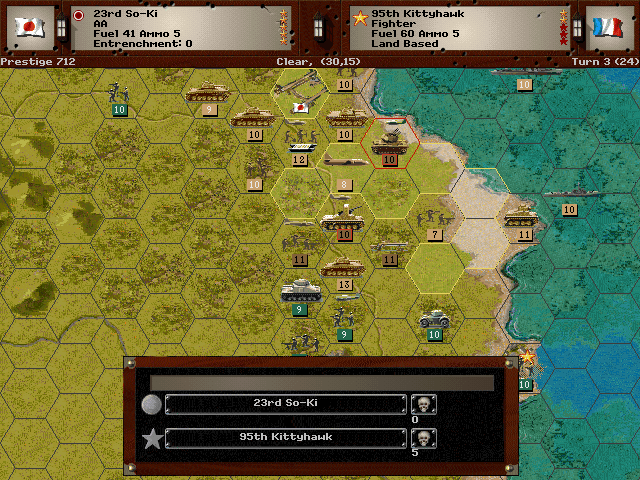
The So-Ki shoots down an obsolete bomber.
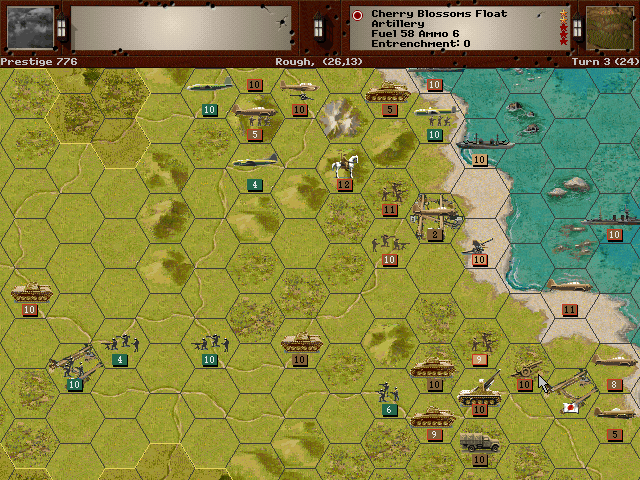
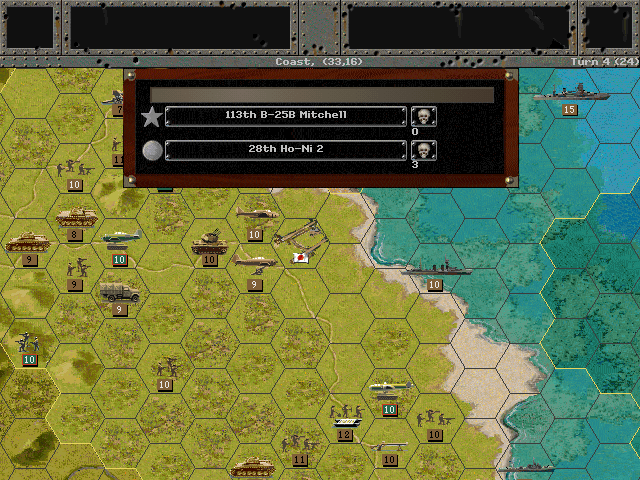
We're seeing the disposition of the enemy at Brisbane. As expected, there are a lot of troops to get through.

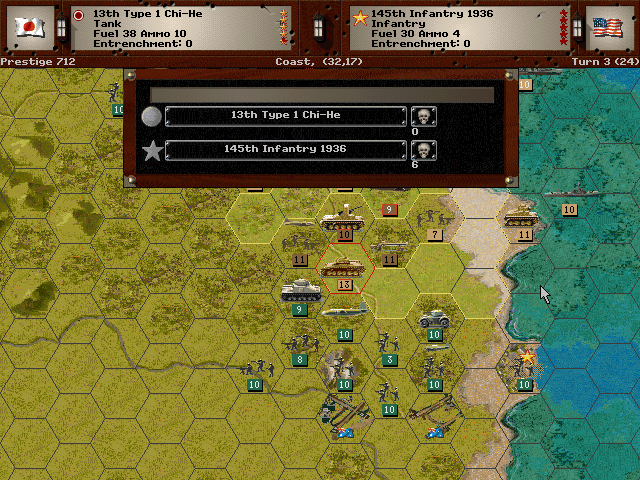
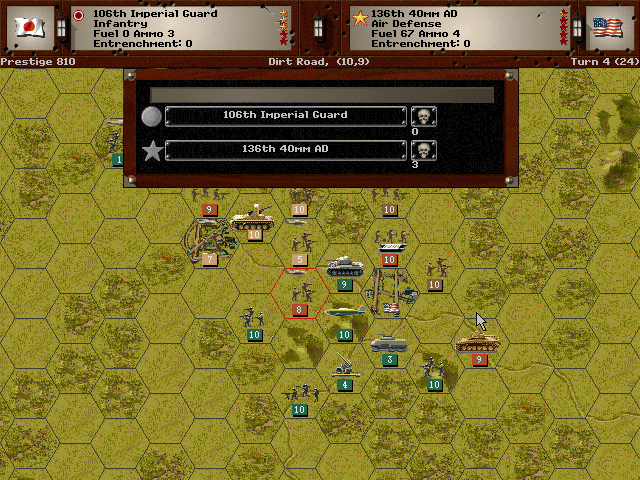
On the northern end, we're clearing up space for the remainder of the forces to land.
In the middle, there's very little that remains to oppose us.
Allied Turn 3: February 16, 1943
Cloudy (Dry)
Allied bombers put some brakes on our rapid advance.
Casualties are relatively heavy near Townsville.
Axis Turn 4: February 16, 1943
Fair (Dry)
The only problem with those Valentine tanks is the nearly-impenetrable armor. They aren't too dangerous, but they are very hard to get rid of.
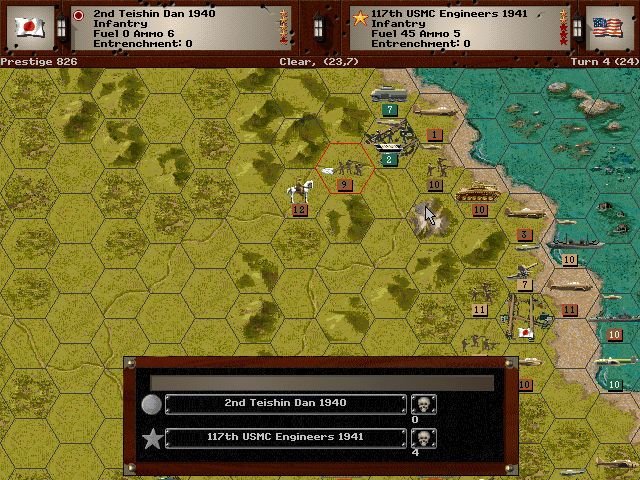
The paratroops and the Japonies cut off the rear of Townsville.
We spend some time forcing the vehicles back, and we'll be able to launch an attack near Brisbane soon.
Some of these American bombers are remarkably hard for even fighters to deal with.
Allied Turn 4: February 16, 1943
Fair (Dry)
More American forces show up on the north side to slow us down.
Air raids interdict our main attack as well.
Axis Turn 5: February 16, 1943
Rain (Dry)
Townsville is in our hands. We can land our planes here since the rain is inhibiting any further combat.
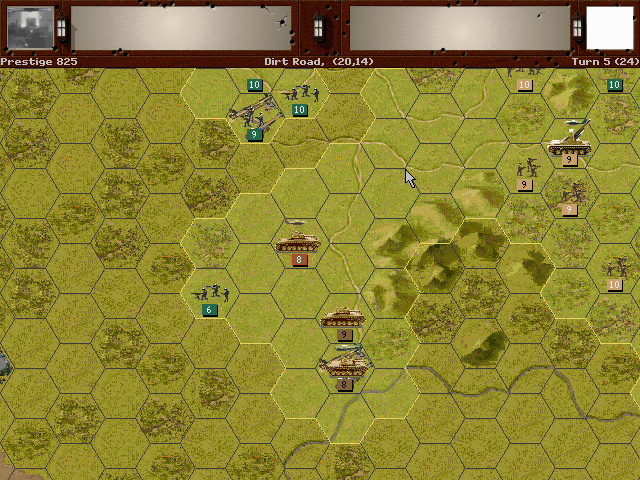
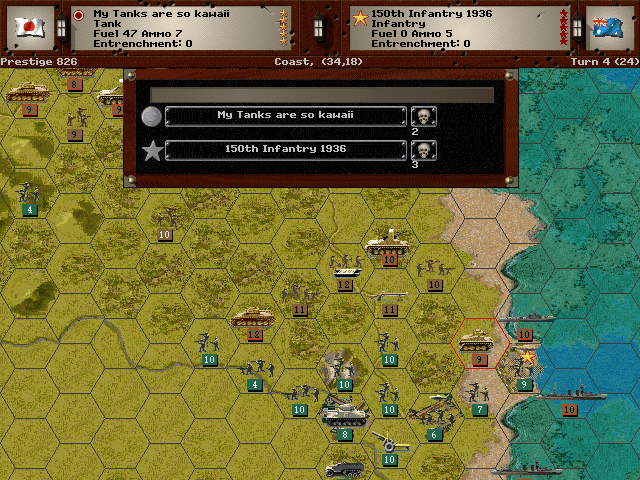
We seize control of the roads southward.

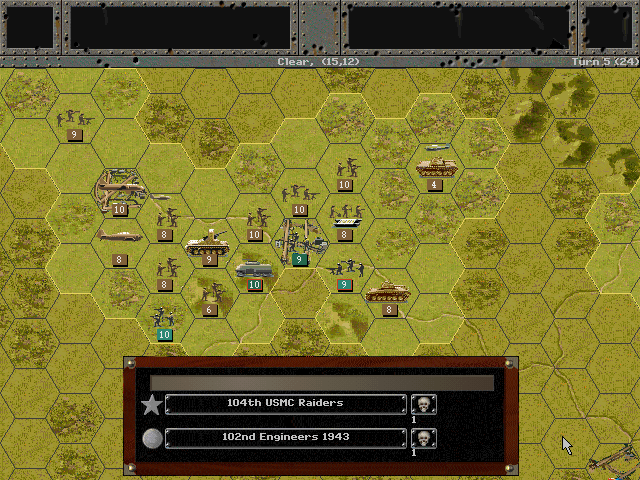
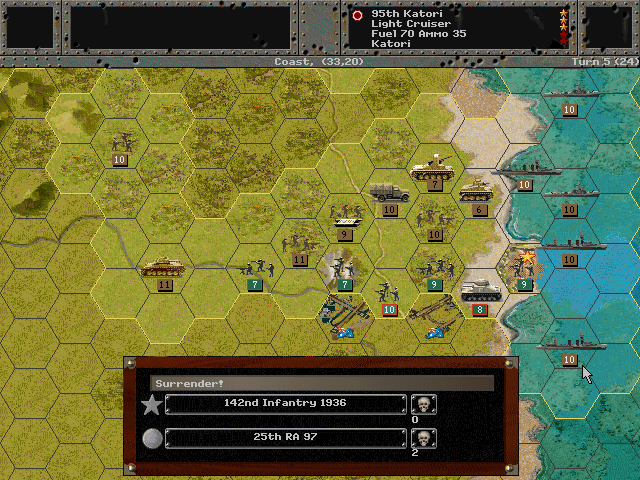
The heaviest fighting is at the coast, but at least we still have some naval support here.
Allied Turn 5: February 16, 1943
Rain (Dry)
The Americans are making a stand at the airfield near Cloncurry.
Delays in deploying our artillery lead to the loss of the AT guns.
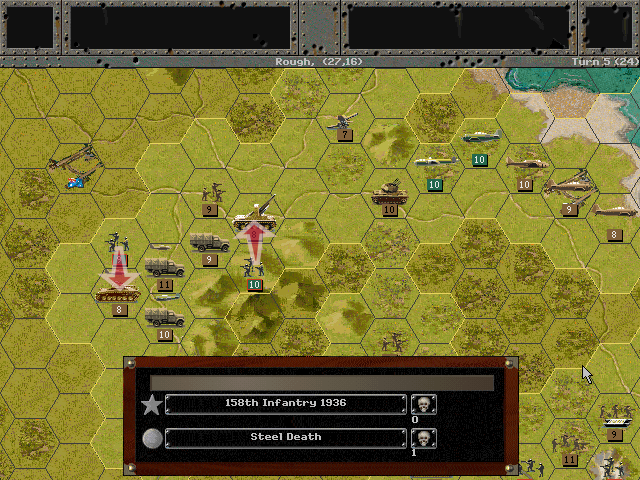
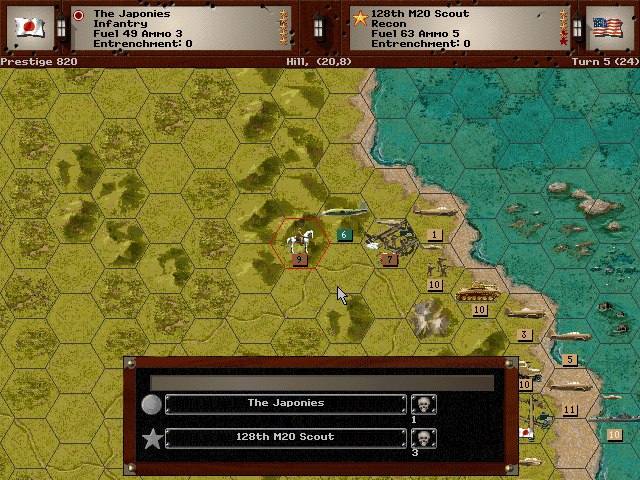
Hidden soldiers in the hills strike out at our column.
Unit Spotlight
Type 98 Ke-Ni [Light Tank Model D]
PG Name: Type 98 Ke-Ni Type:Tank
Effective Date: 9/42
Value:6 Cost:72 Spot:3 Move:8 MM:Track Trans:Naval Fuel: 44
Init:3 SA:3 HA:4 AA:0 NA:1 GD:9 AD:2 CD:2 TT:Hard Ammo:9
This model is a refinement of the light tank line, and thus follows after the Type 95 Ha-Go. While it apparently improved on it in nearly all aspects, especially in maneuverability, it seems that it never saw widespread adoption. That was possibly due to production limitations, or possibly because the Army may have been happy enough with the performance of the Type 95.
In-game analysis: This is a fast light tank that's fairly useless in combat. In almost every aspect save movement and supplies carried, the Type 92 'Armored Car' is better. This is in fact a better choice as a recon vehicle, and that one is more useful as a light tank.
Nakajima Ki-49 "Donryu" (Helen)
PG Name: Ki-49 Helen Type:Level Bomber
Effective Date: 7/40
Value:27 Cost:324 Spot:2 Move:8 MM:Air Trans:No Fuel: 127
Init:4 SA:1 HA:4 Size: 10 AA:[10] NA:3 GD:10 AD:9 Ammo:6
This was the successor to the Sally, but it didn't seem to offer much over it. While its ability to defend against fighters was improved, there was not a lot to otherwise distinguish it from its predecessor. It still couldn't deal with fighters on its own, and ended up not being put into wide use as a bomber (some did see use as transports or patrol craft).
In-game analysis: This costs more than a Sally, and only adds a few points of defense -- while also being less effective at strategic bombing. I'd skip it.
Mogami-class Cruiser (4 built)
PG Name: Mogami/Mogami 1944 Type:Heavy Cruiser
Effective Date: 4/40 / 1/44
Value:21/24 Cost:378/432 Spot:2 Move:7 MM:Deep Naval Fuel: 60
Init:4 Range:4 SA:5 HA:8 AA:[13]/[19] NA:18 DA:0 GD:18 AD:9 TD:10 Ammo:40
Special: Night Optics, [1944]Radar
The Mogami class was a new design in the 1930s, and started out as a somewhat stronger light cruiser. There was a lengthy refinement stage that eventually led to them being heavy cruisers (the constraints of the treaties probably influenced the initial design). The Mogami itself was eventually converted to a partial aircraft carrier. None of the ships in this class made it past 1944.
In-game analysis: These are edging close to Battleship prices, and while the anti-air power is quite impressive, it's difficult to prefer one of these to a real one, as it would have a longer gun range and equivalent surface power. That said, this could be a reasonable upgrade or purchase for surface combat in the war's later years.