Part 30: Australia: February 18, 1943
We've made good progress the last... two days(!) in Australia. Seems like time is on our side.
Axis Turn 11: February 18, 1943
Fair (Dry)
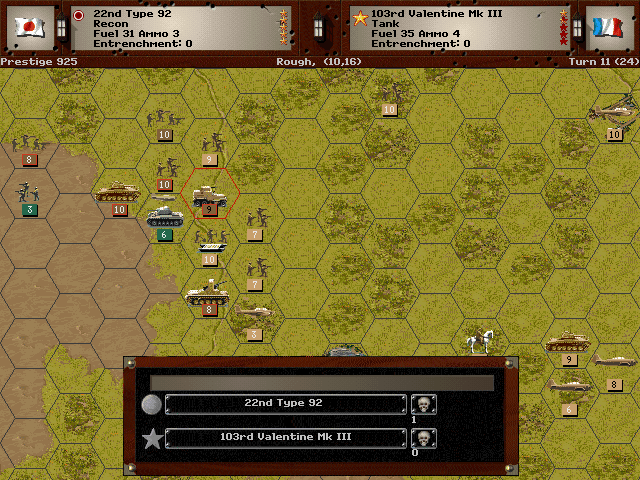
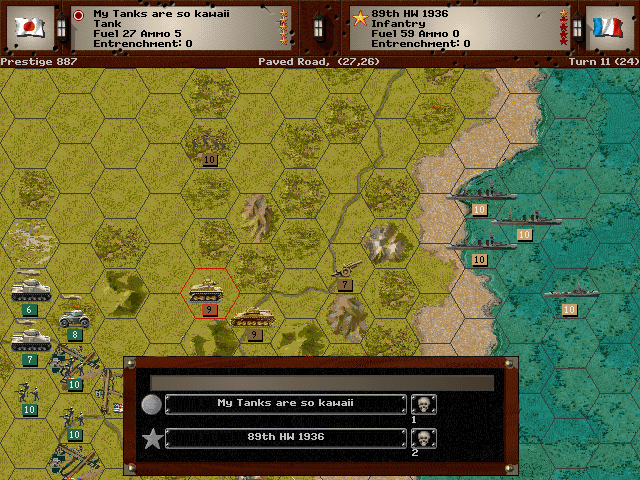
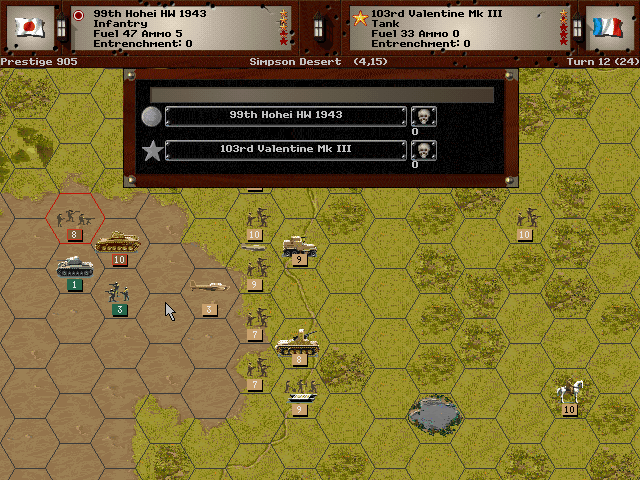
Even if we can get some units past the enemy tanks in the west, we still would like to eliminate it, and that's just not happening.
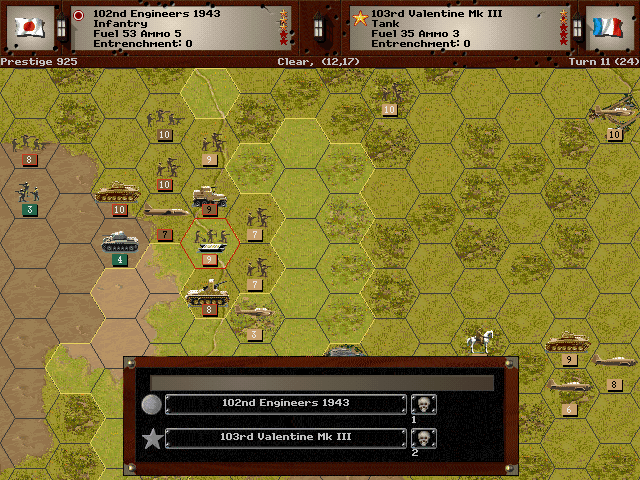
Instead of using our own vehicles, we send in the infantry, and they manage to force a retreat.
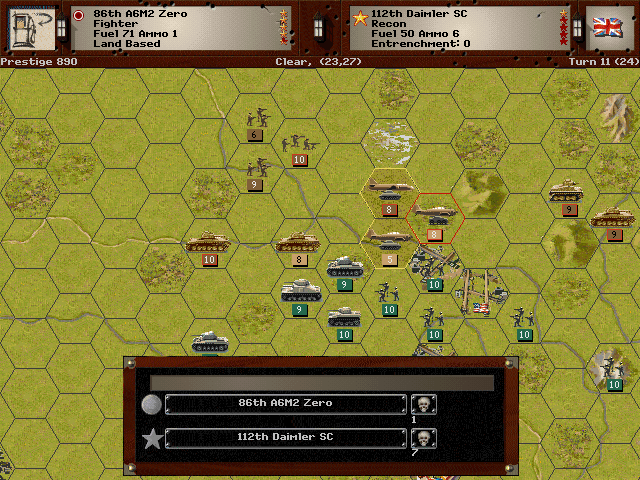
More air power helps to slow down the Allied counterattack.
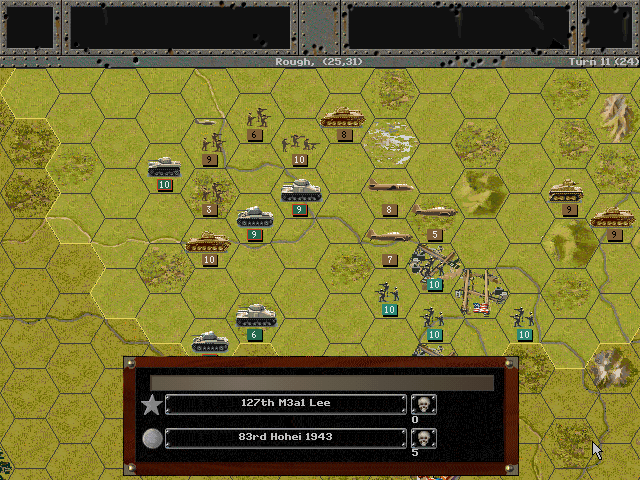
As we pull back in the center, the coastal line of our troops arrives and hits them from the side.
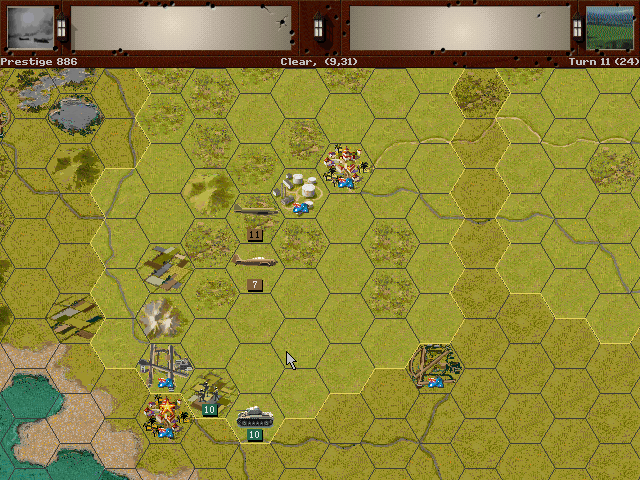
The airborne troops are also about to make another drop, near Broken Hill, but consider that they may be able to grab a better target farther south if it is undefended.
Allied Turn 11: February 18, 1943
Fair (Dry)
The battle is shifted even farther from Sydney, and the enemy continues to break down our forces.
Axis Turn 12: February 18, 1943
Fair (Dry)
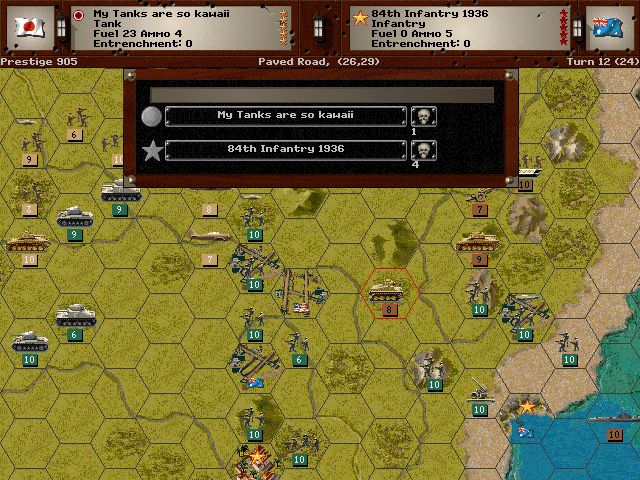
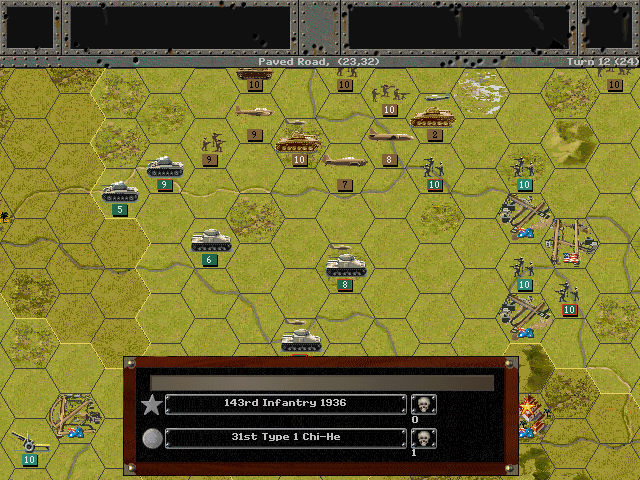
We're about to cut off Sydney from the rest of the country. The Allies have moved all their tanks away.
Some of the enemy units are chased off into the wasteland.
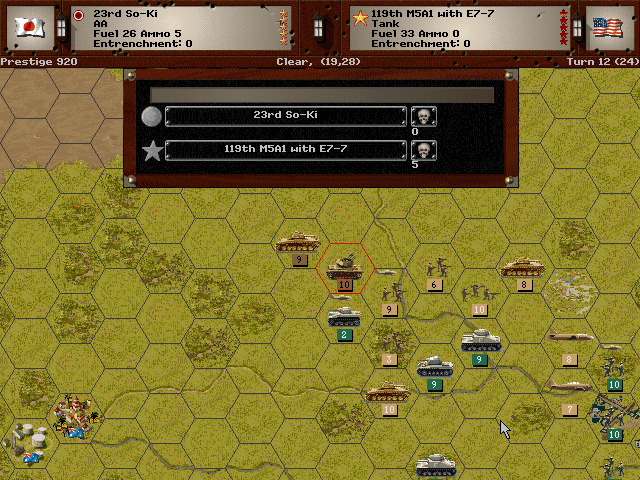
Flamethrower tanks are no match for the fury of the So-Ki.

Our air attacks only increase, and the Allies are halted just as the remainder of the column arrives.
Allied Turn 12: February 18, 1943
Fair (Dry)
The Australians seem only more determined to shift the battle westward.
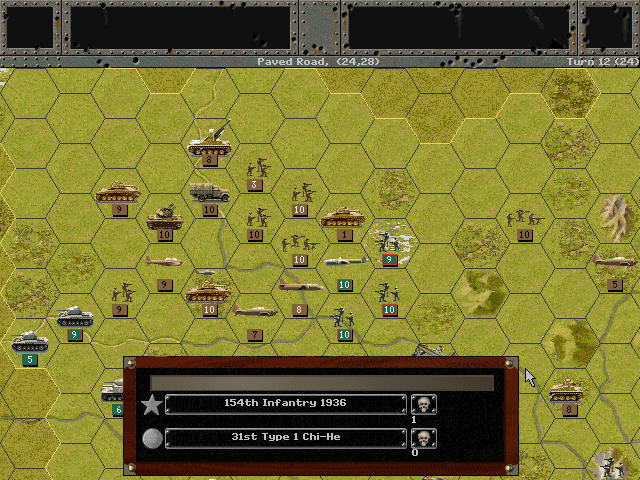
They then direct more infantry to go after the main column. Perhaps they are more concerned for Melbourne and other southern cities than for Sydney.
Axis Turn 13: February 18, 1943
Fair (Dry)
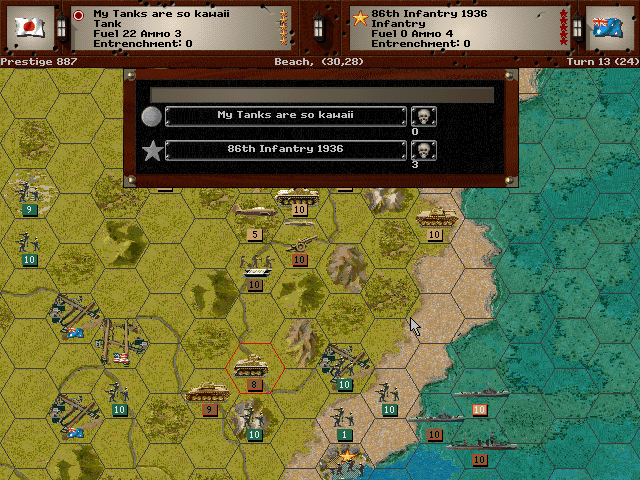
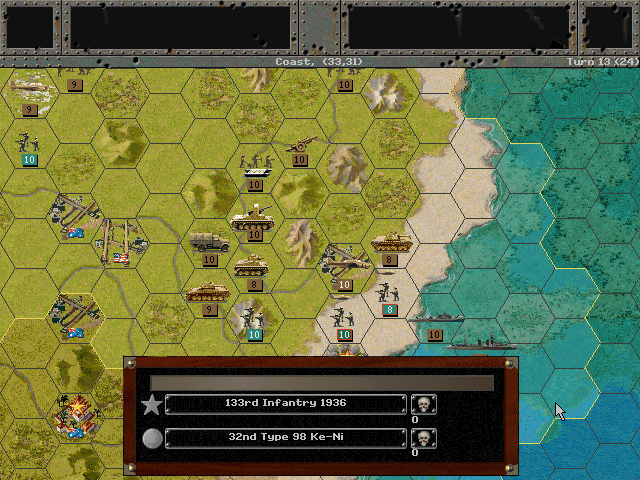
We slowly surround Sydney from the north while the naval units keep the city itself suppressed.
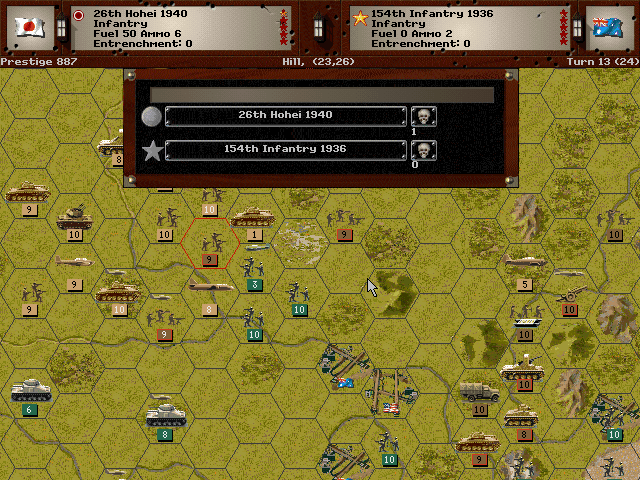
The central force is not in great shape, but the enemy is no longer advancing.
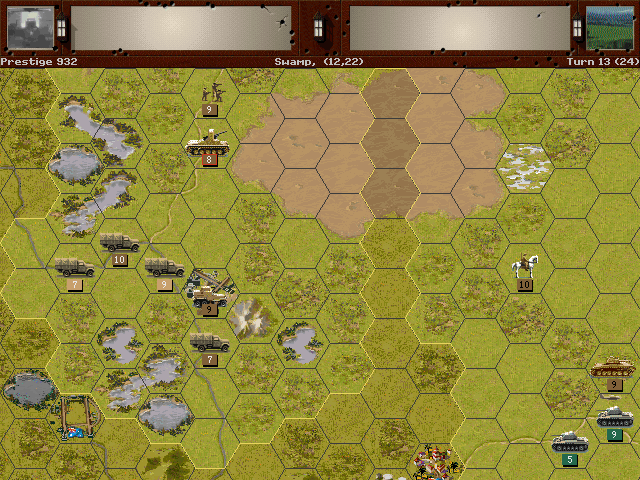
To the west, the auxiliary group has finally come to the more populated areas in the south. Adelaide cannot be far now.
Allied Turn 13: February 18, 1943
Fair (Dry)

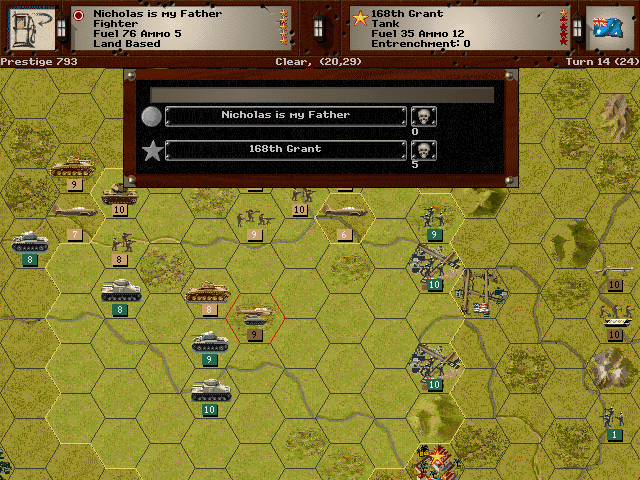
Our airborne troops hoped to capture some guns, but they have to endure a barrage from them first.
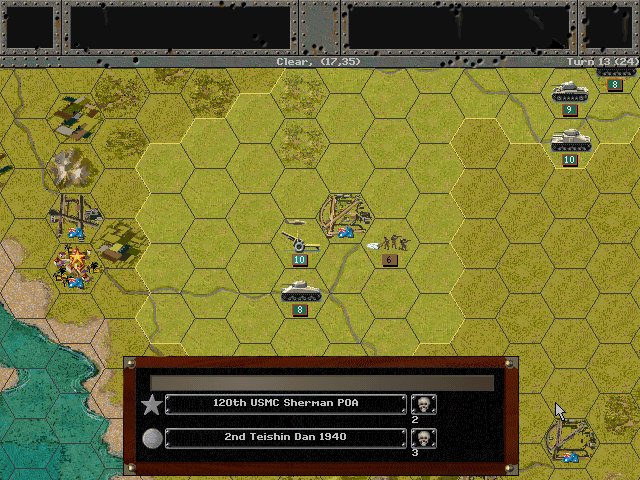
They then get a nasty shock as reserve American tanks hit them.
At Sydney, the Australian troops ineffectually battle our replacement Ke-Ni tanks.
Axis Turn 14: February 18, 1943
Fair (Dry)
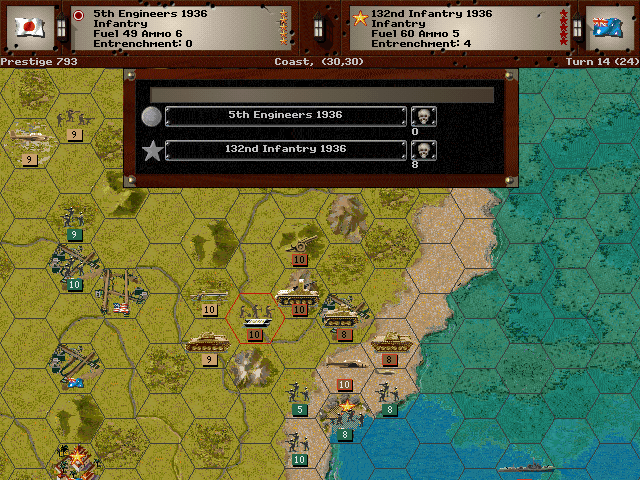
Sydney will take some time to clear out, but we have the clearly superior forces there. Canberra is likely to be taken soon as well.
We need to send as many planes as we can to get rid of all these Allied tanks. We just don't have enough vehicles of our own to deal with them.
At this point, we've effectively cornered the bulk of the Australian forces into a narrow southern part of the country.
Allied Turn 14: February 18, 1943
Fair (Dry)
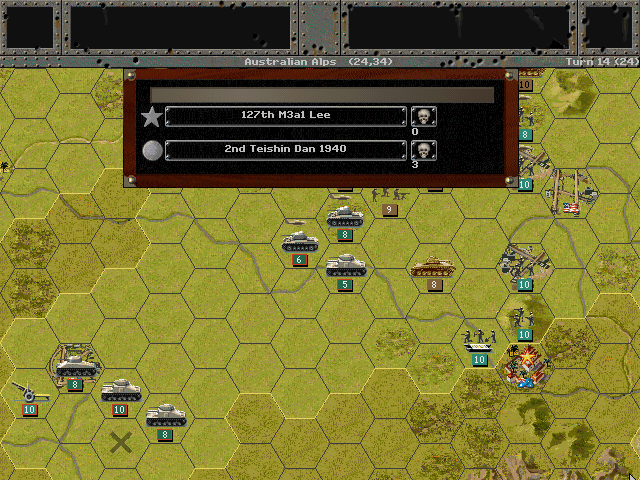
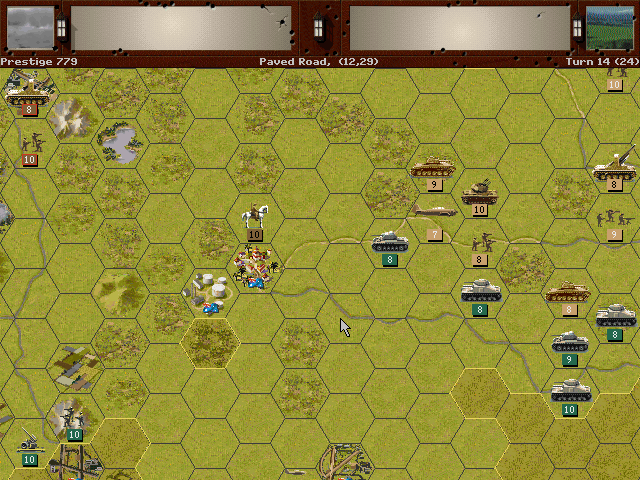
The dream of the Teishin Dan to capture a forward airfield dies as does the unit itself. At least they forced the Allies to divert some of their armor.
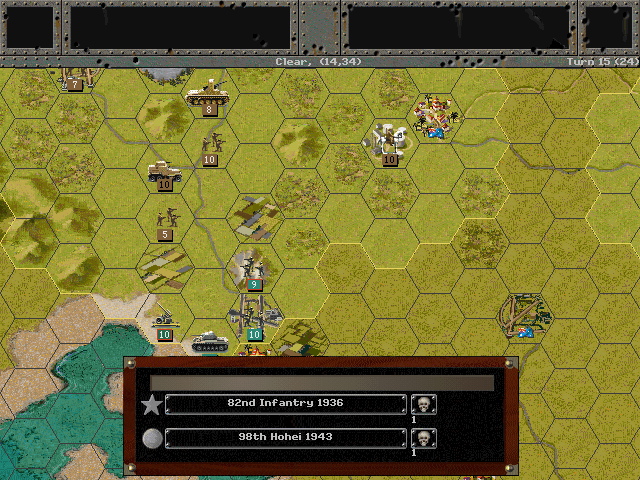
Axis Turn 15: February 18, 1943
Fair (Dry)
It appears that all the enemy forces in the west have entrenched to hold Adelaide. This may be a tough nut to crack.
Sydney has all but fallen. Our tanks are unopposed here.
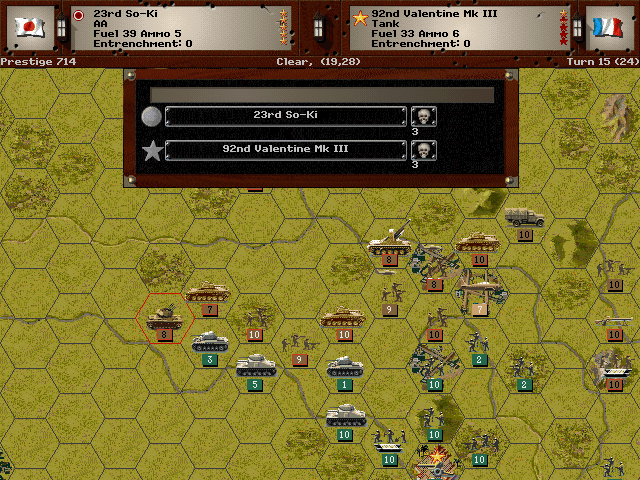
We're starting to push back with success in the center.
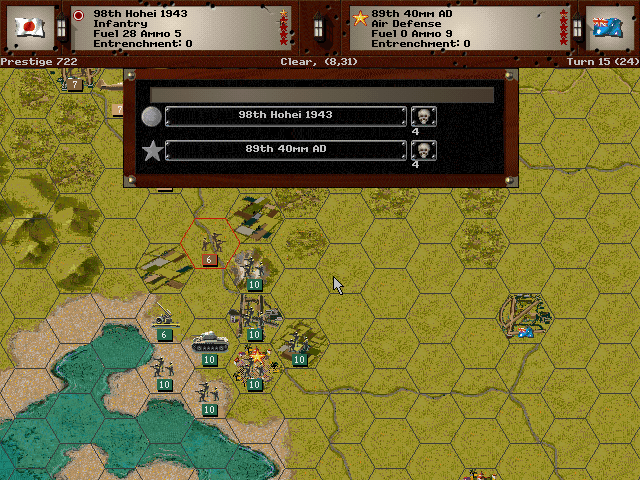
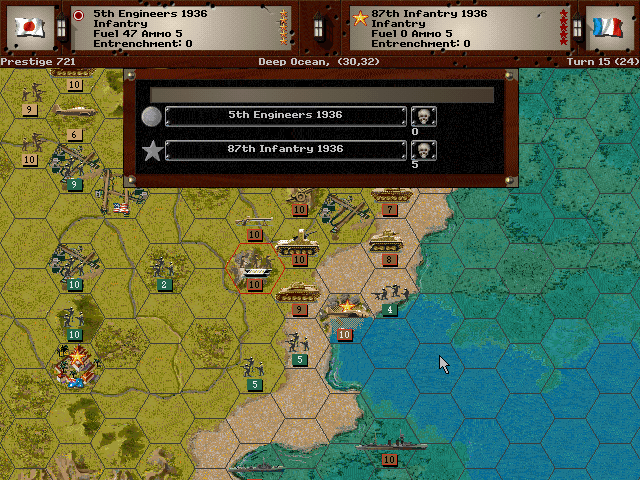
Allied Turn 15: February 18, 1943
Fair (Dry)
The first attempt to scout Adelaide is repulsed.
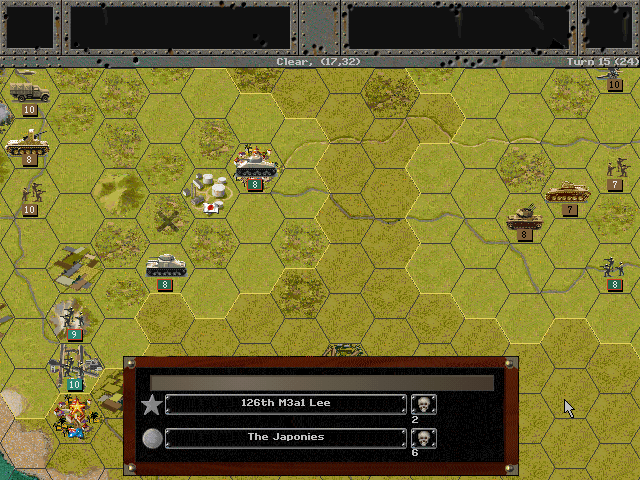
It is a sad day for us, however, as the Japonies are hunted down and slaughtered by enemy tanks.

Unit Spotlight
We're mostly looking at units that aren't that useful to our force, but they are ones the American side will see from time to time.
Type 2 Ka-Mi [Amphibious Tank Model D]
PG Name: Type 2 Ka-Mi Type:Tank
Effective Date: 1/43
Value:8 Cost:96 Spot:2 Move:5 MM:Amphibious Trans: None Fuel: 42
Init:6 SA:3 HA:4 AA:0 NA:1 GD:8 AD:2 CD:2 TT:Hard Ammo:14
Although amphibious tanks had been on the drawing board for quite some time in Japan, this was the first model actually developed. It's effectively a Ke-Ni modified to be watertight and move with pontoons through the water. The Imperial Japanese Navy would have made good use of it early in the Pacific War, had it been available. By the time it reached production, amphibious invasions were no longer being planned. It did end up seeing some action defensively (and reputedly some were once involved in an offshore duel with American amphibious vehicles).
In-game analysis: A neat idea, and this could be used under certain circumstances to pull off some good tricks on the closely-connected island maps. However, once it gets ashore it's still only a light tank.
Nakajima B5N (Kate)
PG Name: D3A Val Type:Tac Bomber
Effective Date: 6/40
Value:22 Cost:264 Spot:3 Move:9 MM:Air Trans:Naval Fuel: 76
Init:5 SA:6 HA:8 AA:[9] NA:12 GD:8 AD:8 Ammo:4
Special: Torpedo Bomber
The Kate dated back to 1937 and served as the Navy's torpedo bomber well into the Pacific War. In 1939 it was updated to improve survivability, not by adding armor but by improving performance. While regarded as a good plane for its time, it was a verging on obsolete in 1941. The fact that any torpedo bomber could still deliver a very deadly payload did make them a significant factor in the sinking of several American carriers.
In-game analysis: The Kate and Val both make a good pair as carrier-based bombers. They scale roughly with their price; although the Kate has a lower attack value, it has the torpedo advantage, and that makes it more dangerous to enemy vessels.
Type B Submarine (3 revisions, 20 B-1 built)
PG Name: B Type:Submarine
Effective Date: 4/41
Value:10 Cost:120 Spot:3 Move:4 MM:Coastal/Sub Trans: N/A Fuel: 148
Init:3 Range:2 SA:0 HA:0 AA:0 NA:10 DA:0 GD:8 AD:4 TD:8 DD:10 Ammo:17
The Type B represented a shift in philosophy from having distinct 'fleet' and 'cruiser' submarines to a different approach - Type A as flagship or recon command, Type B for scouting, and the Type C for attack. In practice, this plan was only used to full effect in the initial phases of the war. The Type B didn't have a whole lot of offensive power, but it did have quite a good cruising range. The Japanese produced more of the Type B than any other sub during the war.
In-game analysis: Although it feels a bit like a compromise, I kind of like this one. It's missing the offensive punch of the Type C, but manages to otherwise match it in nearly all points. It's a decent value. However, if the prestige is available I'd probably opt for the Type C since it is strictly better stat-wise.